How to Install or Replace a Toilet

Replacing a toilet is one of the most satisfying half-day plumbing projects a homeowner can take on — a new comfort-height, water-saving toilet runs $120 to $400 in parts and tools, versus the $255 to $615 a plumber charges to swap one. The job is mostly muscle and patience, not skill: the one part that truly matters is seating the seal right so it never leaks. This guide covers buying a toilet that actually fits your rough-in, removing the old one cleanly, and setting the new one level, sealed, and rock-solid.
What You'll Need
🛠 Tools
📦 Materials
Safety First
- •An assembled toilet is heavy and awkward — a two-piece can run 70 to 120 pounds. Take the tank off first to lighten the load, lift the bowl with your legs rather than your back, and get a helper for an upstairs bathroom or a one-piece toilet.
- •The moment the old toilet is off, stuff a rag into the open drain. It blocks sewer gas (methane and hydrogen sulfide) from filling the room and keeps tools and bolts from falling down the pipe.
- •Hand-tighten the closet bolts and tank bolts only until snug. Toilets are vitreous china and crack easily from over-tightening — a hairline crack at the base or tank means starting over with a new toilet.
Step-by-Step Instructions
Measure the Rough-In and Choose a Toilet
The rough-in is the distance from the finished back wall to the center of the closet (flange) bolts that hold the toilet down — 12 inches is standard, but older homes are sometimes 10 or 14, so measure before you buy or the new toilet won't fit. Decide on bowl shape (elongated is more comfortable; round saves a few inches in a tight bath) and height (standard, or comfort height around 17 to 19 inches). While shopping, confirm you have about 15 inches from the toilet's centerline to any side wall or vanity and 21 inches of clear floor in front — the typical code minimums.

Measure the rough-in to the center of the bolt caps, not the base molding or the pipe. If your old toilet has two bolts per side, measure to the rear set. When in doubt, a 12-inch rough-in toilet is what the large majority of homes need.
Shut Off the Water and Empty the Old Toilet
Find the stop valve on the wall or floor behind the toilet (usually on the left) and turn it clockwise until it stops. Flush and hold the handle down to send most of the tank and bowl water down the drain, then sponge and shop-vac out what's left until both are bone dry — every cup you remove now is a cup that won't end up on your floor. If the stop valve is corroded, weeps, or won't fully close, it's worth replacing while the water is off (here's how to install a shut-off valve).

If the stop valve won't close all the way, shut off the main water supply to the house before disconnecting anything — a valve that only 'mostly' closes will keep dribbling into the open line while you work.
Disconnect and Remove the Old Toilet
Disconnect the supply line from the bottom of the tank with an adjustable wrench. Pry off the bolt caps at the base and unscrew the nuts from the closet bolts — if a bolt just spins or is rusted solid, cut it off with a mini hacksaw or an oscillating multi-tool. Straddle the bowl, rock it side to side to break the old seal, and lift it straight up off the bolts, setting it on an old towel or cardboard. Then immediately stuff a rag into the open drain.

Take the tank off a two-piece toilet first — a few bolts inside the tank release it. It halves the weight and makes the bowl far easier to wrestle out of a tight bathroom without cracking it.
Old toilet water and the wax ring are unsanitary — wear gloves, and have a trash bag open for the old wax, which is sticky and gets on everything it touches.
Scrape the Flange and Set New Bolts
Scrape every bit of old wax off the closet flange and the surrounding floor with a putty knife until the surface is clean. Inspect the flange: it should sit flush with or just above the finished floor and be intact. A flange that's cracked, badly corroded, or sitting below the floor needs a repair ring or a flange extender kit before you go any further. Then drop new brass closet bolts into the flange slots, slide them to match your toilet's bolt spacing, and stand them straight up.

Press a wad of plumber's putty or the included plastic retainer caps around each new bolt to hold it perfectly vertical. Bolts that flop sideways are maddening when you're lowering a heavy bowl onto them blind.
Don't bridge a low flange by stacking two wax rings — it's the number-one cause of a slow, hidden leak. Use a flange extender to bring the surface up to the floor instead.
Set the New Wax Ring or Waxless Seal
Choose your seal and set it centered over the drain. A wax ring is the proven, lowest-cost option but is single-use — once the bowl touches down it can't be lifted without replacing it. A waxless rubber or foam seal lets you reposition the bowl without ruining the seal, which makes a first install far less nerve-wracking. Press your seal squarely onto the flange (or onto the toilet's outlet horn, per its instructions). For a deeper walkthrough of this exact step, see the toilet wax ring guide.

Warm a wax ring to room temperature before setting it — a cold, stiff ring doesn't compress and seal as well. Leave it in a warm room for an hour, never in the sun or on a heater where it can slump.
Set the Bowl and Bolt It Down
Lift the bowl over the drain, line the two bolt holes up with the closet bolts, and lower it straight down without twisting. Once it's seated, press down firmly with your body weight — sitting on it works — to compress the seal evenly. Thread a washer and nut onto each bolt and tighten them a little at a time, alternating side to side, until the toilet is snug and no longer shifts. If the bowl rocks on an uneven floor, slip thin plastic shims underneath until it's stable and level, then trim the bolts with a hacksaw and snap on the caps.

Snug, not cranked. Vitreous china cracks under too much bolt pressure, and a hairline crack at the base will leak or fail — alternate the nuts in small turns and stop the instant the toilet feels solid.
Install the Tank and Connect the Water
On a two-piece toilet, set the rubber tank-to-bowl gasket over the threaded outlet, lower the tank onto the bowl, and tighten the tank bolts evenly from inside the tank — a few turns each, alternating, until the tank is firm and level. Connect a new braided stainless steel supply line from the stop valve to the tank's fill-valve shank: hand-tight, plus about a quarter turn with pliers. The seals are rubber, so don't overtighten them.

Put on a fresh supply line rather than reusing the old one. A reused, kinked, or crimped line is a common source of a slow drip that shows up days later under the tank.
Turn On the Water and Test for Leaks
Open the stop valve slowly and let the tank fill completely. Flush several times, watching the base, the tank-to-bowl bolts, and the supply connection for any water. Run a dry paper towel around the base and under the tank after the second or third flush — it reveals a weep you'd miss by eye. If the tank keeps running or the bowl fills weakly, adjust the fill valve and check the flapper (see how to fix a running toilet).

Leave the toilet unused for an hour after the first flushes, then check the floor around the base again. A seal that's going to fail often shows a thin ring of water within the first day — while it's still easy to pull the toilet and reset it.
Caulk the Base and Finish
Once the leak test passes, run a bead of 100% silicone or tub-and-tile caulk around the base where the toilet meets the floor, and smooth it with a wet fingertip. This is code, not just cosmetics — the plumbing codes require the fixture to be sealed to the floor so mop water and bacteria can't collect underneath. Many plumbers leave a small unsealed gap (a few inches) at the very back of the base so a future leak weeps out where you'll see it instead of rotting the subfloor silently. Some toilets don't ship with a seat — here's how to fit one.

Caulk last, after the leak test passes — never before. Sealing the base around an untested seal just traps a leak under the toilet, where it can damage the floor for weeks before you notice.
Frequently Asked Questions
What is a toilet rough-in, and how do I measure it?
+
The rough-in is the distance from the finished back wall to the center of the closet bolts that hold the toilet to the floor. Measure from the wall (not the baseboard) to the center of the bolt caps at the base — 12 inches is the standard, but older homes are sometimes 10 or 14. Buy a toilet that matches; a 12-inch toilet won't sit right on a 10-inch rough-in.
Wax ring or waxless rubber seal — which should I use?
+
A traditional wax ring is the time-tested choice and lasts around 20 years, but it's single-use and can't be repositioned — the moment the bowl touches down, it's committed. A waxless rubber or foam seal costs a little more and lasts about 10 years, but it's forgiving: you can lift and reset the bowl without ruining it, which is why many DIYers prefer it for a first install. Either seals reliably when set correctly.
My toilet flange sits below the floor (or I added new flooring) — what do I do?
+
The flange should sit flush with or just above the finished floor. If it's recessed below the floor, use a flange extender or spacer kit (they come in 1/4-inch and 1/2-inch thicknesses) to bring the surface up before you set the seal. Do not just stack two wax rings to bridge the gap — that's the classic cause of a slow hidden leak.
Why does my new toilet rock, and how do I fix it?
+
A rocking toilet almost always means the floor under it isn't perfectly flat, not that the bolts are loose. Slip thin plastic toilet shims under the low spots until the bowl sits solid and level, then snug the bolts and trim the shims flush. A toilet left rocking will eventually break its wax seal and leak, so don't ignore it — but never crank the bolts down to stop the rock, which cracks the china.
Do you have to caulk around the base of a toilet?
+
Yes — both the International Plumbing Code and the Uniform Plumbing Code require the fixture to be sealed to the floor, which keeps mop water, urine, and bacteria from collecting underneath. Run a bead of caulk around the base after the leak test passes. Many plumbers leave a small unsealed gap at the very back so that a future leak weeps out where you can see it rather than rotting the subfloor silently.
Community Tips
💬 Sign in to share tips with the community
Sources & further reading
- How To Replace a Toilet — Family Handyman
- How To Change a Toilet — This Old House
- Wax versus Non-Wax Toilet Seals — Oatey
More Plumbing Guides
View all → Easy30 min
How to Unclog a Drain
A slow or fully blocked drain is one of the most common household plumbing issues — and usually one of the cheapest to fix yourself. Most clogs can be cleared in under 30 minutes with tools you already own, saving the $150-300 a plumber would charge for the same job.
 Medium1h 30m
How to Fix a Toilet Leaking at the Base
Water pooling around the bottom of the toilet is one of those leaks that punishes procrastination — every flush pushes dirty water under the flooring, and a $10 wax ring problem quietly becomes a $1,000 subfloor repair. This guide diagnoses where the water is really coming from first, then walks the fix in order: snug the bolts, and only if needed, pull the toilet and replace the seal.
 Easy30 min
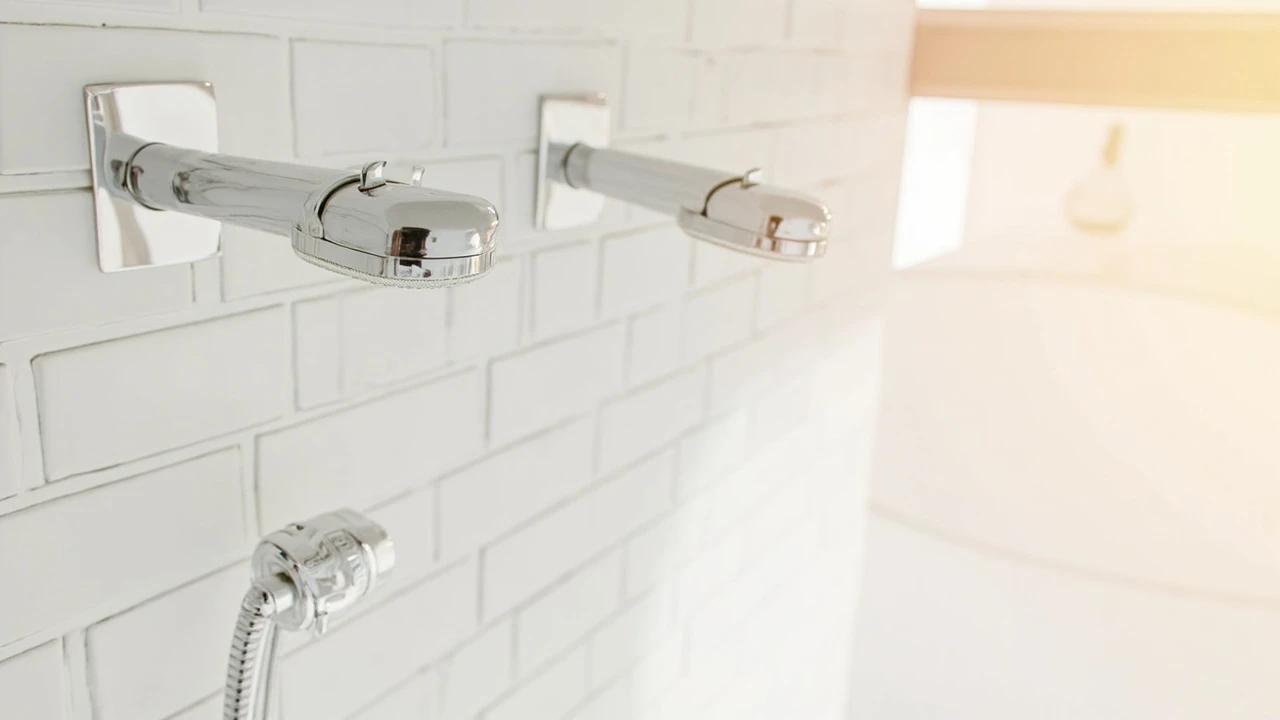
How to Replace a Shower Head and Shower Arm
Swapping just the shower head is a 10-minute job, but if the arm (the pipe curving out of the wall) is corroded, leaking, or the wrong length for a new rain head, you'll want to replace both. The whole job costs under $50 and takes half an hour — the one trick that separates a clean swap from a flooded wall is holding the arm steady so it doesn't snap off inside the tile. This guide covers removing a stuck arm, prepping the in-wall fitting, taping the threads right, and testing leak-free.
You Might Also Like
 Medium30 min
How to Troubleshoot a Microwave That Won't Heat
A microwave that runs — light on, turntable spinning, timer counting down — but leaves food stone cold is one of the most common appliance failures, and about half the time the cause is something you can fix in five minutes for free. This guide walks the diagnosis from the easy stuff (demo mode, power level, a tripped GFCI, a dirty door latch) to reading the failure signature that tells you the high-voltage circuit is gone, then helps you make the repair-or-replace call with real numbers.
 Easy25 min
How to Clean a Refrigerator Condenser Coil
Dirty condenser coils are the number-one cause of refrigerator inefficiency — they force the compressor to run longer and harder, driving up your electricity bill by 10-25% and shortening the appliance's lifespan. Cleaning them takes about 20 minutes with a brush and vacuum, and the improvement in cooling performance is immediate. This guide covers locating coils on both bottom-mount and rear-mount models, safe cleaning technique, and a maintenance schedule to keep your fridge running at peak efficiency.
 Easy15 min
How to Replace a Refrigerator Water Filter
A clogged refrigerator water filter is the most common cause of slow dispensing, off-tasting water, and undersized ice cubes — and it is the easiest fix in your kitchen. Most filters are designed to be swapped in under five minutes with no tools, no shut-off valve, and no spilled water. This guide covers locating your filter, the two common removal styles (twist-in and push-in), inspecting the O-rings, flushing the new filter, and resetting the indicator light so you do not see the red "Replace" warning the next morning.