How to Install a Water Shut-Off Valve

Every sink, toilet, and appliance water line should have its own shut-off valve so you can kill the water to one fixture without shutting down the whole house. Installing a compression-fit quarter-turn ball valve on an existing copper or CPVC line is a straightforward job that takes about an hour and costs under $15 in parts — compared to $150-300 for a plumber call. This guide covers the most common scenario: replacing an old gate valve or adding a new valve under a sink or behind a toilet.
What You'll Need
🛠 Tools
📦 Materials
Safety First
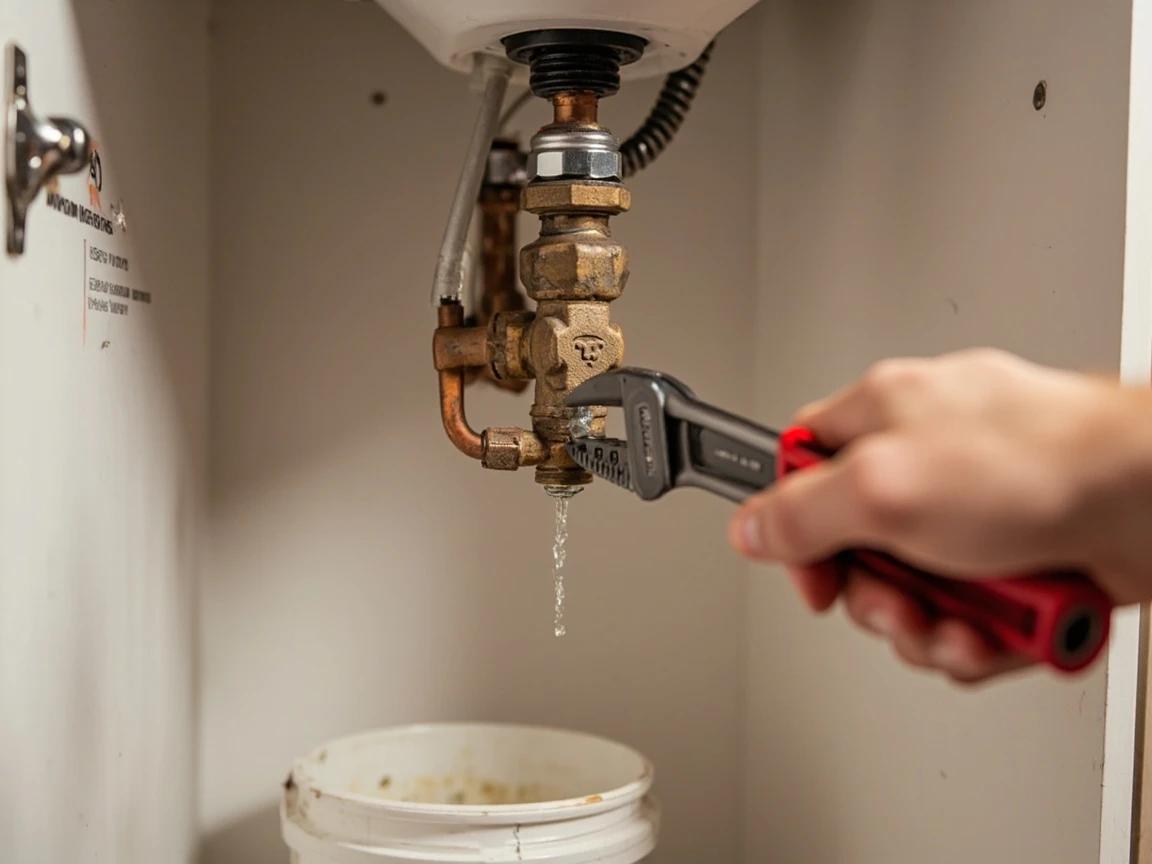
- •Turn off the main water supply to the house before cutting any pipe. Open a faucet on the lowest level to drain residual pressure. Even with the main off, water trapped in the lines will drain out when you cut — have a bucket and towels ready.
- •Copper pipe edges are razor-sharp after cutting. Always deburr the inside and outside of the cut pipe before handling it further. Wear work gloves when handling freshly cut pipe.
Step-by-Step Instructions
Shut Off the Main Water Supply and Drain the Lines
Locate your home's main water shut-off valve — typically near the water meter at the street-side wall of your basement, crawl space, or utility closet. Turn it fully clockwise (or lever to perpendicular) to shut off all water to the house. Then open the faucet nearest to your work area and let it run until it stops — this drains residual water and pressure from the pipes. Open the faucet on the lowest level of your home as well to help drain the system by gravity. Place a bucket and towels under the pipe you will be cutting, because some water will remain trapped in the line no matter how well you drain.

If your main shut-off valve is an old gate valve that does not fully stop the water flow, you can still work — just have extra towels ready and work quickly once you cut the pipe. This is actually a great reason to upgrade your main shut-off to a quarter-turn ball valve as a separate project.
Remove the Old Valve or Disconnect the Supply Line
If you are replacing an old valve, use an adjustable wrench to unscrew the compression nut connecting the supply line to the valve outlet, then unscrew the compression nut connecting the valve to the pipe stub-out from the wall. If the old ferrule (brass compression ring) is stuck on the pipe, do not try to pry it off — you can cut the pipe just behind it with a tubing cutter to get a fresh section. If you are adding a valve where none exists, simply disconnect the supply line from the pipe stub-out. Have your bucket underneath to catch any remaining water that drains out.
Cut the Pipe Clean with a Tubing Cutter
If you need a fresh pipe end — either because the old ferrule is stuck or the pipe is damaged — use a mini tubing cutter to make a clean, square cut. Clamp the cutter onto the pipe where you want to cut, tighten the knob until the cutting wheel contacts the pipe, and rotate the cutter around the pipe. After each full rotation, tighten the knob a quarter turn and rotate again. Repeat until the cutter slices through. The key is patience — forcing the cutter bends the pipe and creates an oval end that will not seal properly. You need at least 1 inch of straight pipe extending from the wall to seat the compression fitting.
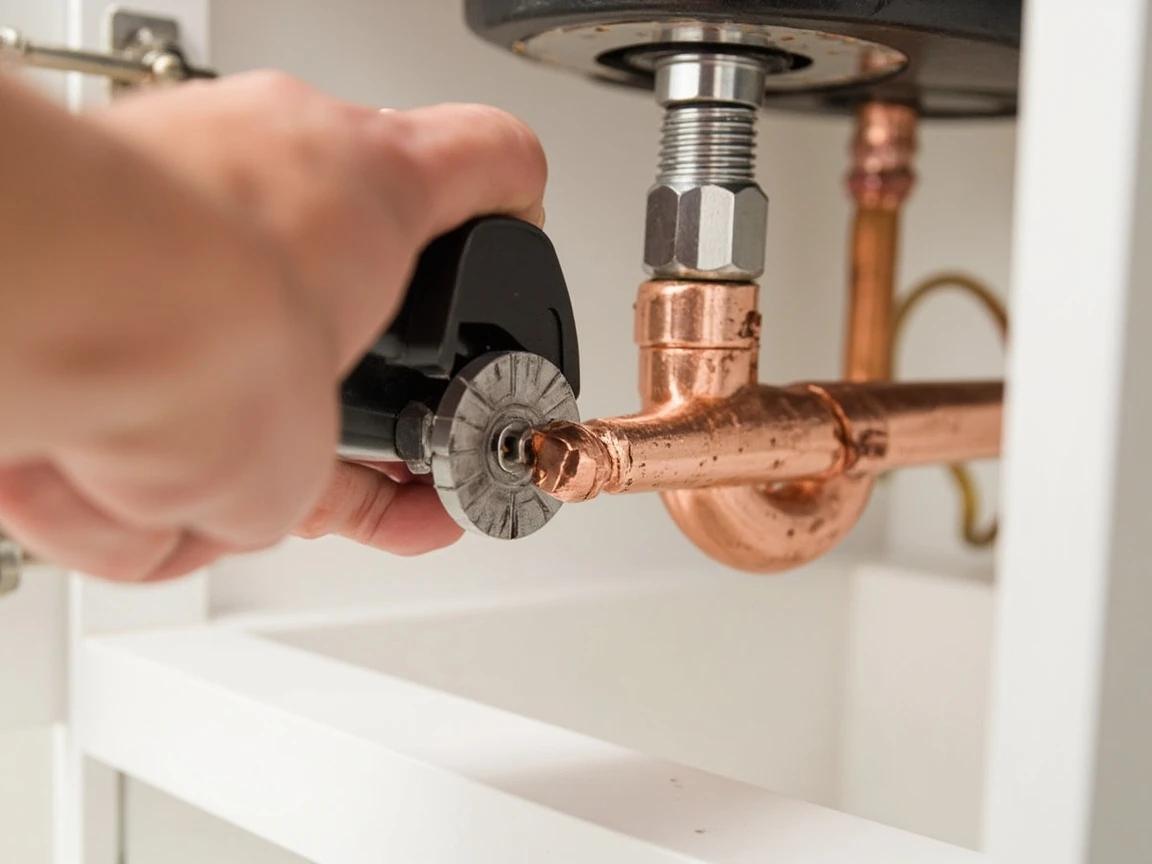
Do not use a hacksaw to cut copper pipe for a compression fitting — hacksaw cuts leave a rough, angled edge that prevents the ferrule from sealing. A tubing cutter produces the perfectly square, burr-free cut that compression fittings require.
Deburr and Clean the Pipe End
After cutting, the inside edge of the pipe will have a small raised burr that restricts water flow and can prevent the ferrule from seating. Use the triangular reamer blade on the back of your tubing cutter (or a separate deburring tool) to scrape away the inside burr by rotating it inside the pipe opening. Then wrap a strip of emery cloth around the outside of the pipe and sand the last inch until it is bright and shiny — this removes oxidation and ensures the compression ferrule makes full metal-to-metal contact for a watertight seal. Wipe the pipe clean with a dry rag to remove any grit or copper shavings.
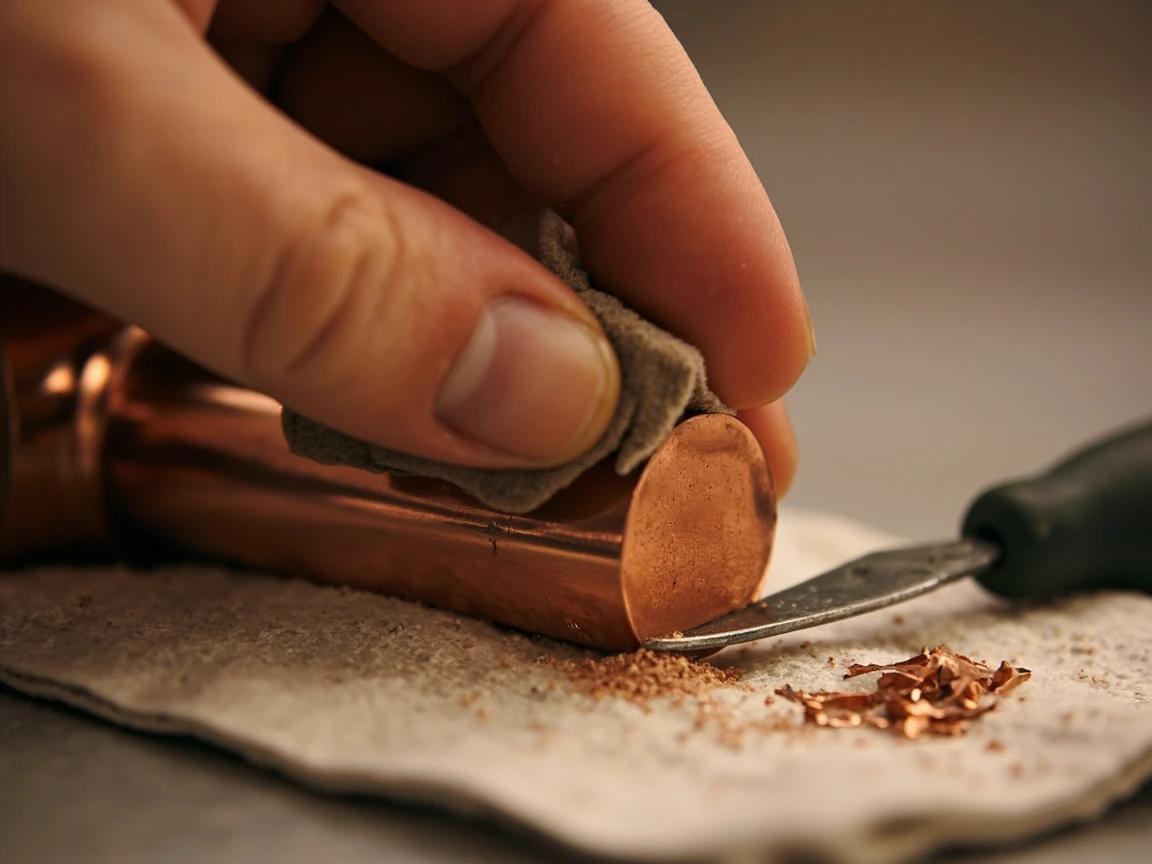
A properly cleaned pipe end is the single most important factor in preventing leaks. If the pipe looks dull, green, or has mineral deposits, keep sanding until you see bright copper. This step takes 30 seconds and prevents the most common cause of compression fitting leaks.
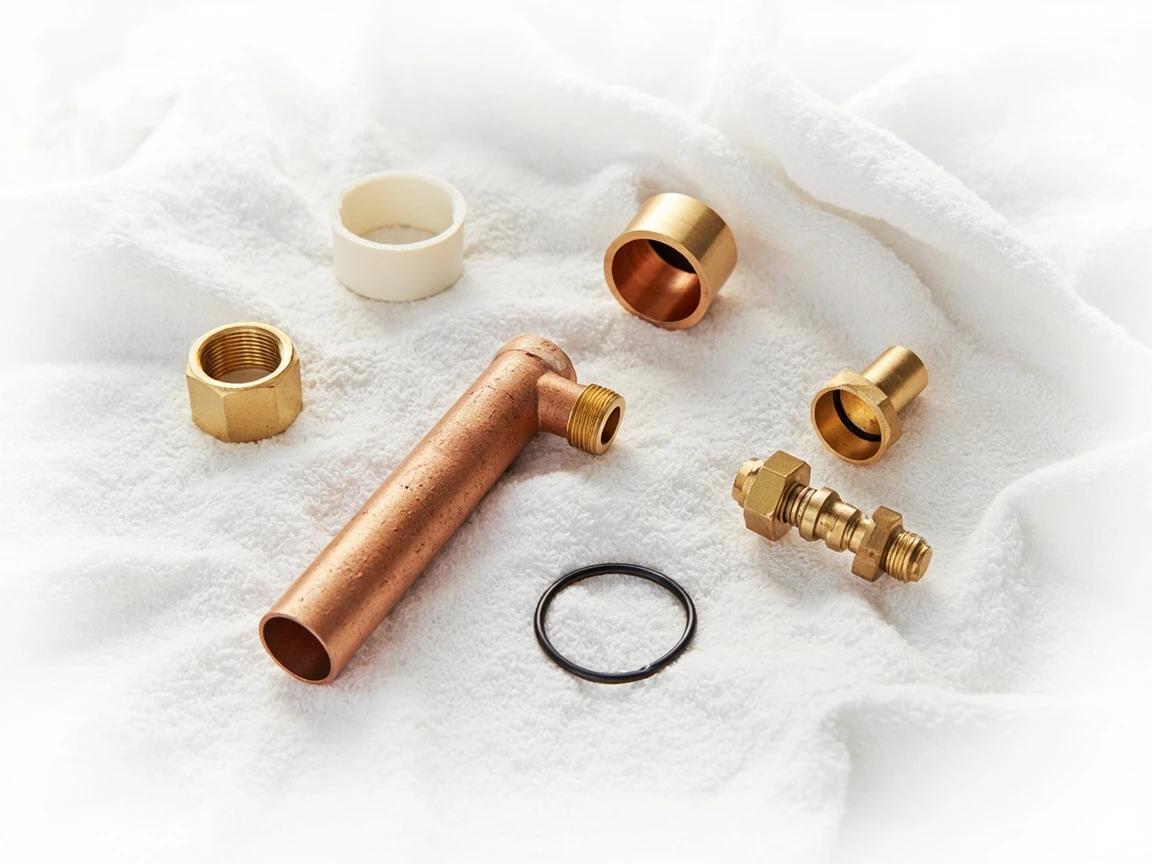
Slide On the Compression Nut and Ferrule
Before attaching the valve, slide the compression nut onto the pipe first with the threaded end facing away from the wall. Then slide the brass compression ferrule (also called a compression ring or olive) onto the pipe behind the nut. The ferrule is the small brass ring that came with your valve — it sits between the nut and the valve body and gets crushed into a tight seal when you tighten the nut. Make sure both pieces slide freely on the pipe before proceeding. If the pipe has a slight bend that prevents them from sliding, gently straighten the pipe with your hands.
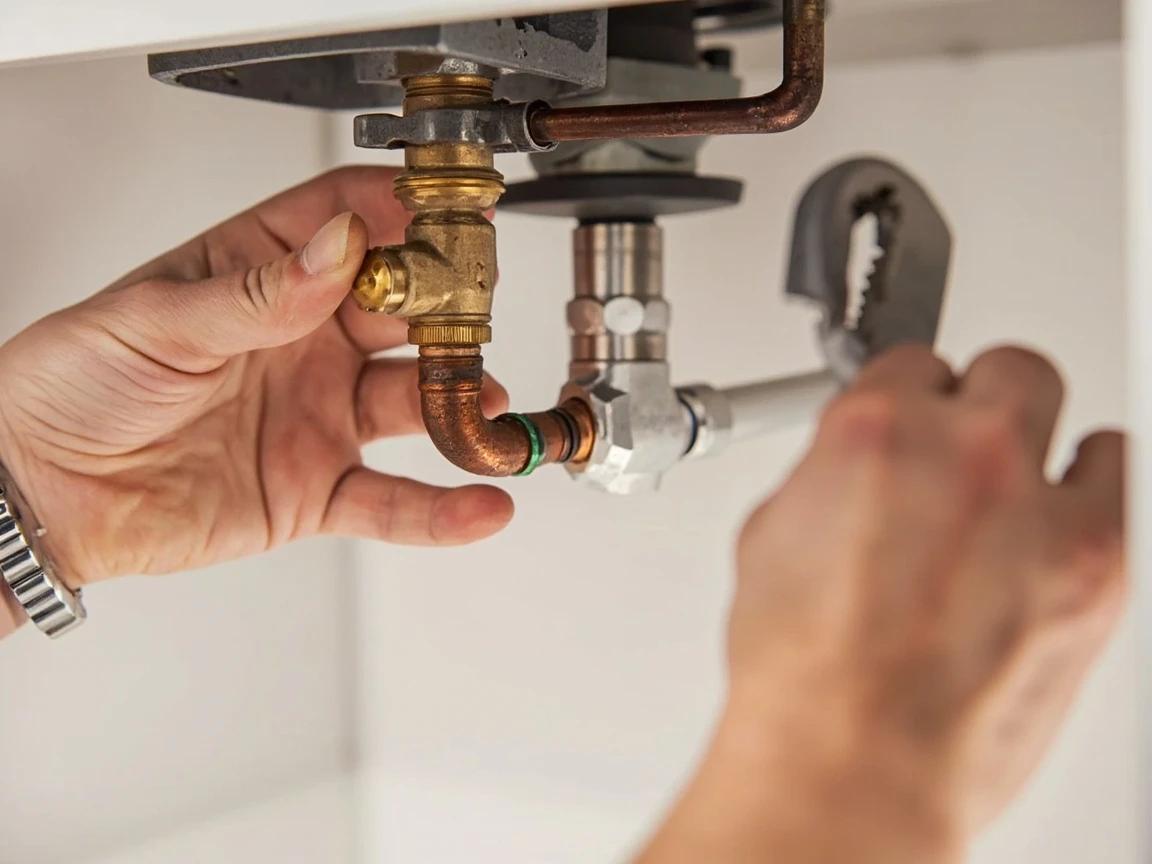
Attach the Shut-Off Valve and Tighten the Compression Fitting
Push the valve body onto the pipe end until it seats firmly against the ferrule. Hold the valve with one hand to prevent it from spinning, then slide the compression nut up and thread it onto the valve body by hand — tighten it finger-tight first. Using an adjustable wrench, tighten the compression nut an additional one-half to three-quarters of a turn past finger-tight. This is enough to crush the ferrule into a seal without deforming it. Resist the urge to crank it down further — overtightening is the most common cause of compression fitting failure, as it cracks the ferrule or distorts the pipe and creates a leak that gets worse over time.
Do not overtighten the compression nut. One-half to three-quarters of a turn past finger-tight is enough. If you overtighten and it leaks, you cannot fix it by tightening more — you will need a new ferrule and possibly a new cut on the pipe.
Connect the Supply Line to the Valve Outlet
Attach your new braided stainless steel supply line to the valve's outlet port. Most quarter-turn valves have a 3/8-inch compression outlet — match your supply line fitting to this size. Thread the supply line's compression nut onto the valve outlet by hand, then tighten with an adjustable wrench — again, one-half to three-quarters turn past finger-tight. Connect the other end of the supply line to the fixture's inlet (faucet tailpiece or toilet fill valve) and hand-tighten, then snug with a wrench. Use Teflon tape on any threaded (non-compression) connections — wrap 3-4 turns clockwise around the male threads before connecting.
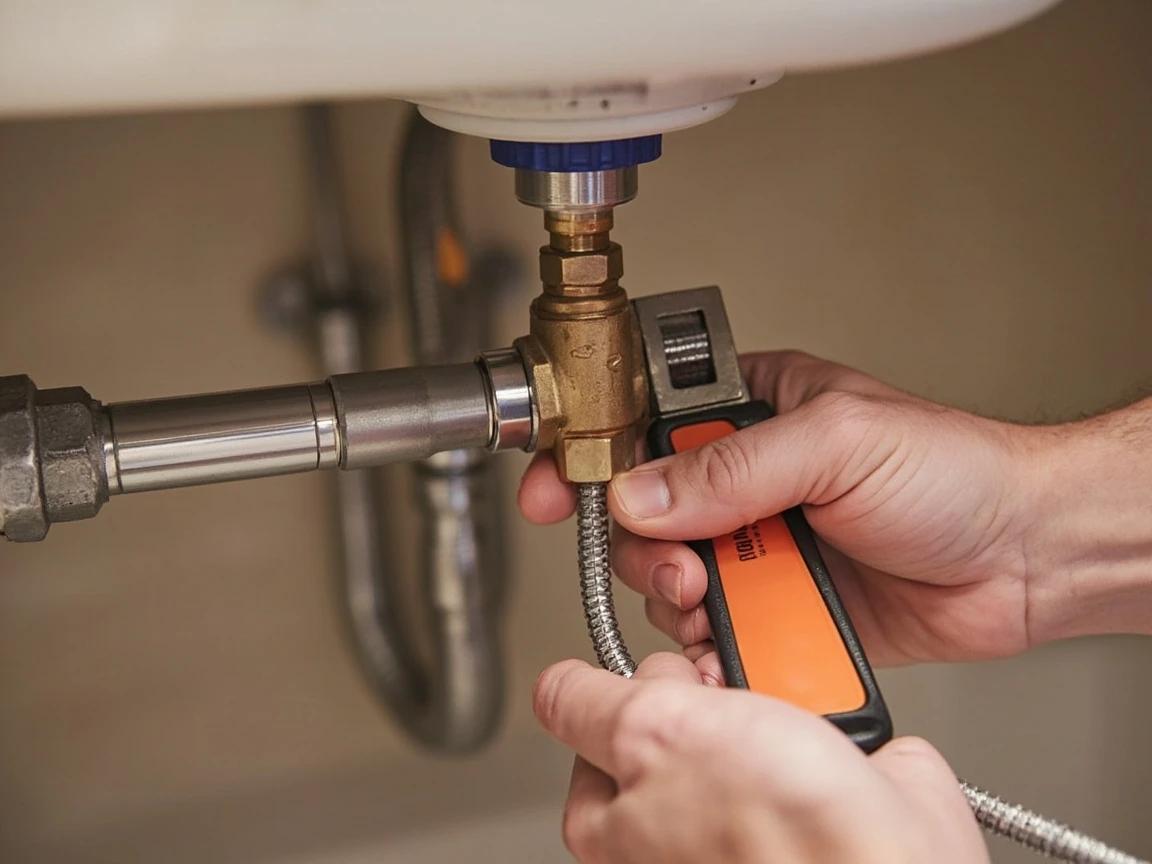
Always replace the supply line when you replace a shut-off valve. Old supply lines — especially the chrome-plated corrugated copper type — are the most common source of under-sink floods. Braided stainless steel lines cost $5-8 and last decades.
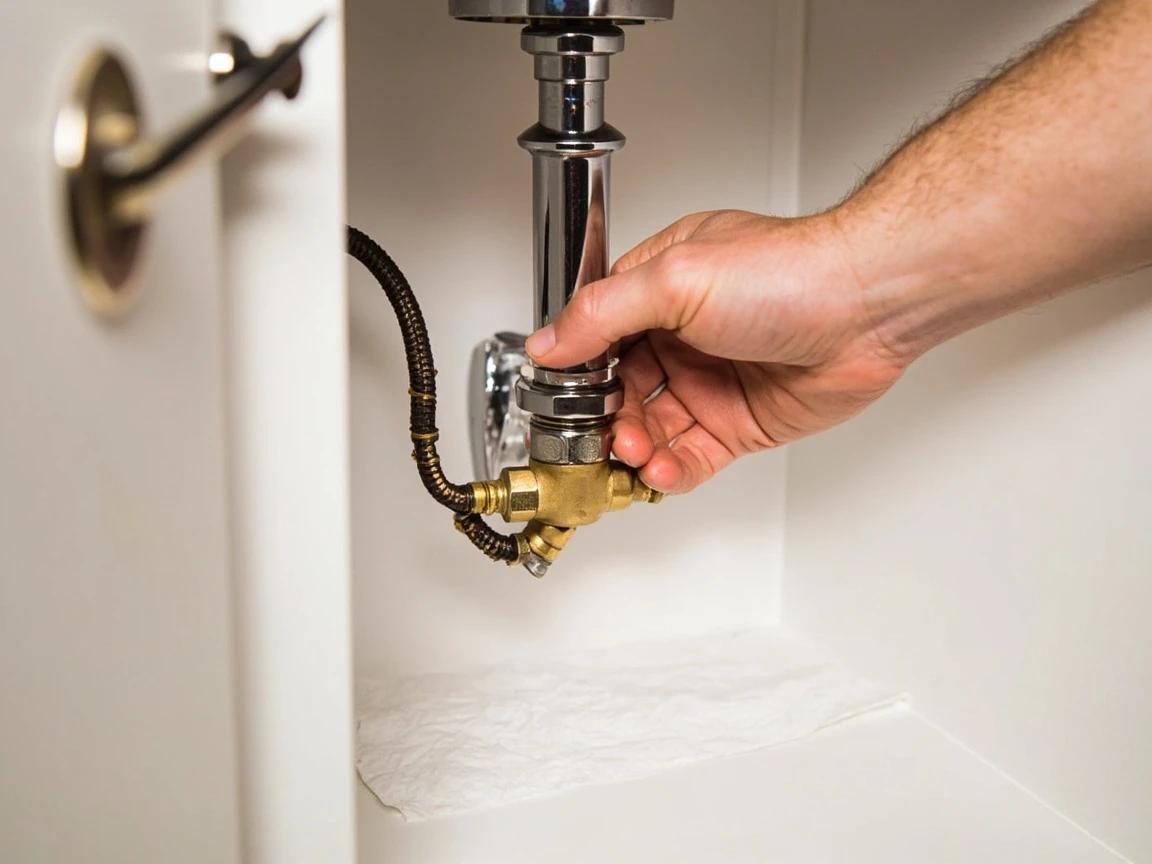
Turn On the Water and Check for Leaks
Make sure the new shut-off valve is in the open position (handle parallel to the pipe). Turn the main water supply back on slowly — open it a quarter turn and wait 10 seconds, then open fully. Let the faucet run for 30 seconds to flush any debris from the lines. Now carefully inspect every connection point: the compression fitting at the wall, the valve-to-supply-line connection, and the supply-line-to-fixture connection. Run your finger around each joint and check for moisture. If you see a drip at a compression fitting, try tightening the nut an additional quarter turn — but no more. Dry the area completely with a towel, lay a paper towel beneath the connections, and check again in 30 minutes to confirm everything stays dry.
The paper towel test is the most reliable leak detection method for small drips. Leave a dry paper towel under the connections for 30 minutes after turning the water back on. Even the smallest drip will leave a visible wet spot that your eyes might miss on a chrome fitting.
Frequently Asked Questions
How long does it take to install a water shut-off valve?
+
This project typically takes about 1 hr. The guide includes 8 steps with detailed instructions for each.
What tools do I need?
+
You will need: Adjustable wrench (8-inch or 10-inch), Mini tubing cutter (for copper pipe — Ridgid or similar), Channel-lock pliers (tongue-and-groove pliers), Emery cloth or fine sandpaper (120-grit), Pipe deburring tool (or the built-in reamer on your tubing cutter), Bucket and old towels, Flashlight or headlamp (for working under sinks). Materials include: Quarter-turn ball valve with compression fittings (match your pipe size — typically 1/2-inch for supply lines, 3/8-inch outlet for fixtures), New braided stainless steel supply line (match length and fitting sizes for your fixture), Teflon tape (thread seal tape — 1/2-inch width), New compression ferrule (brass ring — comes with most valves, but buy a spare), Escutcheon plate (chrome wall cover — optional, for a clean finished look).
Is this a good project for beginners?
+
This is a moderate-difficulty project. Some basic DIY experience is helpful, but the step-by-step instructions make it approachable for motivated beginners.
Community Tips
💬 Sign in to share tips with the community
Sources & further reading
- Adding Sink Shutoff Valves — This Old House
- How to Replace a Shutoff Valve (DIY) — Family Handyman
More Plumbing Guides
View all →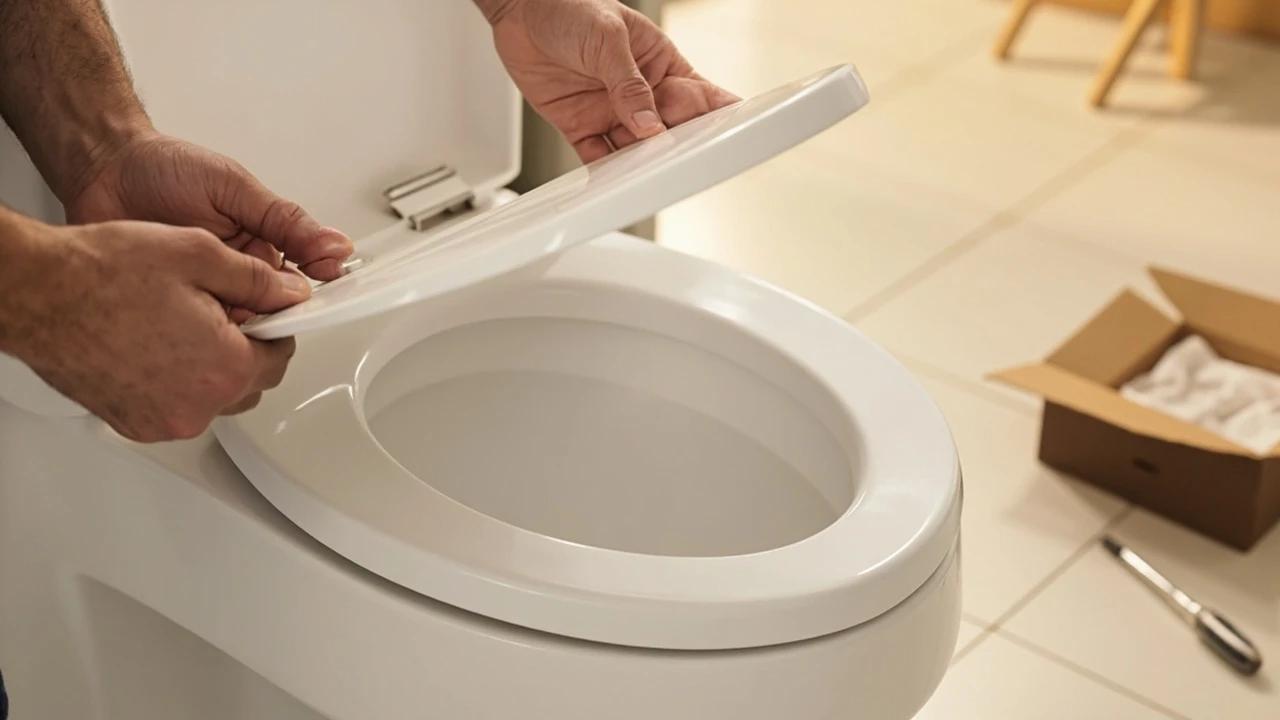 Easy25 min
How to Replace a Toilet Seat
A cracked, stained, or wobbly toilet seat is one of the cheapest, fastest upgrades in the house — a new seat runs $20-50 and the swap takes about 20 minutes with nothing more than a screwdriver. This guide covers both standard and soft-close (quick-release) seats, how to measure so the new one actually fits, and the part everyone gets stuck on: freeing corroded bolts without cracking the bowl.
 Easy25 min
How to Replace a Toilet Flapper Valve
A worn-out flapper is the cause of roughly 90% of "phantom flush" and running-toilet problems, and replacing it is the single cheapest plumbing fix in the house — $5 to $15 for a new flapper and 20 minutes of your time. A leaking flapper wastes 200 gallons of water per day at the high end, which can add $30 to $50 a month to a typical water bill. This guide covers sizing the right replacement, cleaning the valve seat so the new flapper actually seals, and dialing in the chain length so the toilet stops running for good.
 Medium2h 30m
How to Install or Replace a Toilet
Replacing a toilet is one of the most satisfying half-day plumbing projects a homeowner can take on — a new comfort-height, water-saving toilet runs $120 to $400 in parts and tools, versus the $255 to $615 a plumber charges to swap one. The job is mostly muscle and patience, not skill: the one part that truly matters is seating the seal right so it never leaks. This guide covers buying a toilet that actually fits your rough-in, removing the old one cleanly, and setting the new one level, sealed, and rock-solid.
You Might Also Like
 Medium2 hrs
How to Prune Fruit Trees
Regular pruning is the most important annual task for fruit tree health and productivity. Properly pruned trees produce larger, higher-quality fruit, resist disease better, and live significantly longer than unpruned trees.
 Medium30 min
How to Troubleshoot a Microwave That Won't Heat
A microwave that runs — light on, turntable spinning, timer counting down — but leaves food stone cold is one of the most common appliance failures, and about half the time the cause is something you can fix in five minutes for free. This guide walks the diagnosis from the easy stuff (demo mode, power level, a tripped GFCI, a dirty door latch) to reading the failure signature that tells you the high-voltage circuit is gone, then helps you make the repair-or-replace call with real numbers.
 Hard4 hrs
How to Install Crown Molding
Crown molding turns a plain room into a finished one — but it is the trickiest trim to cut, thanks to corners that are never quite square and a profile that has to be cut upside down. This guide walks through the whole job the way a finish carpenter does it: coping inside corners so they stay tight, mitering outside corners, and fastening into framing instead of bare drywall. Expect about half a day for a typical room and roughly one to six dollars per linear foot in materials.