How to Clean a Refrigerator Condenser Coil

Dirty condenser coils are the number-one cause of refrigerator inefficiency — they force the compressor to run longer and harder, driving up your electricity bill by 10-25% and shortening the appliance's lifespan. Cleaning them takes about 20 minutes with a brush and vacuum, and the improvement in cooling performance is immediate. This guide covers locating coils on both bottom-mount and rear-mount models, safe cleaning technique, and a maintenance schedule to keep your fridge running at peak efficiency.
What You'll Need
🛠 Tools
📦 Materials
Safety First
- •Always unplug the refrigerator before cleaning — the condenser fan and compressor are near the coils and can cause injury.
- •Condenser fins have sharp edges — wear gloves and a long-sleeved shirt to avoid cuts.
- •Do not use water on condenser coils — moisture can damage electrical components and cause a short circuit when power is restored.
Step-by-Step Instructions
Unplug the Refrigerator
Pull the refrigerator's power cord from the wall outlet, or switch off the dedicated circuit breaker if the outlet is inaccessible behind the unit. This is non-negotiable — the condenser fan sits right next to the coils and will spin on unexpectedly during cleaning, risking finger injury and pulling loose debris deeper into the unit. Wait about 30 seconds after unplugging to let the compressor and fan fully stop before proceeding.
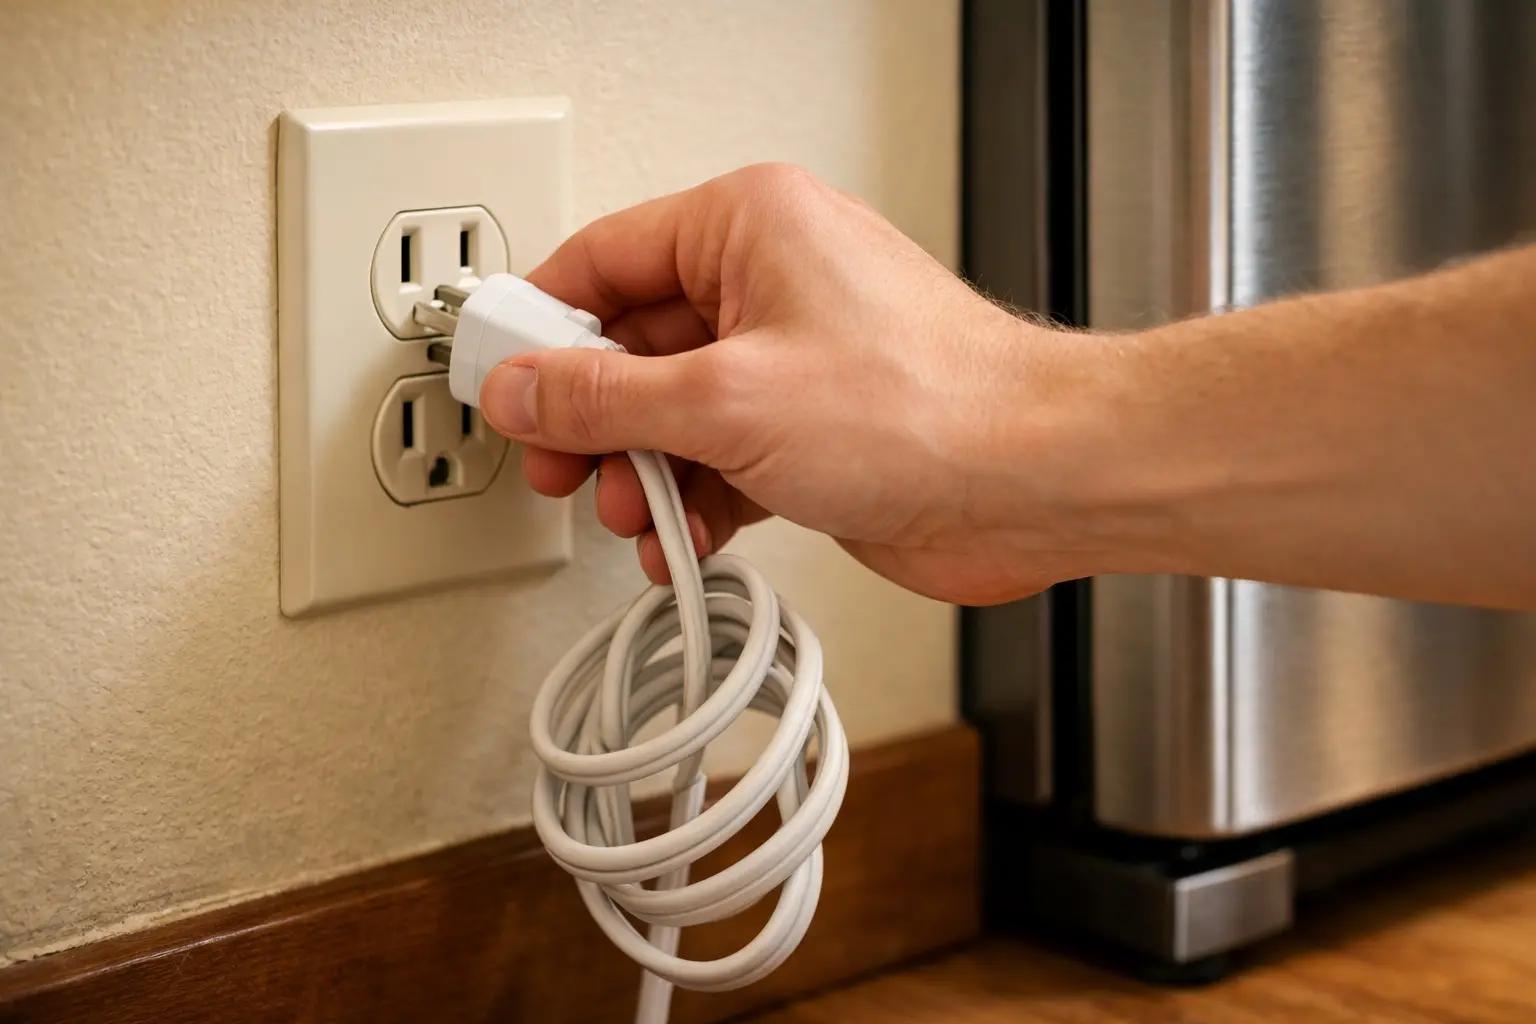
Never attempt to clean condenser coils with the refrigerator plugged in. The condenser fan can turn on at any moment during the compressor cycle.
Locate the Condenser Coils
Condenser coils are in one of two locations depending on your refrigerator model. On most modern refrigerators, they're mounted underneath the unit behind a removable front grille (also called a toe-kick panel) at the bottom. On older models, the coils are a black grid of tubing attached to the back of the refrigerator. Use a flashlight to check both locations. If the coils are on the back, you'll need to carefully pull the refrigerator away from the wall — have someone help if it's heavy, and slide it onto an old towel to protect the floor.
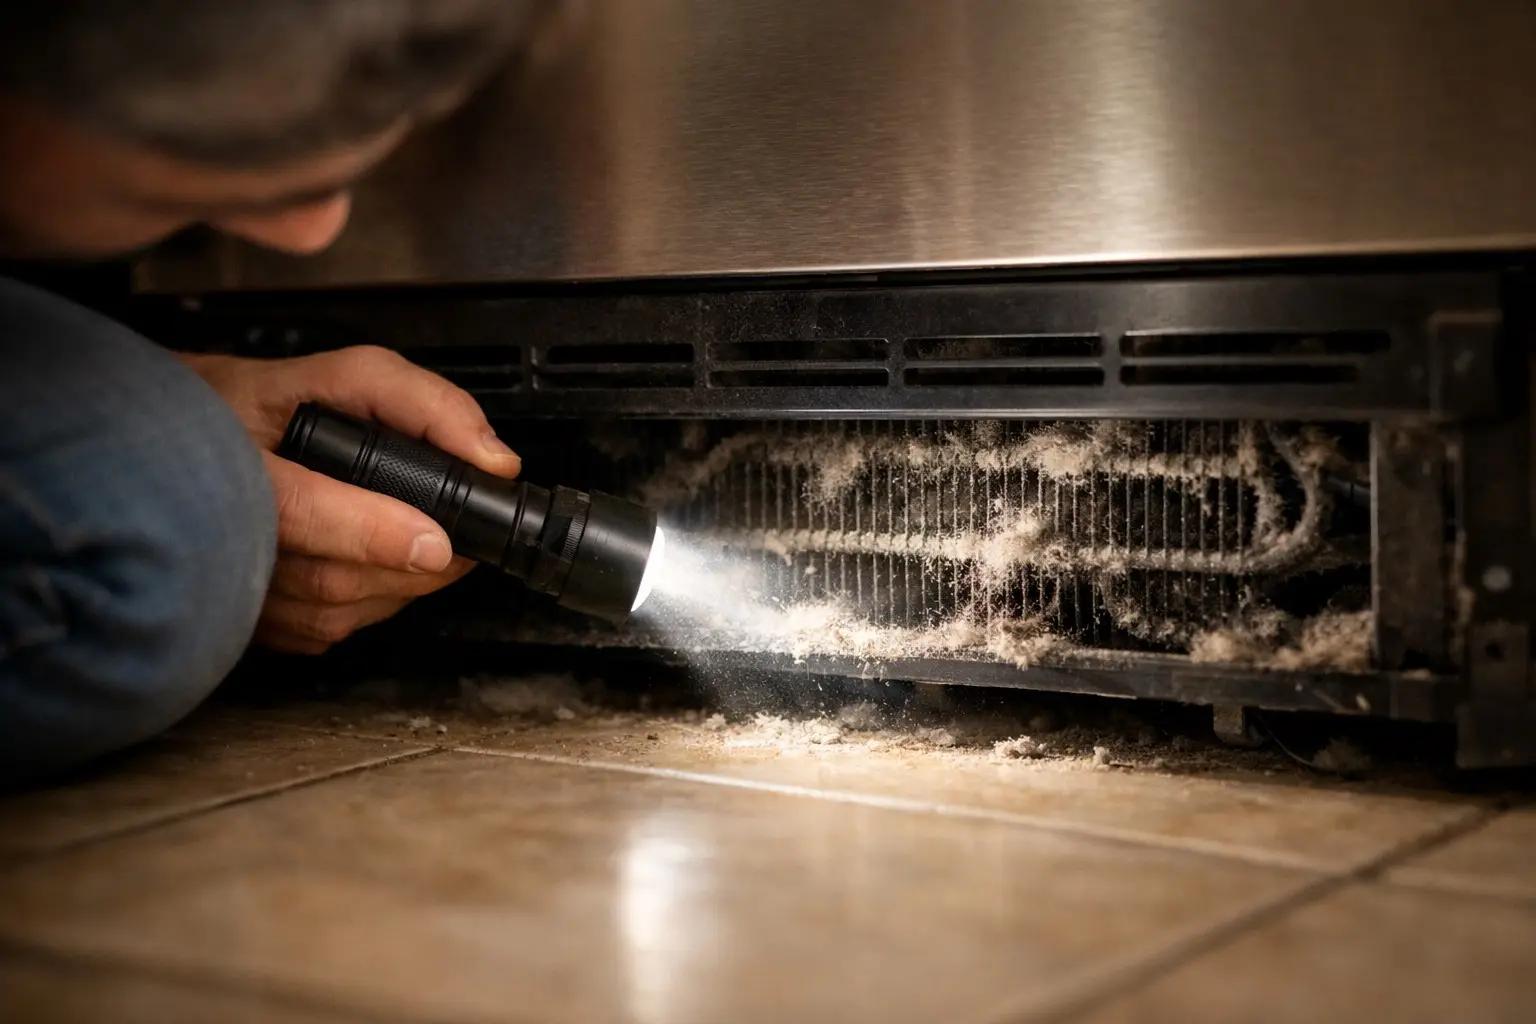
Check your owner's manual or search your model number online if you can't find the coils. Some newer high-efficiency models have sealed condenser systems that don't require cleaning at all.
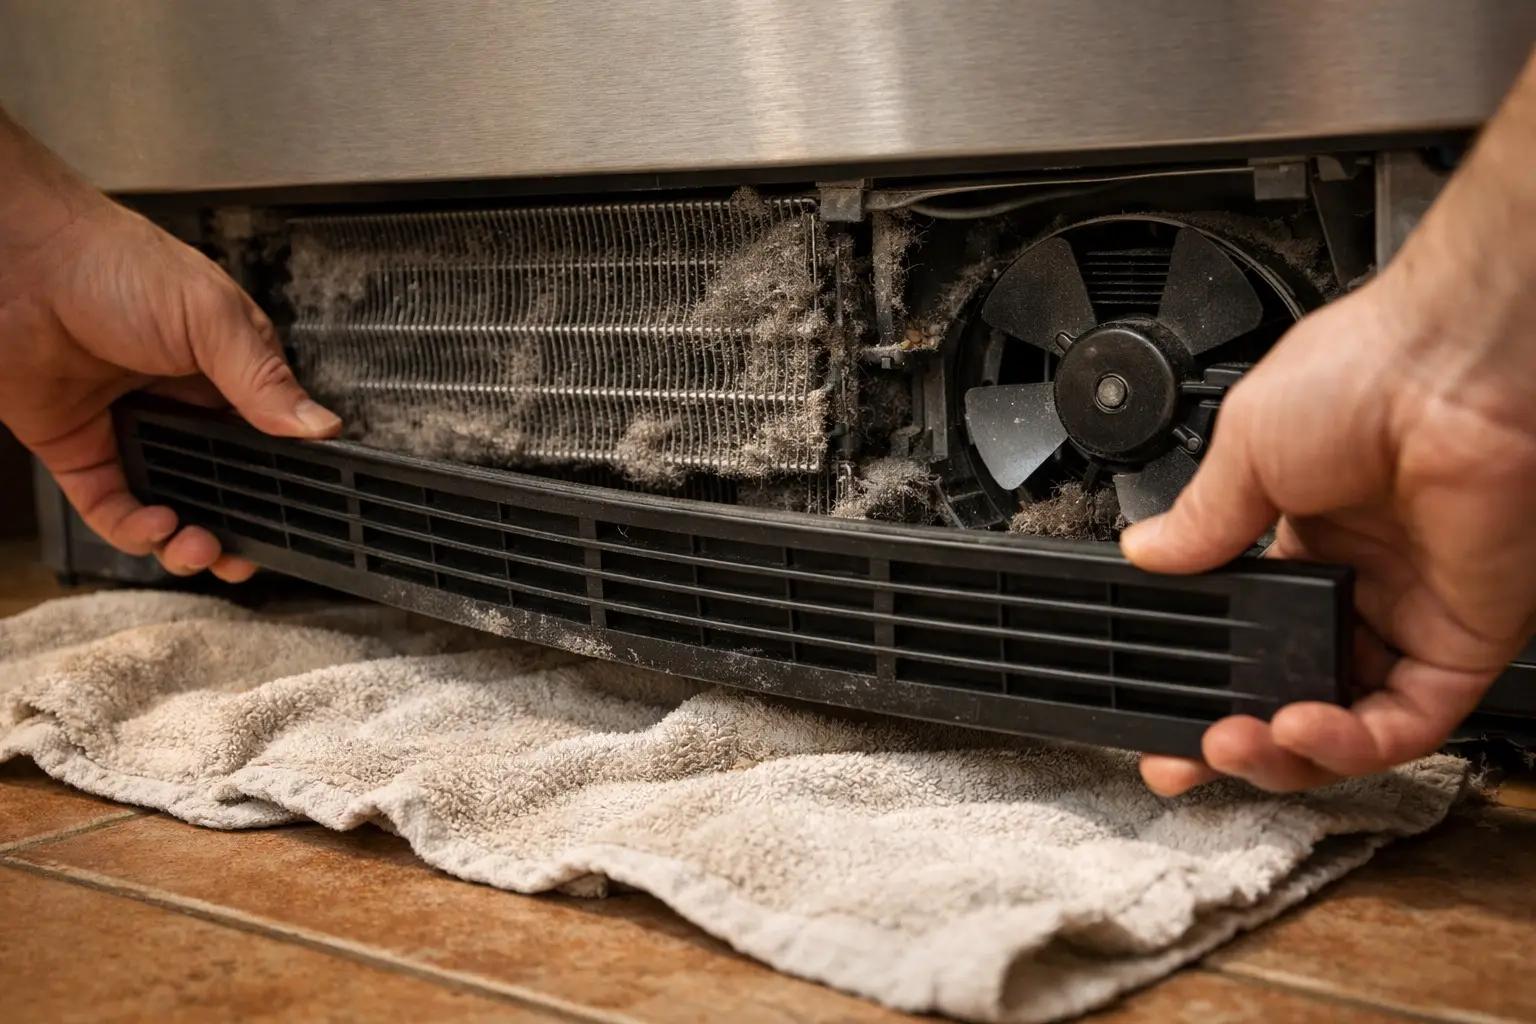
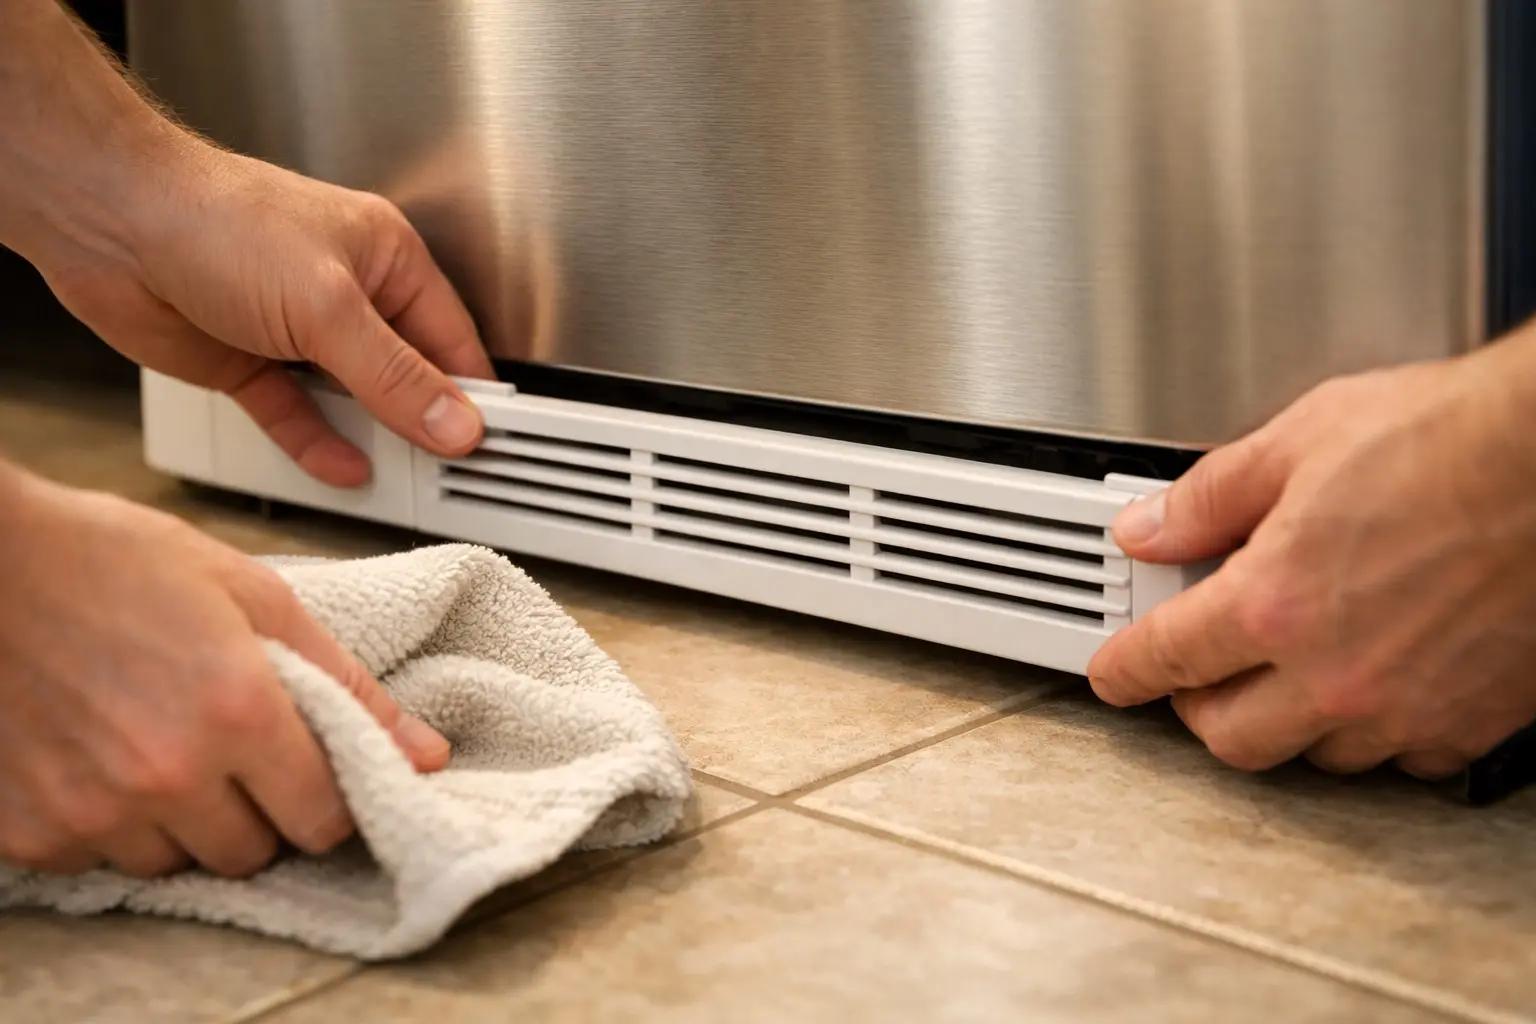
Remove the Access Panel or Grille
For bottom-mount coils, the front grille usually snaps off — place your hands on both ends, push the top edge inward, and pull the bottom toward you. Some models use two Phillips-head screws or 1/4-inch hex-head screws at each end. Set the grille aside. For rear-mount coils, there's no panel to remove — the coils are fully exposed once the fridge is pulled out. Lay an old towel on the floor in front of the opening to catch the dust and debris that will fall during cleaning.
Brush the Coils with the Condenser Brush
Insert the long-handled condenser coil brush between the coil fins and gently push it in and pull it back out, working from one side to the other. The brush bristles loosen compacted dust, pet hair, and grease that cling to the fins and tubing. Use a gentle back-and-forth motion — do not force the brush or bend the delicate aluminum fins. For rear-mount coils, brush in the direction of the fins (top to bottom) to avoid bending them. Work across the entire coil surface, which typically takes 3-5 minutes.
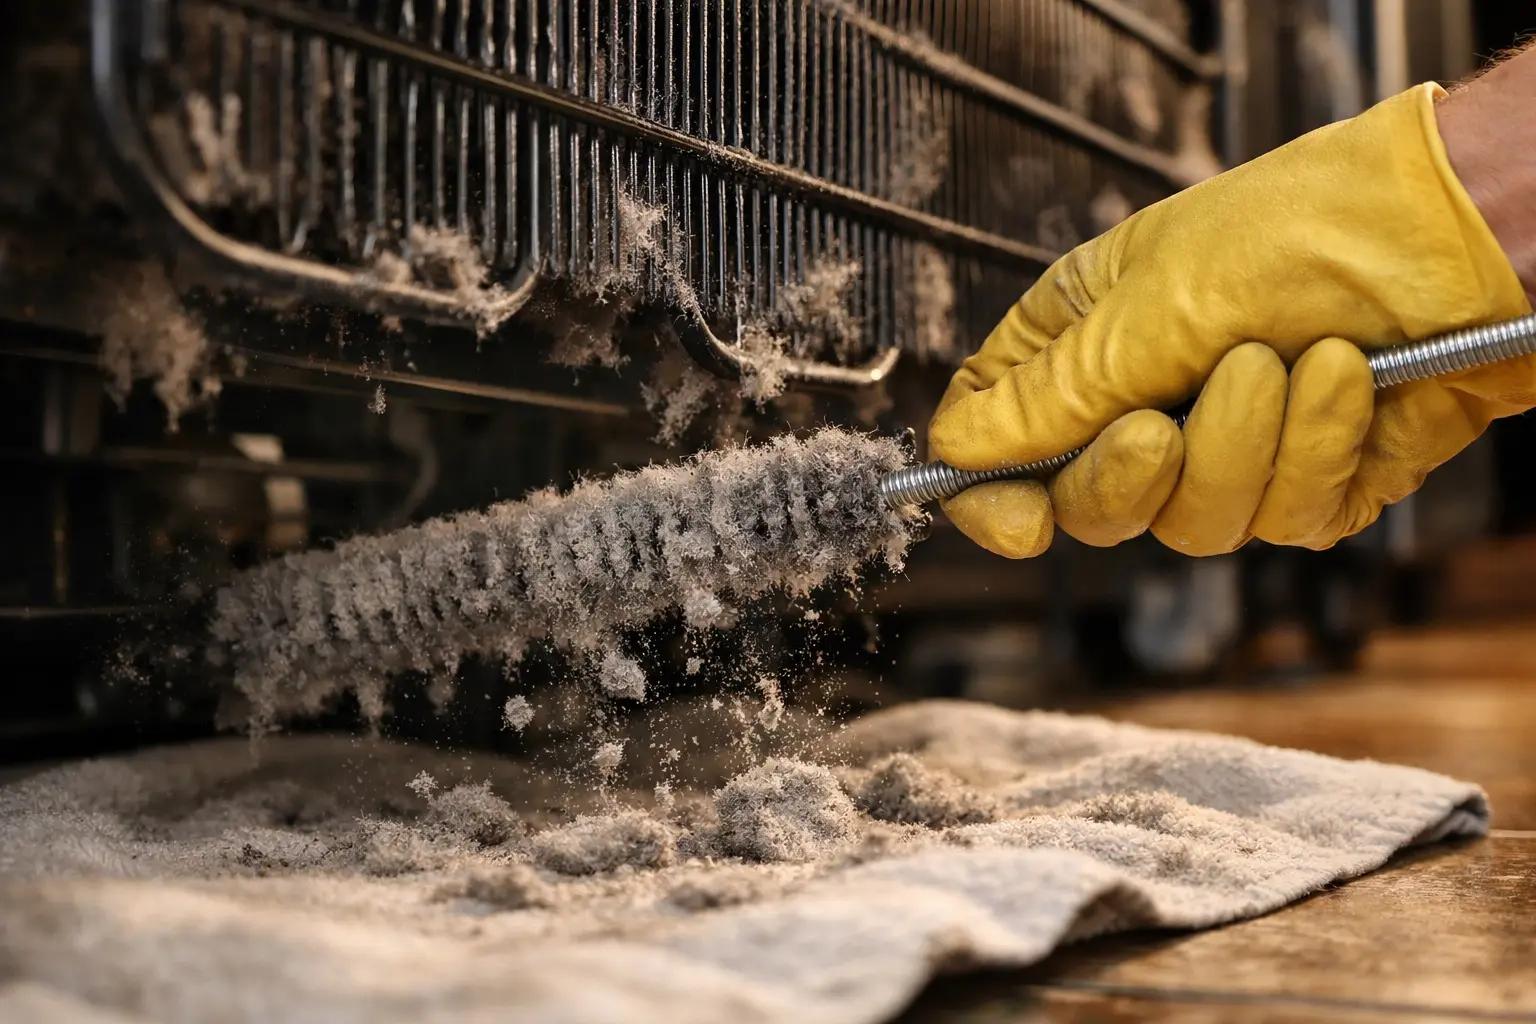
A condenser coil brush costs about $8-12 at any hardware store. It's the one specialty tool for this job and makes a huge difference compared to trying to use a regular household brush.
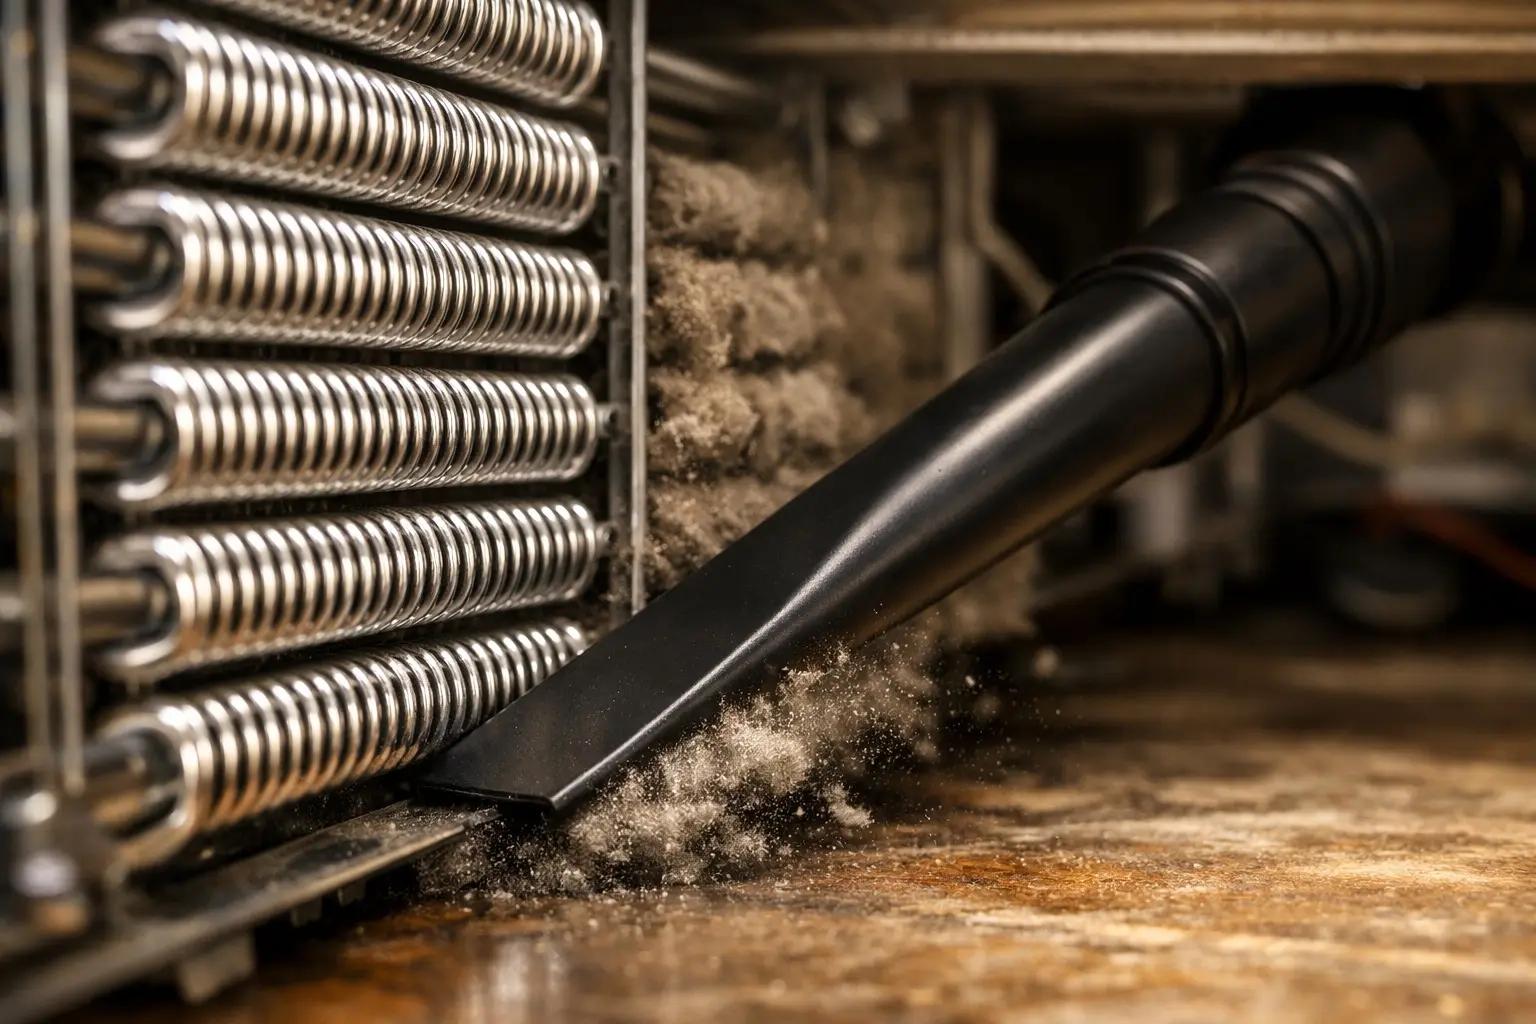
Vacuum Up Loosened Debris
Attach the crevice tool or brush attachment to your vacuum and thoroughly vacuum all the dust and debris you just loosened from the coils. Work the crevice attachment between the coils, around the condenser fan blades, and along the floor area beneath the unit. Pay special attention to the corners where dust bunnies accumulate. For rear-mount coils, vacuum the entire back surface and the area where the coils meet the refrigerator body. You should be able to see clean, shiny coil tubing and fins when you're done.
Clean the Condenser Fan
While you have access to the coil area, locate the condenser fan — it's mounted right next to or behind the condenser coils on bottom-mount models. Dust and pet hair wrap around the fan blades over time, reducing airflow and making the fan motor work harder. Use the vacuum brush attachment to clean each blade, then wipe them with a dry microfiber cloth. Spin the fan by hand to make sure it rotates freely without catching. If the fan wobbles or doesn't spin smoothly, the motor bearing may be worn — that's a separate repair.
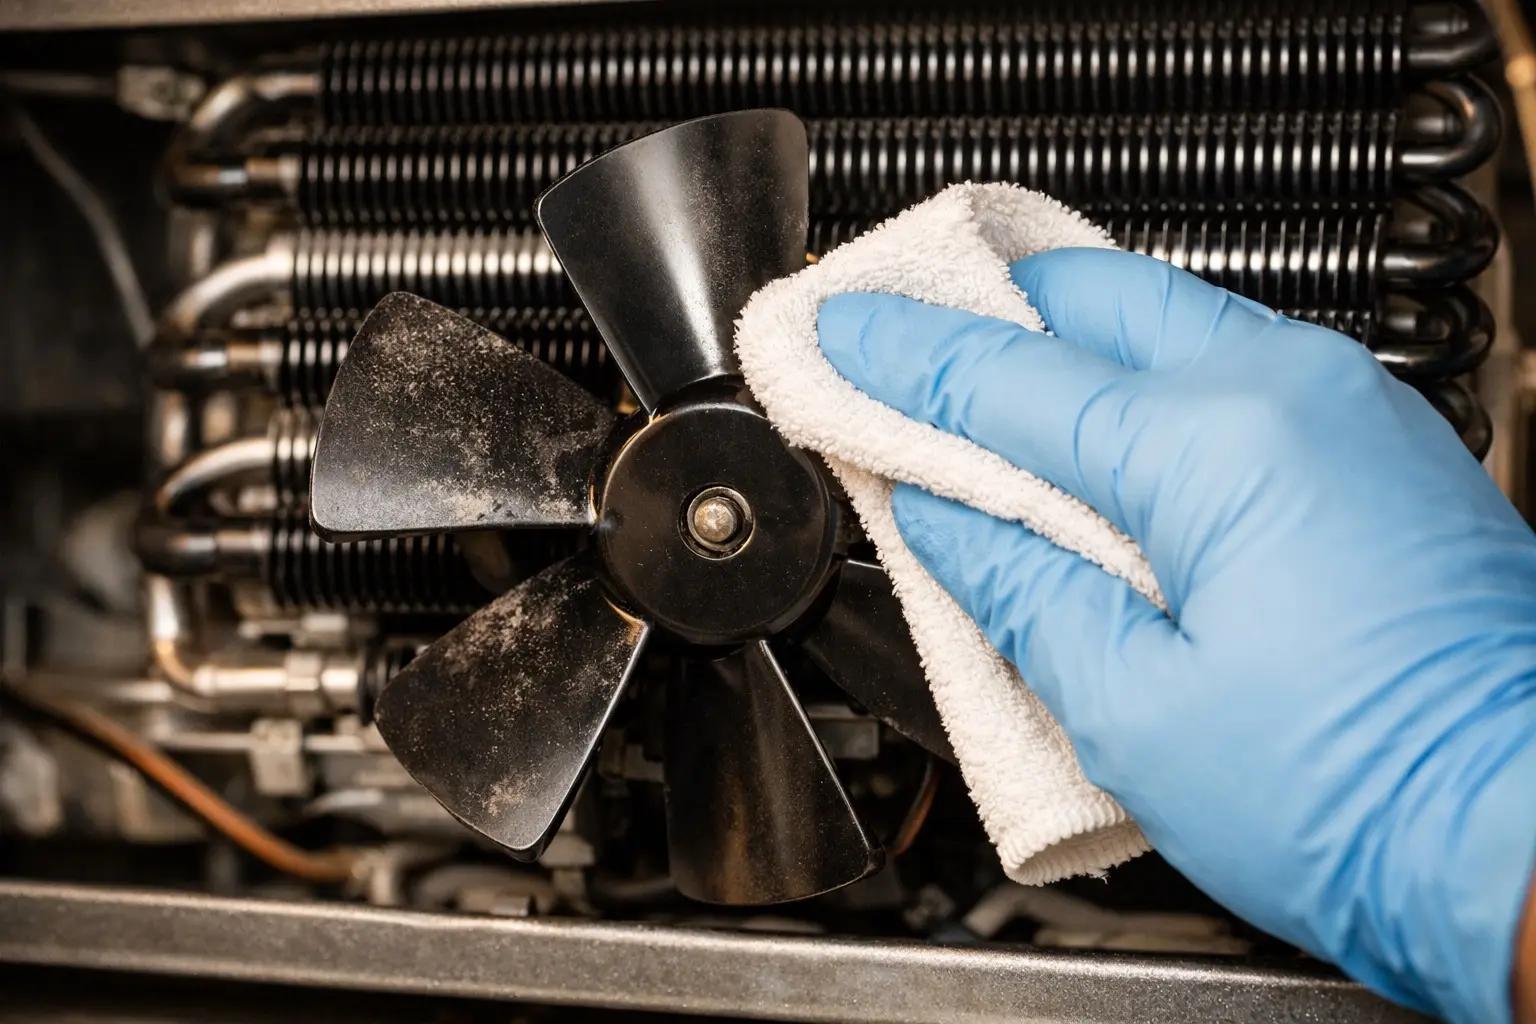
If you have pets that shed, check the condenser fan monthly. Pet hair wrapping around the fan motor shaft is one of the most common causes of premature condenser fan failure.
Reinstall the Grille and Restore Power
Snap the front grille back into place (or reinstall the screws if your model uses them). Push the grille until you hear it click on both sides. If you pulled the refrigerator out from the wall, carefully slide it back into position — make sure the power cord doesn't get kinked or pinched behind the unit, and avoid crushing the water supply line if your fridge has an ice maker. Plug the refrigerator back in and listen for the compressor to start up, which usually takes 30-60 seconds. The condenser fan should be running quietly.
Do not push the refrigerator flush against the wall — leave at least 1 inch of clearance on all sides for proper airflow. Restricted airflow negates the benefit of clean coils.
Set a Cleaning Schedule
Clean the condenser coils every 6-12 months for most households. If you have pets (especially dogs or cats that shed), live in a dusty environment, or keep the refrigerator in a garage or basement, clean every 3-4 months. A quick visual check takes 10 seconds — pop off the grille, shine a flashlight at the coils, and if you see a visible layer of dust or pet hair, it's time to clean. Keeping the coils clean can extend your refrigerator's life by several years and save $50-100 per year in electricity costs.
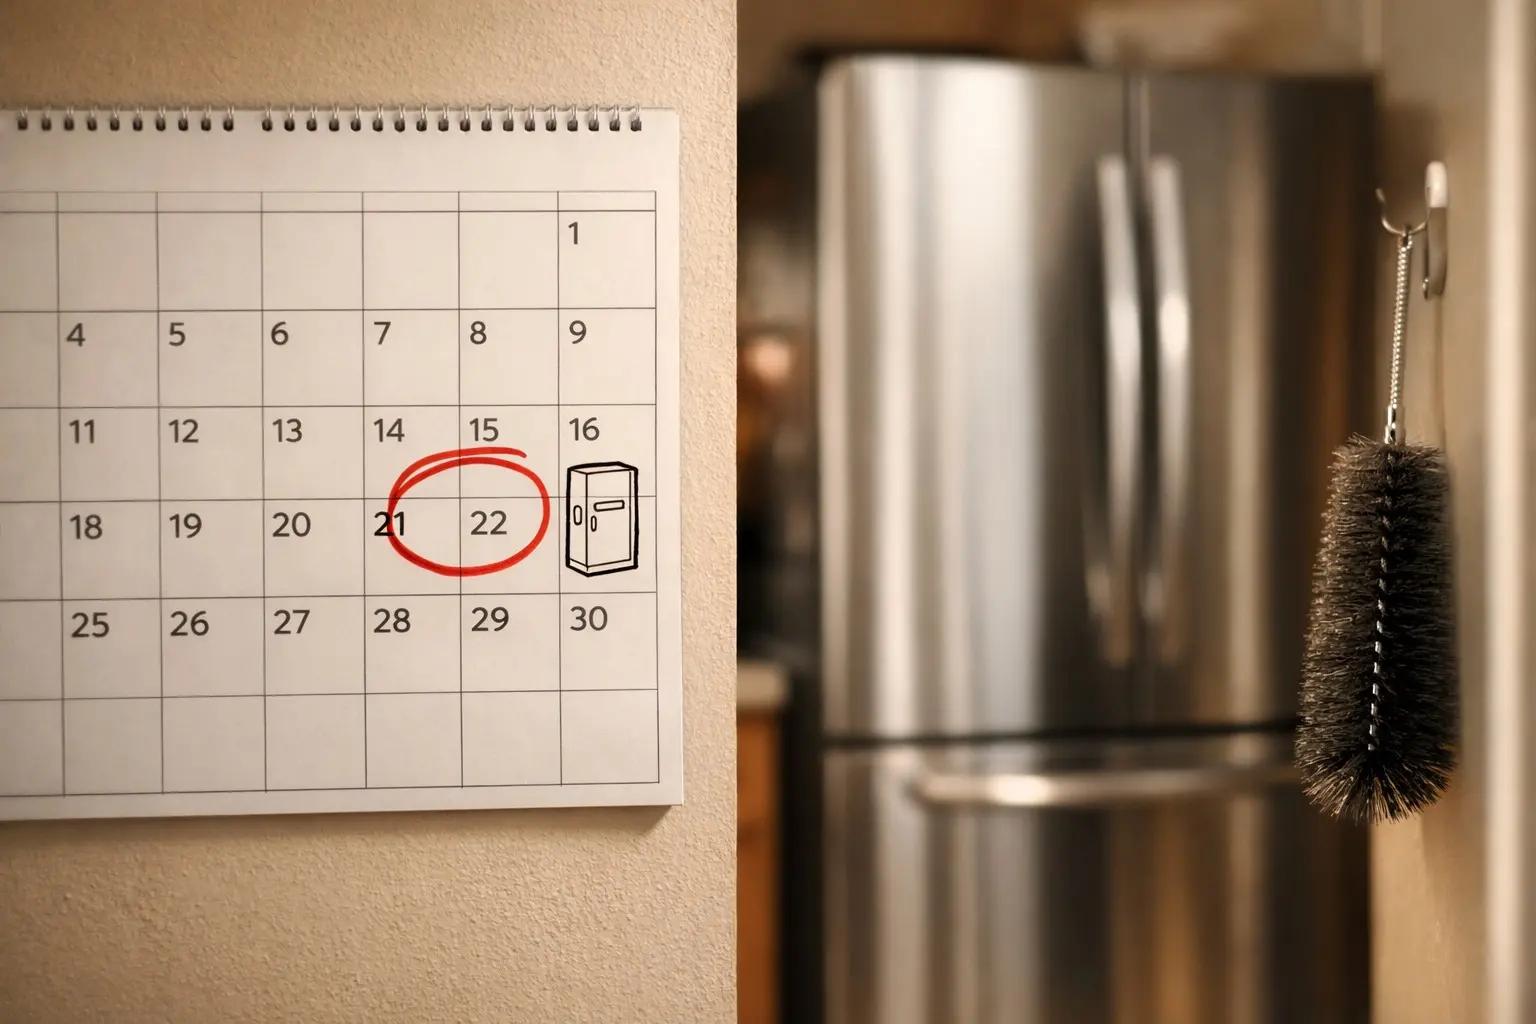
Set a recurring reminder on your phone for coil cleaning day. Pairing it with another seasonal task — like changing your HVAC filter — makes it easy to remember.
Frequently Asked Questions
How long does it take to clean a refrigerator condenser coil?
+
This project typically takes about 25 min. The guide includes 8 steps with detailed instructions for each.
What tools do I need?
+
You will need: Condenser coil brush (long-handled, ~27 inches), Vacuum cleaner with crevice attachment, Phillips-head screwdriver or 1/4-inch nut driver, Flashlight, Soft microfiber cloth. Materials include: Work gloves (leather or thick rubber), Dust mask or N95 respirator, Old towel or drop cloth (to catch debris).
Is this a good project for beginners?
+
Yes! This is rated as an easy project that most homeowners can complete with basic tools and no prior experience.
Community Tips
💬 Sign in to share tips with the community
Sources & further reading
- Refrigerators — ENERGY STAR
- Purchasing and Maintaining Refrigerators & Freezers — U.S. Department of Energy
More Appliance Repair Guides
View all → Easy30 min
How to Replace an Oven Heating Element
An electric oven that will not heat, is dim on one side, or trips its breaker mid-bake is almost always a failed heating element — the U-shaped coil at the bottom (bake) or top (broil) of the cavity. The part costs $30-60 OEM and the entire job is two screws and two spade connectors, versus a $200-300 service call. This guide covers Whirlpool, KitchenAid, Maytag, GE, Frigidaire, Kenmore, and Samsung electric ranges, plus notes for swapping a bad broil element using the same procedure.
 Medium1 hr
How to Fix an Ice Maker
A refrigerator ice maker that quits is almost always a cheap, fixable problem — not a dead appliance. The trick is to work the causes cheapest-first instead of replacing parts at random: nine times out of ten it's a clogged water filter, a frozen fill tube, or a freezer that's drifted too warm, all of which cost little or nothing to fix. This guide walks the full diagnostic flow in order, from the free checks to swapping the inlet valve or ice-maker module, so you replace a part only after you've proven it's the culprit.
 Medium30 min
How to Troubleshoot a Microwave That Won't Heat
A microwave that runs — light on, turntable spinning, timer counting down — but leaves food stone cold is one of the most common appliance failures, and about half the time the cause is something you can fix in five minutes for free. This guide walks the diagnosis from the easy stuff (demo mode, power level, a tripped GFCI, a dirty door latch) to reading the failure signature that tells you the high-voltage circuit is gone, then helps you make the repair-or-replace call with real numbers.
You Might Also Like
 Easy30 min
How to Replace an Electrical Outlet
A worn-out or discolored electrical outlet is one of the simplest electrical repairs you can tackle yourself — swapping one takes about 15-30 minutes and costs under $5 in parts versus $75-150 for an electrician visit. This guide walks you through safely replacing a standard duplex receptacle, including how to handle the wiring correctly and avoid the most common DIY mistakes.
 Easy25 min
Best Deck Stain: Transparent vs Semi vs Solid
There is no "best" deck stain — there is the right stain for your sun exposure, wood condition, and how often you want to redo the job. Transparent stains last 1-2 years but let the natural grain show. Solid stains last 4-7 years but look like paint. This guide walks the four opacity levels and the oil-vs-water choice so you pick the one that matches your deck and your tolerance for re-staining.
 Medium45 min
How to Install a Ceiling Fan
Replacing a light fixture with a ceiling fan improves air circulation in summer and can reduce heating costs in winter by circulating warm ceiling air downward. Most installs take 45-60 minutes.