How to Replace a Shower Head and Shower Arm
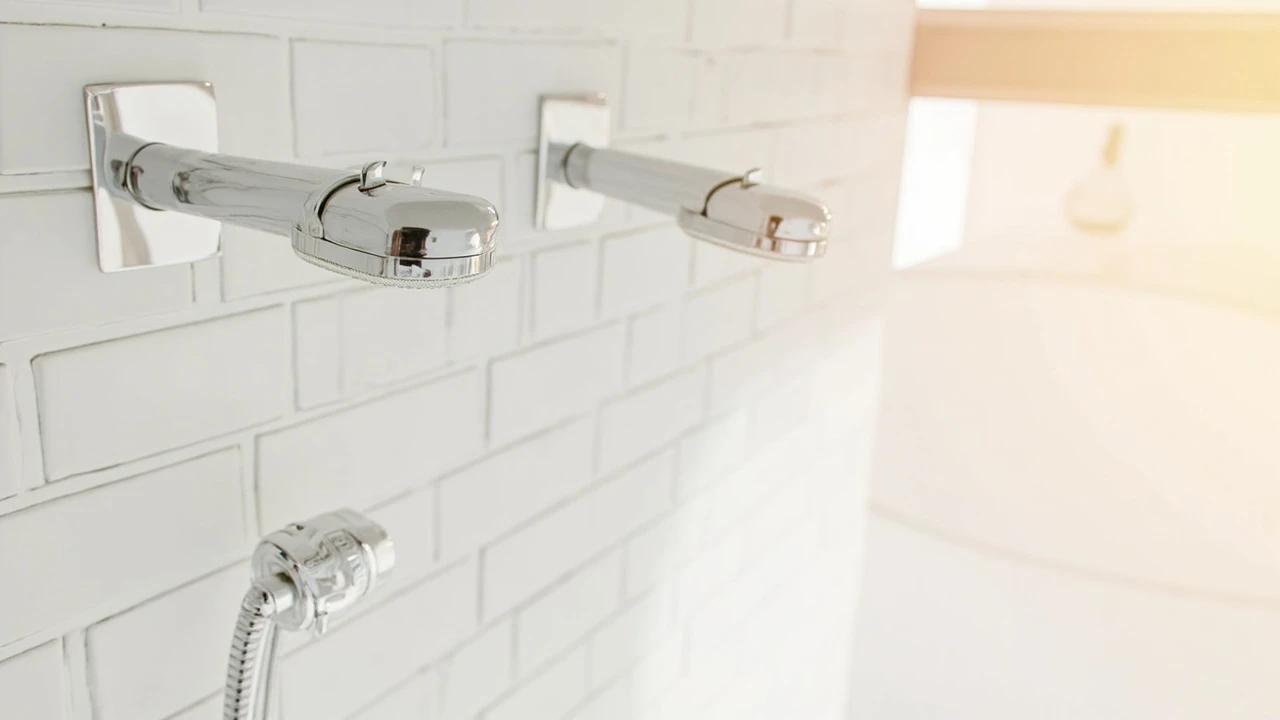

Swapping just the shower head is a 10-minute job, but if the arm (the pipe curving out of the wall) is corroded, leaking, or the wrong length for a new rain head, you'll want to replace both. The whole job costs under $50 and takes half an hour — the one trick that separates a clean swap from a flooded wall is holding the arm steady so it doesn't snap off inside the tile. This guide covers removing a stuck arm, prepping the in-wall fitting, taping the threads right, and testing leak-free.
What You'll Need
🛠 Tools
📦 Materials
Safety First
- •Hold the shower arm steady with a second wrench whenever you turn the head — if the arm twists, it can crack or snap off inside the wall fitting, turning a 30-minute swap into a wall-opening repair.
Step-by-Step Instructions
Decide: just the head, or the head and arm?
If your existing arm is straight, solid, and the right length, you may only need the head — that's a 10-minute job covered in our how to replace a shower head guide. Replace the arm too when it's corroded, leaking at the wall, bent, or the wrong reach for a new rain head (rain heads usually want a longer or S-shaped arm). This guide covers the full head-and-arm replacement.
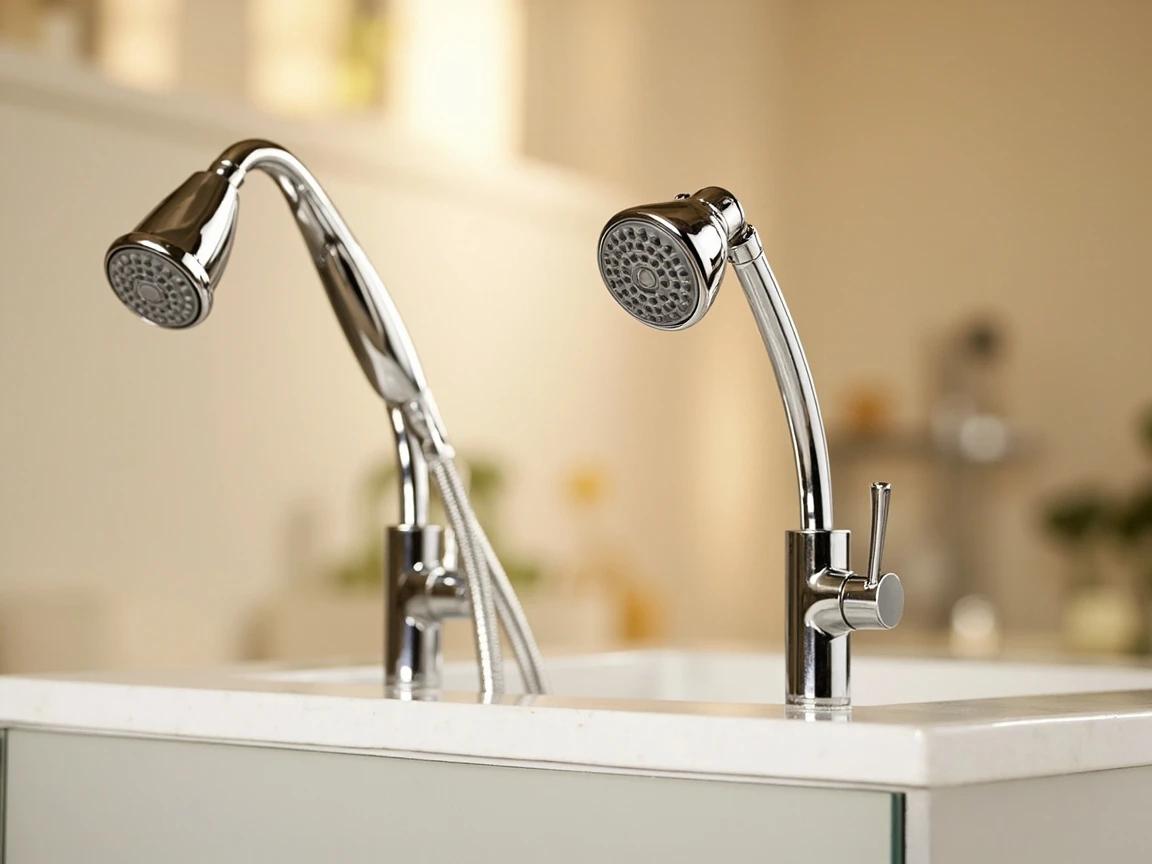
Shut off the water and lay down a towel
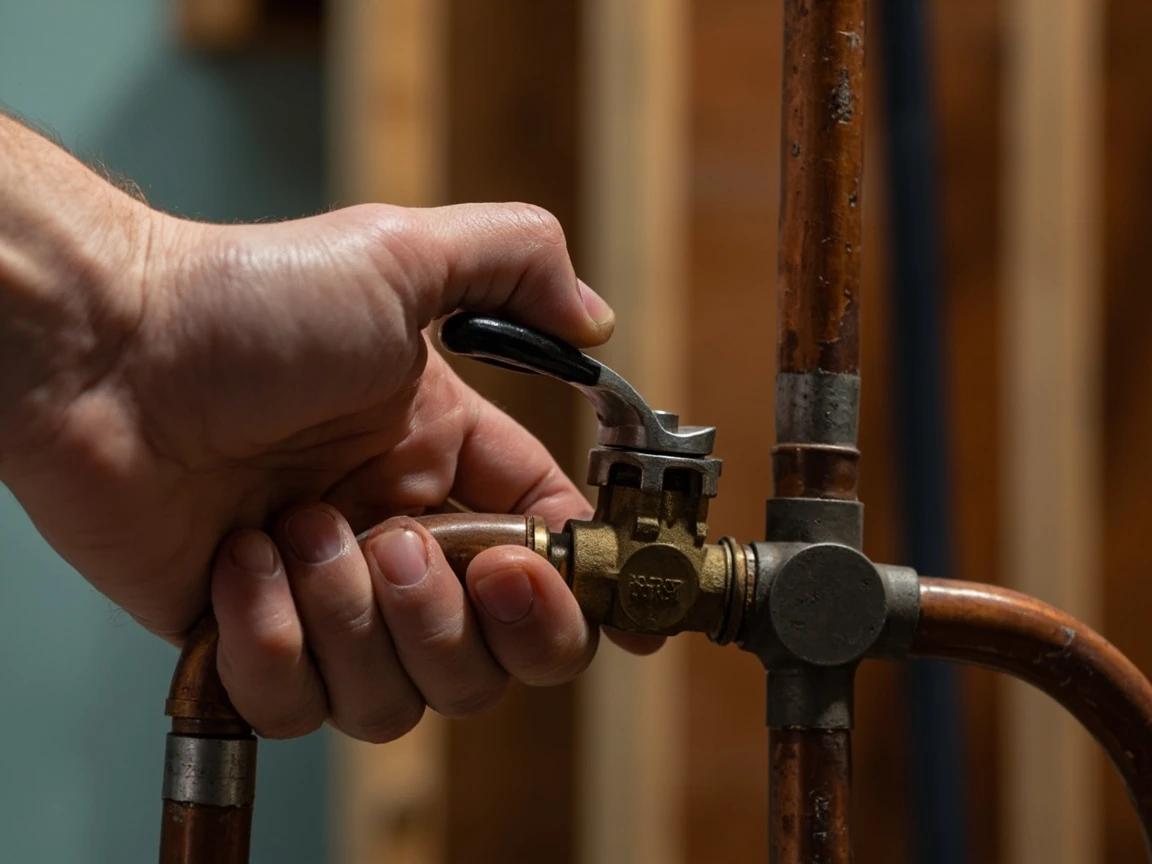
For an arm replacement, close the bathroom isolation valve or the main water shut-off — there's no dedicated valve at the shower arm, and shutting off protects you if the in-wall connection loosens. Then lay a towel over the tub or shower floor and across the drain so dropped parts (and the small rubber washer inside the head) can't disappear down the pipe.
Cover the drain with the towel or a piece of tape. The tiny screen and washer that fall out of an old shower head love to roll straight into an open drain.
Remove the old shower head — hold the arm steady
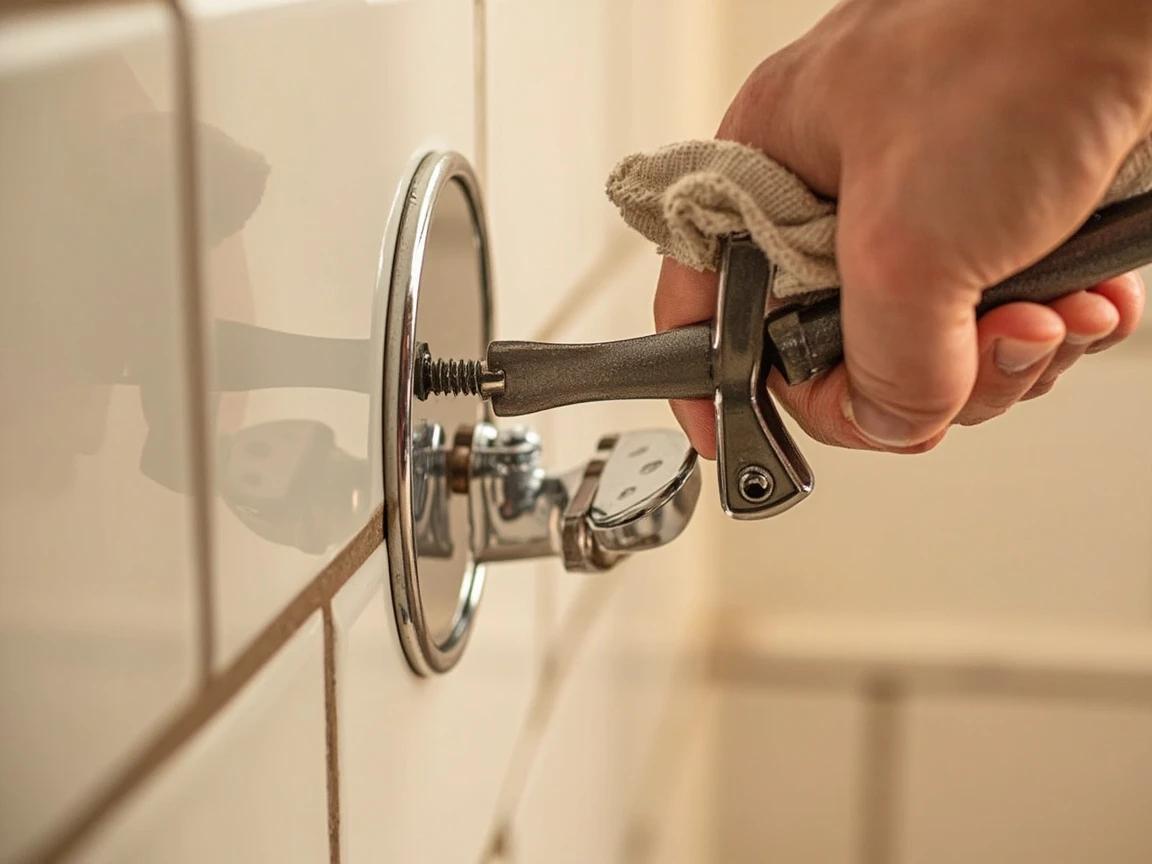
Wrap a cloth around the shower head's connecting nut to protect the finish, and grip it with your adjustable wrench. Critically, hold the shower arm still with a second wrench (also padded) so it can't twist as you work. Turn the head counterclockwise to unscrew it. If you're keeping the arm, stop here and skip to taping the head; if replacing the arm, continue.
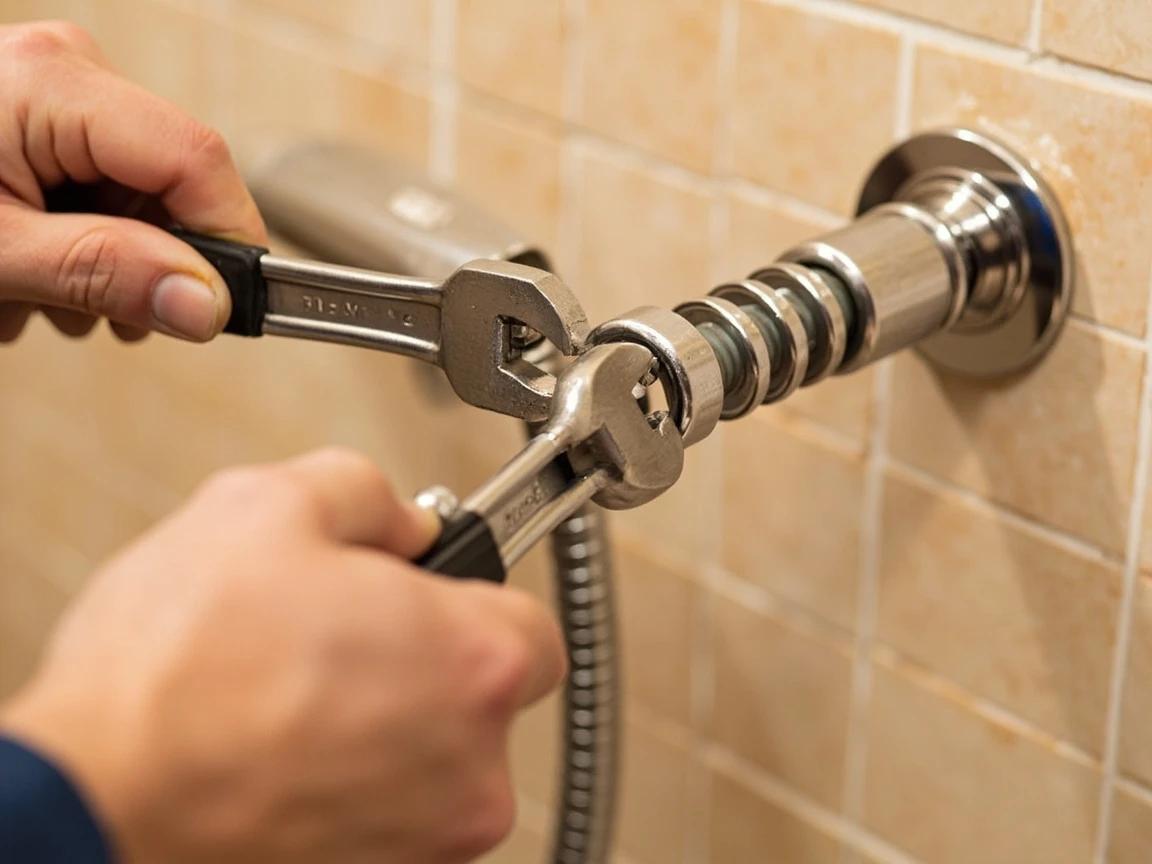
Never turn the head without bracing the arm. The arm threads into a fitting deep in the wall, and twisting force can crack that joint or snap the arm off flush — a repair that means opening the tile.
Unscrew the old shower arm from the wall
Slide the escutcheon plate away from the wall to expose the arm's base. Wrap the arm in a cloth, grip it with padded channel-locks close to the wall (not at the far end, which bends easily), and turn counterclockwise. If it's frozen with corrosion, apply penetrating oil to the joint, wait 10-15 minutes, and try again — or wrap a vinegar-soaked rag around it for an hour to dissolve mineral lock before retrying.
Clean and inspect the in-wall fitting
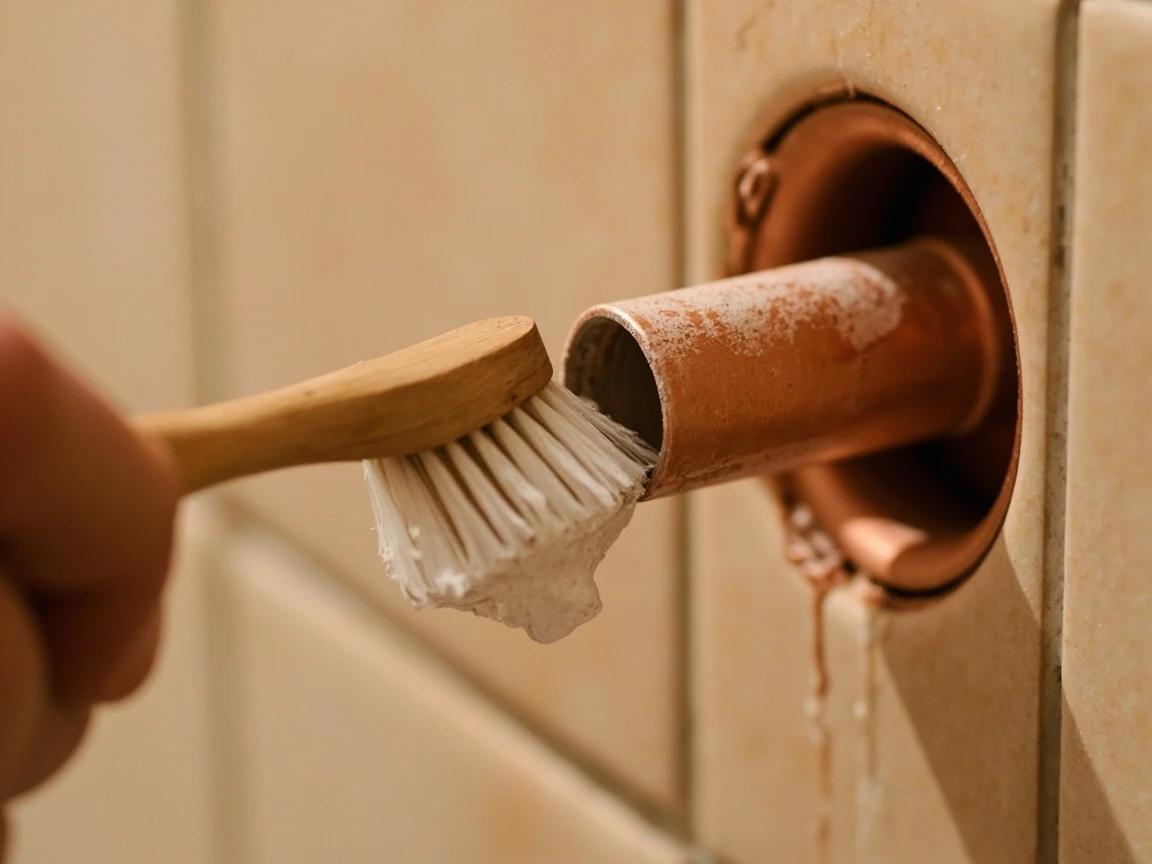
Look into the threaded fitting in the wall (the 'drop-ear elbow'). Use an old toothbrush and a rag to clear out old Teflon tape, pipe dope, dirt, and mineral crust from the female threads — for heavy buildup, dip the toothbrush in white vinegar. The threads must be clean for the new arm to seal. While you're in there, gently check that the elbow doesn't spin; if it rotates, stop and call a plumber (the fitting isn't anchored).
Wrap the new arm threads with Teflon tape
Wrap 3-4 turns of Teflon tape clockwise around the wall-end threads of the new arm, pressing it into the grooves so it lies flat and tight. Clockwise matters: it's the direction that tightens (not unravels) as you screw the arm in. For extra security on the in-wall end, you can smear a thin coat of pipe dope over the tape. Tape the head-end threads of the arm the same way.
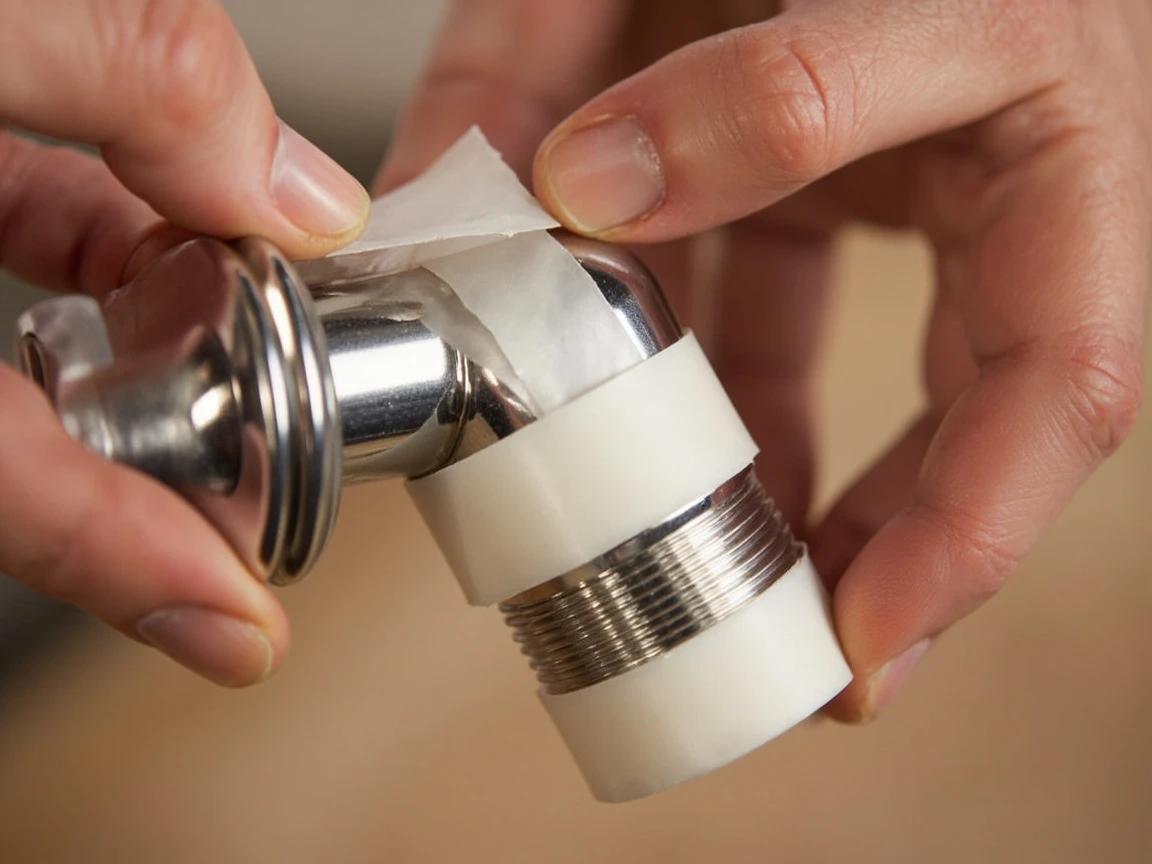
Wrap in the same direction the fitting will turn as it tightens (clockwise viewed from the open end). Tape wound the wrong way bunches up and tears as you thread the arm in, ruining the seal.
Thread in the new arm, escutcheon, and head
Slide the new escutcheon plate onto the arm first (you can't add it later). Thread the arm's wall-end into the fitting by hand, clockwise, until snug, then give it another quarter to half turn with padded channel-locks so it ends up pointing straight down-and-out — don't overtighten. Push the escutcheon flush to the wall. Then hand-thread the new head onto the arm clockwise and snug it with a padded wrench while bracing the arm.
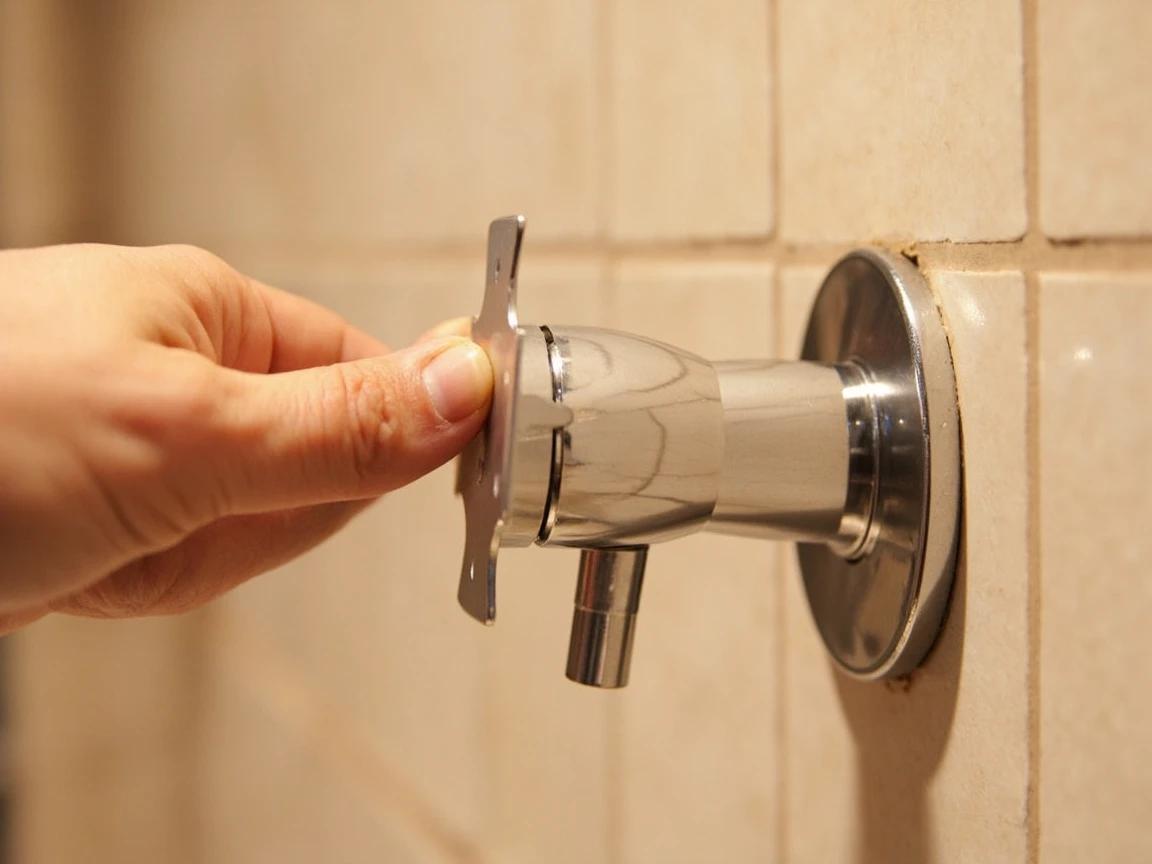
Don't overtighten the arm to 'aim' it. If it's pointing slightly off when snug, that's fine — forcing another full turn to straighten it strips the tape seal or cracks the fitting. Snug plus a small fraction is the target.
Turn the water back on and test for leaks
Reopen the water supply, then run the shower at full pressure for 30-60 seconds. Watch two joints: where the head meets the arm, and where the arm meets the wall (behind the escutcheon). A drip at the head means retape the head connection; a drip at the wall means back the arm out, add a wrap or two of tape, and reinstall. Wipe both joints with a dry tissue after a minute — the tissue shows seeping water you might not see otherwise.
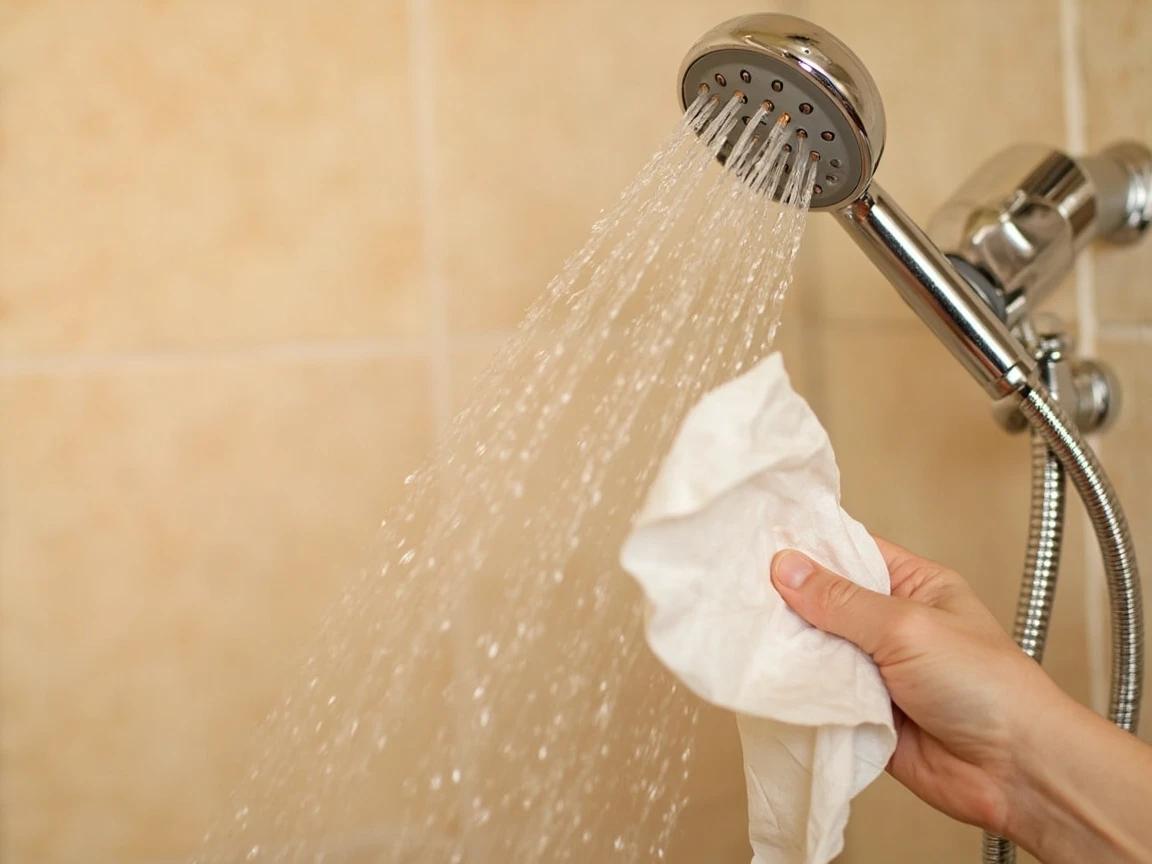
The dry-tissue test catches slow weeps your eye misses. Hold a folded tissue against each joint for a few seconds after a minute of running — any darkening means a slow leak that needs another wrap of tape.
Frequently Asked Questions
How many times should I wrap Teflon tape around the threads?
+
Three to four wraps, clockwise, pressing the tape into the thread grooves as you go. Wrap clockwise (as you face the end of the threads) so that screwing the fitting on tightens the tape instead of unraveling it. For a connection that keeps weeping after assembly, bump up to 5-7 wraps for a thicker seal. More isn't always better, though — too much tape can prevent the fitting from threading fully and actually cause a leak.
Which way do I turn to remove a shower arm?
+
Counterclockwise — lefty-loosey — as you face the wall. Wrap the arm in a cloth and grip it with padded channel-locks near the wall, not at the end, so you don't bend it. If it won't budge, it's likely corroded: apply penetrating oil to the joint where the arm meets the wall, wait 10-15 minutes, and try again. A vinegar-soaked rag wrapped around the joint for an hour also helps dissolve mineral lock.
What if the shower arm breaks off inside the wall?
+
If the arm snaps and leaves threads stuck in the in-wall elbow, a 1/2-inch nipple extractor (about $10 at any hardware store) bites into the broken threads so you can back them out counterclockwise. Tap it in with a hammer, turn with a wrench. If there's not enough metal left to grab, or the extractor bottoms out, the drop-ear elbow itself may need replacing — that means opening the wall and is a plumber's job.
Do I need to shut off the water to replace a shower head?
+
For a head-only swap, no — the shower valve is already closed, so no water reaches the arm. For an arm replacement, shutting off the bathroom or main water supply is smart insurance: it protects you if you accidentally loosen the in-wall connection or the valve seat leaks by. There's no shut-off at the shower arm itself, so use the bathroom isolation valve or the main.
Why is my new shower head leaking at the threads?
+
Almost always one of three things: not enough Teflon tape (rewrap with 4-5 firm clockwise turns), tape wound the wrong direction (it bunches and unseals when you tighten), or cross-threading (you started the fitting crooked — back it all the way off and restart by hand, turning counterclockwise until you feel it drop into the threads, then clockwise). If only the head leaks and the arm is fine, you don't need to replace the arm — just retape the head connection.
Sources & further reading
- How to Use Plumber's Tape: Step-by-Step — Oatey
- Showerheads — EPA WaterSense
More Plumbing Guides
View all → Medium1h 30m
How to Thaw Frozen Pipes Safely
A frozen pipe is a burst pipe waiting to happen — the ice itself rarely splits the metal, but the water pressure trapped between the ice plug and a closed faucet does. This guide covers finding the frozen section, inspecting it for damage before you add any heat, and thawing it with tools you almost certainly already own. Most accessible pipes clear in 30 to 45 minutes.
 Easy45 min
How to Unclog a Toilet Without a Plunger
It's 11 PM, the toilet won't flush, and the plunger is at your in-laws' house. Dish soap and a gallon of hot tap water will clear most clogs in 30 minutes for about a dollar — no plumber, no panic, no overflowing bowl. This guide walks through stopping the water first, the dish-soap method, the baking-soda-and-vinegar backup, and the wire-hanger snake for stubborn clogs, plus the boiling-water mistake that cracks porcelain and turns a $1 fix into a $400 toilet replacement.
 Easy30 min
How to Unclog a Drain
A slow or fully blocked drain is one of the most common household plumbing issues — and usually one of the cheapest to fix yourself. Most clogs can be cleared in under 30 minutes with tools you already own, saving the $150-300 a plumber would charge for the same job.
You Might Also Like
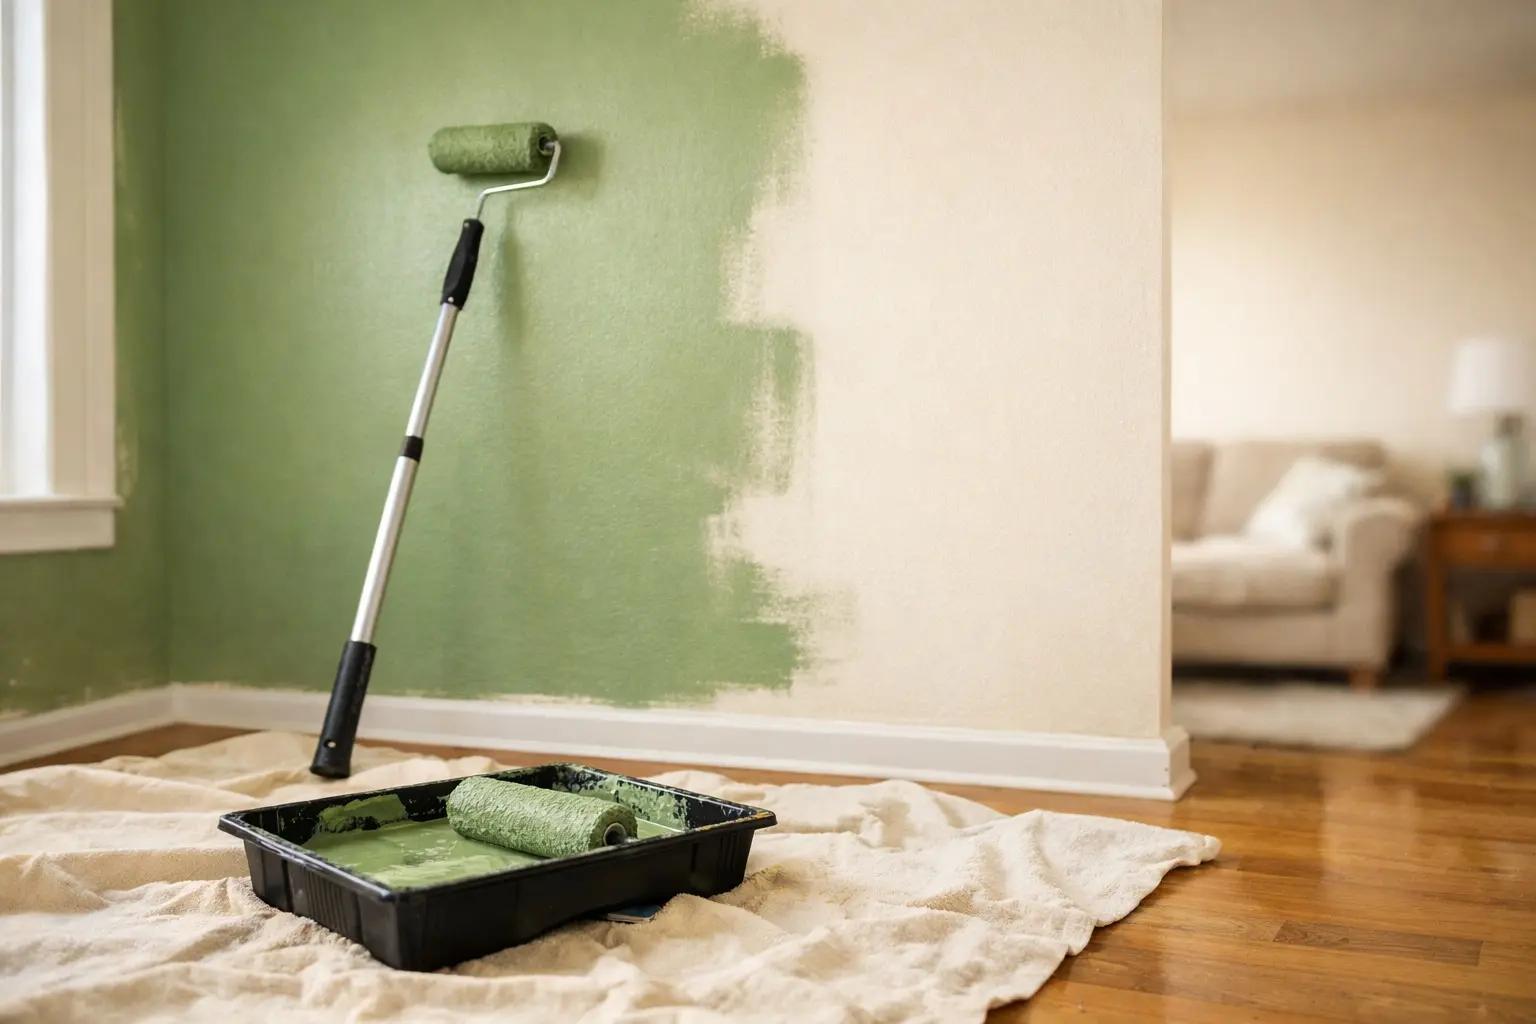 Medium6 hrs
How to Paint a Room
A fresh coat of paint is the fastest, cheapest way to transform any room — and doing it yourself saves $400-800 in labor for an average 12x12-foot bedroom. The job takes a weekend from prep to final coat, and the difference between an amateur-looking result and a professional finish comes down to technique, not talent. This guide covers prep, cutting in, rolling, and cleanup so you get clean lines and even coverage the first time.
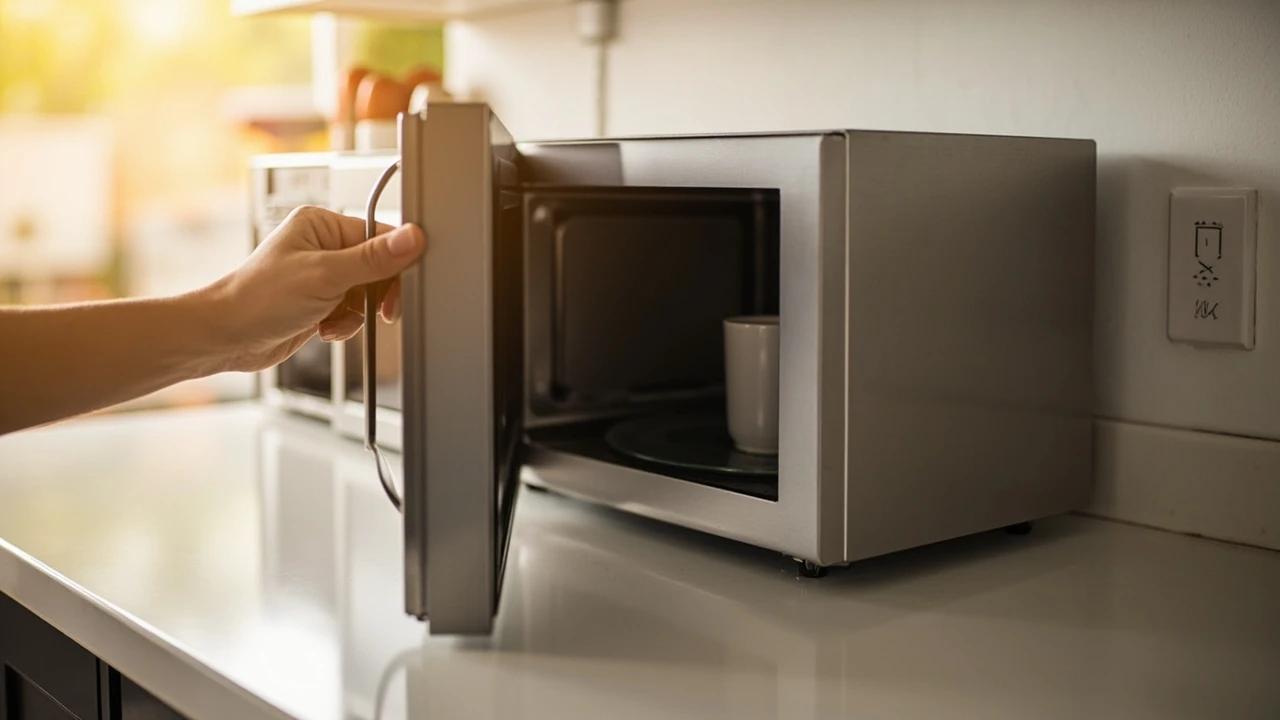 Medium30 min
How to Troubleshoot a Microwave That Won't Heat
A microwave that runs — light on, turntable spinning, timer counting down — but leaves food stone cold is one of the most common appliance failures, and about half the time the cause is something you can fix in five minutes for free. This guide walks the diagnosis from the easy stuff (demo mode, power level, a tripped GFCI, a dirty door latch) to reading the failure signature that tells you the high-voltage circuit is gone, then helps you make the repair-or-replace call with real numbers.
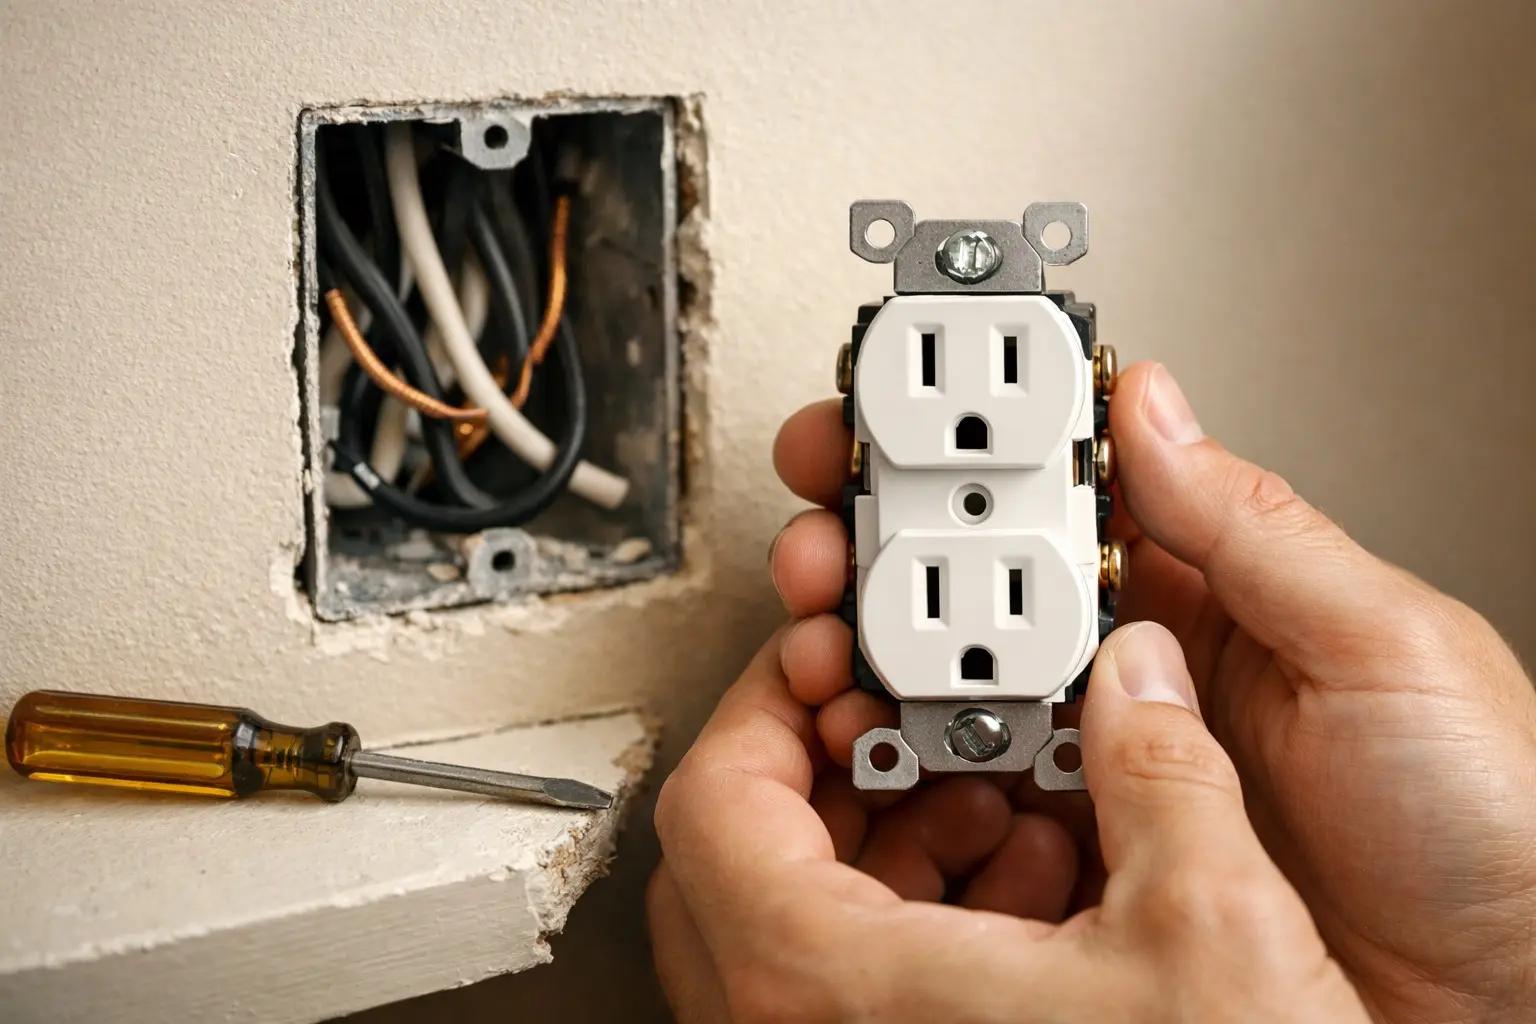 Easy30 min
How to Replace an Electrical Outlet
A worn-out or discolored electrical outlet is one of the simplest electrical repairs you can tackle yourself — swapping one takes about 15-30 minutes and costs under $5 in parts versus $75-150 for an electrician visit. This guide walks you through safely replacing a standard duplex receptacle, including how to handle the wiring correctly and avoid the most common DIY mistakes.