How to Replace a Toilet Seat
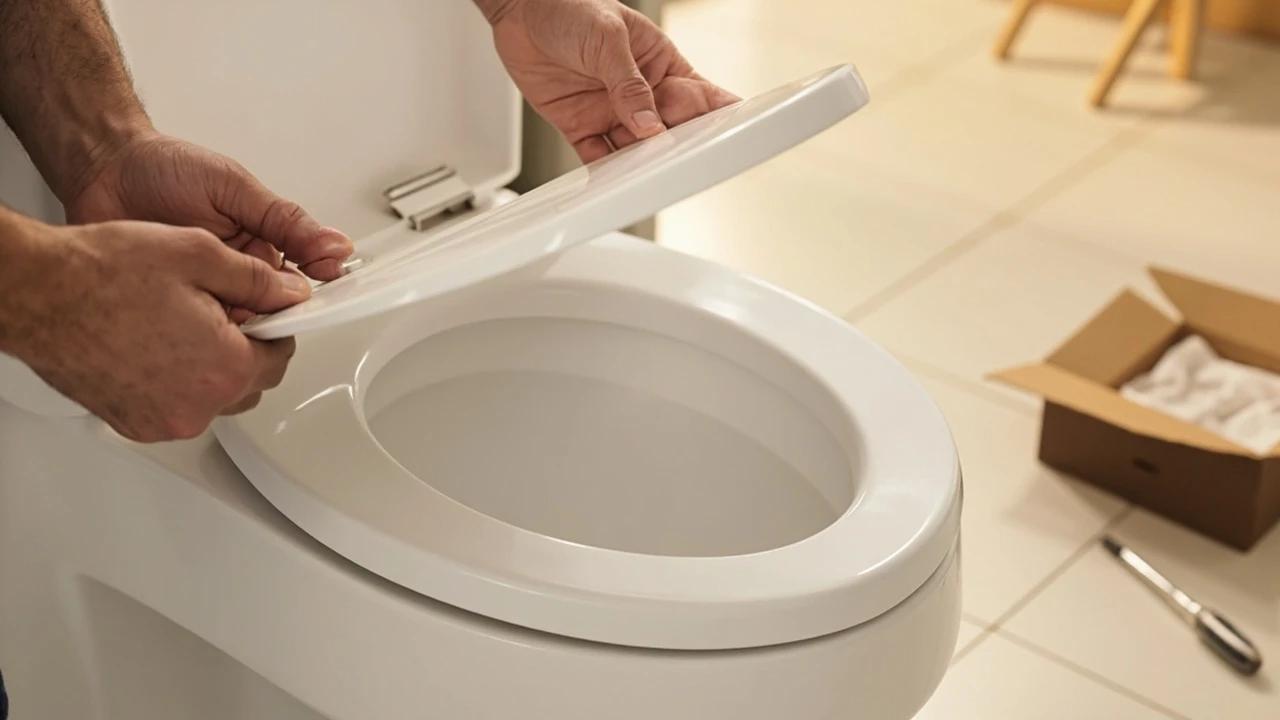
A cracked, stained, or wobbly toilet seat is one of the cheapest, fastest upgrades in the house — a new seat runs $20-50 and the swap takes about 20 minutes with nothing more than a screwdriver. This guide covers both standard and soft-close (quick-release) seats, how to measure so the new one actually fits, and the part everyone gets stuck on: freeing corroded bolts without cracking the bowl.
What You'll Need
🛠 Tools
📦 Materials
Safety First
- •Do not overtighten the seat bolts. Porcelain cracks easily — snug plus a small extra turn (about 2.5-3 ft-lb) is enough. A cracked bowl means replacing the whole toilet.
- •If you have to cut a seized bolt, lay a folded towel over the porcelain and work slowly. A slip with a hacksaw or multi-tool can gouge or crack the bowl.
Step-by-Step Instructions
Measure and Buy the Right Seat
Before anything else, measure so the new seat fits. Run a tape measure from the center line of the two rear bolt holes to the front edge of the bowl: roughly 16.5 inches is round, 18.5-19 inches is elongated. Confirm the bolt spread between the two holes — 5.5 inches is the U.S. standard. Decide between a standard seat and a soft-close/quick-release model, and check whether your toilet uses normal top-down bolts or a concealed/top-mount fixing.
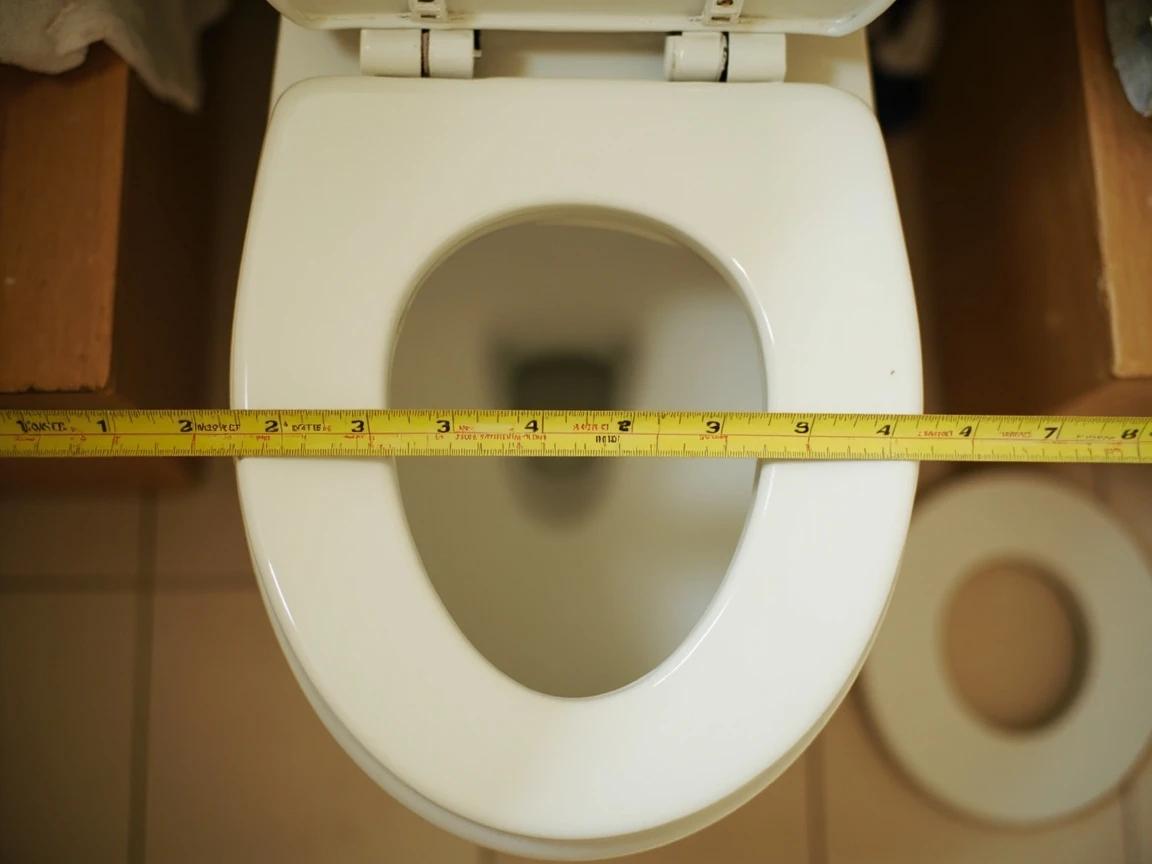
Snap a phone photo of the existing bolt area and bring your measurements to the store. Round and elongated seats look similar in the box but won’t swap.
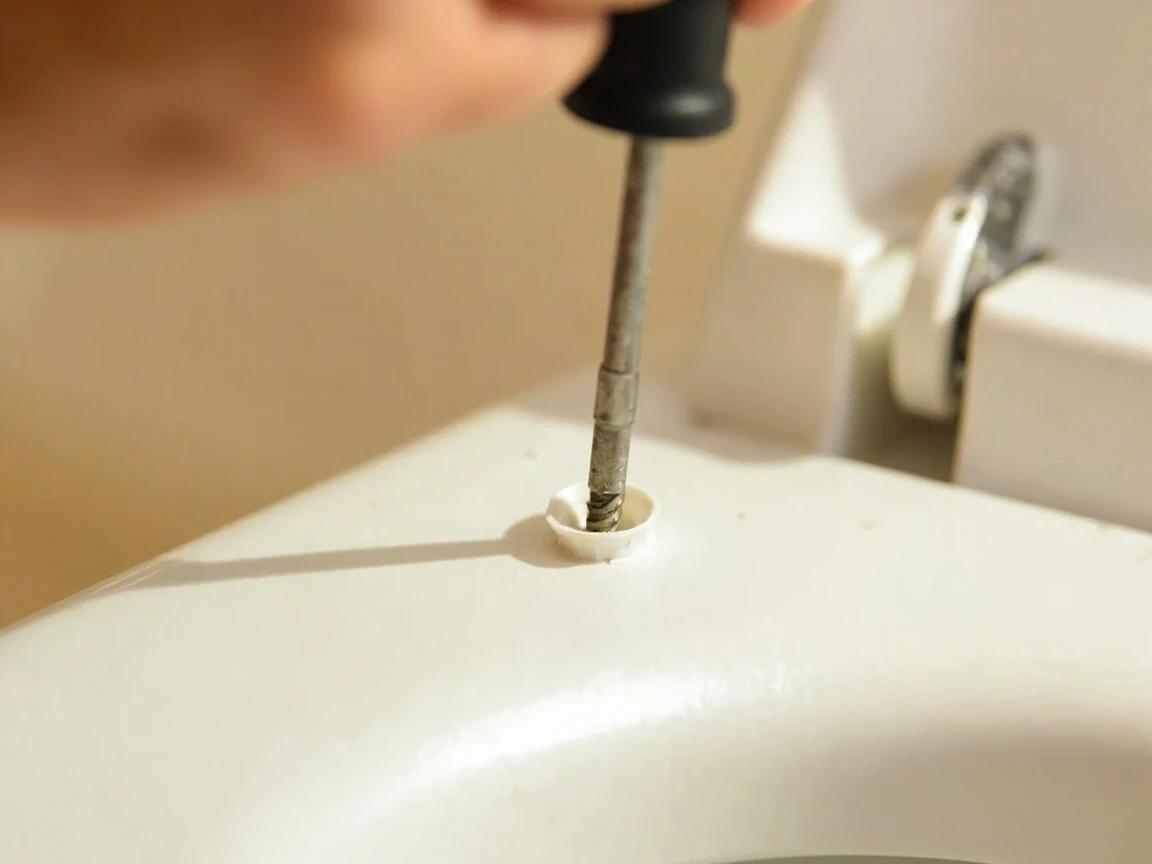
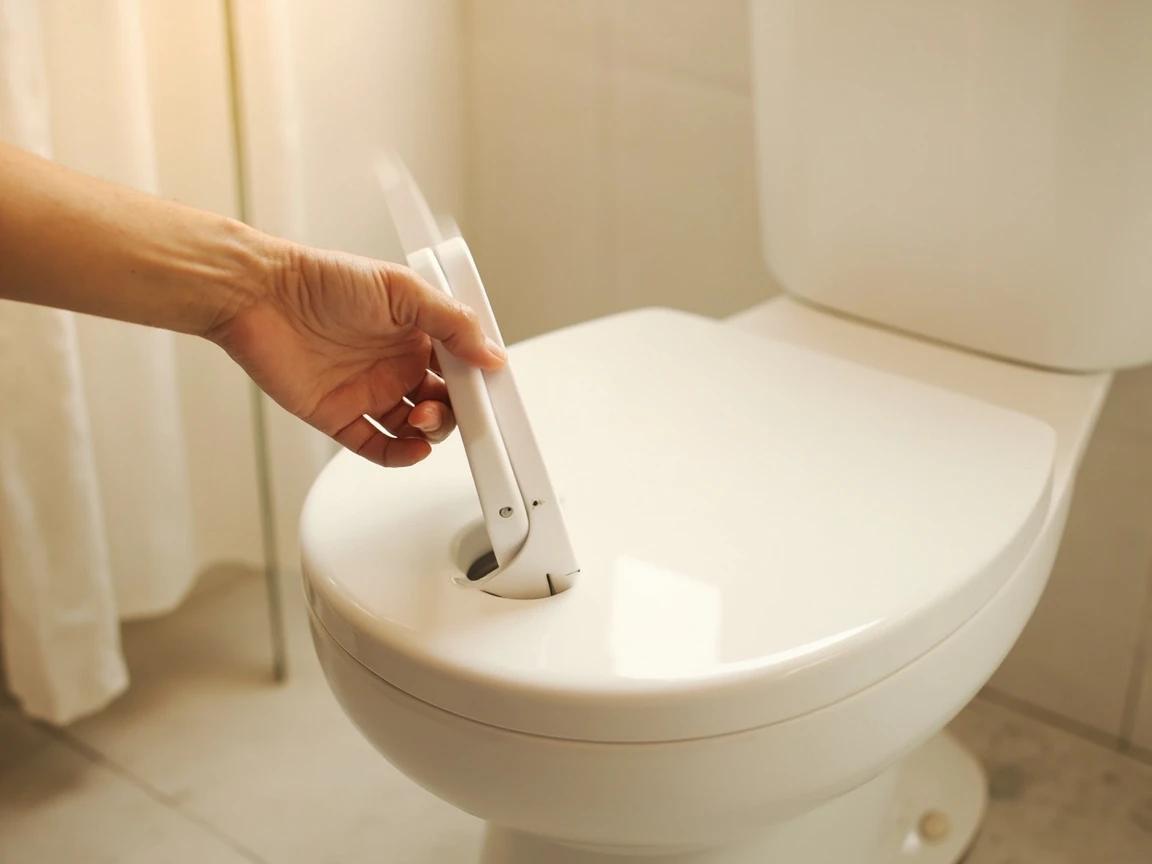
Pop Off the Bolt Caps
Most seats hide their two mounting bolts under small plastic caps at the back. Slip the tip of a flat-head screwdriver under the front edge of each cap and gently lever it up — older caps can be stiff, so work around the edge rather than forcing one spot. Some caps flip up on a small hinge instead of popping off entirely. With the caps open, you’ll see the bolt heads (usually a slot or Phillips drive) on top.
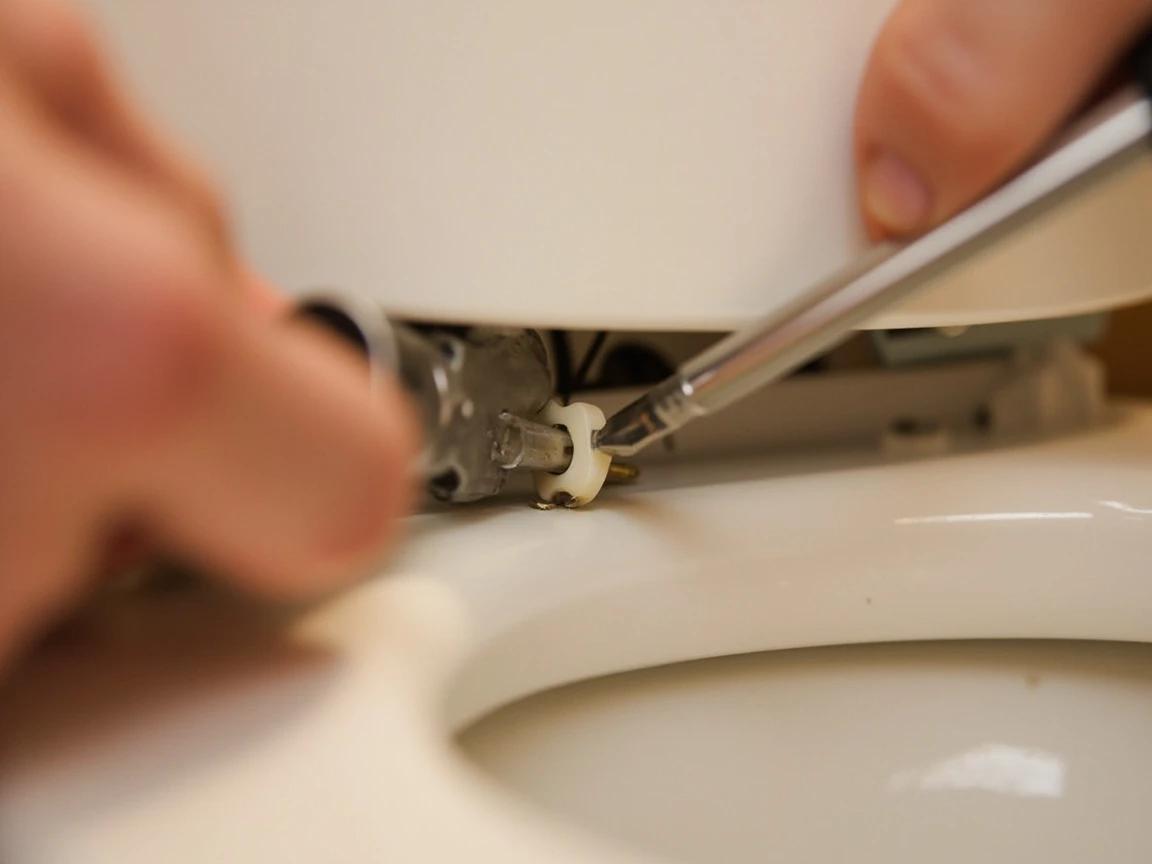
Unscrew and Lift Off the Old Seat
Reach under the back rim of the bowl and grip the plastic nut on the bottom of each bolt with pliers or an adjustable wrench. Hold the nut still and turn the bolt counterclockwise from the top with your screwdriver. If the bolt just spins freely, that’s the sign nothing is holding the nut — keep it clamped. Once both nuts are off, lift the entire seat and hinge assembly straight up off the bowl.
Free Any Seized or Corroded Bolts
Metal bolts on older seats often rust solid. Spray the bolt and nut with penetrating oil and give it 10 minutes, then try the pliers-and-screwdriver combo again. Still stuck? Cut it: angle a mini hacksaw or an oscillating multi-tool against the bolt or nut and saw through it, or shave a plastic nut off with a utility knife. Lay a folded towel over the porcelain to protect it and cut slowly.
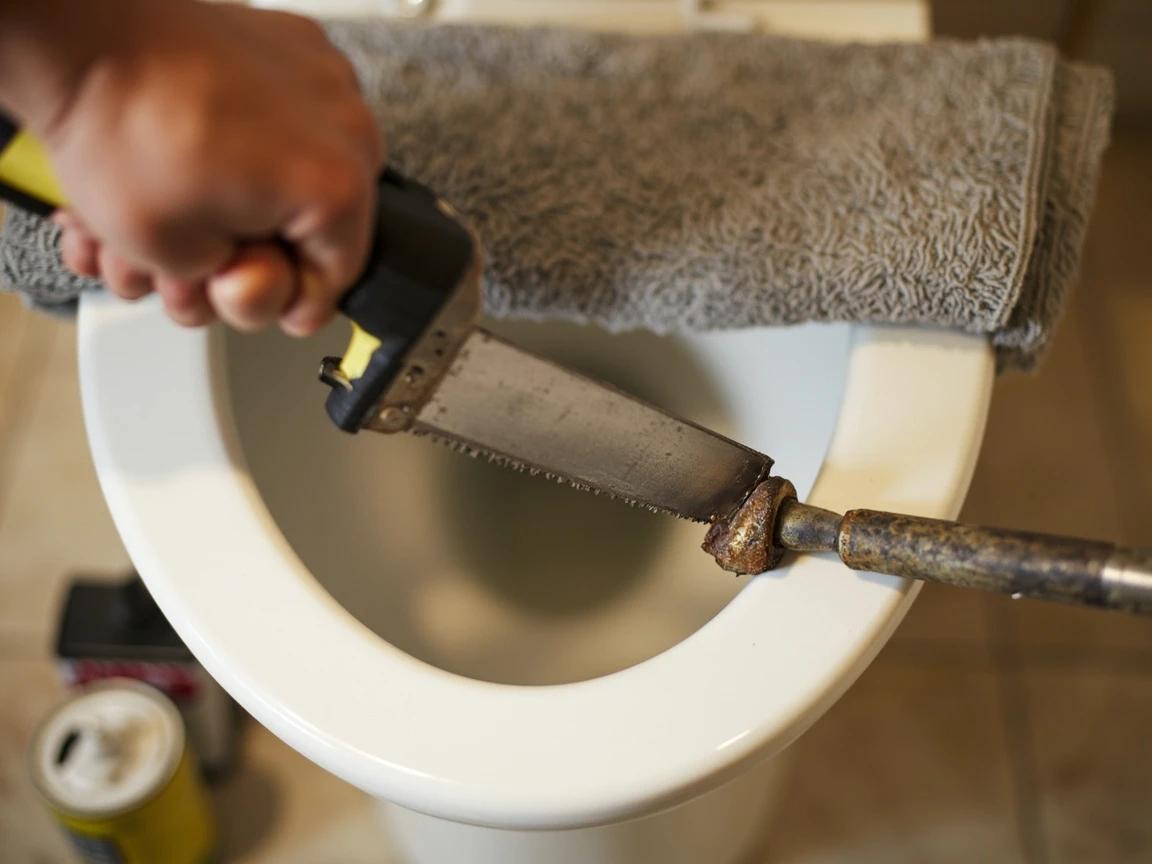
Keep the blade away from the porcelain. Toilets crack from a single careless slip, and a cracked bowl can’t be repaired — it has to be replaced.
Clean the Mounting Area
With the old seat gone, you finally have access to the grime that builds up around the hinges. Wipe down the two bolt holes and the whole rear shelf of the bowl with a disinfecting wipe or cleaner and let it dry. A clean, dry surface helps the new seat’s rubber bumpers grip and sit flat, which is half the battle against a seat that slides.
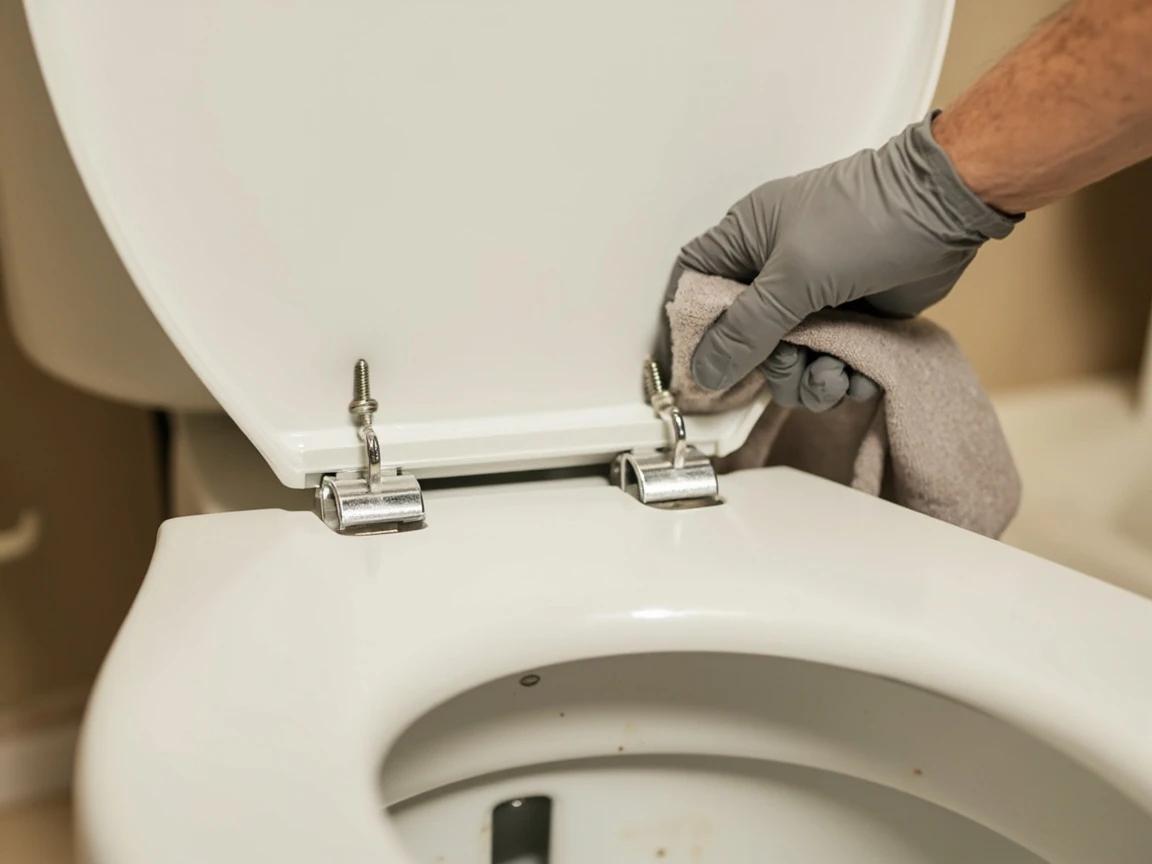
This is the one moment the hinge area is exposed — give it a real scrub now and you won’t have to fight it again until the next seat.
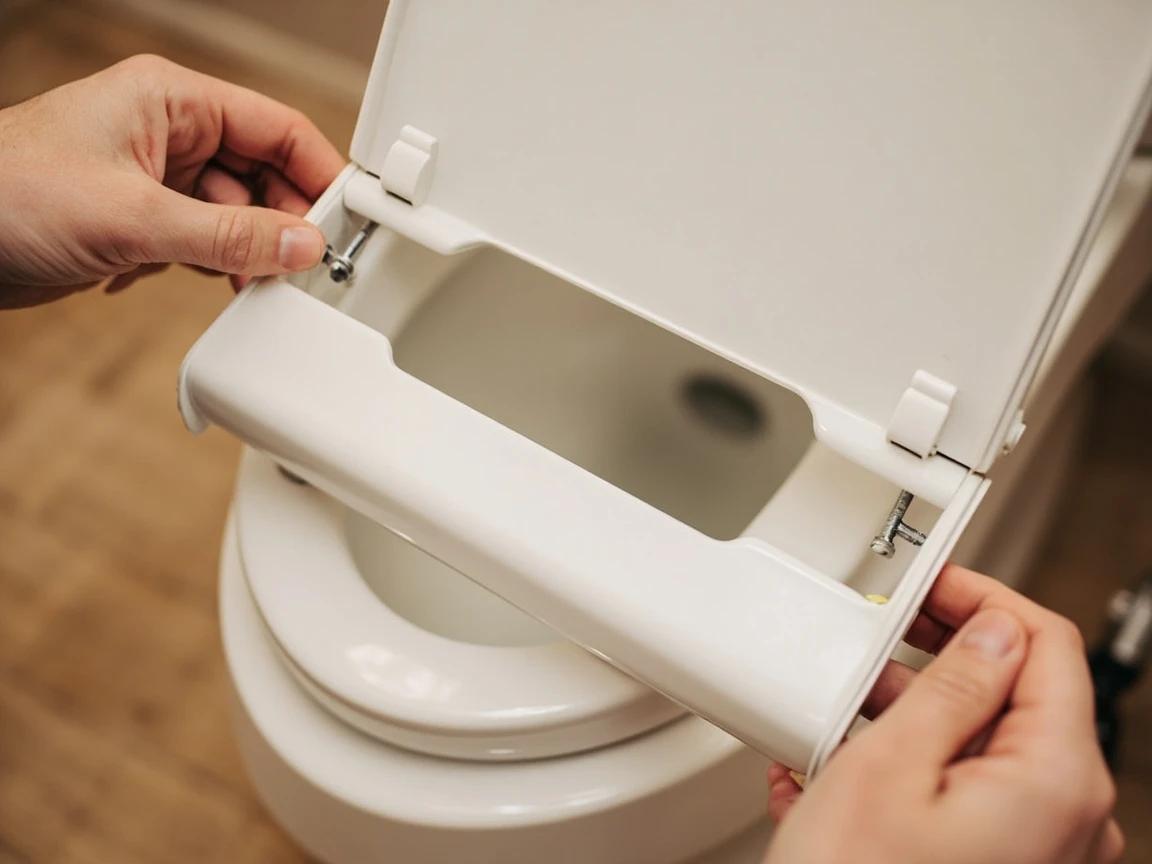
Set the New Seat and Insert the Bolts
Position the new seat’s hinges over the two bolt holes so the seat sits centered and square on the bowl. Drop a bolt down through each hinge and into the hole, head on top. Many new seats use plastic bolts with a wingnut or a quick-release hinge cartridge that clips into a base plate — install the base plates first if yours works that way. Thread the nuts on underneath finger-tight to start.
Tighten Without Cracking the Bowl
Hold each bolt head still on top and turn the nut up snug underneath. Keep the seat centered as you go, alternating side to side so it doesn’t pull crooked. Tighten until the seat no longer shifts — firm hand-tight plus a small turn with the wrench, roughly 2.5-3 ft-lb. Then press the plastic caps back down over the bolt heads. Stop the instant it feels solid; cranking harder only risks the porcelain.
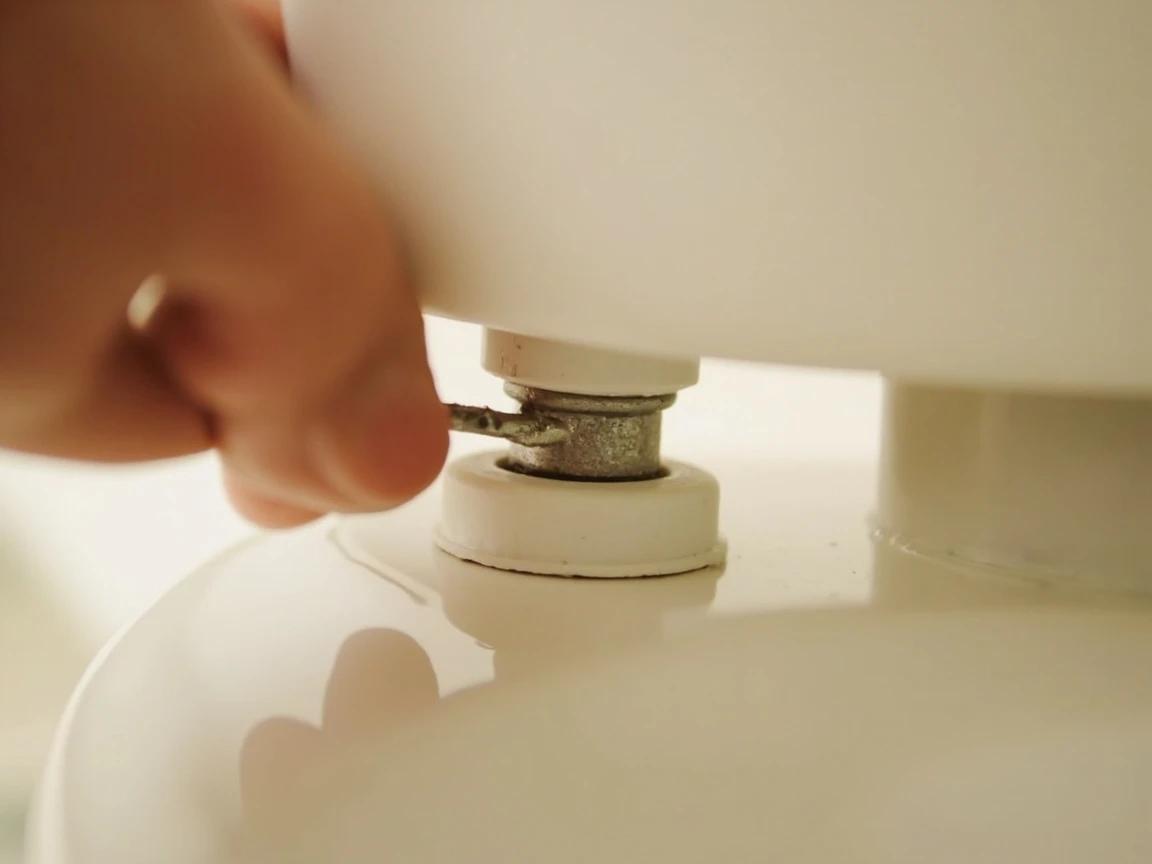
Resist the urge to make it “extra tight.” Over-torquing the bolts is the most common way DIYers crack a toilet during a seat swap.
Test the Fit and the Soft-Close
Sit the lid and seat down and give them a gentle wiggle — there should be no rocking or sliding. If it shifts, re-center and re-snug. On a soft-close model, raise the lid fully and let go: it should glide down on its own and take about 5-8 seconds to close silently. Finally, test the quick-release if your seat has one by popping the seat off and clicking it back on.
If a soft-close seat slams or won’t stay up, the hinge tension is adjustable on many models — look for a small dial or check that the damping cartridge is fully seated.
Frequently Asked Questions
How do I know whether I need a round or an elongated seat?
+
Measure from the center of the two rear bolt holes straight to the front edge of the bowl. About 16.5 inches means a round bowl; about 18.5-19 inches means elongated. Don’t mix the two — an elongated seat on a round bowl overhangs and rocks. Almost all modern U.S. toilets use a 5.5-inch bolt spread (ANSI standard), so seats are otherwise widely interchangeable.
How do I remove toilet seat bolts that are rusted or just spin?
+
First spray the bolt and nut with penetrating oil and wait about 10 minutes. Hold the nut underneath the rim with pliers or a wrench while you turn the bolt from on top — bolts often just spin because nothing is gripping the nut. If it’s truly seized, cut through the bolt or nut at an angle with a mini hacksaw, or slice a plastic nut off with a utility knife. Lay a towel over the porcelain first.
Why does my new toilet seat keep sliding or coming loose?
+
Usually the nuts aren’t tight enough or the rubber bumpers underneath the hinges aren’t sitting flat. Re-center the seat, make sure the bumpers contact the bowl, and snug the nuts firmly by hand. If the entire toilet rocks — not just the seat — that’s the floor bolts or wax ring, not the seat (see /guide/replace-a-toilet-wax-ring).
How do soft-close and quick-release seats come off for cleaning?
+
Most soft-close seats have a quick-release feature: look for a button or sliding tab on each hinge, press or slide it, and lift the whole seat straight up and off. To put it back, line the hinges up with the posts and push down until they click. This lets you clean the hard-to-reach area around the hinges that a fixed seat hides.
Are toilet seats universal?
+
For the most part, yes — standard U.S. toilets share the 5.5-inch bolt spread, so any same-shape seat will bolt on. The two things that must match are the bowl shape (round vs. elongated) and, occasionally, the fixing style on one-piece or designer toilets, which sometimes require a manufacturer-specific seat with concealed or top-mount fittings.
Community Tips
💬 Sign in to share tips with the community
Sources & further reading
- How to Change a Toilet Seat — The DIY Playbook
- WC Seat Size Guide: How to Measure a Toilet Seat — Horow
- How To Easily Remove Stubborn Toilet Seat Bolts — House Digest
More Plumbing Guides
View all → Medium1h 30m
How to Fix a Toilet Leaking at the Base
Water pooling around the bottom of the toilet is one of those leaks that punishes procrastination — every flush pushes dirty water under the flooring, and a $10 wax ring problem quietly becomes a $1,000 subfloor repair. This guide diagnoses where the water is really coming from first, then walks the fix in order: snug the bolts, and only if needed, pull the toilet and replace the seal.
 Medium2h 30m
How to Install or Replace a Toilet
Replacing a toilet is one of the most satisfying half-day plumbing projects a homeowner can take on — a new comfort-height, water-saving toilet runs $120 to $400 in parts and tools, versus the $255 to $615 a plumber charges to swap one. The job is mostly muscle and patience, not skill: the one part that truly matters is seating the seal right so it never leaks. This guide covers buying a toilet that actually fits your rough-in, removing the old one cleanly, and setting the new one level, sealed, and rock-solid.
 Easy30 min
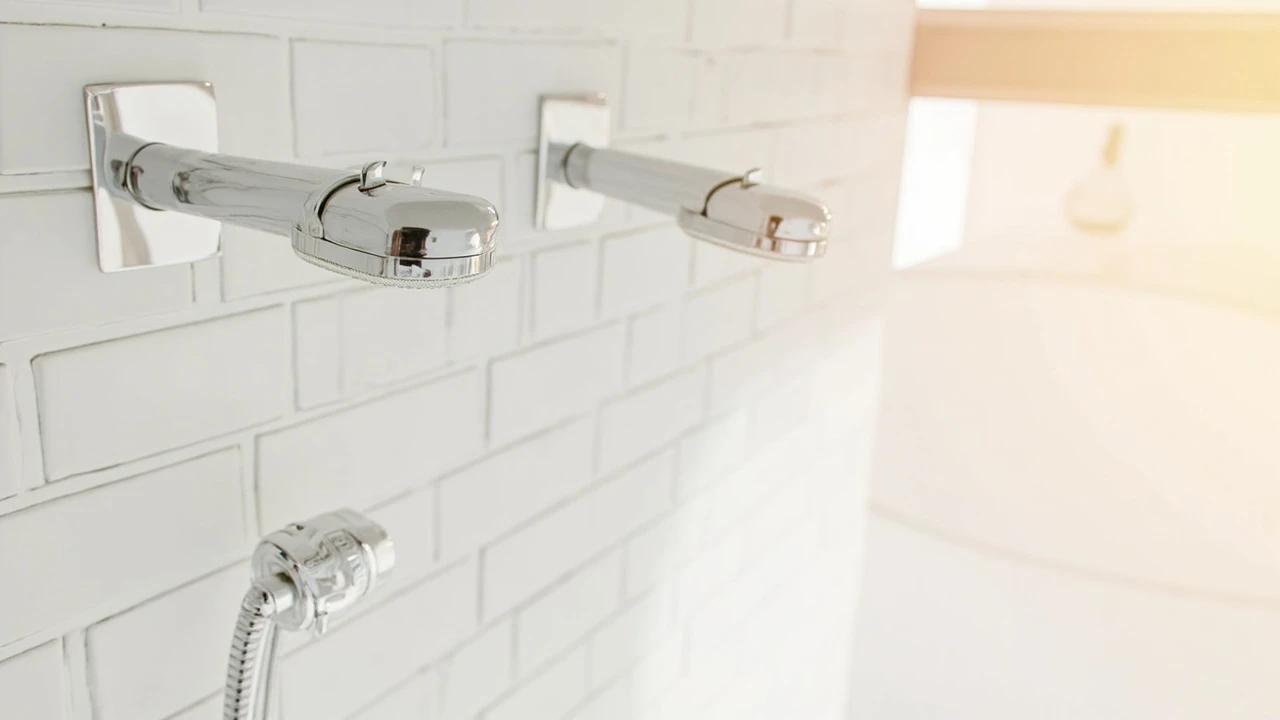
How to Replace a Shower Head and Shower Arm
Swapping just the shower head is a 10-minute job, but if the arm (the pipe curving out of the wall) is corroded, leaking, or the wrong length for a new rain head, you'll want to replace both. The whole job costs under $50 and takes half an hour — the one trick that separates a clean swap from a flooded wall is holding the arm steady so it doesn't snap off inside the tile. This guide covers removing a stuck arm, prepping the in-wall fitting, taping the threads right, and testing leak-free.
You Might Also Like
 Medium30 min
How to Troubleshoot a Microwave That Won't Heat
A microwave that runs — light on, turntable spinning, timer counting down — but leaves food stone cold is one of the most common appliance failures, and about half the time the cause is something you can fix in five minutes for free. This guide walks the diagnosis from the easy stuff (demo mode, power level, a tripped GFCI, a dirty door latch) to reading the failure signature that tells you the high-voltage circuit is gone, then helps you make the repair-or-replace call with real numbers.
 Easy25 min
Best Deck Stain: Transparent vs Semi vs Solid
There is no "best" deck stain — there is the right stain for your sun exposure, wood condition, and how often you want to redo the job. Transparent stains last 1-2 years but let the natural grain show. Solid stains last 4-7 years but look like paint. This guide walks the four opacity levels and the oil-vs-water choice so you pick the one that matches your deck and your tolerance for re-staining.
 Easy15 min
How to Replace a Refrigerator Water Filter
A clogged refrigerator water filter is the most common cause of slow dispensing, off-tasting water, and undersized ice cubes — and it is the easiest fix in your kitchen. Most filters are designed to be swapped in under five minutes with no tools, no shut-off valve, and no spilled water. This guide covers locating your filter, the two common removal styles (twist-in and push-in), inspecting the O-rings, flushing the new filter, and resetting the indicator light so you do not see the red "Replace" warning the next morning.