How to Fix a Toilet Leaking at the Base
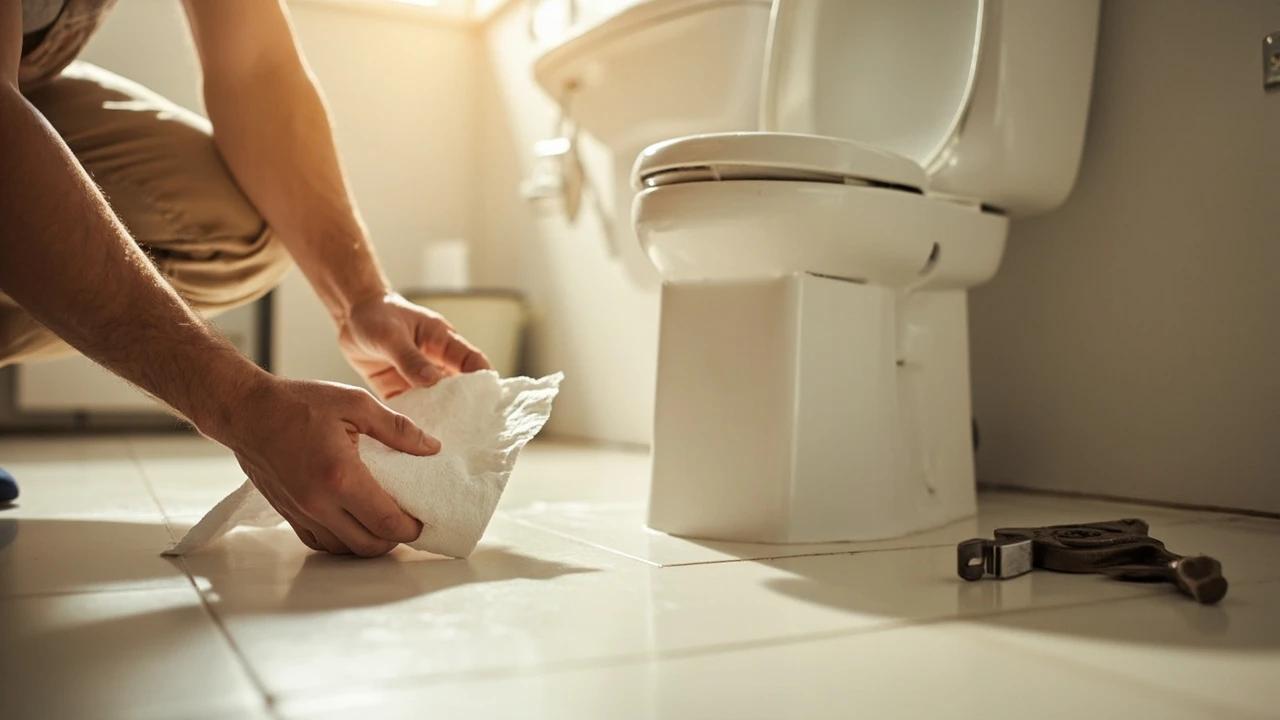

Water pooling around the bottom of the toilet is one of those leaks that punishes procrastination — every flush pushes dirty water under the flooring, and a $10 wax ring problem quietly becomes a $1,000 subfloor repair. This guide diagnoses where the water is really coming from first, then walks the fix in order: snug the bolts, and only if needed, pull the toilet and replace the seal.
What You'll Need
🛠 Tools
📦 Materials
Safety First
- •The water and old wax under a toilet carry sewage bacteria — wear rubber gloves, keep the old ring off bare flooring, and disinfect the floor and your tools when you're done.
- •A toilet weighs 60 to 100 pounds and the shape is all wrong for lifting — raise it straight up with your legs, not your back, or get a helper. Dropping one cracks the porcelain and whatever it lands on.
Step-by-Step Instructions
Prove the Water Is Coming From the Base
Dry the floor around the toilet completely, then lay a ring of dry toilet paper or paper towels around the base and flush. Paper that wets only during or just after the flush means water is escaping the seal under the bowl — that's a true base leak, and the rest of this guide is your fix. Paper that stays dry while water reappears hours later points to a slow drip from above, so go to step 2 before touching a single bolt.
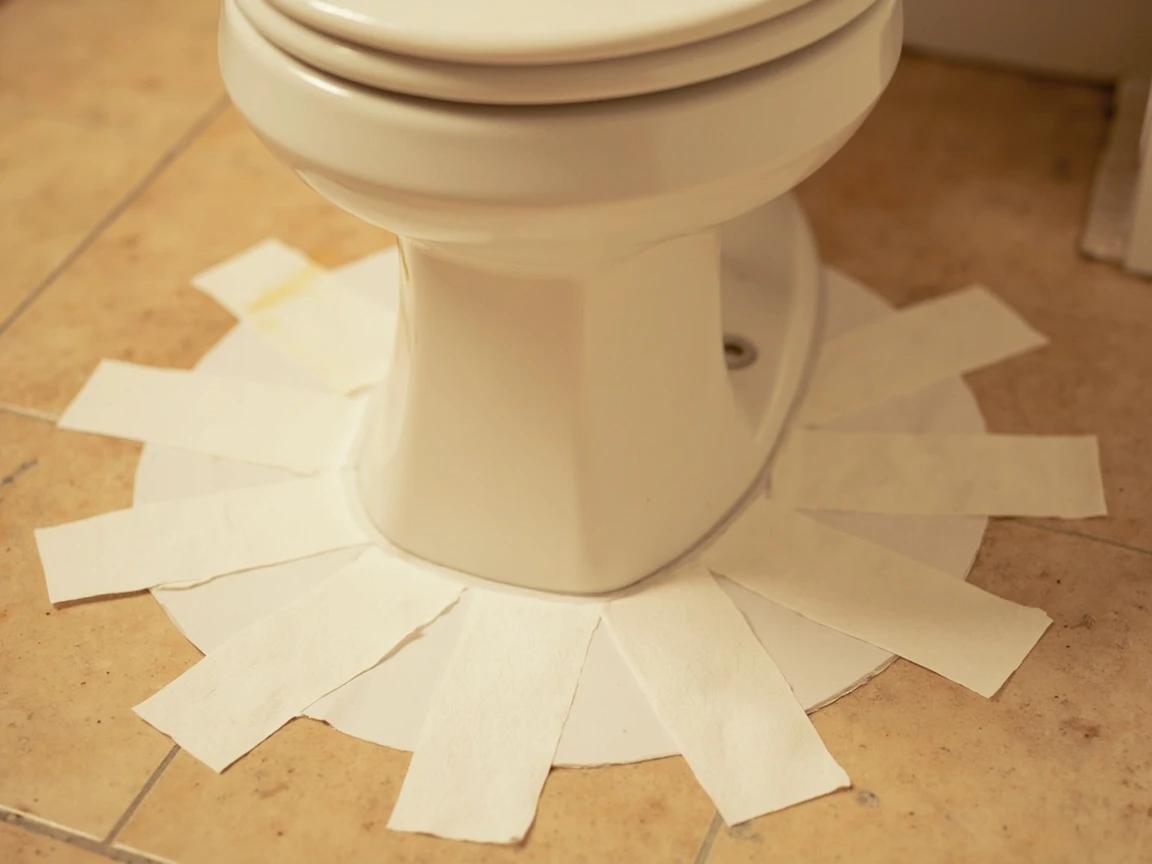
A few drops of food coloring in the tank makes the verdict unambiguous — tinted water at the base during a flush can only have come through the seal.
Rule Out the Impostors Above the Floor
Most "base leaks" start higher up and just pool at the lowest point. Run a dry paper towel along the supply line and its two connection nuts, around the fill-valve nut under the tank's left side, and across the tank-to-bowl bolts — any dampness there is your real culprit, and a quarter-turn on a compression fitting or new tank bolts fixes it without pulling the toilet. In humid weather, also feel the tank's outside face: a cold, sweating tank drips condensation that looks exactly like a base leak.
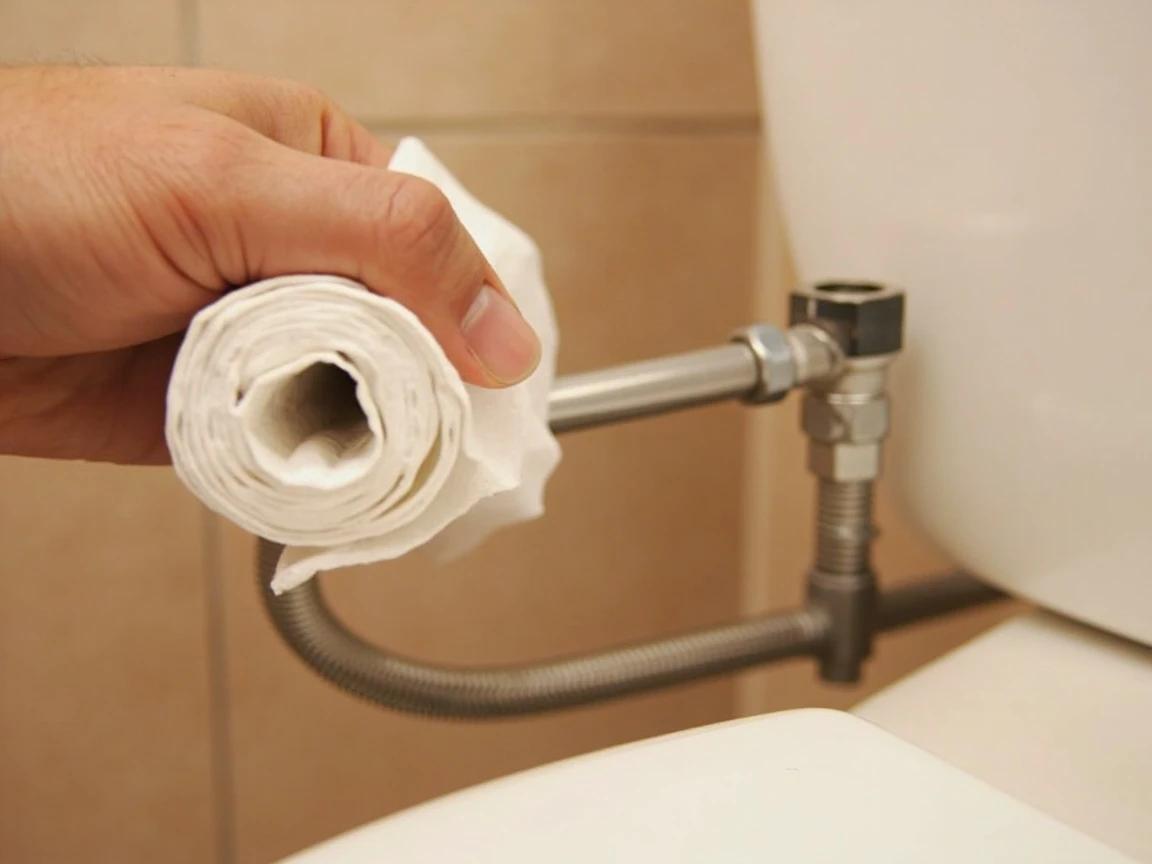
Condensation wets the whole tank surface evenly; a real leak leaves one distinct wet trail. Follow the trail uphill to its highest dry point — that's the source.
Snug the Closet Bolts a Quarter Turn
Pry the oval caps off the two bolts at the base with a flathead screwdriver and put a wrench on the nuts. Tighten each one a quarter turn at a time, alternating sides, until they're snug — the goal is even, gentle compression of the seal, not torque. If a light snugging stops the leak, you're done for now, but plan on a new seal eventually: a ring loose enough to leak has already been deformed.
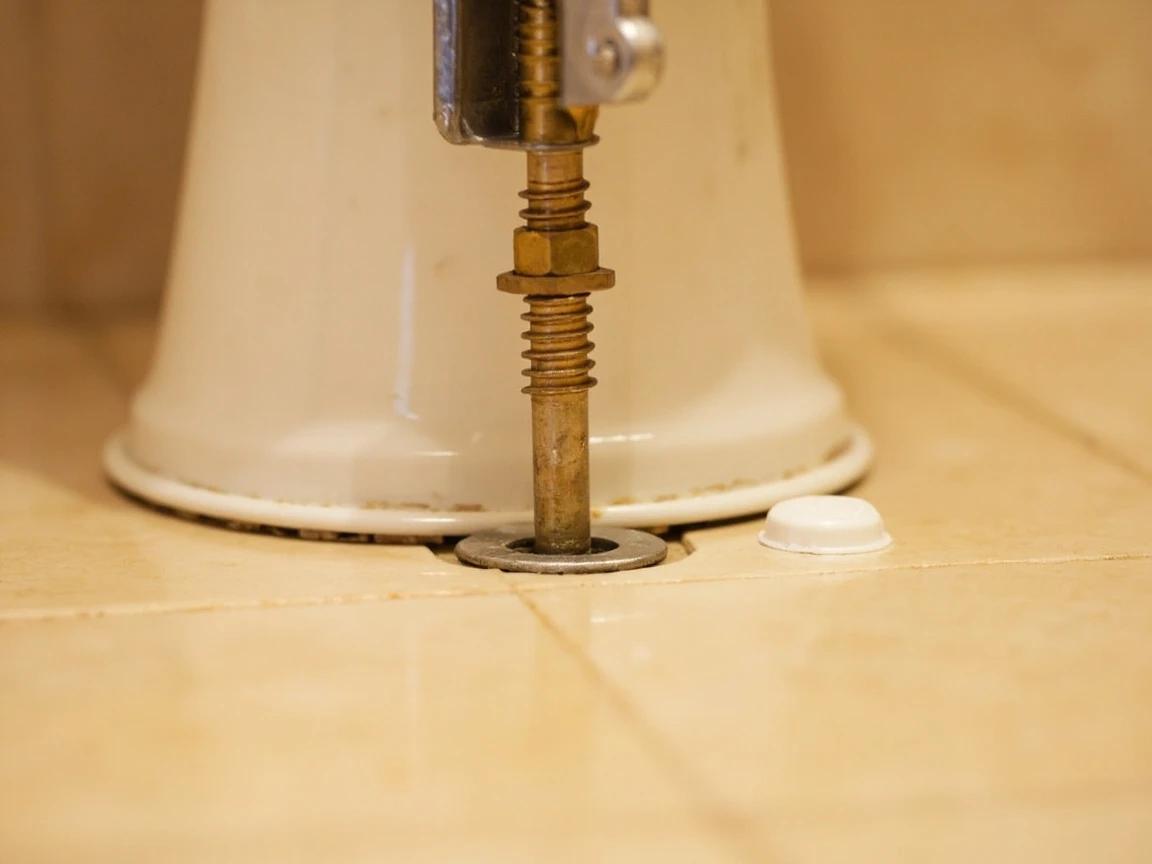
Porcelain cracks before it complains — never lean on the wrench. If a bolt just spins without tightening, its head has broken out of the flange slot, and you'll be pulling the toilet in step 5.
Rock-Test the Bowl
Straddle the bowl, grip both sides of the rim, and try to rock it gently side to side. Any movement means the toilet has been flexing the wax ring with every use — rocking is the number-one reason seals fail early, usually because the floor isn't flat under the base. Slide plastic toilet shims into the gaps until the bowl sits dead solid, then trim the shim tails with a utility knife.
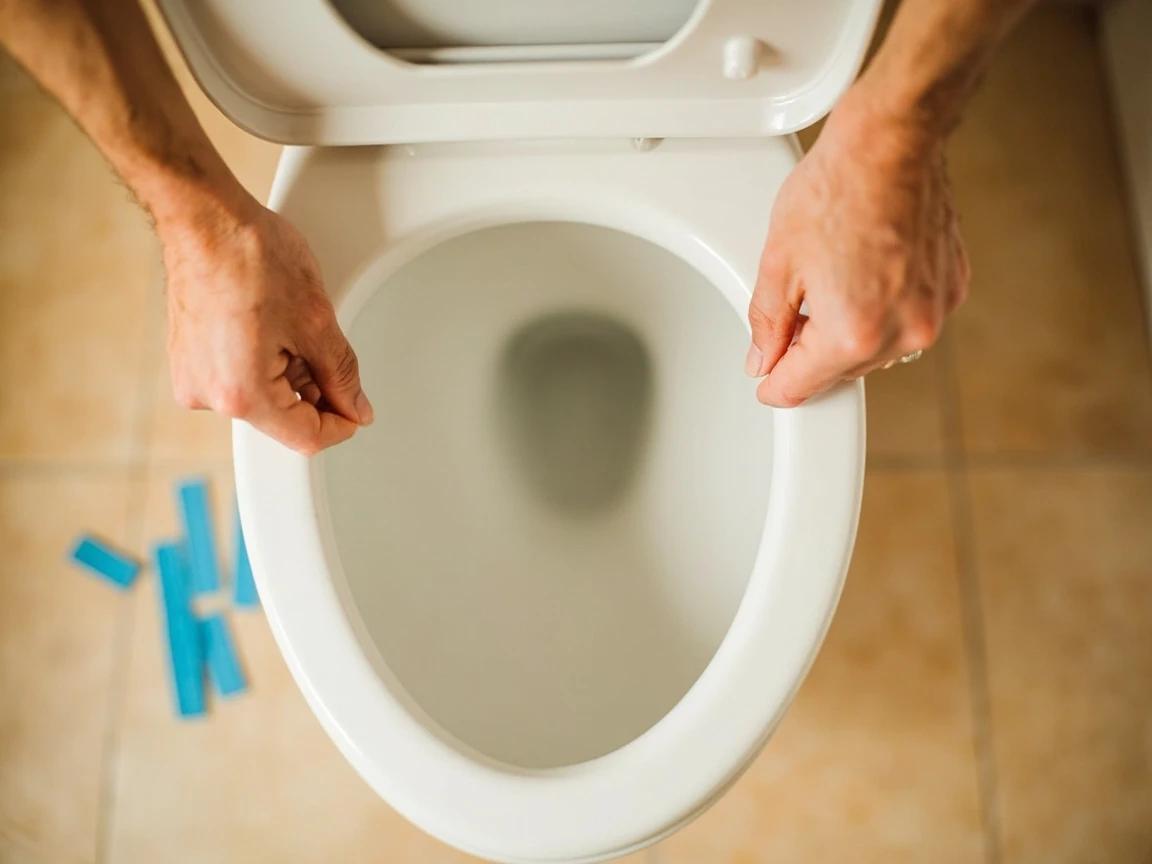
If the toilet rocked, assume the ring is toast even if the leak pauses after shimming — the wax doesn't spring back once it's been worked loose.
Shut Off the Water and Empty the Toilet
Turn the oval shutoff valve behind the toilet clockwise until it stops, then flush and hold the handle down to drain the tank. Sponge or wet-vac the remaining water out of both the tank and the bowl — a dry toilet is several pounds lighter and won't dribble across the bathroom. Disconnect the supply line at the tank, and if the shutoff valve itself weeps or won't fully close, fix that first with our shut-off valve guide.
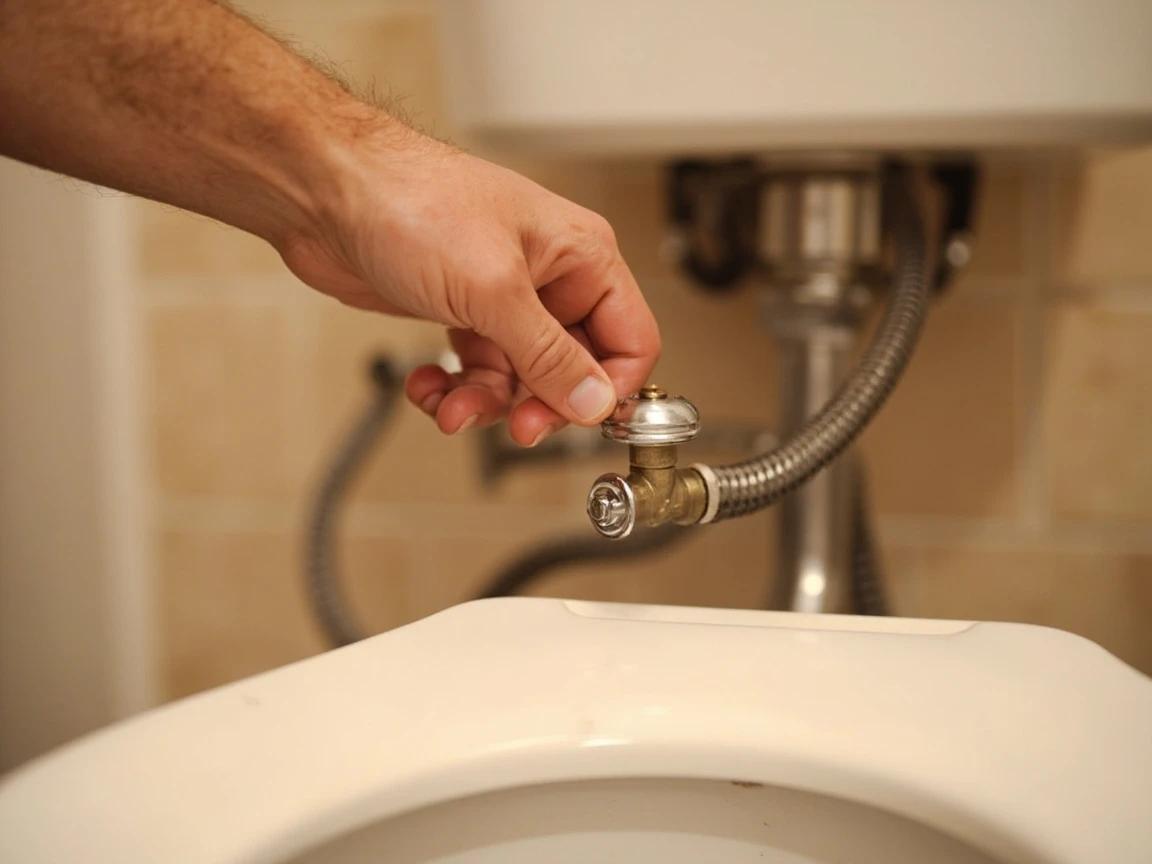
Pull the Toilet and Read the Old Seal
Unthread both closet-bolt nuts, then lift the toilet straight up off the bolts and set it on its side on an old towel or cardboard. Stuff a rag into the open drain — it blocks sewer gas and catches dropped hardware. Before scraping, read the old wax like a mechanic reads a spark plug: wax squished flat on one side only means the toilet was rocking; wax barely dented anywhere means the flange sits too low to compress it. Then scrape every trace of old wax off the flange and the toilet horn with a putty knife.
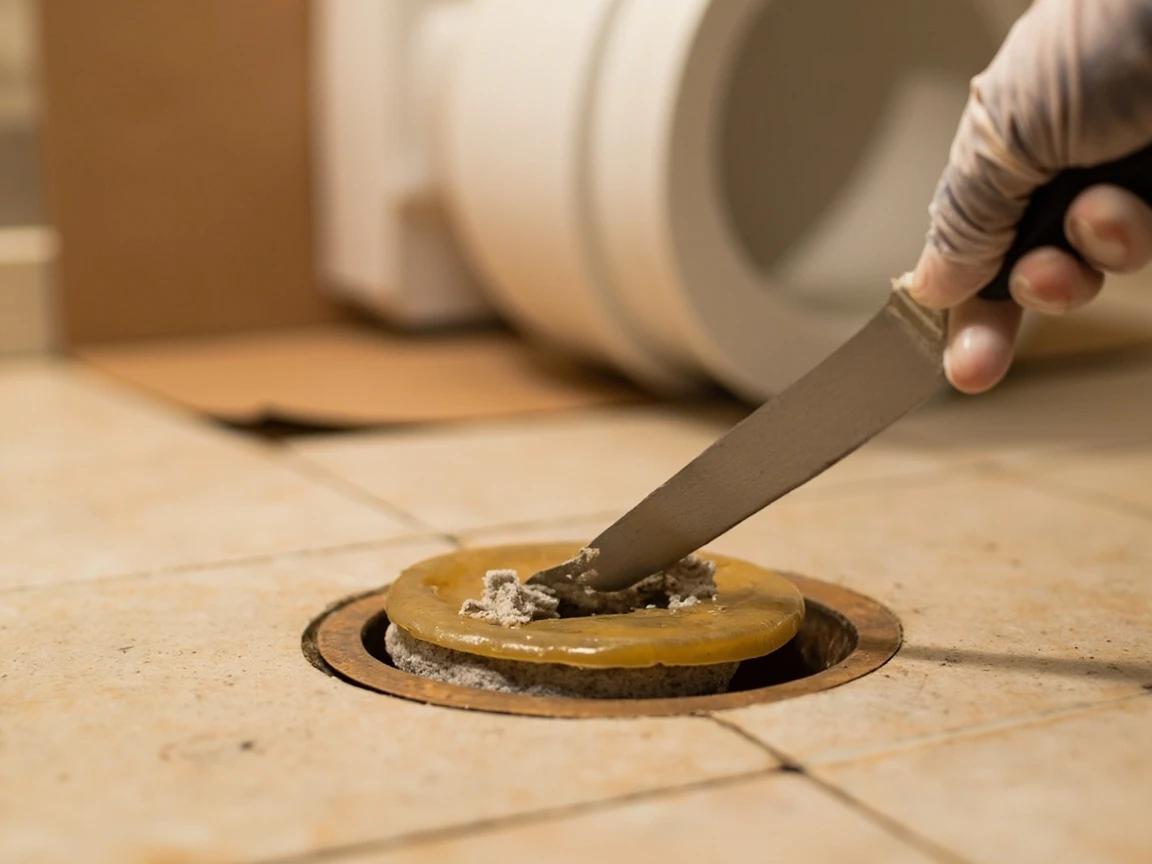
Take a photo of the flange after scraping — if you end up at the hardware store choosing between a repair ring, spacer, or extra-thick seal, the photo answers every question the plumbing-aisle clerk will ask.
Inspect the Flange and Repair What You Find
A healthy flange sits on top of the finished floor, about a quarter inch proud, with intact bolt slots. Cracked or broken slots get a stainless or brass repair ring screwed down over the old flange — a $10 fix that gives the bolts fresh metal to grip. A flange sitting below floor level (common after new tile or vinyl) gets stacked spacer rings in 1/8- to 3/4-inch sizes, bedded in silicone, or an extra-thick wax ring if it's only slightly low.
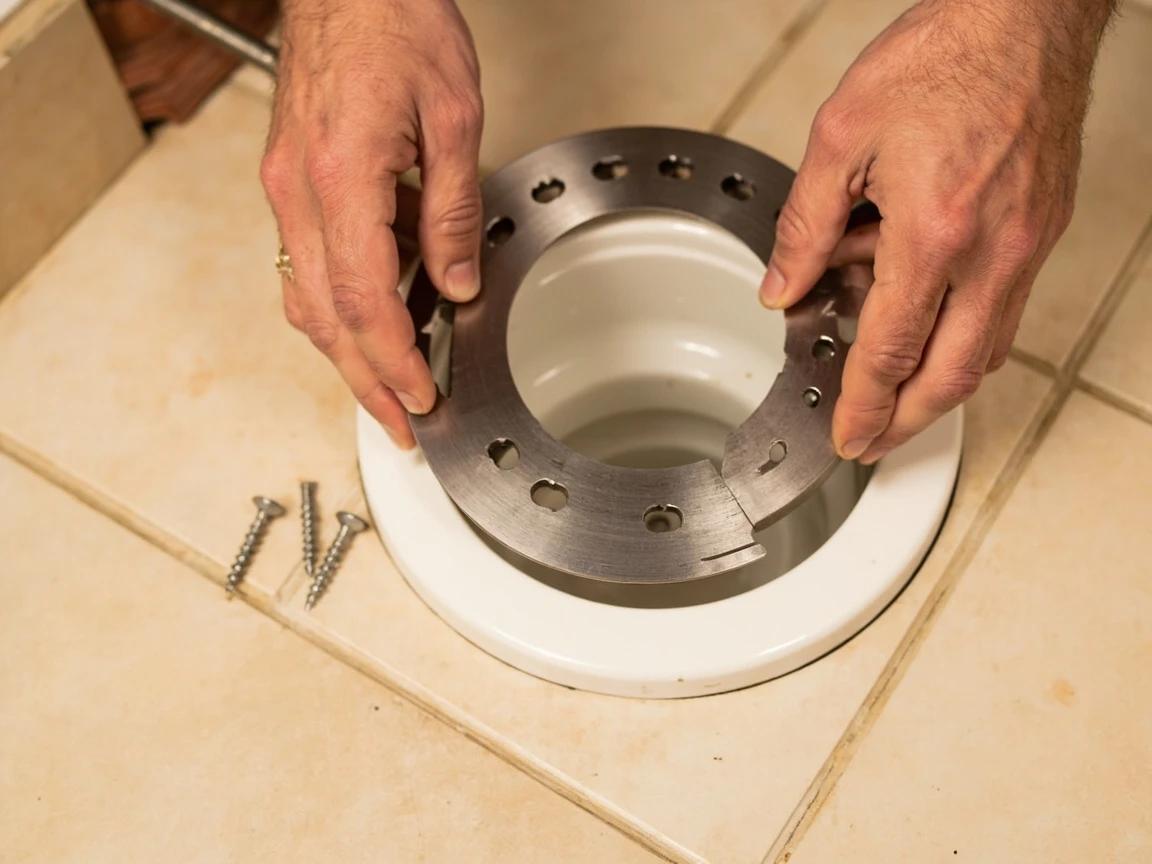
If the flange is cast iron and the collar is rusted through or cracked, stop here — repairing one means cutting metal pipe or specialty joint work, and that's a plumber's job.
Set the New Seal and Reseat the Toilet
Slide new brass bolts into the flange slots, then set your seal: a wax ring goes on the flange (or on the toilet horn) and is strictly one-shot — once the bowl touches down, no lifting for a second try. A waxless rubber seal costs a few dollars more but forgives a missed aim and can be repositioned, which makes it the better pick for a first-timer. Lower the bowl straight down over the bolts, press it home with your full body weight in a slight side-to-side settle, then alternate quarter-turns on the nuts until snug, trim the bolts, and snap on the caps. Our wax ring guide covers this reset in fine detail if you want it.
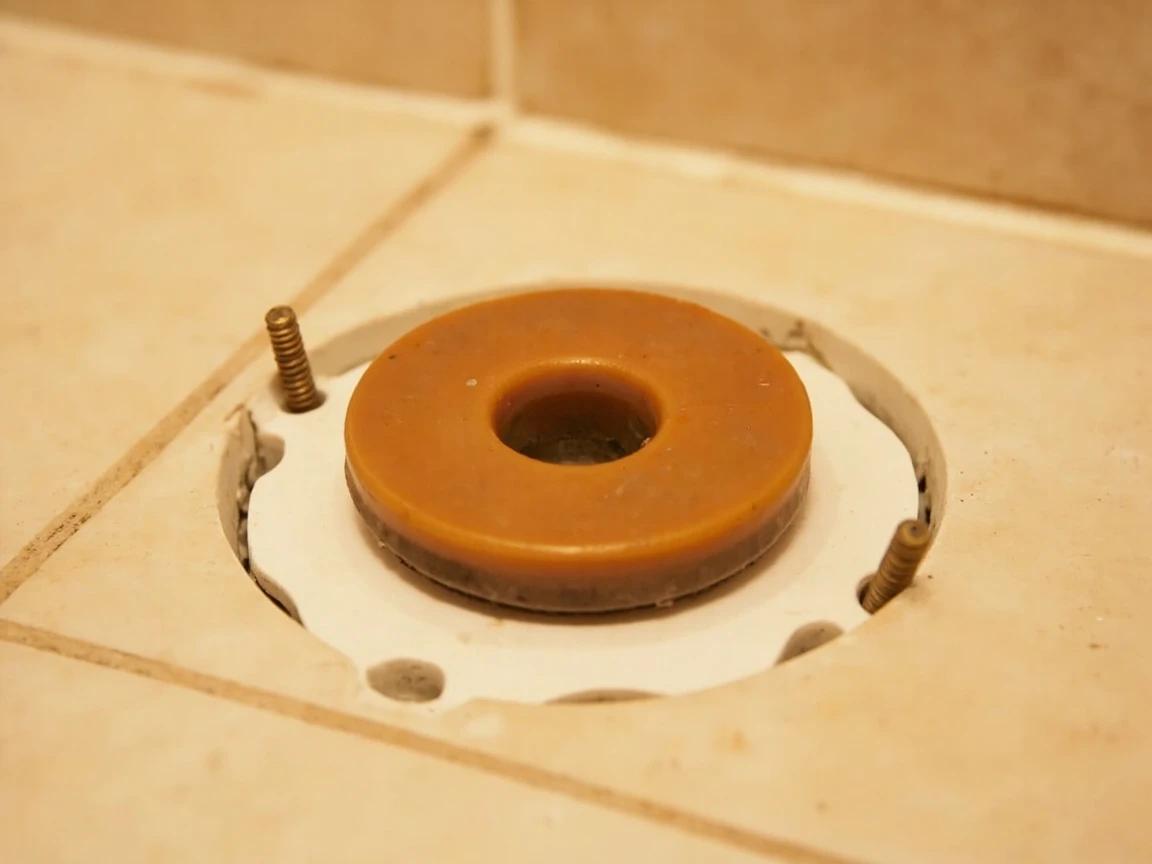
Kneel over the bowl and let your weight do the compressing — pulling the toilet down with the bolts instead is how flange slots crack.
Test the Fix, Then Caulk With a Weep Gap
Reconnect the supply line, open the valve, and let the tank fill. Run three or four test flushes with fresh dry paper toweling around the base — it should stay bone dry through every one. Once you're sure, run a neat bead of tub-and-tile caulk around the front and sides of the base for stability and easy cleaning, but leave a 1- to 2-inch gap at the back: if the seal ever fails again, that gap lets the water show itself on your tile instead of silently soaking the subfloor.
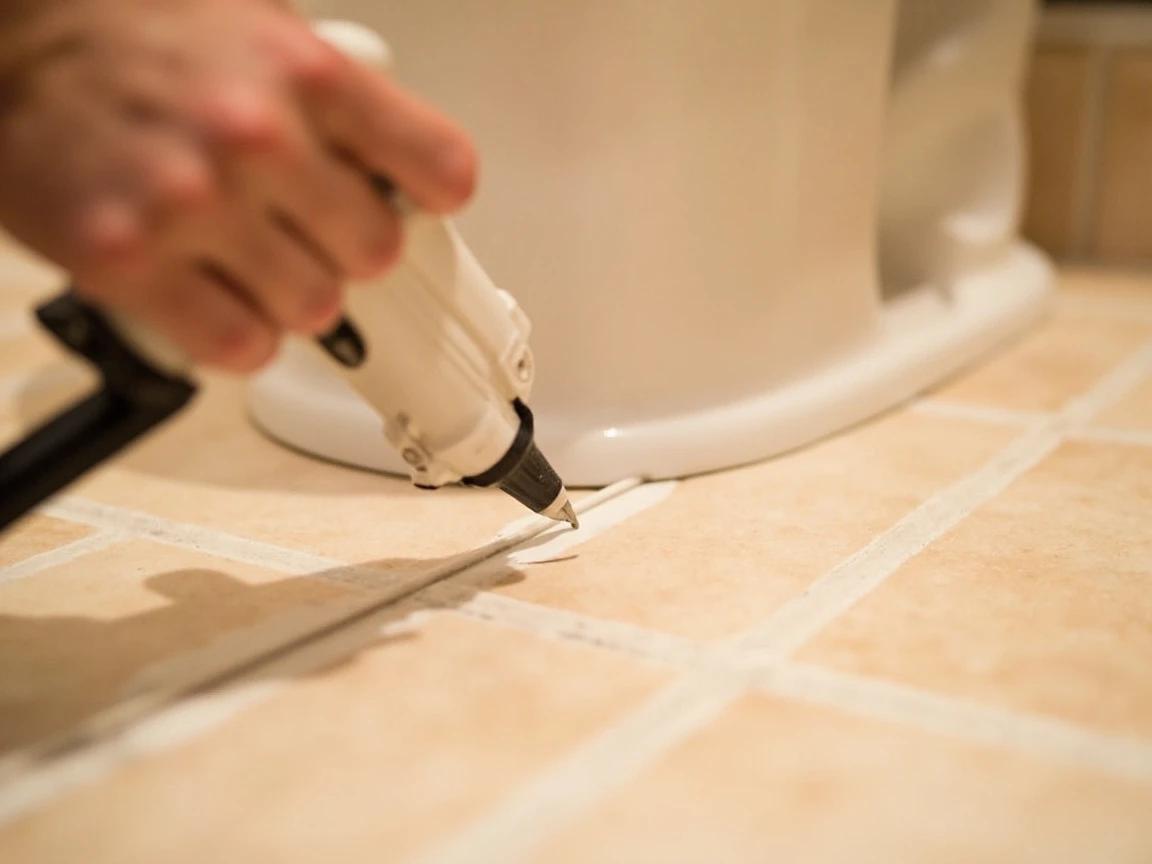
Check the base again after a week of normal use — a seal that survives a week of real flushing is set for the next decade or two.
Frequently Asked Questions
Why does my toilet only leak at the base when I flush?
+
That's the classic wax-seal signature. Between flushes the drain sits empty, so nothing leaks; during a flush, a couple of gallons rush through the seal between the toilet horn and the floor flange, and any gap lets some of it squeeze out at the base. Water that pools constantly, whether or not anyone flushes, points instead to the supply line, the fill-valve nut, tank condensation, or the tank-to-bowl bolts.
Can I just caulk around the base to stop the leak?
+
No — caulk doesn't fix the seal, it just hides the evidence. The leak keeps happening on every flush, but now the sewage-tinged water is trapped under the toilet where it soaks the subfloor and breeds mold instead of showing up on your tile. Fix the seal first; caulk afterward is fine for stability and cleanability, with a gap left at the back so any future leak can announce itself.
How much does it cost to fix a toilet leaking at the base?
+
If you do it yourself, very little: a wax ring runs $5 to $15, a waxless rubber seal $10 to $25, and a fresh set of brass closet bolts about $5. A flange repair ring or spacer kit adds $10 to $30 if the flange needs help. A plumber typically charges $150 to $300 for the same reset-and-reseal, which is still cheap compared with replacing a rotted subfloor.
How do I know if the toilet flange is broken?
+
Three tells before you even pull the toilet: a closet bolt that spins forever without tightening, a bowl that rocks no matter how you shim it, and a leak that returns right after a new wax ring. Once the toilet is up, look for cracked or broken bolt slots and check the height — the flange should sit on top of the finished floor, about a quarter inch proud. Cracked slots take a $10 metal repair ring; a flange sitting below floor level takes a spacer kit or an extra-thick ring.
Is it safe to keep using a toilet that leaks at the base?
+
Use it as little as possible and fix it soon. The water escaping isn't clean — it's post-flush wastewater — and every flush drives more of it under the flooring, where it rots the subfloor, corrodes the flange screws, and feeds mold you won't see until the floor feels spongy. A few days won't ruin a bathroom, but a semester of ignoring it often does.
Sources & further reading
- Why Is My Toilet Leaking at the Base? — Mr. Rooter Plumbing
- How to Repair or Replace a Toilet Flange — Oatey
- Better Than Wax Wax-Free Toilet Seal — Fluidmaster
More Plumbing Guides
View all → Medium1h 15m
How to Replace a Toilet Wax Ring
A leaky wax ring causes water stains on the ceiling below, rotted subfloor, and that unmistakable sewer smell creeping into the bathroom — and a new wax ring costs $5-10 and takes about an hour to swap yourself versus $150-300 to call a plumber. The job isn't complicated, but a handful of small mistakes (stacking rings, overtightening bolts, missing a cracked flange) turn a simple fix into a re-do. This guide walks you through shutting off the water, pulling the toilet cleanly, inspecting the flange, setting the new ring, and resealing everything so your bathroom stays dry for another decade.
 Medium2h 30m
How to Install or Replace a Toilet
Replacing a toilet is one of the most satisfying half-day plumbing projects a homeowner can take on — a new comfort-height, water-saving toilet runs $120 to $400 in parts and tools, versus the $255 to $615 a plumber charges to swap one. The job is mostly muscle and patience, not skill: the one part that truly matters is seating the seal right so it never leaks. This guide covers buying a toilet that actually fits your rough-in, removing the old one cleanly, and setting the new one level, sealed, and rock-solid.
 Easy40 min
How to Fix a Leaky Pipe Joint
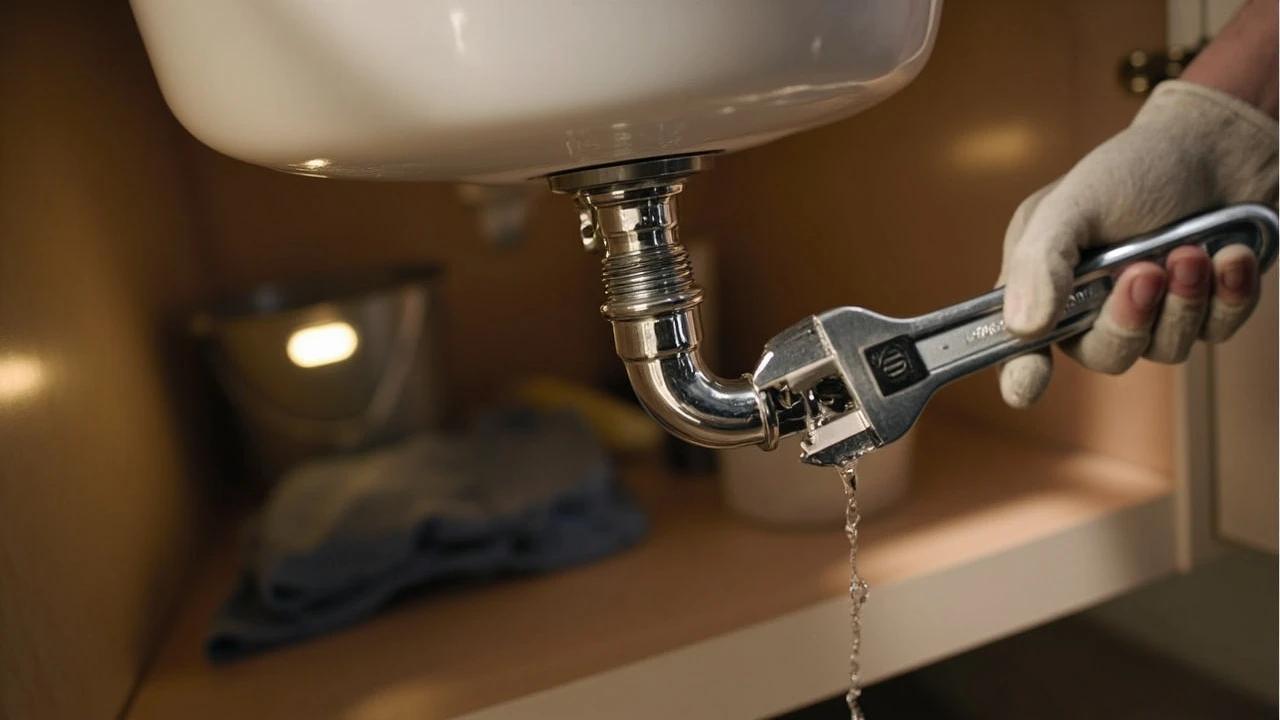
A weeping pipe joint under the sink is one of the most common — and cheapest — plumbing repairs you'll ever make. A roll of Teflon tape and a small tube of pipe joint compound cost under $10 and will fix the vast majority of threaded and compression joint leaks in 30 to 45 minutes, saving you the $150 to $400 a plumber would charge for the same trip.
You Might Also Like
 Medium30 min
How to Troubleshoot a Microwave That Won't Heat
A microwave that runs — light on, turntable spinning, timer counting down — but leaves food stone cold is one of the most common appliance failures, and about half the time the cause is something you can fix in five minutes for free. This guide walks the diagnosis from the easy stuff (demo mode, power level, a tripped GFCI, a dirty door latch) to reading the failure signature that tells you the high-voltage circuit is gone, then helps you make the repair-or-replace call with real numbers.
 Easy30 min
How to Replace an Electrical Outlet
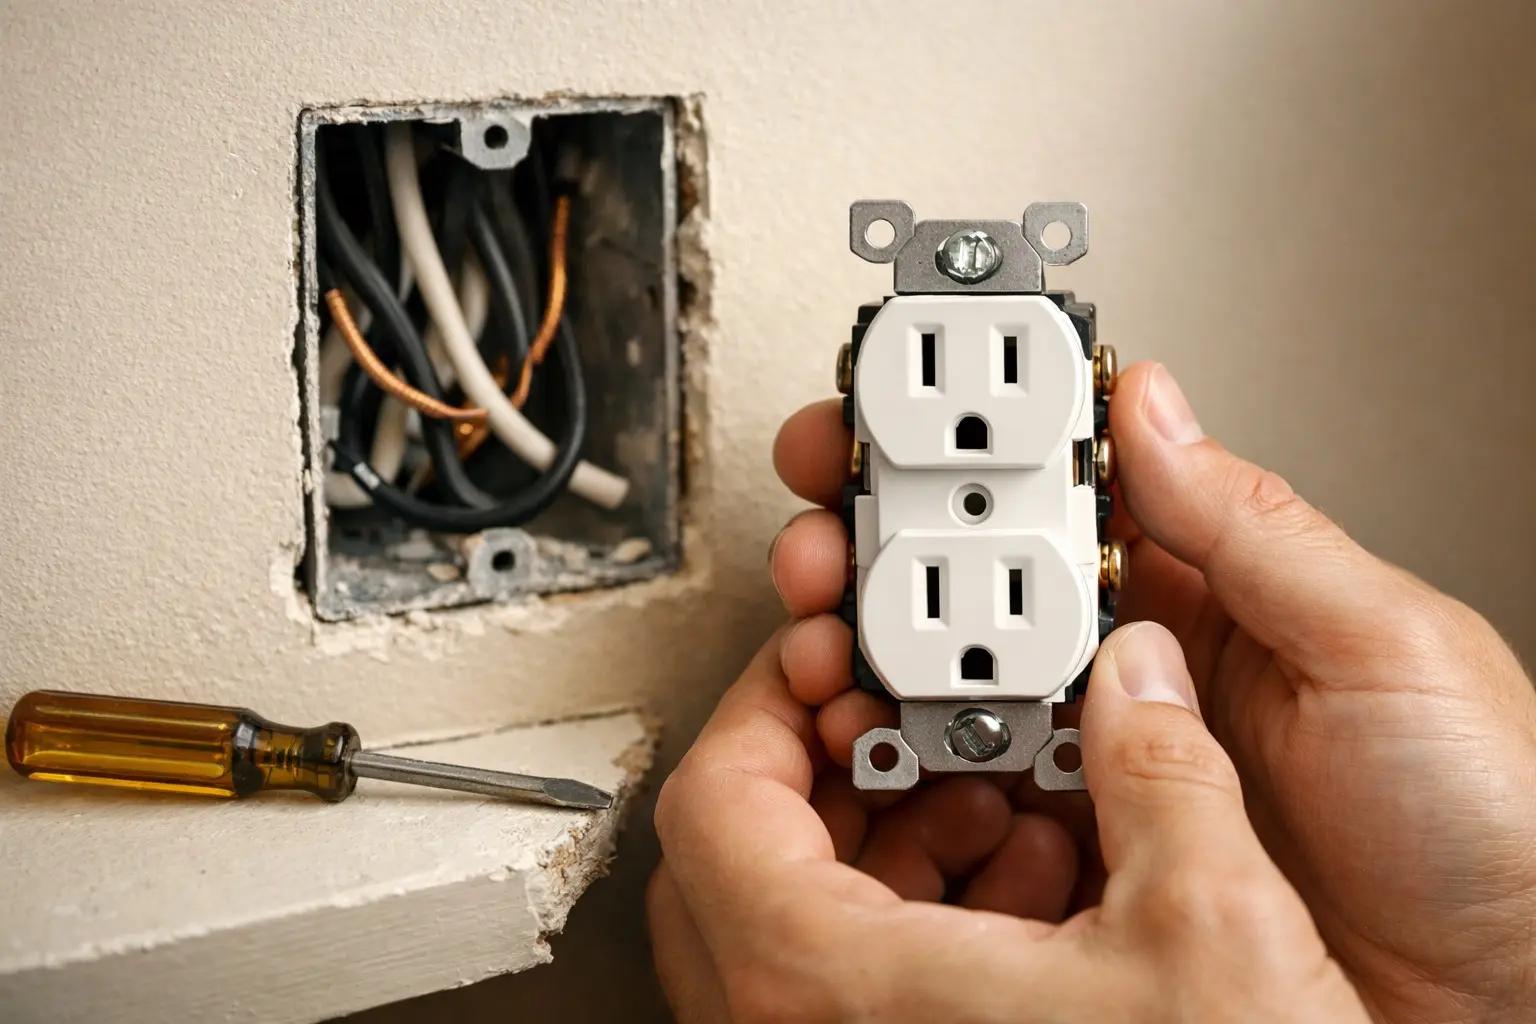
A worn-out or discolored electrical outlet is one of the simplest electrical repairs you can tackle yourself — swapping one takes about 15-30 minutes and costs under $5 in parts versus $75-150 for an electrician visit. This guide walks you through safely replacing a standard duplex receptacle, including how to handle the wiring correctly and avoid the most common DIY mistakes.
 Medium45 min
How to Install a Ceiling Fan
Replacing a light fixture with a ceiling fan improves air circulation in summer and can reduce heating costs in winter by circulating warm ceiling air downward. Most installs take 45-60 minutes.