How to Install Laminate Flooring

Click-lock laminate is the most beginner-friendly floor you can lay — it floats over an underlayment with no nails, no glue, and no wet saw. This guide walks the full job: acclimating the planks, flattening the subfloor, getting a dead-straight first row, staggering the joints, and finishing the edges. Expect about a day of work for a typical room and roughly $2 to $5 per square foot in materials, a fraction of a pro install.
What You'll Need
🛠 Tools
📦 Materials
Safety First
- •Wear safety glasses and hearing protection whenever you cut planks — laminate's hard melamine surface throws sharp chips.
- •Cutting laminate with a power saw creates fine dust; wear a dust mask and cut outdoors or near an open window when you can.
Step-by-Step Instructions
Acclimate the Planks and Gather Your Tools
Bring the unopened boxes into the room where they'll be installed and let them sit flat for at least 48 hours, with the room held at a normal lived-in 65 to 75 degrees. This lets the planks reach the room's temperature and humidity so they won't shrink or buckle after install. While they acclimate, measure the room, multiply length by width for square footage, and buy 10 percent extra for cutting waste and mistakes.
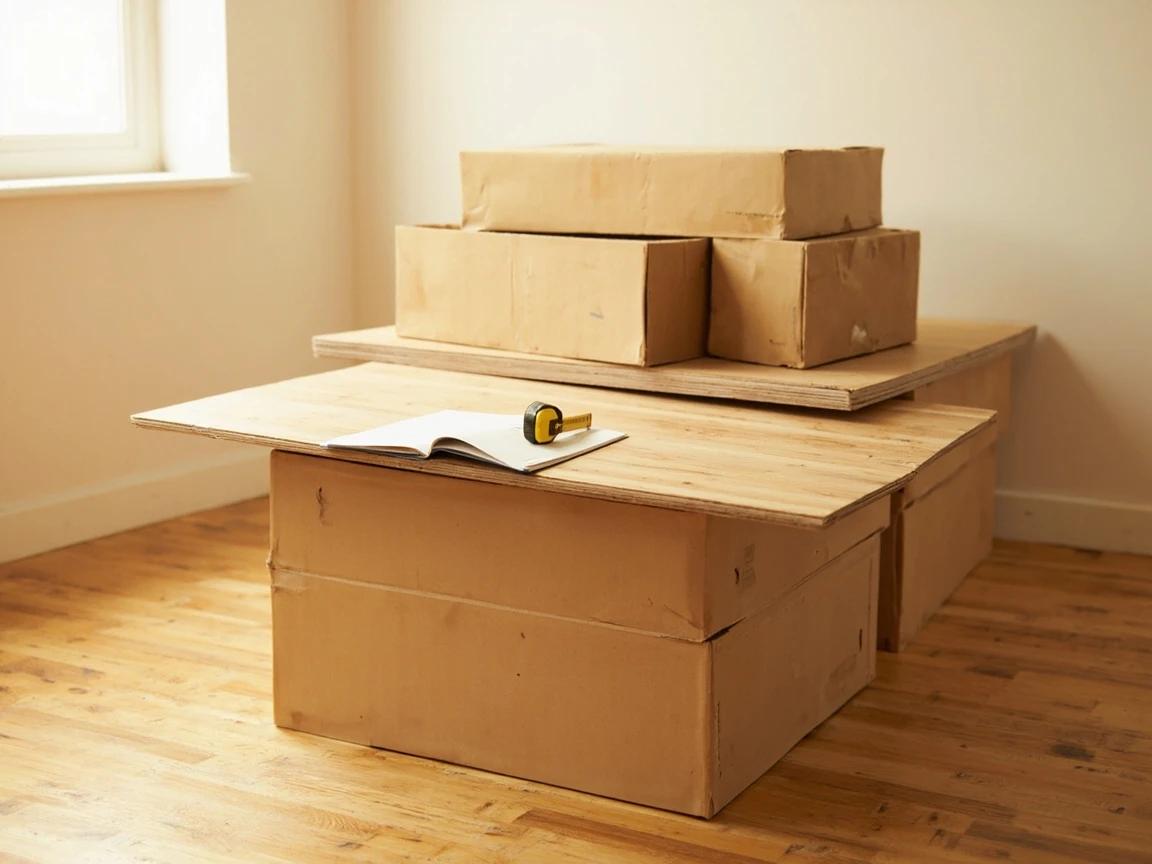
Lay the boxes flat and don't stack them more than three or four high — standing them on end or piling them up can bow the planks before you ever click one together.
Prep and Flatten the Subfloor
Pull off the existing baseboard and shoe molding with a pry bar so you can slip planks under the wall line later, then strip the room down to a clean, dry subfloor and vacuum every speck of grit. Lay a long straightedge or level across the floor in several directions: the subfloor must be flat to within about 3/16 inch over 10 feet. Sand down high spots and fill low ones with floor patch or self-leveler. Now is also the time to silence any movement underfoot — fix a squeaky floor by screwing the subfloor down to the joists before you cover it, because you can't reach it again once the laminate is down.
Over a concrete slab, test for moisture before you go any further. Laminate laid over a damp slab swells from below and is impossible to save — a vapor barrier slows moisture but won't rescue a genuinely wet floor.
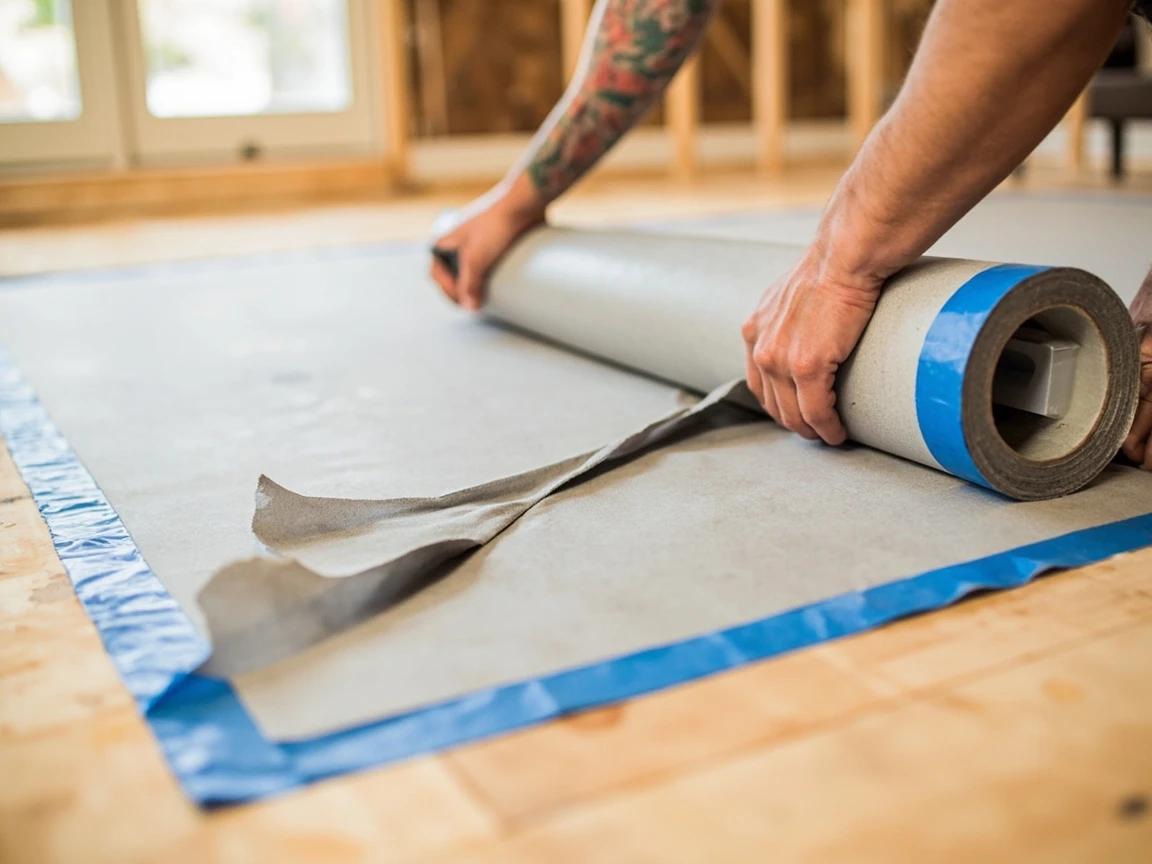
Roll Out the Underlayment
Unroll the foam underlayment across the whole floor, running the sheets in the same direction your planks will go. Butt the edges together without overlapping — overlaps create bumps you'll feel for years — and tape the seams flat with seam tape or painter's tape. Over concrete, lay the 6-mil vapor barrier first, lapping it a few inches up the walls (you'll trim it later) before the foam goes down. Skip the separate foam entirely if your planks have padding pre-attached.
Plan the Layout and Dry-Fit the First Rows
Measure the room's width and divide by a plank's width to see how wide the last row will land. If the final row would come out as a sliver under about 2 inches, rip the very first row narrower so the two edges of the room are balanced and stable — a hair-thin last row looks bad and won't lock well. Loose-lay a few rows without clicking them to confirm the direction and the stagger pattern before you commit.
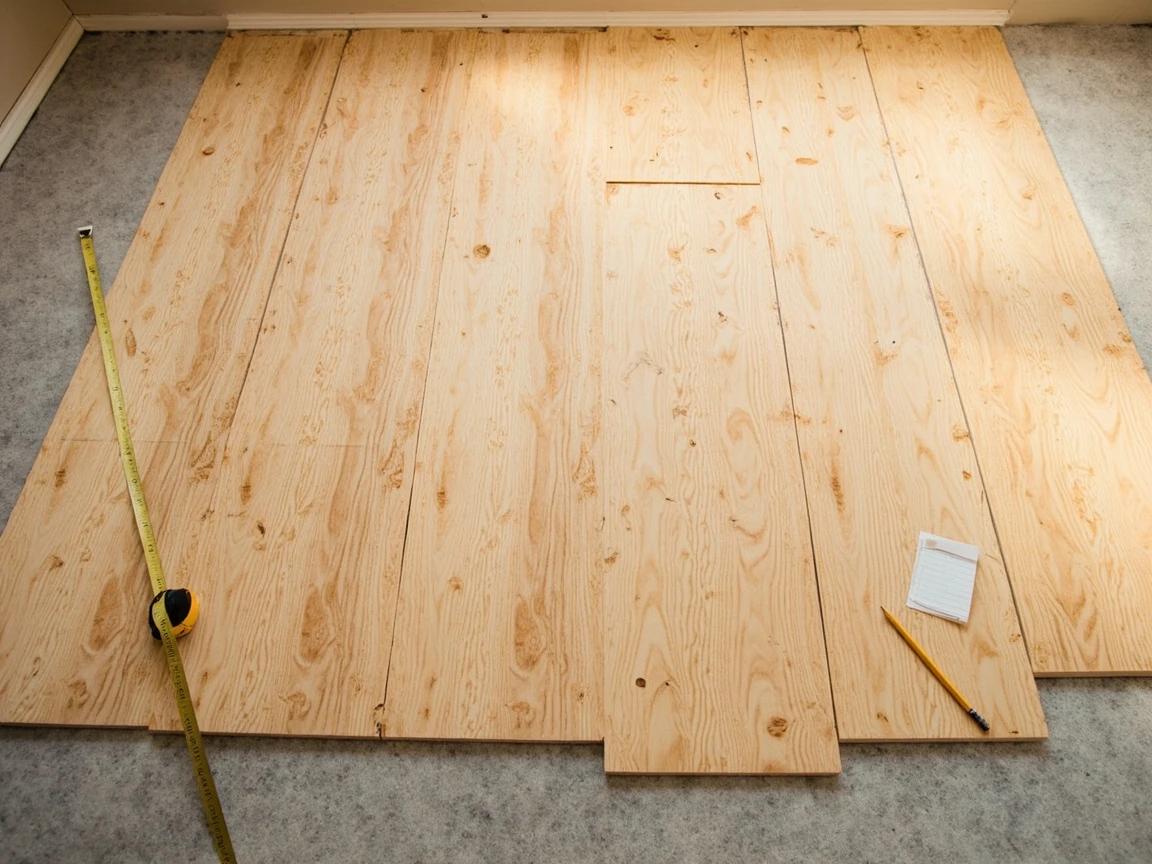
Open three or four boxes at once and mix planks from each as you go. Laminate is printed in a limited set of patterns, and pulling from one box at a time can drop the same grain photo right next to itself.
Lay a Dead-Straight First Row
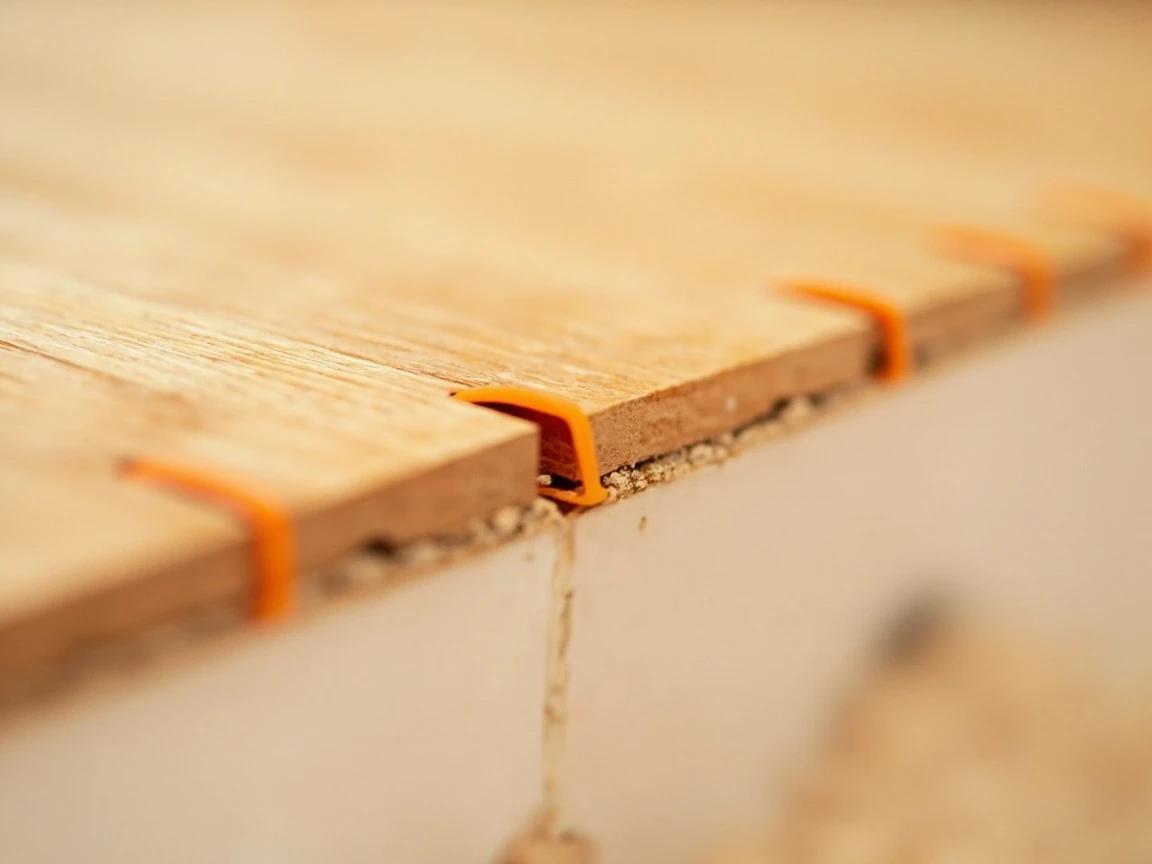
Start along the longest, straightest wall with the plank's tongue side facing the wall. Set 1/4 to 3/8 inch spacers between the planks and the wall to hold the expansion gap, and connect planks end to end down the row. This first row is the reference line for the entire floor, so check it with a chalk line or a long straightedge — if the wall is bowed, snap a straight line and cut the first row to follow it rather than the crooked wall.
Work Across the Floor and Stagger the Joints
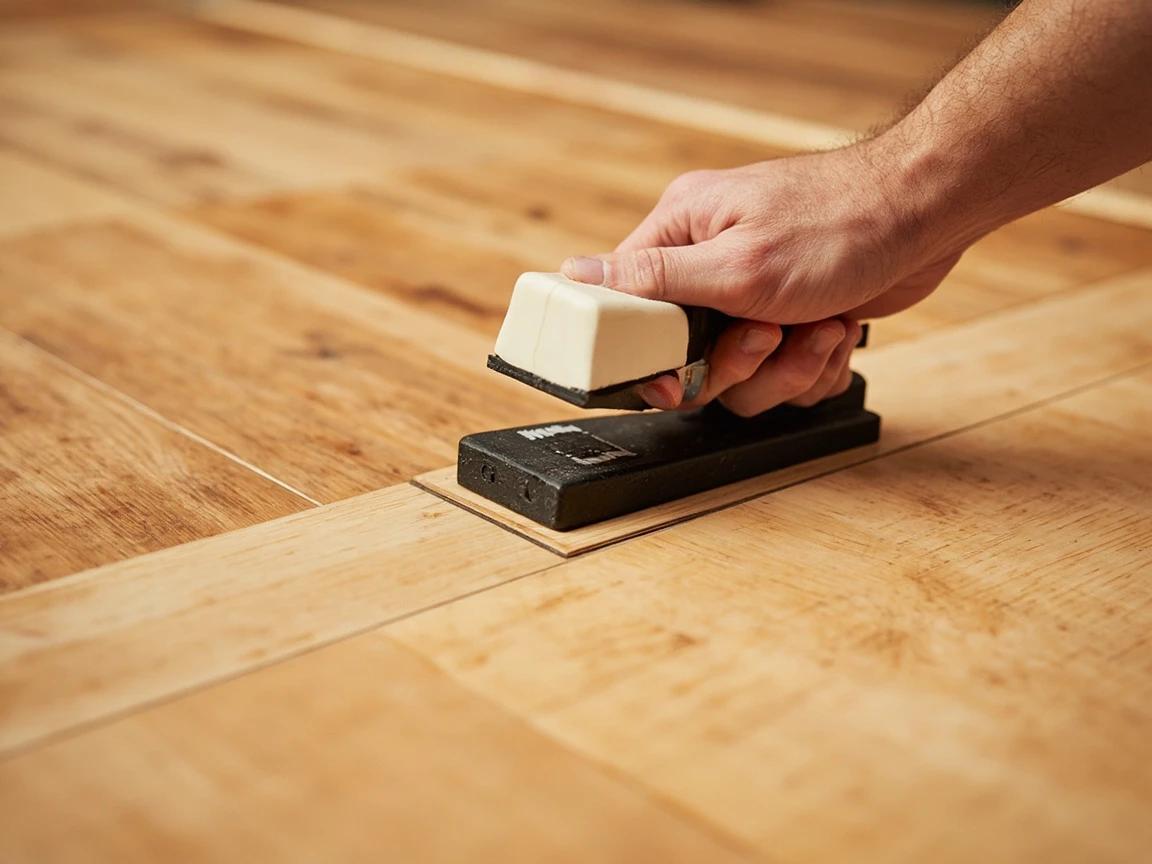
Angle each new plank's long tongue into the groove of the row before it and press down until it clicks, then close the end seams with a tapping block and a few light mallet taps — never hammer a plank's edge directly. Offset the end joints at least 6 inches from row to row, and avoid lining two end seams up into an 'H'. Starting each new row with the cut-off from the previous row keeps the stagger random and wastes almost nothing, as long as the leftover is longer than about 8 inches.
Cut pieces shorter than 6 inches at the ends of rows tend to work loose over time and break the stagger. It's better to waste a short offcut than to wedge one in.
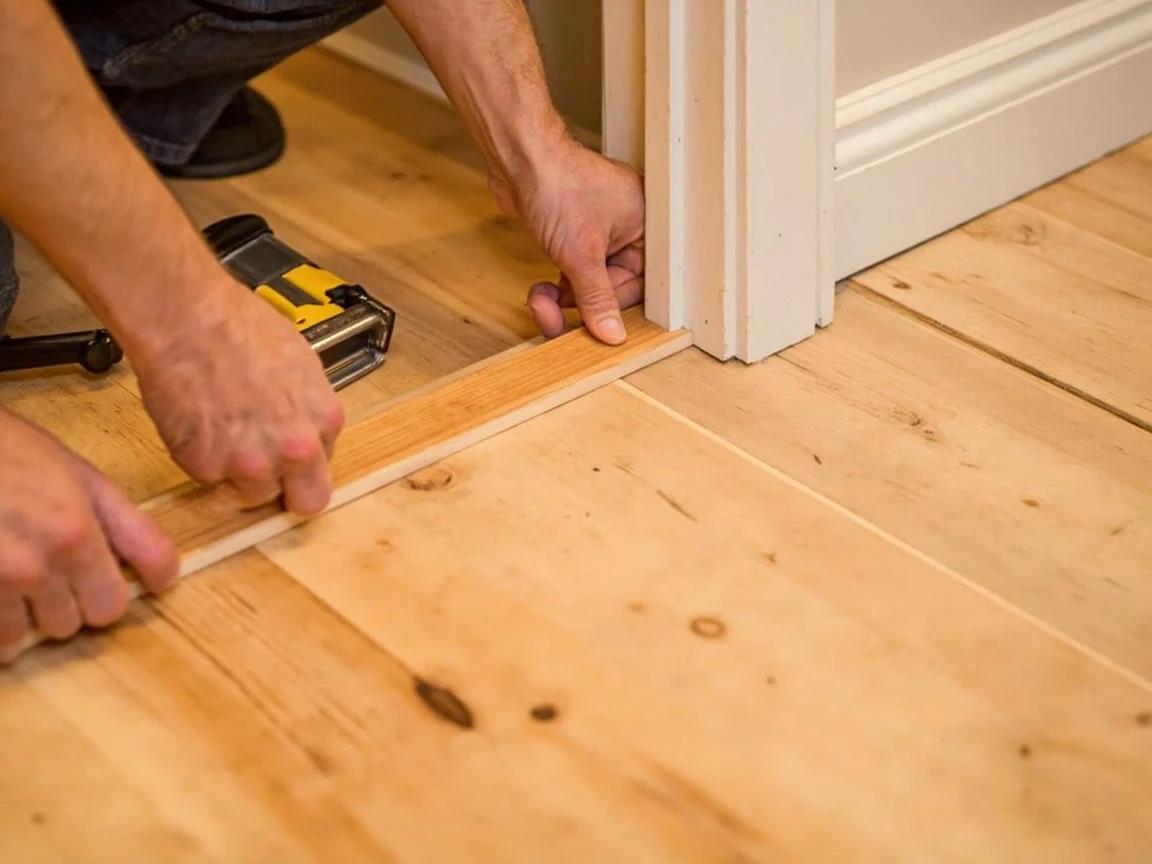
Cut Around Door Jambs, Pipes, and Corners
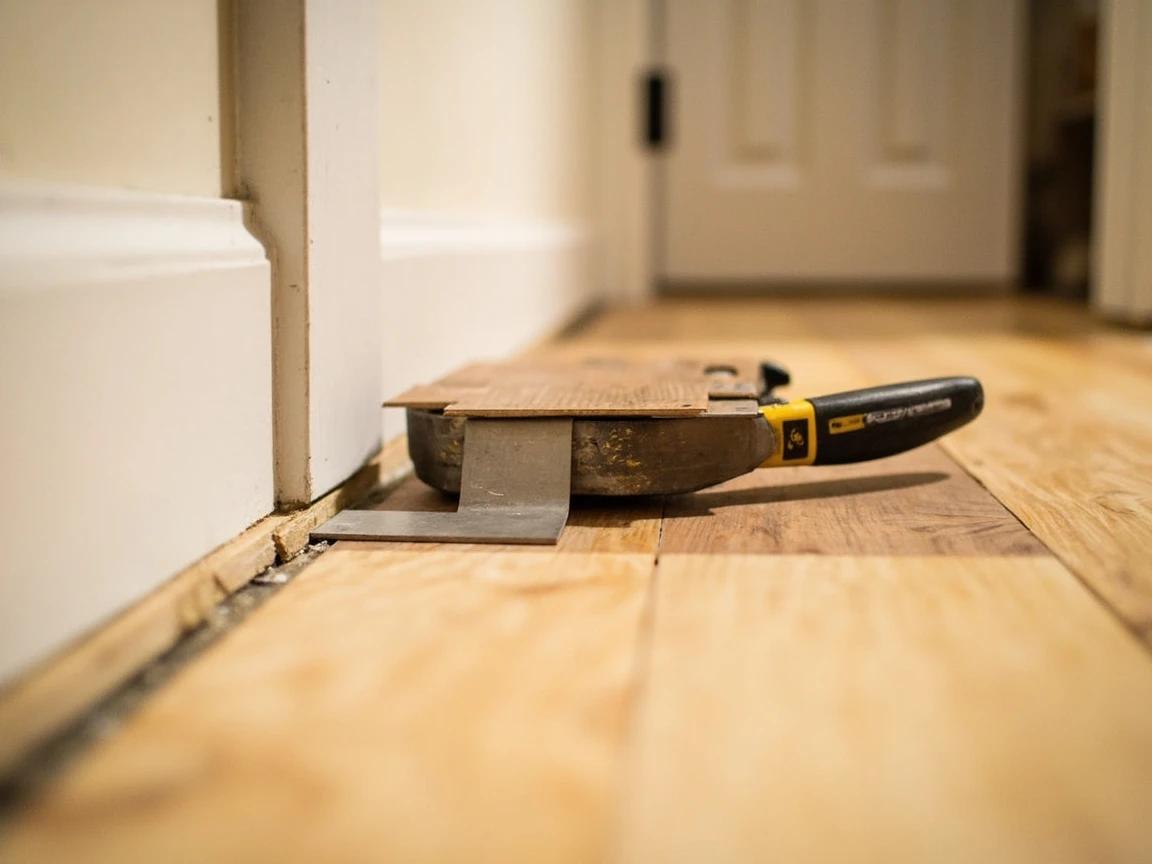
Rather than notch a plank to fit around a door casing, do the reverse: lay a scrap plank face-up next to the jamb as a height guide and run a flush-cut saw flat along it to trim the bottom of the casing, so a plank can slide cleanly underneath. For pipes, drill a hole about 1/2 inch wider than the pipe (centered on the cut line), then saw out a small wedge behind it, slip the plank around the pipe, and glue the wedge back in. Use a jigsaw for any irregular corner cuts.
When cutting with a jigsaw or circular saw, lay the plank finished-side down — those blades cut on the upstroke and chip the top face. A score-and-snap laminate cutter is dust-free and cuts with the good side up.
Fit and Lock the Final Row
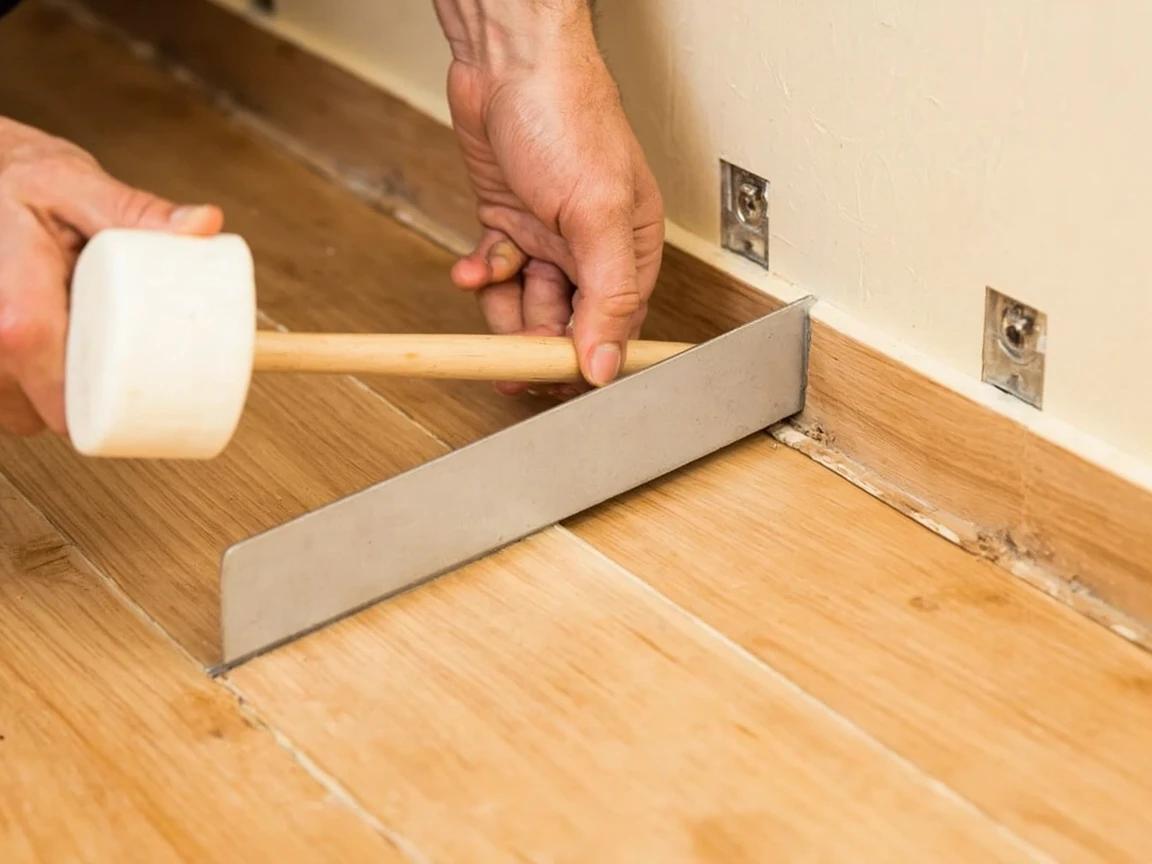
The last row almost always needs ripping to width. Measure the gap at several points (the wall is rarely perfectly parallel), subtract the 1/4 to 3/8 inch expansion gap, and rip the planks to that width with a table saw or circular saw. There's no room to angle these planks in, so hook a pull bar over the far edge and tap it with the mallet to draw each seam tight against the row before it.
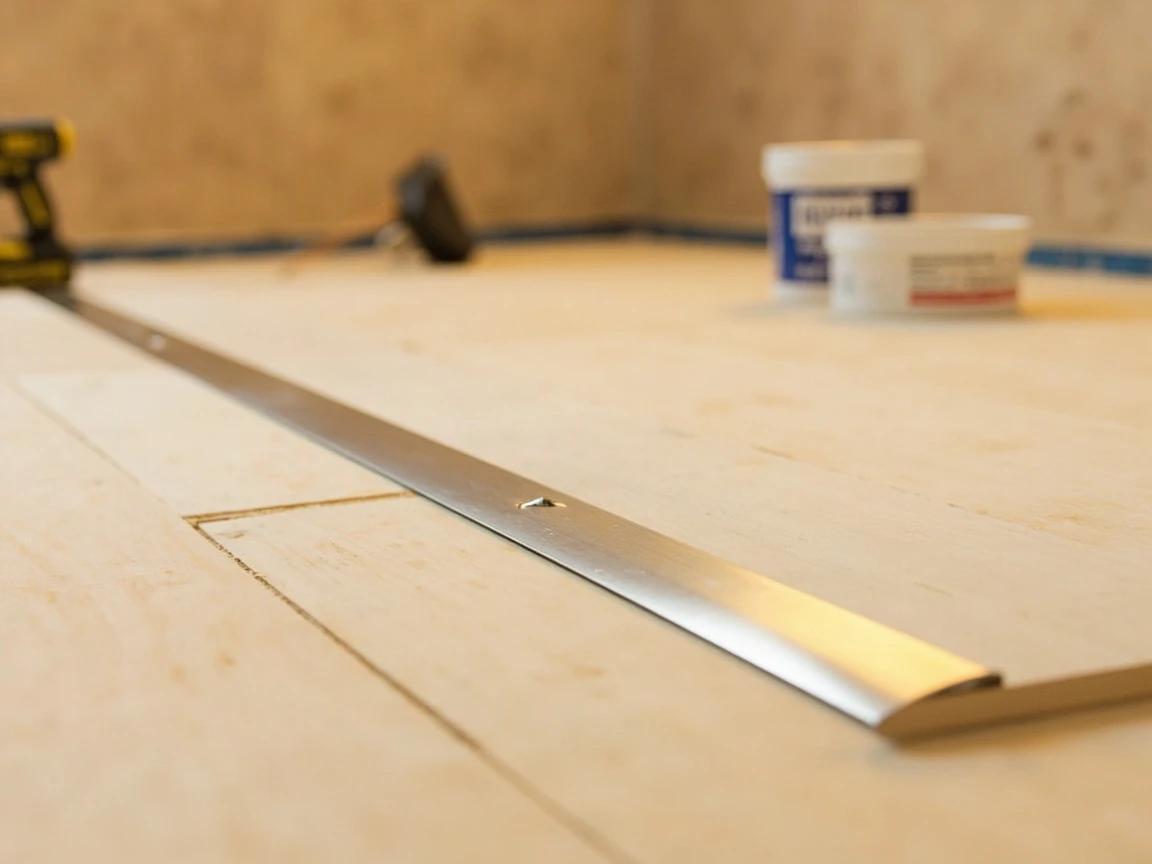
Add Transitions and Reinstall the Trim
Pull all the spacers and trim the vapor barrier flush. Set transition strips where the laminate meets another floor or a doorway — a T-molding for equal-height floors, a reducer where it steps down to something thinner — which also gives the floating floor room to move between rooms. Finally, nail your baseboard or quarter-round to the wall (never down into the laminate), covering the expansion gap while still letting the floor float underneath.
Nail trim to the wall, not through the floor. A single nail driven into the planks pins the floating floor in place and is the most common cause of buckling a month later.
Frequently Asked Questions
Do I need underlayment under laminate flooring?
+
Almost always, yes. A thin foam underlayment cushions the floor, quiets the hollow click underfoot, and smooths out minor subfloor imperfections. The exception is planks that come with padding already attached — stacking a second pad under those voids most warranties. Over a concrete subfloor you also need a 6-mil polyethylene vapor barrier (or a combo underlayment that includes one) to stop slab moisture from swelling the planks.
How big should the expansion gap around laminate flooring be?
+
Leave 1/4 to 3/8 inch between the flooring and every wall, pipe, and fixed object — go toward 3/8 inch in large rooms or humid climates. Laminate expands and contracts with humidity, and if the gap is missing or the baseboard pins the planks down, the whole floor buckles and peaks at the seams. Spacers hold the gap during install; baseboard or quarter-round hides it afterward.
Can I install laminate over existing tile, vinyl, or hardwood?
+
Yes. Because laminate floats, it goes over most hard, flat, dry floors as long as the surface is flat to within about 3/16 inch over 10 feet and the planks run across (not parallel to) any existing board seams. Don't lay it over carpet. If what's underneath is solid hardwood in decent shape, weigh whether to cover it at all — refinishing the wood floor often adds more value than burying it.
Which direction should the planks run?
+
The two common rules: run planks parallel to the longest wall, or run them lengthwise toward the main source of natural light (away from the biggest window). Both make a room read larger and make seams less obvious. Whatever you choose, the single most important thing is that the first row is dead straight — every row keys off it.
Is laminate waterproof enough for a bathroom or kitchen?
+
Standard laminate is water-resistant at best — its fiberboard core swells permanently if standing water sits in the seams. Kitchens are usually fine with prompt cleanup, but for full bathrooms, laundry rooms, or below-grade basements, choose a waterproof floor instead: luxury vinyl plank installs almost identically but shrugs off standing water.
Community Tips
💬 Sign in to share tips with the community
Sources & further reading
More Carpentry Guides
View all → Easy1 hr
How to Fix a Loose Stair Railing or Wobbly Handrail
A wobbly stair railing is more than an annoyance — it's a genuine fall hazard, especially for children and older adults. Most loose railings are caused by stripped screw holes, worn brackets, or loose newel post connections, and the fix typically takes under an hour with basic hand tools. This guide walks you through diagnosing the source of the wobble, reinforcing the fasteners, tightening balusters, and securing the entire assembly so it feels rock-solid again.
 Easy15 min
How to Fix a Squeaky Door
A squeaky door is one of the most annoying household problems — and one of the easiest to fix. In most cases you can silence the squeak in under 10 minutes with lubricant you probably already have at home, no special tools required. This guide covers quick lubrication fixes, hinge pin cleaning, and what to do when the squeak keeps coming back.
 Easy15 min
How to Find a Stud Without a Stud Finder
No stud finder? No problem. You can locate the wooden studs behind your drywall with things you already own — an outlet, a tape measure, and a strong magnet — in about ten minutes. This guide walks through every reliable method, from the quickest starting point to a foolproof way to confirm a stud before you drill a single hole.
You Might Also Like
 Medium30 min
How to Troubleshoot a Microwave That Won't Heat
A microwave that runs — light on, turntable spinning, timer counting down — but leaves food stone cold is one of the most common appliance failures, and about half the time the cause is something you can fix in five minutes for free. This guide walks the diagnosis from the easy stuff (demo mode, power level, a tripped GFCI, a dirty door latch) to reading the failure signature that tells you the high-voltage circuit is gone, then helps you make the repair-or-replace call with real numbers.
 Easy45 min
How to Repair a Shower Diverter Valve
When you pull the diverter knob and water still pours from the tub spout instead of the showerhead, the fix is usually a worn washer or mineral buildup — not a $200 plumber visit. This guide covers the three most common diverter types (tub spout, three-valve, and two-valve) and walks you through cleaning, replacing washers, and swapping the diverter if needed, all in under an hour with basic tools.
 Medium1 hr
How to Fix Low Water Pressure
Weak, trickling water usually has a cheap, findable cause — a clogged aerator, a half-closed valve, or a tired pressure-reducing valve — long before it means re-piping the house. This guide walks the diagnosis in order: first pin down whether it's one fixture or the whole house (and hot-only or both), then work each cause with a $12 pressure gauge as your guide. Most fixes are free or under $30; you'll also learn the few signs that mean it's time to call a plumber.