How to Install Vinyl Plank (LVP) Flooring
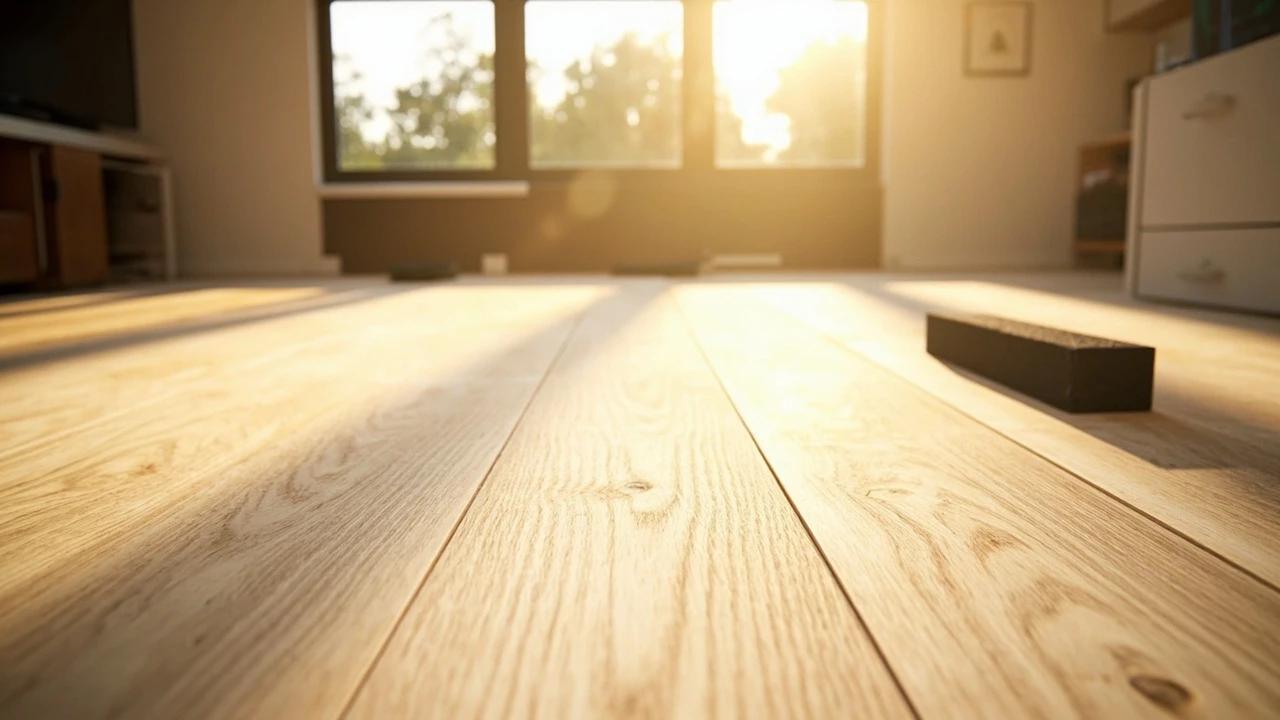
A floating click-lock luxury vinyl plank floor is the most beginner-friendly way to replace a tired floor — no glue, no nails, just angle-click-and-tap planks that cut with a utility knife. The catch is everything that happens before the first plank: acclimation, a dead-flat subfloor, a balanced layout, and a perimeter expansion gap. Get those right and a room takes a day and $2-7 a square foot; skip them and the floor buckles. This guide walks the whole job in order.
What You'll Need
🛠 Tools
📦 Materials
Safety First
- •In a home built before the 1980s, do not sand, grind, or tear up old sheet vinyl or 9x9 tile and its black 'cutback' adhesive until it has been tested for asbestos — disturbing it releases fibers, and removal is a licensed abatement job.
- •A floating floor has to stay free to move. Always leave the 1/4-inch perimeter expansion gap, never fasten the planks down, and nail trim to the wall only — pinning the floor causes buckling that forces a full tear-out.
- •Boxes of vinyl plank are heavy (40-70 lbs) — lift with your legs. When power-cutting planks, wear safety glasses and a dust mask in a ventilated area; sawing rigid vinyl throws fine PVC dust.
Step-by-Step Instructions
Acclimate the Planks and Gather an Install Kit
Buy about 10% more flooring than your room's square footage (15% if the room has lots of angles or it's your first install), and let the unopened boxes sit flat in the room for at least 48 hours so the planks adjust to its temperature and humidity. Skipping this is the number-one cause of a floor that buckles or gaps weeks later. While you wait, pick up a vinyl-flooring install kit — a tapping block, a pull bar, and 1/4-inch spacers — for about $30-40.

Open and mix planks from several boxes as you work. Dye lots vary slightly between boxes, and blending them keeps a single off-color box from standing out as a stripe across your finished floor.
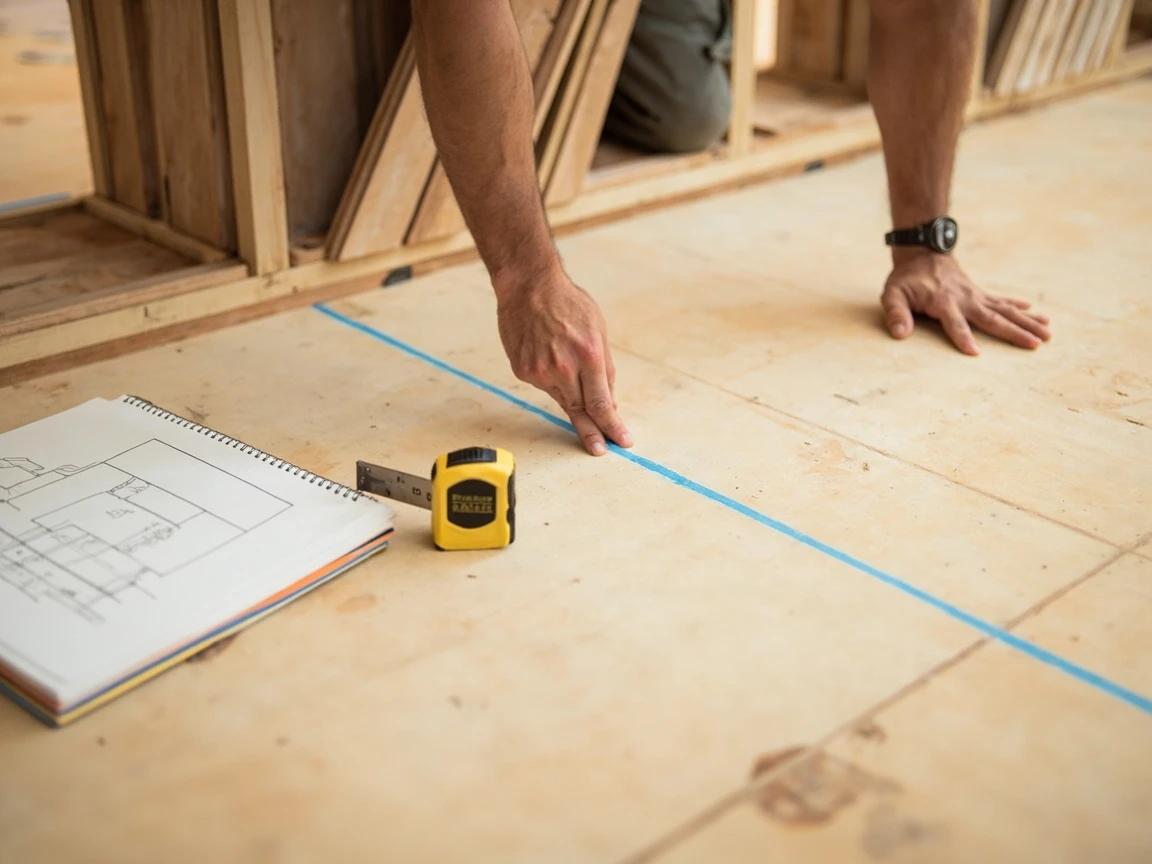
Prep and Flatten the Subfloor
The floor is only as good as what's under it. Vacuum the subfloor spotless, then drag a long straightedge or level across it in several directions — it must be flat to within 3/16 inch over any 10-foot span. Grind down high spots and fill low spots with floor-leveling compound, feathering the edges smooth. Pry off the base shoe or baseboards, and over a concrete slab roll out a 6-mil poly vapor barrier; add a thin 1-2 mm underlayment only if your planks don't already have a pad attached.
Don't sand, grind, or rip up old sheet vinyl or 9x9 tile in a pre-1980s home until it's tested for asbestos. The flooring and its black 'cutback' adhesive can contain it, and disturbing it releases fibers.
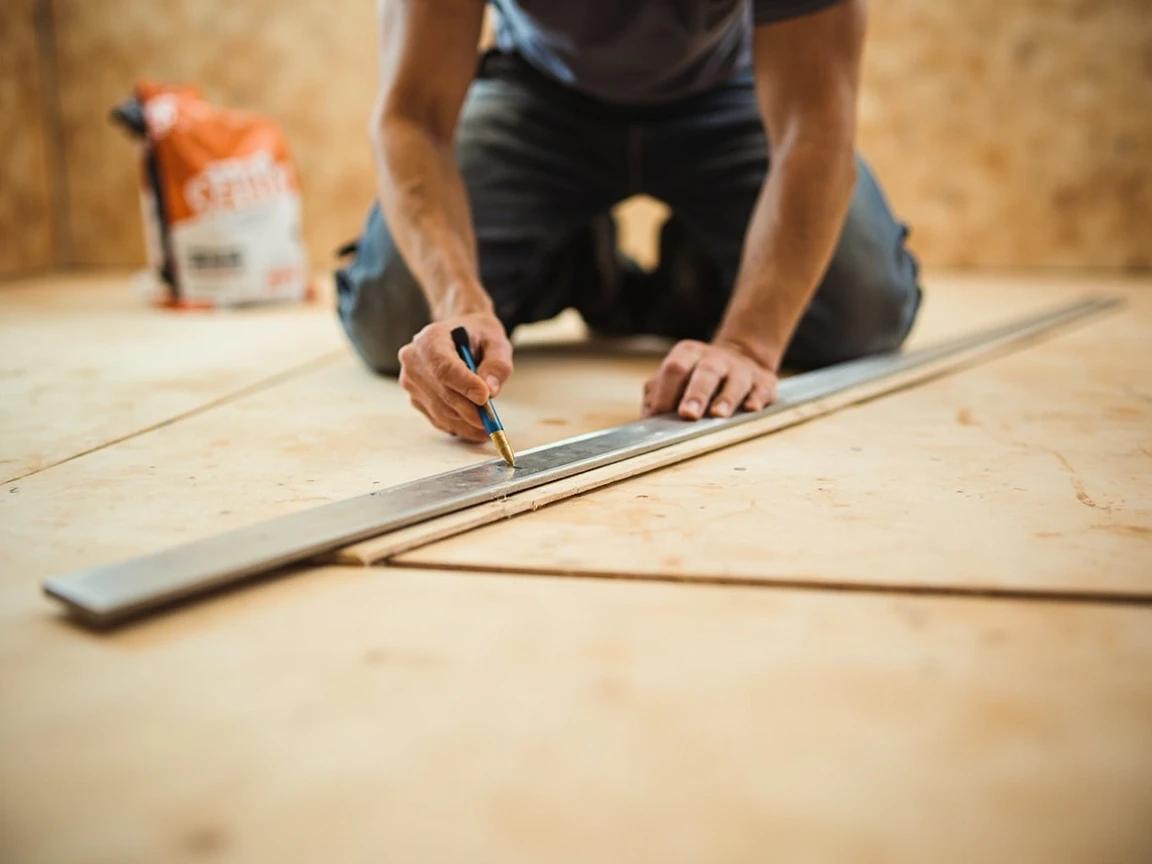
Plan the Layout and Plank Direction
Measure the room and choose direction: planks generally look best running parallel to the longest wall and toward the main source of natural light, which makes the space feel larger. Divide the room's width by the plank width to see how wide the last row will land — if it comes out a thin sliver (under about 2 inches), rip the first row narrower so the first and last rows are balanced and both look intentional. Dry-lay a few rows to preview the seam pattern before you commit.
Stagger end seams at least 6 inches — ideally 8-12 — from row to row, and never line two seams up or create a tight 'stairstep.' Random, well-spaced joints are both stronger and better-looking.
Lay the First Row With an Expansion Gap
Start along the longest, straightest wall. Set the first row with 1/4-inch spacers between the planks and the wall on all sides — vinyl expands and contracts with temperature, and this perimeter gap is what keeps the floor from buckling. Connect planks end-to-end down the row, keeping the cut or tongue side toward the wall and the groove facing out into the room. If the wall isn't straight, scribe and trim the back edge of the first row to follow its contour.
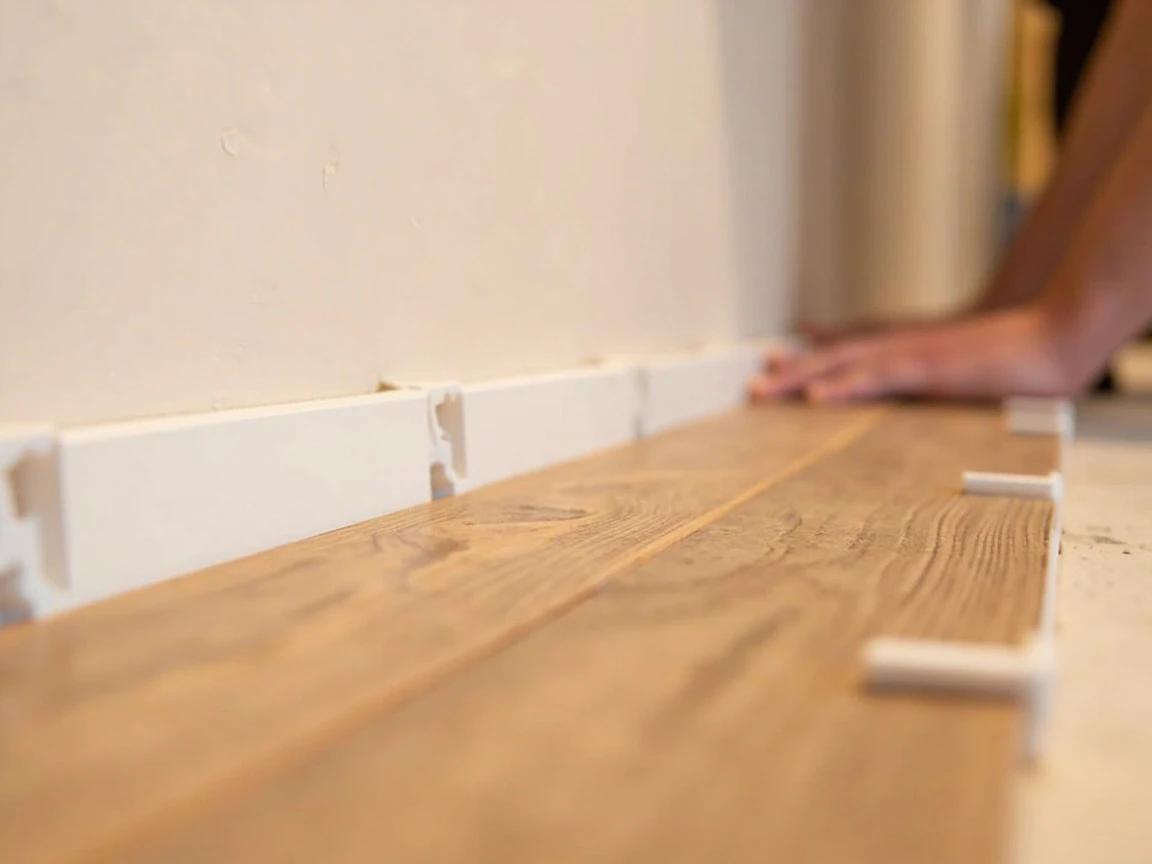
Never skip the 1/4-inch expansion gap or trap the floor under a doorway or cabinet. A floating floor must be free to move; pin it and it buckles in the first warm, humid stretch — and the only fix is pulling the whole floor up.
Lock Each Row and Stagger the Seams
Start the second row with the offcut from the end of the first (as long as it leaves at least a 6-inch stagger) to cut down on waste. Angle each plank's long edge into the row above and press until it clicks, then snug the end joints with the tapping block and a rubber mallet — tap the block, never the bare plank edge. Work across and up the room, keeping spacers against every wall and mixing planks from different boxes as you go.
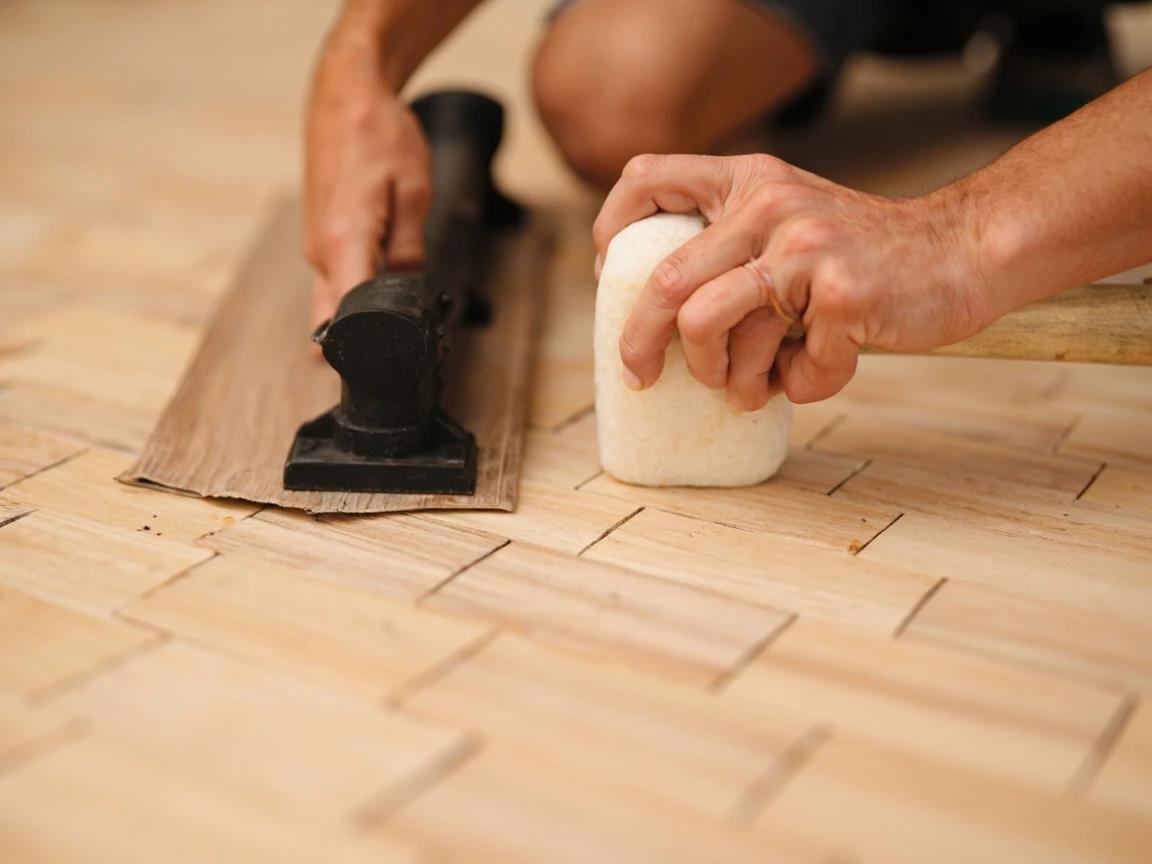
If a long-edge joint won't sit flush, a crumb of debris is usually trapped underneath. Pop the plank up, sweep the joint clean, and re-click it rather than mallet-forcing it down — forcing it chips the locking edge.
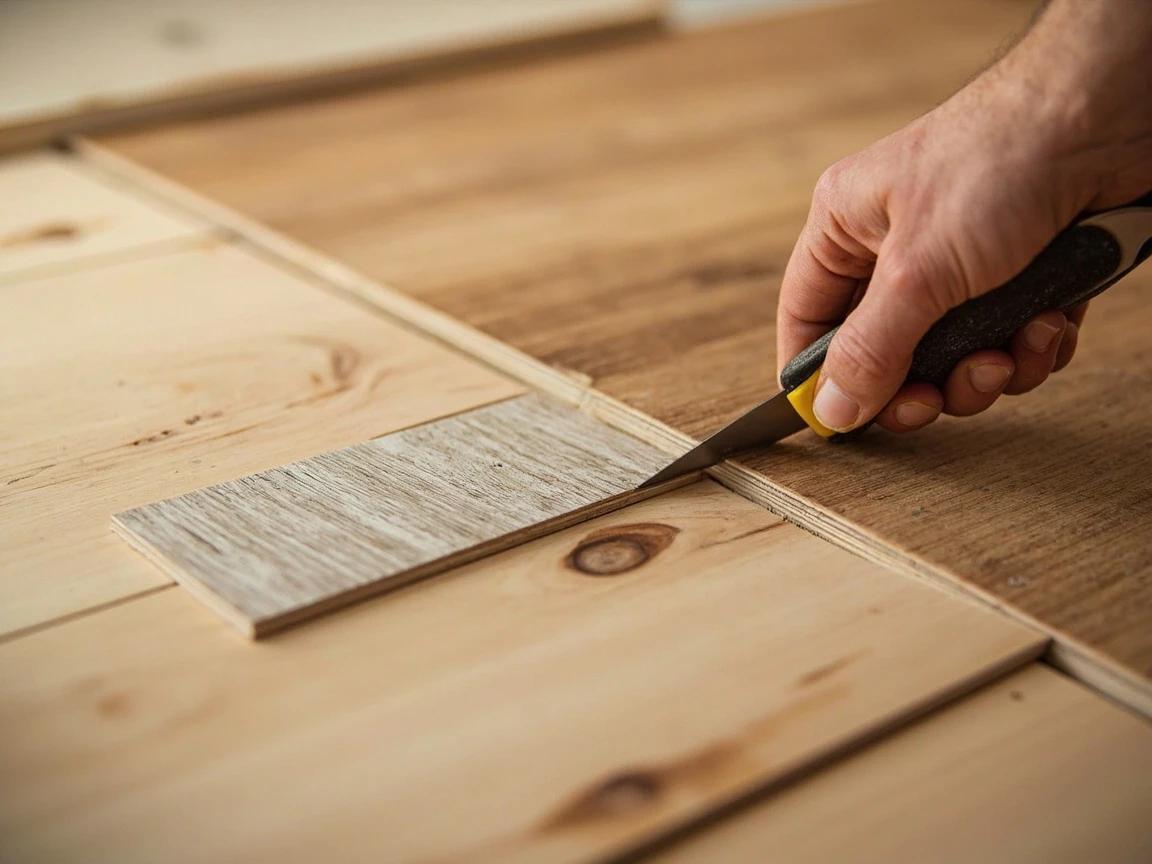
Cut Planks and Notch Around Obstacles
For straight cross-cuts, score the plank face deeply along a square with a utility knife and snap it — no power saw needed. For lengthwise rips and for notches around corners, door casings, floor registers, or pipes, use a jigsaw or an oscillating multi-tool. Leave the same 1/4-inch gap around pipes and any fixed object; a little extra is hidden later by trim or pipe escutcheon rings.
Cut planks in a ventilated space and wear eye protection and a dust mask when using power tools — sawing rigid vinyl throws fine PVC dust that hangs in the air.
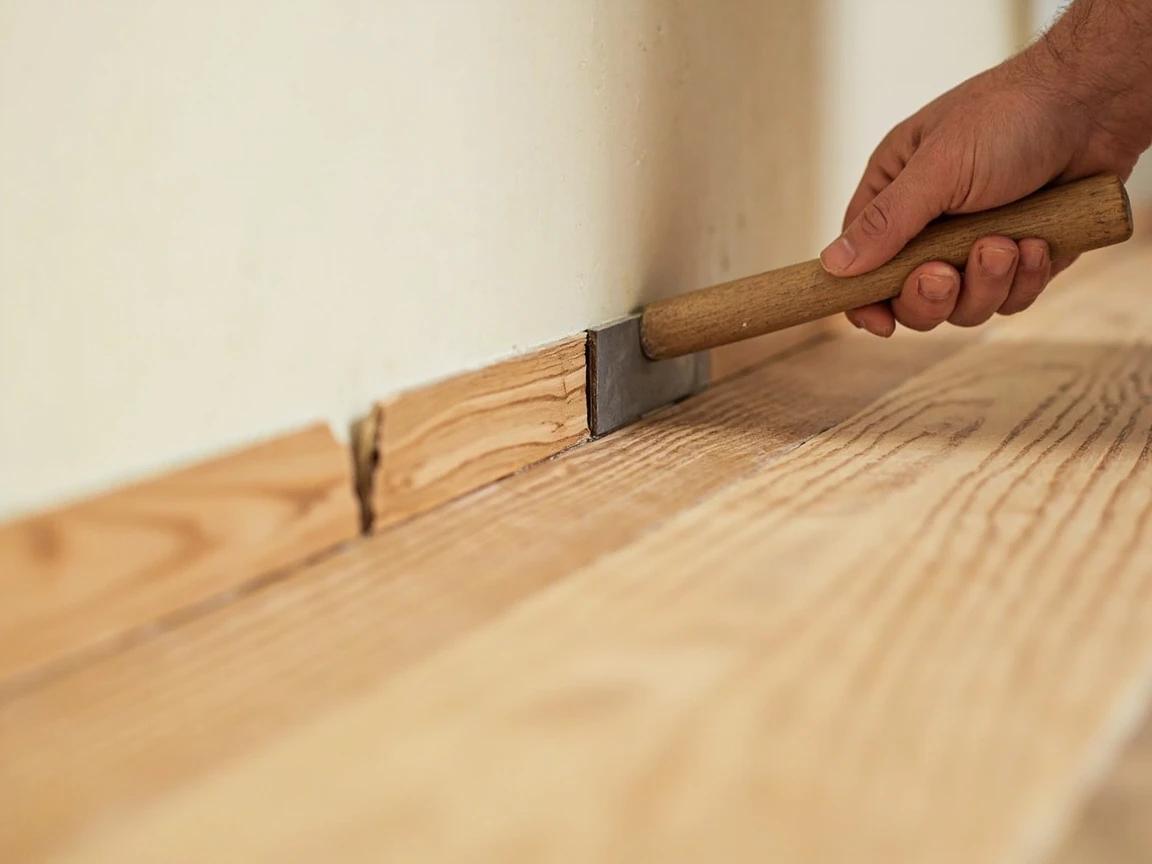
Undercut the Door Jambs and Casings
Instead of fussily notching planks around every door casing, undercut the wood so the plank slides underneath for a clean, factory look. Lay a scrap plank face-up next to the jamb as a height guide, rest a flush-cut or oscillating saw flat on it, and trim the bottom of the jamb and casing. Vacuum the sawdust and test that a plank slips under with a hair of room to spare.

Rip and Fit the Final Row
Measure the gap for the last row at several points — walls are rarely parallel — subtract 1/4 inch for the expansion gap, and rip the planks to width lengthwise with a circular saw, table saw, or repeated utility-knife scoring. Click the long edge in at an angle, then reach over the top with the pull bar and tap its hooked end to draw each plank tight against the row before it. The cut edge tucks against the wall where trim will cover it.
Finish With Transitions and Trim
Pull every spacer. Install transition strips — T-molding, a reducer, or a threshold — wherever the floor meets a doorway or a different floor height. Then reinstall the baseboards or add quarter-round to hide the expansion gap, and here's the critical part: nail the trim into the wall, never down through the planks, so the floor underneath can still float. Finally, walk the whole floor and press for any spot that clicks or shifts.
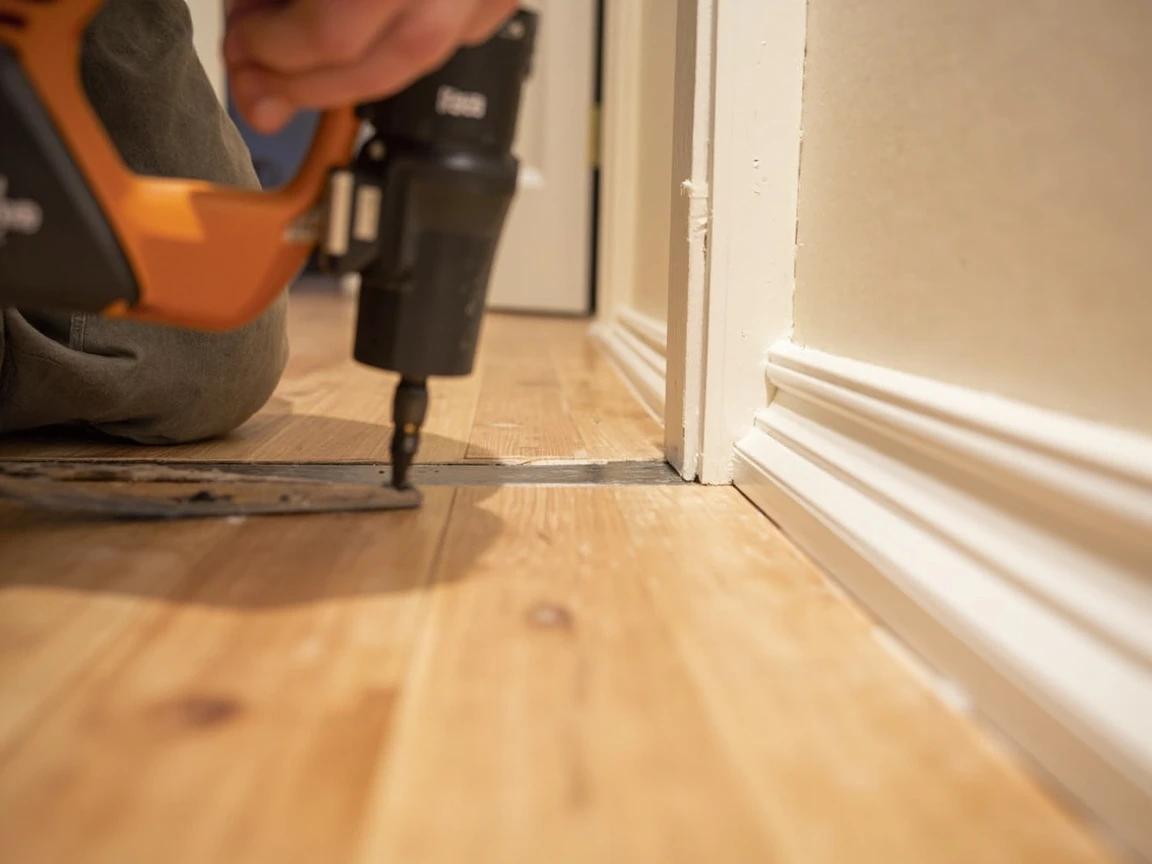
Hold a coin against the baseboard as a spacer while you nail quarter-round, leaving a hair of clearance above the planks. Pinning the trim tight to the floor defeats the expansion gap you worked to leave.
Frequently Asked Questions
Do I need underlayment under vinyl plank flooring?
+
If your planks have an attached pad (most rigid-core SPC planks do), you don't add a separate underlayment — and you should never stack two pads, because the extra softness flexes the locking joints apart. If the planks have no pad, lay a thin 1-2 mm IXPE underlayment. Over a concrete slab, always put down a 6-mil poly vapor barrier first, pad or not.
Which direction should I run vinyl plank flooring?
+
As a rule, run the planks parallel to the longest wall and toward the main source of natural light — both make a room feel larger and longer. In a hallway, always run the planks lengthwise down the hall. The locking direction of the planks doesn't force your hand here; layout and looks do.
Can I install vinyl plank flooring over existing tile?
+
Yes, if the tile is flat (within 3/16 inch over 10 feet), firmly bonded with no loose or popping pieces, and the grout lines are shallow. Grout joints deeper than about 1/8 inch will telegraph through thin planks, so fill them with leveling compound first. Thicker rigid-core (SPC) planks bridge minor grout lines better than flexible glue-down vinyl.
How much extra vinyl plank flooring should I buy?
+
Buy about 10% more than the room's square footage to cover cuts and the occasional mistake, or 15% for rooms with lots of angles, closets, and doorways, or if it's your first install. Keep several leftover planks afterward for future repairs — matching the dye lot years later is nearly impossible.
Do I have to remove the baseboards to install LVP?
+
No. You can leave the baseboards in place and cover the expansion gap with quarter-round or base shoe molding, which is faster. Pulling the baseboards and reinstalling them gives a cleaner, trimmer look but is more work. Either way, nail the trim to the wall, never down into the floating floor.
Community Tips
💬 Sign in to share tips with the community
Sources & further reading
- How to Lay Vinyl Plank Flooring — Today's Homeowner
- 11 Common Mistakes When Installing Vinyl Plank Flooring — Angi
- How Much Does It Cost to Install Vinyl Plank Flooring? — Bob Vila
More Carpentry Guides
View all → Easy1 hr
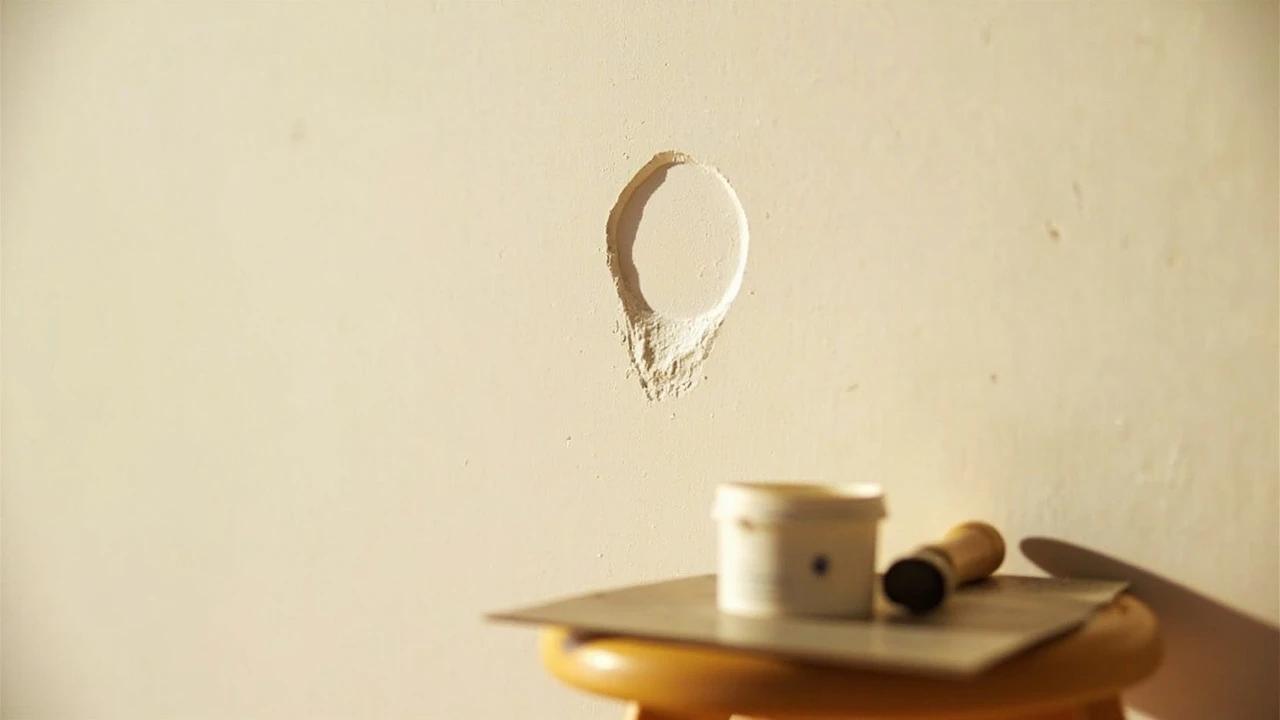
How to Patch Any Size Hole in Drywall: Which Method to Use
Whether it's a nail pop, a doorknob punch-through, or a fist-sized hole from moving furniture, patching drywall is one of the most common home repairs — and doing it yourself saves $75-200 per hole versus hiring a handyman. This guide is the decision tree: match your hole size to the right method — spackle, mesh patch, or backer-board cutout — then follow the pro steps to an invisible, paint-ready finish.
 Easy45 min
How to Fix a Nail Pop or Screw Pop in Drywall
That little round bump or crescent crack in your wall is a nail pop — the framing lumber dried and shrank, and the fastener stayed put while the wood moved around it. Hammering it back in is a two-month fix; the permanent repair takes twenty minutes and about ten dollars: re-anchor the drywall with new screws above and below the pop, deal with the old fastener, and fill. This guide covers walls, the ceiling version, and how to tell a harmless pop from a symptom worth investigating.
 Easy1 hr
How to Fix a Loose Stair Railing or Wobbly Handrail
A wobbly stair railing is more than an annoyance — it's a genuine fall hazard, especially for children and older adults. Most loose railings are caused by stripped screw holes, worn brackets, or loose newel post connections, and the fix typically takes under an hour with basic hand tools. This guide walks you through diagnosing the source of the wobble, reinforcing the fasteners, tightening balusters, and securing the entire assembly so it feels rock-solid again.
You Might Also Like
 Easy25 min
Best Deck Stain: Transparent vs Semi vs Solid
There is no "best" deck stain — there is the right stain for your sun exposure, wood condition, and how often you want to redo the job. Transparent stains last 1-2 years but let the natural grain show. Solid stains last 4-7 years but look like paint. This guide walks the four opacity levels and the oil-vs-water choice so you pick the one that matches your deck and your tolerance for re-staining.
 Medium30 min
How to Troubleshoot a Microwave That Won't Heat
A microwave that runs — light on, turntable spinning, timer counting down — but leaves food stone cold is one of the most common appliance failures, and about half the time the cause is something you can fix in five minutes for free. This guide walks the diagnosis from the easy stuff (demo mode, power level, a tripped GFCI, a dirty door latch) to reading the failure signature that tells you the high-voltage circuit is gone, then helps you make the repair-or-replace call with real numbers.
 Easy45 min
How to Repair a Shower Diverter Valve
When you pull the diverter knob and water still pours from the tub spout instead of the showerhead, the fix is usually a worn washer or mineral buildup — not a $200 plumber visit. This guide covers the three most common diverter types (tub spout, three-valve, and two-valve) and walks you through cleaning, replacing washers, and swapping the diverter if needed, all in under an hour with basic tools.