How to Find a Stud Without a Stud Finder
No stud finder? No problem. You can locate the wooden studs behind your drywall with things you already own — an outlet, a tape measure, and a strong magnet — in about ten minutes. This guide walks through every reliable method, from the quickest starting point to a foolproof way to confirm a stud before you drill a single hole.
What You'll Need
🛠 Tools
📦 Materials
Safety First
- •Electrical cables often run vertically into outlet and switch boxes and horizontally between them. When probing with a nail or drilling, stay several inches clear of the sides, top, and bottom of any box, and keep probes shallow.
- •Avoid driving probes or drilling blindly into kitchen and bathroom walls or near your electrical panel, where hidden water lines and live cables are common.
Step-by-Step Instructions
Start at an outlet or light switch
Almost every electrical box is nailed or screwed to the side of a stud, so an outlet or switch is the fastest place to find a guaranteed stud. Knock gently on the wall on each side of the cover plate — the solid-sounding side is where the stud is. Make a pencil tick about 3/4 inch to that side, which is roughly where the stud's face begins behind the drywall.
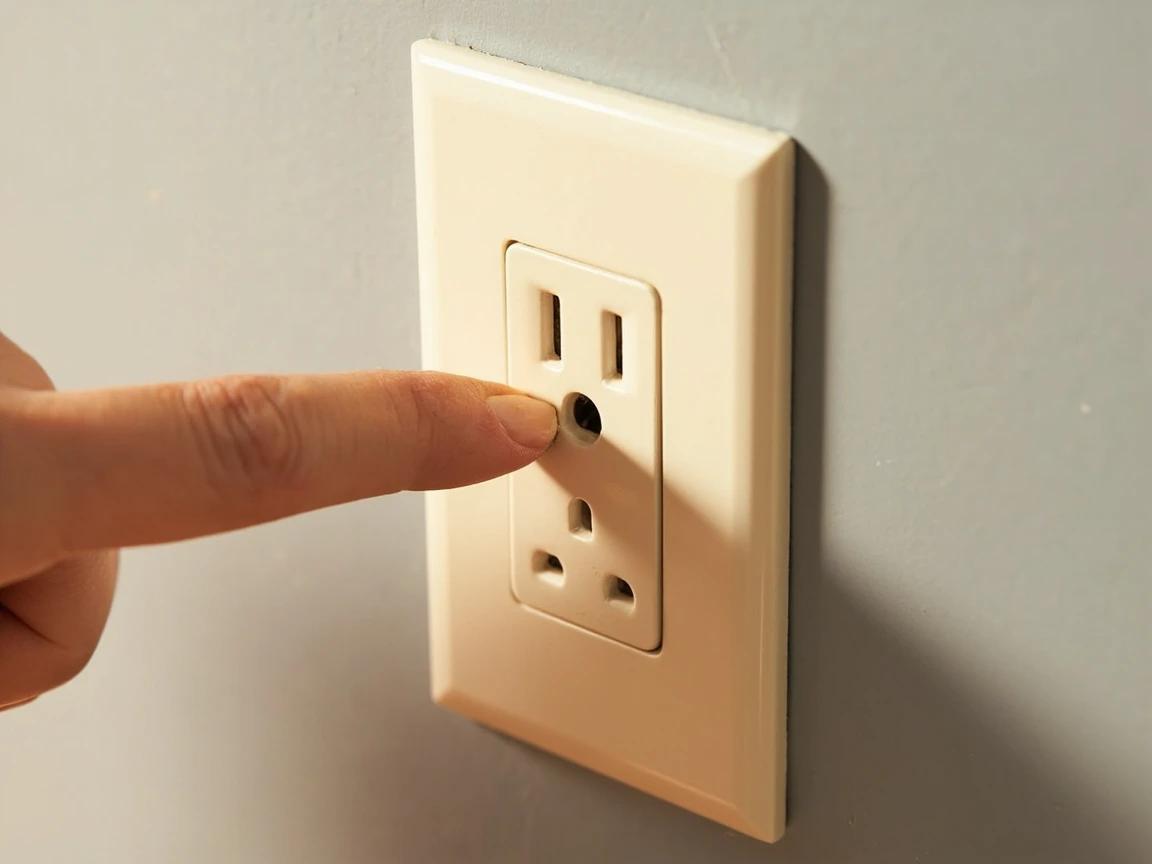
In most homes the box sits on the right side of the stud, but it varies — let the knock test tell you which side instead of assuming.
Measure in 16-inch intervals
Wall studs are almost always spaced 16 inches apart, measured from the center of one to the center of the next (builders call this "on center"). From your known stud, pull a tape measure horizontally and mark light pencil ticks at 16 and 32 inches; the next studs should fall at or very near those marks. Some newer or non-load-bearing walls use 24-inch spacing, so if 16 inches comes up empty, check 24.
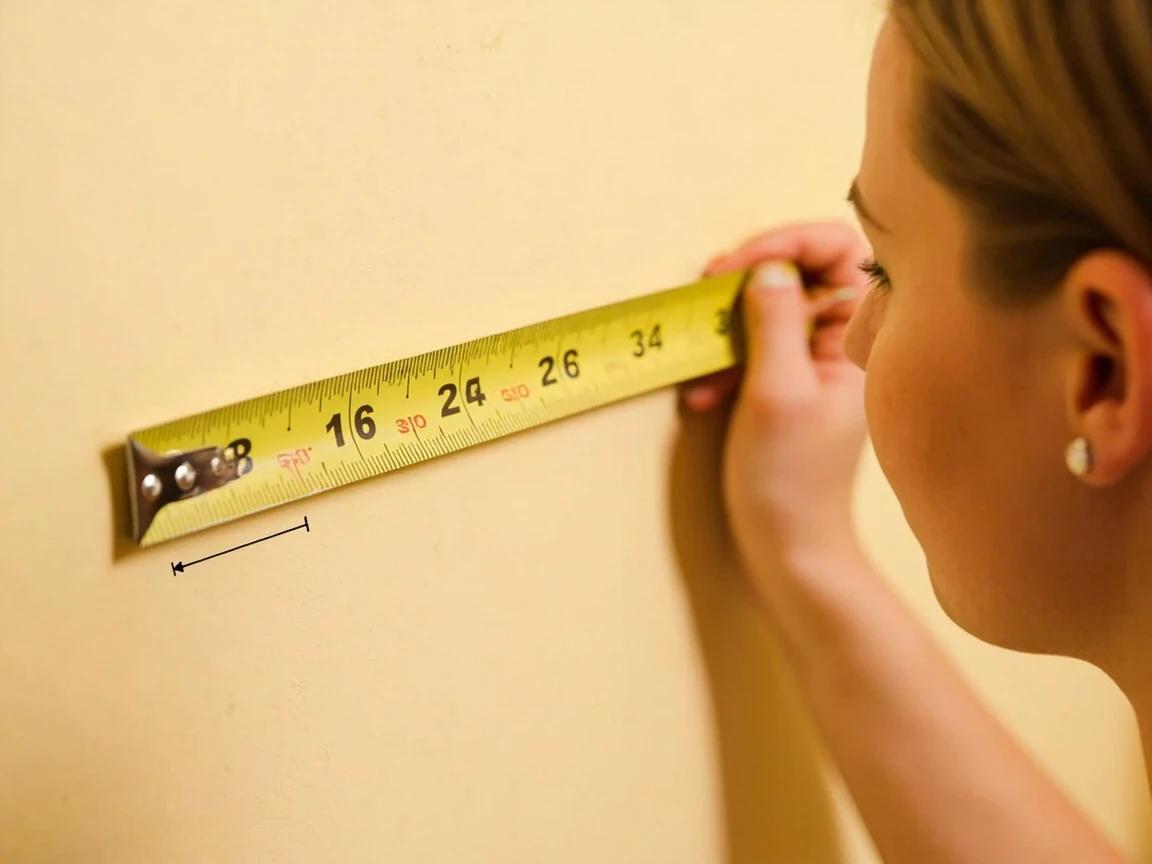
Studs near windows, doors, and corners break the 16-inch rhythm, so expect extra or irregularly spaced framing in those areas.
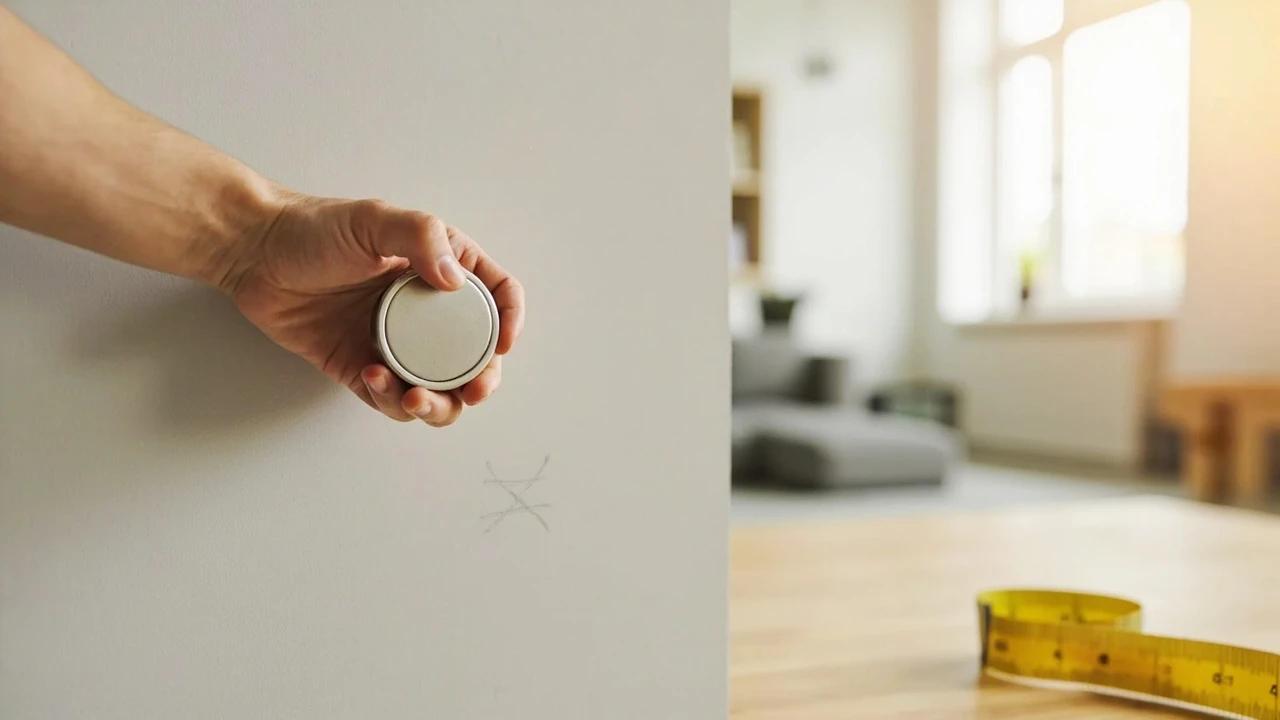
Hunt for screws with a strong magnet
Steps 3 through 6 are alternative detection methods, not a sequence — pick whichever matches what you have on hand; any one of them can find the stud. This magnet trick is the most reliable of the four. Drywall is held to the studs with steel screws or nails, and a small neodymium (rare-earth) magnet will snap to them right through the drywall. Hold the magnet flat and glide it slowly in a zig-zag near your pencil mark; when it tugs or sticks, you have found a fastener — and therefore a stud. Mark it with a short piece of painter's tape, then find a second screw a few inches up or down to confirm the stud runs vertically.
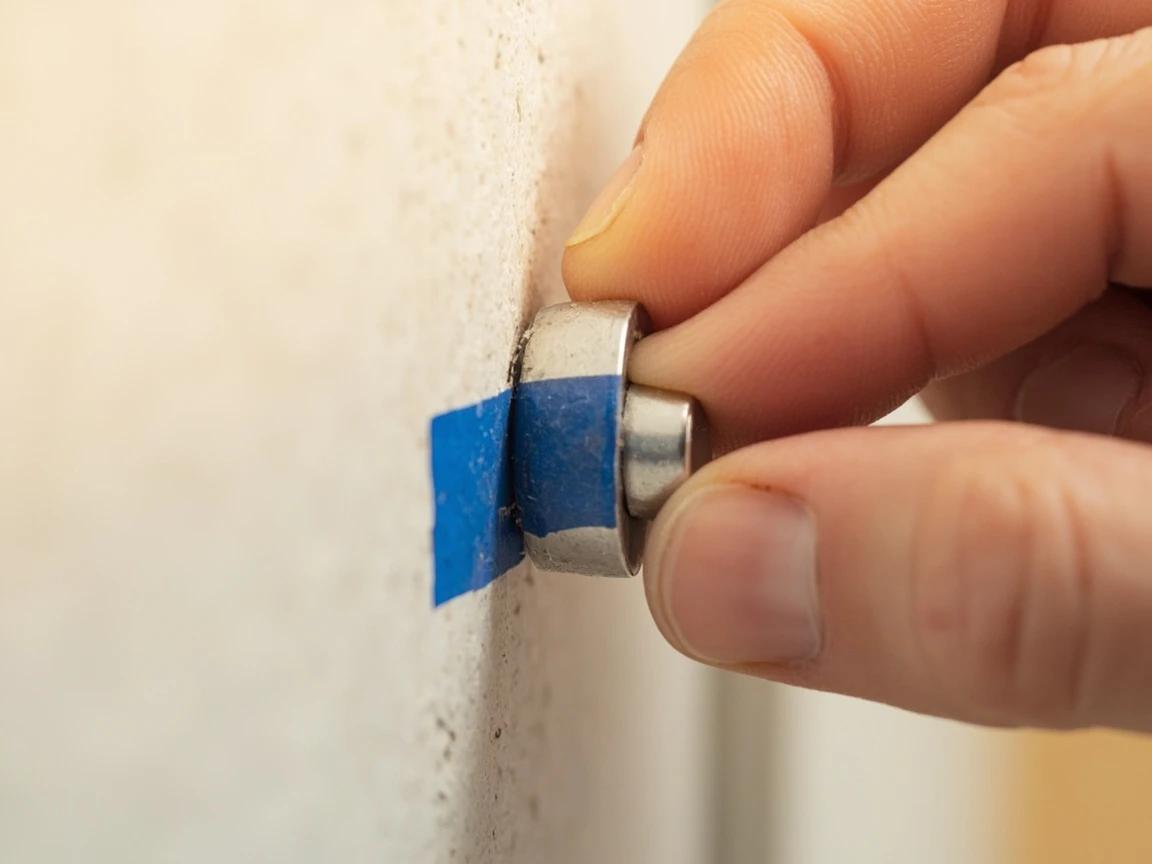
A refrigerator magnet is too weak. A dime-sized neodymium magnet or a magnetic screwdriver bit works far better — you can even tape one to a string and let it dangle to feel for screws.
Try a smartphone magnetometer app
If you do not have a magnet, your phone probably has one built in. Stud-finder apps use the phone's magnetometer — the same sensor behind the compass — to sense the steel screws and nails in the framing. Open the app, hold the phone flat against the wall, and sweep slowly sideways; the reading spikes over hidden fasteners. Just know the catch: the phone detects the metal, not the wood, so it only works where there is a screw or nail to find.

Roughly one in seven phones lacks a magnetometer, and a thick case can weaken the reading. Calibrate the app first and treat its results as a starting point to confirm with a magnet or a probe.
Use the knock test to narrow it down
Rap your knuckles across the wall in a straight horizontal line and listen to the pitch. Over an empty cavity the sound is hollow and resonant, like a small drum; directly over a stud it flattens into a dull, solid thud. This will not pinpoint the exact edges, but it quickly tells you whether you are over framing or air so you can zero in before reaching for the magnet.

Tap with a knuckle, not a fingertip — the sharper contact makes the hollow-versus-solid difference much easier to hear.
Rake a flashlight across the wall
Hold a flashlight flat against the wall so the beam skims sideways across the surface, then sight down the wall. Grazing light throws tiny shadows from the slightly dimpled spots where drywall screws were set and filled — they often march up the wall in a straight vertical line right over a stud. The baseboard helps too: it is nailed into studs, so a row of filled nail holes along the trim points straight up to framing.
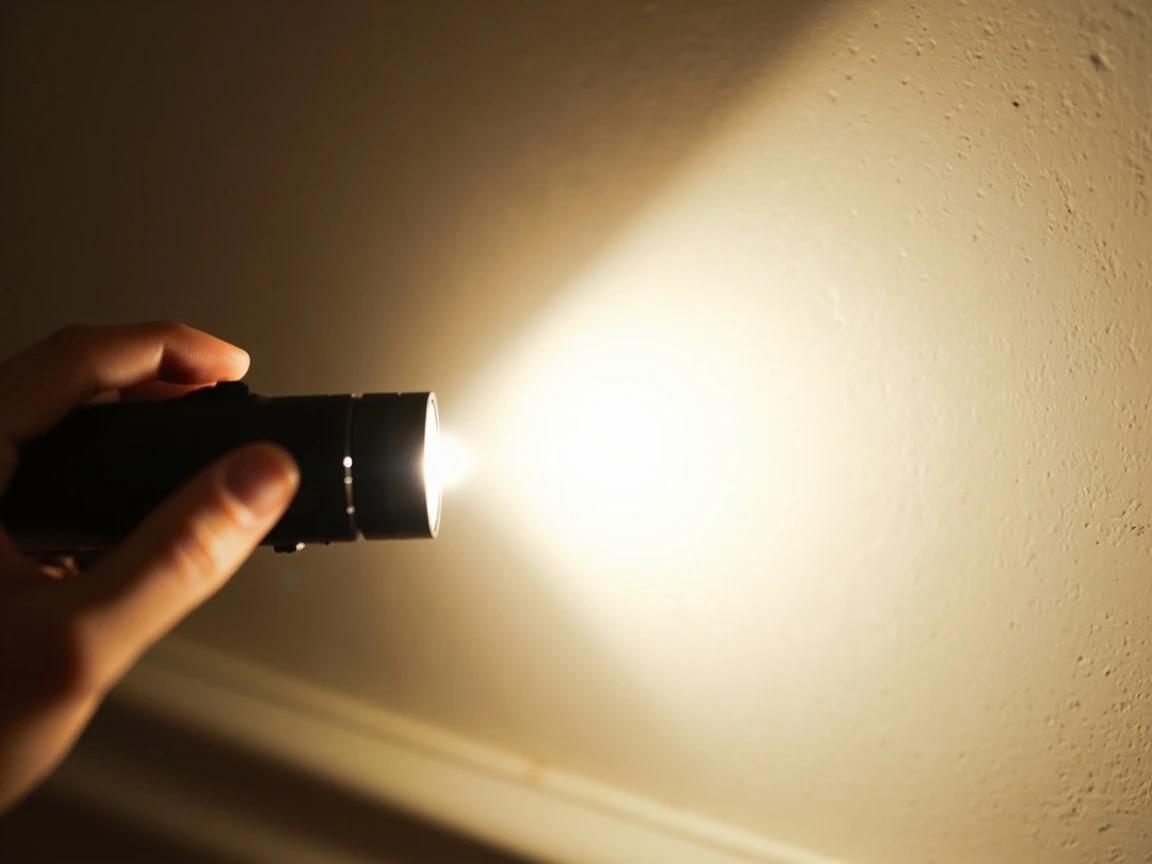
This works best on flat or eggshell paint in a dim room; high-gloss walls and heavy texture hide the dimples.
Check the predictable framing spots
Some studs are always in roughly the same place. Walls have framing at every inside and outside corner, and full-length "king" studs run up both sides of every window and door, with shorter "jack" studs right beside them — that is why the edges of an opening feel rock-solid. Trim and crown molding are nailed into framing too. When you need a stud near a corner or an opening, start your search there.

Confirm with a thin nail before you commit
When you have to be certain — before lag-bolting a TV mount or a heavy shelf — probe with a thin finishing nail. Pick a spot that will be hidden behind whatever you are hanging, and push the nail straight in at a slight downward angle: solid resistance just past the drywall means wood, while an easy push-through means you are in a cavity. The pinhole is tiny and disappears under a dab of spackle if you miss.
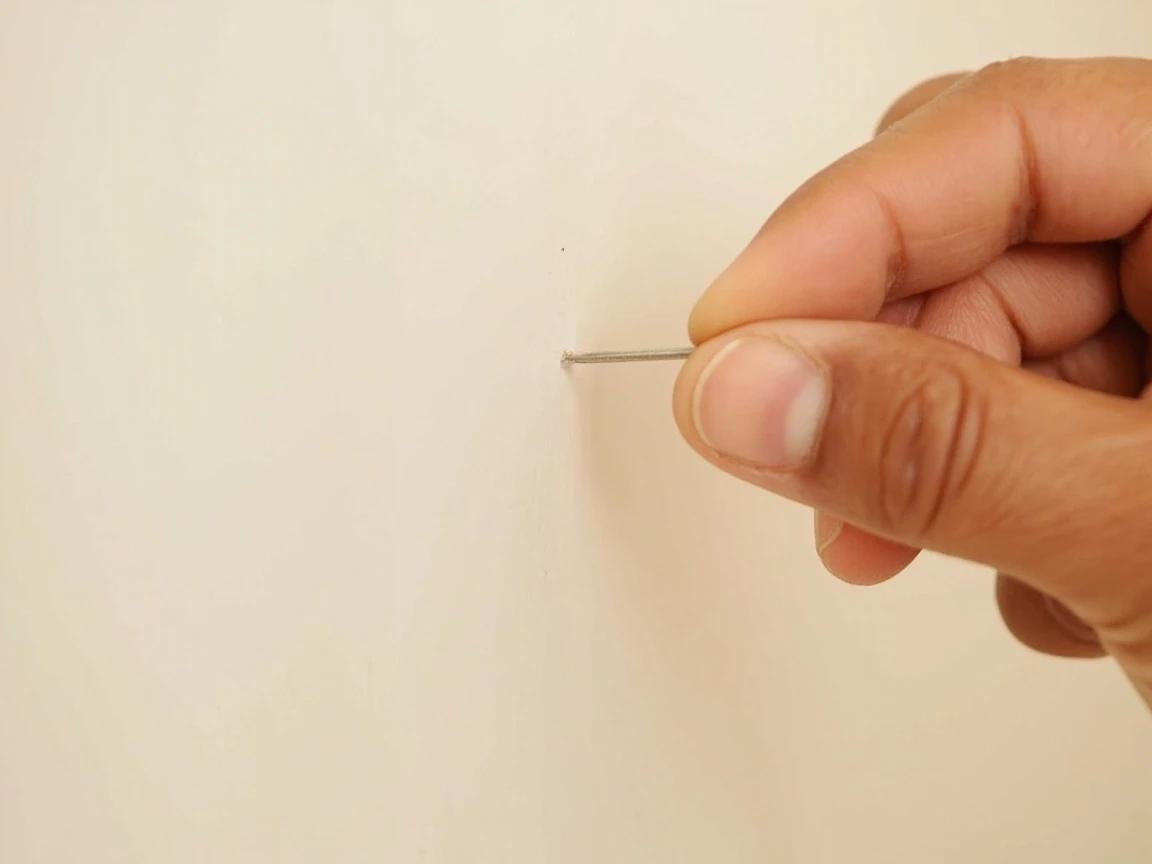
Keep the probe shallow and well away from outlets and switches so you never touch a wire. Push the nail in by hand — never hammer one in to test.
Mark it, double-check, and drill with confidence
Once two methods agree — say, a magnet snap that lines up with your 16-inch measurement — make a clear pencil X and drill or drive your screw there. Aim for the center of the stud, where you have about 1-1/2 inches of solid wood to bite into. If no stud lands where you actually need to hang something, do not force it: switch to heavy-duty drywall anchors rated for the weight instead of trusting a screw in bare drywall.
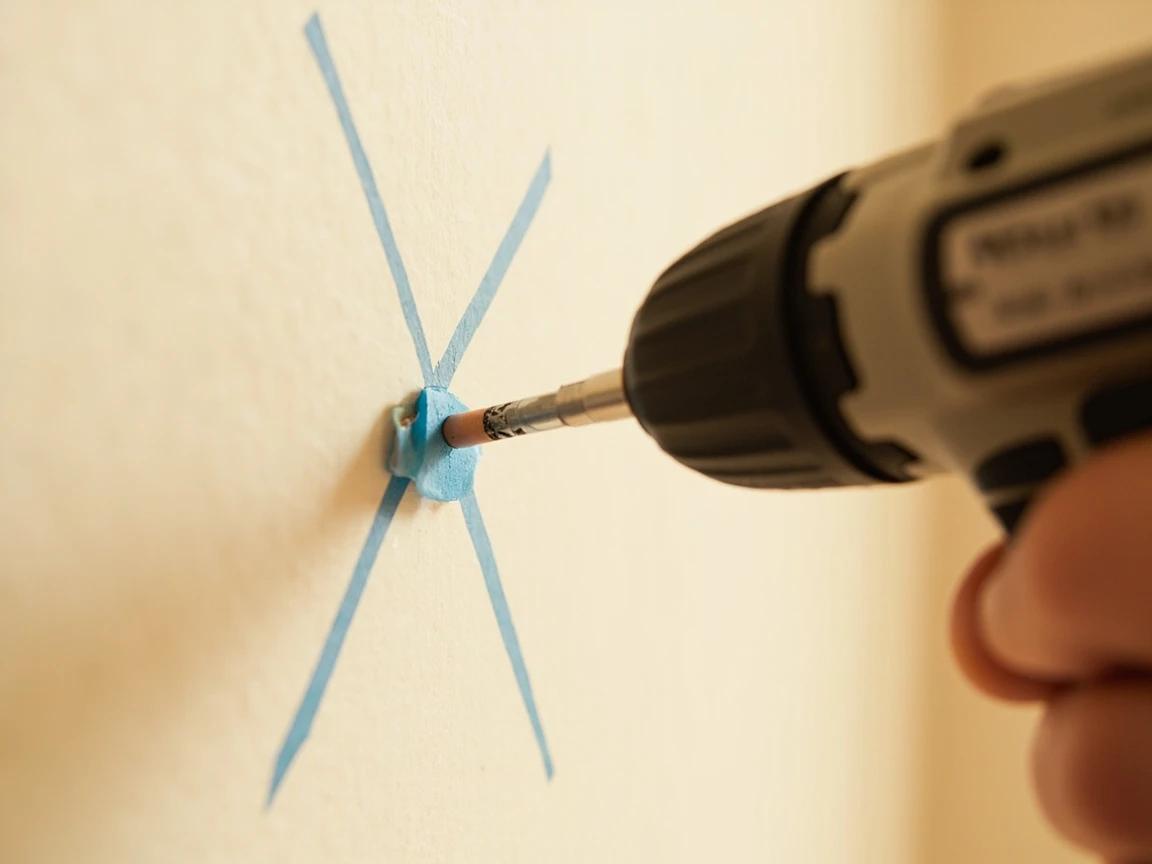
Mark studs you use often — in a closet or garage — with a tiny pencil dot inside a cabinet or behind the baseboard so you never have to hunt again.
Frequently Asked Questions
How far apart are studs in a wall?
+
Standard spacing is 16 inches on center, measured from the center of one stud to the center of the next. Some newer homes and non-load-bearing or 2x6 exterior walls use 24 inches on center. Once you find one stud, measuring 16 inches (then 24) will usually land you on the next.
Are wall studs always exactly 16 inches apart?
+
No. Sixteen inches is the most common spacing, but it is not guaranteed — 24-inch framing exists, and the rhythm always breaks around windows, doors, corners, and anywhere a wall was remodeled. Treat 16 inches as a strong hint, then confirm with a magnet or a probe rather than assuming.
Can I really find a stud with my phone?
+
Yes, with a caveat. A stud-finder app uses your phone's magnetometer to detect the steel screws and nails in the studs, so it finds the metal rather than the wood itself. It works well where there is a fastener to sense, but a blank stretch of stud with no nearby screw can read as empty, and roughly one in seven phones has no magnetometer at all.
Does knocking on the wall to find a stud actually work?
+
It works for narrowing down the area, not for pinpoint accuracy. A hollow, drum-like sound means an empty cavity, and a dull, solid thud means you are over a stud. Wall thickness, insulation, and double layers of drywall can blur the difference, so use the knock test to get close, then confirm with a magnet or a thin nail.
How do I find studs for mounting a heavy TV?
+
Locate two adjacent studs with a magnet, confirm they are 16 inches apart, and probe with a thin nail to be sure before you drive lag bolts. If the bracket's holes do not line up with framing, do not settle for drywall alone — use heavy-duty anchors rated for the load, which we cover in our guide to installing drywall anchors for heavy items.
Community Tips
💬 Sign in to share tips with the community
Sources & further reading
- How To Find a Stud Without a Stud Finder — This Old House
- 5 Hacks for Finding Studs Without a Stud Finder — Family Handyman
- Advanced Framing: Minimum Wall Studs — U.S. DOE Building America Solution Center
More Carpentry Guides
View all → Easy30 min
How to Install Drywall Anchors for Heavy Items
A failed wall anchor doesn't just dent your drywall — it can drop a 60-pound TV onto a coffee table. This guide explains the five anchor types, when to use each, the stud-first rule that pros follow, and the pull-test that catches a bad install before your TV does. For the holes left behind by failed anchors, a $5 tub of spackle and ten minutes covers the cleanup.
 Hard4 hrs
How to Install Crown Molding
Crown molding turns a plain room into a finished one — but it is the trickiest trim to cut, thanks to corners that are never quite square and a profile that has to be cut upside down. This guide walks through the whole job the way a finish carpenter does it: coping inside corners so they stay tight, mitering outside corners, and fastening into framing instead of bare drywall. Expect about half a day for a typical room and roughly one to six dollars per linear foot in materials.
 Easy1 hr
How to Patch a Small Hole in Drywall (Spackle Method)
A nail hole, picture-hanger ding, or doorknob dent doesn't need a contractor — it needs a $5 tub of spackle and twenty minutes of hands-on time. This guide covers the two-coat method, drying-time tradeoffs, and the touch-up paint trick that makes the patch invisible. For holes bigger than 1/2 inch, step up to the mesh-patch and drywall-cutout methods instead.
You Might Also Like
 Medium45 min
How to Install a Ceiling Fan
Replacing a light fixture with a ceiling fan improves air circulation in summer and can reduce heating costs in winter by circulating warm ceiling air downward. Most installs take 45-60 minutes.
 Easy3 hrs
Spring Lawn Care Checklist
What you do to your lawn in the first six weeks of spring determines its health for the entire growing season. Follow this sequence to fix winter damage, encourage deep roots, and crowd out weeds before they establish.
 Easy1 hr
How to Start a Compost Bin
Composting converts kitchen scraps and yard waste into rich, free fertilizer that dramatically improves garden soil. Setup takes under an hour and once running, the bin requires minimal effort for big rewards.