How to Refinish a Wood Floor

Refinishing a tired, scratched-up hardwood floor is the single highest-impact upgrade you can make to a room — it strips away decades of wear, reveals the wood's original color, and adds years of life to the boards. A professional job runs $3-8 per square foot ($900-2,400 for a 300 sq ft room), but a dedicated DIYer with a rental drum sander can do the same work for $200-400 in rentals and materials over a long weekend.
What You'll Need
🛠 Tools
📦 Materials
Safety First
- •Homes built before 1978 may have lead-based finishes or paint on baseboards. Test with an EPA-approved lead test kit before sanding. If lead is present, follow EPA RRP guidelines or hire a certified contractor — sanding lead dust into the air is extremely hazardous.
- •Oil-based polyurethane fumes are flammable and toxic. Extinguish all pilot lights, shut off gas appliances, open windows, run fans to exhaust air outward, and never smoke or operate electrical tools that could spark near drying finish. Wear an organic vapor respirator, not just a dust mask.
- •Oily rags used with stain or oil-based poly can spontaneously combust as they cure. Always spread used rags flat to dry outside or submerge them in a sealed can of water before disposal.
Step-by-Step Instructions
Check If the Floor Can Be Refinished
Before you rent a single tool, confirm the floor is actually solid hardwood with enough thickness left to sand. Solid 3/4-inch hardwood can typically handle 5-10 refinishes over its lifetime; engineered wood with a thin veneer may only tolerate one light sanding or none at all. Pull a floor vent or look at a threshold transition to see the plank's cross section — the wear layer above the tongue should be at least 3/32 inch thick for a safe sanding. If boards are cupped more than 1/16 inch, badly water-damaged, or the wear layer is paper thin, stop here and call a pro or consider replacement instead.
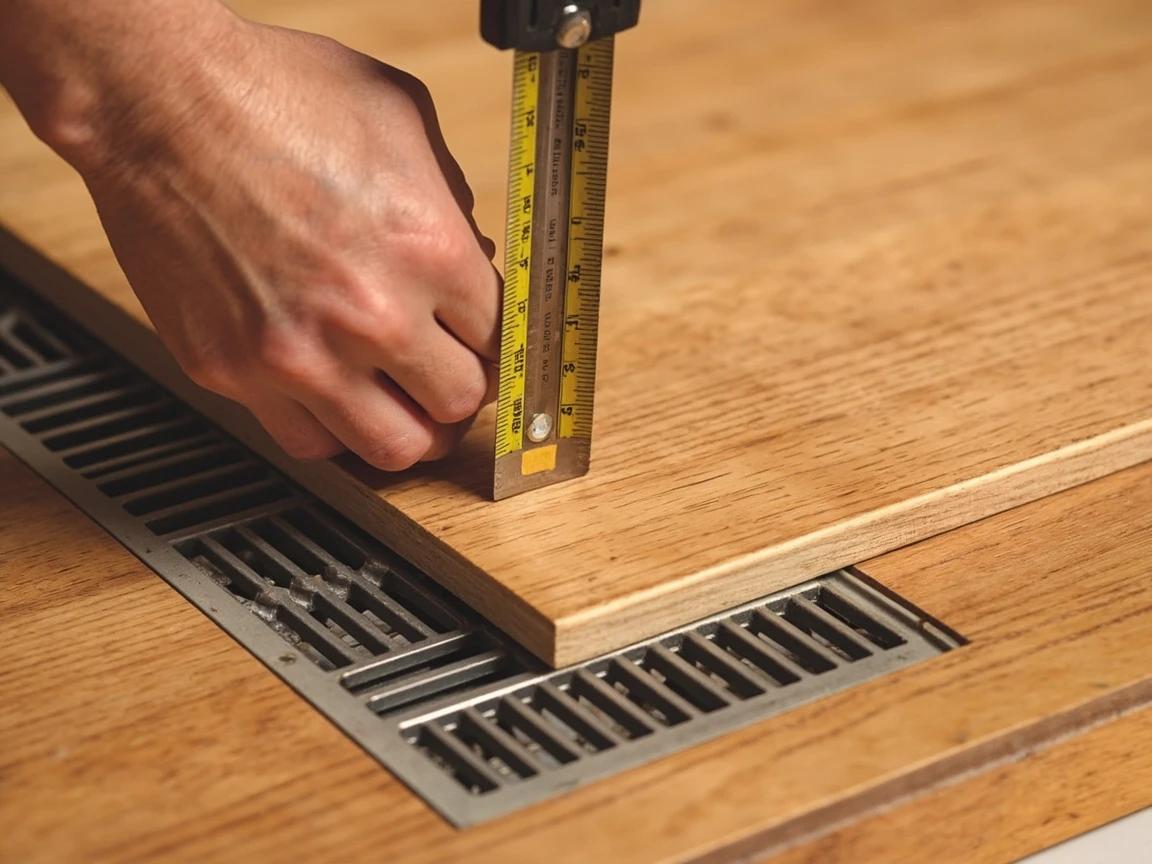
If you are not sure whether your floor is solid or engineered, look at the boards in a doorway transition or under a heating register — solid wood shows consistent grain top to bottom, while engineered wood shows a thin veneer layered over plywood.
Clear the Room and Seal It Off
Move every piece of furniture, every rug, and every wall decoration out of the room — you will not believe how far fine wood dust travels. Use 4-mil plastic sheeting and 2-inch painter's tape to seal every doorway, HVAC vent, and return register. Tape plastic over light fixtures and anything built into the walls. Crack one window open for fresh air but do not create a through-draft that blows dust into the rest of the house. This containment step is not optional — a drum sander produces more dust in one day than most people see in a year.
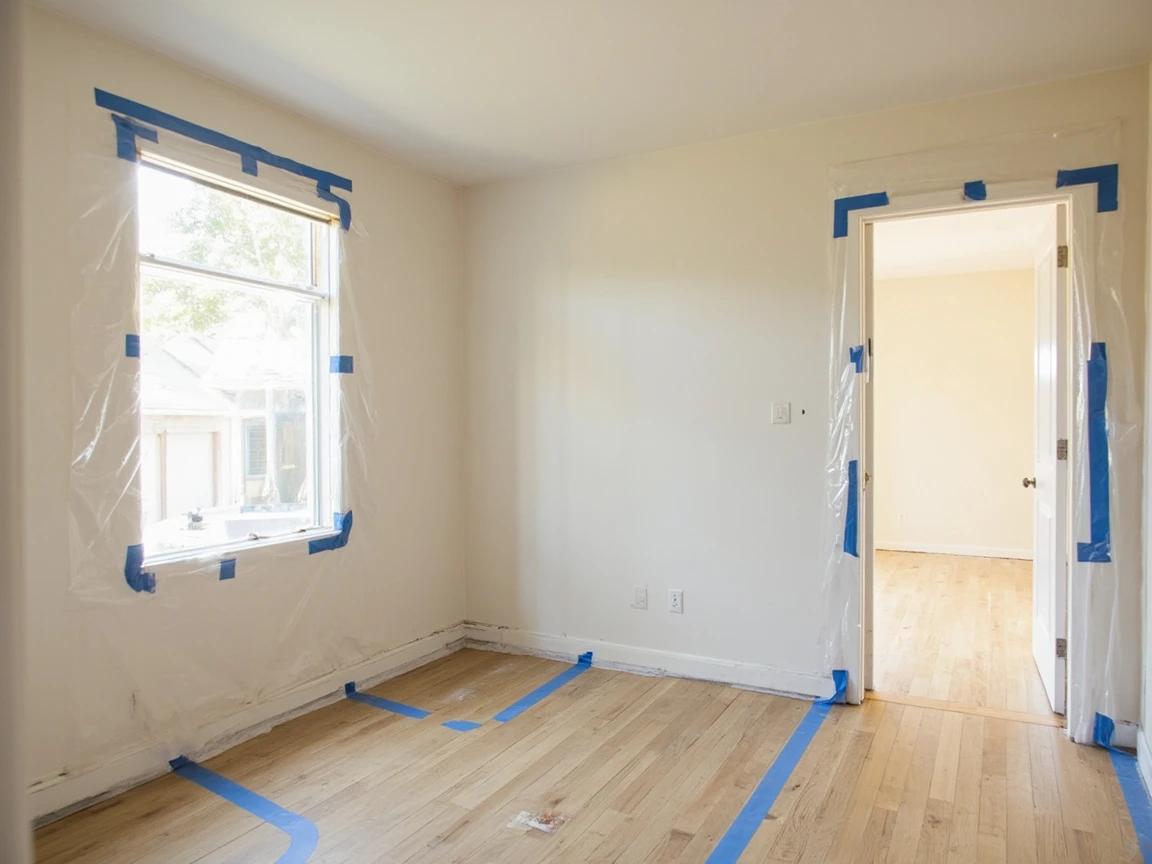
Never skip sealing the HVAC vents. Fine sanding dust sucked into ductwork gets blown throughout the entire house every time the furnace or AC kicks on, and it is nearly impossible to fully clean out of ducts afterward.
Remove Shoe Molding and Set All Nails
Use a pry bar to carefully lift the shoe molding (quarter round) away from the baseboards — work slowly and pry against a thin scrap of wood to protect the baseboard finish. Label each piece of molding with painter's tape (e.g., 'north wall 1 of 2') so reinstallation is straightforward. Then walk the entire floor with a hammer and nail set, driving any proud nail heads 1/16 inch below the surface. A single exposed nail head will tear a $40 sanding belt in a heartbeat and can launch shards across the room.
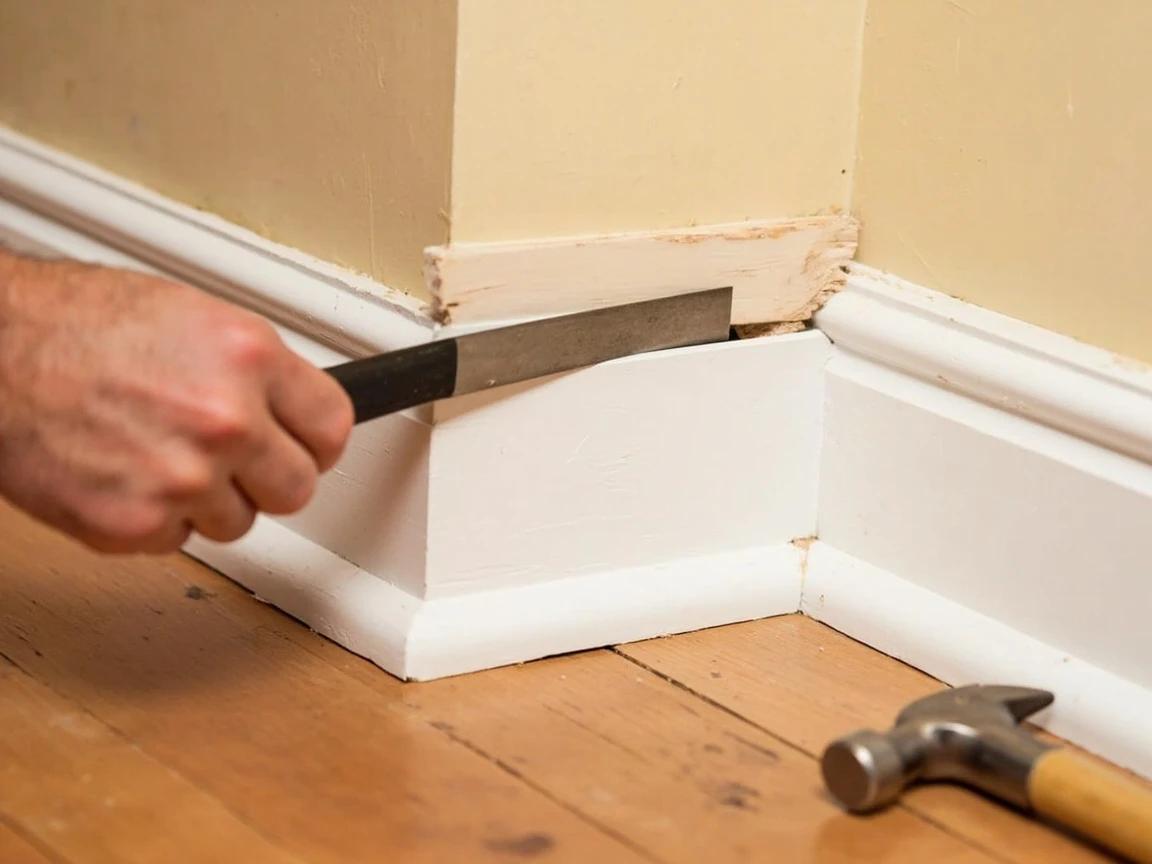
Keep all the old nails in a labeled plastic cup as you remove them — you can often reuse them to reinstall the same shoe molding, saving a trip to the hardware store for matching finish nails.
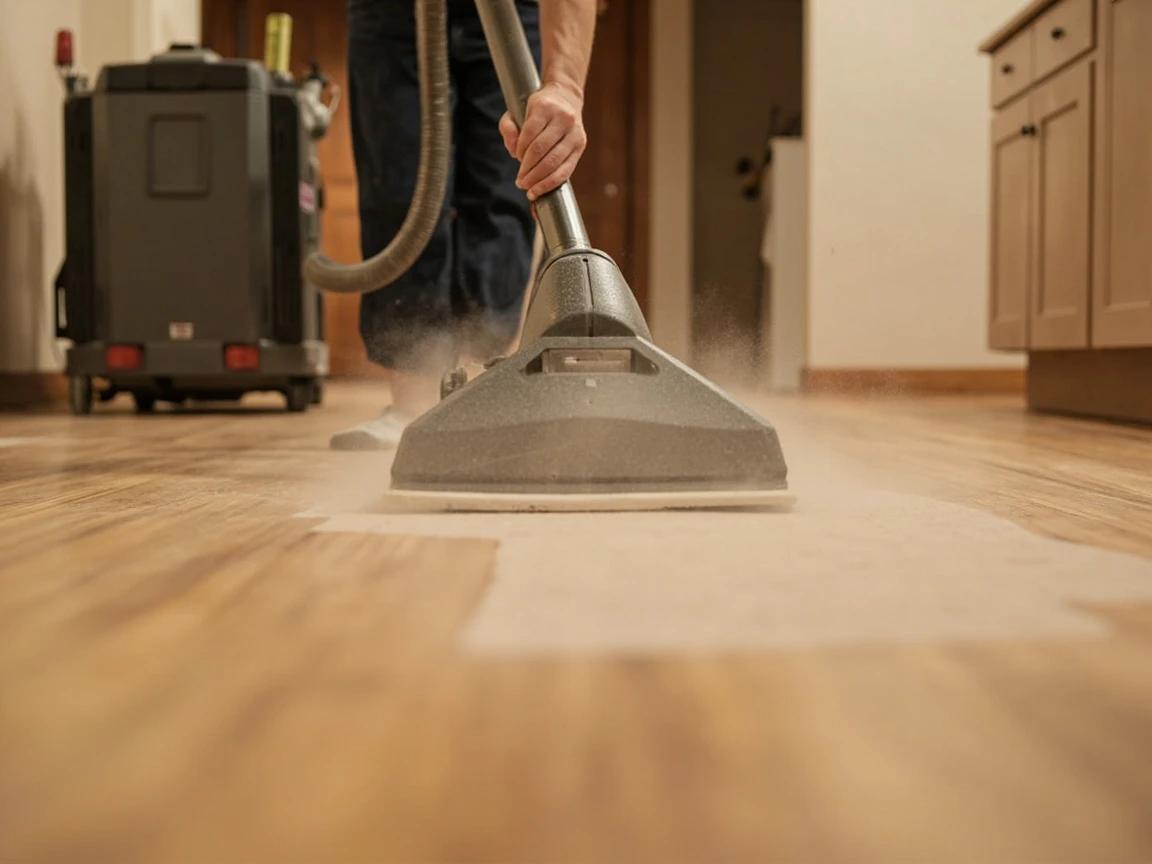
Make the First Sanding Pass with 36 or 40-Grit
Load the drum sander with 36 or 40-grit belts — this aggressive first pass is what actually removes the old finish and flattens the floor. Tilt the drum up off the floor before you power on, start walking forward at a steady pace, then gently lower the drum to the wood. Always keep the sander moving — even a 2-second pause will gouge a deep dish into the plank. Walk with the grain of the wood in straight parallel passes, overlapping each pass by a third of the drum width. Lift the drum at the end of each pass before stopping. When you finish the field, switch to the edge sander for the 4-inch perimeter around every wall, cabinet, and doorway.
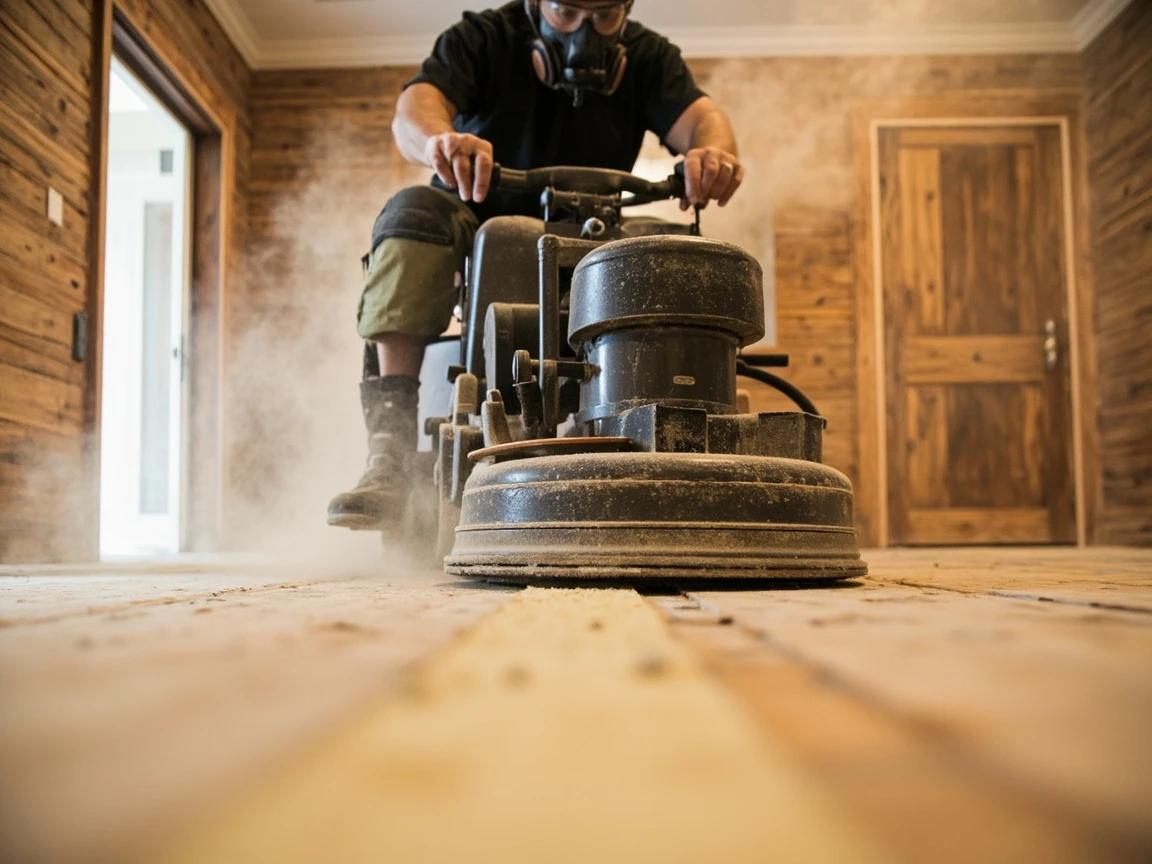
Never stop the drum sander with the drum in contact with the floor. A stationary spinning drum will eat a deep gouge straight through several passes of wood in under a second — it is the single most common and costly DIY refinishing mistake, and the gouge often cannot be sanded out.
Make Two More Passes with 60-Grit and 80-Grit
Sweep and vacuum the entire floor thoroughly before every grit change — leftover coarse grit on the floor will embed in finer sandpaper and leave scratches you will not see until you apply finish. Swap the drum sander to 60-grit belts and make a second full pass with the grain, then follow with the edger using matching grit. Repeat the whole process a third time with 80-grit. Each pass must remove the scratch pattern from the previous grit — check your work by crouching and looking across the floor toward a light source, which makes scratches jump out.
Never skip a grit. Going straight from 40 to 80 sounds faster but actually takes longer — the 80-grit has to work three times as hard to remove the 40-grit scratches, and you will still see some of them through the finish. Progress through 40 → 60 → 80 every time.
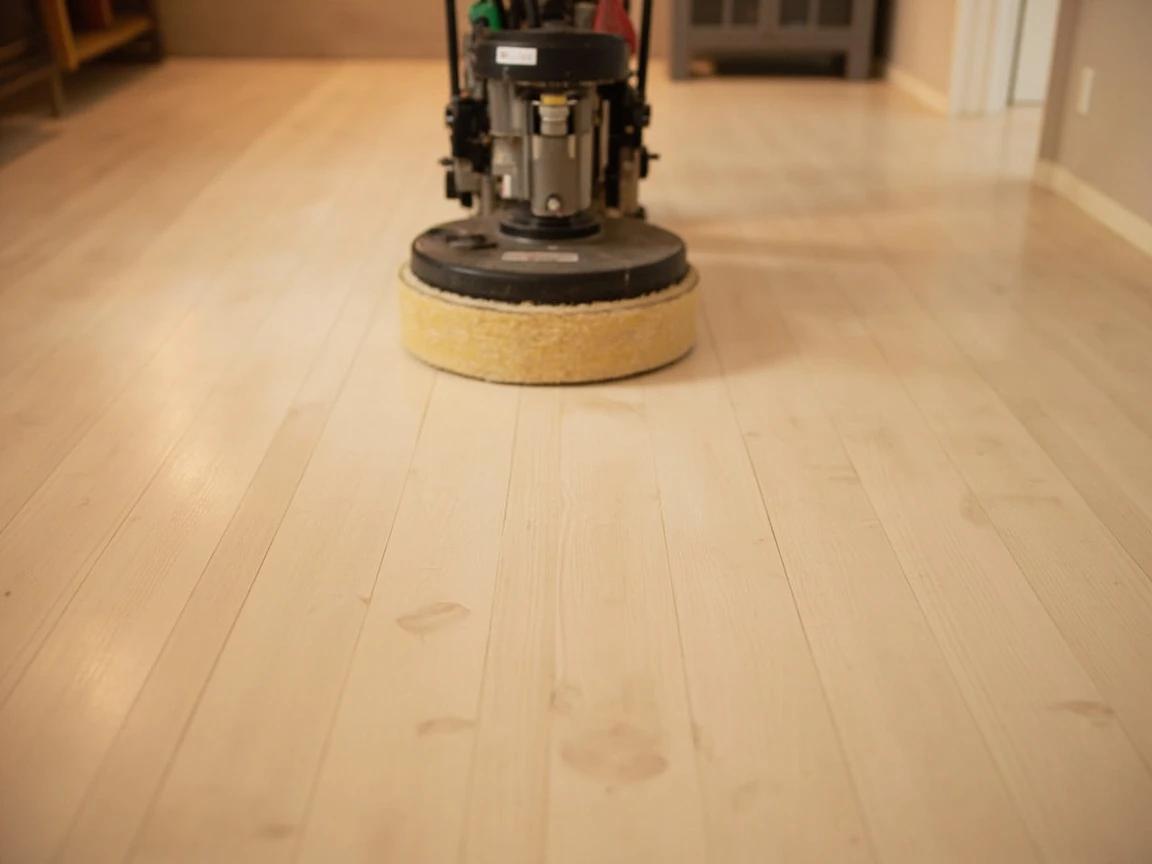
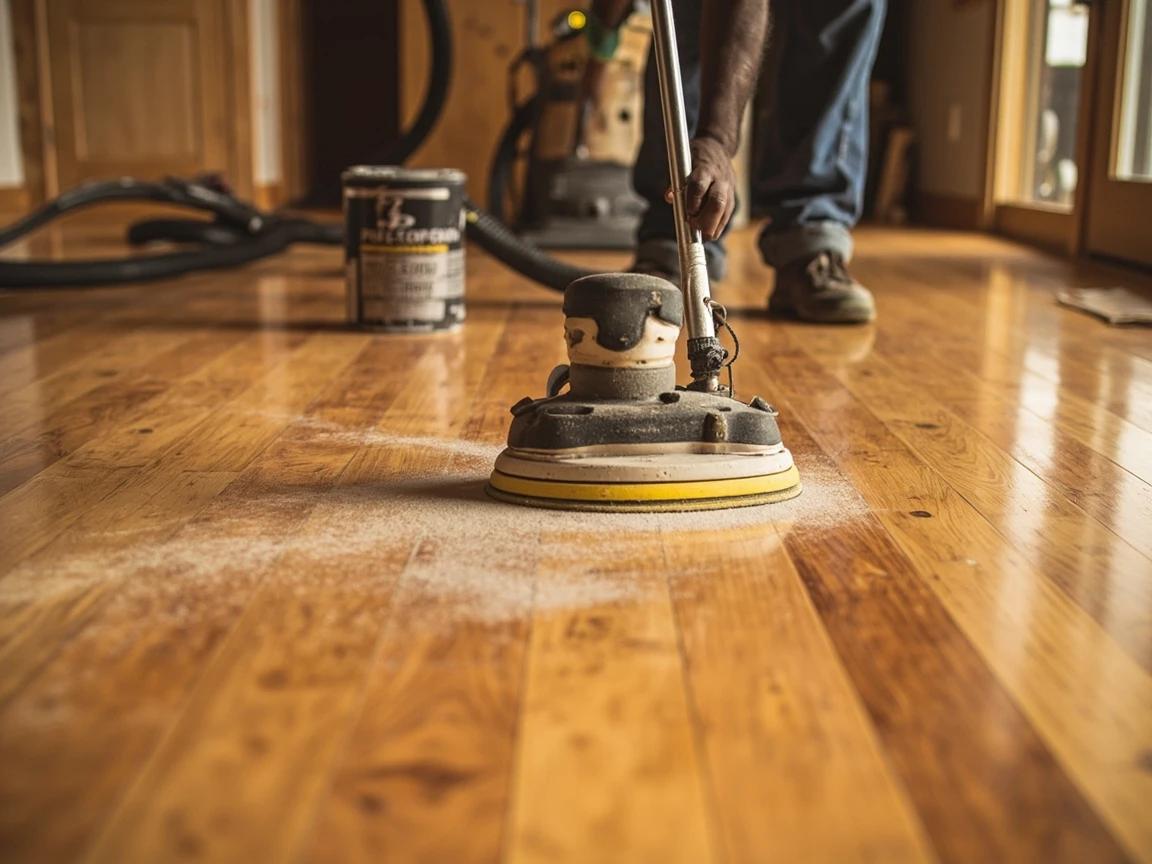
Screen the Floor with a Buffer and 100-Grit Screen
The drum sander and edger leave faint witness lines where their scratch patterns meet — a floor buffer equipped with a 100 or 120-grit sanding screen blends everything together into one uniform surface. Attach the screen to the buffer's pad driver, start the buffer with the pad flat on the floor, and walk it slowly side to side across the field following the grain direction. Work in a consistent grid until the entire floor has been screened. Hand-sand the last 2 inches along the walls and corners with a random orbital sander using matching grit since the buffer cannot reach them.
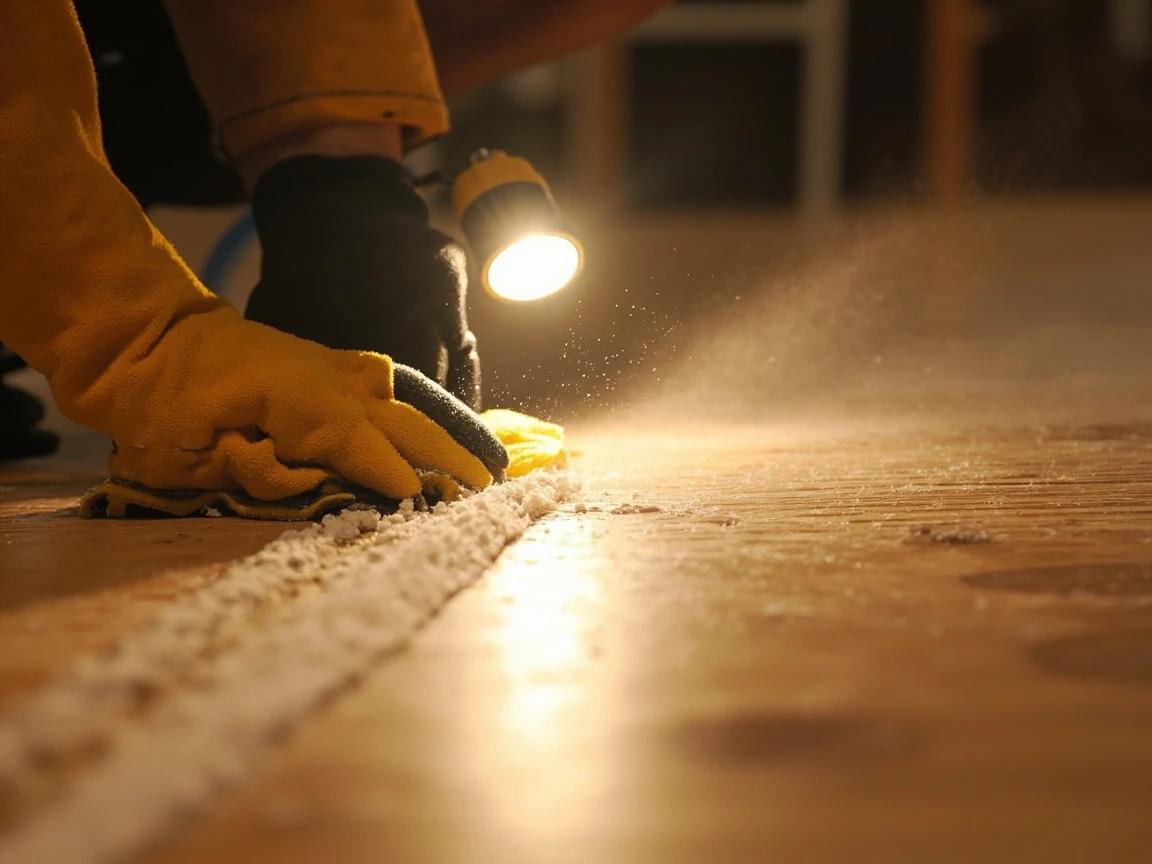
Vacuum, Tack, and Inspect Every Square Inch
This is the cleanup step that separates amateur refinishing jobs from pro-grade ones. Vacuum the entire floor twice with a shop vac and HEPA filter — first along the grain, then perpendicular — and make sure you get into every seam between boards. Vacuum the walls, baseboards, window sills, and window trim too; any dust up there will fall into the wet finish. Finish by dragging a slightly damp tack cloth across the entire floor in long straight strokes. Walk the room with a bright work light held at a low raking angle, looking for any scratches, swirl marks, or dust nibs you missed — fix them now, because once the first coat of poly is on, any defect is locked in forever.
Change your clothes and shoes before you start applying finish — you will be shocked how much sawdust is still clinging to your shirt and pants. Any speck that falls off you mid-application gets sealed into the floor.
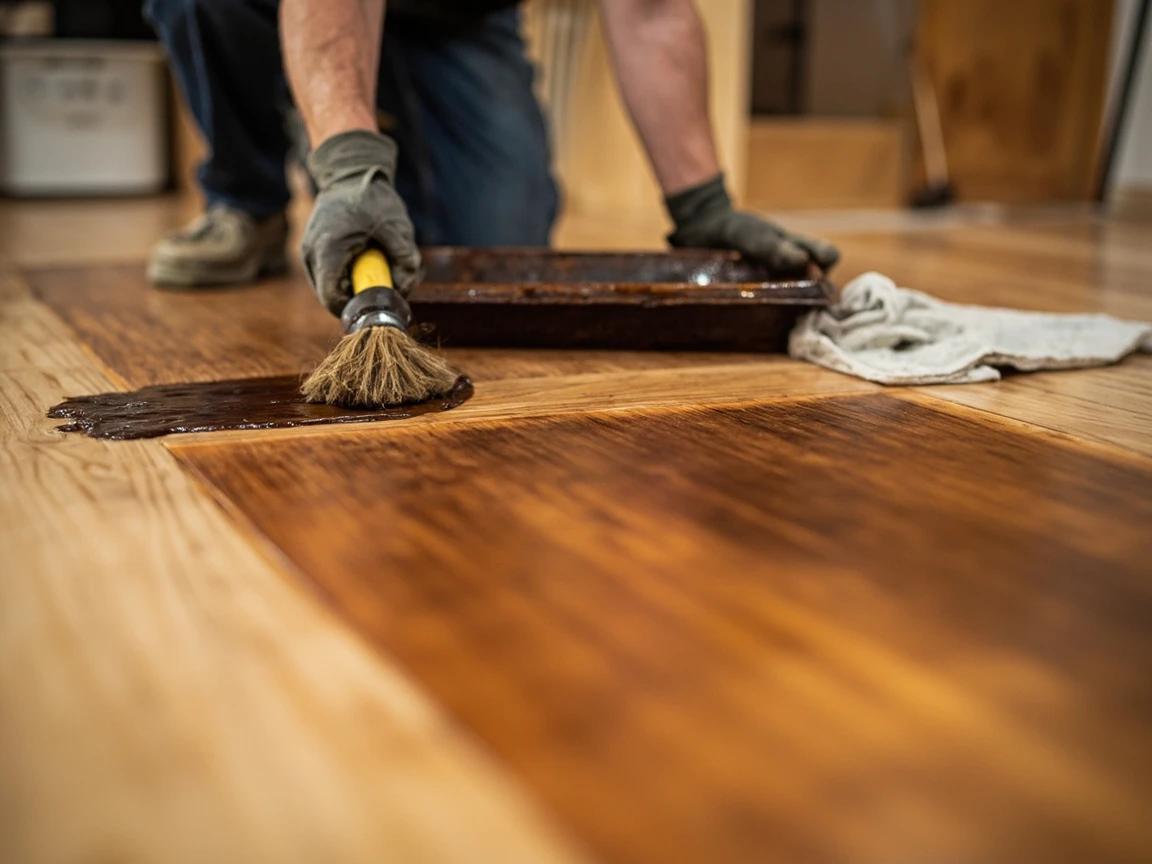
Apply Stain (Optional)
If you want to change the floor's color, now is the time to stain — before any finish goes on. Pour a pool of stain onto the floor and spread it in 4x4 foot sections using a lamb's wool applicator, working with the grain. After the recommended dwell time (usually 5-15 minutes), wipe off excess stain with clean rags moving in the direction of the grain. Do not let stain sit too long or it will cake and blotch. Let the stain cure overnight (or per the can's instructions — sometimes 24 hours or more) before applying any polyurethane. Skip this step entirely if you are going with a natural clear finish.
Rags soaked in oil-based wood stain can spontaneously ignite as they cure — the oxidation reaction generates heat. Always lay used rags flat to dry outdoors before tossing them, or seal them in a metal can full of water. Do not leave a pile of stain rags in a trash bag indoors.
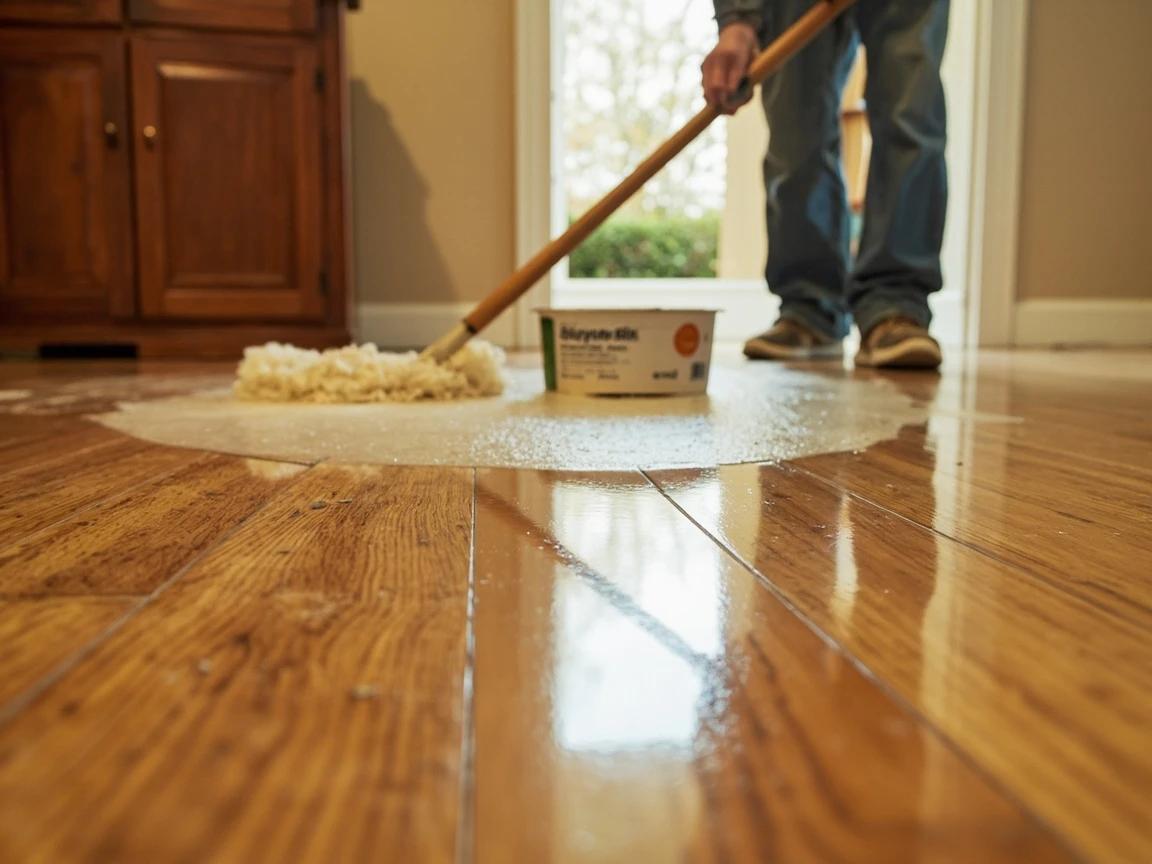
Apply the First Coat of Polyurethane
Pour polyurethane into a clean paint tray and start by cutting in a 3-inch band along every wall and obstacle with a natural-bristle brush. Then load a lamb's wool applicator or 1/4-inch nap roller on a pole, pour a 6-inch-wide puddle of poly across the floor at the farthest corner from the door, and spread it with the grain in long smooth strokes. Work your way backward toward the door in 4x4 foot sections so you never paint yourself into a corner. Aim for a thin even film — thick coats sag, trap bubbles, and take forever to dry. Let the first coat dry per the can (typically 2-4 hours for water-based, 8-24 hours for oil-based) before moving on.
Strain the polyurethane through a paint strainer before pouring it into the tray — even a brand-new can sometimes has tiny bits of dried skin or debris, and anything that ends up in the finish is a permanent bump in your floor.
Scuff-Sand and Apply Additional Coats
Once the first coat is dry to the touch and no longer tacky, lightly scuff-sand the entire floor with a pole sander wrapped in 220-grit or a fine sanding screen on the buffer. You are not removing finish — just knocking down dust nibs and giving the next coat something to bite into. Vacuum and tack the floor again, then apply the next coat exactly like the first. Plan on 3 coats total for oil-based polyurethane, 4 coats for water-based (water-based lays down thinner). After the final coat, let the floor cure undisturbed for 24-48 hours before walking on it in socks, a full week before putting area rugs or furniture back, and 30 days before the finish reaches full hardness.
Keep the room temperature between 65 and 75°F and humidity under 60% during all finish coats. Cold or humid conditions dramatically extend dry times, cause poly to cloud, and can leave a tacky surface that never fully hardens.
Frequently Asked Questions
How long does it take to refinish a wood floor?
+
This project typically takes about 30 hrs. The guide includes 10 steps with detailed instructions for each.
What tools do I need?
+
You will need: Rental drum sander or belt sander (for the main field of the floor), Rental edge sander (for sanding within 4 inches of the walls), Rental floor buffer with sanding screen pads (for final smoothing between grits), Pry bar (for removing shoe molding and baseboards), Hammer and nail set (for setting any proud nails below the surface), Random orbital hand sander (for corners and stair landings), Paint scraper (for stubborn finish in tight corners), Shop vacuum with HEPA filter, Broom and dustpan, Tack cloths, Lamb's wool applicator or 1/4-inch nap roller on a pole (for polyurethane), 2-1/2 inch natural-bristle brush (for cutting in along walls), Painter's tape (2-inch, for sealing vents and doorways), 4-mil plastic sheeting and rosin paper (for dust containment), Knee pads, P100 respirator (not just a dust mask), Safety glasses, Hearing protection. Materials include: 36 or 40-grit sanding belts/discs (for the first aggressive pass to strip old finish), 60-grit sanding belts/discs (for the second pass), 80-grit sanding belts/discs (for the third, finish-prep pass), 100 or 120-grit sanding screens for the buffer (for final smoothing), Wood filler / trowel filler in a color matching your floor (for filling nail holes and small gaps), Wood stain in your chosen color (optional — skip if you want a natural finish), Oil-based or water-based polyurethane — semi-gloss or satin (plan on 1 gallon per 500 sq ft per coat, 3 coats oil / 4 coats water), Mineral spirits (for cleanup if using oil-based poly), 220-grit sandpaper or fine sanding screens (for scuff-sanding between poly coats).
Is this a good project for beginners?
+
This is an advanced project that requires some prior DIY experience. Read through all the steps and safety warnings before starting, and consider consulting a professional if you are unsure.
Community Tips
💬 Sign in to share tips with the community
Sources & further reading
- How To Refinish Hardwood Floors — This Old House
- Lead Renovation, Repair and Painting Program — U.S. EPA
More Carpentry Guides
View all →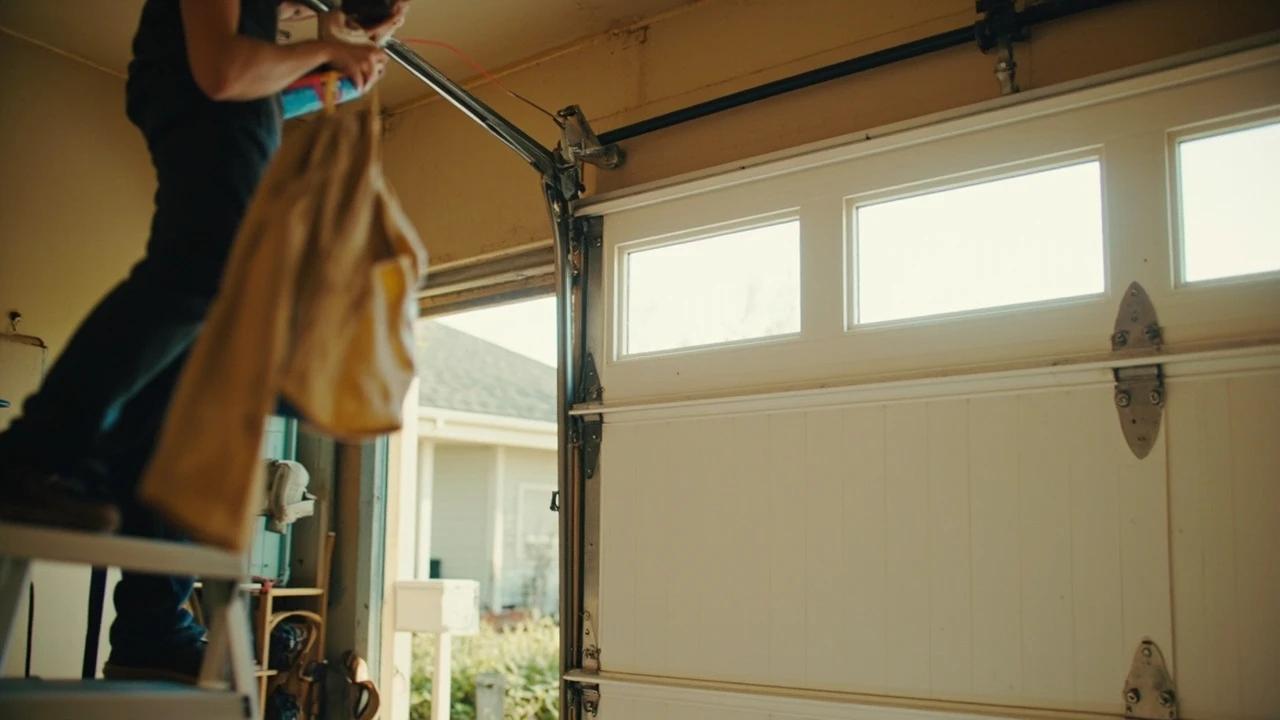 Easy30 min
How to Lubricate a Noisy Garage Door
A squealing, rattling garage door is almost always a dry garage door — and twenty minutes with a $10 can of the right lubricant fixes what sounds like a $300 repair. This guide covers exactly which parts get lubricated (hinges, rollers, springs, the opener rail), which part never does (the tracks), and the one product family to avoid.
 Easy45 min
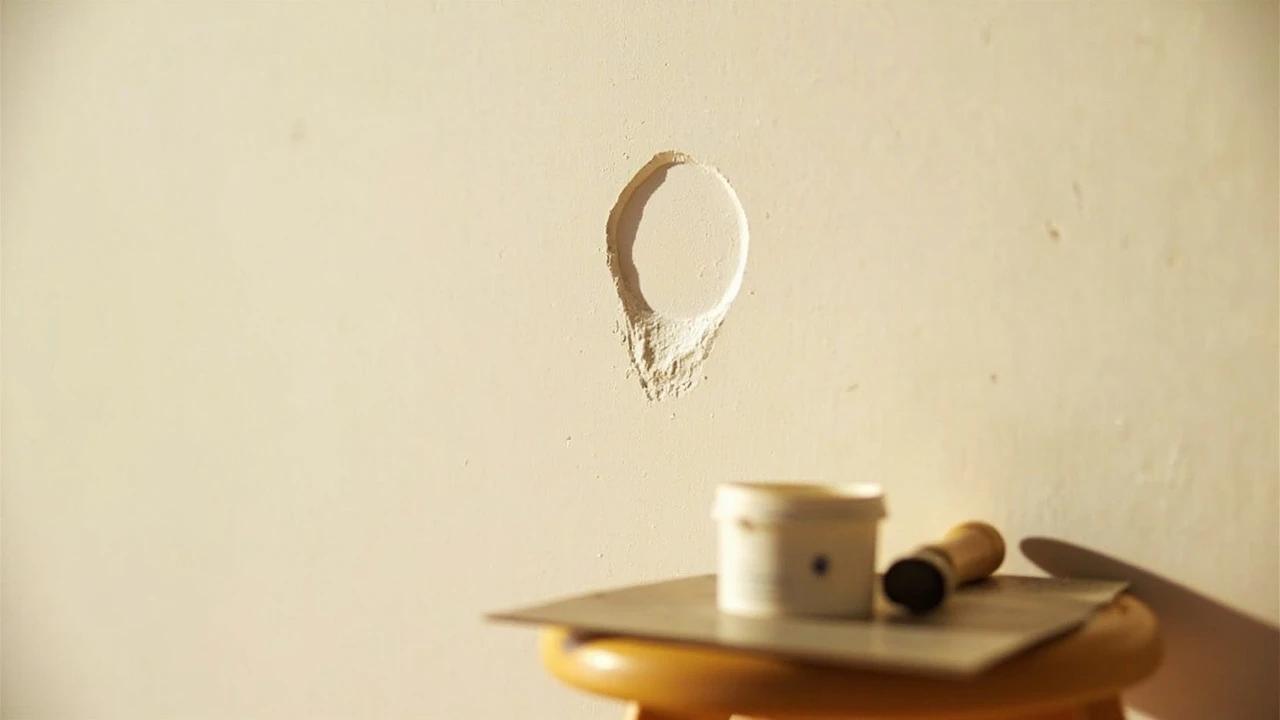
How to Fix a Nail Pop or Screw Pop in Drywall
That little round bump or crescent crack in your wall is a nail pop — the framing lumber dried and shrank, and the fastener stayed put while the wood moved around it. Hammering it back in is a two-month fix; the permanent repair takes twenty minutes and about ten dollars: re-anchor the drywall with new screws above and below the pop, deal with the old fastener, and fill. This guide covers walls, the ceiling version, and how to tell a harmless pop from a symptom worth investigating.
 Hard4 hrs
How to Install Crown Molding
Crown molding turns a plain room into a finished one — but it is the trickiest trim to cut, thanks to corners that are never quite square and a profile that has to be cut upside down. This guide walks through the whole job the way a finish carpenter does it: coping inside corners so they stay tight, mitering outside corners, and fastening into framing instead of bare drywall. Expect about half a day for a typical room and roughly one to six dollars per linear foot in materials.
You Might Also Like
 Easy25 min
Best Deck Stain: Transparent vs Semi vs Solid
There is no "best" deck stain — there is the right stain for your sun exposure, wood condition, and how often you want to redo the job. Transparent stains last 1-2 years but let the natural grain show. Solid stains last 4-7 years but look like paint. This guide walks the four opacity levels and the oil-vs-water choice so you pick the one that matches your deck and your tolerance for re-staining.
 Easy15 min
How to Replace a Refrigerator Water Filter
A clogged refrigerator water filter is the most common cause of slow dispensing, off-tasting water, and undersized ice cubes — and it is the easiest fix in your kitchen. Most filters are designed to be swapped in under five minutes with no tools, no shut-off valve, and no spilled water. This guide covers locating your filter, the two common removal styles (twist-in and push-in), inspecting the O-rings, flushing the new filter, and resetting the indicator light so you do not see the red "Replace" warning the next morning.
 Medium45 min
How to Install a Ceiling Fan
Replacing a light fixture with a ceiling fan improves air circulation in summer and can reduce heating costs in winter by circulating warm ceiling air downward. Most installs take 45-60 minutes.