How to Thaw Frozen Pipes Safely
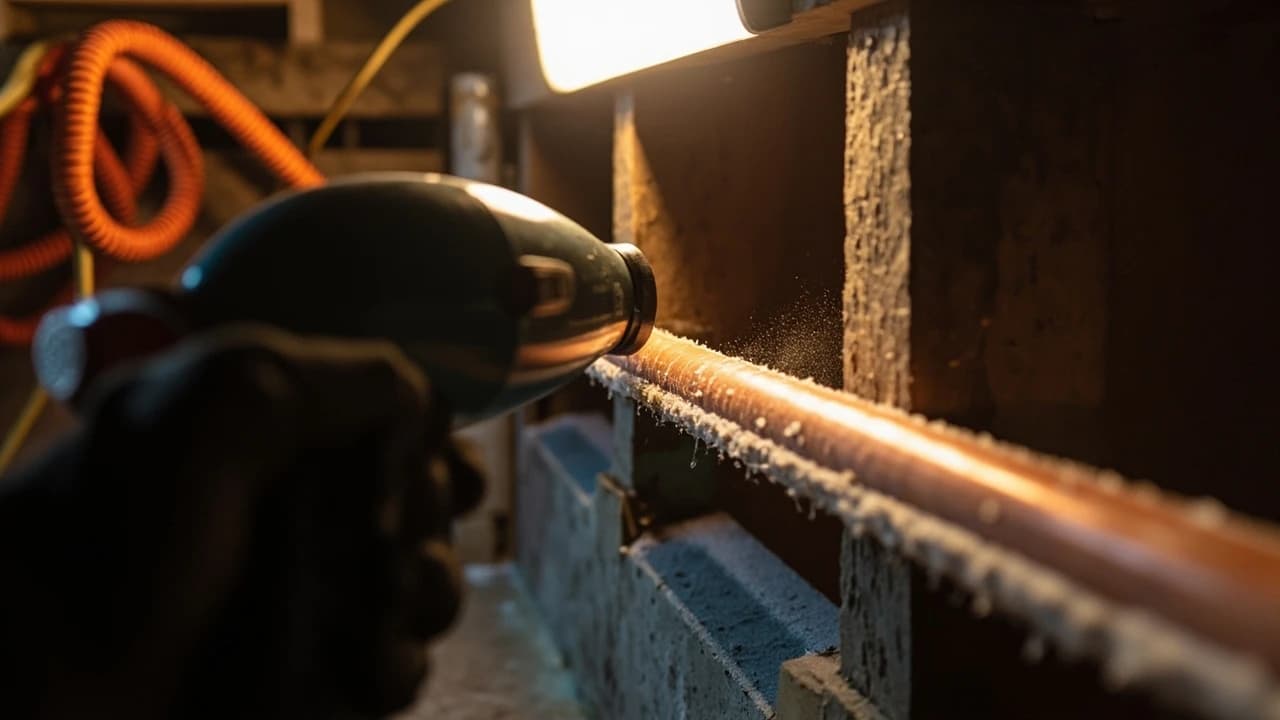

A frozen pipe is a burst pipe waiting to happen — the ice itself rarely splits the metal, but the water pressure trapped between the ice plug and a closed faucet does. This guide covers finding the frozen section, inspecting it for damage before you add any heat, and thawing it with tools you almost certainly already own. Most accessible pipes clear in 30 to 45 minutes.
What You'll Need
🛠 Tools
📦 Materials
Safety First
- •Never use a propane torch, kerosene or propane heater, charcoal stove, or any open flame to thaw a pipe. It can ignite framing inside a wall cavity, melt plastic supply lines, and flash trapped water to steam.
- •If the pipe has a bulge, a lengthwise split, or a fitting pushed apart, shut off the main water supply and call a licensed plumber before applying any heat. That pipe has already failed and thawing it releases the water into your framing.
- •Keep space heaters at least three feet from towels, cardboard, and framing, and never leave one running unattended in a crawl space or basement.
Step-by-Step Instructions
Confirm the Pipe Is Frozen
Open the faucet that is not working. Nothing, or a thin trickle that dies within a few seconds, means an ice plug — a fixture that runs normally for a moment and then stops is usually a supply or pressure problem instead. Now open every other faucet in the house, hot and cold, and note which ones are dead. One dead fixture points at a single branch line; the whole house dead points at the main service line where it enters the foundation.
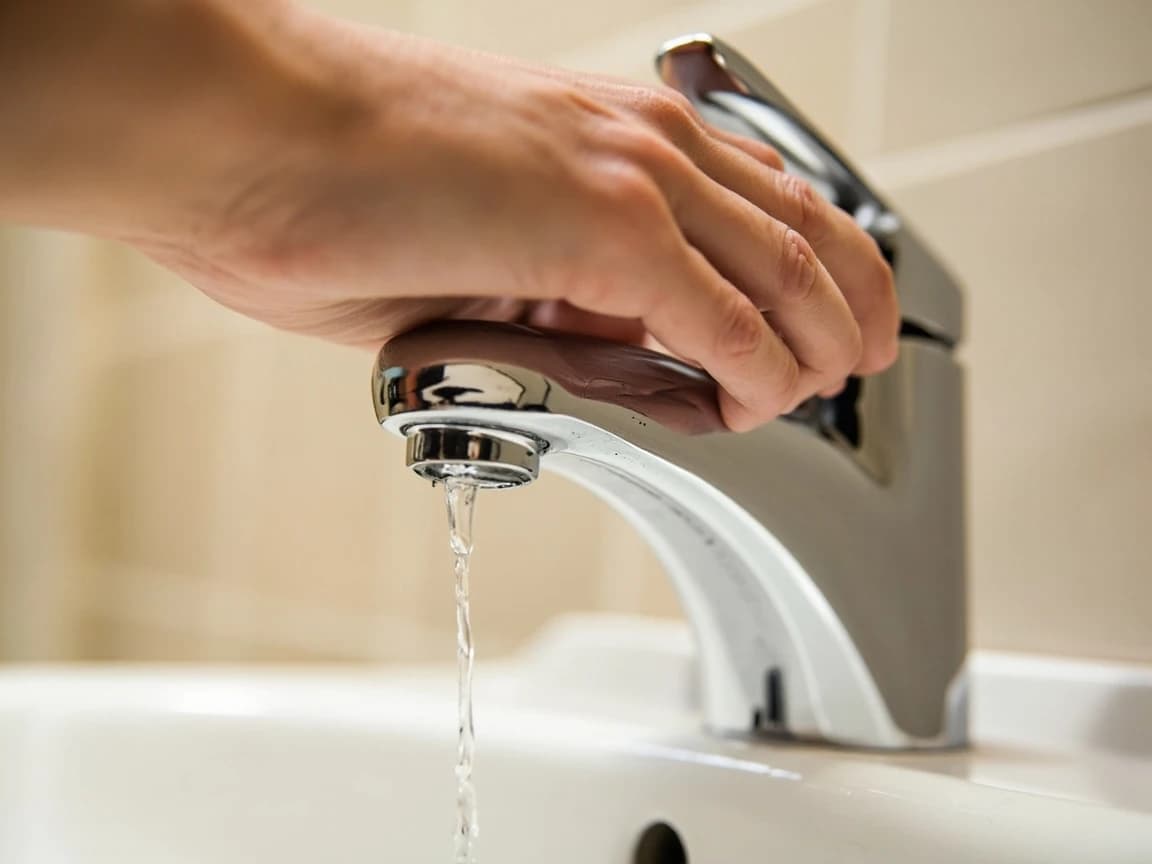
Write down which fixtures are dead before you start heating anything. That list is how you will know later whether you cleared the actual blockage or just one of several.
Find Your Main Water Shut-Off First
Before any heat goes on the pipe, know where the main shut-off is and confirm it turns. It is usually where the service line comes through the foundation wall, often near the water heater or meter, and it will be either a lever-handled ball valve or a round-handled gate valve. If a thawing pipe turns out to be split, you have seconds — not minutes — to stop hundreds of gallons from reaching your framing.
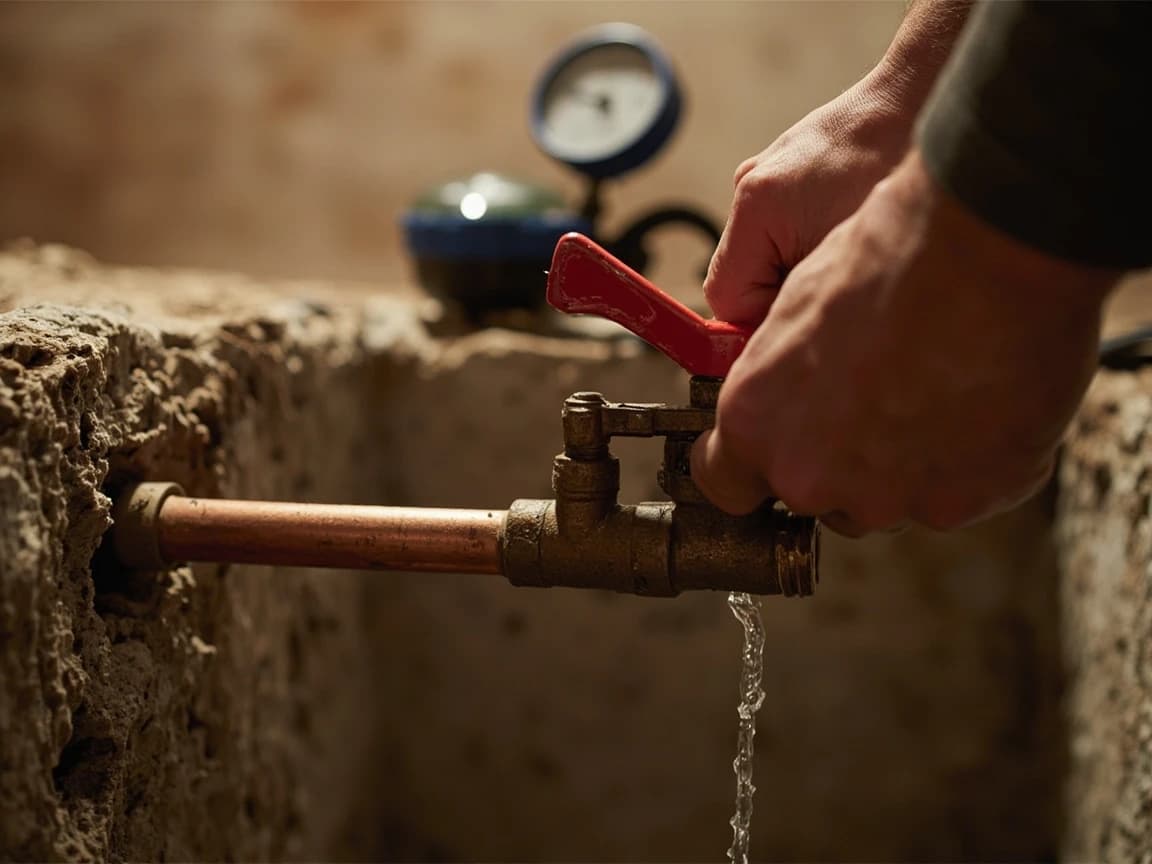
An old gate valve that has not moved in years can seize or break off at the stem. If yours will not budge, do not force it — see our shut-off valve guide and put replacing it on the list for spring.
If you cannot locate a working main shut-off at all, stop and call a plumber before thawing. Thawing a pipe you cannot isolate is how a small repair becomes a flooded basement.
Locate the Frozen Section
Follow the dead fixture's supply line back toward the water heater or main and look at the cold parts of the run: pipes against exterior walls, in an unheated crawl space, garage, attic, or along the rim joist. Run a bare hand slowly along the pipe — the frozen length reads noticeably colder and often carries a dull rime of frost or beads of condensation at its edges. An infrared thermometer makes this quick, showing a run of pipe sitting at or below freezing while the rest reads room temperature.
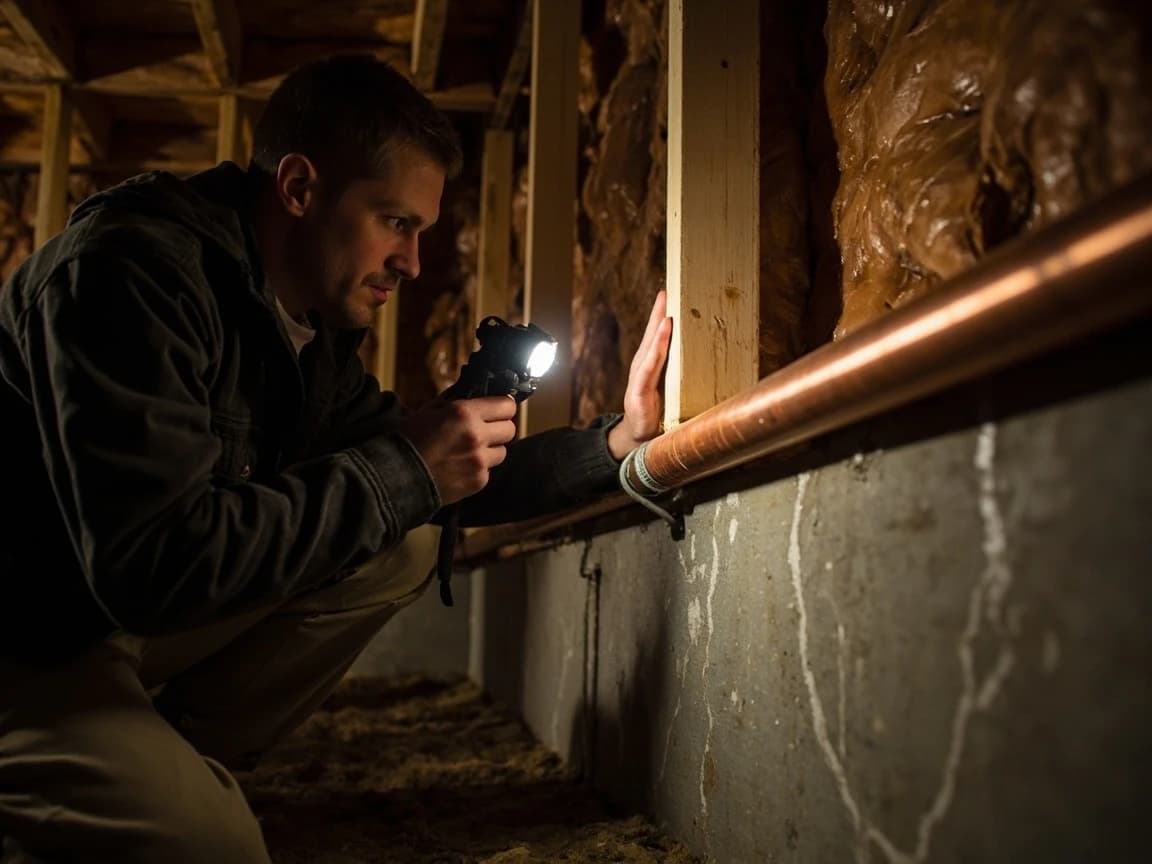
Ice plugs form where cold air reaches the pipe, not where the pipe is longest. Check where the line passes a foundation vent, a gap around a dryer duct, or an uninsulated rim joist bay first.
Inspect for a Split or Bulge Before You Add Heat
This is the step almost everyone skips, and it is the one that decides whether you get a small repair or a ruined ceiling. With a flashlight, look closely at the frozen section for a length of pipe swollen out of round, a hairline crack running lengthwise, or a soldered or crimped fitting that has visibly pushed apart. Copper usually splits along its length rather than at a joint; plastic tends to fail at the fitting. While the ice is still in place it is plugging its own hole — the leak only starts once you thaw it.
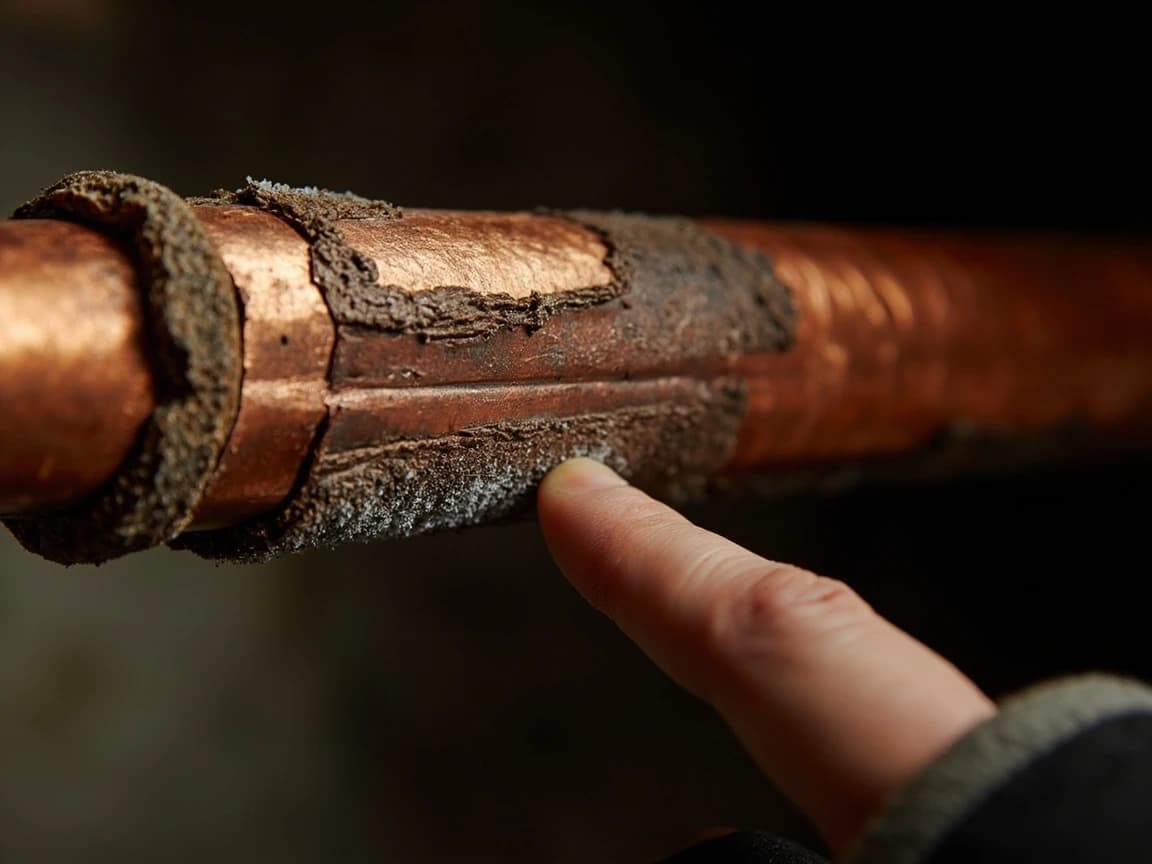
Found a bulge, split, or separated fitting? Shut off the main now and call a plumber. Do not apply heat — the ice is the only thing currently holding the water back.
Open the Faucet and Leave It Open
Open both the hot and cold handles on the affected fixture and leave them open for the entire thaw. This does two things: it gives meltwater and any trapped air somewhere to escape instead of building pressure behind the plug, and it gives you a live progress indicator. The first sign of success is usually a spitting dribble as water starts working past the ice.
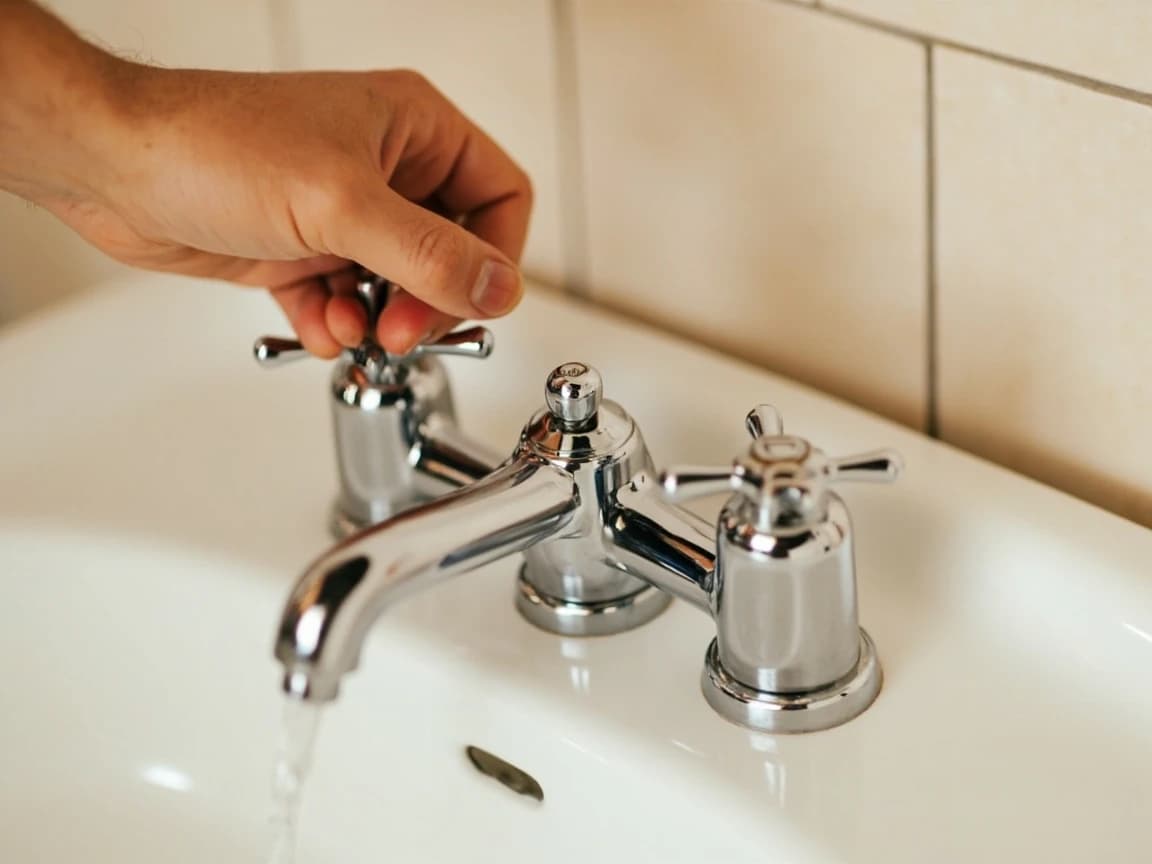
Put a bucket in the sink if the fixture is one you cannot see from where you will be working. You will hear it start to run before you see it.
Apply Gentle Heat From the Faucet End Backward
Start heating at the point closest to the open faucet and work slowly back toward the middle of the frozen section. Direction matters: heating the middle first traps meltwater between two ice plugs with nowhere to go, which is exactly the pressure that splits pipes. Wrap an electric heating pad around the pipe, play a hair dryer slowly back and forth along it, or wrap it in towels soaked in hot tap water and re-soak them every five to ten minutes. A space heater aimed at the general area works for pipes you cannot wrap, just keep it well clear of anything that burns.
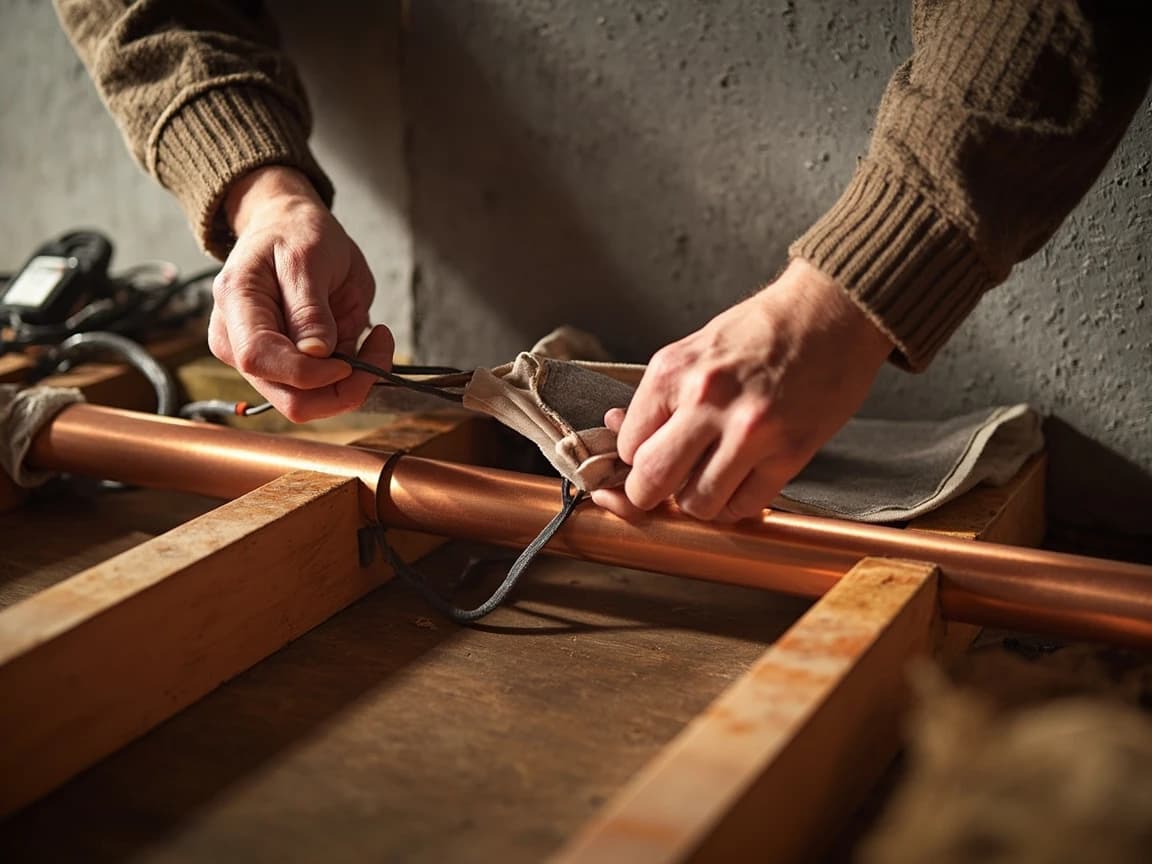
No torches, no propane or kerosene heaters, no charcoal, no open flame of any kind. Beyond the obvious fire risk inside a joist bay, direct flame boils water inside a sealed section of pipe faster than it can escape.
Keep Heat On Until Full Pressure Returns
Expect a sputtering trickle first, then a surge as the plug lets go. Keep the heat on that section for another ten minutes after flow returns — the plug rarely melts all at once, and a remaining collar of ice will refreeze the moment you walk away. Let the faucet run for several minutes to flush out any rust or sediment the ice shook loose, and watch the water for a moment: it should run clear and at the same pressure as an unaffected fixture.
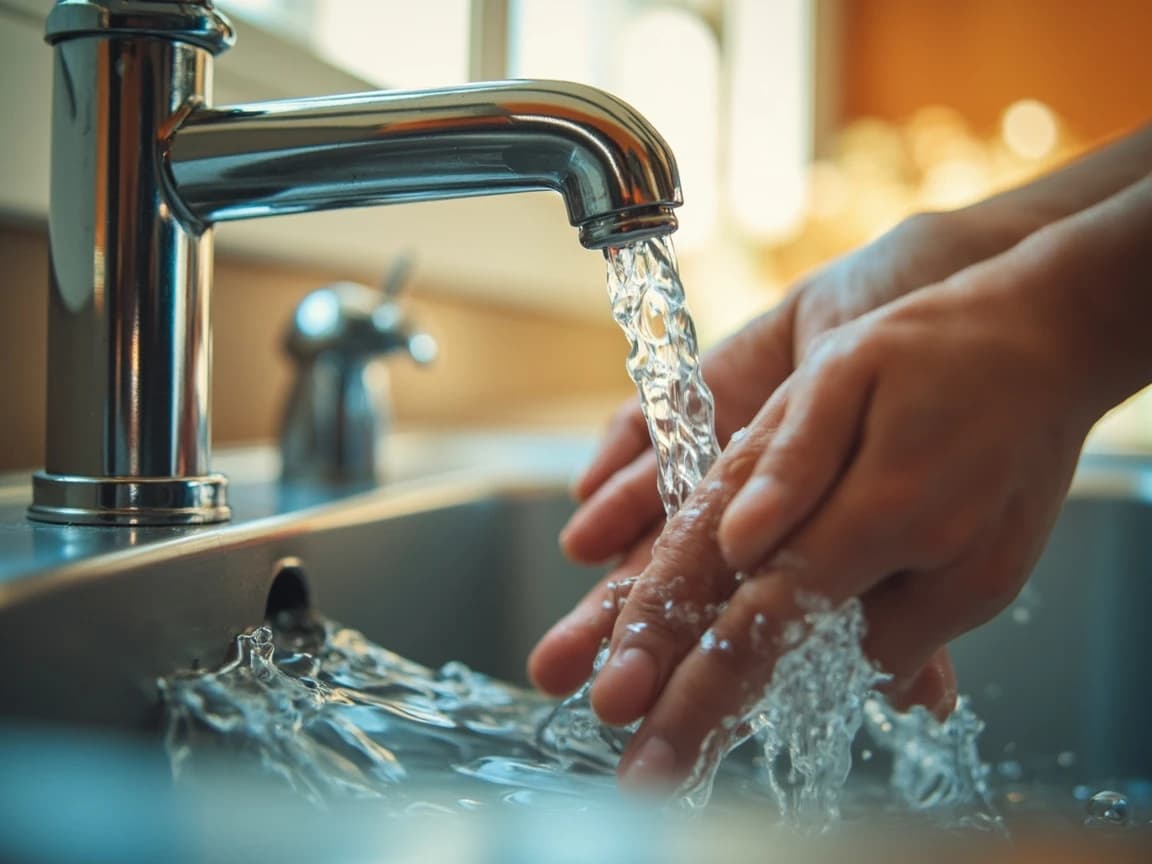
Once flow is back, walk the house and check the ceilings and walls below the thawed run for fresh damp spots. A pinhole split can weep quietly for hours before it shows up as a stain.
Check Every Other Fixture in the House
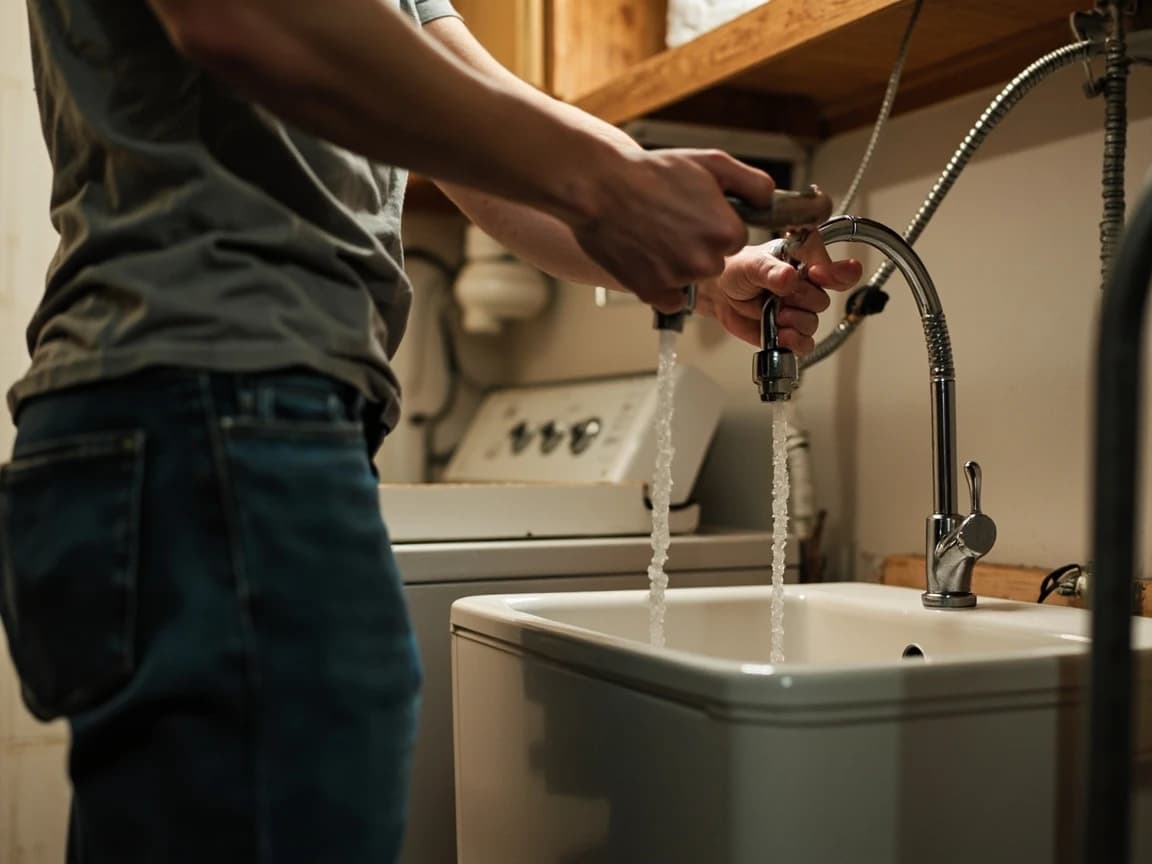
Go back to the list you made in step one and open each fixture again, hot and cold. Pipes that froze once are all sitting in the same cold air, so a second or third plug elsewhere in the house is common and easy to miss while you are focused on the first one. Do not forget outdoor spigots, a basement utility sink, a laundry hookup, and the line feeding an ice maker or humidifier.
Stop It Freezing Again the Same Night
The cold snap that froze the pipe is usually still going, so buy yourself time before the long-term fix. Open the cabinet doors under sinks on exterior walls so household heat reaches the pipes, leave the at-risk faucets running a pencil-lead trickle overnight, and keep the thermostat at a steady temperature rather than letting it drop back after dark. Then close the actual hole: slide foam sleeves over the exposed run, seal the gap where cold air is getting in, and add self-regulating heating cable to a section that keeps freezing every year.
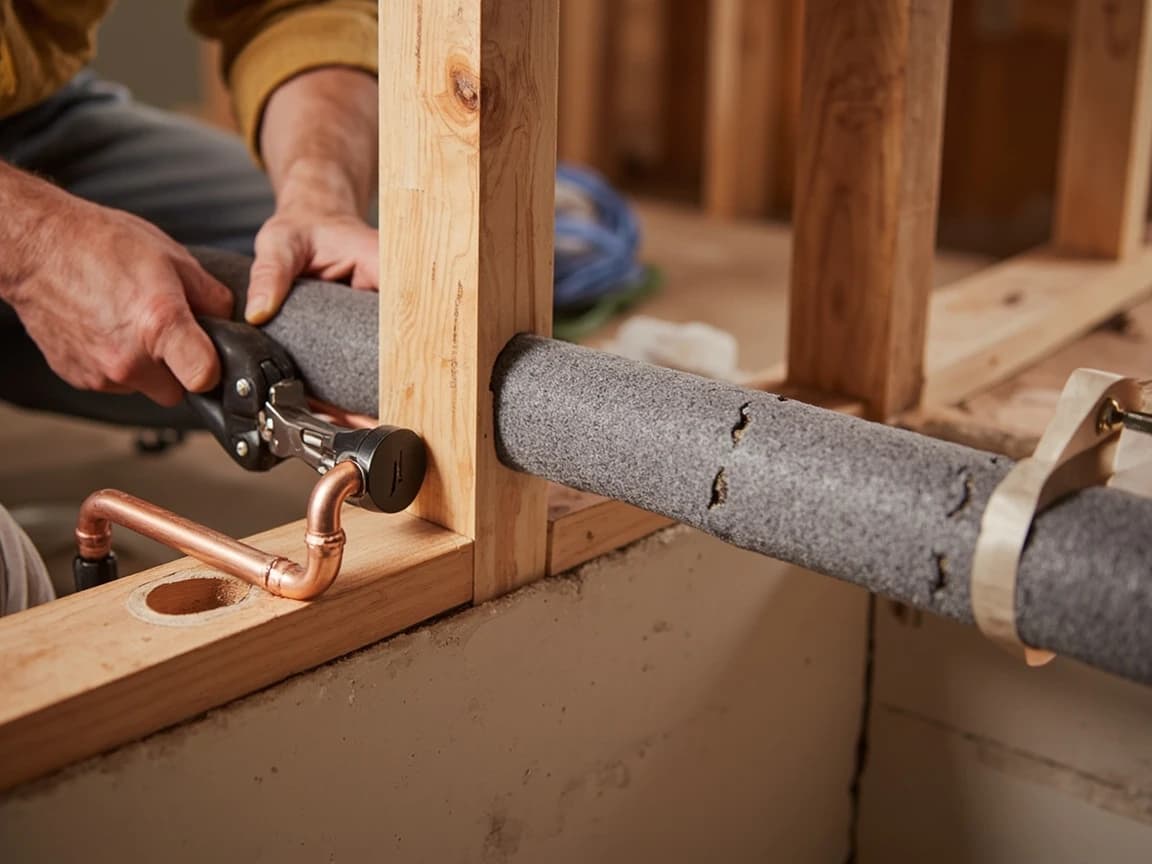
Insulation alone only slows heat loss — it will not save a pipe sitting in moving sub-freezing air. Find and seal the draft first; our guides on sealing drafty windows and insulating an attic cover the usual entry points.
Frequently Asked Questions
How long does it take to thaw a frozen pipe?
+
An accessible pipe with direct heat on it usually clears in 30 to 45 minutes. A pipe inside a wall or under a floor can take several hours because you are heating the cavity, not the pipe. If you have had steady heat on an exposed section for an hour with no change in flow, the ice plug is almost certainly somewhere else — go back and re-check the run for a colder spot.
Can I pour hot water on a frozen pipe?
+
Hot water on towels wrapped around the pipe is a method the American Red Cross specifically recommends, and it works well on pipes you can reach. Do not pour boiling water directly onto the pipe: thermal shock on metal that is already stressed by an ice plug can split it, and the runoff refreezes into a sheet on the floor you are standing on. Hot tap water on a wrung-out towel, re-soaked every few minutes, is the safe version.
How do I know if a frozen pipe has already burst?
+
Look for a section swollen out of round, a lengthwise split, or a soldered or crimped fitting that has visibly pushed apart. Elsewhere in the house, watch for damp drywall, a sagging ceiling, or the sound of running water when every fixture is off. The fastest check is your water meter — if the dial is turning with all fixtures closed, water is escaping somewhere. Shut off the main and see our water shut-off valve guide if you cannot find yours.
Should I leave faucets dripping to keep pipes from freezing?
+
Yes, on the fixtures most at risk — the ones served by pipes in exterior walls, crawl spaces, or an unheated garage. A stream about the thickness of a pencil lead is enough. It helps for two reasons: moving water is much harder to freeze, and an open faucet relieves the pressure that actually bursts pipes, so even if an ice plug does form the line is far less likely to split.
My hot water is frozen but the cold side works — is that possible?
+
It is common, and it surprises people. Hot and cold lines usually run side by side through the same cold exterior wall or crawl space, so both are exposed to the same temperature. The hot line often freezes first overnight because it sits completely still for hours while the cold line may still see occasional use. Thaw it exactly the same way, and check the run near your water heater too.
Sources & further reading
- Preventing and Thawing Frozen Pipes — American Red Cross
- Preventing and Thawing Frozen Pipes — Iowa State University Extension and Outreach
- Advice to Prevent Frozen Pipes — Utah State University Extension
More Plumbing Guides
View all → Medium1 hr
How to Install a Water Shut-Off Valve
Every sink, toilet, and appliance water line should have its own shut-off valve so you can kill the water to one fixture without shutting down the whole house. Installing a compression-fit quarter-turn ball valve on an existing copper or CPVC line is a straightforward job that takes about an hour and costs under $15 in parts — compared to $150-300 for a plumber call. This guide covers the most common scenario: replacing an old gate valve or adding a new valve under a sink or behind a toilet.
 Easy40 min
How to Fix a Leaky Pipe Joint
A weeping pipe joint under the sink is one of the most common — and cheapest — plumbing repairs you'll ever make. A roll of Teflon tape and a small tube of pipe joint compound cost under $10 and will fix the vast majority of threaded and compression joint leaks in 30 to 45 minutes, saving you the $150 to $400 a plumber would charge for the same trip.
 Easy45 min
How to Seal Drafty Windows
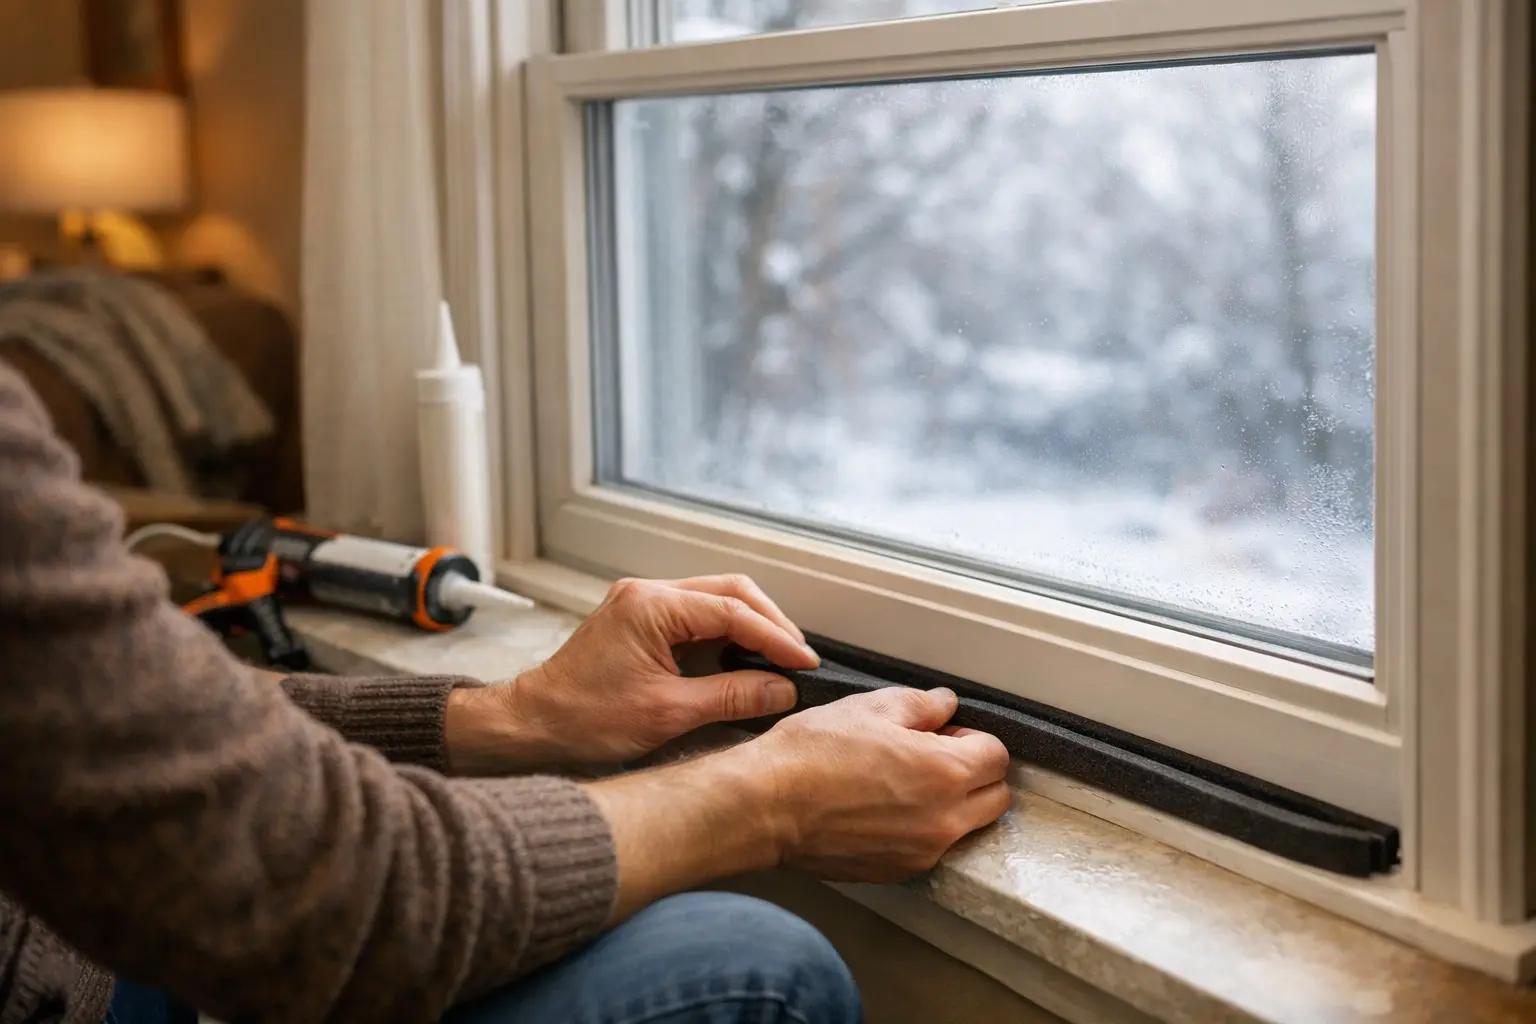
Drafty windows can add 5-30% to your heating and cooling bills — the U.S. Department of Energy estimates that a comprehensive home weatherization project (which includes sealing windows, doors, and other air leaks) can save homeowners several hundred dollars per year on energy costs. Window sealing alone typically pays for itself within a few seasons through lower heating and cooling bills. The good news is that most drafts are fixed with $10-30 in weatherstripping and caulk, not expensive replacement windows. This guide walks you through finding the leaks, choosing the right sealant for each gap, and applying it for a tight, long-lasting seal.
You Might Also Like
 Easy25 min
Best Deck Stain: Transparent vs Semi vs Solid
There is no "best" deck stain — there is the right stain for your sun exposure, wood condition, and how often you want to redo the job. Transparent stains last 1-2 years but let the natural grain show. Solid stains last 4-7 years but look like paint. This guide walks the four opacity levels and the oil-vs-water choice so you pick the one that matches your deck and your tolerance for re-staining.
 Easy45 min
How to Install a Smart Thermostat
A smart thermostat is one of the highest-ROI upgrades you can make to your home — it learns your schedule, adjusts automatically when you're away, and typically saves about 8% on heating and cooling bills — the figure ENERGY STAR verifies from real-home data, roughly $50 a year — so the $120-250 device usually pays for itself within a few years. If your old thermostat has labeled wires behind it, the swap takes about 30-45 minutes with nothing more than a screwdriver and your phone. This guide covers checking compatibility, labeling wires, mounting the new base, connecting everything, and walking through the app setup so your system is running smart the same day.
 Hard8 hrs
How to Paint Kitchen Cabinets
A professional cabinet refinish costs $3,000-8,000, but painting them yourself with the right prep and materials delivers the same transformation for under $200 in a long weekend. The secret is thorough degreasing, a bonding primer, and thin coats with proper dry time between each — skip any of those and the paint will chip within months. This guide walks through the full process from door removal and labeling to final reassembly, covering both brush and roller techniques for a smooth, factory-like finish.