How to Insulate Exposed Pipes for Winter
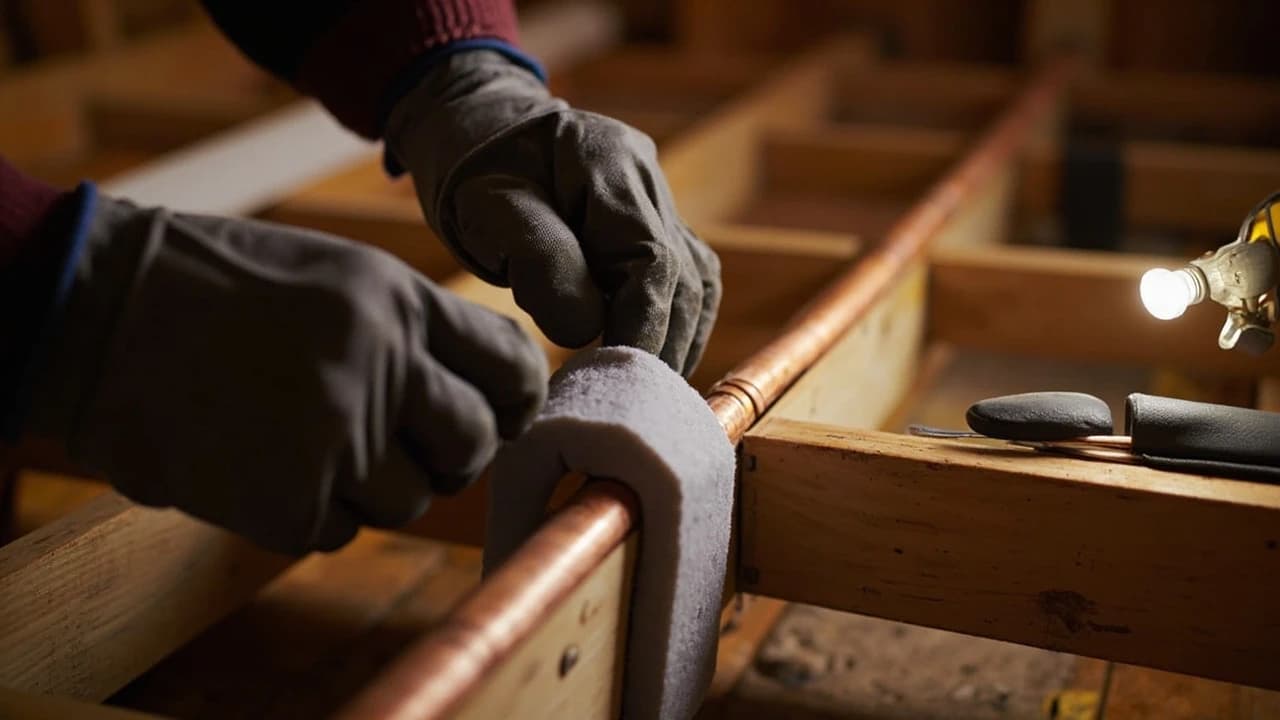

A burst supply line dumps several hundred gallons an hour into a crawl space, and the insulation that would have prevented it costs about a dollar a foot. This guide covers the part most winter-prep advice skips: how to size foam sleeves to the actual outside diameter of your pipe, miter the corners so elbows are not left bare, seal the seams, and add heat cable safely on the runs that freeze every year. Half a day and $40-120 for a typical crawl space.
What do you need to insulate pipes for winter?
🛠 Tools
📦 Materials
Safety First
- •Heat cable is a real fire risk, not a theoretical one — CPSC has estimated roughly 3,300 home fires a year involving heat tapes and pipe heating cables. Use only UL-listed cable, never overlap it on itself, never cut it to length unless the product is specifically designed to be cut, and replace any uncertified cable more than three years old.
- •Foam pipe insulation is combustible. Keep it well clear of flue pipes, water heater draft hoods, and any surface that gets hot enough to be uncomfortable to touch.
- •Before crawling under the house, check for standing water and, if the space has ever had rodents, wear an N95 and gloves and do not disturb dry droppings.
How do you insulate exposed water pipes?
Find Every Pipe That Runs Through Unheated Space
Walk the crawl space, basement, attached garage, and attic with a work light and trace every supply line. The runs that matter are the ones outside the heated envelope: along a crawl space perimeter, through an unheated garage wall, in an attic above the insulation line, or in the rim joist cavity where the floor framing meets the foundation. Sketch or photograph what you find and note the pipe material at each run, because copper, galvanized steel, PEX, and CPVC all take different sleeve sizes even at the same nominal number.
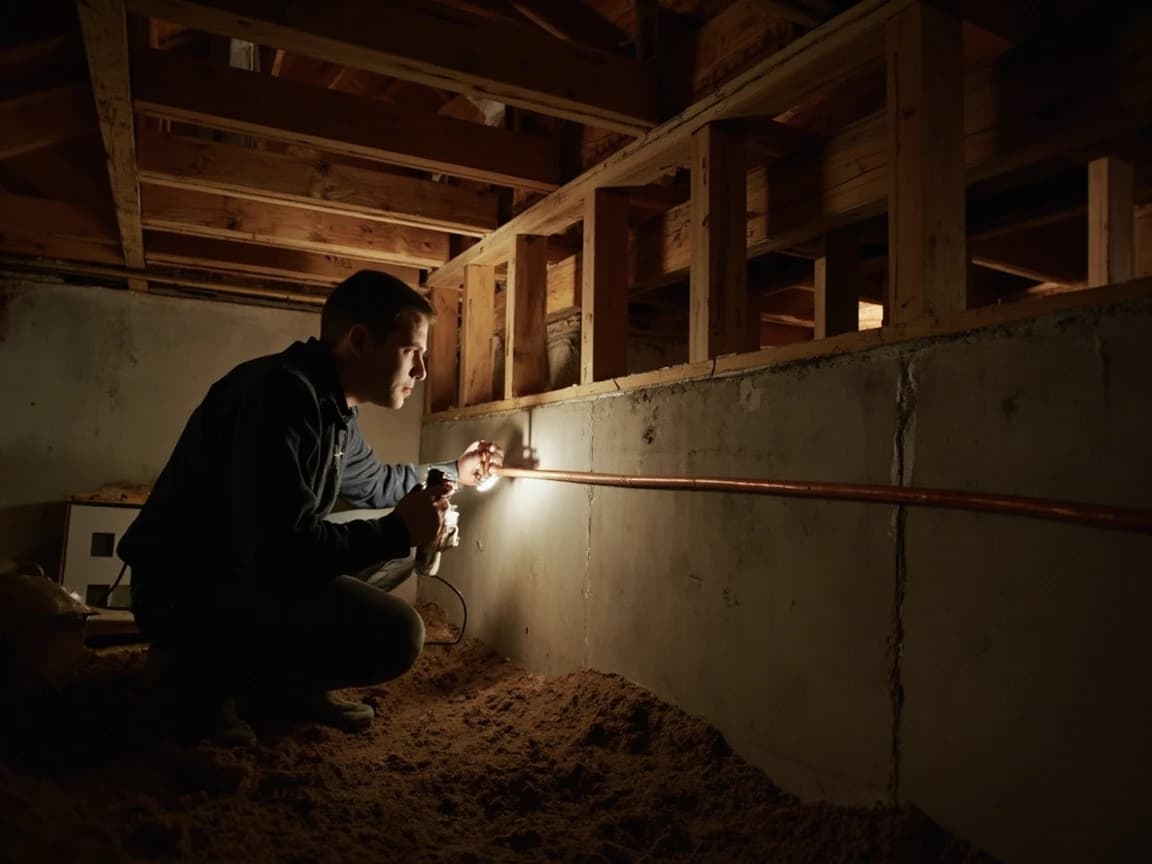
Pipes freeze where cold air reaches them, not where the run is longest. Note anywhere a line passes an open foundation vent, a gap around a dryer duct, or an uninsulated rim joist bay — those spots freeze first.
Measure the Outside Diameter, Not the Nominal Size
Sleeve sizing is the single most common mistake, because nominal pipe size is a name rather than a measurement. Half-inch copper actually measures about 5/8 inch across the outside; half-inch galvanized steel measures about 7/8 inch. Read the sleeve packaging for your pipe material — good products list copper and iron sizes separately. If nothing is labeled, wrap a paper strip around the pipe, mark where it overlaps, and divide that circumference by 3.14 to get the true outside diameter.
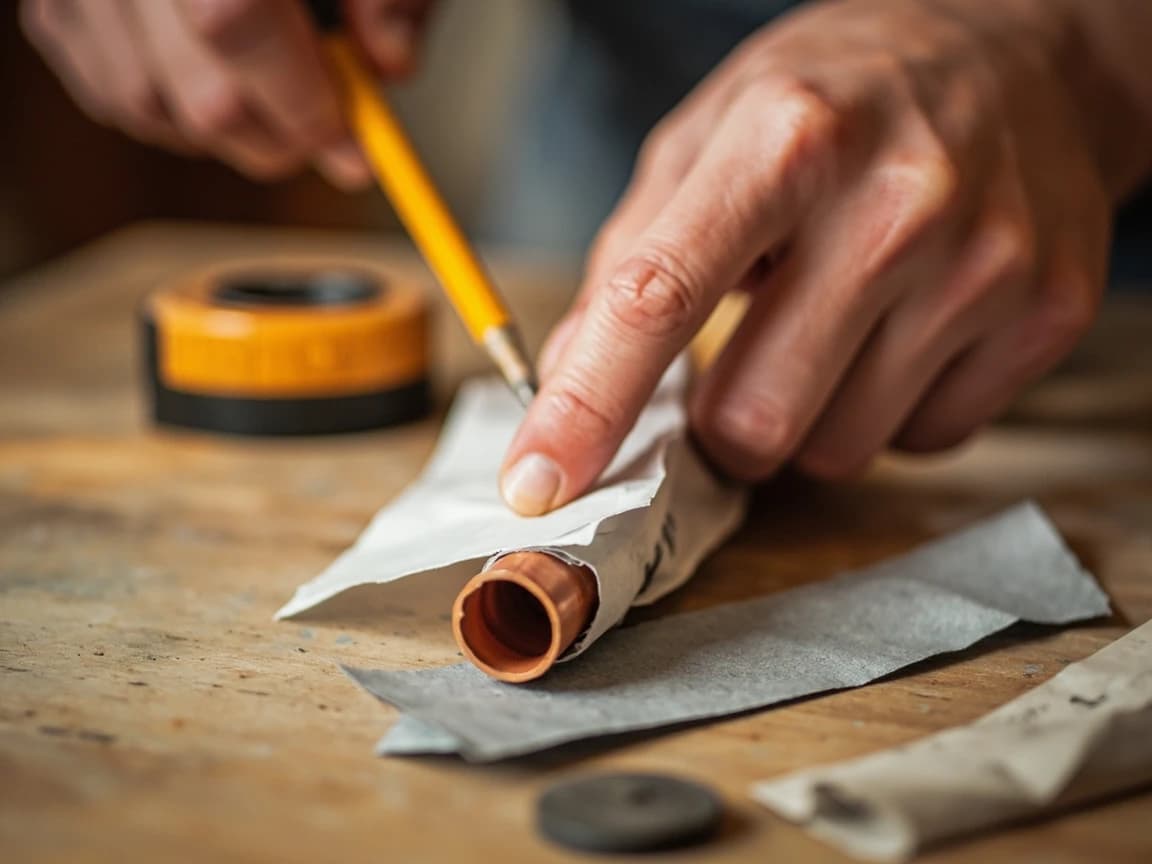
A sleeve one size too large is worse than none in a windy crawl space — the air gap between foam and pipe convects heat away. The sleeve should grip the pipe with the seam closed, not slide freely.
Choose Wall Thickness for the Space, Not the Pipe
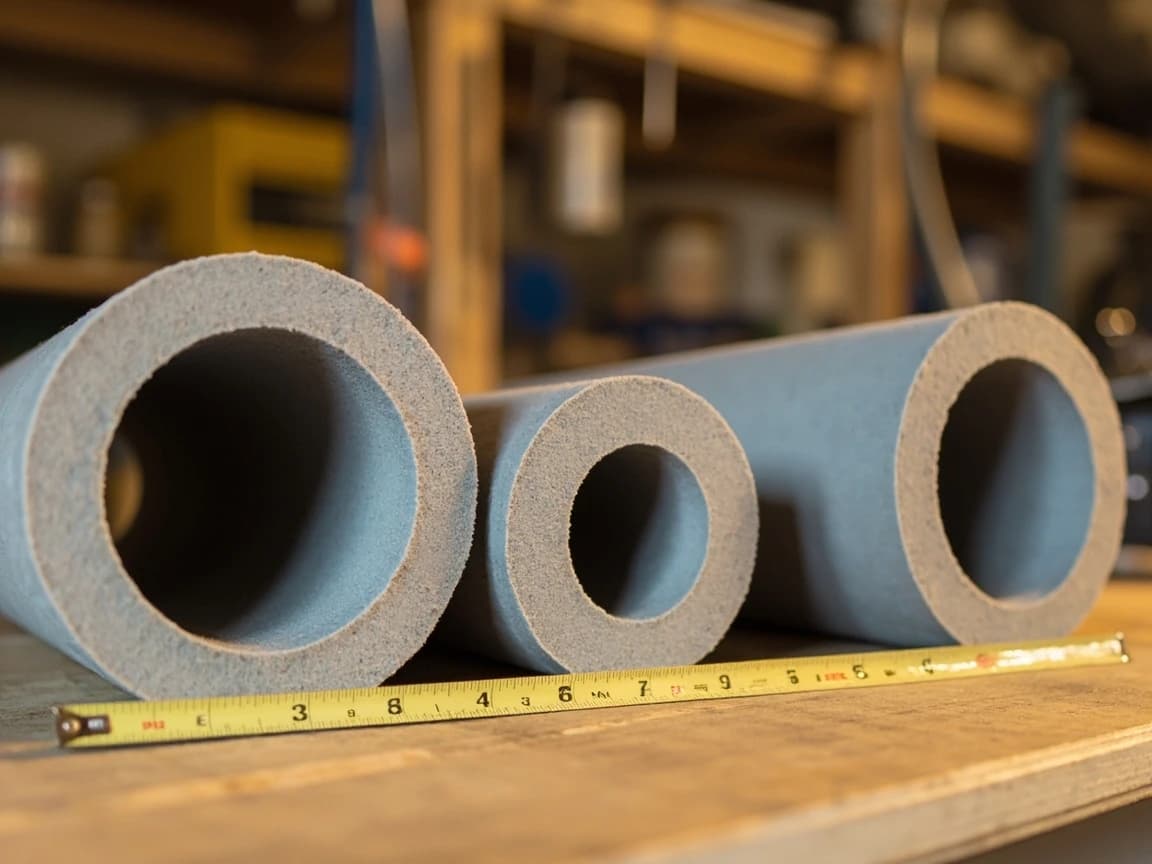
Foam sleeves come in roughly 3/8-inch, 1/2-inch, and 3/4-inch wall thicknesses. For a basement that stays above freezing, the thin wall is fine and is mostly about condensation and standby heat loss. For a vented crawl space, an unheated garage, or an attic run, buy the thickest wall that will fit the space you have to work in — 3/4-inch wall roughly doubles the time to freeze compared with the thinnest option. Closed-cell polyethylene is the standard choice because it does not absorb water; fiberglass sleeves belong on hot lines in dry interior spaces, not in a damp crawl space.
Seal the Air Leaks Before You Cover the Pipe
Insulation slows heat loss but does nothing against moving cold air, so find and close the leaks first — once the sleeve is on, you will not see them. Look for daylight around the rim joist, gaps where the supply line passes through the foundation, open foundation vents pointed at a pipe run, and the hole around the hose bib. Pack the pipe penetrations with copper mesh and seal over them, which closes the draft and the rodent route in one pass; our mouse entry point guide covers that method in detail.
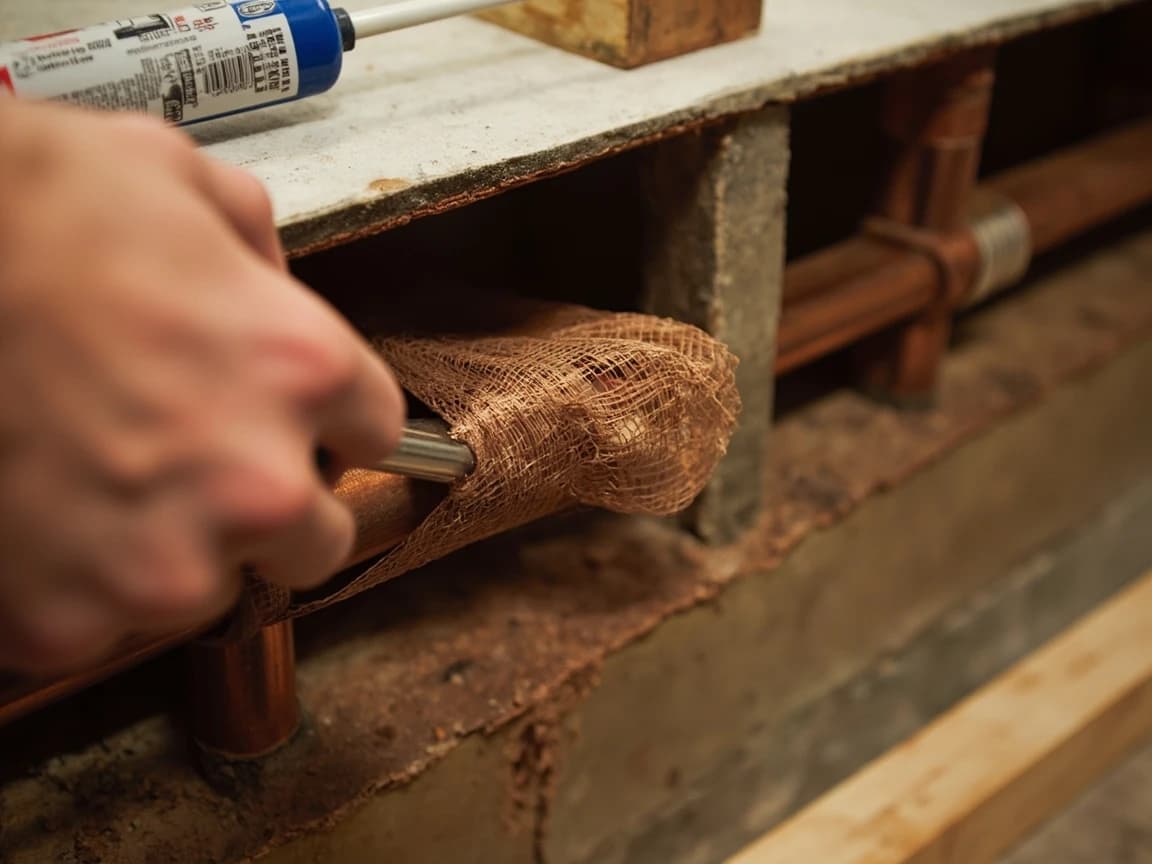
An uninsulated rim joist bay above the pipe is often the real culprit. Sealing and insulating that bay does more for the pipe below it than another layer of foam — see our attic insulation guide for the same principle applied upstairs.
Slip the Sleeves On and Close the Seam
Most sleeves come pre-slit down one side. Open the slit, press it over the pipe, and work along the run seating it fully so the pipe sits centered rather than off to one side of the foam. Self-sealing products have an adhesive strip under a peel-off film — pull the film as you go and pinch the seam closed behind you, because the adhesive grabs quickly and does not reposition well. For sleeves without adhesive, close the seam with foil tape or a zip tie every 12 to 18 inches. On vertical runs, work bottom to top so gravity is not pulling the seam open.
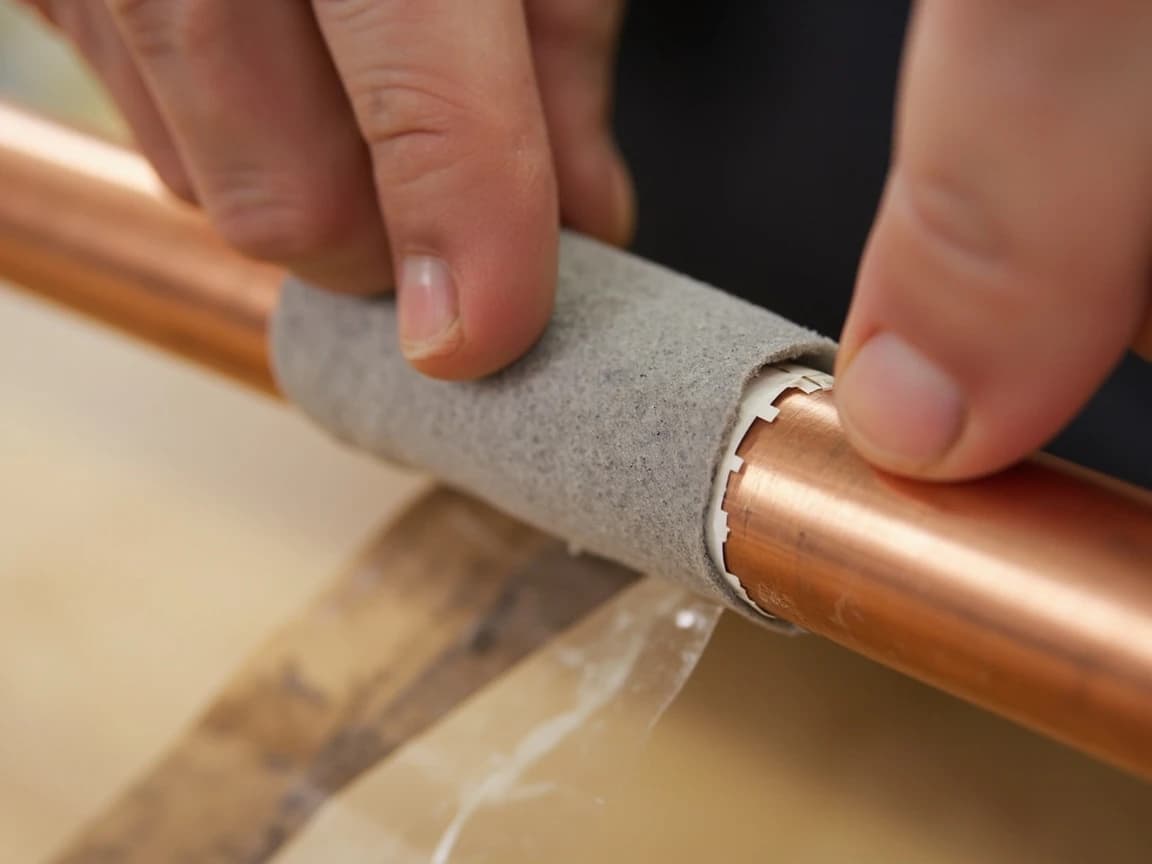
Cut foam with a fresh utility blade in one long stroke. A dull blade tears a ragged edge that will not butt cleanly against the next piece, and every ragged joint is a gap.
Miter the Elbows Instead of Leaving Them Bare
A bare elbow is a thermal short circuit — the metal conducts heat straight out of the water while the insulated pipe either side stays protected, and that corner is where an otherwise insulated run freezes. Cut both sleeve ends at 45 degrees using a miter box, butt the mitered faces together around the elbow, and tape the joint closed. For a tee, notch a shallow V out of the through-run sleeve so the branch seats into it. Preformed elbow covers are worth buying if you have a dozen corners, but a taped miter seals just as well.
Tape Every Butt Joint and End
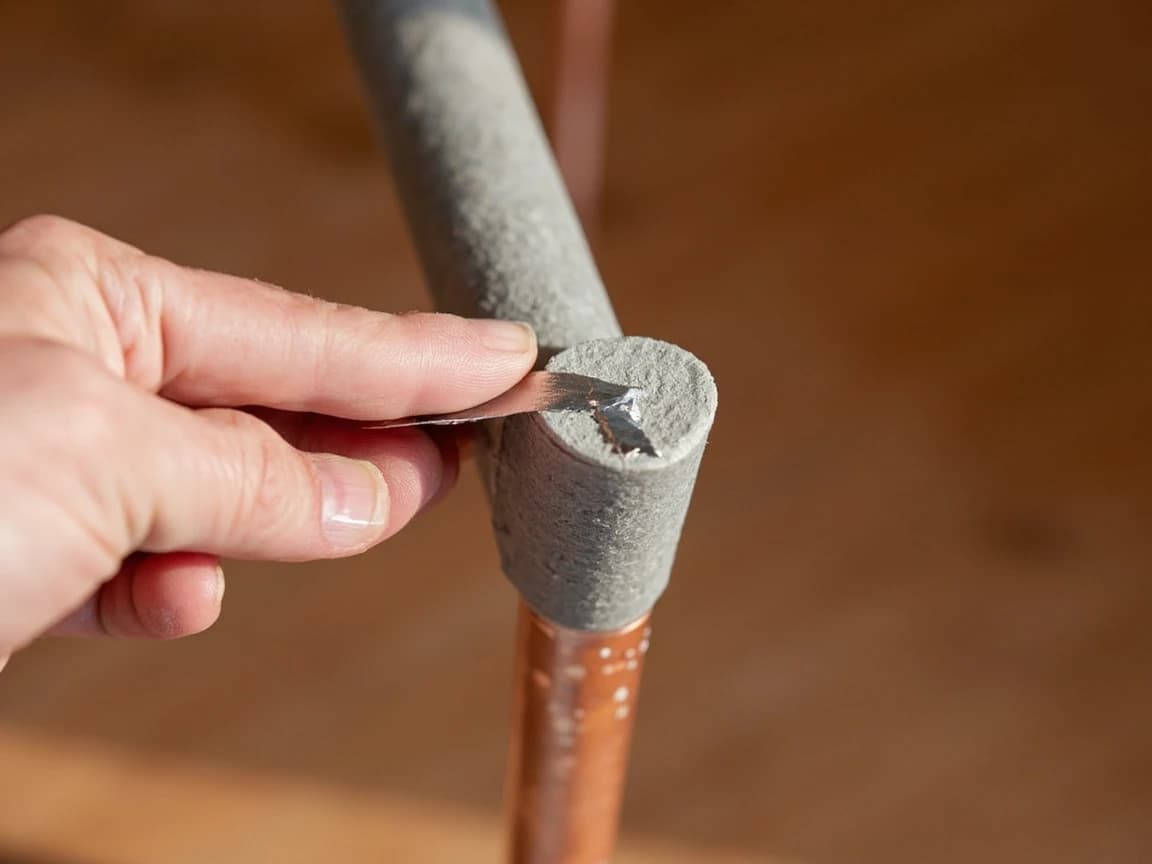
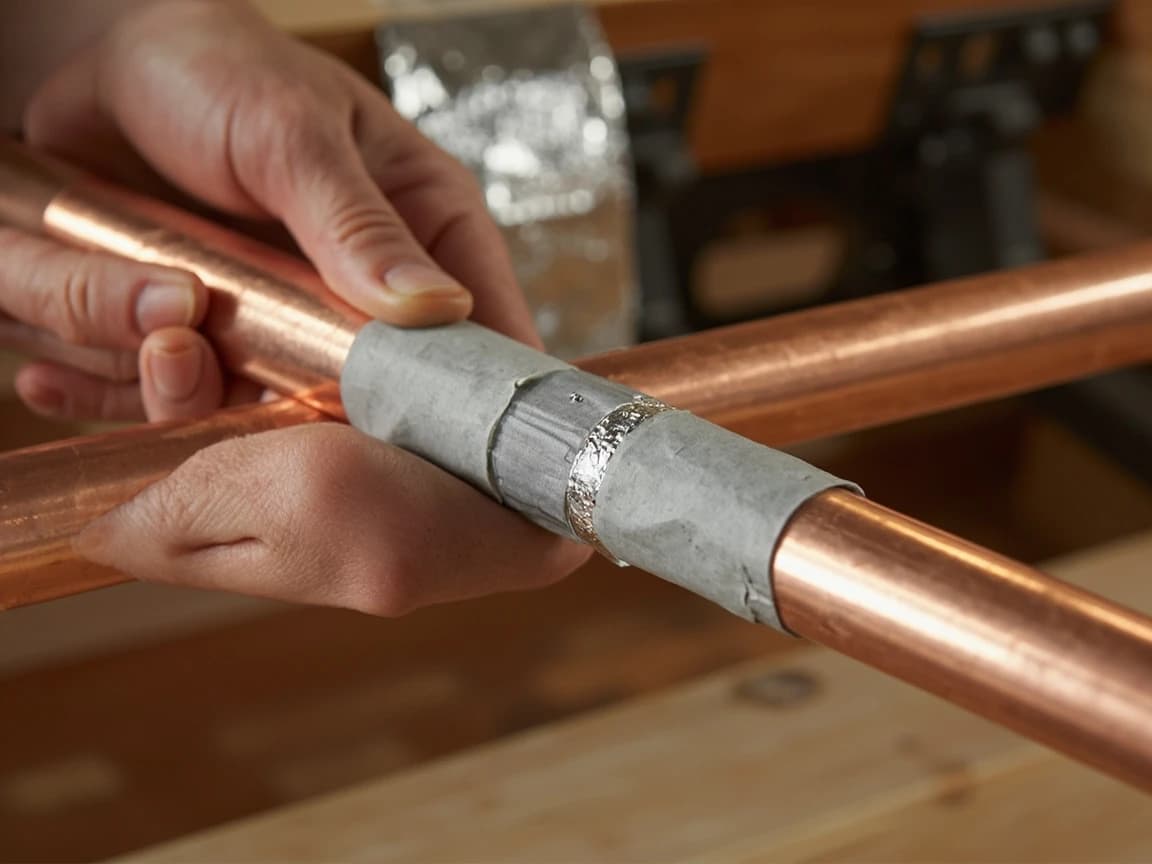
Where two sleeves meet end to end, push them tight together and wrap the joint with foil tape or the seam tape supplied with the product. Do the same at valves, unions, and anywhere the sleeve has to stop — a taped end holds the foam in place and keeps the run continuous. Leave shutoff valve handles accessible rather than burying them, since you will want that valve in an emergency; wrap the valve body and leave the handle proud. Now is also the moment to confirm you know where the main shutoff is, covered in our water shut-off valve guide.
Add Heat Cable Only Where Insulation Has Already Failed
Heat cable is for the specific run that freezes every winter despite being insulated — it is not a general upgrade. Use only UL-listed self-regulating cable, run it straight along the pipe or in a loose spiral per the instructions, and never let it cross or overlap itself. Whether insulation goes over the cable depends entirely on the product: some are designed to be covered, others overheat if they are. The thermostat placement is equally product-specific — some sit against the pipe under the insulation, others must hang in open air. Follow the box, not a video.
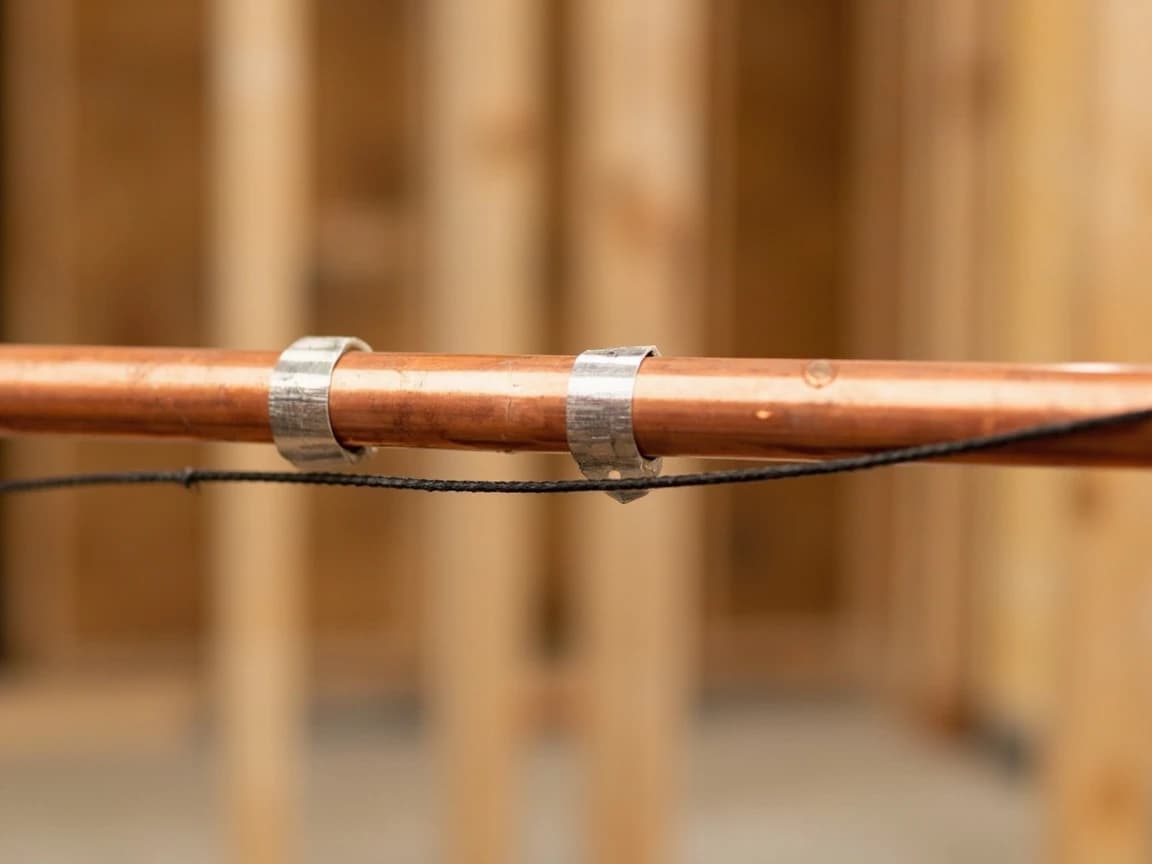
CPSC has estimated roughly 3,300 home fires a year involving heat tapes and pipe heating cables. Never overlap the cable, never cut it unless the product is made to be cut, plug it into a GFCI-protected outlet, inspect it every autumn, and replace any uncertified cable more than three years old.
Cover the Outdoor Faucets and Drain the Hose Bibs
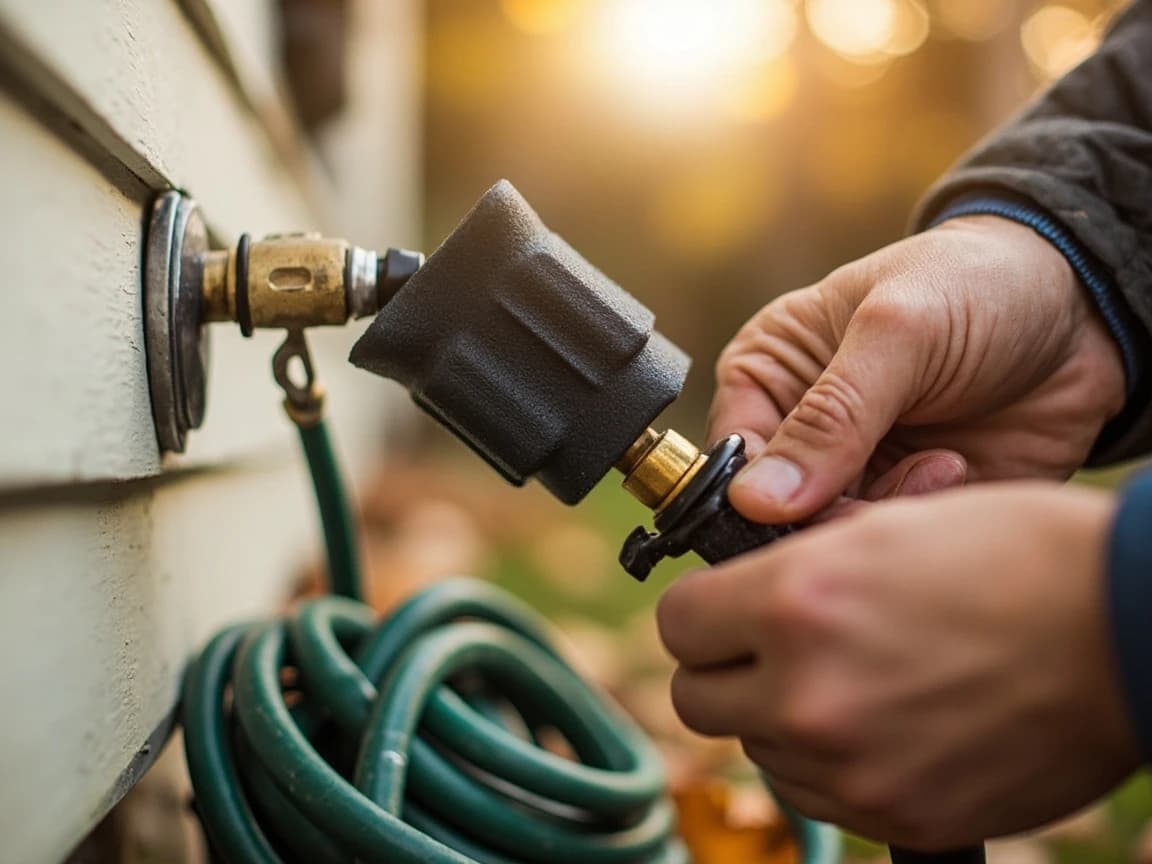
Disconnect every garden hose — a hose left attached traps water in the bib and is the single most common cause of a split spigot. If you have interior shutoffs for the outdoor faucets, close them and open the spigot to drain the stub of pipe between. Then fit an insulated faucet cover: a hard foam dome or an insulated pouch that hooks over the spigot and cinches tight against the siding. Frost-free sillcocks still benefit from a cover, because they only drain properly if the hose is off and the faucet is pitched correctly.
Check the Work Before the First Hard Freeze
Walk the run once more with a light and look for the three things that undo the job: gaps at corners you did not miter, seams that have popped open where the adhesive did not take, and sleeves that have slid along the pipe leaving bare sections. Confirm the crawl space vents are closed or blocked for winter if your climate calls for it, and that nothing you insulated is touching a flue or water heater vent. If a run still freezes after all this, do not add more foam — read our frozen pipe thawing guide for the emergency procedure and treat the recurrence as an air-sealing problem.
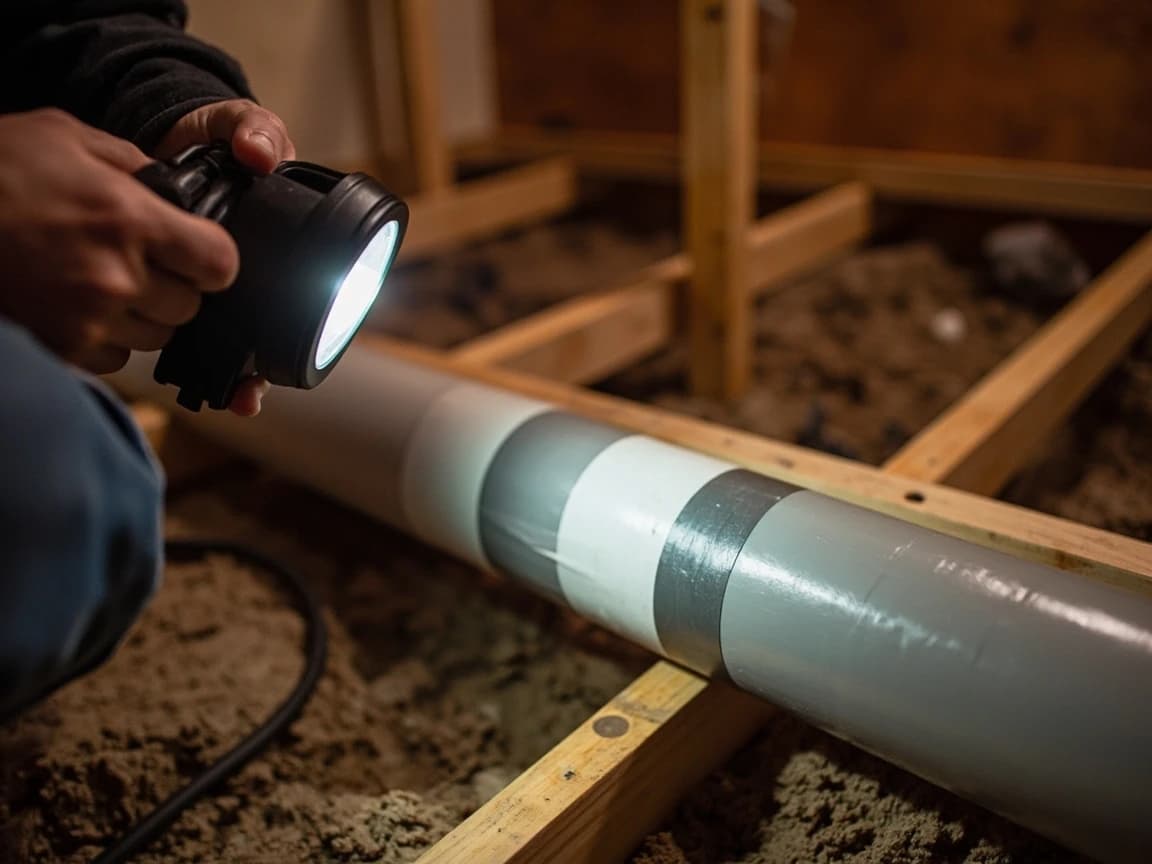
Photograph the finished run with your phone. Next autumn the photo tells you exactly what to re-check in ten minutes instead of crawling the whole length again.
Frequently Asked Questions
What size pipe insulation do I need for 1/2-inch copper pipe?
+
Buy the sleeve labeled for 1/2-inch copper, not 1/2-inch iron pipe, because the two are different products. Nominal pipe size is a label, not a measurement: 1/2-inch copper has an actual outside diameter of about 5/8 inch, while 1/2-inch iron or steel measures about 7/8 inch, and 1/2-inch CPVC lands near 5/8 inch as well. Sleeve packaging usually lists both, so read for the material rather than grabbing the number that matches your mental model. If the labeling is unclear, wrap a strip of paper around the pipe, mark the overlap, and divide the length by 3.14 to get the true OD. A sleeve that is slightly too large leaves an air gap that convects heat away and defeats the point; one that is too small will not close around the pipe and the seam gaps open as soon as you let go.
Does pipe insulation actually stop pipes from freezing?
+
It slows heat loss, which buys time — it does not add heat, so it cannot protect a pipe indefinitely in a space that stays below freezing. Insulation works by extending how long the water in the pipe takes to reach freezing during a cold snap, which is usually enough in a crawl space that dips below freezing overnight and recovers by afternoon. It is not enough for an unheated space that stays below freezing for days, and it will not help at all if cold air is blowing directly across the pipe through an open foundation vent or a gap in the rim joist. That is why sealing the air leaks matters as much as the sleeve itself, and why chronically freezing runs need heat cable rather than thicker foam. Usefully, foam roughly doubles or triples the hours a pipe survives at a given temperature — it turns a pipe that froze at 3am into one still liquid at dawn.
Can I put insulation over heat tape?
+
Only if the heat cable manufacturer explicitly says so, and then only with the insulation type and thickness they specify. Many self-regulating cables are designed to be covered because the insulation holds the heat against the pipe, but some constant-wattage tapes overheat when covered and are rated for bare installation. The instructions that come in the box are the authority here, and they also tell you where the thermostat goes — some are meant to sit against the pipe under the insulation, others must hang free in open air to read the ambient temperature correctly. Getting the thermostat placement wrong makes the cable run constantly or never switch on at all. Never wrap cable over itself or cross it, covered or not. Two habits belong on the autumn checklist whatever product you own: inspect the full length for cracked jacket or scorch marks before plugging it in, and retire any uncertified cable older than three years.
Should I insulate hot water pipes too, or just cold?
+
Insulate both, for different reasons. Cold lines get insulated to delay freezing and to stop the summer condensation that drips onto joists and rots them over years. Hot lines get insulated to cut standby heat loss, which means hot water arrives at the tap faster and the water heater cycles less — the first few feet leaving the water heater are where that pays back most. In an unheated crawl space the hot line freezes too, and often first, because it sits completely still overnight while the cold line may still see occasional use. If you are buying sleeves anyway, doing both runs costs a few extra dollars and one extra trip under the house. The condensation point is worth dwelling on, because it does damage year-round rather than only in a cold snap: bare cold lines in a humid crawl space sweat all summer, and that water drips onto the joists and subfloor underneath, feeding rot and mold in a space nobody inspects.
How do I insulate pipe elbows and corners?
+
Miter them rather than leaving them bare, which is the step most homeowners skip and the reason insulated runs still freeze at the corner. Cut the end of each sleeve at 45 degrees with a miter box or a jig, butt the two mitered ends together around the elbow, and tape the joint. On a tee, cut a shallow V-notch out of the run sleeve so the branch sleeve seats into it. Preformed elbow covers exist and are worth buying if you have many corners, but a mitered cut costs nothing and seals just as well when taped. A bare elbow is a thermal short circuit — the metal there conducts heat straight out of the water while everything on either side stays protected. Tape every mitered joint rather than trusting friction, because foam relaxes over a season and a butted miter that was tight in October will have opened a visible gap by January.
Sources & further reading
- Preventing and Thawing Frozen Pipes — American Red Cross
- Heating Fire Safety — U.S. Fire Administration (FEMA)
- Heating Cables or Tapes for Pipe Freeze Protection — InspectAPedia
More HVAC Guides
View all →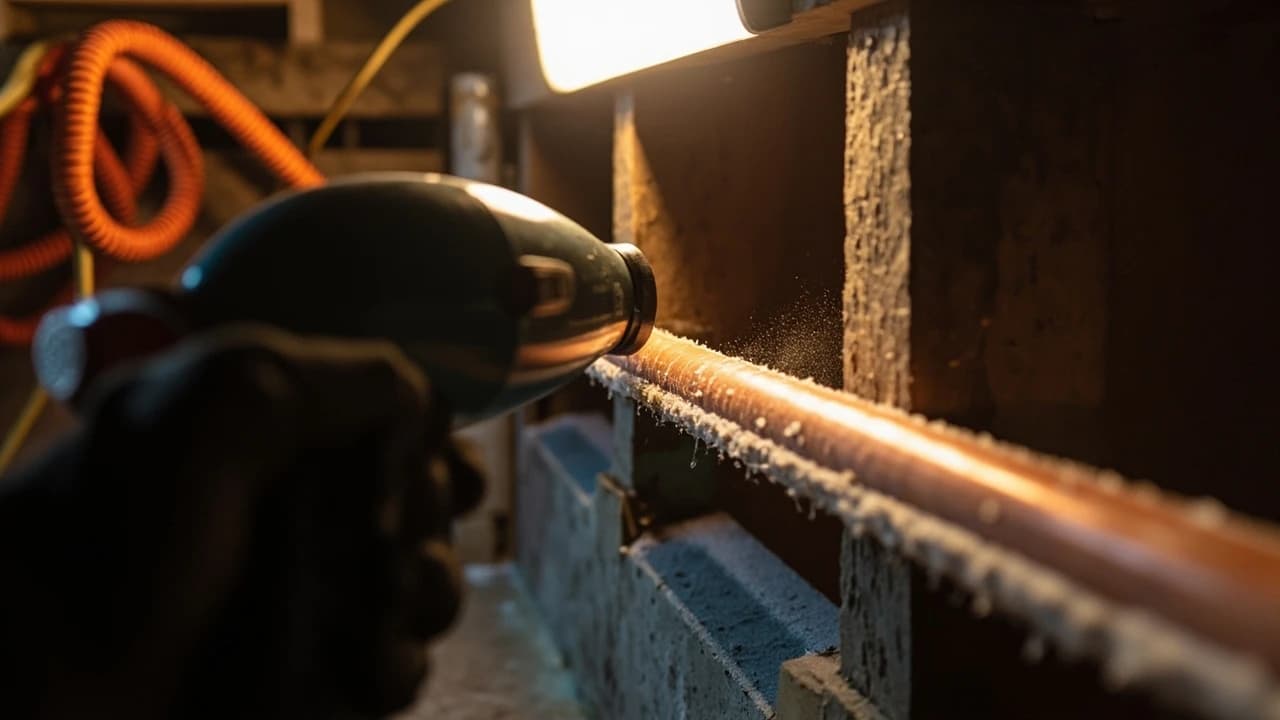 Medium1h 30m
How to Thaw Frozen Pipes Safely
A frozen pipe is a burst pipe waiting to happen — the ice itself rarely splits the metal, but the water pressure trapped between the ice plug and a closed faucet does. This guide covers finding the frozen section, inspecting it for damage before you add any heat, and thawing it with tools you almost certainly already own. Most accessible pipes clear in 30 to 45 minutes.
 Medium10 hrs
How to Insulate an Attic
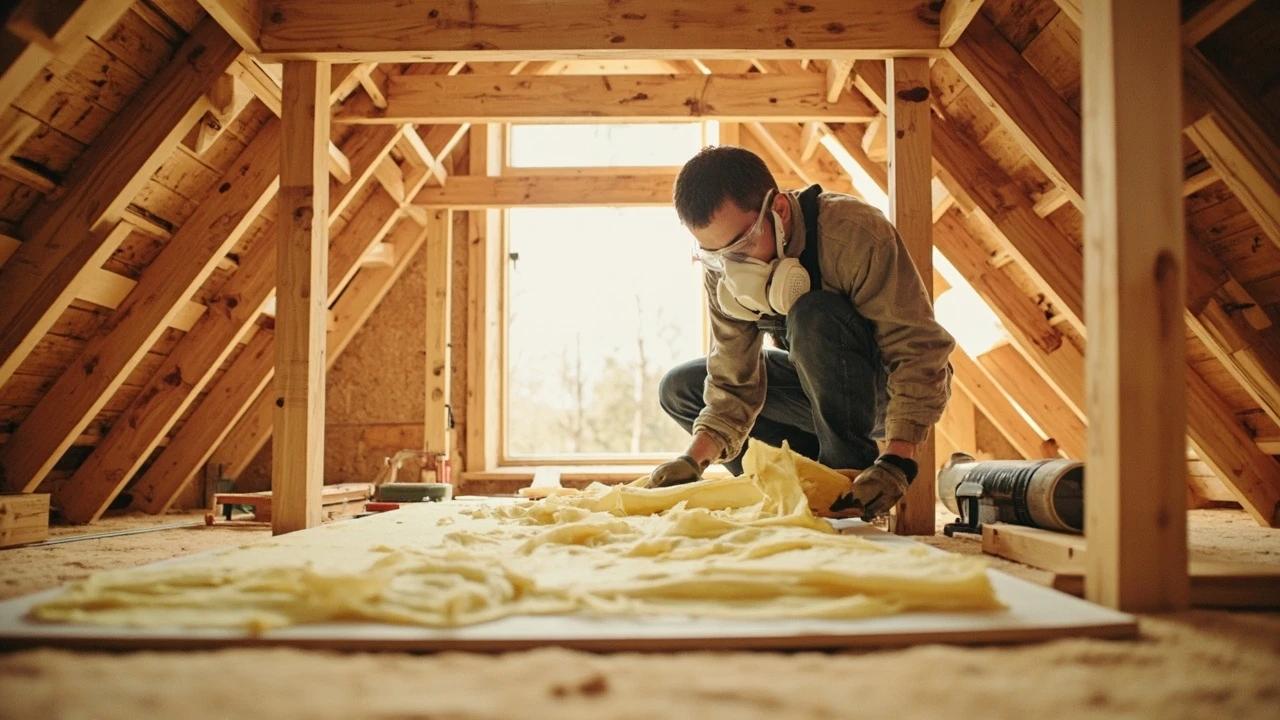
Adding attic insulation is the highest-payback weatherization project in most homes — but the step that actually saves money is the one DIYers skip: air-sealing the leaks before any insulation goes down. This guide does it in the right order — seal the penetrations and hatch, add baffles so you don't smother the soffit vents, keep insulation safely clear of recessed lights and the flue, then build the floor up to your climate zone's R-value target with batts or blown-in. Budget roughly $1 to $2 per square foot in materials and a weekend.
 Medium3 hrs
How to Seal Entry Points and Keep Mice Out
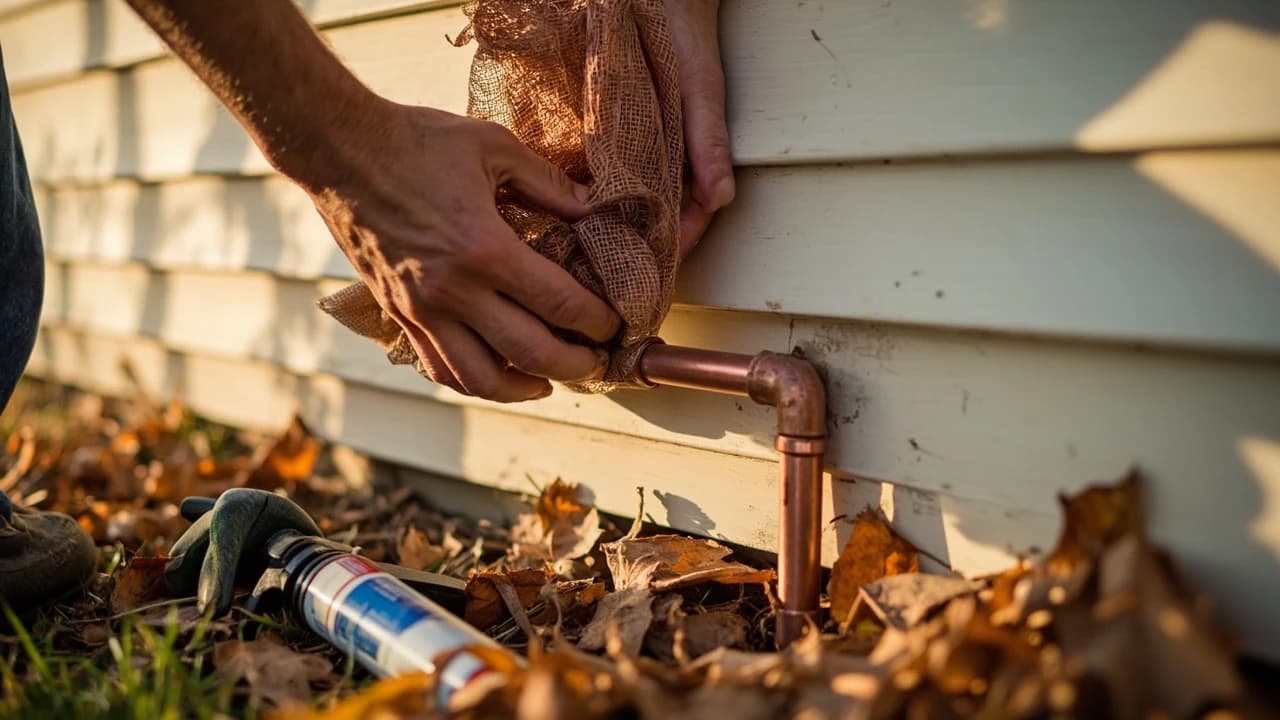
A mouse needs a gap only 1/4 inch wide — the width of a dime — to move into your walls, and every fall they try. One afternoon with copper mesh, caulk, and hardware cloth closes off the routes they actually use, for $30-80 in materials against the several hundred dollars an exclusion company charges for the same work. This guide covers finding the gaps the way an inspector does, choosing materials mice cannot chew through, and the trap-first rule that keeps you from sealing mice inside the house.
You Might Also Like
 Easy30 min
How to Replace an Electrical Outlet
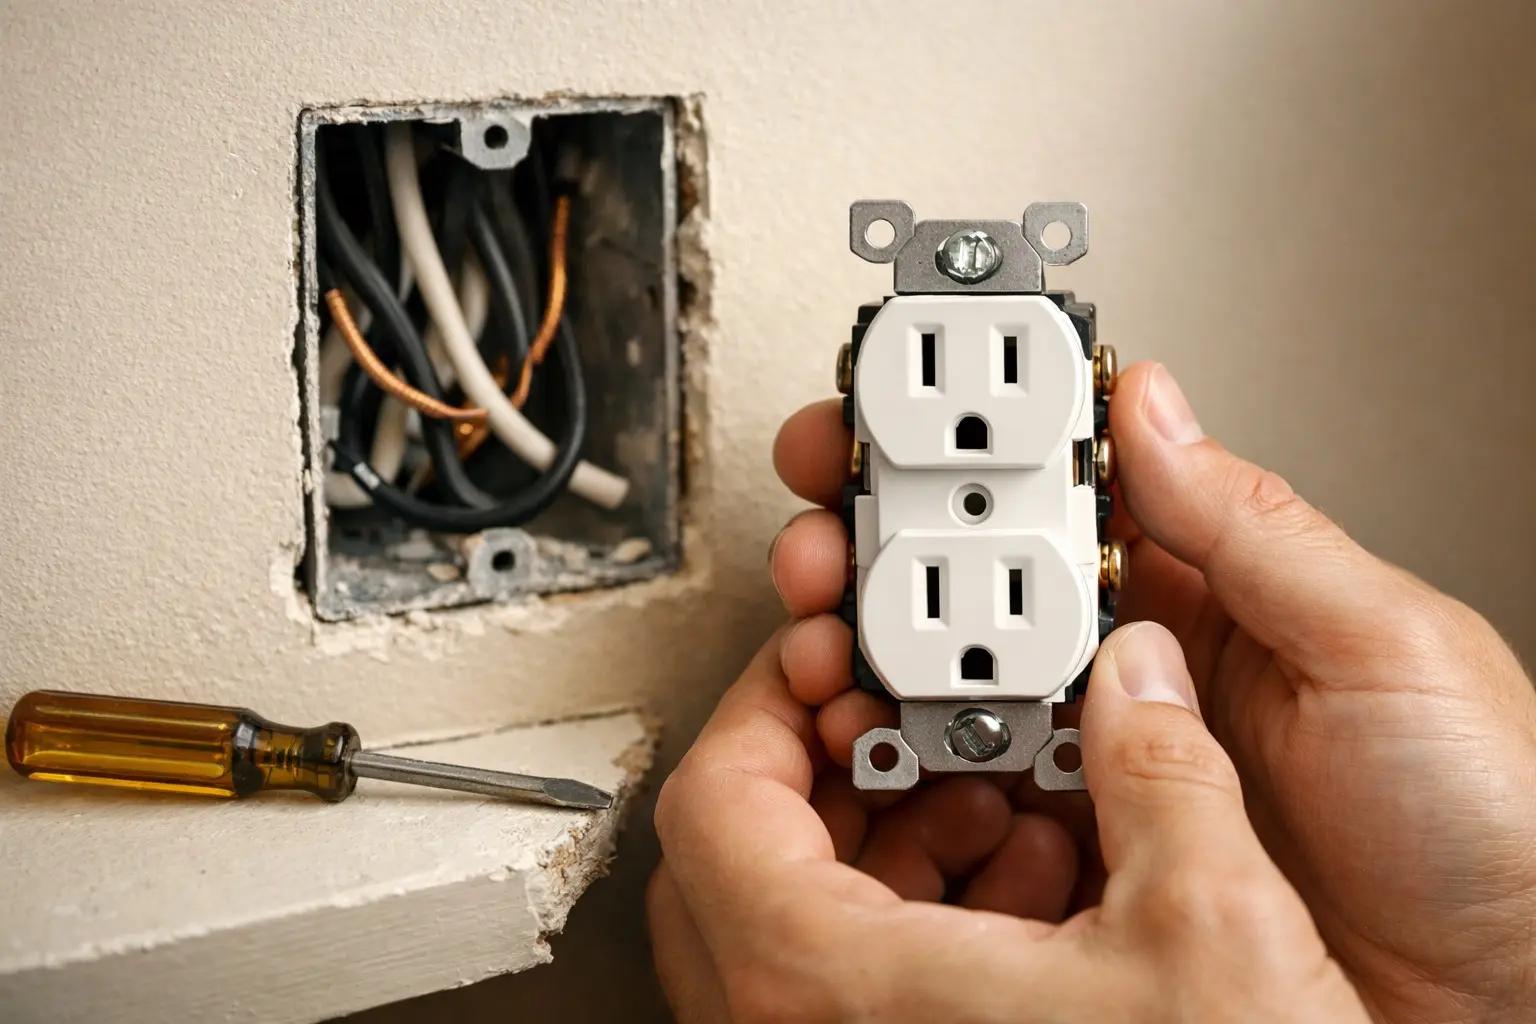
A worn-out or discolored electrical outlet is one of the simplest electrical repairs you can tackle yourself — swapping one takes about 15-30 minutes and costs under $5 in parts versus $75-150 for an electrician visit. This guide walks you through safely replacing a standard duplex receptacle, including how to handle the wiring correctly and avoid the most common DIY mistakes.
 Medium30 min
How to Troubleshoot a Microwave That Won't Heat
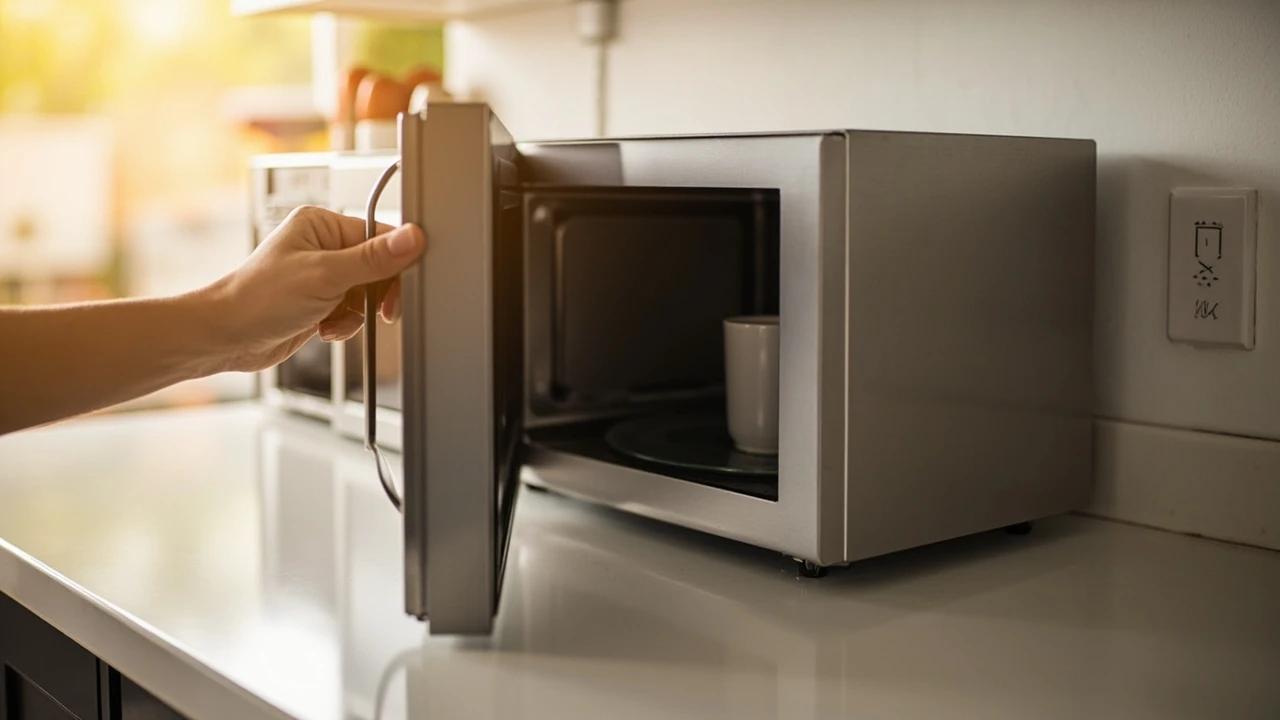
A microwave that runs — light on, turntable spinning, timer counting down — but leaves food stone cold is one of the most common appliance failures, and about half the time the cause is something you can fix in five minutes for free. This guide walks the diagnosis from the easy stuff (demo mode, power level, a tripped GFCI, a dirty door latch) to reading the failure signature that tells you the high-voltage circuit is gone, then helps you make the repair-or-replace call with real numbers.
 Medium45 min
How to Install a Ceiling Fan
Replacing a light fixture with a ceiling fan improves air circulation in summer and can reduce heating costs in winter by circulating warm ceiling air downward. Most installs take 45-60 minutes.