How to Stain a Fence

A wood fence left bare goes gray, splinters, and starts rotting at the posts years before a stained one — and staining it yourself runs $75-250 in materials versus $750-2,000+ for a crew. The work itself is honest but unglamorous: the cleaning and drying before you open a can matter more than the staining, and the sprayer-plus-back-brush technique is what separates an even, professional finish from a stripey one. This guide walks the whole job, from the water-bead readiness test to the oily-rag cleanup that prevents garage fires.
What You'll Need
🛠 Tools
📦 Materials
Safety First
- •Rags soaked with oil-based stain can spontaneously combust as the oil cures — never ball them up in a trash can. Lay them flat outdoors to dry completely, or submerge them in water in a sealed metal container before disposal. Rags from purely water-based stain do not self-ignite, but when in doubt, treat them as oil-based.
- •If you pressure wash, use only the 25-degree (green) or 40-degree (white) tip at 1,500-2,000 PSI and keep the wand moving — narrow tips gouge fence boards permanently and drive water deep into the wood.
- •Wear a respirator, safety glasses, and gloves when spraying stain, and only spray in calm air — overspray drifts surprisingly far onto cars, siding, and the neighbor's property.
- •Fence cleaners and wood brighteners are caustic or acidic — wear gloves and eye protection, and hose down nearby plants before and after applying them.
Step-by-Step Instructions
Check the Weather Window and the Wood's Readiness
Pick a stretch of 50-90°F days with no rain forecast for 24-48 hours after staining, and plan to work out of direct midday sun — hot boards flash-dry the stain and leave lap marks. Then test the wood itself: sprinkle water on a few boards in different spots. If it soaks in within a couple of minutes, the fence will accept stain; if it beads up, the wood is too wet, too new, or still sealed, and stain applied now will sit on top and peel. A brand-new pressure-treated fence usually needs 3-6 months of weathering before it passes this test.

Morning is the sweet spot: dew has burned off, boards are cool, and you have the whole day before evening damp. Chasing shade around the fence as the sun moves is a legitimate pro strategy.
Clean the Fence Thoroughly
Stain bonds to wood, not to the gray oxidized fibers, algae, and dirt sitting on it. Apply a deck-and-fence cleaner (or oxygenated bleach mixed per the label) with a pump sprayer, let it dwell 10-15 minutes without drying, scrub stubborn green and gray areas with a stiff pole brush, and rinse top-down with a hose. A pressure washer speeds this up — keep it at 1,500-2,000 PSI with a 25- or 40-degree tip, moving with the grain about 12 inches off the boards, the same technique covered in our power washing guide.

Hose plants down before and after cleaning and keep cleaner from pooling at their roots — fence cleaners are hard on shrubs and lawns even when labeled plant-safe.
Let It Dry, Then Make Repairs
Give the fence a full 24-48 hours of dry weather after washing — stain over damp wood is the number-one cause of early peeling. Use the wait productively: drive popped nails and screws back down (or replace them with exterior screws), swap any split or rotted boards, and knock down splinters and fuzzy raised grain with 80-120 grit paper. On a new smooth-planed fence, a light scuff-sand also breaks the mill glaze that keeps stain from soaking in.

Re-run the water-bead test after the dry-out, especially in humid climates. The calendar says ready; the bead test knows.
Protect Plants, Hardware, and the Neighbor's Side
Stain is unforgiving on everything that isn't fence. Water nearby plants, then drape them with plastic sheeting or drop cloths (remove covers as soon as you finish — sun cooks plants under plastic). Tape off gate hinges, latches, and metal post caps, lay drop cloths along concrete walks, and move cars well away if you're spraying. If the far side of the fence isn't yours, talk to the neighbor first: spray mist and drips travel through gaps between boards, and a heads-up beats an apology.

Choose Your Stain and Buy Enough of It
Transparency is the real decision: transparent stains show maximum grain but need recoating every 1-2 years, semi-transparent is the popular middle ground (2-3 years on a fence), and solid stain hides weathered wood like paint and lasts longest but can peel rather than fade. Oil-based penetrates deeper into old dry wood; water-based dries fast, stays color-stable, and cleans up with soap — our deck stain guide breaks down the same trade-offs. For quantity: length × height = one side's square footage (double for both sides), divided by 150-200 sq ft per gallon for a first coat on rough wood. Buy a gallon more than the math says and box (intermix) the cans for color consistency.

Test your color on a hidden section or a spare board first. Stain reads very differently on weathered gray wood than on the can label, and there's no un-staining.
Cut In the Edges and Details First
Before the production work starts, brush stain onto everything the sprayer or pad handles badly: along the top cap and trim, around posts and hardware, lattice panels, and the bottom rail where boards meet the grass line. Work top-down so drips land on bare wood you haven't coated yet, and keep a rag in your back pocket to catch runs. With the fussy parts done, the big flat boards go fast.

Spray and Back-Brush, Board by Board
Load the sprayer and work in vertical strokes on vertical boards, overlapping each pass about 50%, coating two or three boards at a time for their full length — stopping mid-board is what prints a lap mark. Immediately back-brush the wet stain with the 4-inch brush, working it into the grain and evening out heavy spots while it's still wet. Keep a wet edge, finish each board you start, and stay out of direct sun. No sprayer? A stain pad or roller plus back-brushing does the same job, just slower.

Spray only in calm air. Even a light breeze carries stain mist onto siding, cars, and the neighbor's patio furniture, and atomized overspray travels much farther than you think.
Apply the Second Coat at the Right Time
Check the can for the recoat window and follow it — many oil-based penetrating stains want the second coat 'wet-on-wet' within about an hour, while most water-based products specify 2-4 hours or more. The second coat goes on thinner and stretches further; stop adding stain anywhere the wood has quit absorbing it. Penetrating stain is not paint: anything the fibers can't drink sits on the surface as a glossy, tacky film that will peel, so on dense or previously coated areas, one coat may genuinely be enough.

Clean Up Safely and Plan the Recoat Cycle
Pull the tape and plant covers, clean tools with mineral spirits (oil-based) or soapy water (water-based), and handle rags like the fire hazard they are: spread oil-stain rags flat outdoors to dry hard for 24 hours, or drown them in a sealed, water-filled metal container — never balled in a bin. Keep pets and hands off the fence until it's dry to the touch and fully cured per the label (often 24-48 hours). Label and store leftover stain for touch-ups, and put a note in your calendar: when water stops beading on the boards in a year or three, the fence is asking for its next coat.

Never leave oil-stain rags piled up — curing oil generates its own heat and piles can self-ignite hours later. Flat outdoors to dry, or underwater in sealed metal, every time.
Frequently Asked Questions
How long after pressure washing can I stain my fence?
+
Give it at least 24-48 hours of dry weather — longer in humid climates or after heavy soaking. The wood must be dry several millimeters deep, not just surface-dry, or the stain can't penetrate and will peel. Confirm with the water-bead test: sprinkle water on a few boards, and if it soaks in within a minute or two the fence is ready; if it beads or sits on the surface, wait another day.
How long should I wait before staining a new pressure-treated fence?
+
Typically 3-6 months — new pressure-treated lumber arrives saturated with treatment solution and sheds water rather than absorbing stain. In hot, dry climates the wait can shrink to as little as 4-8 weeks. Don't go by the calendar alone: run the water-bead test, and only stain once droplets soak in instead of beading on the surface.
How much stain do I need for my fence?
+
Multiply fence length by height for the square footage of one side, double it if you're staining both sides, then divide by 150-200 sq ft per gallon for the first coat. Rough-sawn or weathered boards drink far more than the label's smooth-wood number — plan on the low end of coverage — and second coats stretch further (200-300 sq ft per gallon). A typical 100-foot, 6-foot privacy fence runs 3-4 gallons per side per coat.
Is it better to spray, roll, or brush stain on a fence?
+
The pro method is both: spray for speed, then immediately back-brush the wet stain with a wide brush to work it into the grain and even out the film. A stain pad or roller with a brush for the gaps is nearly as good and avoids overspray entirely — the right call on windy days or near cars and gardens. Brush-only delivers the best penetration but takes three times as long on a full fence.
Does a fence need one coat of stain or two?
+
Two thin coats is the standard for semi-transparent and solid stains — apply the second within the window printed on the can (many oil stains want it while the first is still fresh). What you must not do is keep piling on stain after the wood stops absorbing it: penetrating stains aren't paint, and excess sits on the surface as a shiny, sticky film that later peels. Transparent penetrating oils on dense wood are often a one-coat finish.
Community Tips
💬 Sign in to share tips with the community
Sources & further reading
- How to Stain a Fence (Step by Step Instructions and Video) — This Old House
- Can You Paint or Stain Pressure Treated Wood? — Lowe's
- How to Stain a Fence — and Why You Should — Bob Vila
More Painting Guides
View all → Easy4 hrs
How to Paint a Front Door
A freshly painted front door is the single biggest curb-appeal upgrade you can make in an afternoon — real estate pros estimate it adds $500-1,000 in perceived home value for under $50 in materials. The key to a smooth, brush-mark-free finish is proper prep, thin coats, and the right weather window. This guide covers wood, steel, and fiberglass doors using exterior latex paint.
 Medium8 hrs
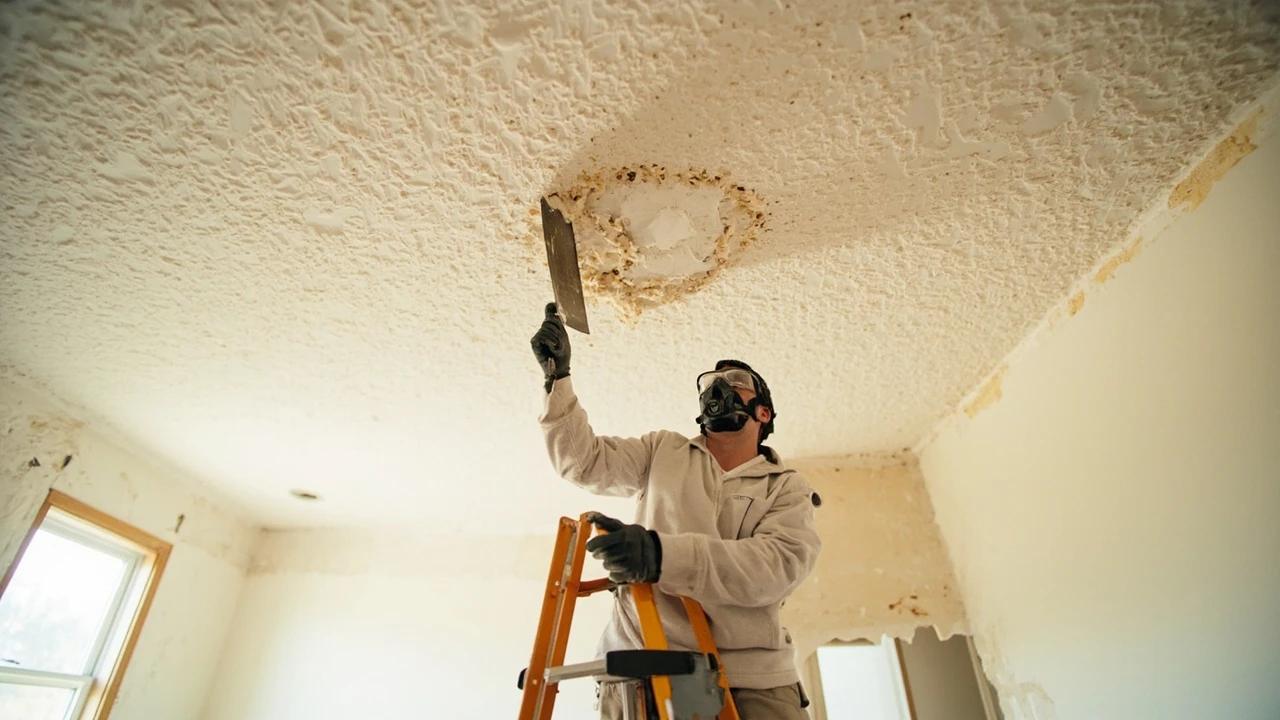
How to Remove a Popcorn Ceiling
Scraping off a dated popcorn ceiling instantly modernizes a room and can lift resale value — and it's a genuine DIY for $50 to $150 in materials per room, versus the $1 to $2 per square foot a pro charges. But there's one non-negotiable first step: popcorn texture sprayed on before the mid-1980s can contain asbestos, so it has to be tested before you disturb a single flake. This guide covers that test, the wet-scrape technique that keeps the dust down, and the patch-sand-prime work that leaves a smooth, paint-ready ceiling.
 Easy6 hrs
How to Paint Kitchen Cabinets Without Sanding
You can genuinely skip sanding on a cabinet repaint by replacing the abrasive step with two specific chemical steps: a heavy-duty degreaser (Krud Kutter Gloss-Off or TSP) and a bonding primer (Zinsser BIN shellac). This saves four hours of dust and tape on a typical kitchen, but it only works when the existing finish is intact — if your cabinets have peeling, chipping, or thermofoil damage, sanding will not save you anyway and you need to fix that first. Total project: one weekend, ~$60 in supplies.
You Might Also Like
 Medium30 min
How to Troubleshoot a Microwave That Won't Heat
A microwave that runs — light on, turntable spinning, timer counting down — but leaves food stone cold is one of the most common appliance failures, and about half the time the cause is something you can fix in five minutes for free. This guide walks the diagnosis from the easy stuff (demo mode, power level, a tripped GFCI, a dirty door latch) to reading the failure signature that tells you the high-voltage circuit is gone, then helps you make the repair-or-replace call with real numbers.
 Easy45 min
How to Repair a Shower Diverter Valve
When you pull the diverter knob and water still pours from the tub spout instead of the showerhead, the fix is usually a worn washer or mineral buildup — not a $200 plumber visit. This guide covers the three most common diverter types (tub spout, three-valve, and two-valve) and walks you through cleaning, replacing washers, and swapping the diverter if needed, all in under an hour with basic tools.
 Easy15 min
How to Replace a Refrigerator Water Filter
A clogged refrigerator water filter is the most common cause of slow dispensing, off-tasting water, and undersized ice cubes — and it is the easiest fix in your kitchen. Most filters are designed to be swapped in under five minutes with no tools, no shut-off valve, and no spilled water. This guide covers locating your filter, the two common removal styles (twist-in and push-in), inspecting the O-rings, flushing the new filter, and resetting the indicator light so you do not see the red "Replace" warning the next morning.