How to Paint Kitchen Cabinets Without Sanding

You can genuinely skip sanding on a cabinet repaint by replacing the abrasive step with two specific chemical steps: a heavy-duty degreaser (Krud Kutter Gloss-Off or TSP) and a bonding primer (Zinsser BIN shellac). This saves four hours of dust and tape on a typical kitchen, but it only works when the existing finish is intact — if your cabinets have peeling, chipping, or thermofoil damage, sanding will not save you anyway and you need to fix that first. Total project: one weekend, ~$60 in supplies.
What You'll Need
🛠 Tools
📦 Materials
Safety First
- •Krud Kutter Gloss-Off contains glycol ethers — ventilate the kitchen and wear gloves. It will dull the glossy finish chemically; that is the active mechanism, not a side effect.
- •Skip this guide entirely if your cabinets are pre-1978 with the original finish — disturbing old paint can release lead dust. Use an EPA RRP-certified contractor instead.
Step-by-Step Instructions
Confirm Your Cabinets Are Candidates for the No-Sand Method
Open every cabinet door and look at the finish under bright light. The no-sand method works on cabinets where the existing finish is intact: no peeling, no chips down to bare wood, no thermofoil bubbling. If you find damage, you must sand and feather those areas before any chemical method works — there is no shortcut around physical damage. Also check for thermofoil delamination at door edges (a paper-thin layer lifting away from the MDF underneath). If you see that, paint will not bond regardless of prep method — those doors need replacement.

Remove Doors, Drawer Fronts, and All Hardware
With a #2 Phillips screwdriver, remove every door from the cabinet boxes and every drawer front from the drawer boxes. Use painter's tape to label the back of each door with the location it came from (e.g., "upper left 1") — reinstalling 15 doors in random positions is how rooms end up with hinges that no longer line up. Remove all hinges and pulls. Store screws in a labeled zip-bag. Lay the doors flat on sawhorses or a sheet of plywood across two folding chairs — work surface that lets you paint both sides without flipping wet doors.

Take a wide phone photo of every cabinet section before you remove doors so you have a reference when reinstalling — which door is hinged on the left vs. right, which way drawer fronts orient, etc. Five seconds now saves twenty minutes later.
Degrease With Krud Kutter Gloss-Off (the Sandless Sand)
Spray Krud Kutter Gloss-Off liberally on every surface that will be painted — door fronts, door backs, drawer fronts, cabinet box faces. The product simultaneously degreases AND chemically dulls the glossy finish, replacing both the cleaning and the sanding steps of a traditional prep. Let it sit for 5 minutes, then wipe with a clean microfiber cloth. Repeat on heavily greased areas (around the stove and above the dishwasher) until the cloth comes away clean. Cabinets will look slightly hazy when done — that is the deglossed surface ready for primer.

Do NOT use vinegar instead of a proper degreaser — vinegar cleans grease but does not degloss, and vinegar residue can interfere with primer adhesion. The $10 bottle of Krud Kutter does both jobs in one pass.
Prime With Zinsser BIN Shellac-Based Primer
Zinsser BIN is the only readily-available consumer primer that reliably bonds to glossy or factory-finished cabinets without sanding. Apply ONE thin coat with a 4-inch high-density foam roller, using a 2-inch sash brush for inside corners and door profiles. Work in long even strokes — BIN levels well but does NOT cover sins like brush marks; thin and even is the rule. Dry to recoat in 45 minutes. Strong alcohol smell during application that fades within an hour with ventilation. One quart covers about 75 square feet — a 15-door kitchen typically needs the full quart.

Foam rollers are essential for BIN — fabric rollers absorb the alcohol-based shellac like a sponge and become unusable in minutes. Buy a 6-pack of 4-inch foam mini-roller heads for under $10 and use a fresh one per coat per door batch.
Light Hand-Sand at Corners Only (Optional but Recommended)
This is the one place a tiny bit of sandpaper still helps. After the primer dries, run a fine sanding sponge (220-grit) over the inside corners of any raised-panel doors and along the edges of drawer fronts — just where you might have over-applied primer and a small drip could be hiding. One gentle pass with hand pressure only, about 15 seconds per door. Wipe with a slightly damp microfiber. Skip this on flat slab doors. This is not "real" sanding — it is just smoothing high spots in the primer, which keeps the topcoat invisible at panel edges.

Apply First Coat of Cabinet-Rated Finish Paint
Pour your cabinet-rated finish paint (Benjamin Moore Advance, Sherwin-Williams Emerald Urethane, or INSL-X Cabinet Coat — see our "best paint for kitchen cabinets" guide) into a fresh tray. Apply with a clean foam roller for flat panels and the angled brush for inside corners. Two thin coats always beat one thick coat — thin coats self-level and dry uniformly; thick coats sag and show roller texture for years. Wait the brand-specified recoat time (4 hours for Emerald Urethane, 16+ hours for Advance) before the second coat.

Apply Second Coat and Cure
After the recoat window, apply the second coat the same way as the first — thin, even, foam roller plus angled brush. The second coat is what builds the actual color depth and the durable hard finish. Once dry to the touch (2-4 hours), the doors can be carefully picked up and stacked with cardboard between them, but full cure to maximum hardness takes 21-30 days. Reinstall the doors at the 24-hour mark using the original hinges (or new ones — a good time to upgrade to soft-close), but treat them gently for the first month: no slamming, no aggressive cleaning, no heavy bumping.

When you reinstall the doors, take this opportunity to use longer 1-1/2 inch hinge screws if your cabinet box is solid — they bite into the cabinet frame past the original 1-inch hinge screws and give the door significantly better long-term hold. Same trick used in our "fix a sticking door" guide.
Frequently Asked Questions
Does the no-sand method actually last?
+
Yes, when done correctly. The chemical bond from BIN shellac primer over a degloss-treated surface is comparable to the mechanical bond from sanding — both create the molecular grip the topcoat needs. The two ways a no-sand job fails are: (1) skipping the degreaser step (oils on the surface block the primer), or (2) using a regular waterborne primer instead of a shellac-based bonding primer like BIN. Done right, no-sand cabinets look as good as sanded ones at year five.
When does sanding still beat no-sanding?
+
Sand when: (1) the existing finish is chipping, peeling, or has visible damage you need to feather out; (2) you are going from a heavy dark stain to white and want to minimize bleed-through; (3) the existing finish is decades-old oil-based paint with brittle areas; or (4) the cabinets are real wood and you want the paint to settle into the grain instead of sitting on top. For 70% of intact modern cabinets, the no-sand method is fine and saves four hours.
Can I just use a deglosser without a bonding primer?
+
No — that is the most common DIY mistake on this project. Deglossers dull the surface so primer can grab; they do not provide adhesion themselves. Skipping the bonding primer means your latex topcoat is relying on a deglossed-but-still-smooth substrate, which is much weaker than primed-and-coated. The paint will peel from the door edges within 6-12 months. Always pair deglosser with BIN or KILZ Adhesion primer.
How long does the whole project take?
+
A 10-15 door kitchen runs about three sessions: Day 1 (~2 hours) remove doors, degrease, prime. Day 2 (~2 hours, plus 4 hours of dry time) lightly sand-by-hand at corners only, apply first finish coat. Day 3 (~2 hours, plus cure time) apply second coat, let cure 24 hours before reinstalling doors. Total work time: ~6 hours over 3 days. Total elapsed time: 4 days from start to using the kitchen again.
Will the cabinets smell after this?
+
For the first 24-48 hours, yes — the BIN shellac primer has a strong alcohol smell during application that fades within an hour after the last coat dries. The cabinet-rated topcoat has a mild paint smell during application and is essentially odor-free once dry. Open windows, run a box fan, and the kitchen is fully usable within a day of the last coat. No lingering smell after a week.
Community Tips
💬 Sign in to share tips with the community
Sources & further reading
- How to Paint Kitchen Cabinets Without Sanding — How To Specialist
- Krud Kutter Gloss-Off Pre-Paint Surface Preparation — Krud Kutter (via Amazon listing)
- How to Paint Kitchen Cabinets Without Sanding Using Modern Bonding Primers — Bonding Primers Product Insights
More Painting Guides
View all →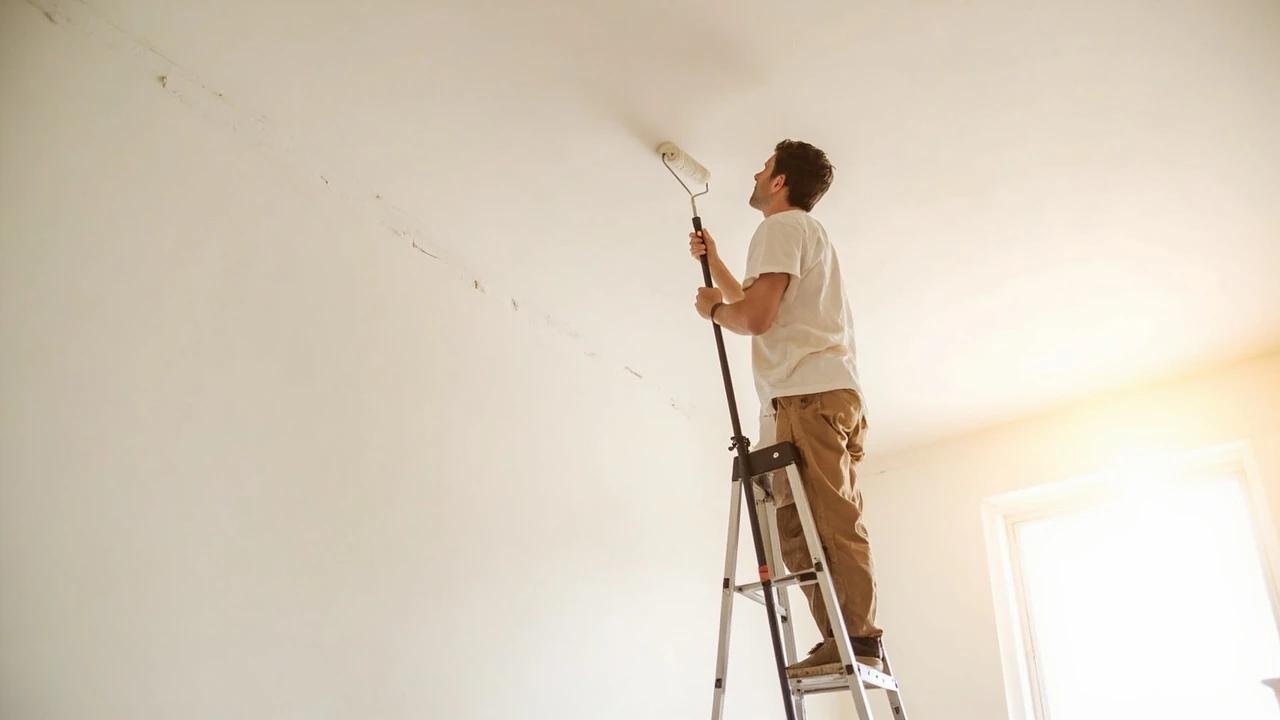 Easy2 hrs
How to Paint a Ceiling Without Streaks or Roller Marks
A streaked ceiling is the single most common DIY paint failure — and it is almost always one of three things: wrong roller nap, wrong direction, or letting the wet edge dry before you fill it in. Get those three right and a ceiling paint job looks professional. This guide covers nap selection, the W-pattern roll, working away from the light source, and the wet-edge rule that prevents lap marks.
 Easy1h 30m
How to Choose Paint Colors for Any Room
Picking a paint color from a 1-inch swatch in a store is the single biggest reason rooms get repainted within a year. The fix is a small process: understand undertones, measure Light Reflectance Value (LRV), check the color against your room's actual light, and test a sample-board patch before buying gallons. This guide turns "I think we like that gray" into "this specific color, in this specific room, will look right at 8 AM and 8 PM."
 Easy15 min
Paint Sheen Comparison: Flat to High-Gloss, by Room
Paint sheen is a tradeoff between hiding wall imperfections and being able to wipe the wall clean. Flat hides everything but cannot survive a sponge. High-gloss is bulletproof but shows every dent. The five common sheens — flat, eggshell, satin, semi-gloss, high-gloss — each have a right room and a wrong room. This guide gives you the matchup so the bathroom does not get flat paint and the bedroom does not get gloss.
You Might Also Like
 Hard4 hrs
How to Install Crown Molding
Crown molding turns a plain room into a finished one — but it is the trickiest trim to cut, thanks to corners that are never quite square and a profile that has to be cut upside down. This guide walks through the whole job the way a finish carpenter does it: coping inside corners so they stay tight, mitering outside corners, and fastening into framing instead of bare drywall. Expect about half a day for a typical room and roughly one to six dollars per linear foot in materials.
 Medium2 hrs
How to Patch a Large Hole in Drywall
A doorknob blowout, a wall-anchor failure, a fist through the drywall during the move-out — these holes are too big for spackle but too small to justify cutting in a full drywall section. The mesh patch (for 1/2-inch to 4-inch holes) and the California patch (for 4 to 8-inch holes) both finish flush, paint over invisibly, and cost under $25 in materials. The job takes about two hours of hands-on work spread over two or three days of compound cure time.
 Easy45 min
How to Repair a Shower Diverter Valve
When you pull the diverter knob and water still pours from the tub spout instead of the showerhead, the fix is usually a worn washer or mineral buildup — not a $200 plumber visit. This guide covers the three most common diverter types (tub spout, three-valve, and two-valve) and walks you through cleaning, replacing washers, and swapping the diverter if needed, all in under an hour with basic tools.