How to Power Wash a Deck Before Staining
A deck that has not been pressure-washed before staining will fail the new stain within 12 months — dirt, mildew, and old stain residue prevent proper penetration. But too much pressure gouges softwood boards permanently. This guide covers the right PSI range, nozzle choice, wand technique, and the 48-hour dry window before staining that determines whether the new finish lasts 2 years or 5.
What You'll Need
🛠 Tools
📦 Materials
Safety First
- •Never point a pressure washer wand at any person or animal, even on the lowest setting — even consumer pressure washers can break skin at 1,500 PSI. The kickback when the trigger releases is also stronger than most first-timers expect.
- •Do not use a 0-degree (red) or 15-degree (yellow) nozzle on wood — they will gouge the surface and create permanent grooves. Only 25-degree green or 40-degree white for deck work.
Step-by-Step Instructions
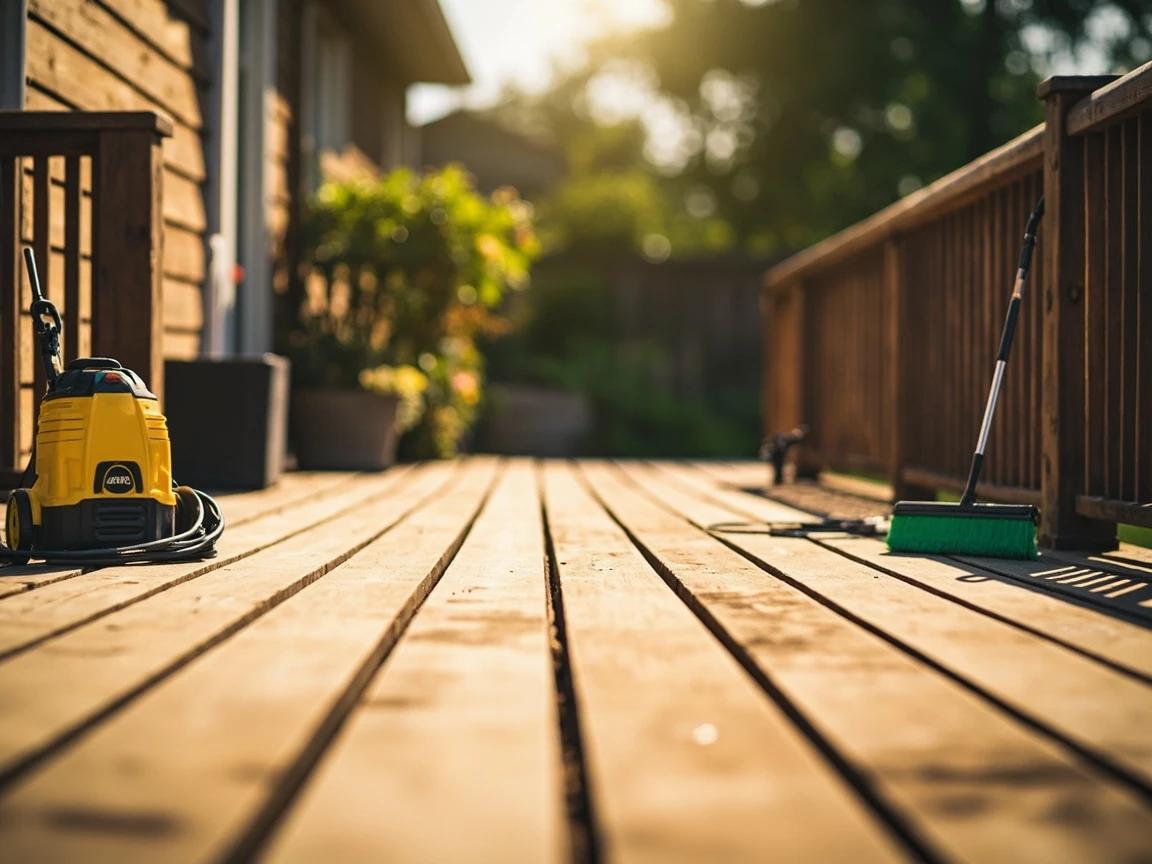
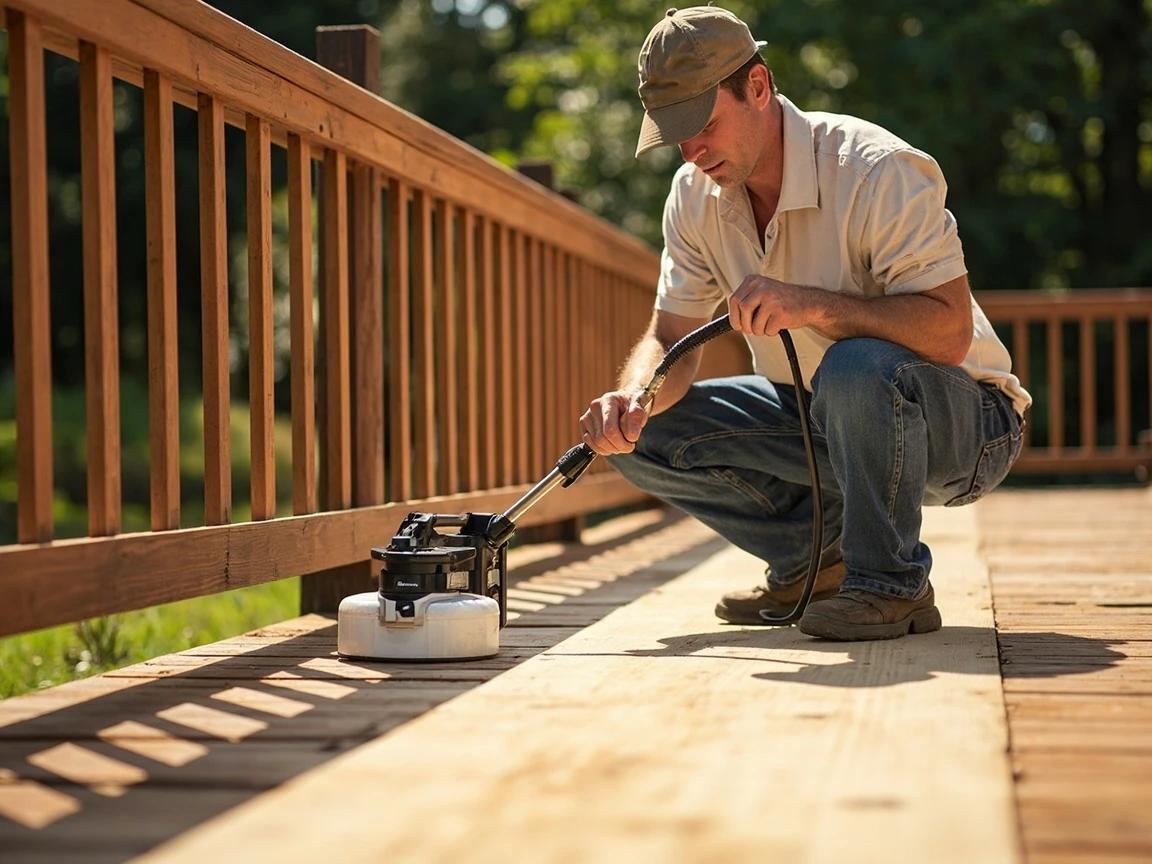
Clear the Deck Completely and Set Up
Remove all furniture, planters, grills, mats — everything. The pressure washer will throw debris everywhere; planters tip over, BBQs spray with grease-laced runoff. Sweep the deck with a broom to remove loose debris. Cover any landscaping immediately below the deck with a tarp if you are concerned about runoff. Test your hose connection and the pressure washer's water supply before starting (running it dry damages the pump in seconds).
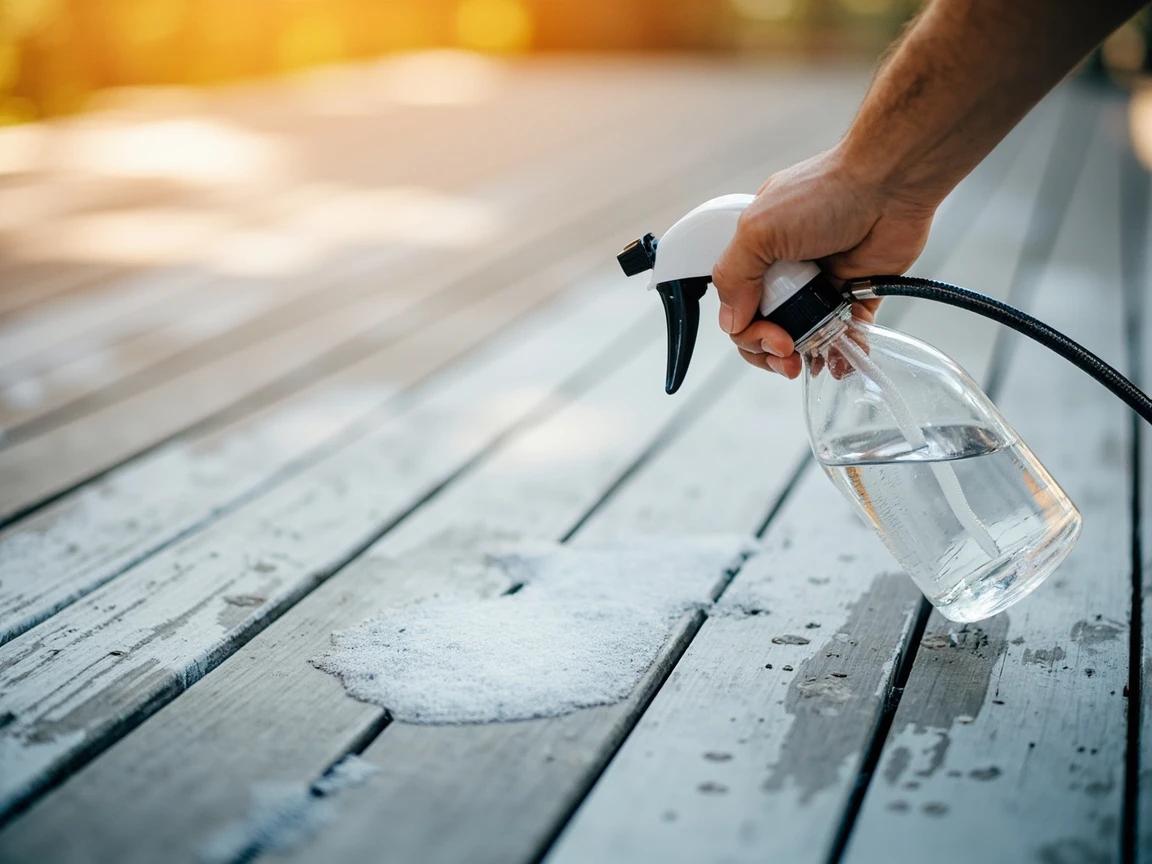
Apply Deck Cleaner First
Mix deck cleaner concentrate per the label (typically 1 part cleaner to 4 parts water in a pump sprayer). Apply liberally across the entire deck and let it sit for 10-15 minutes — this is when the surfactants lift dirt and the bleach (if present) kills mildew. Do NOT let it dry on the wood — re-spray any areas that look dry before the 10 minutes is up. While the cleaner does its work, attach the 25-degree (green) nozzle to your pressure washer.
For stubborn mildew patches, mix 1 cup TSP into the cleaner solution. Increases the alkalinity enough to dissolve the dark organic growth that plain cleaner leaves behind.
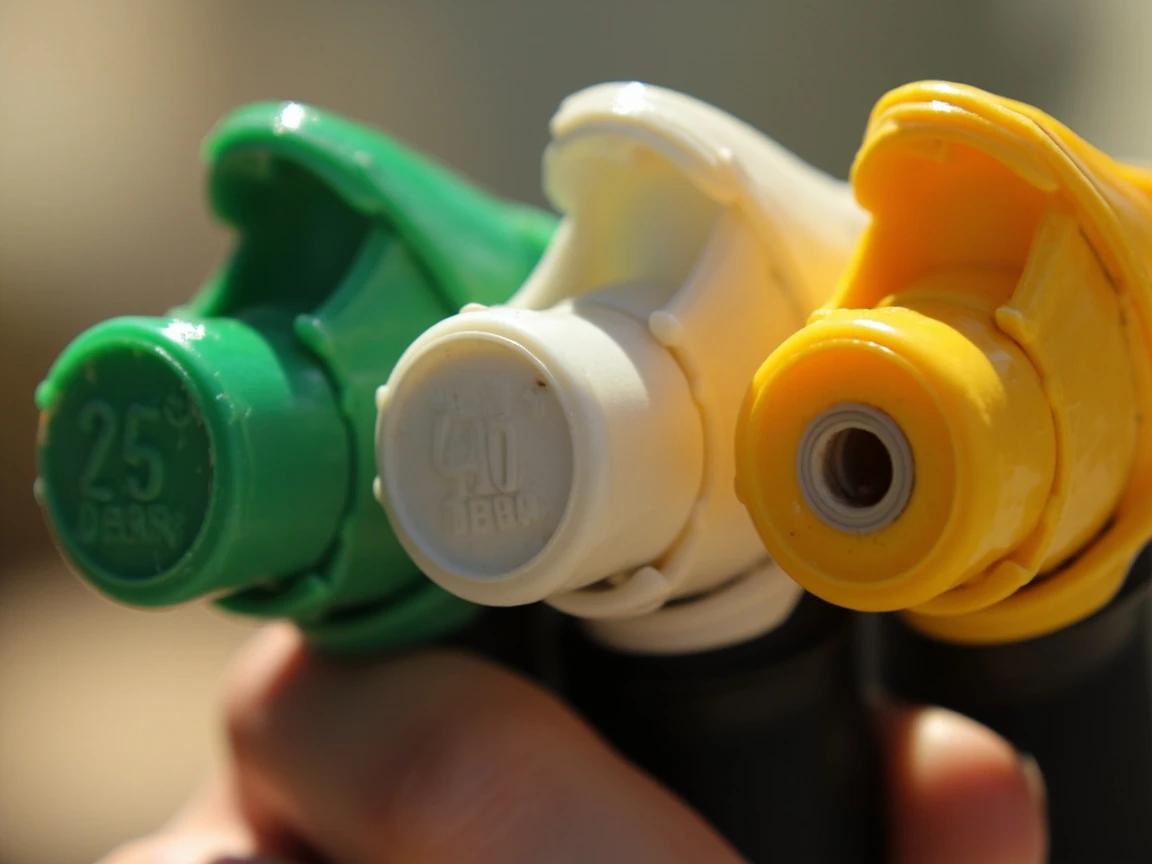
Choose the Right Nozzle
The 25-degree (green) nozzle is the standard for general deck cleaning. The 40-degree (white) nozzle is for delicate softwood or when you want extra gentle. NEVER use the 0-degree (red) or 15-degree (yellow) tips on wood — they will gouge permanently. Hardwoods (ipe, mahogany) can handle 25-degree at full pressure; softwoods (pine, cedar, redwood) do better with the 40-degree tip. If your pressure washer has a variable-angle nozzle, set it to between 25 and 40 degrees.
Test on an Inconspicuous Board
Before doing the visible parts of the deck, test the pressure and technique on an under-railing board or the back of a step. Hold the wand about 12 inches off the surface and pull the trigger. Move it across the test board in a single overlapping pass. Lift the wand and check — the wood should be visibly cleaner with no fuzzy raised grain. If you see fuzz or grooves, you are too close OR the pressure is too high; back the wand off to 18 inches and try again. Adjust until you find the sweet spot.
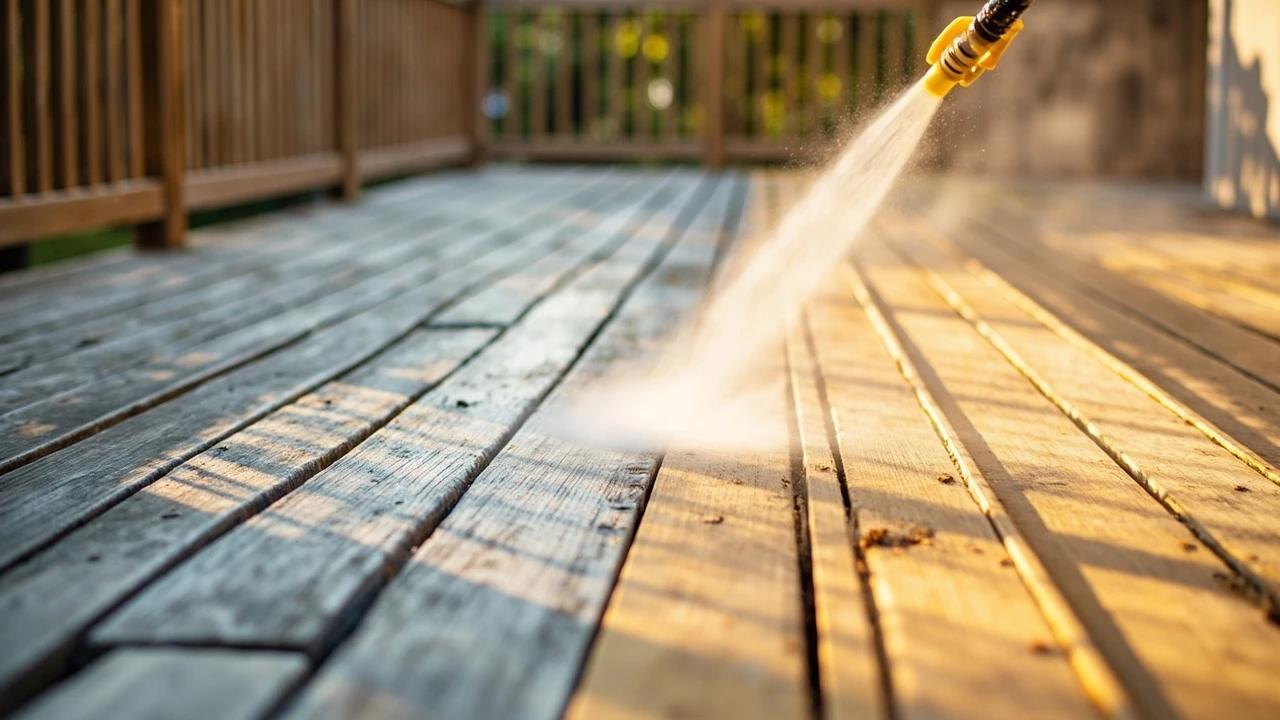
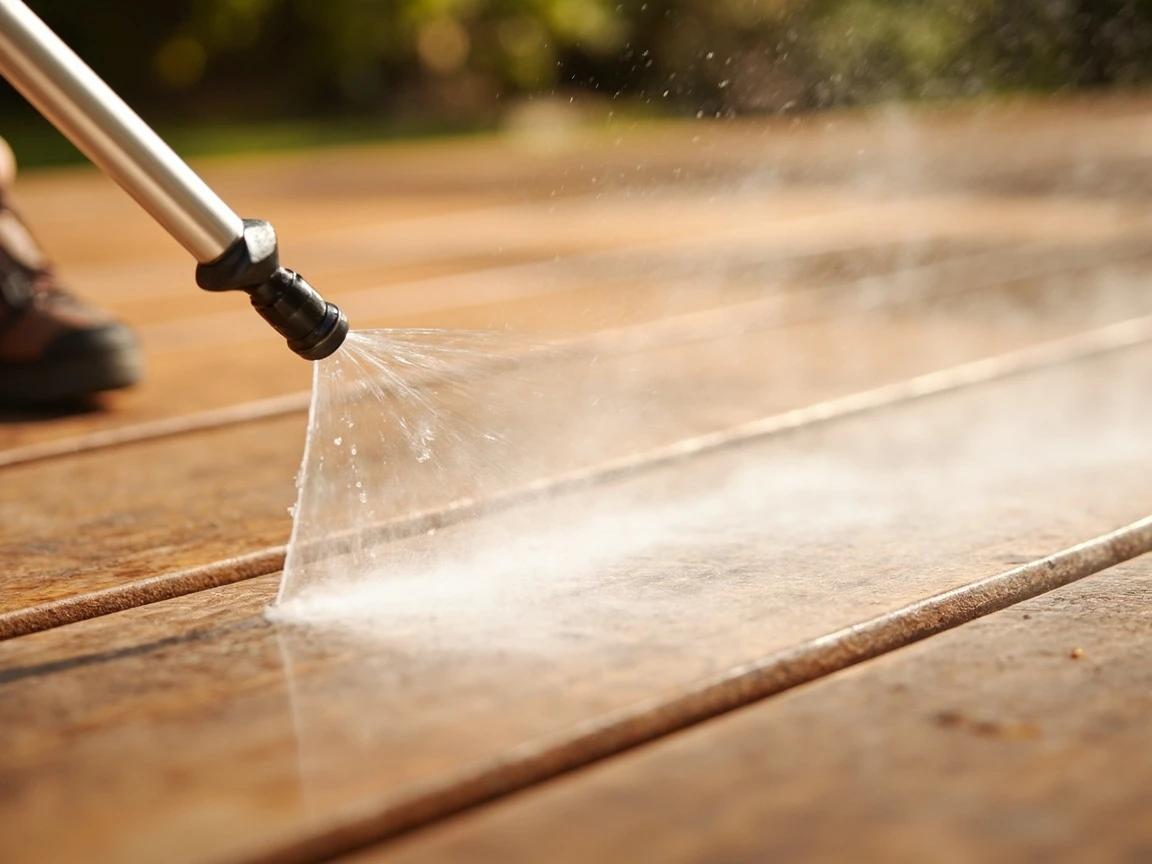
Wash With the Grain in Overlapping Passes
Start at one end of the deck and work toward the other. Hold the wand 8-12 inches above the wood, angled slightly so the spray hits the board surface at about 45 degrees (not straight down — straight down forces water into the grain edges). Move WITH the grain direction of each board, not across — cross-grain passes leave tiger-stripe marks that print through the stain. Overlap each pass by about 2 inches. Pace yourself at roughly 3 feet per second; rushing causes uneven cleaning, going slow causes gouging.
Pay attention to your wand position constantly — wandering too close (within 4 inches) for even a few seconds will leave a permanent gouge that prints through any subsequent stain. The biggest temptation is to "punch through" a stubborn dirty spot by getting closer; the right answer is to apply more cleaner and rewash, not to close the distance.
Rinse and Inspect
After the entire deck has been pressure-washed, do one final pass with the garden hose on jet setting to flush off any remaining cleaner residue. Walk the deck and inspect: the wood should be uniform in color (not blotchy), free of visible dirt or mildew, with a slightly raised grain texture that feels fuzzy when you run a hand across. Some "wood fuzz" is normal after washing — it is the raised wood fibers and it disappears once dry. Heavy fuzz means you went too aggressive and may want to lightly sand with 80-grit before staining.
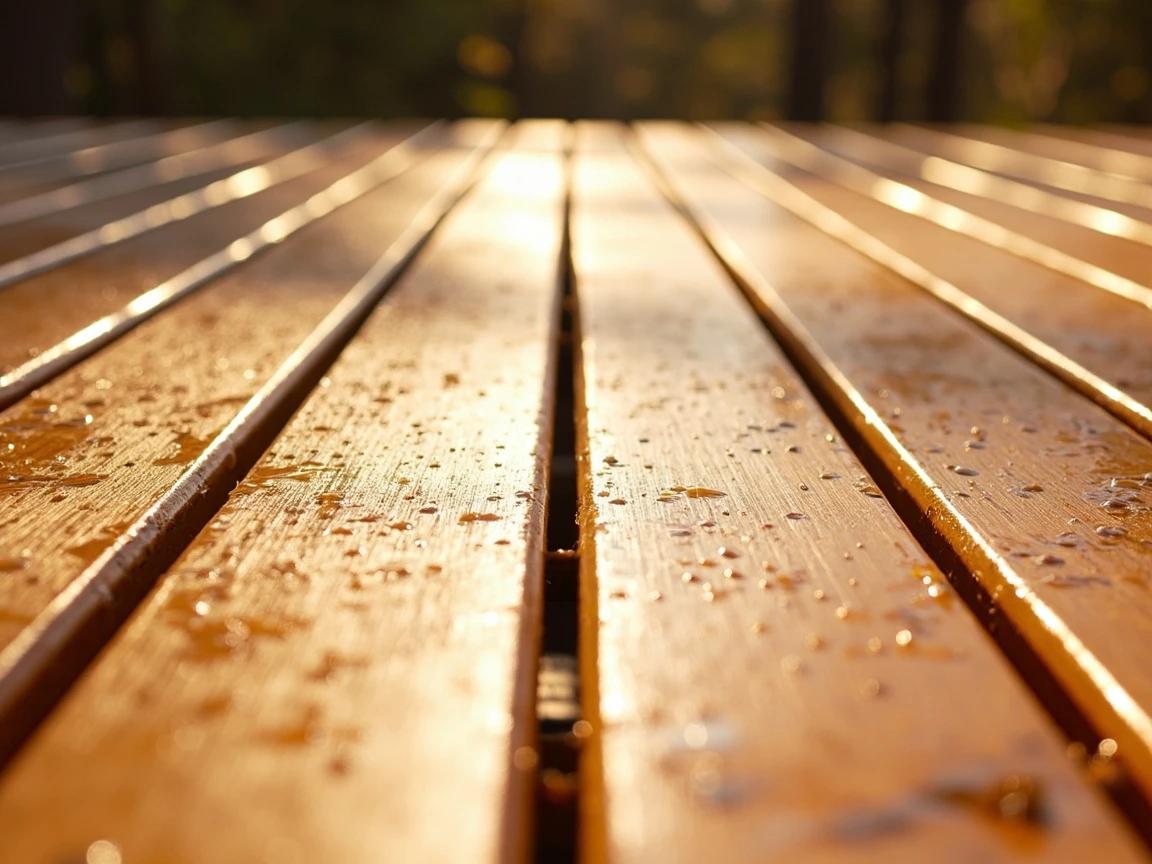
Wait 48 Hours and Test for Dryness
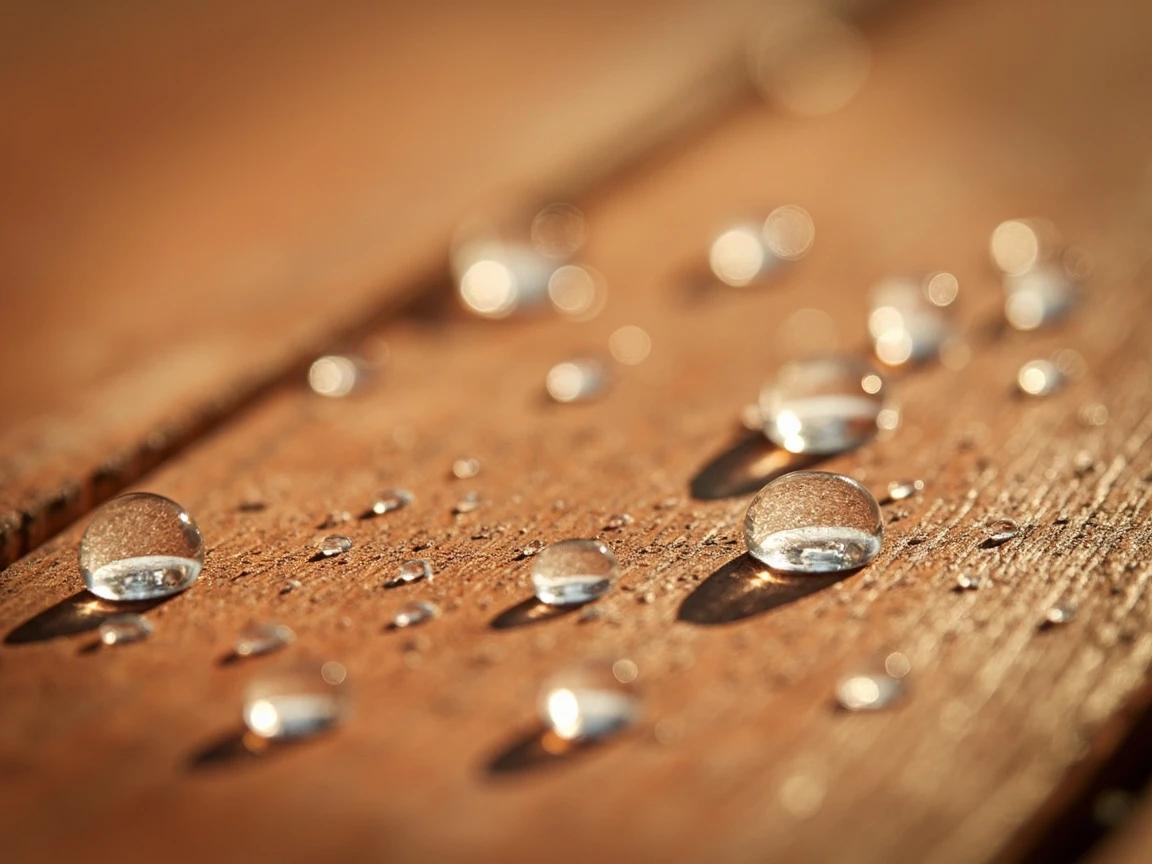
Let the deck dry for at least 48 hours in warm dry breezy weather, or 72-96 hours in cool humid or shaded conditions. Before staining, apply the water-drop test: drop 5-10 drops of water on different areas of the deck and watch. If the water beads up and sits there for 30+ seconds, the wood is still too wet — wait another day. If the water soaks in within 10 seconds, the wood is ready for stain. Do not skip this test — staining wet wood is the #2 cause (after skipping prep) of premature stain failure.
Frequently Asked Questions
Do I really need to power wash before staining?
+
Yes for any deck older than one year. New stain will not penetrate dirt, mildew, or old stain residue — it just sits on top and starts peeling within months. Power washing removes the surface contamination AND opens the wood grain slightly so the new stain can soak in. Skipping it is the single most common reason a "fresh" stain job fails within a year. Even on a relatively clean deck, a low-pressure wash with cleaner is worth the 2 hours.
Can I just use a deck cleaner without a pressure washer?
+
You can on a small deck (under 200 sq ft) — apply deck cleaner with a pump sprayer, let it sit 15 minutes, scrub with a stiff-bristled deck brush, rinse with a garden hose set to "jet". This is slower and produces a slightly less uniform result, but it avoids the rental cost AND the risk of gouging the wood. The trade-off: a pressure washer with cleaner does the same job in 1/3 the time on any deck over 100 sq ft.
What PSI is too much for a wood deck?
+
Anything above 2,000 PSI risks gouging softwood (pine, cedar — the most common deck materials). Hardwoods (ipe, mahogany) tolerate up to 2,500 PSI but rarely need it. The pressure washer's rating is the upper limit; what matters more is the distance — holding even a 3,000 PSI wand 18 inches off the surface is safer than holding a 1,500 PSI wand 4 inches off. Start with the wand 12 inches off and a wide-angle nozzle, then close the distance if cleaning is insufficient.
How long does the deck need to dry before staining?
+
48 hours minimum in warm dry weather (70°F+, low humidity, breezy). 72-96 hours in cooler conditions or shaded areas. The wood must be dry both at the surface AND a few millimeters below — apply a 10-cent water-drop test: drip water on the deck and watch. If it beads up and sits, the wood is too wet for stain (stain wants to penetrate, water sitting means stain cannot). If it soaks in within 10 seconds, the wood is dry enough.
Community Tips
💬 Sign in to share tips with the community
Sources & further reading
- Wood Finishing Research — USDA Forest Products Laboratory
- Exterior Painting & Staining How-Tos — This Old House
More Painting Guides
View all → Easy15 min
Primer for Kitchen Cabinets — Which One to Use
The right cabinet primer is determined by what your cabinets are made of, not by what is cheapest at the store. Shellac-based primers (Zinsser BIN) bond to anything but smell awful and need denatured alcohol cleanup. Oil-based primers (Zinsser Cover Stain) block tannins on oak. Waterborne primers (Zinsser 123 Plus) are fine for solid wood with no stain issues. Picking the right one is a 10-minute decision that determines whether your paint sticks for a year or for a decade.
 Easy20 min
Best Paint for Kitchen Cabinets, Compared
The four paints that actually hold up to daily kitchen use are Benjamin Moore Advance, Sherwin-Williams Emerald Urethane Trim Enamel, INSL-X Cabinet Coat, and Behr Urethane Alkyd. They all work; they each fail in different ways. This guide compares cure time, leveling, scratch resistance, and price so you pick the one that matches your skill level and timeline — not the one a paint-store clerk has the most stock of.
 Easy25 min
Best Deck Stain: Transparent vs Semi vs Solid
There is no "best" deck stain — there is the right stain for your sun exposure, wood condition, and how often you want to redo the job. Transparent stains last 1-2 years but let the natural grain show. Solid stains last 4-7 years but look like paint. This guide walks the four opacity levels and the oil-vs-water choice so you pick the one that matches your deck and your tolerance for re-staining.
You Might Also Like
 Medium2 hrs
How to Patch a Large Hole in Drywall
A doorknob blowout, a wall-anchor failure, a fist through the drywall during the move-out — these holes are too big for spackle but too small to justify cutting in a full drywall section. The mesh patch (for 1/2-inch to 4-inch holes) and the California patch (for 4 to 8-inch holes) both finish flush, paint over invisibly, and cost under $25 in materials. The job takes about two hours of hands-on work spread over two or three days of compound cure time.
 Easy30 min
How to Replace an Electrical Outlet
A worn-out or discolored electrical outlet is one of the simplest electrical repairs you can tackle yourself — swapping one takes about 15-30 minutes and costs under $5 in parts versus $75-150 for an electrician visit. This guide walks you through safely replacing a standard duplex receptacle, including how to handle the wiring correctly and avoid the most common DIY mistakes.
 Medium45 min
How to Install a Ceiling Fan
Replacing a light fixture with a ceiling fan improves air circulation in summer and can reduce heating costs in winter by circulating warm ceiling air downward. Most installs take 45-60 minutes.