How to Remove a Popcorn Ceiling
Scraping off a dated popcorn ceiling instantly modernizes a room and can lift resale value — and it's a genuine DIY for $50 to $150 in materials per room, versus the $1 to $2 per square foot a pro charges. But there's one non-negotiable first step: popcorn texture sprayed on before the mid-1980s can contain asbestos, so it has to be tested before you disturb a single flake. This guide covers that test, the wet-scrape technique that keeps the dust down, and the patch-sand-prime work that leaves a smooth, paint-ready ceiling.
What You'll Need
🛠 Tools
📦 Materials
Safety First
- •Test for asbestos before you disturb anything. Popcorn texture applied before the mid-1980s can contain asbestos, which you cannot identify by sight — scraping or sanding it releases microscopic fibers linked to lung disease and mesothelioma. Mist a small spot, take a sample, and have an accredited lab test it (the EPA recommends professional testing); if it's positive, stop and hire a licensed abatement contractor.
- •Cut power to the ceiling fixtures at the breaker before removing them, and keep the wet sprayer away from open electrical boxes — you'll be spraying water onto a wired ceiling while standing on a ladder.
- •Wear a NIOSH-rated respirator and sealed goggles even on an asbestos-free ceiling. Wet scraping drips gritty, paint-laden slurry, and dry sanding throws fine silica and joint-compound dust you don't want in your lungs or eyes.
Step-by-Step Instructions
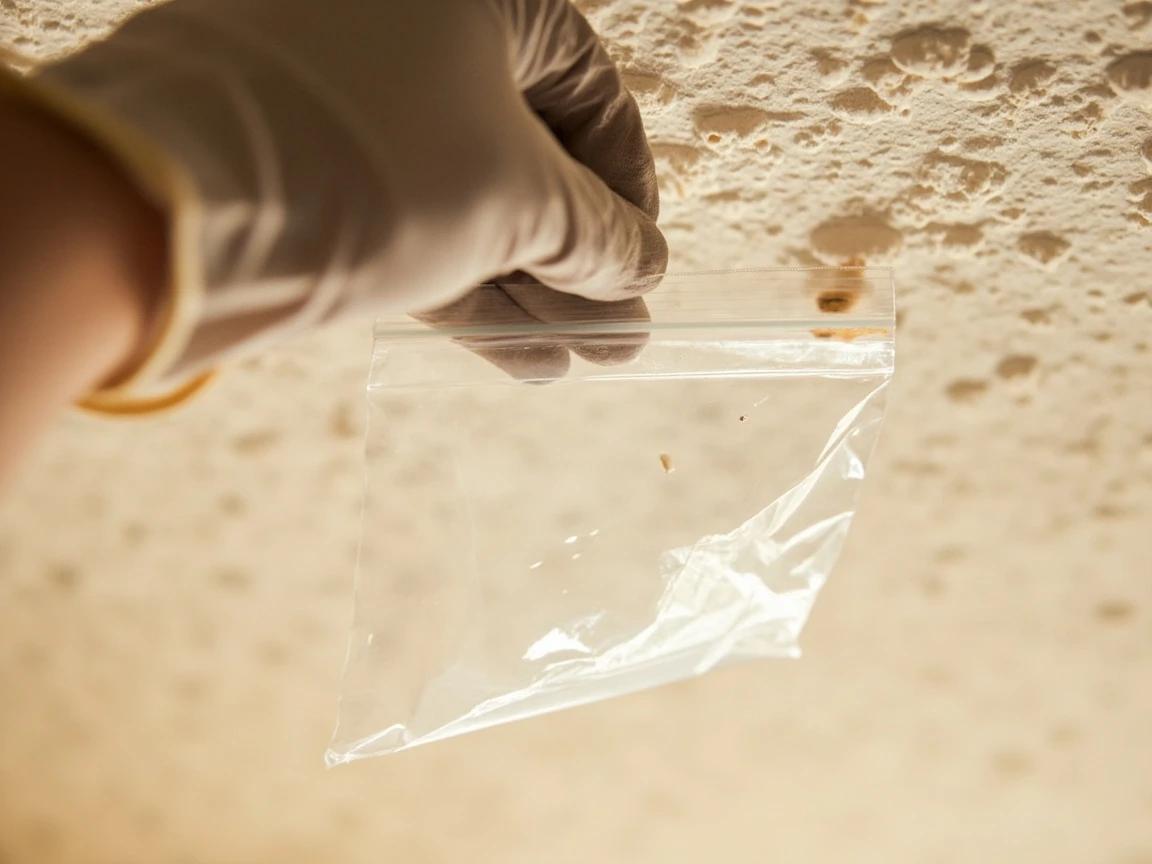
Test for Asbestos (and Lead) Before You Touch It
This is the one step you cannot skip. Popcorn texture sprayed on before the mid-1980s frequently contains asbestos, and you can't tell by looking — the only way to know is a lab test. Lightly mist a 2-inch patch so it won't release dust, scrape a small sample into a zip-top bag, and mail it to an accredited asbestos lab (about $30 to $60), or hire an inspector; the EPA recommends professional testing. If the ceiling was painted before 1978, test for lead too. Do not scrape, sand, or even brush the ceiling until the results come back clear.
If the test is positive for asbestos, stop here. Disturbing it releases fibers linked to mesothelioma, and removal is a licensed-abatement job — DIY scraping, and disposing of the debris, is unsafe and illegal in many areas.
Clear and Mask the Room
Empty the room of everything you can move, then turn OFF the power to the ceiling lights and fan at the breaker and take the fixtures down, capping the wires and covering the boxes with painter's tape. Cover the entire floor and the walls with 4-to-6 mil plastic sheeting, taped along the top — the wet scrapings are heavy, they stain, and they go everywhere. Shut off forced-air HVAC and tape over the vents so dust isn't pulled through the system.
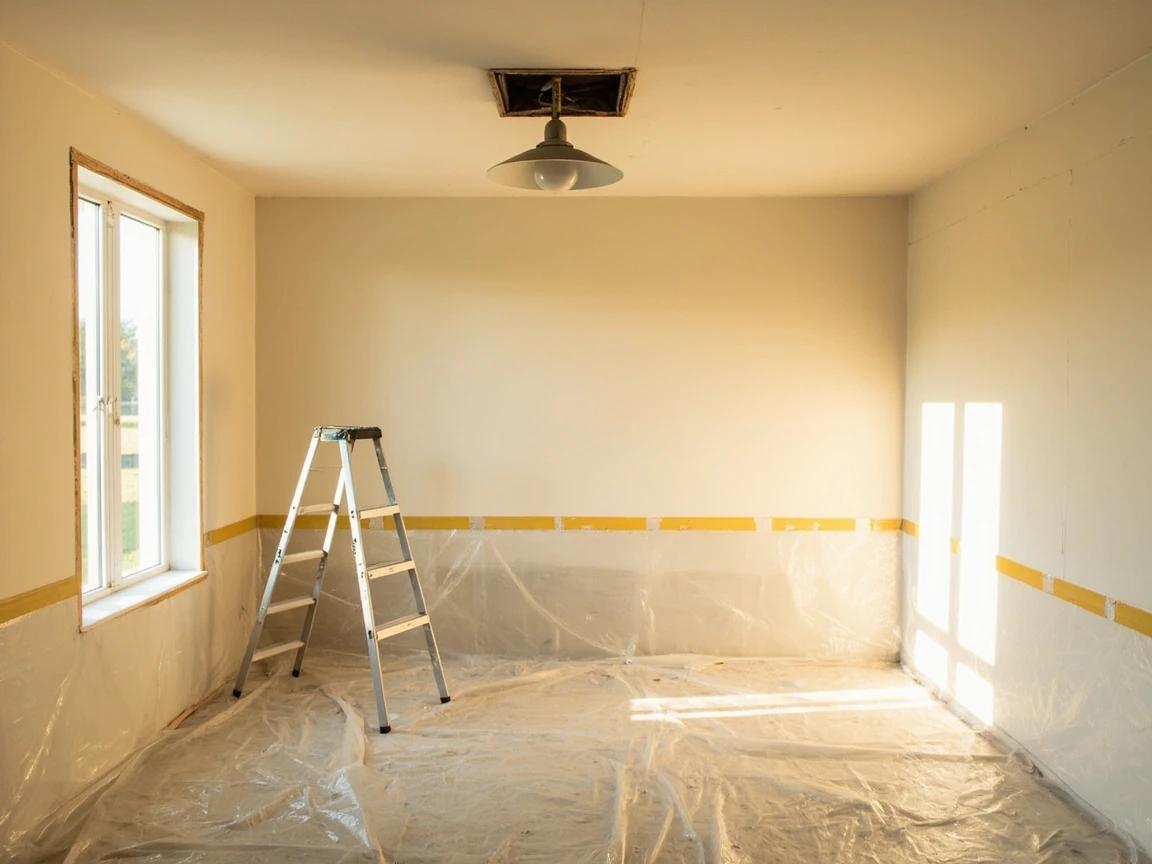
Lay the floor plastic loose and overlapping so you can roll the soggy scrapings up into it at the end. Wet drywall scrapings dry into a cement-like mat, so bag them while they're still damp.
Test-Scrape a Patch to See If It's Painted
Before committing, mist a 2-foot-square area with warm water, wait 10 to 15 minutes, then try to scrape it. Unpainted texture soaks up the water and peels off in soft sheets — you're in for an easy, if messy, job. If the water beads up and the texture stays hard, it's been painted (or paint was mixed into it), so water won't penetrate; you'll need to dry-scrape, score and soak longer, or reconsider skimming or covering it instead. Knowing which you have now saves hours of frustration.
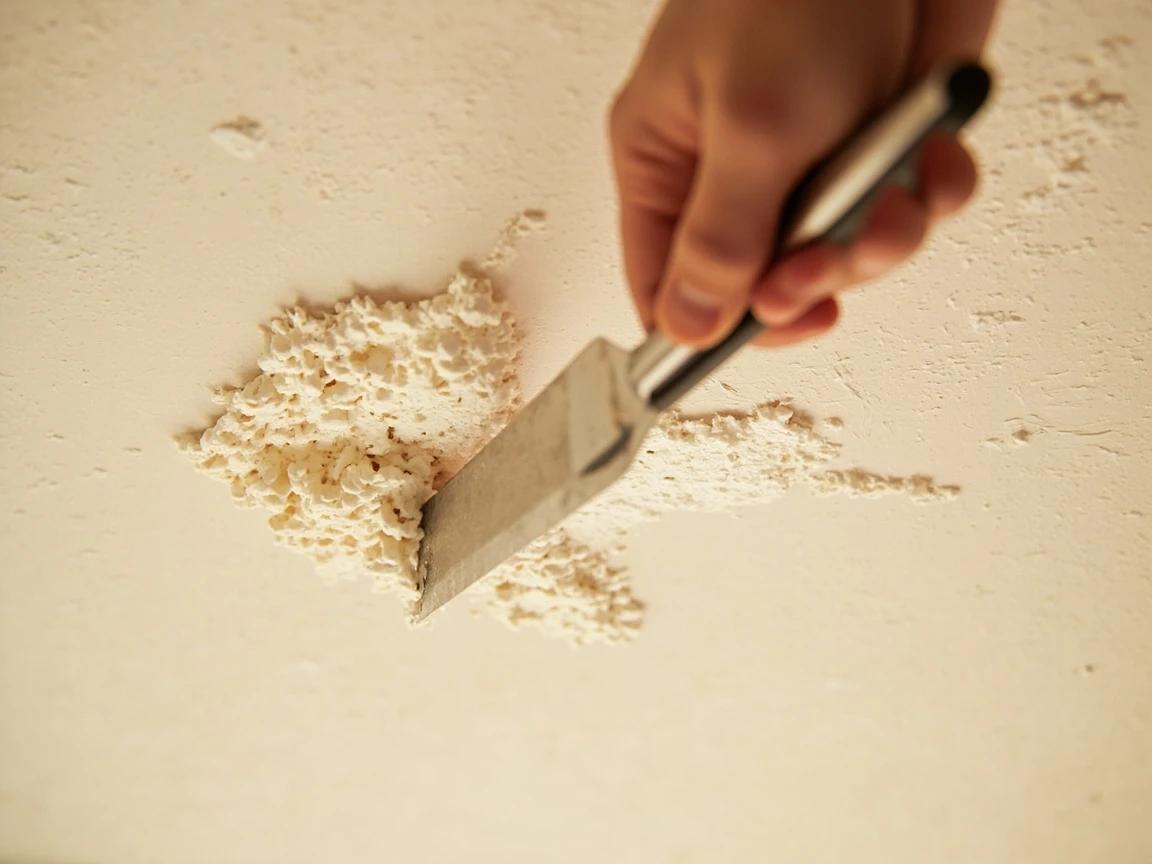
Painted popcorn is the make-or-break variable. If a test patch won't wet-scrape, covering the ceiling with 1/4-inch drywall or hiring a skim-coat is often faster and cleaner than fighting painted texture overhead.
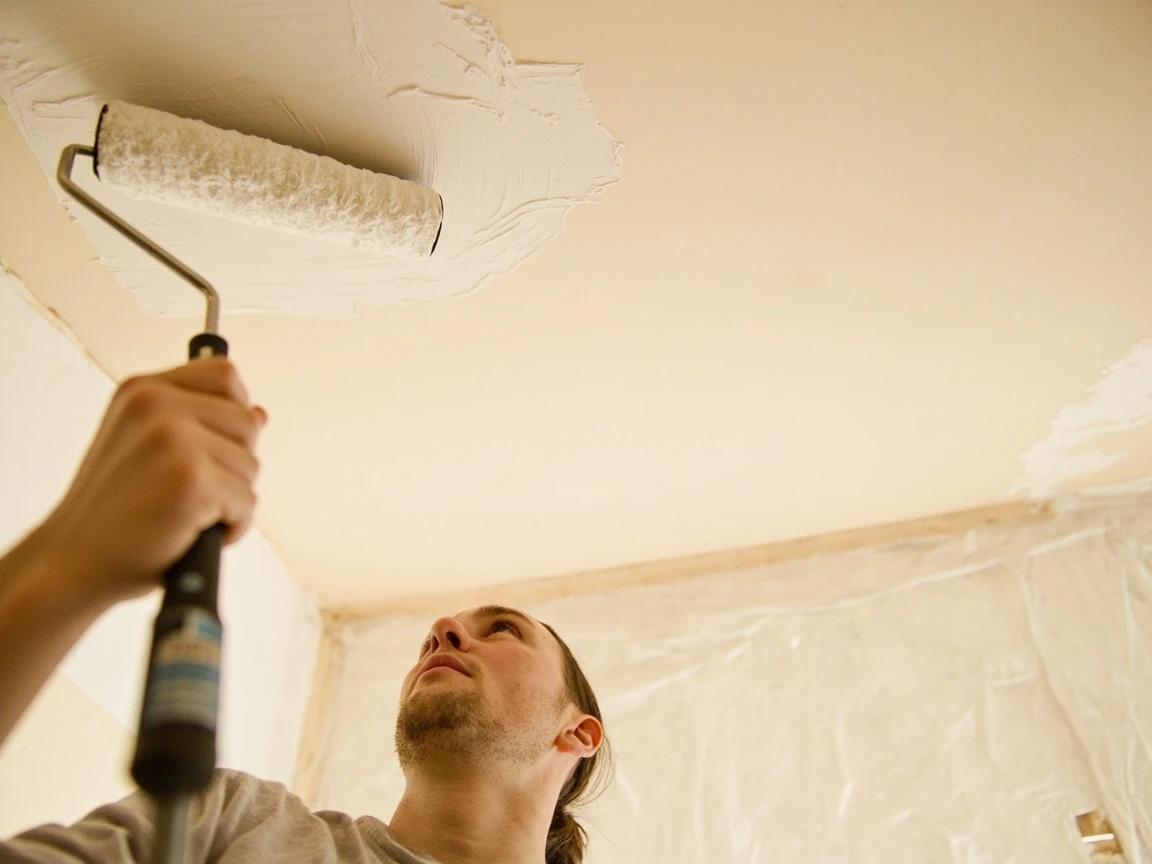
Mist a Section With Warm Soapy Water
Fill a garden pump sprayer with warm water and a squirt of dish soap or liquid fabric softener, which breaks the surface tension so the water soaks in. Working in 4-foot-square sections so the water doesn't dry before you reach it, mist the ceiling until it's damp but not dripping, and let it soak about 15 minutes. The goal is to soften the texture, not to soak the drywall — too much water delaminates the paper face and loosens the joint tape at the seams.
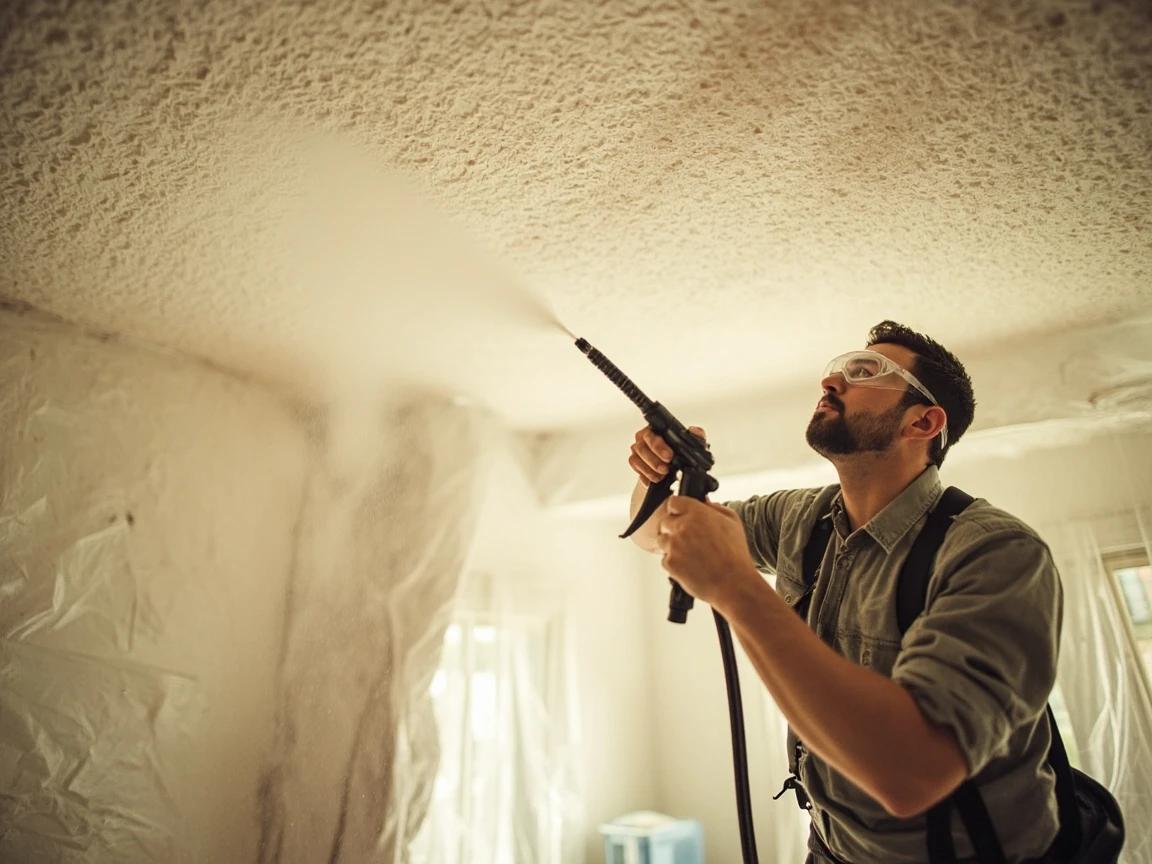
Keep the sprayer's stream away from any open ceiling electrical box. You are putting water on a wired ceiling from a ladder — confirm the circuit is off at the breaker and keep the boxes covered.
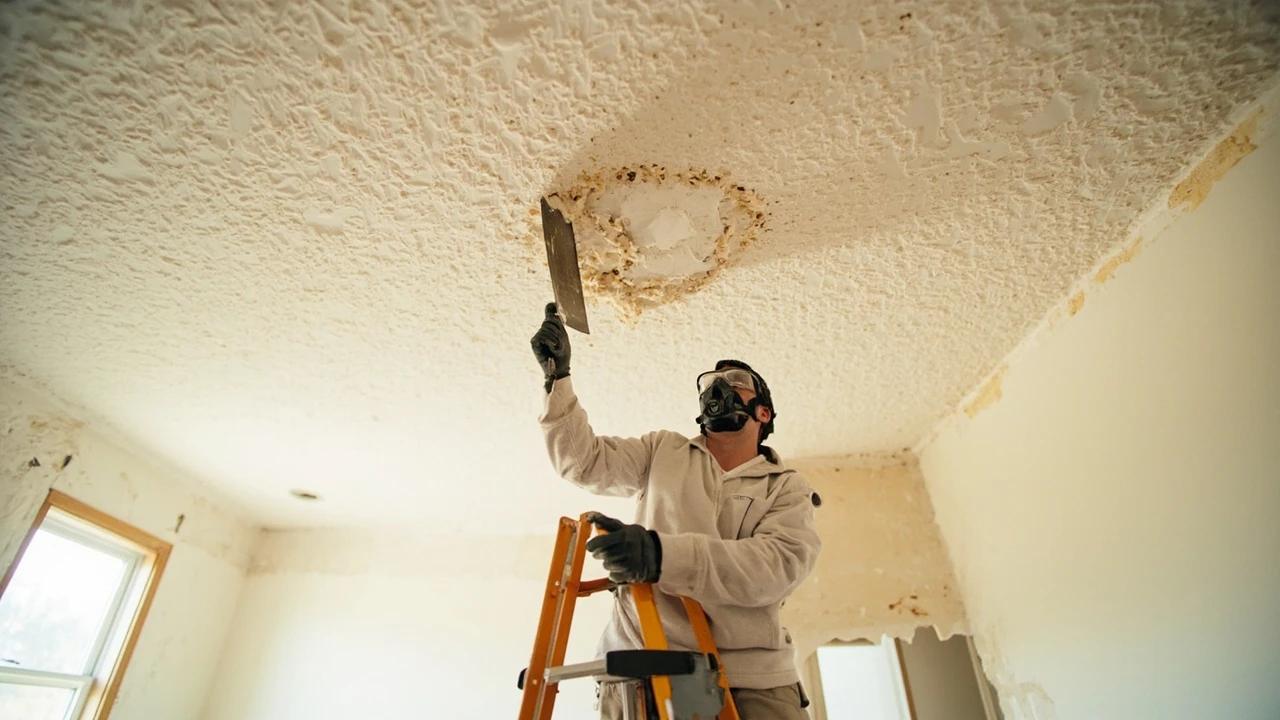
Scrape Off the Softened Texture
With the section softened, hold a wide drywall knife nearly flat against the ceiling and push to peel the texture off in sheets — a 10-to-12-inch blade covers ground fast, while a 6-inch handles edges and corners. Catch the wet scrapings in a mud pan or tray held just under the blade. Re-mist any spot that resists rather than forcing the knife, and slightly file or round the two corners of the blade so they can't dig in — gouging the drywall is the main thing that creates extra patch work later.
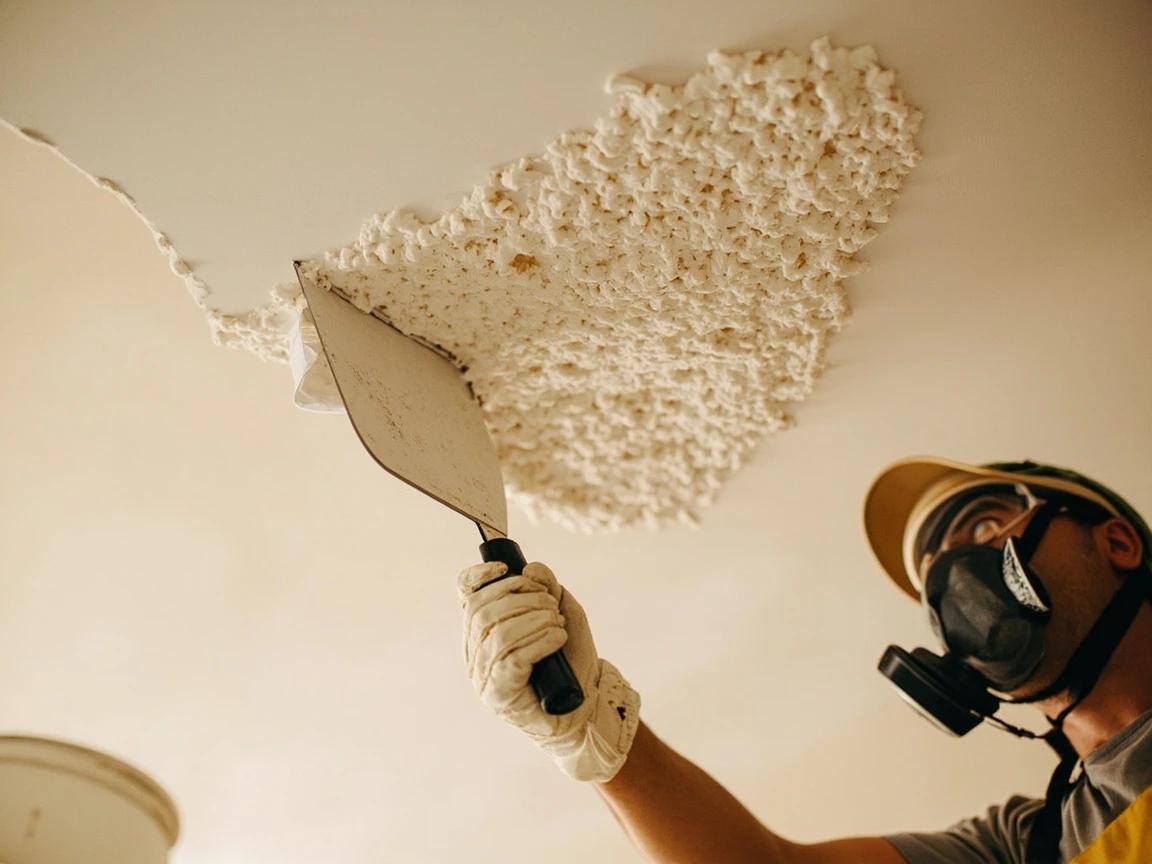
Tape a drywall pan or even a dustpan to the underside of your knife to catch most of the slop before it hits the floor. Work the room in a grid, re-wetting the next section while you scrape the current one.
Skim-Coat the Gouges and Seams
Scraping almost always reveals dings, gouges, popped nails, and joint tape that needs re-bedding. Knock down any ridges, then spread a thin skim coat of all-purpose joint compound over the flaws and seams with the wide knife, feathering the edges so they blend into the surrounding ceiling. Let it dry fully — usually overnight, longer in humidity — because compound that's painted before it cures will crack and flash. A second thin coat is normal for a truly flat result.
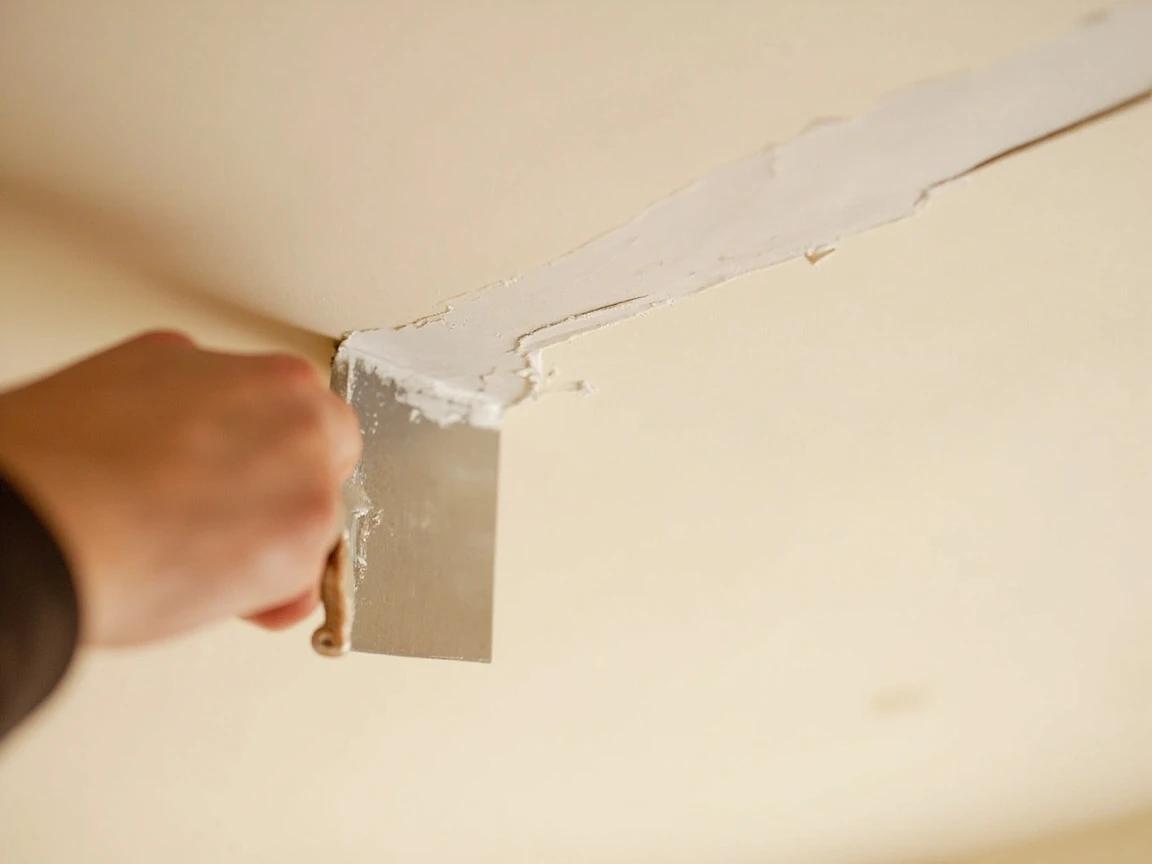
Hold a work light flat against the ceiling so the beam rakes across it — every dip and ridge throws a shadow, showing exactly where to skim. You'll catch flaws now that would otherwise only appear after the paint dries.
Sand Smooth and Vacuum the Dust
Once the compound is bone-dry, sand the ceiling with a pole sander — 120-grit to knock down the patches, then 220-grit to blend everything smooth. This is the dustiest step, so keep your respirator and goggles on. Then vacuum the ceiling, walls, and plastic with a shop vac and wipe the ceiling with a barely damp microfiber cloth, because primer won't bond to a dusty surface.
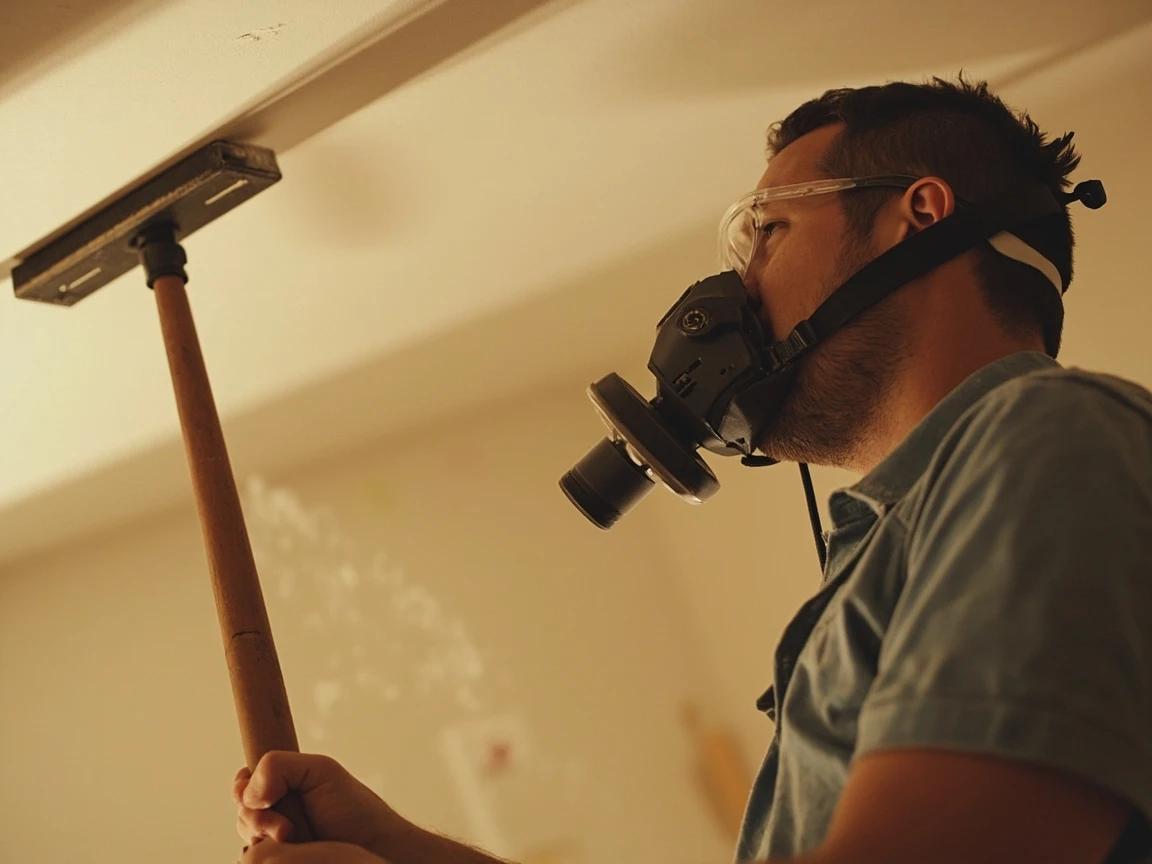
Joint-compound and drywall dust is a fine, silica-bearing nuisance dust — keep the respirator on and vent the room with a box fan blowing out a window rather than recirculating the air.
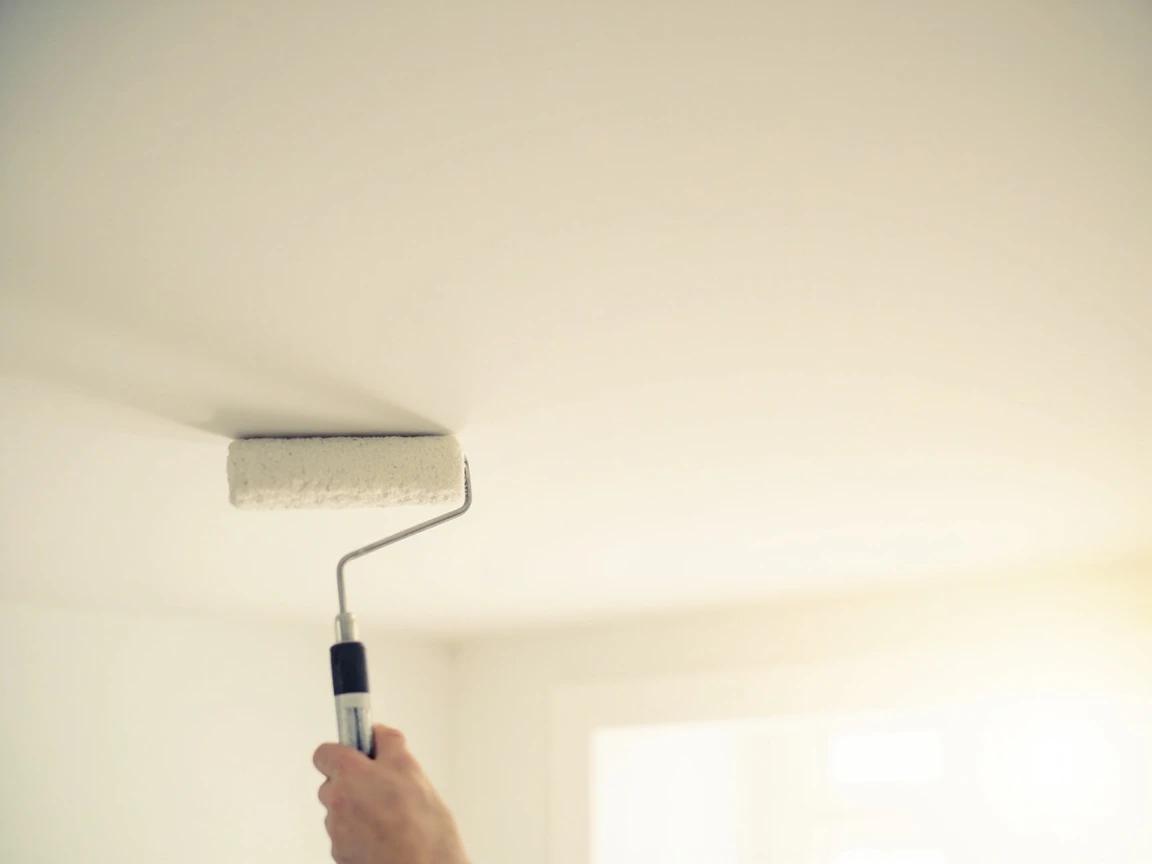
Prime the Whole Ceiling
Roll a coat of stain-blocking primer over the entire ceiling, not just the patches. Bare joint compound and any old painted areas absorb paint differently, and priming everything evens that out so the finish coat doesn't flash to a blotchy sheen. Use a PVA drywall primer for a normal ceiling, but switch to a shellac- or oil-based stain blocker over any water stains or marker, which will bleed straight through a water-based primer. Let it dry per the label before painting.
Paint With Flat Ceiling Paint
Finish with flat ceiling paint — a flat sheen hides the small imperfections a smoothed ceiling inevitably still has, where any gloss would highlight them. Cut in the edges with a brush, then roll the field in one direction with a 3/8-inch nap roller, keeping a wet edge so you don't leave lap marks; a second coat gives the most even result. For the full rolling technique that avoids streaks and lap lines, see how to paint a ceiling without streaks.
Two thin coats beat one thick one on a ceiling — thick paint sags and drips, and the second coat is what makes a freshly smoothed ceiling look factory-flat.
Frequently Asked Questions
How do I know if my popcorn ceiling has asbestos?
+
You can't tell by looking — the only way to know is a lab test. Asbestos was banned from textured ceiling products in 1977, but existing stock kept being applied into the mid-1980s, so any ceiling from roughly that era or earlier is suspect. Lightly mist a small spot so it won't shed dust, scrape a sample into a bag, and send it to an accredited lab (about $30 to $60), or hire an inspector; the EPA recommends professional testing. Don't disturb the ceiling until the result comes back clear.
Can you remove a painted popcorn ceiling?
+
Yes, but it's much harder, because the paint stops water from soaking in and softening the texture. Try dry-scraping what you can, scoring the surface and giving it a longer soak, or using a steamer. Honestly, when a test patch won't wet-scrape, covering the ceiling with new 1/4-inch drywall or skim-coating it smooth is often faster and far less messy than fighting painted texture overhead.
Do you have to scrape it, or can you just cover it?
+
Covering is a legitimate alternative: you can skim-coat the texture smooth with joint compound, or screw 1/4-inch drywall directly over it and finish that. Covering avoids the scraping mess and, for intact texture, encapsulates it. One caveat — if the texture contains asbestos, even covering or skim-coating disturbs it and should be left to a licensed pro.
How long does it take and what does it cost to DIY?
+
Plan on roughly a full day to scrape a typical room, plus another day for the compound to dry, sand, prime, and paint. Materials run about $50 to $150 per room (sprayer, knives, compound, primer, paint, plastic), plus $30 to $60 for the asbestos test. Hiring it out runs about $1 to $2 per square foot, and considerably more if asbestos abatement is involved.
Why does the drywall look bad after I scrape the texture off?
+
That's normal. Builders sprayed popcorn texture precisely so they could skip finishing the drywall underneath, so scraping it off exposes unfinished seams, joint tape, nail pops, and the gouges from your knife. The smooth result comes from the next steps — skim-coating those flaws with joint compound, sanding, and priming — not from the scrape itself.
Community Tips
💬 Sign in to share tips with the community
Sources & further reading
- Protect Your Family from Exposures to Asbestos — U.S. Environmental Protection Agency
- Asbestos In The Home — U.S. Consumer Product Safety Commission
- How to Remove a Popcorn Ceiling (DIY) — Family Handyman
More Painting Guides
View all →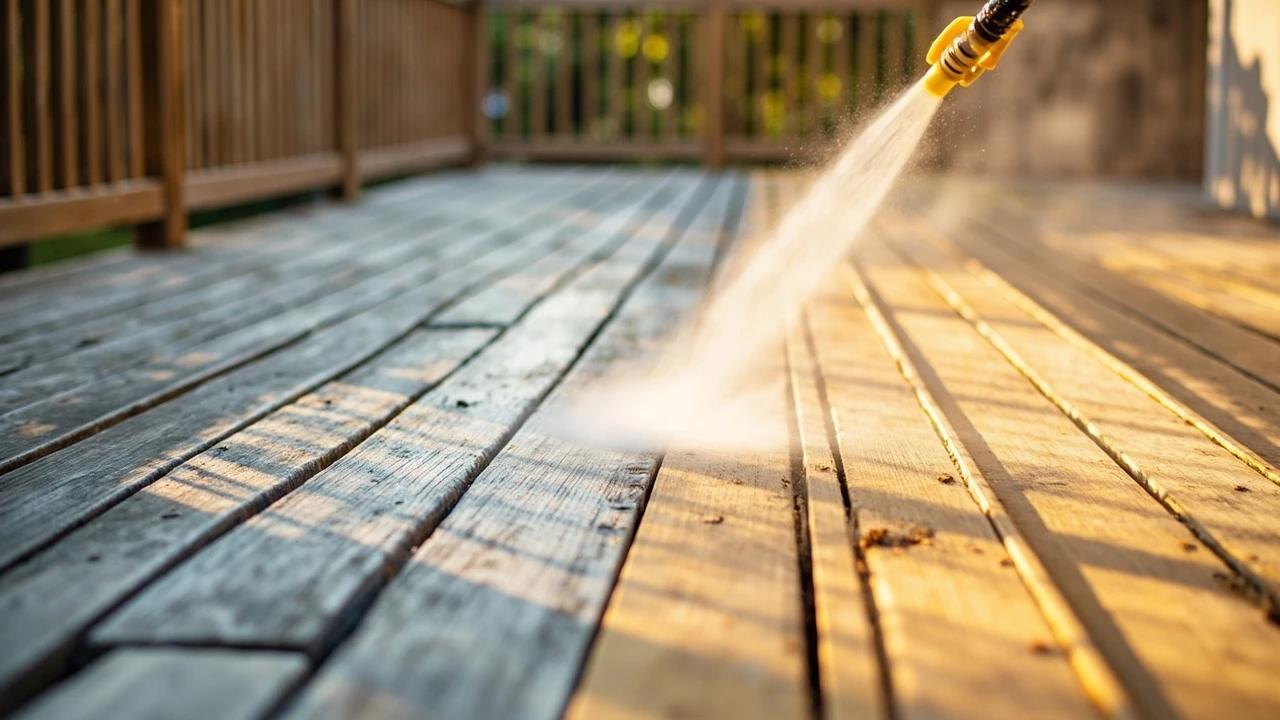 Easy3 hrs
How to Power Wash a Deck Before Staining
A deck that has not been pressure-washed before staining will fail the new stain within 12 months — dirt, mildew, and old stain residue prevent proper penetration. But too much pressure gouges softwood boards permanently. This guide covers the right PSI range, nozzle choice, wand technique, and the 48-hour dry window before staining that determines whether the new finish lasts 2 years or 5.
 Easy4 hrs
How to Paint a Front Door
A freshly painted front door is the single biggest curb-appeal upgrade you can make in an afternoon — real estate pros estimate it adds $500-1,000 in perceived home value for under $50 in materials. The key to a smooth, brush-mark-free finish is proper prep, thin coats, and the right weather window. This guide covers wood, steel, and fiberglass doors using exterior latex paint.
 Medium6 hrs
How to Stain a Fence
A wood fence left bare goes gray, splinters, and starts rotting at the posts years before a stained one — and staining it yourself runs $75-250 in materials versus $750-2,000+ for a crew. The work itself is honest but unglamorous: the cleaning and drying before you open a can matter more than the staining, and the sprayer-plus-back-brush technique is what separates an even, professional finish from a stripey one. This guide walks the whole job, from the water-bead readiness test to the oily-rag cleanup that prevents garage fires.
You Might Also Like
 Medium2 hrs
How to Prune Fruit Trees
Regular pruning is the most important annual task for fruit tree health and productivity. Properly pruned trees produce larger, higher-quality fruit, resist disease better, and live significantly longer than unpruned trees.
 Medium30 min
How to Troubleshoot a Microwave That Won't Heat
A microwave that runs — light on, turntable spinning, timer counting down — but leaves food stone cold is one of the most common appliance failures, and about half the time the cause is something you can fix in five minutes for free. This guide walks the diagnosis from the easy stuff (demo mode, power level, a tripped GFCI, a dirty door latch) to reading the failure signature that tells you the high-voltage circuit is gone, then helps you make the repair-or-replace call with real numbers.
 Easy45 min
How to Repair a Shower Diverter Valve
When you pull the diverter knob and water still pours from the tub spout instead of the showerhead, the fix is usually a worn washer or mineral buildup — not a $200 plumber visit. This guide covers the three most common diverter types (tub spout, three-valve, and two-valve) and walks you through cleaning, replacing washers, and swapping the diverter if needed, all in under an hour with basic tools.