How to Seal Entry Points and Keep Mice Out
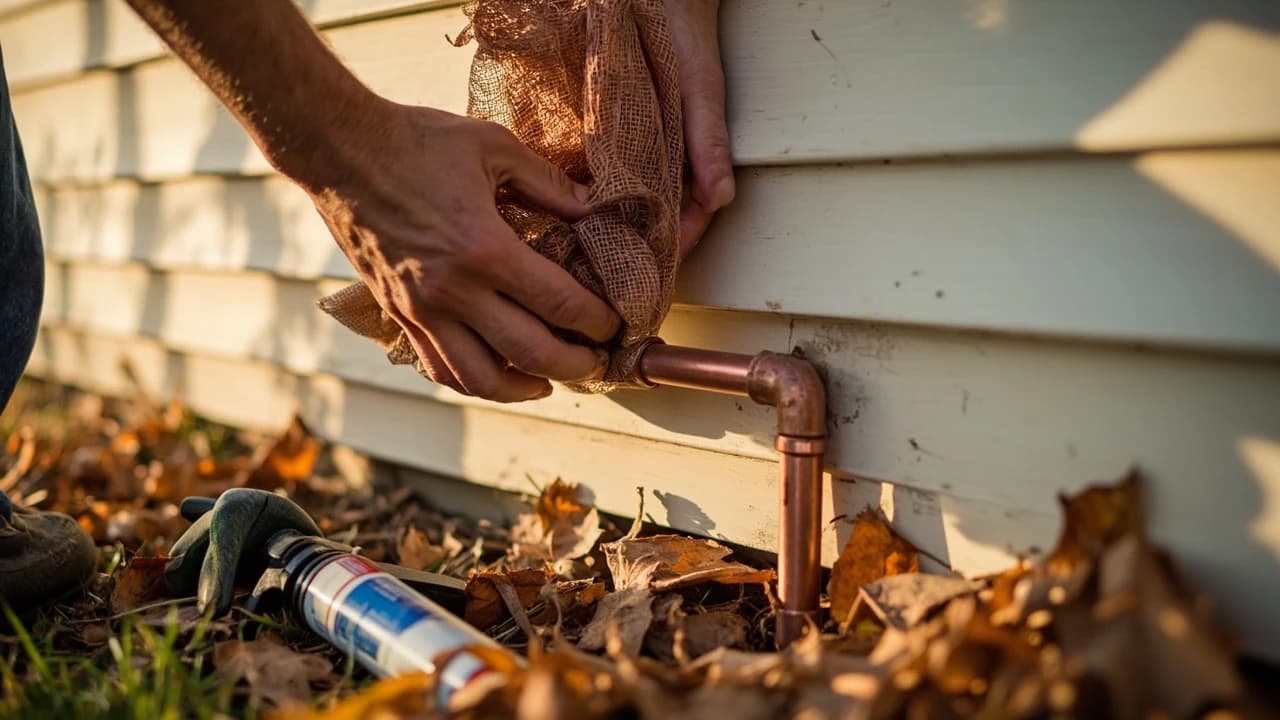

A mouse needs a gap only 1/4 inch wide — the width of a dime — to move into your walls, and every fall they try. One afternoon with copper mesh, caulk, and hardware cloth closes off the routes they actually use, for $30-80 in materials against the several hundred dollars an exclusion company charges for the same work. This guide covers finding the gaps the way an inspector does, choosing materials mice cannot chew through, and the trap-first rule that keeps you from sealing mice inside the house.
What do you need to seal mouse entry points?
🛠 Tools
📦 Materials
Safety First
- •Never sweep or vacuum dry mouse droppings — stirring up the dust is how hantavirus spreads. Wet droppings thoroughly with a disinfectant or 10% bleach solution, wait 5 minutes, wipe up with paper towels, and wear gloves.
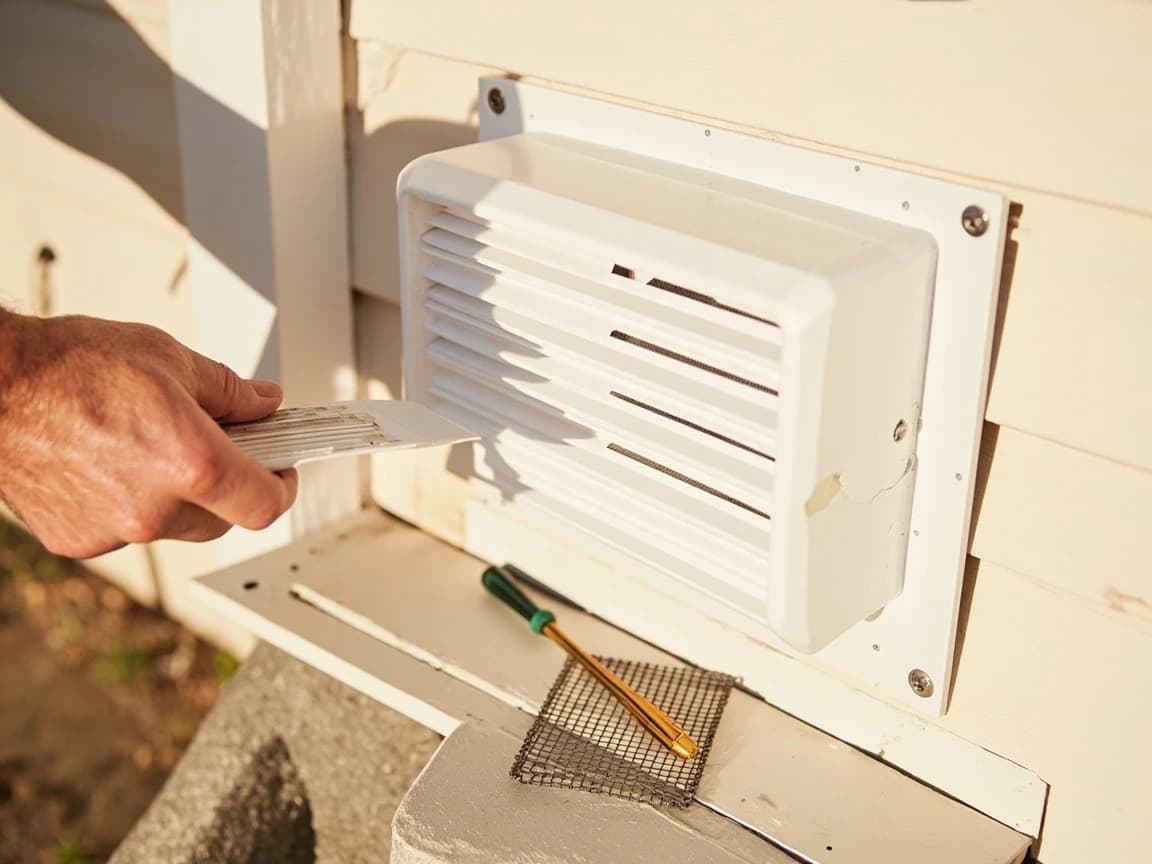
- •Do not seal every opening you find. Weep holes in brick, dryer vents, and gas appliance vents exist for airflow and exhaust — screen them with mesh sized to block mice, never caulk them shut.
How do you find and seal mouse entry points?
Confirm Mice Are Active and Trap Before You Seal
Look for the three signs that distinguish an active problem from an old one: fresh droppings (dark and glossy, not gray and crumbly), gnaw marks with pale raw edges, and greasy rub marks along baseboards where fur drags the same route nightly. If mice are currently inside, set snap traps along those walls and keep trapping until you get several quiet nights in a row — sealing the exits first traps them in the walls, where they chew new holes or die somewhere unreachable. Only start the exterior seal once inside activity has stopped.
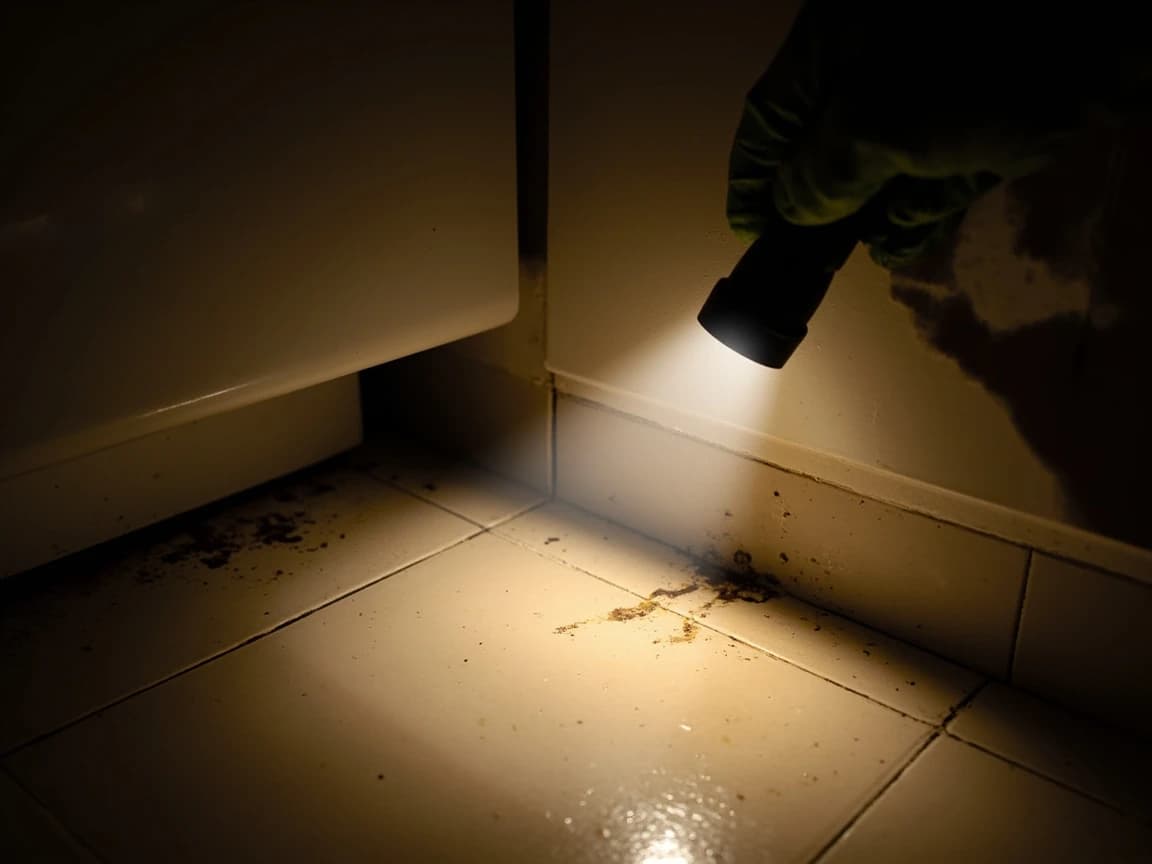
Never sweep or vacuum dry droppings — the dust can carry hantavirus. Spray them with disinfectant or 10% bleach, wait 5 minutes, and wipe up wearing gloves.
Walk the Perimeter With a Dime in Your Pocket
Circle the house slowly at ground level, ideally at dusk with a flashlight held flat against the wall so escaping light rakes across gaps. The pass/fail gauge is a dime: any opening it slips into is a mouse door, because a 1/4-inch gap clears a juvenile mouse and a 1/2-inch gap clears a rat. Check where every pipe, cable, AC line set, and hose bib penetrates the wall, along the sill plate where framing meets foundation, and at the corners of siding. Mark each find with painter's tape or chalk so you can work methodically instead of from memory.
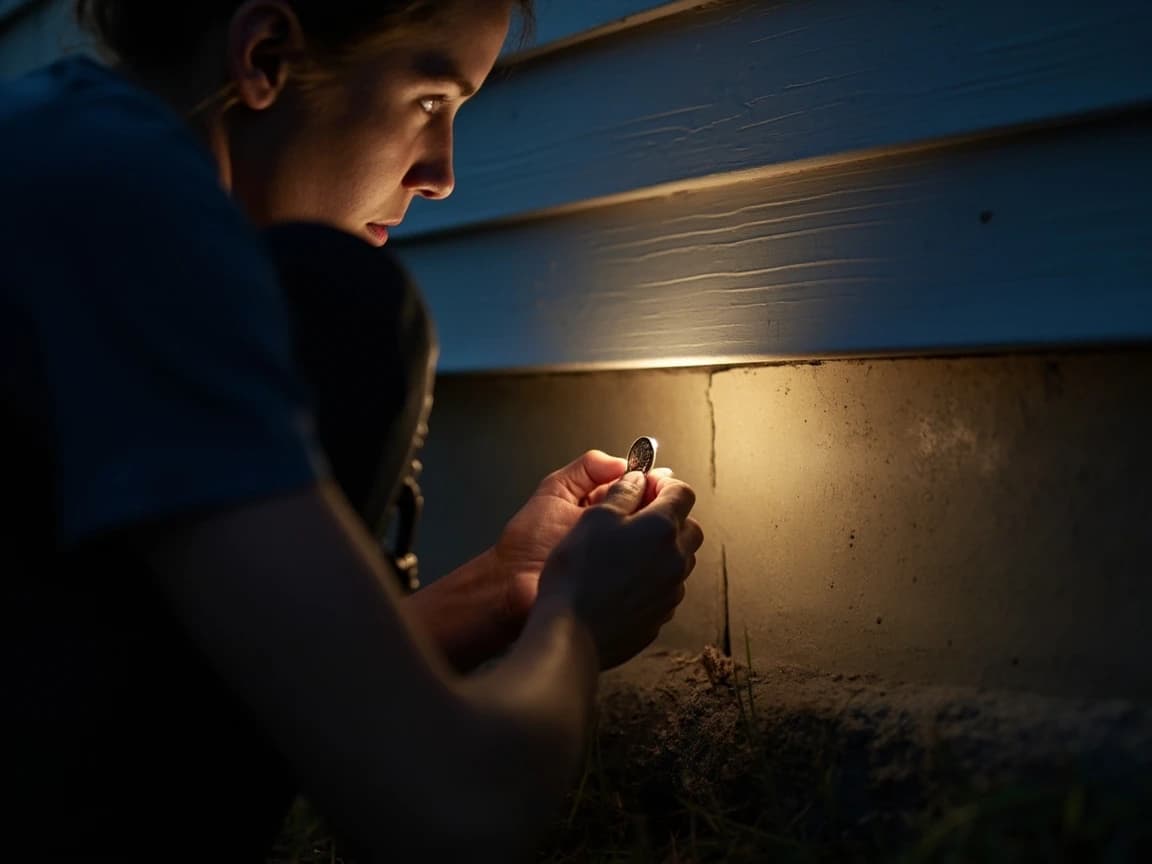
Mice travel along cover, not open ground. Gaps behind shrubs, stacked firewood, or anything touching the wall get used first — pull vegetation a foot back from the foundation as you go.
Check the Roofline, Soffits, and Chimney
Mice climb brick, stucco, and downspouts without effort, so the second inspection pass is up a ladder. Look for gaps where soffit panels meet the fascia, corners where two rooflines join, the ridge where flashing has lifted, and the chimney (an uncapped flue is an open door — fit a spark-arrestor cap with mesh). Sagging or rotted soffit panels leave entry gaps that no amount of ground-level caulking fixes; if a panel is soft or hanging, repair it first with our soffit and fascia repair guide.
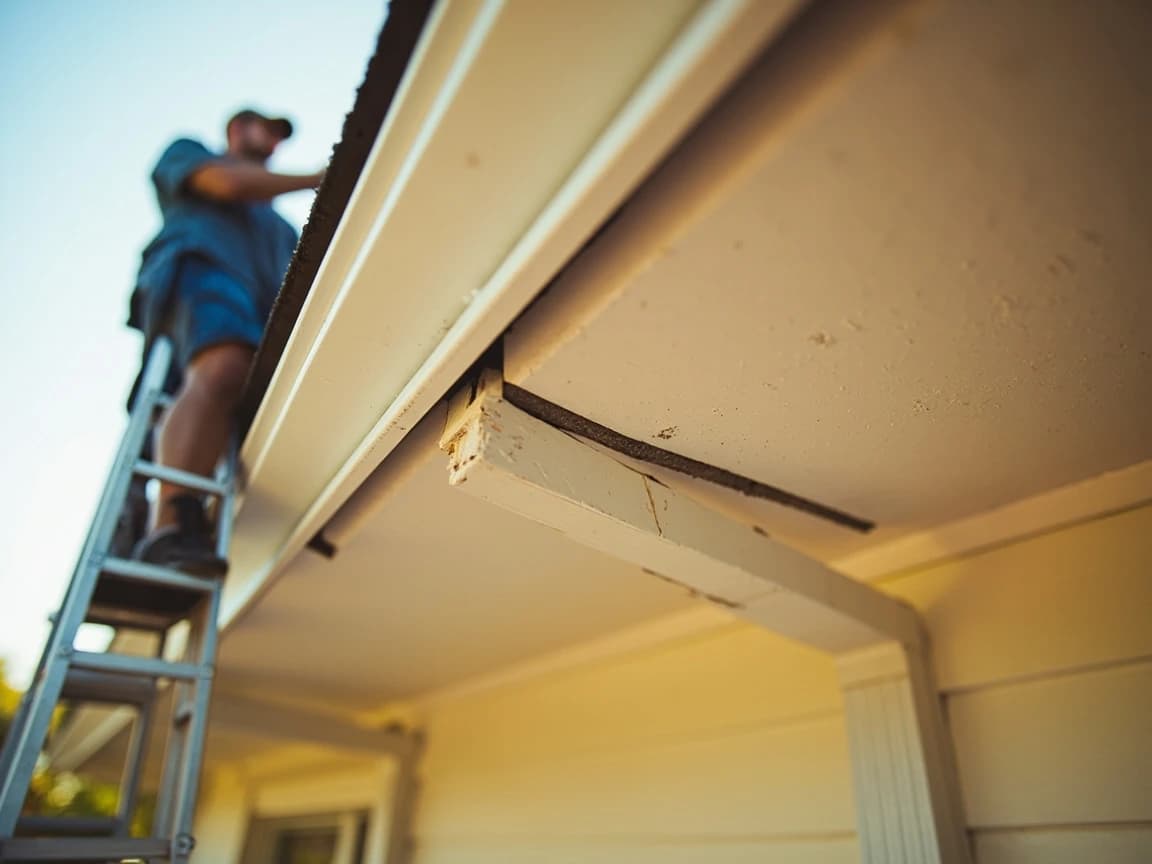
While you are up there, note any wasp activity before reaching into dark corners — if there is a nest in the soffit, deal with it first using our wasp nest removal guide.
Pack Small Gaps With Copper Mesh, Then Caulk Over It
For every gap up to about an inch — pipe penetrations, cable entries, sill gaps — cut a length of copper mesh, fold it, and pack it into the opening with a screwdriver until it is tight enough that you cannot pull it out by hand. Then run exterior silicone or polyurethane caulk over the packed mesh to lock it in place and seal the draft. The metal is what stops the teeth; the caulk is what stops the mesh from being worked loose. Copper beats steel wool outdoors because it never rusts, never stains the siding, and never loosens as it corrodes.
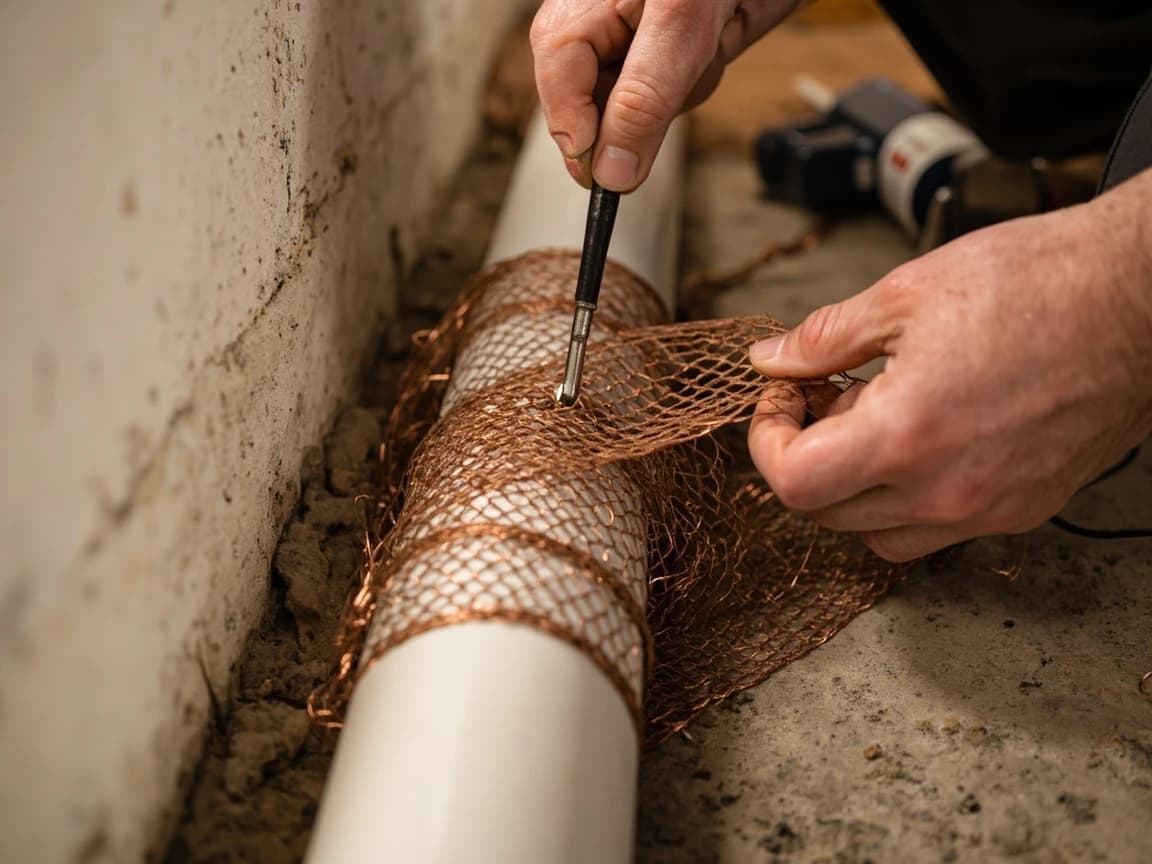
Expanding foam alone is not a barrier — mice chew through cured foam in a night. Use it only over a metal core: mesh first, foam second, trim flush when cured.
Cover Larger Openings With 1/4-Inch Hardware Cloth
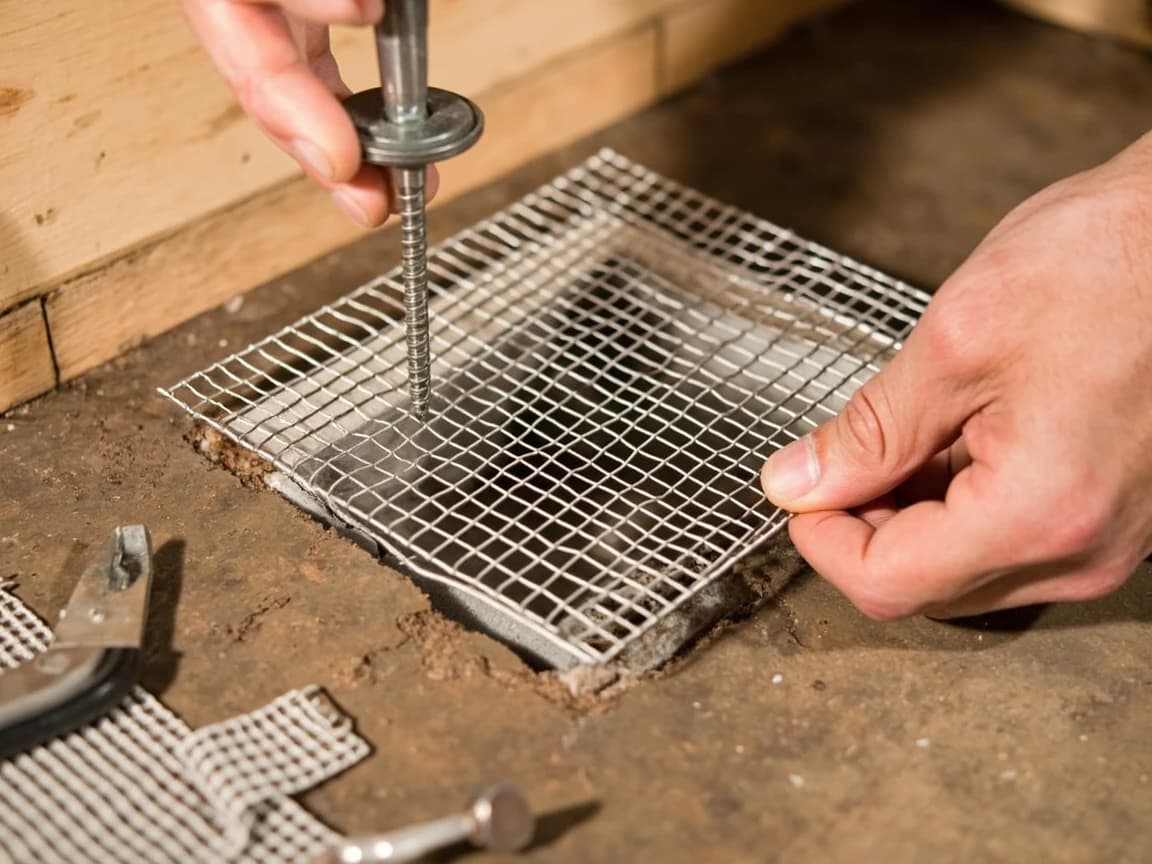
Openings bigger than an inch — crawl space vents with torn screens, gable vents, gaps under deck steps, the classic hole behind the dishwasher where the supply line enters — get 1/4-inch galvanized hardware cloth. Cut a patch at least 2 inches larger than the opening on every side, then fasten it with screws and fender washers into solid material every 2-3 inches; staples alone pull free. For a gnawed corner on a wooden door or garage jamb, wrap the corner in sheet metal so there is no edge left to restart the chewing.
Seal Masonry Gaps With Mortar or Hydraulic Cement
Foundation cracks, gaps where mortar has fallen out of brick joints, and openings around basement window frames need a masonry patch rather than caulk — caulk bridges a hairline, but a mouse-sized masonry gap needs mortar packed to full depth. Brush the opening clean, dampen it, press hydraulic cement or mortar patch in with a putty knife, and strike it flush. For gaps that combine masonry and framing (common at the sill plate), pack copper mesh first and mortar over it.
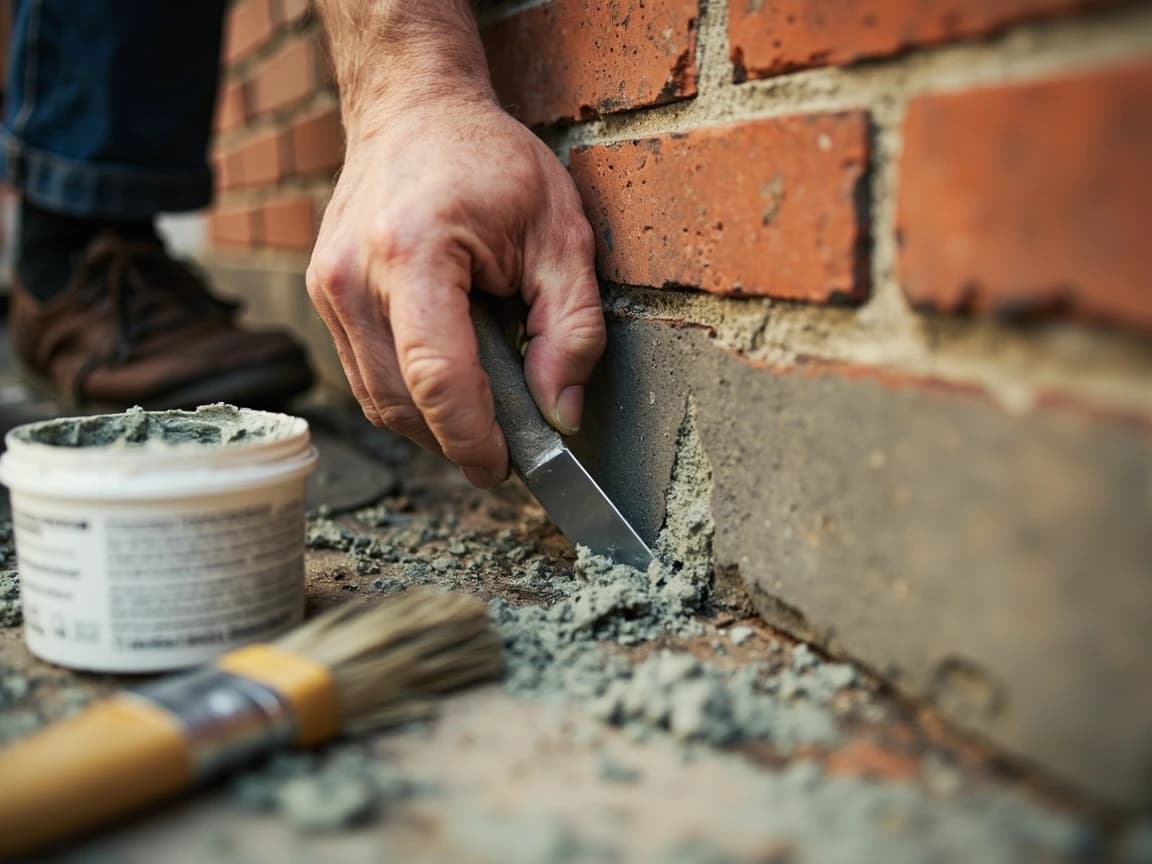
Leave brick weep holes open — they drain the wall cavity. Fit stainless weep-hole covers or a pinch of copper mesh loose enough to pass water, never solid caulk or mortar.
Close the Door Gaps: Sweeps, Thresholds, and the Garage
Stand inside each exterior door in daylight: any light visible under or around it is a mouse route. Fit a door sweep to the bottom of any door showing a gap, replace flattened weatherstripping around the sides and top, and pay special attention to the garage — the corners of a roll-up garage door are the single most common mouse entry in an attached-garage home, because the rubber astragal seal compresses and cracks at the ends. Rodent-rated garage door corner guards cost a few dollars and close the two triangular gaps the standard seal always leaves.
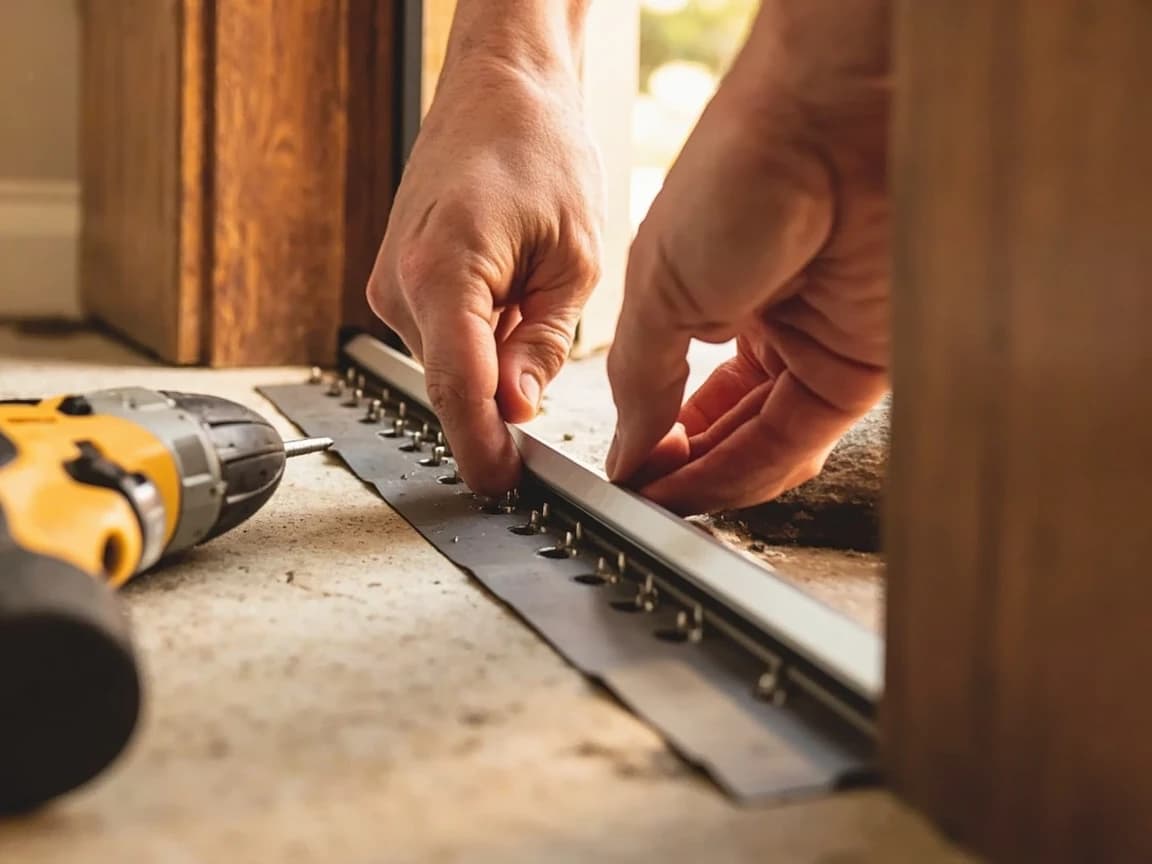
The same door and window gaps that admit mice leak heated air all winter — the drafty window sealing guide covers the energy half of the same job.
Screen the Vents You Must Not Block
Dryer vents, bathroom exhaust hoods, crawl space vents, and gable vents have to keep moving air, so they get screened rather than sealed. Replace a broken plastic dryer-vent flap with a hood that has a functioning damper, and resist the urge to put fine mesh directly over a dryer outlet — lint clogs it into a fire hazard; a louvered damper hood is the right part. Fixed vents (gable, crawl space, ridge ends) get 1/4-inch hardware cloth fastened behind the louvers. Check the AC line set entry and the duct penetrations where they pass through the wall or floor — the mastic and mesh treatment seals both air and mice.
Remove the Attractants and Monitor for Two Weeks
Exclusion holds only if the reasons to break in are gone: move bird seed, grass seed, and pet food from bags into metal or heavy plastic bins with lids, keep garbage in closed cans off the ground, and clear the leaf litter and mulch piled against the foundation. Then verify the seal worked — dust a light line of flour along former runways inside, check it after a week, and walk the exterior once more two weeks in. No new tracks, droppings, or gnaw marks means the house is closed. The same sanitation stops other invaders too; if you have seen big black ants indoors, the carpenter ant guide starts with the identical food-and-moisture audit.

Frequently Asked Questions
Can mice really fit through a hole the size of a dime?
+
Yes — a 1/4-inch gap is enough for a juvenile house mouse, which is why the UC IPM program uses that figure as the sealing standard. A mouse skeleton is not collapsible, as the myth goes, but the skull is the widest rigid part of the body; if the head fits, the fur and body compress to follow. Rats need about 1/2 inch, roughly a quarter. The practical test while you inspect: if a dime slides into the gap, a mouse can eventually get through it, and if a pencil fits, treat it the same way. This is why exclusion fails when people seal only the obvious holes — the entry that matters is usually an unremarkable 3/8-inch gap where a cable or pipe passes through the rim joist, not a visible hole. Measure with a coin, not by eye, and seal everything the coin flags.
Will steel wool alone keep mice out?
+
Not for long, and the CDC guidance is explicit on the reason: loose steel wool works out of a gap, and a determined mouse pulls or pushes it free. The correct method is to pack the gap tightly with coarse steel wool or copper mesh, then seal caulk over the plug so it cannot shift. Mice will not chew through the metal — the fibers cut their mouths — but they will happily extract a loose wad. Copper mesh costs a few dollars more and is the better material for anything permanent: steel wool rusts once it gets wet, which loosens the plug over a couple of seasons and leaves a brown stain running down siding or foundation. Save the steel wool for interior gaps that stay dry, and use copper mesh at every exterior penetration you never want to think about again.
Can mice chew through expanding spray foam?
+
Easily — cured foam is about as much of a barrier to a mouse as stale bread. Foam is a draft sealer, not a rodent barrier, and a mouse that smells food or warmth on the other side goes through an inch of it in a night. That does not make foam useless here: it is a good carrier and gap-filler AROUND a metal core. The working combination for a big irregular gap is copper mesh or hardware cloth packed in first, foam shot over it to air-seal, and the excess trimmed flush once cured. The metal stops the teeth; the foam stops the draft. If you have ever seen a foam-filled gap with a clean round hole through the middle of it, you have seen why the metal layer is not optional. The same logic applies to caulk on anything wider than about 1/4 inch.
Should I seal entry points before or after trapping the mice inside?
+
Trap first, seal second — or run both at once but keep trapping after you seal. Close every exit while mice are still living in the walls and you trade a pest problem for a worse one: sealed-in mice chew new holes from the inside, gnaw wiring out of desperation, or die in a wall cavity, where the smell lasts two to three weeks and is nearly impossible to remove without opening the wall. The practical sequence is to set snap traps along walls where you see droppings, keep trapping until you have several consecutive quiet nights with no catches and no new droppings, then do the full exterior seal. If you want to be certain activity has stopped, dust a light line of flour along a suspected runway before sealing night — fresh tracks in the morning mean you are not done trapping.
What smells or repellents actually keep mice away?
+
Treat every plug-in, ultrasonic, and scent repellent as a coin flip you paid for: peppermint oil, dryer sheets, mothballs, and ultrasonic emitters all fail in independent testing once mice have a reason to be inside — food, warmth, or an established nest beats a smell every time. Mothballs used this way are also an illegal off-label pesticide use and a hazard to kids and pets. The things that measurably work are mechanical: sealed entry points, food in hard containers (bird seed and pet food in metal bins, not the paper bags they came in), garbage in closed cans, and vegetation trimmed a foot back from the foundation so mice lose their covered runway to the wall. Exclusion is unglamorous, but it is the only method the university IPM programs actually endorse — everything in an aerosol can is a subscription, not a fix.
Sources & further reading
- House Mouse — Pest Notes — University of California Statewide IPM Program
- Identify and Prevent Rodent Infestations — U.S. Environmental Protection Agency
- Mice — Backyard Farmer — University of Nebraska-Lincoln Extension
More HVAC Guides
View all → Easy1h 15m
How to Replace Weatherstripping on an Exterior Door
If you can see daylight around a closed front door, you are heating and cooling the yard — and worn weatherstripping is almost always the reason. Replacing the jamb seal and the door sweep runs about $15 to $60 in parts and takes an hour, which is a rounding error next to the cost of a new door. This guide covers the four weatherstrip types and how to tell which one your door uses, how to measure and fit each, how to set the compression so the door still latches, and the geometry problem that no amount of new sealing will fix.
 Easy45 min
How to Seal Drafty Windows
Drafty windows can add 5-30% to your heating and cooling bills — the U.S. Department of Energy estimates that a comprehensive home weatherization project (which includes sealing windows, doors, and other air leaks) can save homeowners several hundred dollars per year on energy costs. Window sealing alone typically pays for itself within a few seasons through lower heating and cooling bills. The good news is that most drafts are fixed with $10-30 in weatherstripping and caulk, not expensive replacement windows. This guide walks you through finding the leaks, choosing the right sealant for each gap, and applying it for a tight, long-lasting seal.
 Medium2 hrs
How to Get Rid of Carpenter Ants Without an Exterminator
Big black ants in the kitchen at midnight usually mean a carpenter ant colony is excavating damp wood somewhere in your house — and the instinctive response, spraying them, is exactly what makes an infestation permanent. This guide covers the method extension entomologists actually recommend: track the nest at night, feed the colony slow-acting bait, and fix the moisture that invited them, for $20-40 instead of a $300-600 pest contract.
You Might Also Like
 Medium6 hrs
How to Paint a Room
A fresh coat of paint is the fastest, cheapest way to transform any room — and doing it yourself saves $400-800 in labor for an average 12x12-foot bedroom. The job takes a weekend from prep to final coat, and the difference between an amateur-looking result and a professional finish comes down to technique, not talent. This guide covers prep, cutting in, rolling, and cleanup so you get clean lines and even coverage the first time.
 Easy30 min
How to Replace an Electrical Outlet
A worn-out or discolored electrical outlet is one of the simplest electrical repairs you can tackle yourself — swapping one takes about 15-30 minutes and costs under $5 in parts versus $75-150 for an electrician visit. This guide walks you through safely replacing a standard duplex receptacle, including how to handle the wiring correctly and avoid the most common DIY mistakes.
 Medium30 min
How to Troubleshoot a Microwave That Won't Heat
A microwave that runs — light on, turntable spinning, timer counting down — but leaves food stone cold is one of the most common appliance failures, and about half the time the cause is something you can fix in five minutes for free. This guide walks the diagnosis from the easy stuff (demo mode, power level, a tripped GFCI, a dirty door latch) to reading the failure signature that tells you the high-voltage circuit is gone, then helps you make the repair-or-replace call with real numbers.