How to Replace Weatherstripping on an Exterior Door
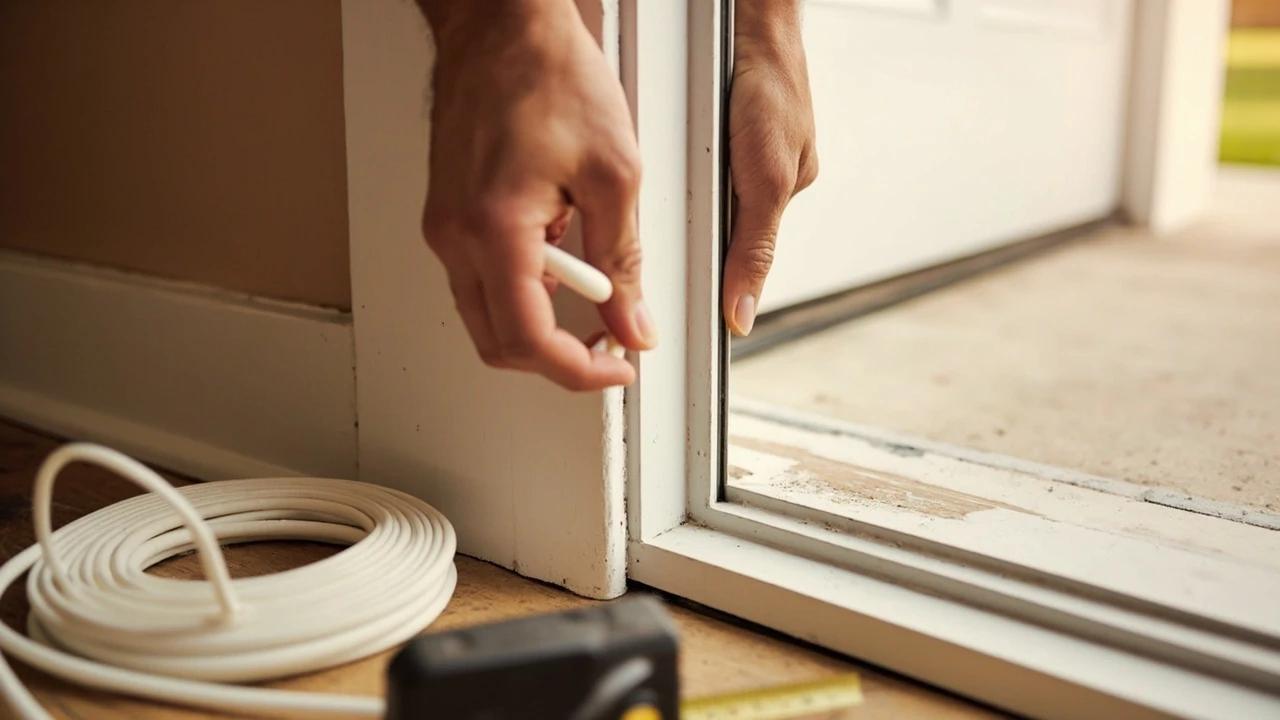

If you can see daylight around a closed front door, you are heating and cooling the yard — and worn weatherstripping is almost always the reason. Replacing the jamb seal and the door sweep runs about $15 to $60 in parts and takes an hour, which is a rounding error next to the cost of a new door. This guide covers the four weatherstrip types and how to tell which one your door uses, how to measure and fit each, how to set the compression so the door still latches, and the geometry problem that no amount of new sealing will fix.
What You'll Need
🛠 Tools
📦 Materials
Safety First
- •Doors and jambs painted before 1978 may carry lead paint, and scraping or sanding old adhesive and paint off a jamb releases lead dust. Test the finish before you scrape, and use lead-safe practices if it comes back positive.
- •A freshly cut aluminum door sweep leaves a razor edge — file the cut end before handling it, and wear safety glasses when cutting metal or prying out old brads, which tend to snap and fly.
Step-by-Step Instructions
Find the leaks before you buy anything
Close the door and turn off the entry light, then look along the top, both sides, and the bottom for a thin line of daylight — anywhere light gets through, air does too. Run the back of your hand slowly around the perimeter on a windy or cold day to feel the draft. Then close the door on a dollar bill at several points and pull it out: easy slide means no seal there, firm drag means the strip is still doing its job. Note which sections actually fail, because you may only need the sweep.
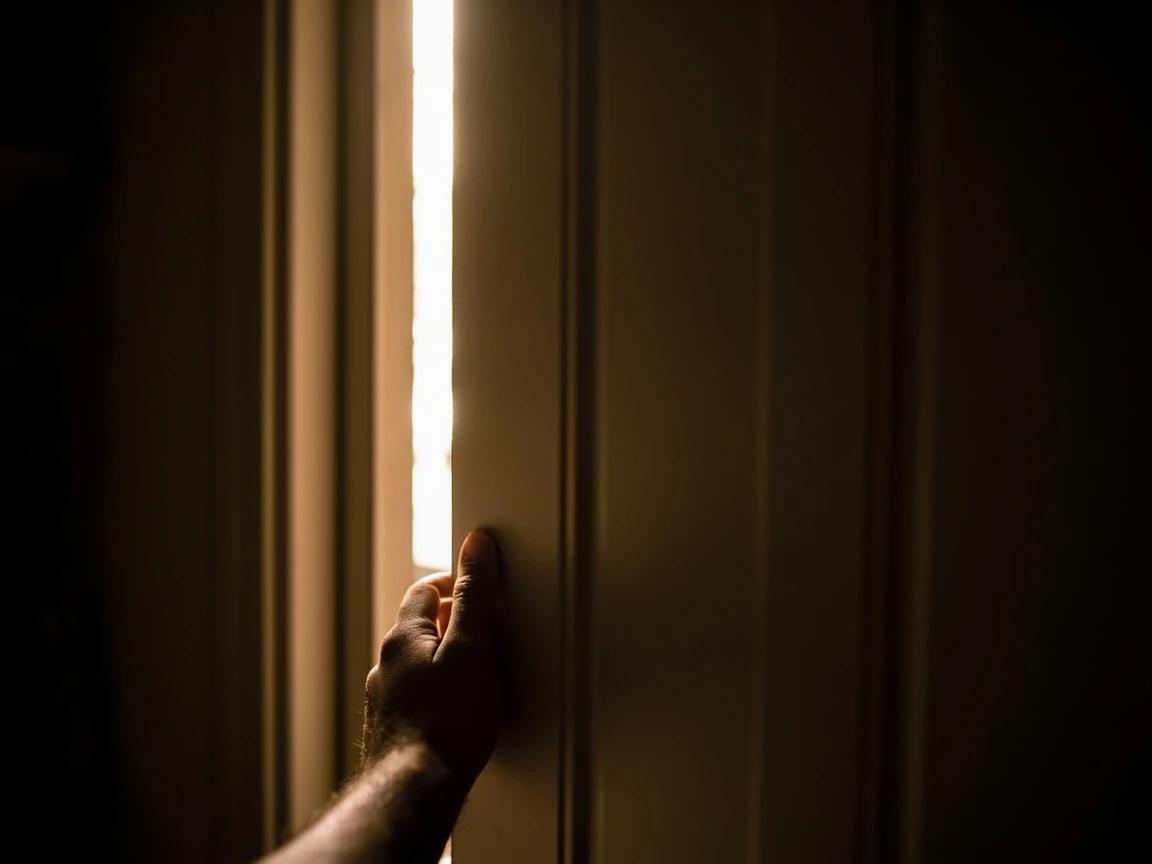
Test the two bottom corners specifically. They take the most compression and the most water, so they usually fail years before the middle of the jamb does — and a bad corner leaks more than a whole soft side.
Identify which weatherstrip type you have
Open the door and inspect the jamb face where the door seals against it. A flexible strip whose rigid spine pulls straight out of a narrow milled groove is a kerf-in bulb seal, standard on most modern steel and fiberglass doors and the easiest to replace. A foam or vinyl strip on a thin wood or metal flange fastened with small nails is nail-on. Peel-and-stick foam that leaves residue is adhesive tape, and a thin folded metal or plastic spring is a V-strip. Buy the same type — matching the profile matters far more than the brand.
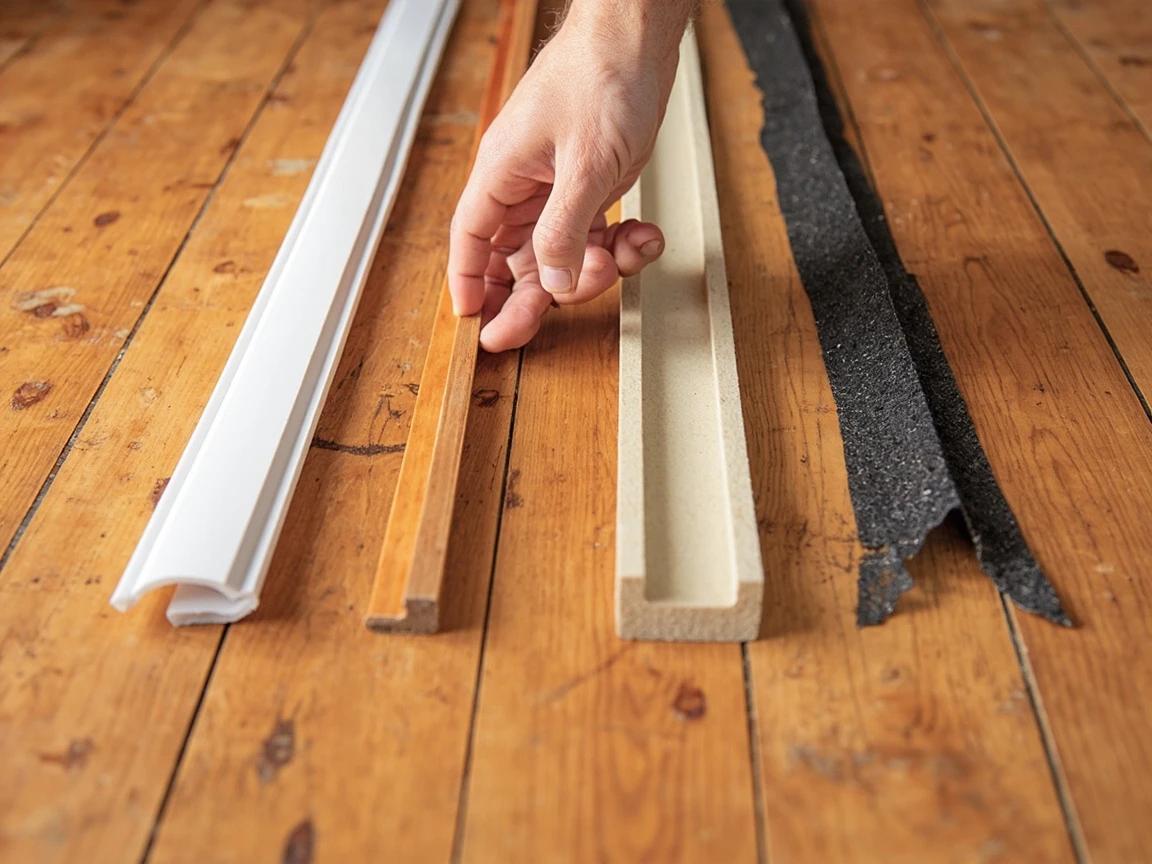
Cut a 3-inch piece off the old strip and take it to the store with you. Profiles vary in ways that are hard to describe and obvious to match by eye, and kerf spines come in different thicknesses that must fit your groove.
Measure the jamb and buy about 10 percent extra
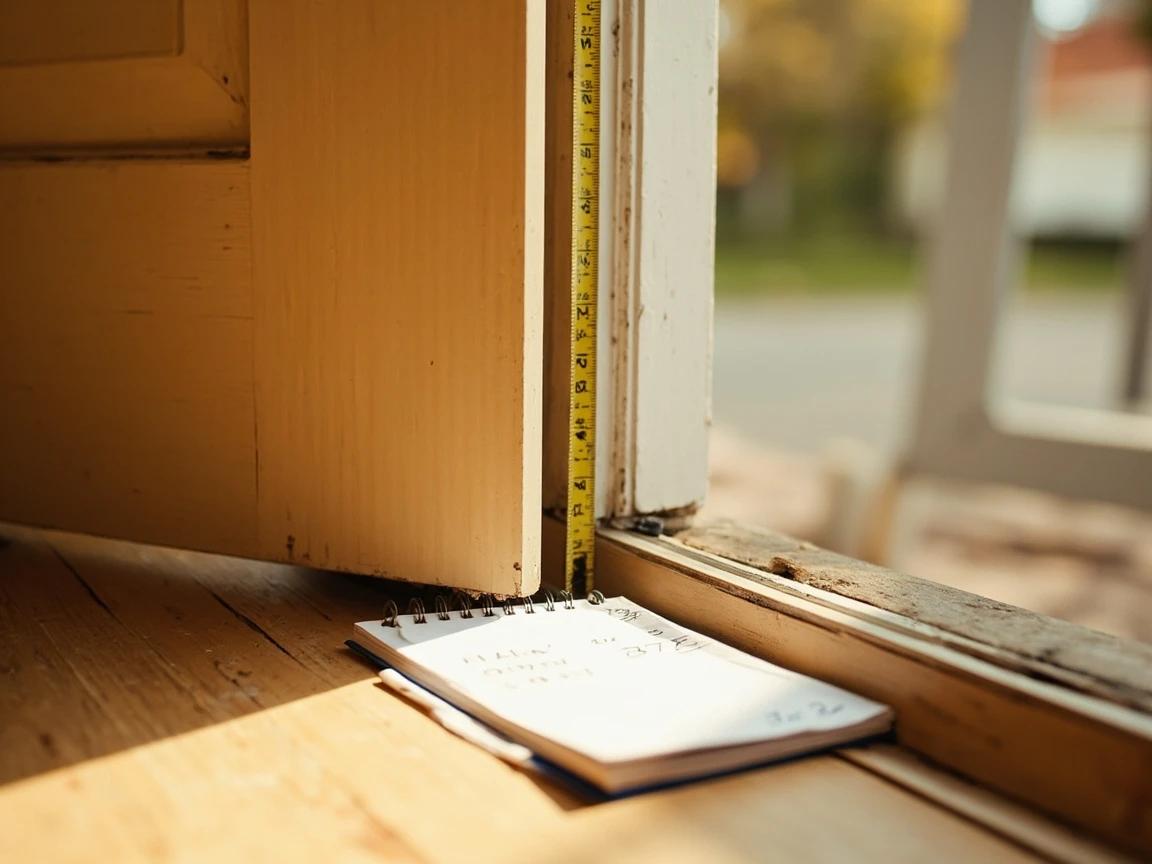
Measure the head (the top of the jamb) and both side legs from the top down to the threshold, then add them together — a standard door usually lands near 17 to 18 feet total. Add roughly 10 percent for waste and mistakes, and measure the door width separately for the sweep. Weatherstripping is typically sold in kits sized for one door or by the roll, so buying by total footage keeps you from making a second trip.
Pull the old strip and clean the jamb
Kerf-in seals pull straight out of the groove by hand — start at one end and peel steadily. For nail-on, work a stiff putty knife or a small pry bar under the flange and lift gradually along its length so the wood does not splinter, then pull leftover brads with needle-nose pliers. Adhesive tape peels off and leaves residue that must come off with denatured alcohol. Finish by wiping the whole jamb face clean and letting it dry completely — new adhesive will not bond to dust, grease, or old glue.
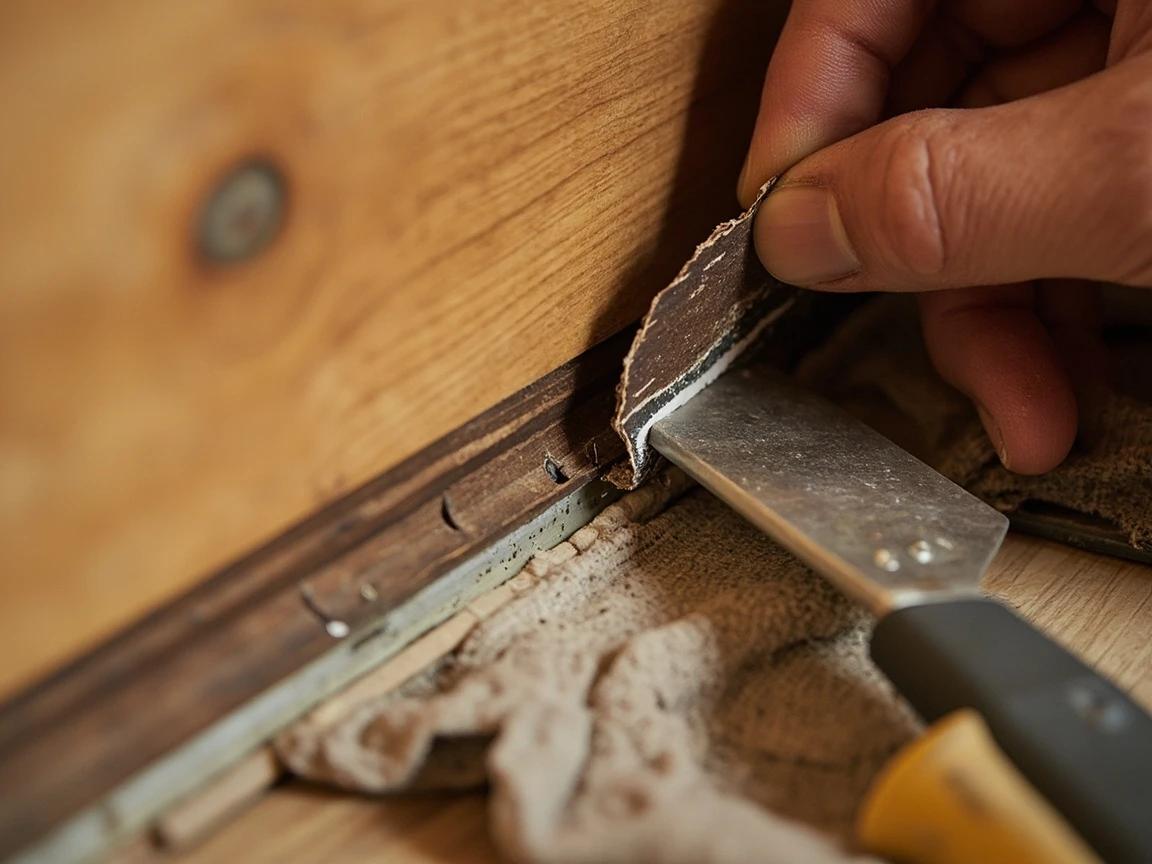
Do not gouge the kerf groove while clearing it. A widened or torn slot will not grip the new spine, and the strip will creep back out of the groove within a season.
Fit the head first, then the two sides
Always start with the top piece so the side pieces butt up under it and shed water outward rather than into the joint. Cut the head to length with scissors or a utility knife, then seat it: press a kerf spine into the groove starting at one corner and work along with your thumbs until it is fully and evenly seated, or tack a nail-on flange with 1-1/2 inch brads about 2 inches from each end and every 12 inches between. Cut the side legs to run from tight under the head down to the threshold, with the seal facing the door.
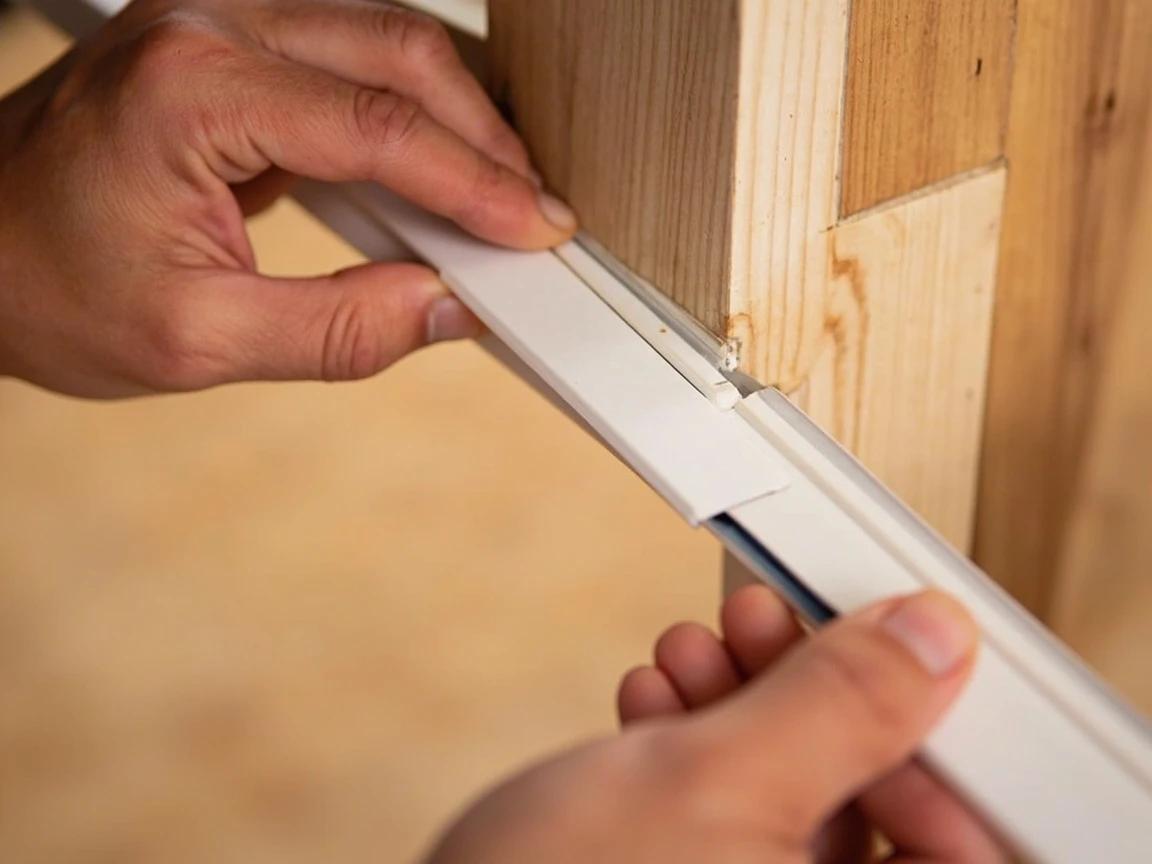
Cut the side pieces a whisker long — about 1/16 inch — and compress them into place. That slight interference closes the corner joint, which is exactly where a cut-to-exact-length strip leaves a gap as it settles.
Set the compression so the door still latches
Close the door slowly and watch the seal. It should compress visibly and the door should shut with firm, even pressure and latch without a shove. Repeat the dollar-bill test at the same points from step 1 — you want noticeable drag everywhere now. If the door will not latch, the profile is too thick for your gap; swap to a thinner one rather than forcing it. If the door now rubs or sticks against the jamb, that is a separate fit problem covered in our guide to fixing a sticking door.
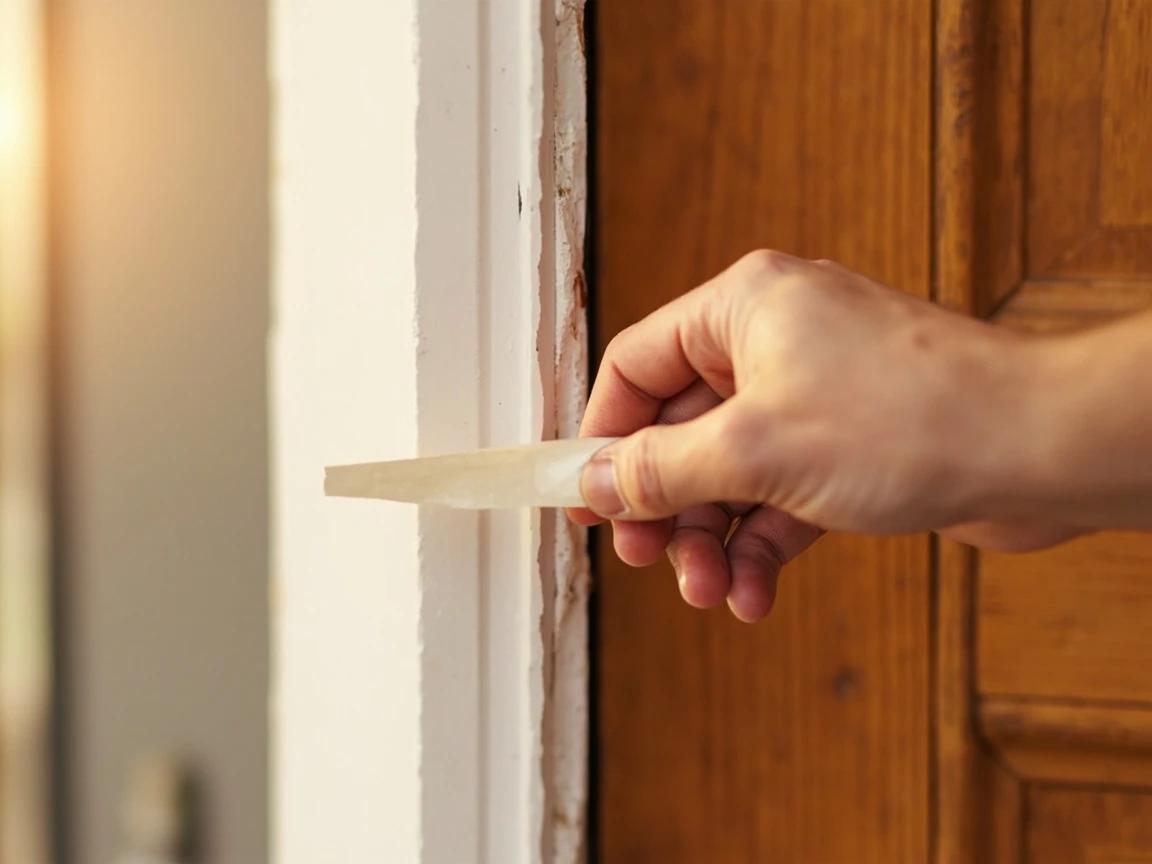
Resist over-tightening the seal to chase a perfect fit. A door forced shut against too much weatherstrip strains the hinges and latch hardware, and the strip takes a permanent compression set within months and stops sealing anyway.
Replace the door sweep on the bottom
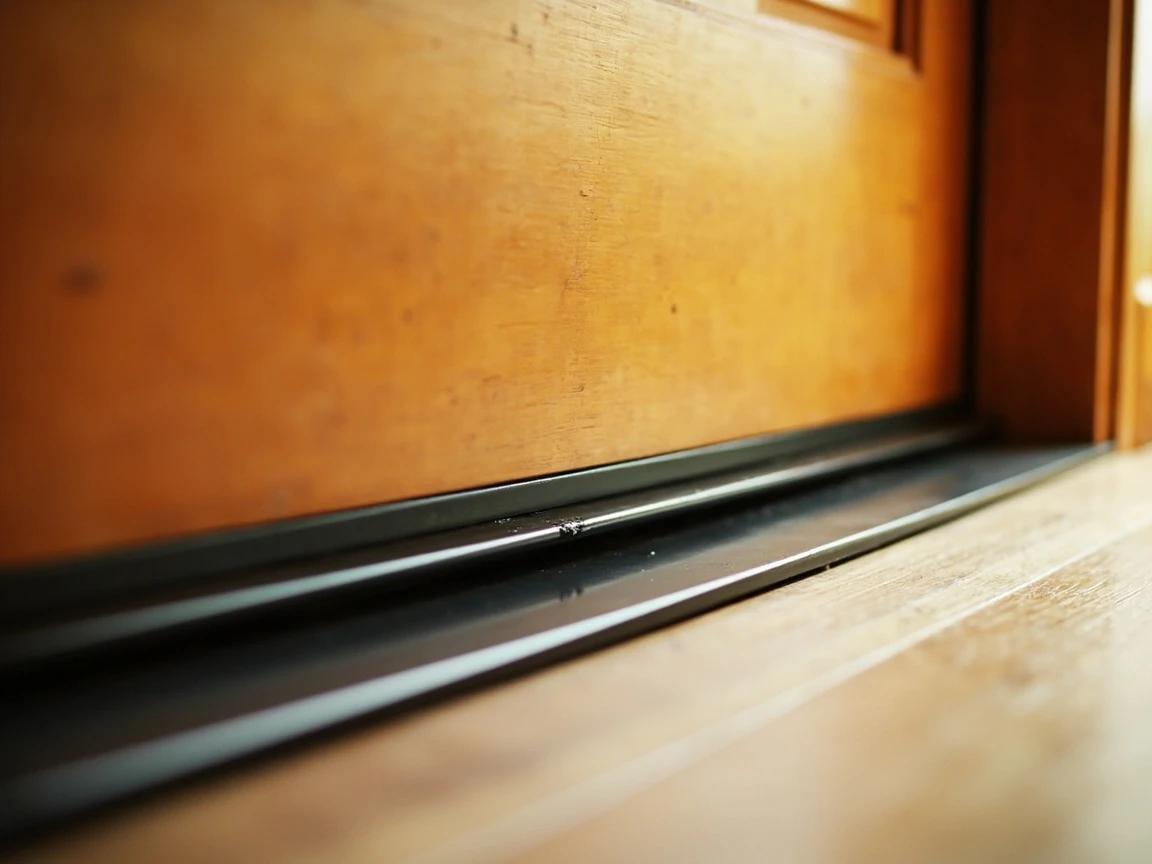
The bottom of the door is where most of the leakage happens, and the sweep is the part that wears fastest. Measure the door width, then cut the aluminum carrier to length with a hacksaw and file the cut end smooth. Hold the sweep against the inside face of the closed door with the vinyl fin just brushing the threshold — light contact, not crushed — and mark the screw holes. Drill 1/8-inch pilot holes, then drive the screws through the slotted holes, which let you fine-tune the height before you tighten them down.
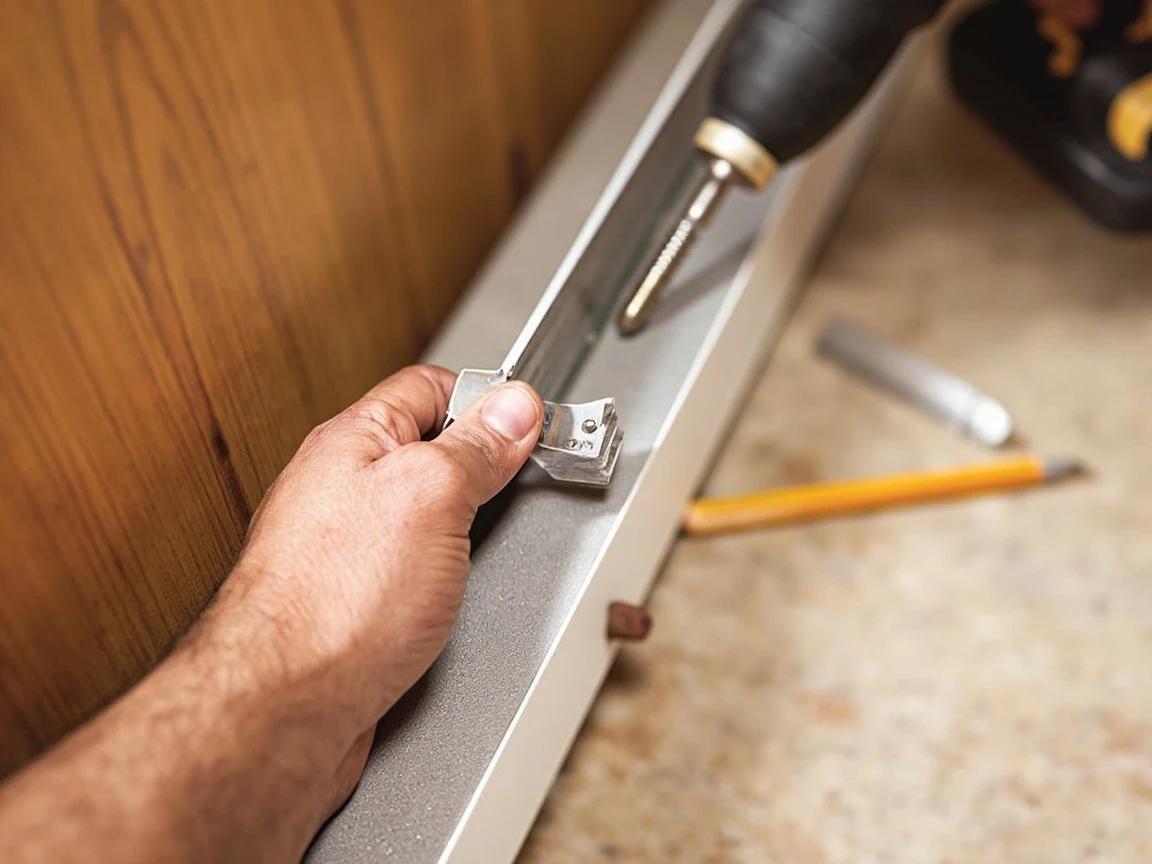
Set the fin so it just kisses the threshold. A sweep dragged hard across the threshold wears through in a season, scuffs the finish, and makes the door harder to open — contact is what seals, not pressure.
Recheck for daylight and handle the threshold
Close the door, kill the entry light, and look around the whole perimeter again — you should see no daylight anywhere, including under the door. If light still shows at the bottom, check whether your threshold is the adjustable kind: look for a row of screws along its top face, and turn them counterclockwise to raise the insert until it meets the sweep. A vinyl insert that is cracked or flattened can usually be pulled and replaced on its own. While you are at it, the same afternoon is a good time to seal drafty windows, which fail the same way and use the same materials.
Recheck the seal after the first hard freeze and again in midsummer. Weatherstrip stiffens in the cold and softens in the heat, and a strip that seals perfectly in October can leave a gap in January.
Frequently Asked Questions
How do I know which type of weatherstripping my door uses?
+
Open the door and look at the edge of the jamb where the door contacts it. A narrow milled slot with a flexible strip whose rigid spine pulls straight out of it is a kerf-in seal — the most common type on modern steel and fiberglass doors. A strip mounted on a thin wood or metal flange held by small nails is nail-on. A strip that peels away and leaves sticky residue is adhesive foam tape. A thin folded metal or plastic strip is a V-strip, or tension seal.
How do I know when door weatherstripping needs replacing?
+
Close the door on a dollar bill or a strip of paper and pull. If it slides out with almost no drag, that spot is not sealing. Do it at the top, at both upper and lower corners, and along the latch and hinge sides — a seal often fails only at the bottom corners where the compression is highest. Visible cracking, flattened sections that no longer spring back, and a thin line of daylight around the closed door all confirm it.
Should the door be harder to close after new weatherstripping?
+
A little firmer, yes — new seals have not taken a compression set yet, and a light push should be needed. What is not normal is a door that will not latch without a shoulder, or one that bounces back open. That means the strip is too thick for the gap. Step down to a thinner profile rather than forcing it, because a door held under that much pressure will strain the hinges and the latch, and the seal will flatten out prematurely anyway.
Can I put new weatherstripping over the old?
+
No. Layering a new strip over a compressed, hardened old one gives you an uneven surface that seals in some spots and gaps in others, and on adhesive types the new tape sticks to failing old adhesive rather than to the jamb. Pull the old strip completely, scrape the residue, and wipe the surface with denatured alcohol so the replacement seats against clean material.
What is the difference between a door sweep and a threshold seal?
+
A door sweep mounts to the bottom of the door itself and moves with it, sealing against the threshold below. A threshold seal — often a replaceable vinyl insert in the threshold, or an adjustable threshold with screws that raise and lower it — stays fixed to the floor and seals against the door bottom. Many exterior doors have both, and the bottom of a door is where most of the air leakage happens, so it is worth checking each one separately.
Sources & further reading
- Air Sealing Doors Adjacent to Unconditioned Space — U.S. DOE Building America Solution Center
- Guide to Air Sealing — U.S. Department of Energy
- How to Weather Strip a Door — Family Handyman
More HVAC Guides
View all → Easy45 min
How to Seal Drafty Windows
Drafty windows can add 5-30% to your heating and cooling bills — the U.S. Department of Energy estimates that a comprehensive home weatherization project (which includes sealing windows, doors, and other air leaks) can save homeowners several hundred dollars per year on energy costs. Window sealing alone typically pays for itself within a few seasons through lower heating and cooling bills. The good news is that most drafts are fixed with $10-30 in weatherstripping and caulk, not expensive replacement windows. This guide walks you through finding the leaks, choosing the right sealant for each gap, and applying it for a tight, long-lasting seal.
 Easy45 min
How to Fix a Sticking Door
A sticking interior door is one of the easiest "I have to call somebody" jobs you can quietly fix yourself — most of the time, the entire repair is tightening a single hinge screw or swapping it for a longer one. The full diagnostic and fix takes 30 to 60 minutes with tools you already own, and the total material cost is usually zero. Save planing the door edge for last; nine times out of ten you do not need to take a single shaving off the wood.
 Medium10 hrs
How to Insulate an Attic
Adding attic insulation is the highest-payback weatherization project in most homes — but the step that actually saves money is the one DIYers skip: air-sealing the leaks before any insulation goes down. This guide does it in the right order — seal the penetrations and hatch, add baffles so you don't smother the soffit vents, keep insulation safely clear of recessed lights and the flue, then build the floor up to your climate zone's R-value target with batts or blown-in. Budget roughly $1 to $2 per square foot in materials and a weekend.
You Might Also Like
 Medium45 min
How to Install a Ceiling Fan
Replacing a light fixture with a ceiling fan improves air circulation in summer and can reduce heating costs in winter by circulating warm ceiling air downward. Most installs take 45-60 minutes.
 Easy15 min
How to Replace a Refrigerator Water Filter
A clogged refrigerator water filter is the most common cause of slow dispensing, off-tasting water, and undersized ice cubes — and it is the easiest fix in your kitchen. Most filters are designed to be swapped in under five minutes with no tools, no shut-off valve, and no spilled water. This guide covers locating your filter, the two common removal styles (twist-in and push-in), inspecting the O-rings, flushing the new filter, and resetting the indicator light so you do not see the red "Replace" warning the next morning.
 Medium1 hr
How to Repair Scratches in a Hardwood Floor
Scratched hardwood almost never means refinishing the whole floor. This guide shows you how to match the fix to the damage — a touch-up marker for finish-level scratches, a wax fill stick for shallow ones, and stainable wood filler with stain and polyurethane for deep gouges — all for under $40 in supplies and about an hour of work.