How to Repoint Brick Mortar Joints (Tuckpointing)
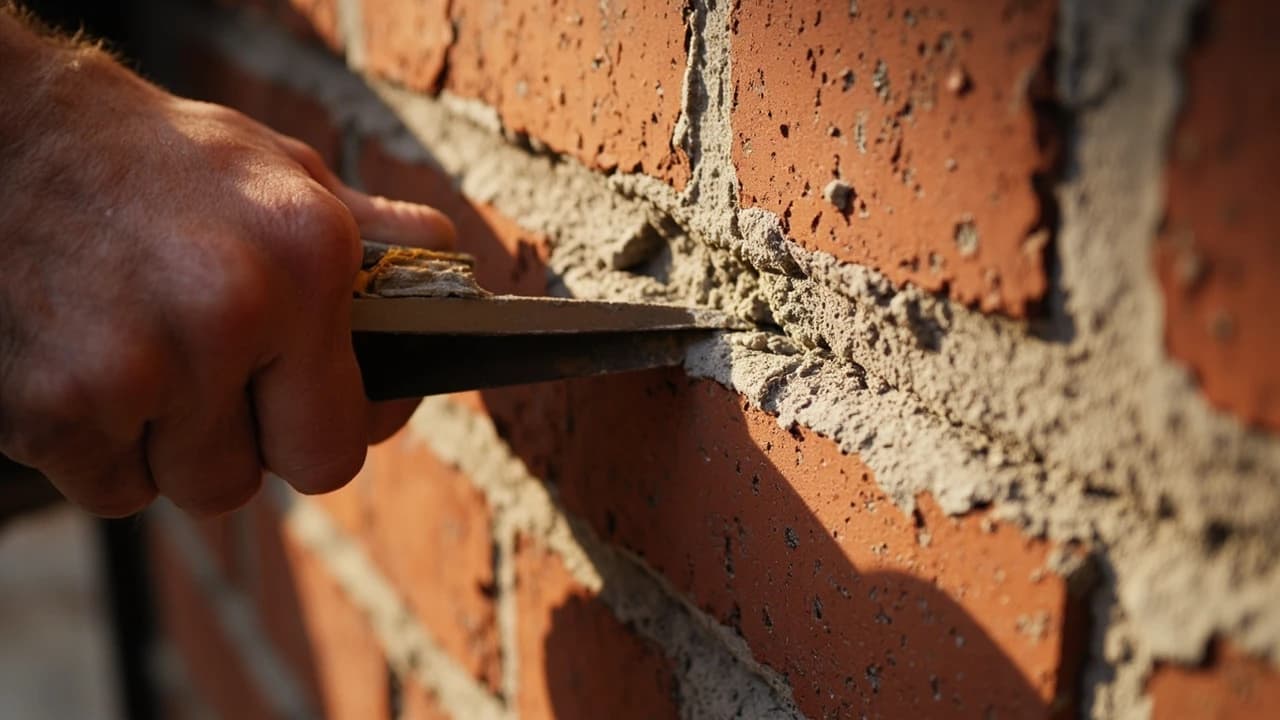

Crumbling mortar joints are the first thing to fail on a brick wall, and left alone they let water into the wall itself. This guide covers testing the joints, choosing a mortar softer than your brick, raking to the right depth, and tooling a joint that matches the rest of the wall. Expect $60-150 in materials and a full day for your first section.
What do you need to repoint brick mortar joints?
🛠 Tools
📦 Materials
Safety First
- •Cutting and grinding mortar releases crystalline silica dust, which causes irreversible lung disease. Wear an N95 or P100 respirator, work upwind, and wet-cut or use dust extraction whenever you can.
- •Wet mortar is caustic and will burn skin on prolonged contact. Wear gloves and rinse splashes off promptly.
- •Work only from stable ground or a properly footed ladder. Repointing needs two hands and steady body position, so anything above single-story height belongs on scaffolding, not a ladder.
How do you repoint mortar joints step by step?
Test the joints to confirm they actually need repointing
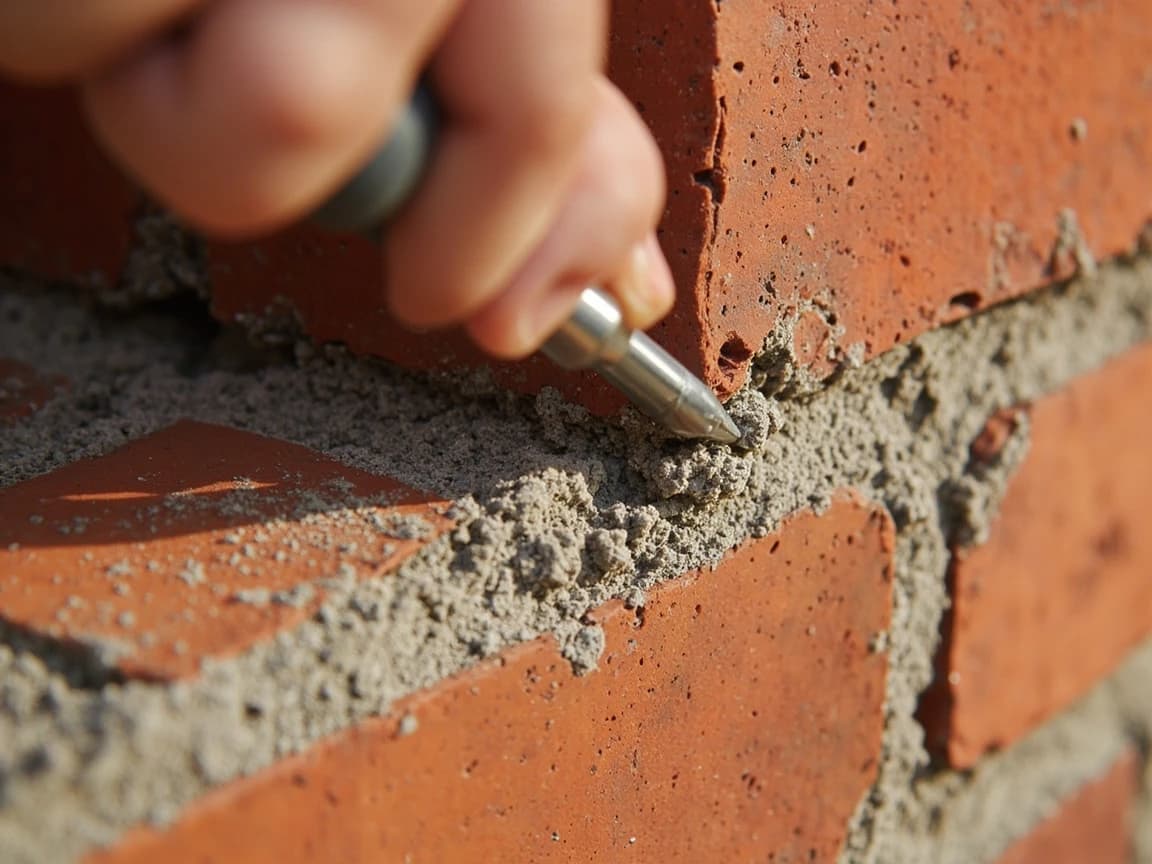
Drag the corner of a key or an old screwdriver firmly along a mortar joint. Sound mortar resists and barely marks; failed mortar crumbles into sand, gouges easily, or falls out in chunks. Look also for joints that have receded more than about 1/4 inch behind the brick face, hairline cracks running the length of a joint, and any spot where you can see daylight or push a blade in past the depth of the brick. Map the failed areas with chalk before you start so you are working to a plan rather than chasing crumbling mortar across the whole wall.
Failed mortar on one wall usually has an upstream cause. Check whether an overflowing gutter or a broken downspout is dumping water down that elevation, and fix that first, or you will be repointing the same joints again in a few years. See cleaning your gutters safely and replacing a downspout.
Match the mortar to the brick, and err on the soft side
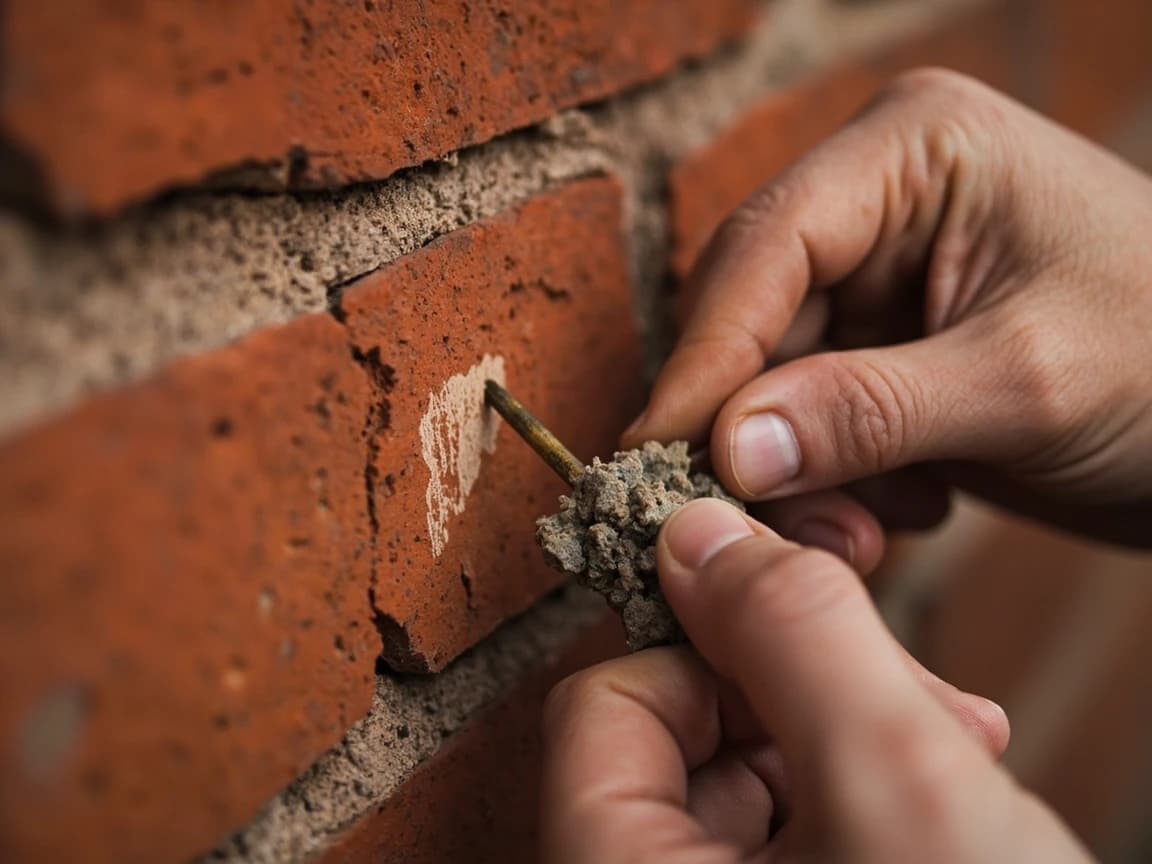
Mortar is the sacrificial part of a masonry wall. It must be softer than the brick so that movement and freeze-thaw stress crack the joint, which you can repoint, rather than the brick face, which you cannot repair. Type N mortar at roughly 750 psi is the correct default for above-grade house brick. Type O at roughly 350 psi is the choice for soft, older, or handmade brick. Scratch a hidden brick face and a sound piece of the original mortar with the same key: if the brick scratches as easily as the mortar, you have soft brick and want Type O.
Never use Type S or Type M mortar on ordinary house brick just because it is stronger. Hard mortar against softer brick drives freeze-thaw stress into the brick face, and it will spall and flake off within two or three winters. A cracked joint is repairable; a spalled brick is not.
Pick a mild weather window
Repointing is temperature-dependent, which is why it has a season. You want roughly a week of mild weather: no colder than 40 degrees Fahrenheit overnight and no warmer than 90 degrees during the day. Mortar that freezes before it cures turns brittle and crumbles out, and mortar that bakes loses its water before the cement hydrates and cures weak and chalky. Overcast, still days are ideal. In cold climates that makes late summer and early fall the last dependable window before frost, and a wall in direct afternoon sun needs shading or a later start.
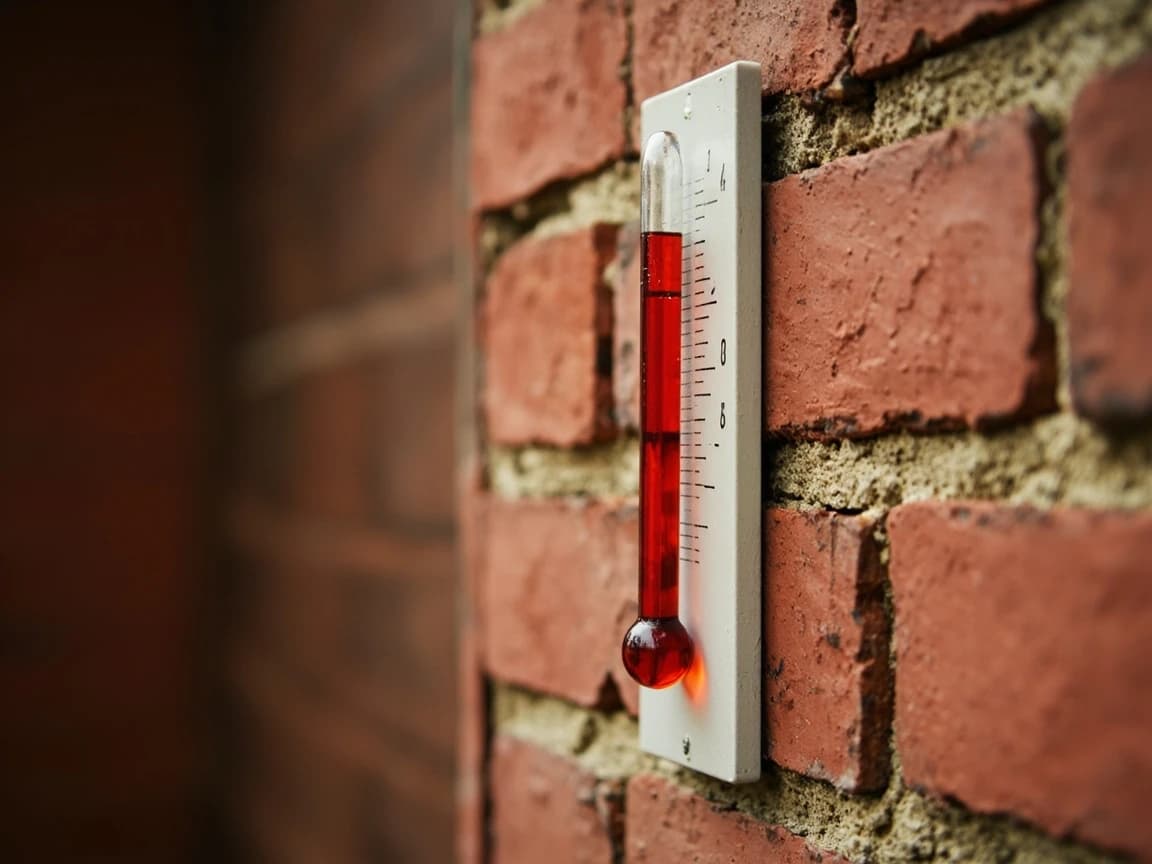
Check the overnight lows, not just the daytime highs. A pleasant 65-degree afternoon followed by a 35-degree night will still ruin a day of fresh joints.
Rake the joints out to depth by hand
Cut the old mortar back to two to two and a half times the joint width. On a standard 3/8-inch joint that is 3/4 inch to a full inch of depth. Hold the plugging chisel at a shallow angle, roughly in line with the joint, and drive it with light taps rather than heavy blows, letting the chisel track along the mortar instead of levering against the brick edges. Do the horizontal bed joints first, then the vertical head joints. Keep the back of the cut square rather than tapered, and stop when you reach sound, hard mortar.
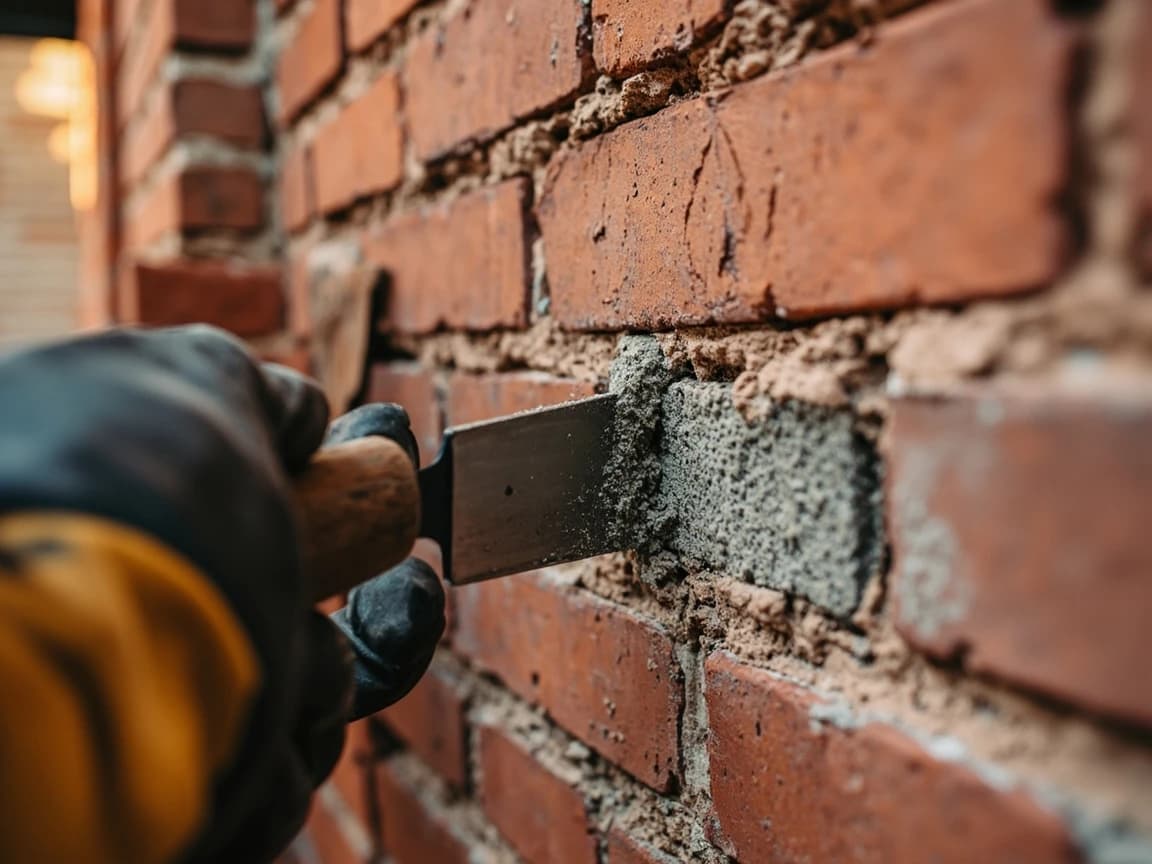
Only rake out as much wall as you can repack the same day. Open joints left overnight take on rain and dew, and a soaked joint will not bond properly.
Cutting mortar generates crystalline silica dust, which causes permanent lung damage. Wear an N95 or P100 respirator and safety glasses, and mist the wall lightly to keep dust down.
Use a grinder only if the old mortar is hard portland cement
If the existing mortar is modern portland cement and refuses to yield to a chisel, a thin diamond blade in an angle grinder speeds the work considerably. Run it down the center of horizontal bed joints only, staying well clear of the brick edges, and finish the corners and all vertical head joints by hand. A grinder in a head joint almost always overshoots into the brick above or below. On soft, old, or handmade brick, skip the grinder entirely, because the vibration alone cracks brick faces.
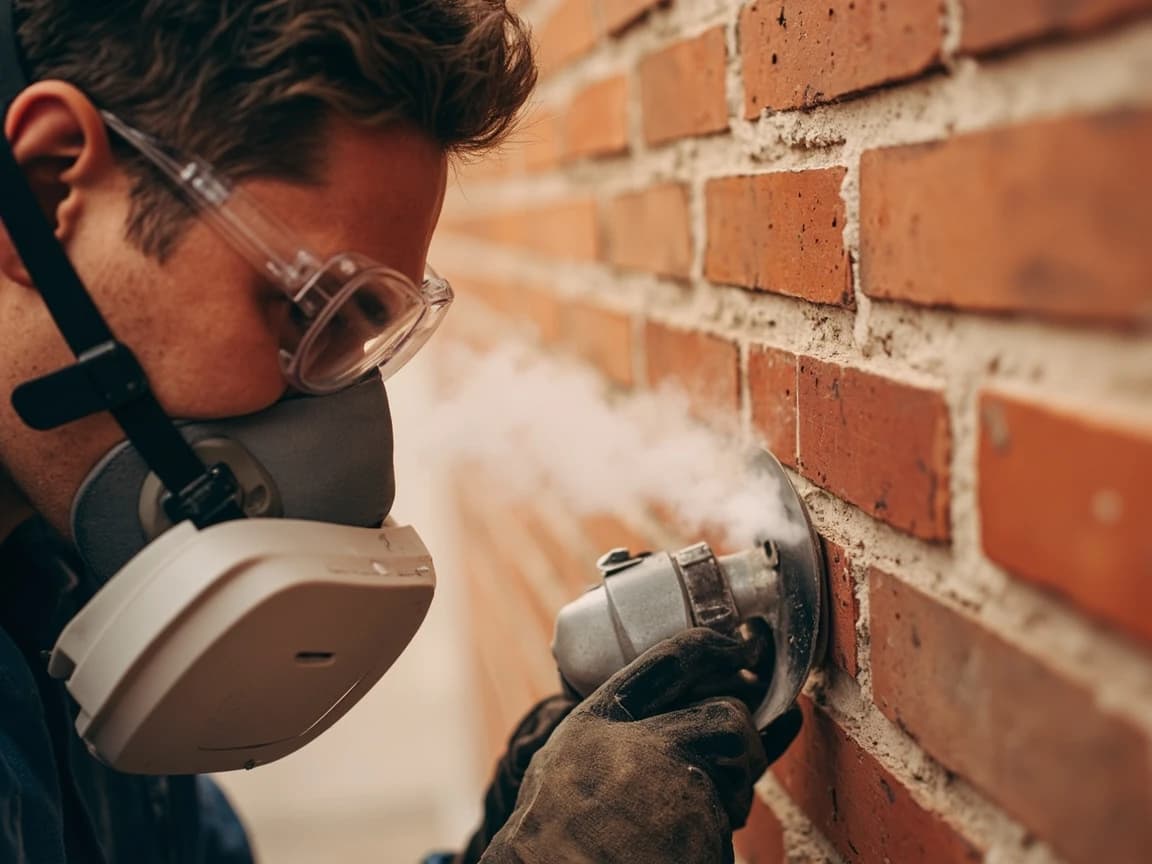
Grinding produces far more silica dust than chiseling. Use a dust-extraction shroud or a wet-cutting setup, wear a P100 respirator, and keep other people and open windows well away from the work.
Brush the joints clean and dampen the wall
Sweep every raked joint out with a stiff-bristle masonry brush to clear loose grit and dust, working from the top of the section down. Dust left in the joint acts as a release agent and is one of the main reasons fresh mortar fails to bond. Then wet the wall with a pump sprayer until the brick is damp but not running. Dry brick pulls the water straight out of fresh mortar and leaves it powdery and weak. Aim for a surface that looks darkened and feels damp, with no standing droplets.
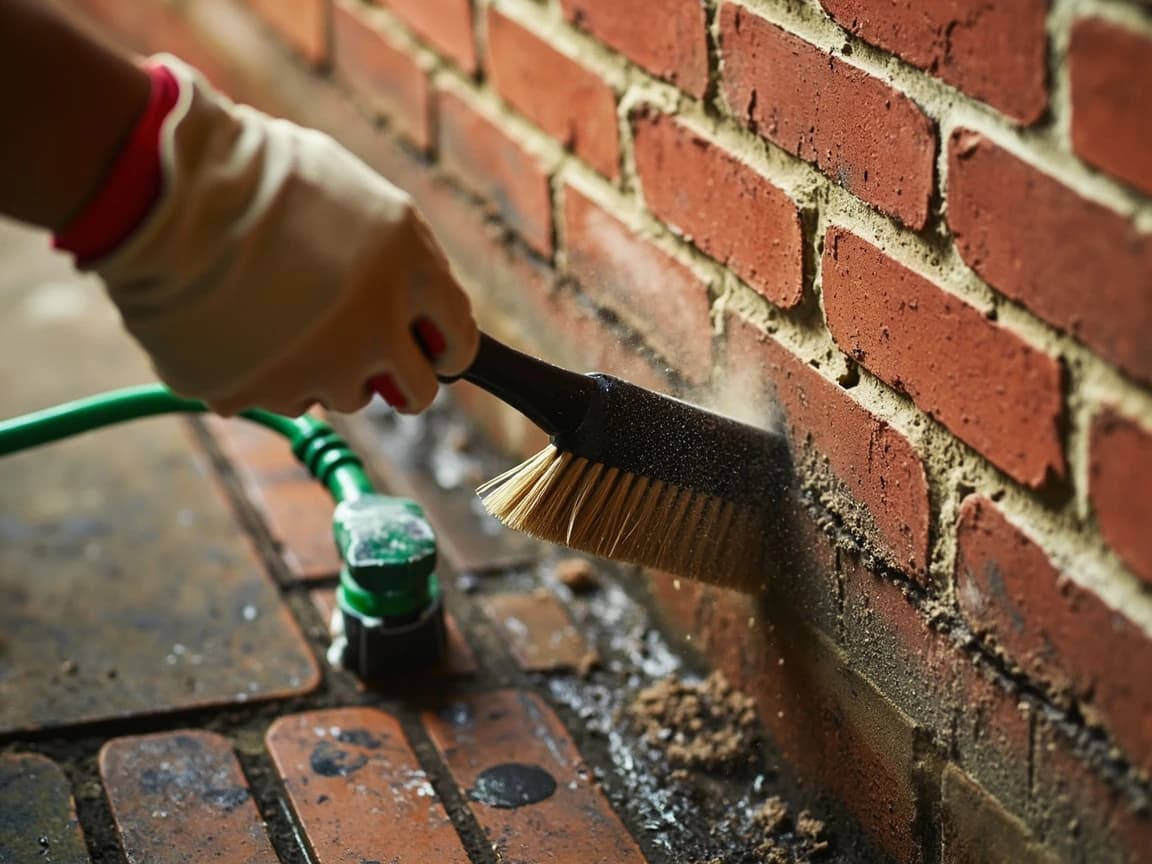
Do not pressure wash the wall to clean it. High pressure drives water deep into open joints and blows out sound mortar you meant to keep. If the elevation needs a general clean, do it well beforehand and gently, as covered in power washing a house exterior.
Mix the mortar stiff, not soupy
Add water gradually to the dry mix and stop while the mortar is still stiff enough to hold its shape. The target consistency is like thick peanut butter: a ridge drawn through it with a trowel should stand up without slumping, and a trowel-load held sideways should cling rather than drop. Mix only what you can use in about 30 minutes. Let it rest for five minutes after mixing, then remix briefly before use, which improves workability without adding water.
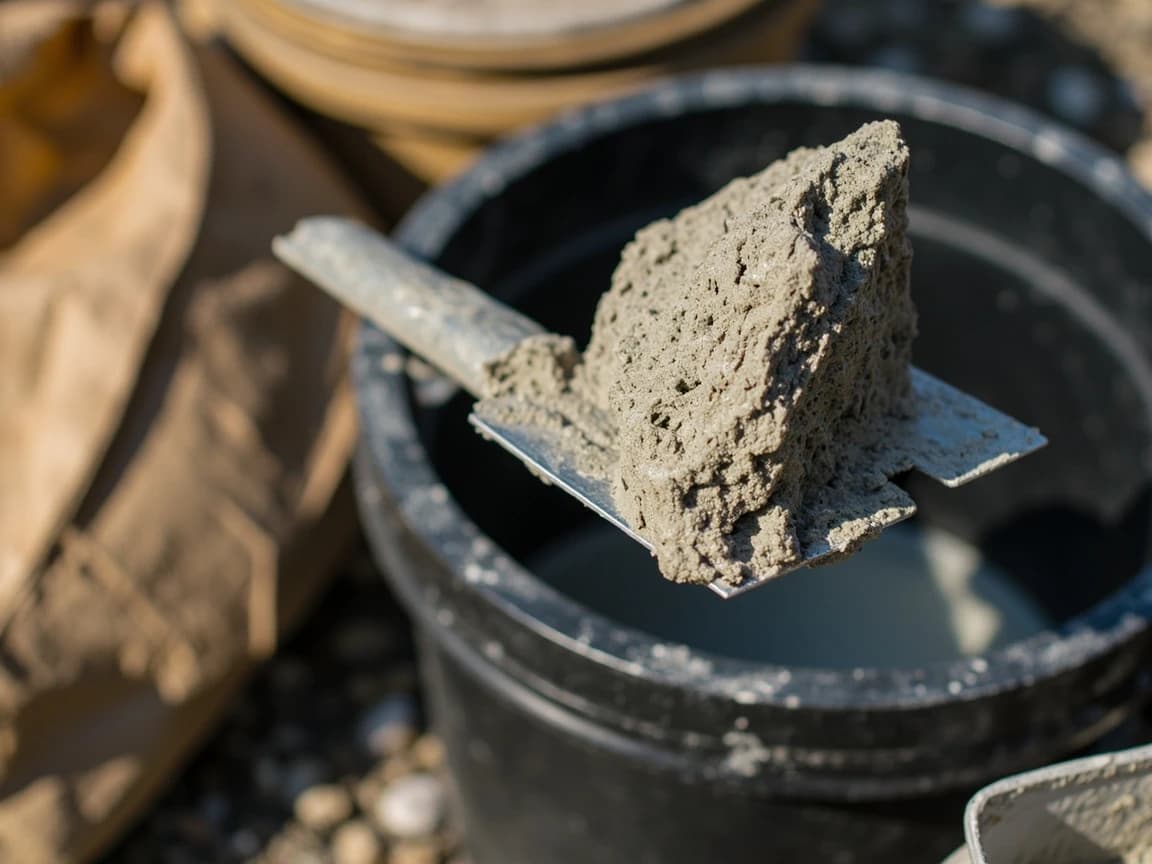
Never add more water to mortar that has started to stiffen in the tub. Retempering a batch that is already setting destroys its strength. Mix a fresh batch instead.
Pack the bed joints, then the head joints
Hold the mortar hawk tight against the wall just below the joint you are filling. Scoop a thin sausage of mortar onto the tuck pointing trowel and push it into the joint in layers no more than about 1/4 inch deep, compacting each layer firmly before adding the next. Packing in thin, well-compressed lifts is what makes the joint dense and waterproof; one thick shove leaves voids that will hold water and fail. Do all the horizontal bed joints across the section first, then come back and fill the vertical head joints.
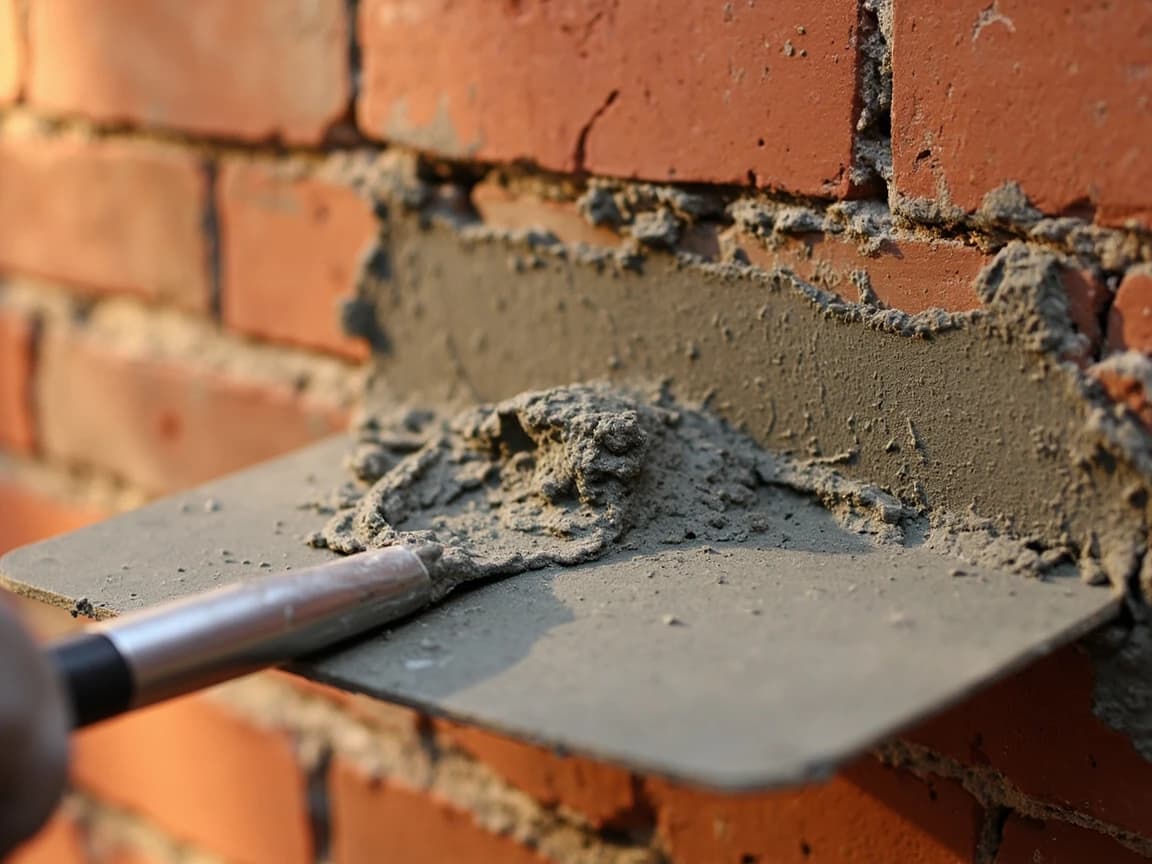
Fill the joints slightly proud of the brick face. You will compress and shape them back flush in the next step, and a joint packed exactly level leaves nothing to tool.
Tool the joints to match the existing profile
Wait until the mortar is thumbprint hard, meaning a firm press leaves an impression but no mortar on your thumb. This usually takes 30 to 60 minutes depending on weather. Then run the jointer along each joint with steady pressure to compress the surface and shape it to match the rest of the wall, doing the head joints before the bed joints so the horizontals finish clean. Tooling is not cosmetic: compressing the surface closes the pores and is a large part of what keeps water out.
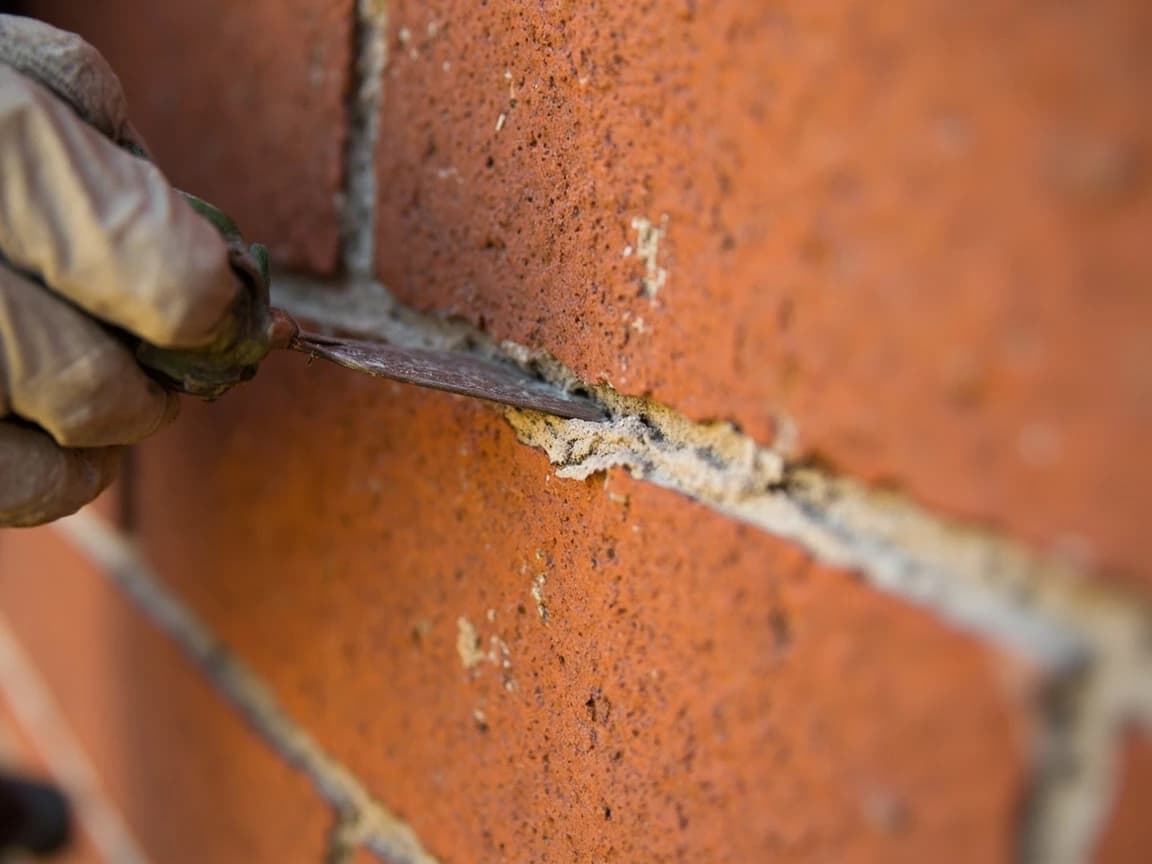
Match the existing joint profile rather than defaulting to concave. Look closely at a sound area of the wall first: flush, raked, weathered, and V joints all read very differently once the new work dries lighter than the old.
Damp cure for 48 to 72 hours, then clean the brick
Once the joints are tooled, let the surface firm up and then brush off the crumbs of squeezed-out mortar with a stiff brush held at an angle to the wall. Mist the finished section lightly with a sprayer two or three times a day for at least 48 hours, and three days is better. Mortar hardens by chemical hydration, not by drying out, so a joint that dries too fast cures weak. In hot, windy, or sunny conditions, hang damp burlap over the work to hold moisture at the wall.
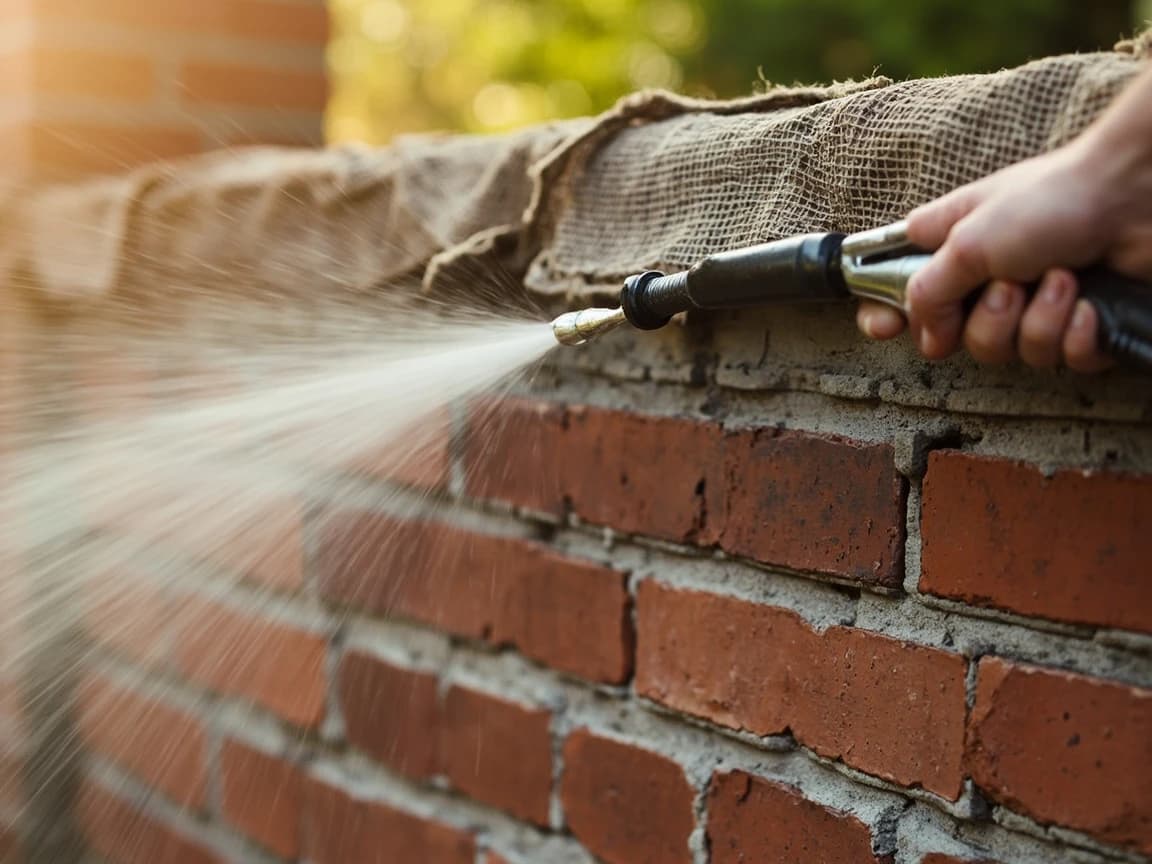
Expect the new joints to dry noticeably lighter than the old ones, and give them a few weeks before you judge the color match. If it still reads wrong, the fix is a different sand, not a pigment, since sand is what actually carries mortar color.
Frequently Asked Questions
What is the difference between tuckpointing and repointing?
+
Strictly speaking they are two different jobs. Repointing means raking out failed mortar and packing the joint with fresh mortar, and that is the structural repair nearly every homeowner actually needs. True tuckpointing is a decorative Victorian technique: the joint is filled with mortar tinted to match the brick, then a thin ribbon of contrasting white lime putty is pressed into a groove down the middle to imitate very fine joints. In American usage the two words have collapsed together, and most masons, suppliers, and search results now say tuckpointing when they mean repointing. The distinction rarely matters when you are buying materials, but it matters when you hire someone. Ask specifically whether the quote covers raking the joints back to depth and repacking them, rather than smearing a thin coat of new mortar over the failed original, which looks fine for a season and then sheets off.
What kind of mortar should I use to repoint brick?
+
Match the mortar to the brick, and when in doubt err soft. Type N, at roughly 750 psi, is the right default for above-grade house brick and covers most repointing jobs. Type O, at roughly 350 psi, suits soft, older, or historic brick. Do not reach for Type S or Type M just because they are stronger, because that is the most common and most expensive mistake in this whole job. Mortar is meant to be the sacrificial part of the wall: softer than the brick, so that seasonal movement and freeze-thaw stress crack the joint instead of the masonry. Put hard mortar against soft brick and that stress goes into the brick face instead, and you will watch it spall and flake off by the second or third winter. A cracked joint can be repointed; a spalled brick cannot be undone.
How deep do you have to rake out mortar joints before repointing?
+
Remove the old mortar to a depth of two to two and a half times the width of the joint. For a typical 3/8-inch joint that means cutting back 3/4 inch to a full inch. Anything shallower leaves the new mortar too little surface to grip, and it will pop out in sheets within a few seasons, which is the classic signature of a rushed job. Use a chisel with a blade roughly half the width of the joint so you are cutting mortar rather than levering against the brick edges. Keep the back of the cut square rather than tapered to a V, because a feathered edge starves the new mortar of thickness exactly where it is already weakest. Rake out only as much wall as you can realistically repack the same day, so nothing sits open overnight in the weather.
Can you repoint brick in cold weather?
+
No, and that is why this job has a season. Fresh mortar has to stay above about 40 degrees Fahrenheit while it cures, and what you want is a stretch of mild weather rather than one warm afternoon: no colder than 40 overnight and no hotter than 90 during the day, ideally for about a week. Mortar that freezes before it sets turns brittle and crumbles straight back out, so a cold snap undoes the work twice over. Heat is the opposite failure, because the water flashes off before the cement fully hydrates and the joint cures weak and chalky. In cold climates the practical window runs from late spring through early fall, which makes late summer the last comfortable slot. If the first hard frost is close, wait for spring rather than gambling a weekend on it.
Is it cheaper to repoint brick yourself?
+
Dramatically, provided you have the patience for it. Materials for a do-it-yourself job run about $60 to $150: a few bags of mortar mix, a plugging chisel, a tuck pointer, and a jointer sized to your joint profile. Professional repointing is usually quoted by the square foot and commonly lands somewhere between $10 and $25, depending on access, working height, and how stubborn the old mortar is, so even a modest wall climbs well into four figures. The real cost to you is time. Raking joints by hand is slow going, and a first-timer should expect a full day on a section a mason would finish in an hour or two. Start with a small, low, inconspicuous patch and see how your tooling looks once it dries before you commit to a whole elevation.
Sources & further reading
- Preservation Brief 2: Repointing Mortar Joints in Historic Masonry Buildings — National Park Service
- What to Know About Repointing Brick — This Old House
- How to Repair Mortar Joints — Family Handyman
More Roofing & Siding Guides
View all → Medium2 hrs
How to Patch Cracks in a Concrete Driveway
Every crack in a concrete driveway is a water channel, and every winter that water freezes, expands, and pries the crack wider — which is why a $15 tube of polyurethane sealant today beats a $5,000 replacement in five years. The fix depends entirely on crack width: pourable filler for hairlines, backer rod and flexible caulk for the middle sizes, vinyl patcher for wide or crumbling sections. This guide sorts your cracks into the right bucket and walks each repair start to finish.
 Medium45 min
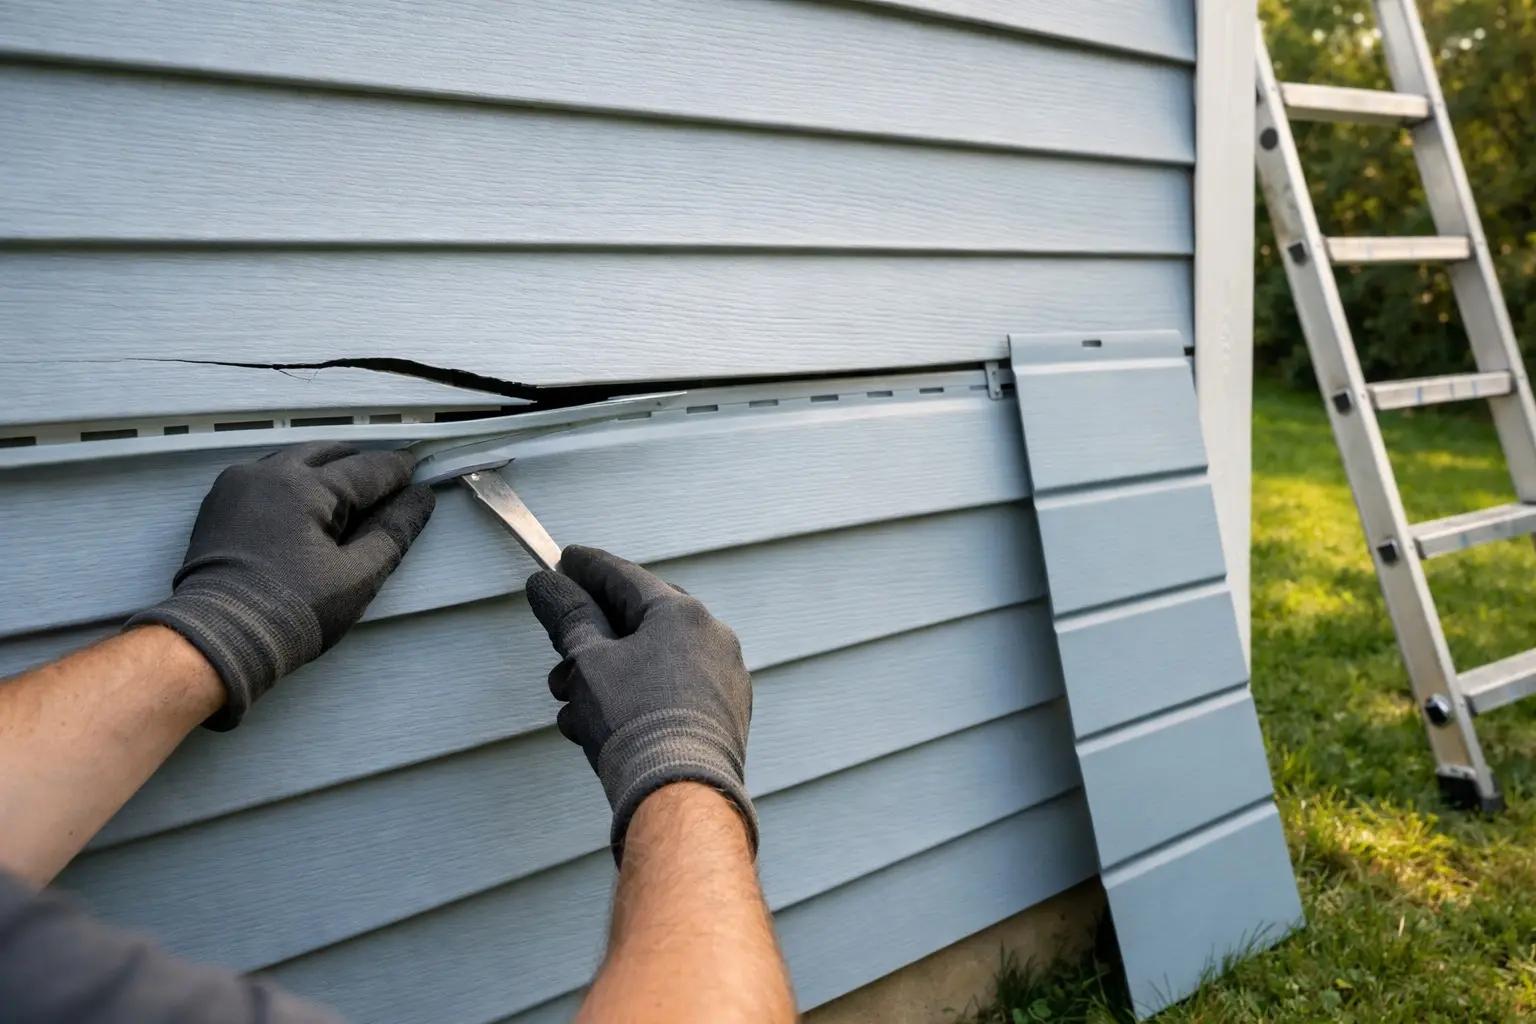
How to Repair Vinyl Siding
Cracked, holed, or loose vinyl siding panels let moisture behind the wall sheathing where it causes mold, rot, and insect damage — problems that cost thousands to fix if ignored. Replacing a single damaged panel is a straightforward 45-minute job once you own a $5 zip tool, and patching small holes takes even less time. This guide covers both patch repairs for holes under an inch and full panel replacement, so you can match the fix to the damage.
 Medium3 hrs
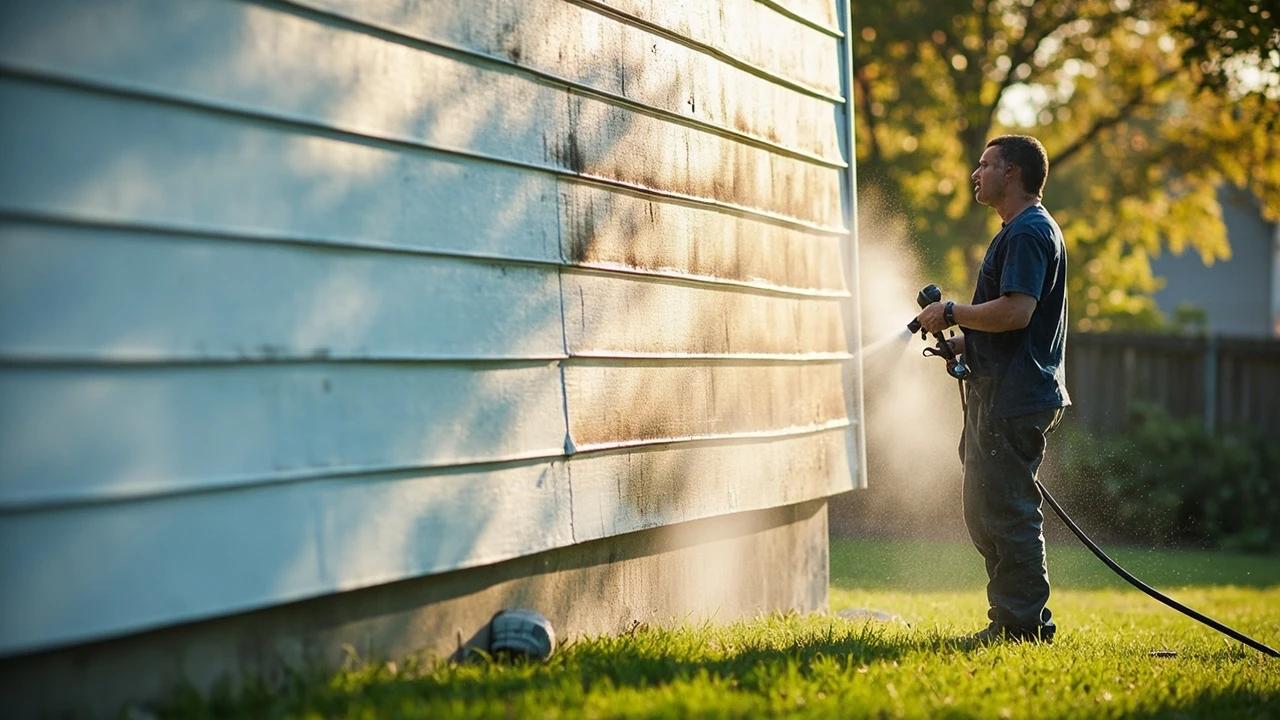
How to Power Wash a House Exterior
A season of pollen, algae, and road film ages a house faster than anything else you can fix in an afternoon — and a rented pressure washer erases it for about the cost of a pizza night, versus $300-600 for a wash crew. The technique is the whole game: the right tip and pressure for your siding, soap from the bottom up, rinse from the top down, and never, ever spray upward under the laps. This guide covers the full wash plus the surfaces you should not blast at all.
You Might Also Like
 Medium6 hrs
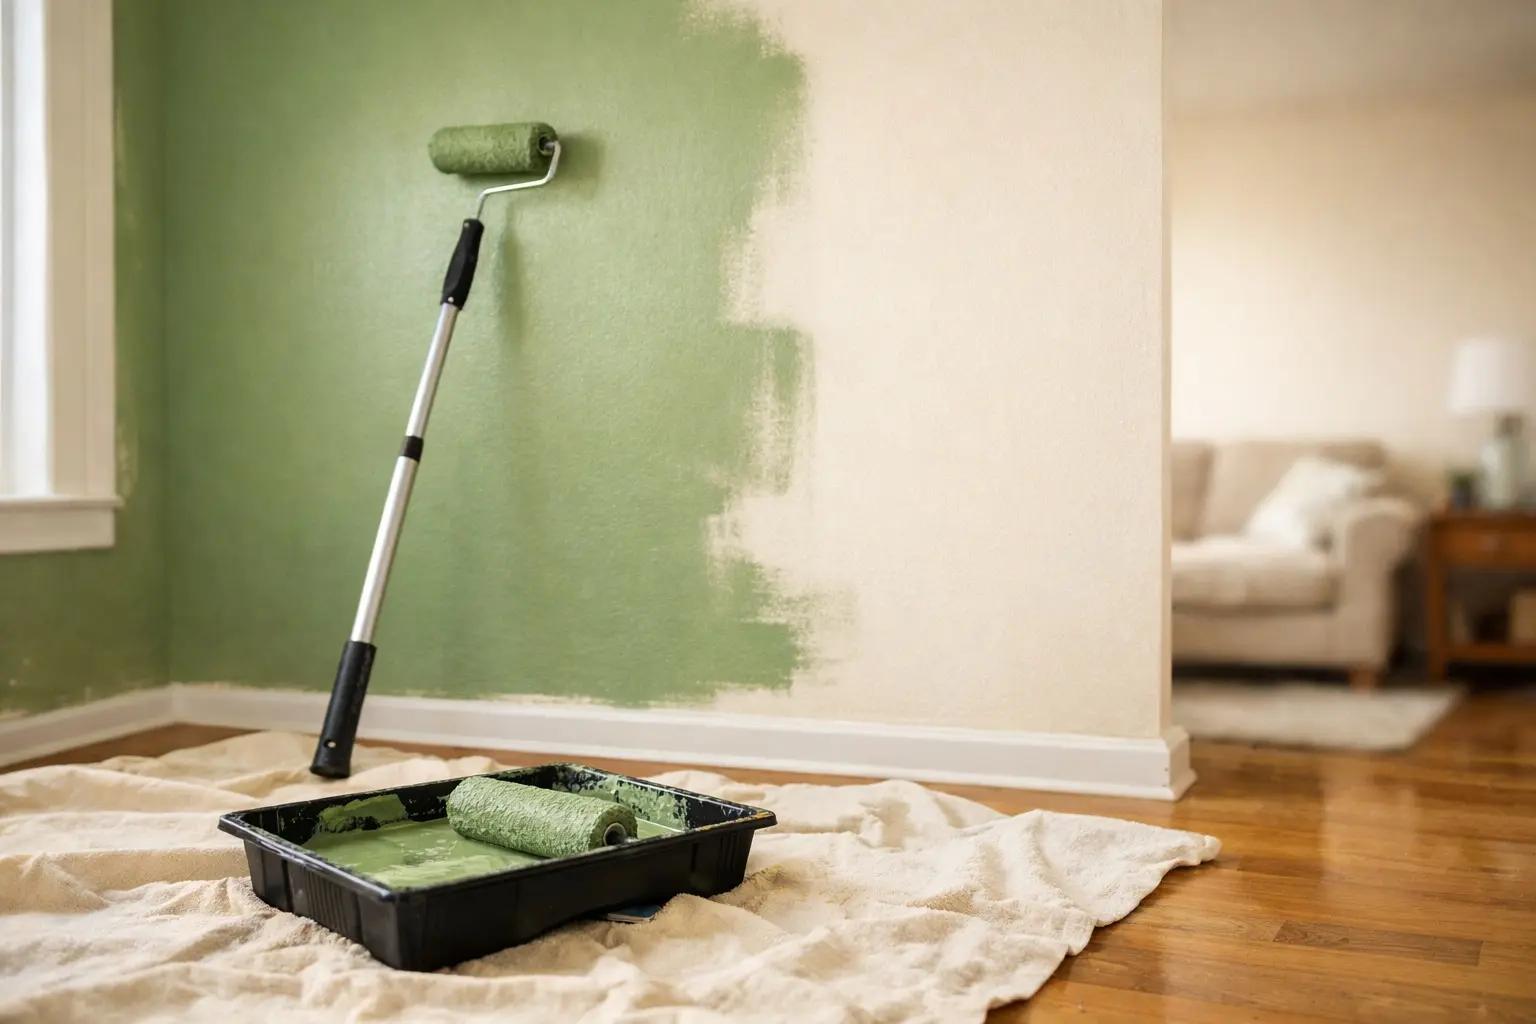
How to Paint a Room
A fresh coat of paint is the fastest, cheapest way to transform any room — and doing it yourself saves $400-800 in labor for an average 12x12-foot bedroom. The job takes a weekend from prep to final coat, and the difference between an amateur-looking result and a professional finish comes down to technique, not talent. This guide covers prep, cutting in, rolling, and cleanup so you get clean lines and even coverage the first time.
 Easy30 min
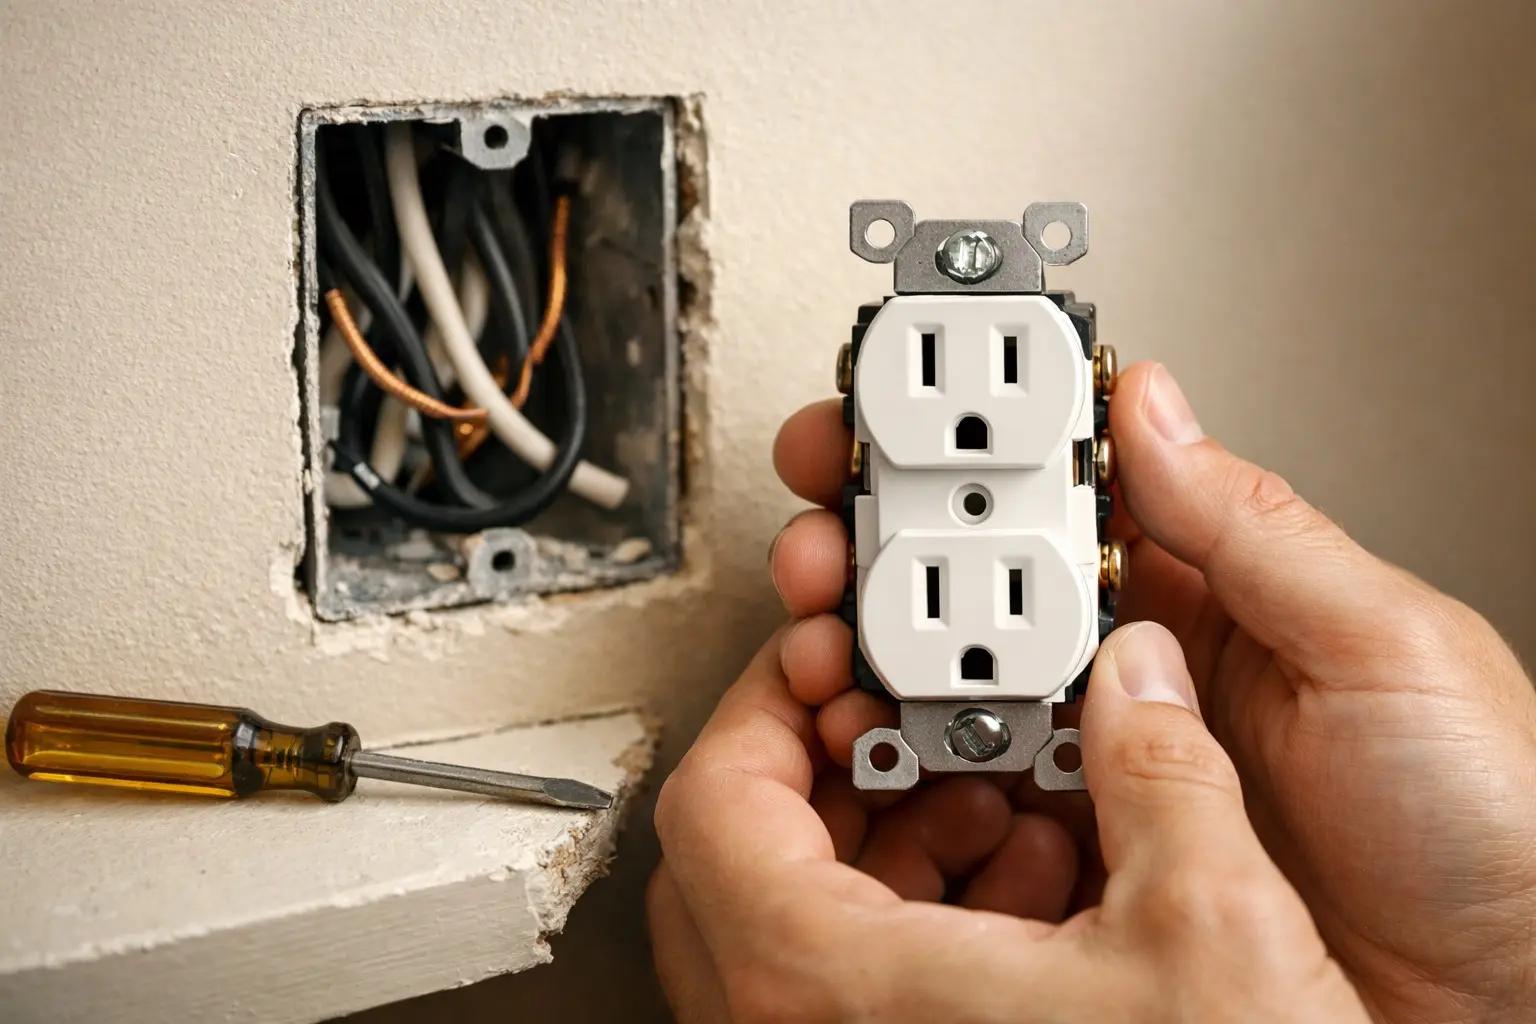
How to Replace an Electrical Outlet
A worn-out or discolored electrical outlet is one of the simplest electrical repairs you can tackle yourself — swapping one takes about 15-30 minutes and costs under $5 in parts versus $75-150 for an electrician visit. This guide walks you through safely replacing a standard duplex receptacle, including how to handle the wiring correctly and avoid the most common DIY mistakes.
 Medium30 min
How to Troubleshoot a Microwave That Won't Heat
A microwave that runs — light on, turntable spinning, timer counting down — but leaves food stone cold is one of the most common appliance failures, and about half the time the cause is something you can fix in five minutes for free. This guide walks the diagnosis from the easy stuff (demo mode, power level, a tripped GFCI, a dirty door latch) to reading the failure signature that tells you the high-voltage circuit is gone, then helps you make the repair-or-replace call with real numbers.