How to Power Wash a House Exterior

A season of pollen, algae, and road film ages a house faster than anything else you can fix in an afternoon — and a rented pressure washer erases it for about the cost of a pizza night, versus $300-600 for a wash crew. The technique is the whole game: the right tip and pressure for your siding, soap from the bottom up, rinse from the top down, and never, ever spray upward under the laps. This guide covers the full wash plus the surfaces you should not blast at all.
What You'll Need
🛠 Tools
📦 Materials
Safety First
- •Never run a pressure washer from a ladder — trigger kickback can throw you off. Use an extension wand with both feet on the ground, and leave anything you can't reach that way to a pro.
- •A zero-degree (red) tip can cut skin and inject water under it — a medical emergency even when the wound looks small. Never point any tip at people, pets, or your own feet, and don't use the red tip on siding at all.
- •Water and electricity share your walls: cover exterior outlets and fixtures, keep the spray away from the electrical service entrance and meter, and plug electric washers into a GFCI-protected outlet.
Step-by-Step Instructions
Match the pressure and tip to your siding
Set up for 1,300-1,600 PSI on vinyl, aluminum, or painted wood — the range most electric washers deliver — and step up only for bare brick or concrete. Start with the 40-degree (white) tip and switch to the 25-degree (green) only for stubborn grime on tough surfaces; the zero-degree red tip has no business on a house. If you're renting, say what siding you have and the counter will size the unit; bigger is not better here.

Test your setup on an inconspicuous low corner first — thirty seconds there tells you whether the pressure lifts paint or dents the panel before the whole wall finds out.
Prep the walls, windows, and yard
Close every window and storm window, cover exterior outlets, light fixtures, and dryer vents with plastic sheeting and painter's tape, and pre-soak plantings with plain water before draping tarps loosely over them — dry leaves absorb drifting detergent. Walk the walls first and note loose, cracked, or gapped siding: high-pressure water finds every defect, so repair damaged vinyl panels before you wash, not after the wall cavity is wet.

Apply house-wash soap from the bottom up
Fit the low-pressure soaping tip (usually black), draw house-wash detergent through the washer's injector, and coat one wall working from the bottom of the wall upward — bottom-up prevents the clean streaks that happen when soap runs down a dry, dirty wall. Work in a section you can rinse before it dries, roughly one wall face at a time, and keep the coat wet-looking.

Let the detergent dwell — but never dry
Give the soap 5 to 10 minutes to break down the grime, algae film, and mildew. The one rule: it must stay wet the whole time, because dried detergent bakes streaks onto siding that take twice the work to remove. On a hot or windy day, work smaller sections, keep out of direct afternoon sun where you can, and mist the wall with plain water if the soap starts flashing dry.

Rinse top-down with the spray angled slightly downward
Swap to the 40-degree tip and rinse starting at the top of the section, sweeping side to side and letting the dirty water sheet down over the unrinsed area below. Keep the wand near eye level and the stream angled level or slightly downward — never upward, which drives water behind the siding laps and into the sheathing where it feeds mold you'll never see. Start 8 to 10 feet back and step in only as needed; distance is your pressure control.

The upward-spray mistake is invisible on wash day — the water that gets driven behind vinyl laps shows up months later as mold, swollen sheathing, and paint failure.
Work wall by wall in overlapping passes
Treat each wall face as its own soap-dwell-rinse cycle rather than soaping the whole house at once. Overlap each rinsing pass by a third of the fan width so you don't leave zebra stripes, and keep the wand moving — hovering on one spot etches a clean patch that shows forever. Check your work from 20 feet back after each wall; streaks invisible up close jump out at driveway distance.

Spot-treat mildew and shaded-wall algae
The green film on north-facing walls and the black speckles under roof overhangs are alive, and pressure alone just gives them a haircut. Pre-treat those areas with an oxygen-bleach house wash applied by pump sprayer, let it work 10 minutes, agitate stubborn patches with a soft-bristle brush on a pole, then rinse. If the specks survive, treat again rather than cranking the pressure — chemistry kills growth, force doesn't.

Know the surfaces you should never blast
Some exteriors fail catastrophically under pressure. EIFS synthetic stucco (it sounds hollow when tapped) lets forced water behind the foam where it rots the structure invisibly — soft wash only. Homes painted before 1978 with chalking or flaking paint are a lead hazard: pressure washing scatters contaminated chips and wastewater, and remediation rules apply. Brittle asbestos-cement shingles from the same era release fibers when blasted. Old lime-mortar brick loses its joints to high pressure. When your house is on this list, the answer is chemistry, gentleness, or a specialist — not a bigger machine.

Pre-1978 flaking paint means lead until a test says otherwise. Do not wash, sand, or scrape it — bring in an EPA RRP-certified contractor.
Reach high walls from the ground — then let it all dry
Gables and second-story walls get an extension wand with both feet planted on the ground, period — pressure washer kickback on a ladder is a fall waiting for a trigger pull. Anything the wand can't reach belongs to a soft-wash pro. When the last wall is rinsed, uncover the outlets and fixtures, rinse the plants with plain water, and give the house 24 to 48 hours of dry weather before any painting or staining. While the washer's still rented, the deck is an easy same-day win — our deck power-washing guide covers the different technique wood demands.

Frequently Asked Questions
What PSI do I need to pressure wash a house?
+
1,300 to 1,600 PSI cleans vinyl, aluminum, and painted wood siding safely — that is the sweet spot most electric washers hit. Unsealed brick and concrete tolerate more (2,000-3,000 PSI), while EIFS synthetic stucco should never see more than soft-wash pressure at all. More pressure is not better on siding: past the sweet spot you stop removing dirt faster and start removing paint, denting panels, and driving water into the wall.
Can pressure washing damage vinyl siding?
+
Yes, in three specific ways: too much pressure cracks or dents the panels, spraying at an upward angle drives water behind the overlapping laps where it soaks the sheathing and breeds mold, and holding a narrow tip too close cuts through the surface. The trade association for vinyl siding endorses pressure washing only with the stream held at eye level and never pointed up. Follow the angle rule and the 1,300-1,600 PSI range and vinyl handles washing fine.
What is the difference between pressure washing and soft washing?
+
Soft washing uses very low pressure — a few hundred PSI, barely more than a garden hose — and leans on stronger cleaning solutions to do the work, then rinses gently. It is what professionals use on roofs, EIFS synthetic stucco, old wood, and second-story walls where high pressure or ladders would be dangerous. Pressure washing uses mechanical force; soft washing uses chemistry. Fragile surfaces get chemistry.
Can I put bleach in a pressure washer?
+
Not straight chlorine bleach — it corrodes the pump seals and o-rings, voids most warranties, and kills every plant it drifts onto. Use a house-wash detergent formulated for pressure washers, drawn through the machine's soap injector; oxygen-bleach based cleaners handle mildew and algae well. If a north wall needs a stronger mildew treatment, apply diluted cleaner with a pump sprayer separately and rinse it off with the washer.
How long after pressure washing can I paint?
+
Give the siding at least 24 to 48 hours of dry weather — longer for wood, which drinks water at every crack and bare spot. Paint over damp siding and you seal moisture in, which shows up later as blistering and peeling. If you are washing as paint prep, a moisture meter reading under about 15 percent on wood is the green light painters use.
Community Tips
💬 Sign in to share tips with the community
Sources & further reading
- Vinyl Siding Cleaning and Maintenance — Polymeric Exterior Products Association (PEPA)
- Renovation, Repair and Painting Program (Lead) — U.S. EPA
- How to Clean Vinyl Siding — This Old House
More Roofing & Siding Guides
View all →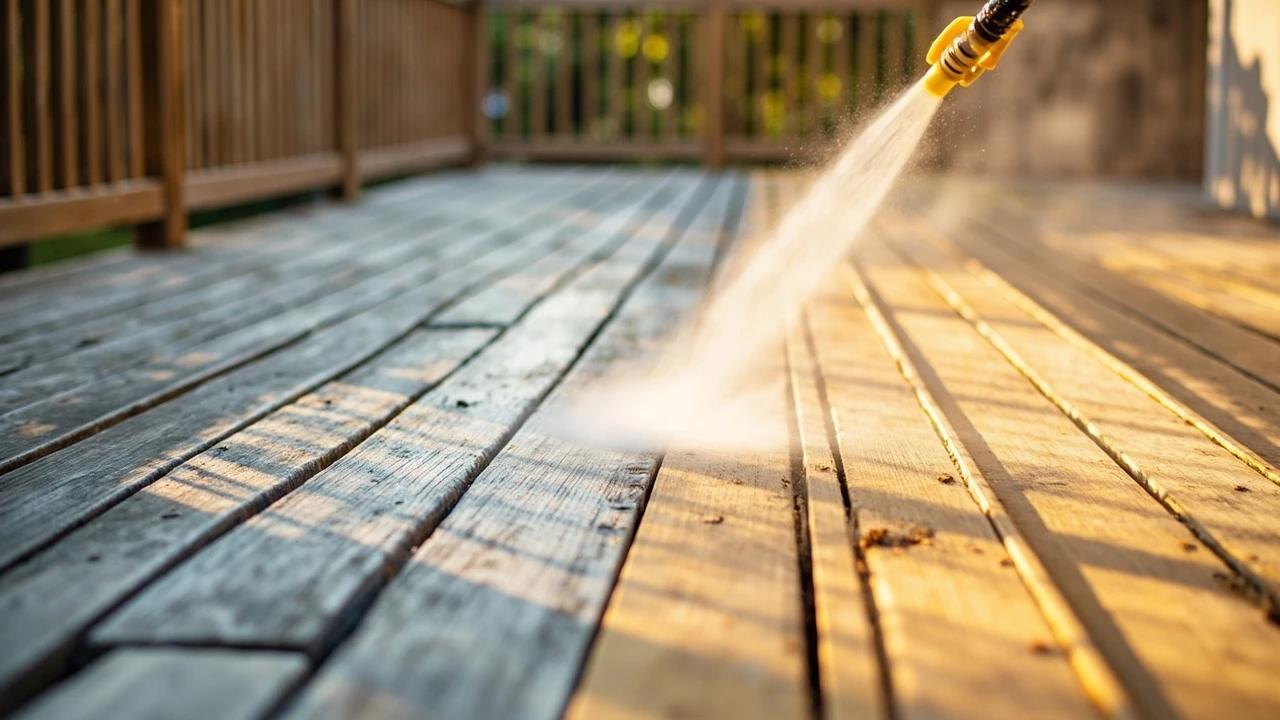 Easy3 hrs
How to Power Wash a Deck Before Staining
A deck that has not been pressure-washed before staining will fail the new stain within 12 months — dirt, mildew, and old stain residue prevent proper penetration. But too much pressure gouges softwood boards permanently. This guide covers the right PSI range, nozzle choice, wand technique, and the 48-hour dry window before staining that determines whether the new finish lasts 2 years or 5.
 Medium45 min
How to Repair Vinyl Siding
Cracked, holed, or loose vinyl siding panels let moisture behind the wall sheathing where it causes mold, rot, and insect damage — problems that cost thousands to fix if ignored. Replacing a single damaged panel is a straightforward 45-minute job once you own a $5 zip tool, and patching small holes takes even less time. This guide covers both patch repairs for holes under an inch and full panel replacement, so you can match the fix to the damage.
 Medium3 hrs
How to Install Gutter Guards
Cleaning gutters twice a year is the chore gutter guards exist to kill — and the snap-in screen and micro-mesh panels at any home center install with basic tools for $1-3 per linear foot, versus $1,500+ for a professionally installed system. The job is genuinely DIY-able on a single-story home: clean the gutters, fit and fasten the panels, and test with a hose. This guide covers choosing the right guard type, the ladder setup that keeps you safe, and the one installation mistake (tucking guards under shingles) that can void a roof warranty.
You Might Also Like
 Easy30 min
How to Replace an Electrical Outlet
A worn-out or discolored electrical outlet is one of the simplest electrical repairs you can tackle yourself — swapping one takes about 15-30 minutes and costs under $5 in parts versus $75-150 for an electrician visit. This guide walks you through safely replacing a standard duplex receptacle, including how to handle the wiring correctly and avoid the most common DIY mistakes.
 Medium45 min
How to Install a Ceiling Fan
Replacing a light fixture with a ceiling fan improves air circulation in summer and can reduce heating costs in winter by circulating warm ceiling air downward. Most installs take 45-60 minutes.
 Easy3 hrs
Spring Lawn Care Checklist
What you do to your lawn in the first six weeks of spring determines its health for the entire growing season. Follow this sequence to fix winter damage, encourage deep roots, and crowd out weeds before they establish.