How to Clean Gutters Safely

Clogged gutters cause water to overflow against the fascia, soffit, and foundation — leading to thousands of dollars in rot and water damage. Cleaning them twice a year takes about 1-2 hours and costs nothing if you already own a ladder, versus $150-300 for a professional service. This guide focuses on doing the job safely, because gutter cleaning is one of the top causes of ladder-related injuries at home.
What You'll Need
🛠 Tools
📦 Materials
Safety First
- •Falls from ladders are the leading cause of injury during gutter cleaning. Always use a sturdy extension ladder on firm, level ground — never a stepladder. Maintain three points of contact at all times (two hands and one foot, or two feet and one hand). Have a helper hold the base of the ladder while you work.
- •Never lean past the side rails of the ladder — your belt buckle should stay between the rails at all times. If you can't reach a section, climb down and move the ladder. Overreaching is the number one cause of ladder tip-overs.
- •Do not clean gutters in wet, windy, or icy conditions. Wet ladder rungs and wet roofing surfaces are extremely slippery.
Step-by-Step Instructions
Check the Weather and Gather Safety Gear
Pick a dry, calm day with no rain in the forecast. Wet leaves are heavier and slipperier, and wet ladder rungs are dangerous. Put on heavy-duty work gloves (leather or thick rubber — gutter edges and old sheet-metal screws can slice unprotected hands), safety glasses, and non-slip rubber-soled shoes. Lay a tarp on the ground below your work area to catch debris and make cleanup easier. If you're working on a two-story home, enlist a helper to hold the ladder base.

Set Up the Ladder Safely
Place the extension ladder on firm, level ground — never on soft soil, gravel, or a slope. Follow the 4-to-1 rule: for every 4 feet of height, the base should be 1 foot away from the house (e.g., at 16 feet high, the base should be 4 feet out). The ladder should extend at least 3 feet above the roof edge (eave) so the upper rails give you a handhold to grip when stepping on and off the ladder. Attach a ladder stabilizer (standoff bracket) to the top — this keeps the ladder off the gutter itself, which would bend or crush it, and gives you a wider, more stable platform. Lock all extension latches before climbing.

Never lean the ladder directly against the gutter trough — aluminum gutters will bend under the pressure, and the ladder can slide sideways. A ladder stabilizer costs $25-40 and is essential for safe gutter work.
Scoop Out Debris by Hand
Climb the ladder and hang your bucket from a rung using a wire hook. Starting near a downspout and working away from it, use a gutter scoop or small garden trowel to scoop out leaves, twigs, and sediment and drop them into the bucket. Work in 3-4-foot sections — clean what you can comfortably reach, then climb down and move the ladder. Never lean past the side rails to reach farther. If the debris is compacted and wet, break it up with the trowel edge before scooping.

A plastic gutter scoop ($3-5 at any hardware store) is shaped to fit the gutter profile and won't scratch the finish. A garden trowel works but can gouge the gutter bottom, especially on vinyl gutters.
Flush the Gutters with a Hose
After removing the bulk debris, climb the ladder with your garden hose and spray nozzle. Starting at the end farthest from the downspout, turn the hose on full and flush the remaining dirt and small debris toward the downspout. The water should flow freely along the channel and disappear down the downspout. Watch for any spots where water pools or stands — that indicates a low spot or sag in the gutter that may need the hanger brackets adjusted. Flushing also reveals any small leaks at seams or end caps.

Clear the Downspouts
If water backs up when you flush toward the downspout, the downspout is clogged. First, try aiming the hose directly into the downspout opening at full pressure — this clears most soft blockages. If that doesn't work, feed a plumber's snake (drain auger) into the top of the downspout and crank it to break through the clog. For stubborn clogs, disconnect the downspout elbow at the bottom, push the hose up from the bottom, and flush the debris out the top. Reattach the elbow with the screws and test by running water from the gutter.

Downspout extensions should carry water at least 3-4 feet away from the foundation. If yours dumps water right at the base of the house, add a splash block ($5) or a flexible downspout extension ($8-12) to direct water away from the foundation.
Inspect for Damage While You're Up There
While you have ladder access, inspect the entire gutter system. Look for: sagging sections (the hanger brackets may be loose or spaced too far apart — they should be every 2-3 feet), rusted or corroded spots, leaking seams (apply gutter sealant to any seam that dripped during flushing), and loose or missing end caps. Check that the gutter slopes slightly toward each downspout — about 1/4 inch of drop per 10 feet of run. Water standing in a section means it's sagging or the slope is wrong.

Clean Up and Schedule the Next Cleaning
Collect the tarp with the fallen debris and dump it into trash bags or your compost bin (decomposed leaves make great compost). Rinse any mud splatter off the siding below the gutters with the hose. Store the ladder stabilizer with the ladder so it's ready next time. Clean gutters at least twice a year — once in late spring after seeds and blossoms fall, and again in late fall after the leaves drop. If you have overhanging pine trees, add a third cleaning in midsummer to clear needle buildup.

Consider installing gutter guards ($1-10 per linear foot depending on type) after cleaning. Mesh or micro-mesh guards keep leaves out and dramatically reduce cleaning frequency — often to once a year or less.
Frequently Asked Questions
How long does it take to clean gutters safely?
+
This project typically takes about 2 hrs. The guide includes 7 steps with detailed instructions for each.
What tools do I need?
+
You will need: Extension ladder (24-28 feet for a two-story home; fiberglass or aluminum), Ladder stabilizer (standoff bracket — prevents the ladder from resting on the gutter and crushing it), Gutter scoop or small garden trowel, Garden hose with spray nozzle, Bucket with wire hook (to hang from the ladder rung), Plumber's snake or drain auger (for stubborn downspout clogs). Materials include: Heavy-duty work gloves (leather or thick rubber — gutters have sharp edges and debris), Safety glasses or goggles, Non-slip rubber-soled shoes or boots, Tarp or plastic sheeting (to collect debris below the work area), Trash bags.
Is this a good project for beginners?
+
This is a moderate-difficulty project. Some basic DIY experience is helpful, but the step-by-step instructions make it approachable for motivated beginners.
Community Tips
💬 Sign in to share tips with the community
Sources & further reading
- Reducing Falls in Construction: Safe Use of Extension Ladders — OSHA
- How To Clean Your Gutters Safely — This Old House
More Roofing & Siding Guides
View all →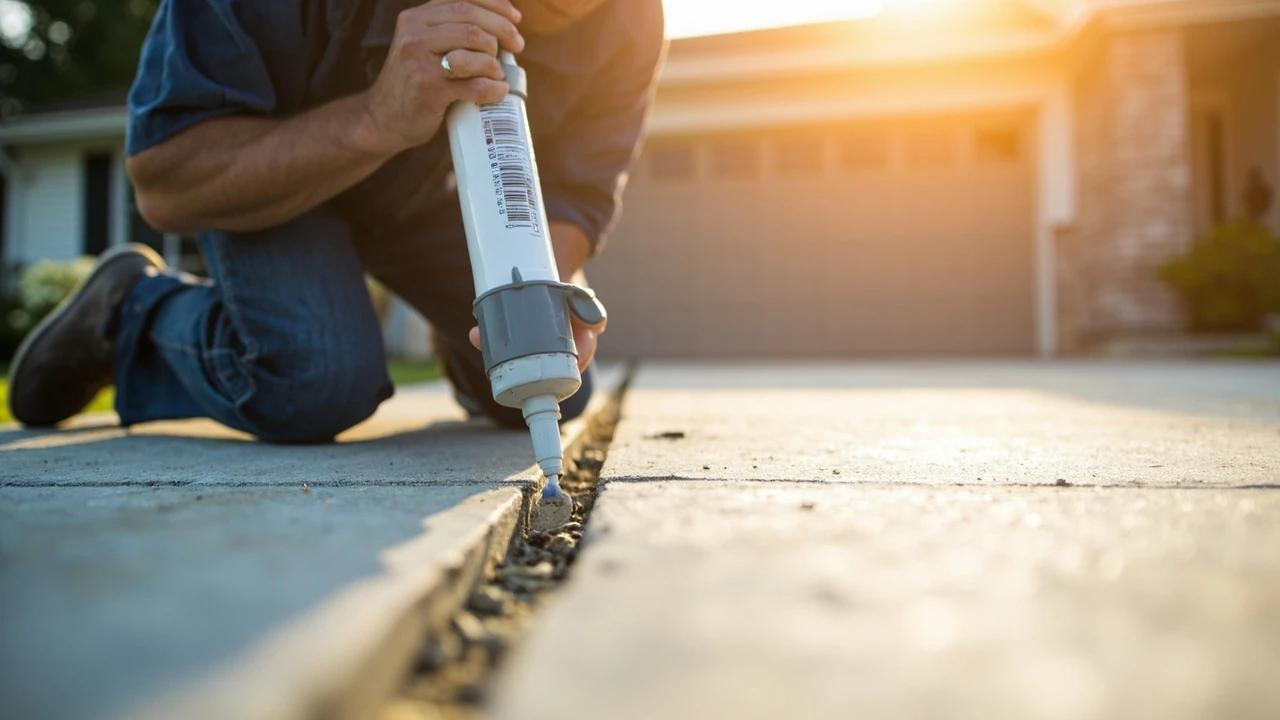 Medium2 hrs
How to Patch Cracks in a Concrete Driveway
Every crack in a concrete driveway is a water channel, and every winter that water freezes, expands, and pries the crack wider — which is why a $15 tube of polyurethane sealant today beats a $5,000 replacement in five years. The fix depends entirely on crack width: pourable filler for hairlines, backer rod and flexible caulk for the middle sizes, vinyl patcher for wide or crumbling sections. This guide sorts your cracks into the right bucket and walks each repair start to finish.
 Medium3 hrs
How to Power Wash a House Exterior
A season of pollen, algae, and road film ages a house faster than anything else you can fix in an afternoon — and a rented pressure washer erases it for about the cost of a pizza night, versus $300-600 for a wash crew. The technique is the whole game: the right tip and pressure for your siding, soap from the bottom up, rinse from the top down, and never, ever spray upward under the laps. This guide covers the full wash plus the surfaces you should not blast at all.
 Easy1h 30m
How to Replace a Downspout
A crushed, leaking, or detached downspout dumps roof water right at your foundation — the single most common cause of wet basements — and replacing one is among the easiest exterior repairs there is. Parts are standard at any home center ($25-60 for a typical run with elbows and straps), the only real tools are a hacksaw and a drill, and the whole swap takes about 90 minutes. The trick that separates a dry wall from a streaky one is assembly order: every upper piece slips INSIDE the piece below it.
You Might Also Like
 Easy1 hr
How to Start a Compost Bin
Composting converts kitchen scraps and yard waste into rich, free fertilizer that dramatically improves garden soil. Setup takes under an hour and once running, the bin requires minimal effort for big rewards.
 Medium2 hrs
How to Prune Fruit Trees
Regular pruning is the most important annual task for fruit tree health and productivity. Properly pruned trees produce larger, higher-quality fruit, resist disease better, and live significantly longer than unpruned trees.
 Medium30 min
How to Troubleshoot a Microwave That Won't Heat
A microwave that runs — light on, turntable spinning, timer counting down — but leaves food stone cold is one of the most common appliance failures, and about half the time the cause is something you can fix in five minutes for free. This guide walks the diagnosis from the easy stuff (demo mode, power level, a tripped GFCI, a dirty door latch) to reading the failure signature that tells you the high-voltage circuit is gone, then helps you make the repair-or-replace call with real numbers.