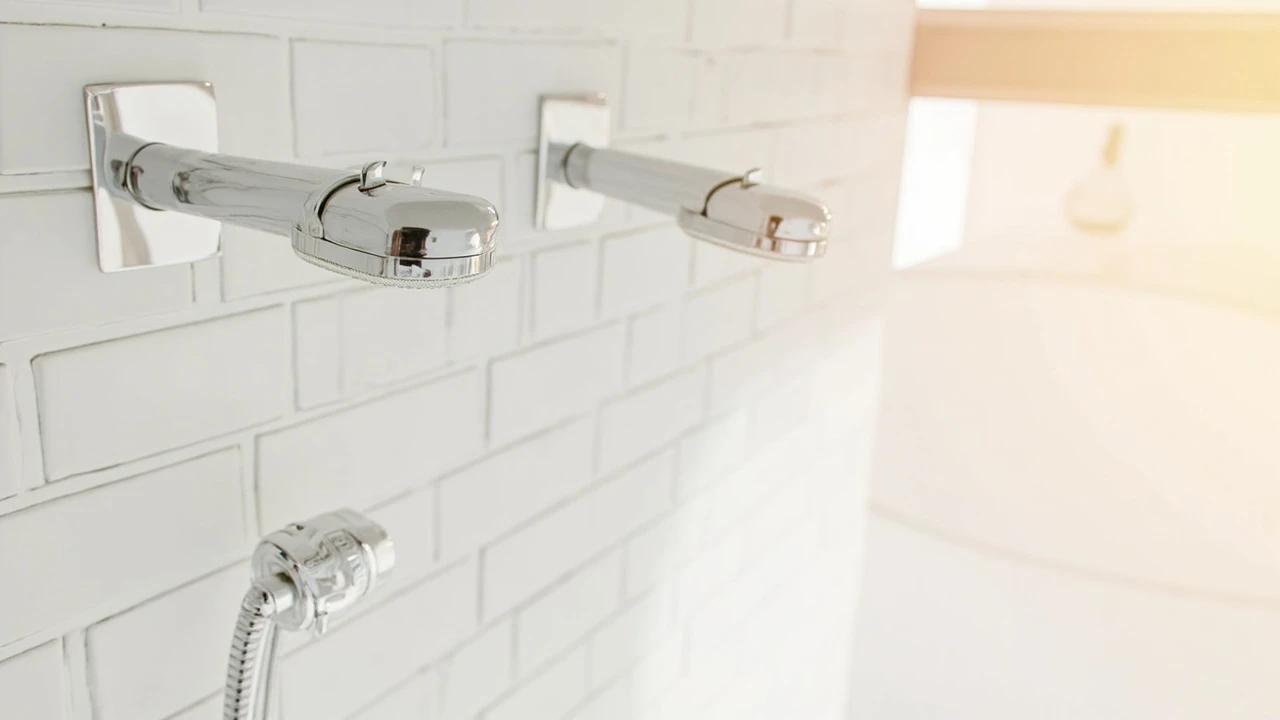
How to Replace a Shower Head

Swapping out a shower head is one of the simplest plumbing upgrades you can do — no special tools, no shutting off the main water supply, and it takes about 15 minutes. A modern low-flow shower head can cut your water usage by 40% while actually improving pressure, saving $70+ per year on water and energy bills.
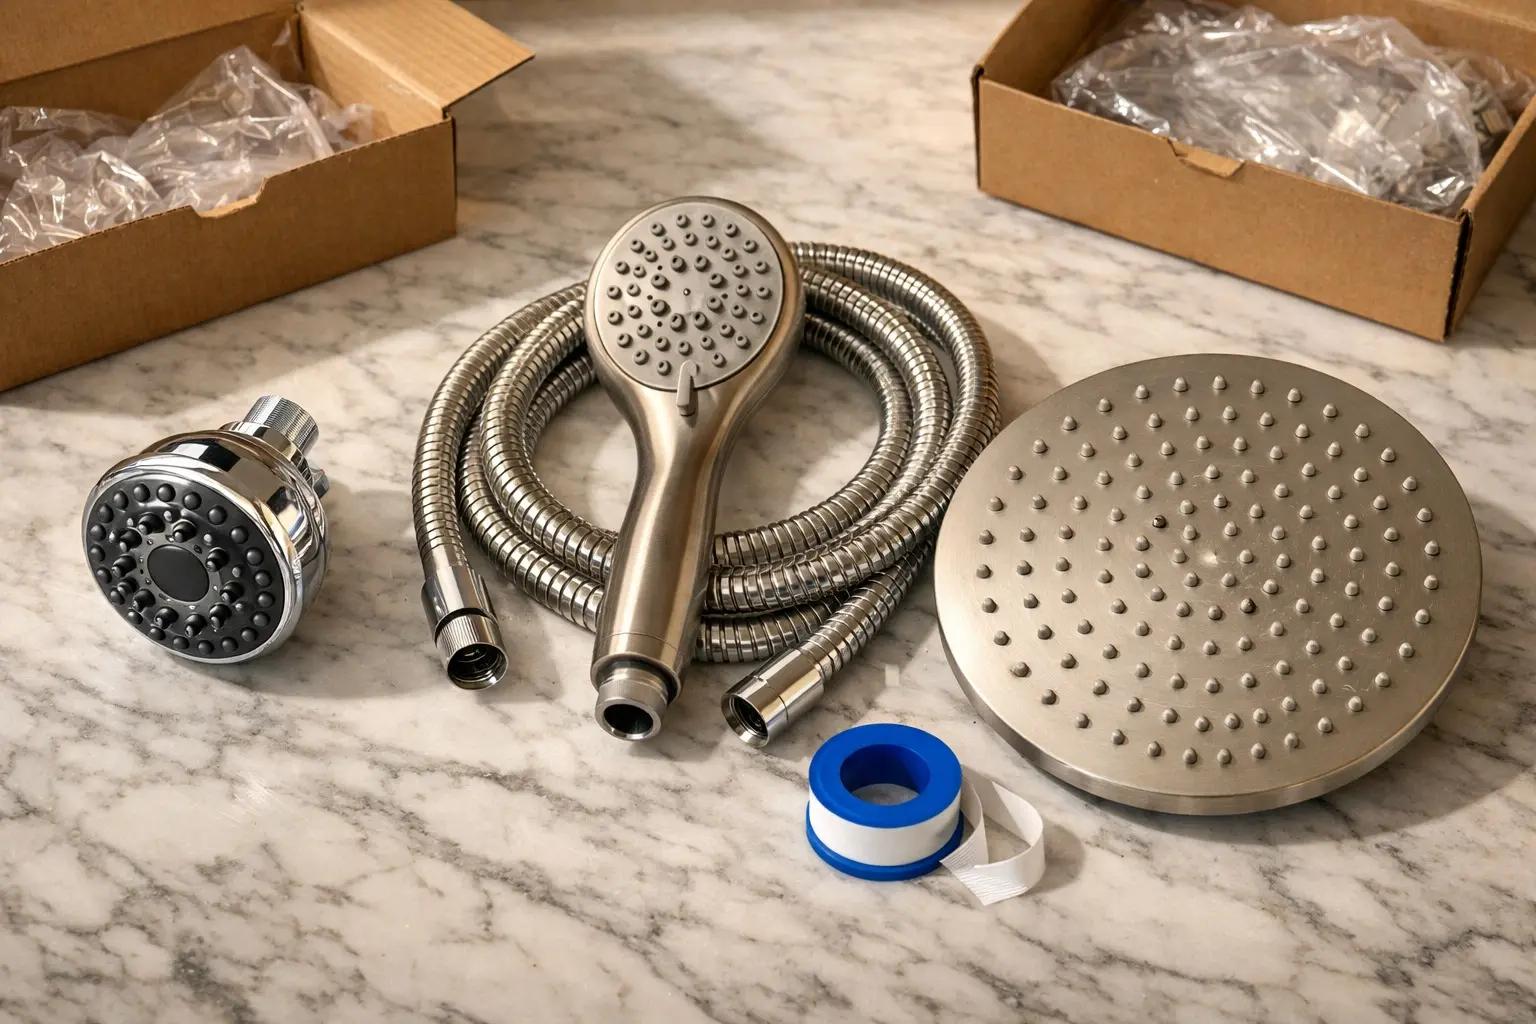
What You'll Need
🛠 Tools
📦 Materials
Safety First
- •The shower arm threads are connected to plumbing inside the wall. Never use excessive force when unscrewing the old head — if you twist the arm itself, you can break the fitting inside the wall, which requires opening the wall to repair.
Step-by-Step Instructions
Choose the Right Shower Head
Standard shower arms use a 1/2-inch NPT (National Pipe Thread) connection — virtually all replacement shower heads sold in the US fit this size, so compatibility is rarely an issue. Decide between a fixed wall-mount, handheld with a hose, rain-style overhead, or a combo unit with both fixed and handheld. Look for the WaterSense label, which certifies the head uses no more than 2.0 GPM (gallons per minute) while maintaining good pressure. Moen, Delta, and Speakman are reliable mid-range brands; Kohler and Grohe are premium options.
If your water pressure is low, look for a shower head specifically labeled "high pressure" or "pressure boosting." These use smaller internal nozzles to increase velocity without using more water.
Remove the Old Shower Head
No need to shut off the water supply — just make sure the shower valve is in the off position. Wrap a rag or washcloth around the shower arm (the short pipe coming out of the wall) to protect the finish, then grip the connector nut on the shower head with adjustable pliers. Turn counterclockwise to loosen. Once it breaks free, unscrew the rest by hand. If the head is stuck from mineral buildup, fill a plastic bag with white vinegar, rubber-band it around the connection, and let it soak for 30 minutes before trying again.
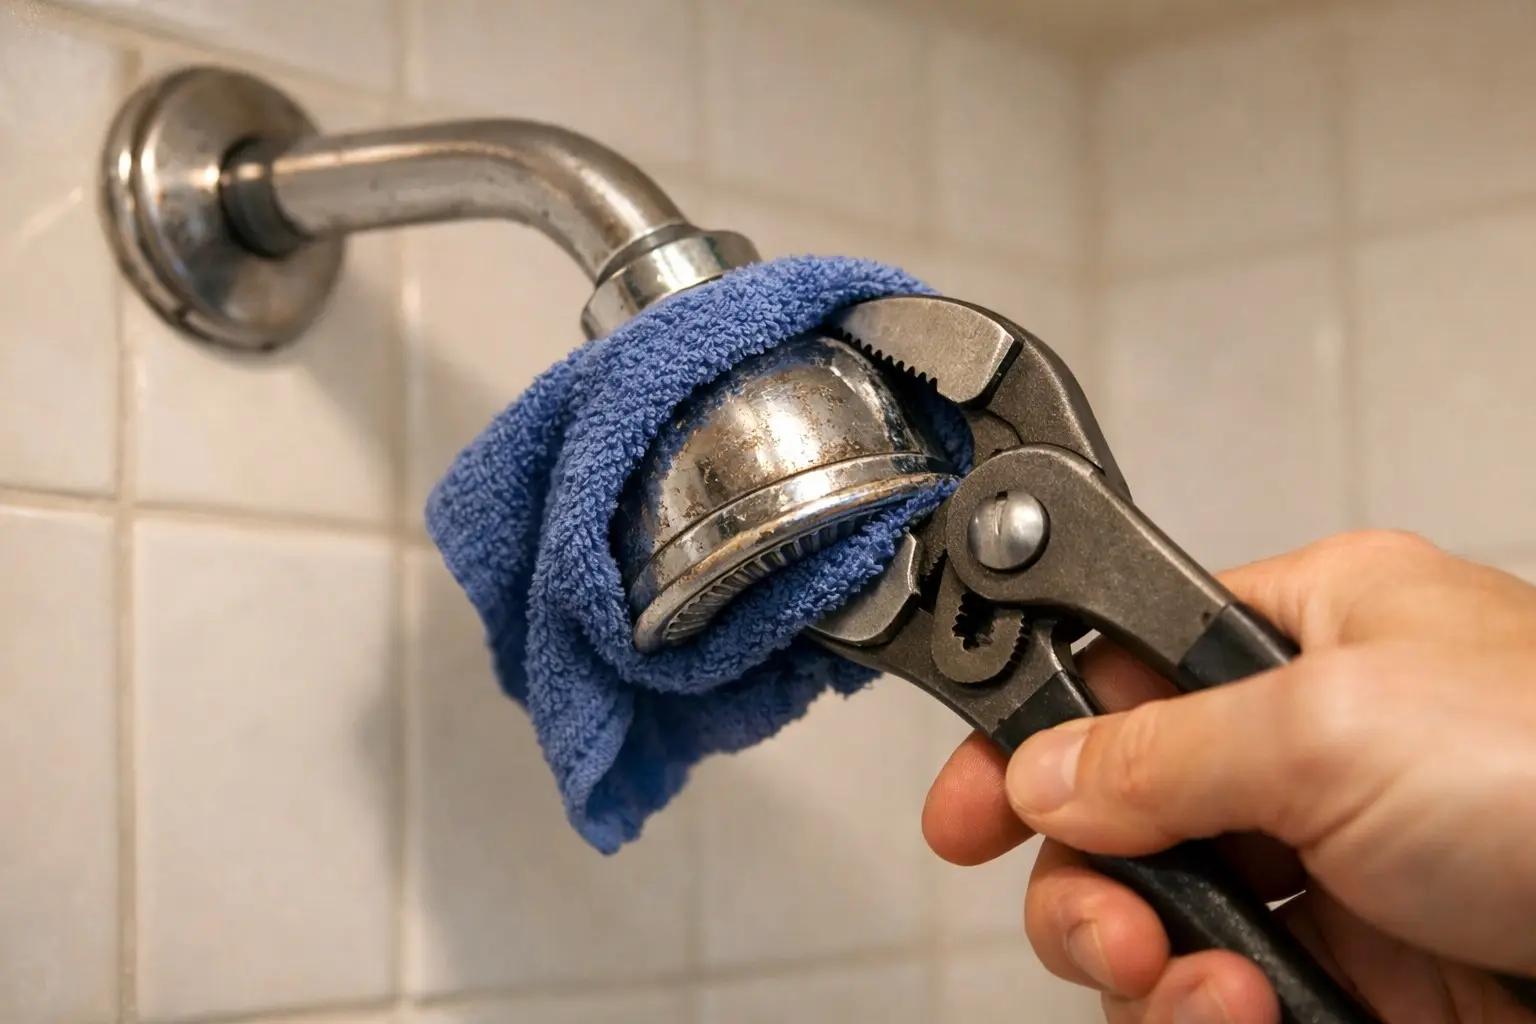
Hold the shower arm steady with one hand while turning the shower head with the other. If the arm itself starts spinning, stop immediately — you risk breaking the elbow fitting inside the wall.
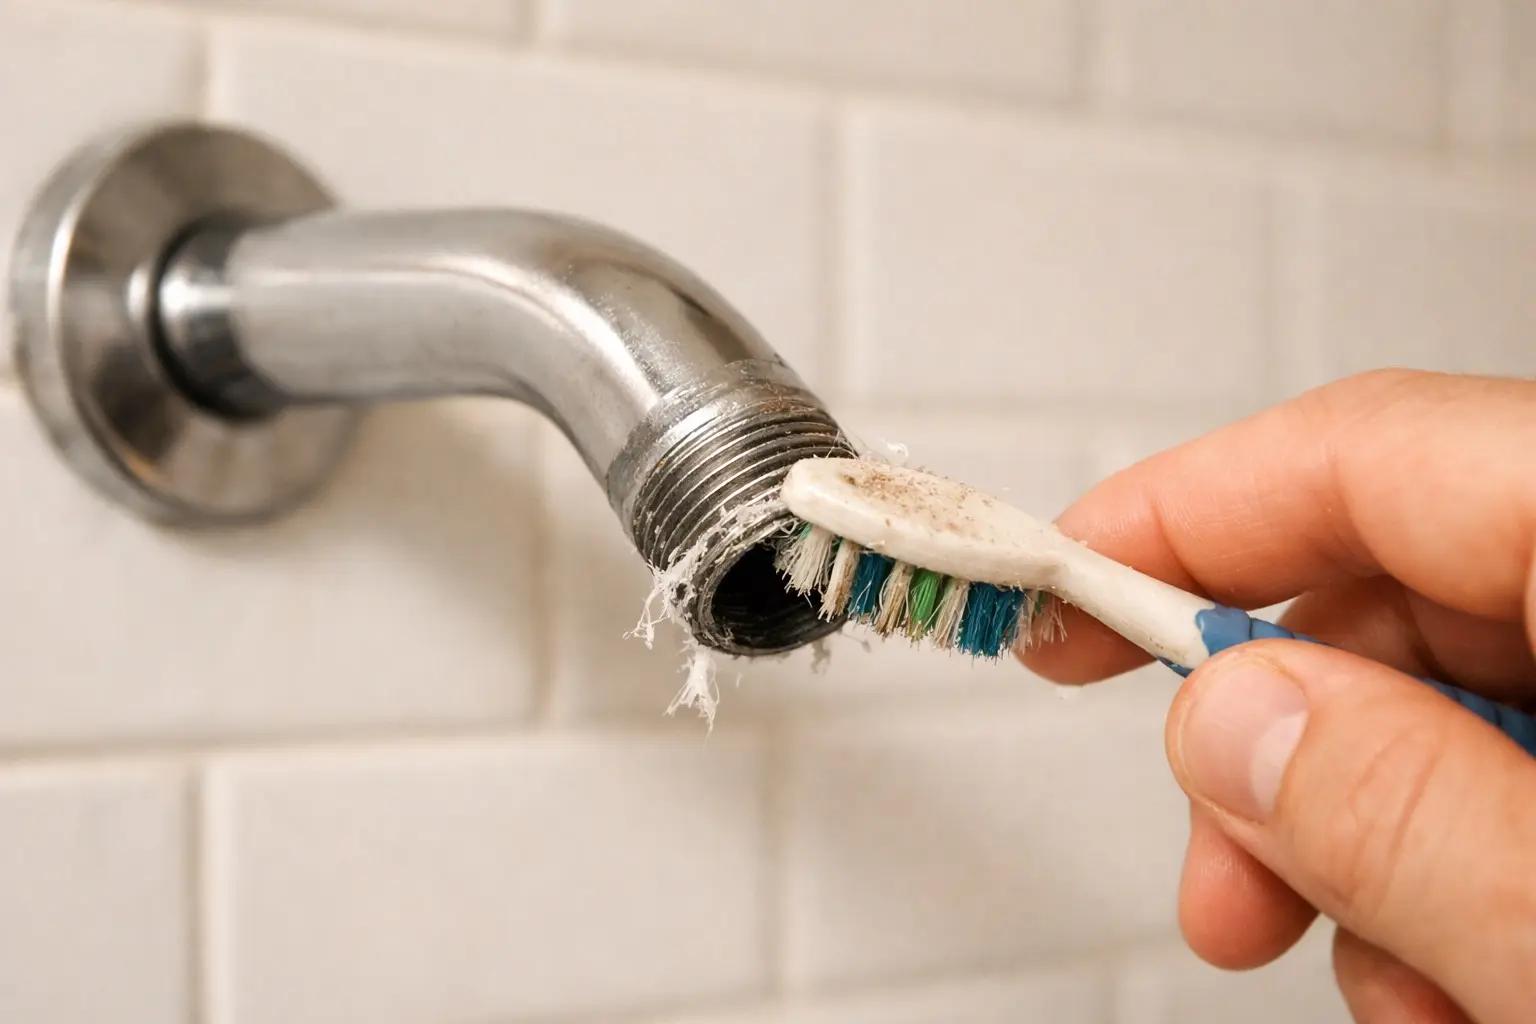
Clean the Shower Arm Threads
With the old head removed, you'll see the exposed threaded end of the shower arm. Peel off any old Teflon tape residue and scrub the threads with an old toothbrush to remove mineral deposits, corrosion, and thread sealant. The threads should be clean, shiny metal. If there's heavy mineral buildup, dip the toothbrush in white vinegar while scrubbing. Inspect the arm itself — if it's corroded, bent, or the threads are stripped, replace the entire shower arm ($5-10 at any hardware store) by unscrewing it from the wall fitting counterclockwise.
Apply Teflon Tape
Wrap Teflon tape (PTFE tape) clockwise around the shower arm threads — clockwise is critical because the shower head screws on in the same direction, so the tape tightens rather than unravels. Wrap 3-5 times, overlapping each pass by about half the tape width, keeping moderate tension so the tape conforms into the thread grooves. Press the tape flat against the threads with your thumb after wrapping. This creates a watertight seal and makes the connection easier to remove years from now.

Use the thicker pink Teflon tape (labeled for water/plumbing) rather than the thin standard white tape — white and pink are both water-rated, while yellow tape is the one made for gas lines. It's denser and creates a better seal in fewer wraps. Both work, but the pink tape is more forgiving.
Attach the New Shower Head
Thread the new shower head onto the arm by hand, turning clockwise. Hand-tighten until snug — for most shower heads, this is enough. If needed, use pliers with a rag to snug it an additional quarter turn, but no more. Over-tightening can crack plastic fittings, strip threads, or damage the washer inside the connector. If your new head came with a rubber gasket or O-ring washer, make sure it's seated inside the connector nut before threading on.

Never use pipe dope (thread sealant compound) on shower head connections — it can degrade rubber washers and is overkill for a hand-tightened fixture. Teflon tape alone is sufficient.
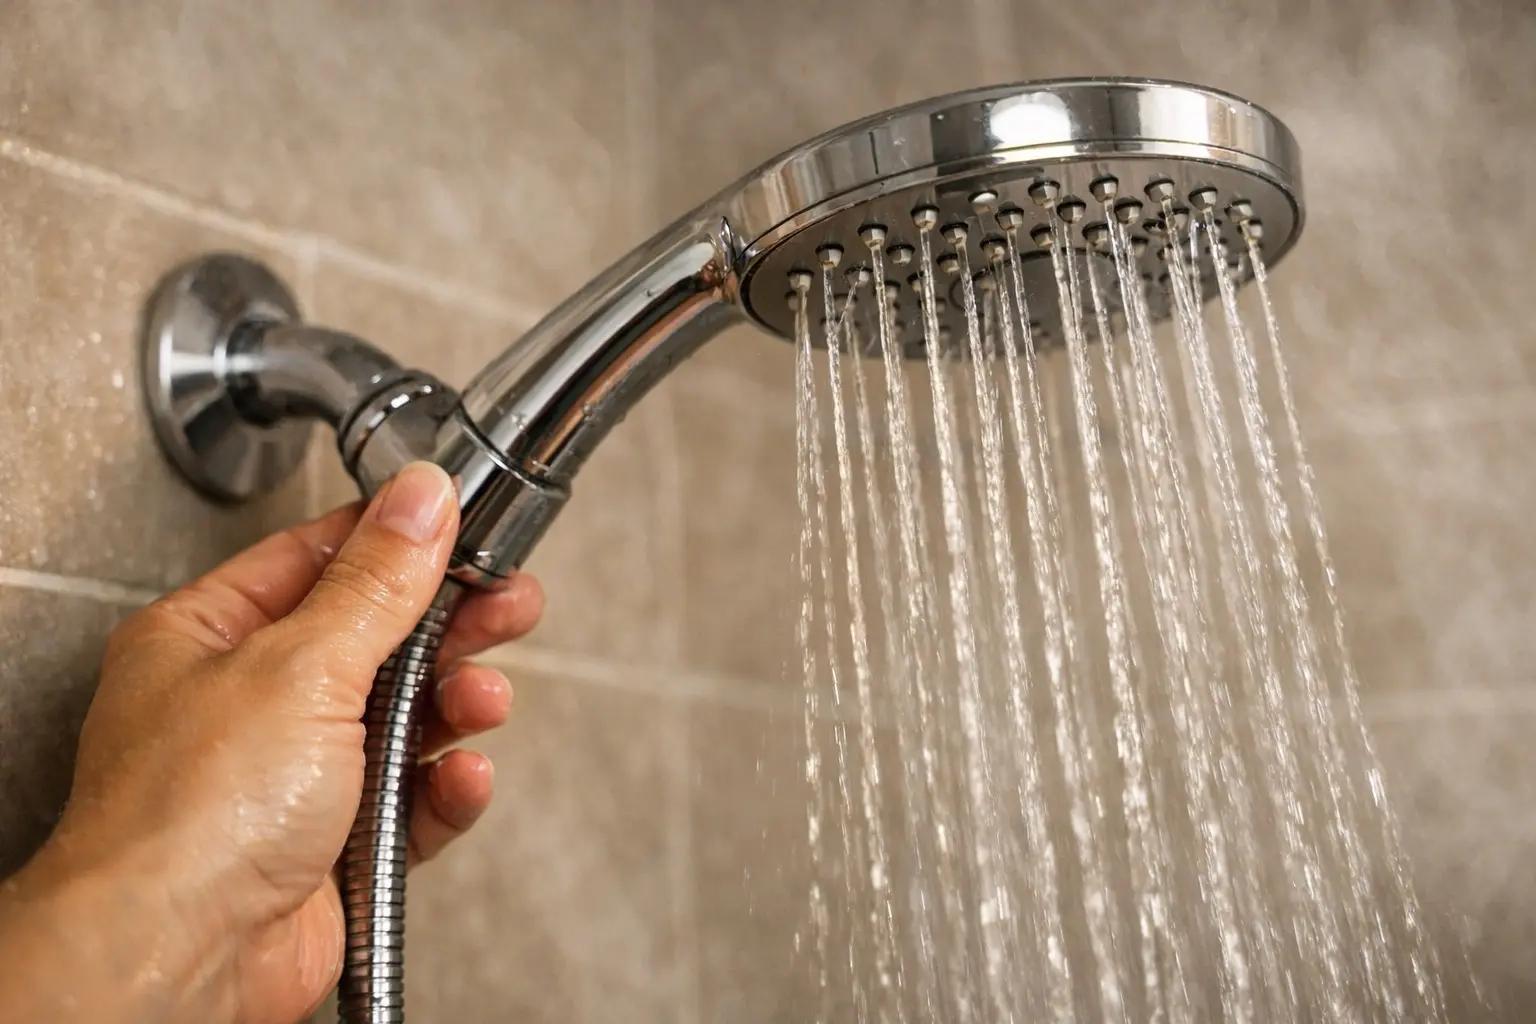
Test for Leaks
Turn on the shower and let it run at full pressure for 30 seconds. Watch the connection point between the shower head and arm carefully for any drips or seeping water. A small drip usually means the Teflon tape wasn't wrapped tightly enough or the rubber washer is missing or misaligned. If it leaks, turn off the water, unscrew the head, add 2-3 more wraps of Teflon tape, check the washer, and reconnect. Also check that the shower head ball joint (if it has one) is secure and the head aims where you want it. If strong flow still pours from the tub spout instead of the new head, the head is not the problem — that is the shower diverter valve, a separate fix.
If you installed a handheld shower head with a hose, also check the hose connection at the holder bracket and at the shower head itself — both joints need their own rubber washers and can leak independently.
Frequently Asked Questions
How long does it take to replace a shower head?
+
This project typically takes about 15 min. The guide includes 6 steps with detailed instructions for each.
What tools do I need?
+
You will need: Adjustable pliers or channel-lock pliers, Rag or old washcloth (to protect finish), Old toothbrush. Materials include: New shower head, Teflon tape (also called plumber's tape or PTFE tape), White vinegar (if removing mineral deposits), Small bucket or plastic bag.
Is this a good project for beginners?
+
Yes! This is rated as an easy project that most homeowners can complete with basic tools and no prior experience.
Community Tips
💬 Sign in to share tips with the community
Sources & further reading
- Showerheads — EPA WaterSense
- How to Use Plumber's Tape: Step-by-Step — Oatey
More Plumbing Guides
View all → Medium2h 30m
How to Install or Replace a Toilet
Replacing a toilet is one of the most satisfying half-day plumbing projects a homeowner can take on — a new comfort-height, water-saving toilet runs $120 to $400 in parts and tools, versus the $255 to $615 a plumber charges to swap one. The job is mostly muscle and patience, not skill: the one part that truly matters is seating the seal right so it never leaks. This guide covers buying a toilet that actually fits your rough-in, removing the old one cleanly, and setting the new one level, sealed, and rock-solid.
 Easy30 min
How to Replace a Shower Head and Shower Arm
Swapping just the shower head is a 10-minute job, but if the arm (the pipe curving out of the wall) is corroded, leaking, or the wrong length for a new rain head, you'll want to replace both. The whole job costs under $50 and takes half an hour — the one trick that separates a clean swap from a flooded wall is holding the arm steady so it doesn't snap off inside the tile. This guide covers removing a stuck arm, prepping the in-wall fitting, taping the threads right, and testing leak-free.
 Easy45 min
How to Unclog a Toilet Without a Plunger
It's 11 PM, the toilet won't flush, and the plunger is at your in-laws' house. Dish soap and a gallon of hot tap water will clear most clogs in 30 minutes for about a dollar — no plumber, no panic, no overflowing bowl. This guide walks through stopping the water first, the dish-soap method, the baking-soda-and-vinegar backup, and the wire-hanger snake for stubborn clogs, plus the boiling-water mistake that cracks porcelain and turns a $1 fix into a $400 toilet replacement.
You Might Also Like
 Hard4 hrs
How to Install Crown Molding
Crown molding turns a plain room into a finished one — but it is the trickiest trim to cut, thanks to corners that are never quite square and a profile that has to be cut upside down. This guide walks through the whole job the way a finish carpenter does it: coping inside corners so they stay tight, mitering outside corners, and fastening into framing instead of bare drywall. Expect about half a day for a typical room and roughly one to six dollars per linear foot in materials.
 Easy30 min
How to Replace an Electrical Outlet
A worn-out or discolored electrical outlet is one of the simplest electrical repairs you can tackle yourself — swapping one takes about 15-30 minutes and costs under $5 in parts versus $75-150 for an electrician visit. This guide walks you through safely replacing a standard duplex receptacle, including how to handle the wiring correctly and avoid the most common DIY mistakes.
 Medium1 hr
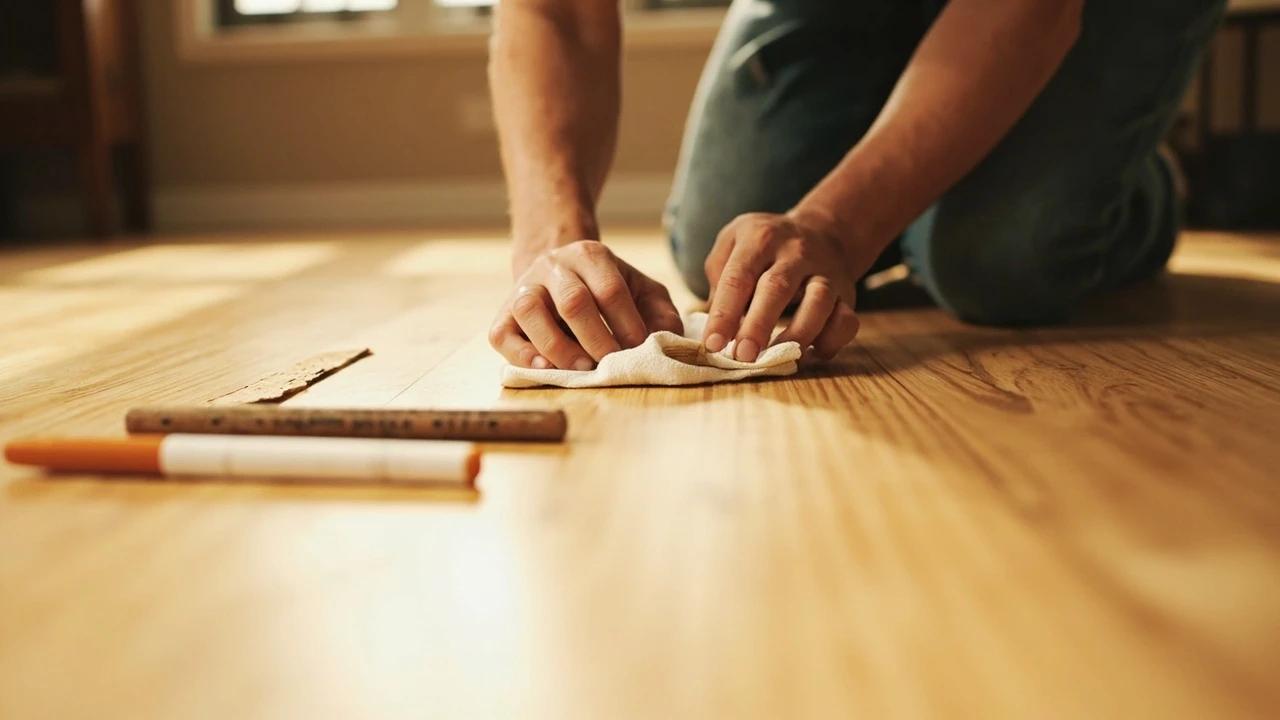
How to Repair Scratches in a Hardwood Floor
Scratched hardwood almost never means refinishing the whole floor. This guide shows you how to match the fix to the damage — a touch-up marker for finish-level scratches, a wax fill stick for shallow ones, and stainable wood filler with stain and polyurethane for deep gouges — all for under $40 in supplies and about an hour of work.