How to Paint a Ceiling Without Streaks or Roller Marks
A streaked ceiling is the single most common DIY paint failure — and it is almost always one of three things: wrong roller nap, wrong direction, or letting the wet edge dry before you fill it in. Get those three right and a ceiling paint job looks professional. This guide covers nap selection, the W-pattern roll, working away from the light source, and the wet-edge rule that prevents lap marks.
What You'll Need
🛠 Tools
📦 Materials
Safety First
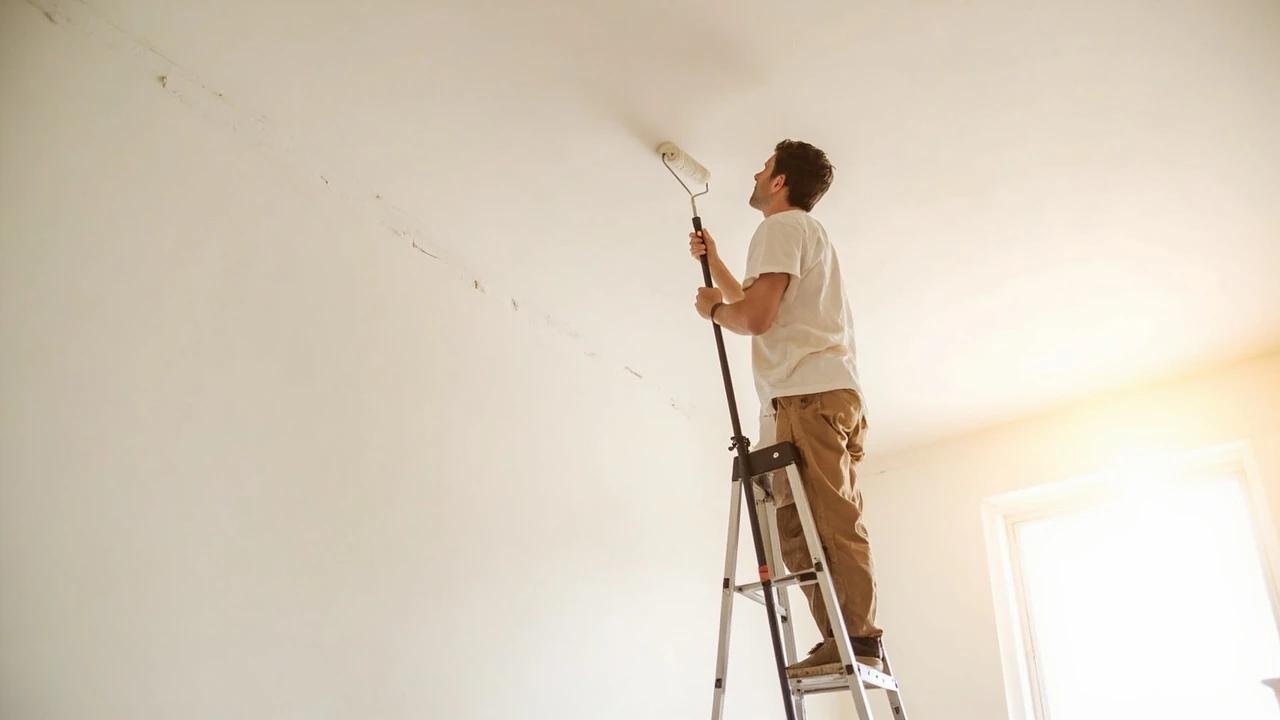
- •Use a sturdy step ladder rated for your weight, set on flat ground, with the legs fully spread and locked. Painting ceilings from a chair or stepstool causes more falls than any other DIY paint task.
Step-by-Step Instructions
Move Furniture Out and Drop-Cloth Everything That Stays
Ceiling paint drips. There is no way to roll a ceiling without paint spraying off the roller as a fine mist plus occasional drops. Move all furniture out of the room or pile it in the center and cover it completely with canvas drop cloths (not plastic — plastic is slippery underfoot on hardwood floors). Cover the floor too. Remove ceiling fixtures or, if removal is difficult, bag them in plastic and tape the bag shut around the base.

Wear a baseball cap or bandana over your hair. Looking up at a ceiling for 2 hours means catching paint mist with whatever is on top of your head. The cap also keeps drips out of your eyes.
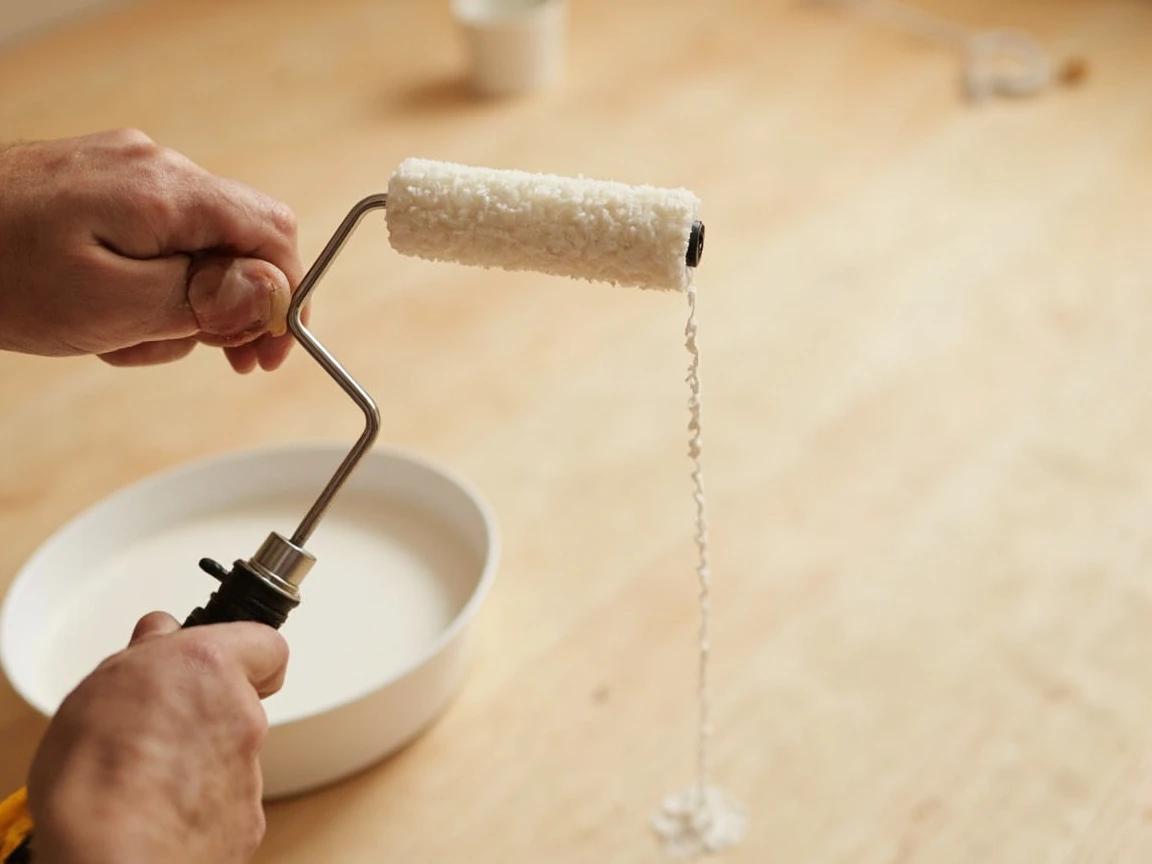
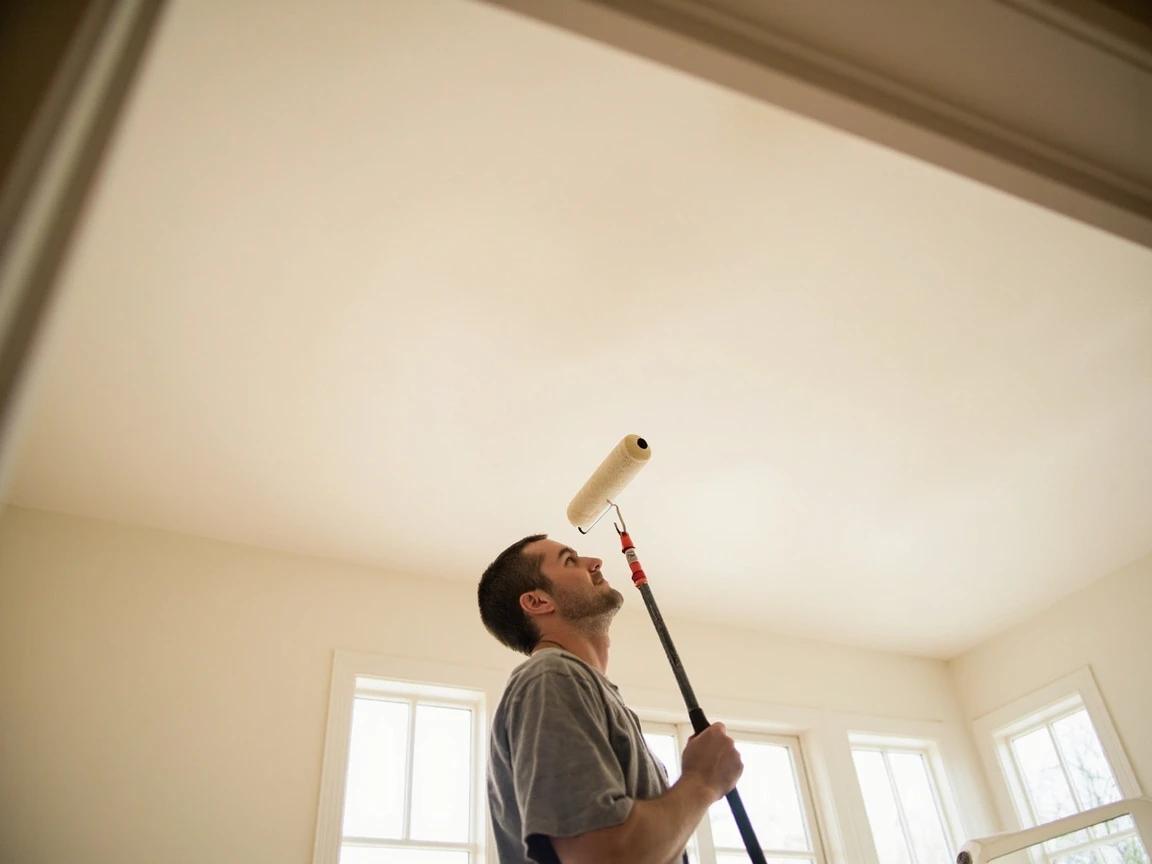
Choose the Right Roller Nap and Load Onto an Extension Pole
Use a 9-inch microfiber or woven roller cover with a 3/8-inch nap. NOT foam (creates bubbles and inconsistent texture). NOT 1/2-inch or thicker (creates orange-peel texture on smooth ceilings). Attach a 4-foot telescoping extension pole to the roller frame — this lets you cover most rooms from the floor with no ladder, which both speeds the job and gives you a better view of your work as you go.
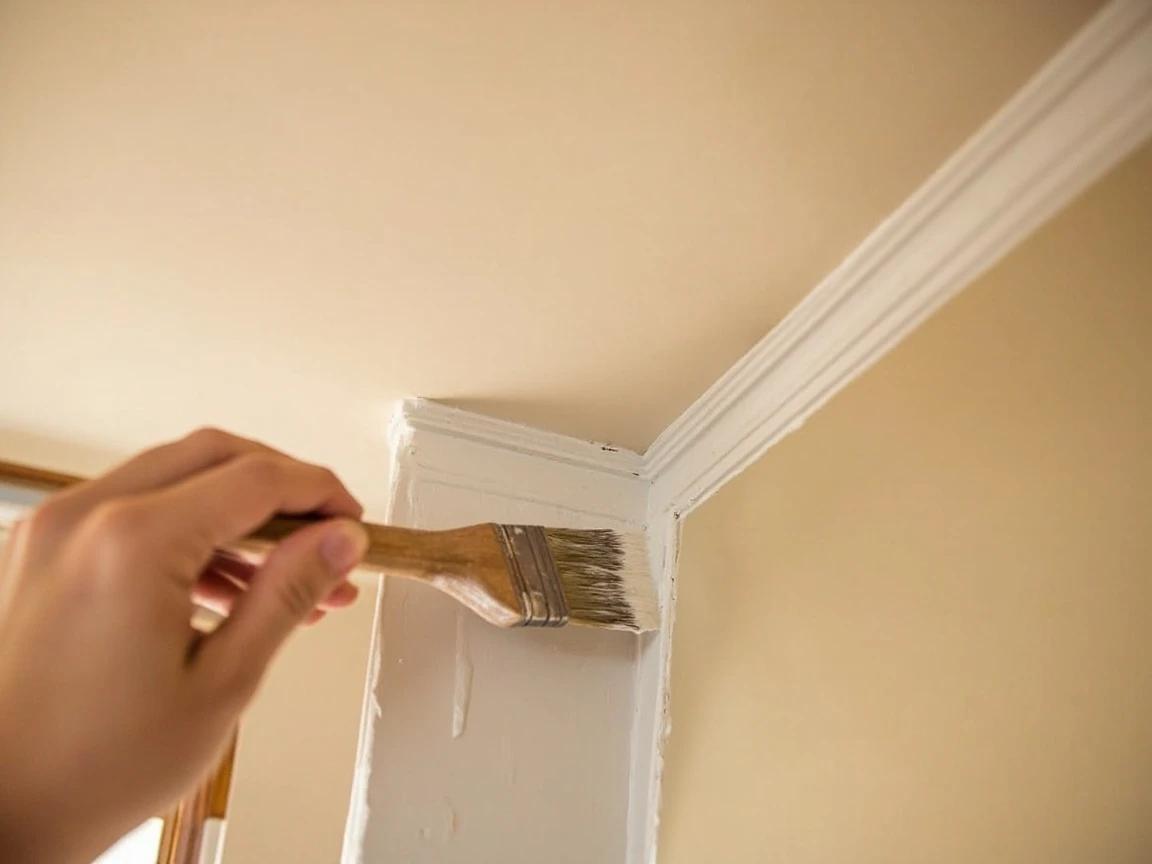
Cut In the Perimeter With a 2.5-Inch Angled Brush
Before rolling, paint a 3-inch border around the entire ceiling where it meets the walls. Use a 2.5-inch angled sash brush. Cut in two adjacent walls' worth of border at a time — about 20 feet of border — so the paint is still wet when you start rolling the field. The roller will overlap the cut-in line and blend it invisibly. If you cut in the whole room before rolling, the early cut-in dries and shows a sheen difference.
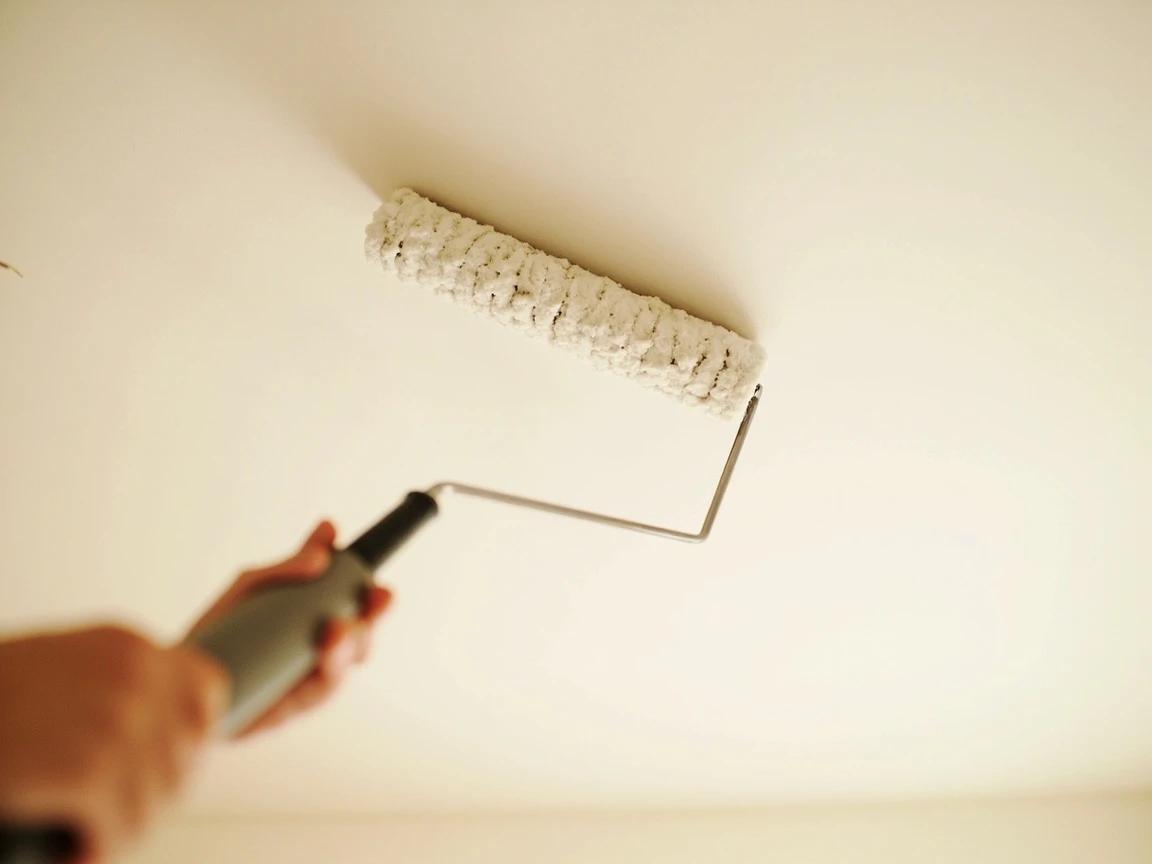
Roll the Ceiling in W-Pattern, 3-Foot Squares
Pour ceiling paint into the tray. Load the roller by rolling it back and forth in the tray's reservoir, then on the ramp to remove excess. Start in a corner away from the door (you do not want to paint yourself into the door corner). Roll a big W shape across a 3-foot square section without lifting, then fill in the W with parallel back-and-forth strokes. The W distributes paint evenly; the parallel fill smooths it out. Move to the next 3-foot square and repeat, always rolling into the wet edge of the previous square.
Do not press hard on the roller. The most common rookie mistake is bearing down to "make it cover faster" — this squeezes paint out the roller's sides and creates ridges that dry as visible marks. Let the roller weight + the loaded paint do the work.
Roll Parallel to the Strongest Light Source
Once the entire ceiling has been W-filled, do one final pass of parallel back-rolling in the direction of the strongest light source. If the room has windows on one wall, the strokes should be parallel to that wall, not crossing it. This means light skims along any tiny roller texture instead of catching it side-on. Make this final pass slow and even, slightly overlapping each stroke, with the roller barely loaded — almost dry-rolling to smooth the surface.
Position yourself so the window light is at your back as you do the back-roll pass. That way you can see the wet ceiling glisten in the same direction as the future dried sheen, and you spot any uneven areas before the paint sets.
Inspect Wet, Touch Up, and Let Dry
While the paint is still wet, stand back at the door and look at the ceiling from several angles under different light. Any holiday (a missed spot) shows up as a different reflection. Touch up missed spots immediately while the surrounding paint is still wet — that blends the touch-up in without a visible patch. Once you stop spotting holidays, you are done. Let the paint dry 2-4 hours before walking under the ceiling normally.
Frequently Asked Questions
Why does my ceiling show roller marks even after two coats?
+
Almost always one of three causes: (1) wrong nap — using a 1/2-inch or thicker nap on a smooth ceiling produces an orange-peel texture that reads as marks; (2) not maintaining a wet edge — letting one section dry before back-rolling into it creates a visible band; (3) wrong sheen — using eggshell or satin ceiling paint instead of flat. Flat ceiling paint has no reflectivity, so any roller texture disappears. Eggshell catches light and amplifies it.
What direction should I roll the ceiling?
+
Roll parallel to the longest wall in the room, OR perpendicular to the strongest light source — pick whichever makes your strokes invisible. The principle: roller marks (if any) align with the stroke direction, so aligning the strokes parallel to the dominant light direction means light skims along the marks instead of crossing them. In rooms with windows on one wall, roll parallel to that wall.
Can I skip cutting in with a brush and just use the roller?
+
No — the roller cannot reach within 1/4 inch of the wall, leaving a visible stripe at the perimeter. Cut in a 3-inch border around the entire ceiling with a 2.5-inch angled brush BEFORE rolling, then roll the field while the cut-in line is still wet. If the cut-in dries first, the brushed border telegraphs through as a slightly different sheen.
Do I need to prime the ceiling first?
+
Skip primer if the existing ceiling is in good shape and you are using ceiling-rated paint. Prime if (1) there are stains from leaks or smoke — use a stain-blocking primer like Zinsser BIN, (2) you are covering popcorn-texture removal patches, or (3) you are going from a dark color to white. New drywall always needs primer first.
Community Tips
💬 Sign in to share tips with the community
Sources & further reading
- How to Paint Ceilings Without Streaks or Roller Marks — Prestige Coating
- How to Avoid Roller Marks When Painting a Ceiling — The Decorator's Forum UK
- How To Paint A Ceiling Without Roller Marks — Mighty Paint
More Painting Guides
View all → Medium30 min
The Cut-In Technique — Clean Paint Lines Without Tape
Cutting in is the painter's skill that separates "I painted my own house" from "I had a painter do it." A clean cut-in line at the ceiling, baseboard, or trim eliminates the need for painter's tape entirely — and tape leaves bleed lines anyway. This guide covers the 2.5-inch angled sash brush technique: how to load the brush, hold it, position your body, and bring it to the edge so the line is straight without any tape.
 Easy3 hrs
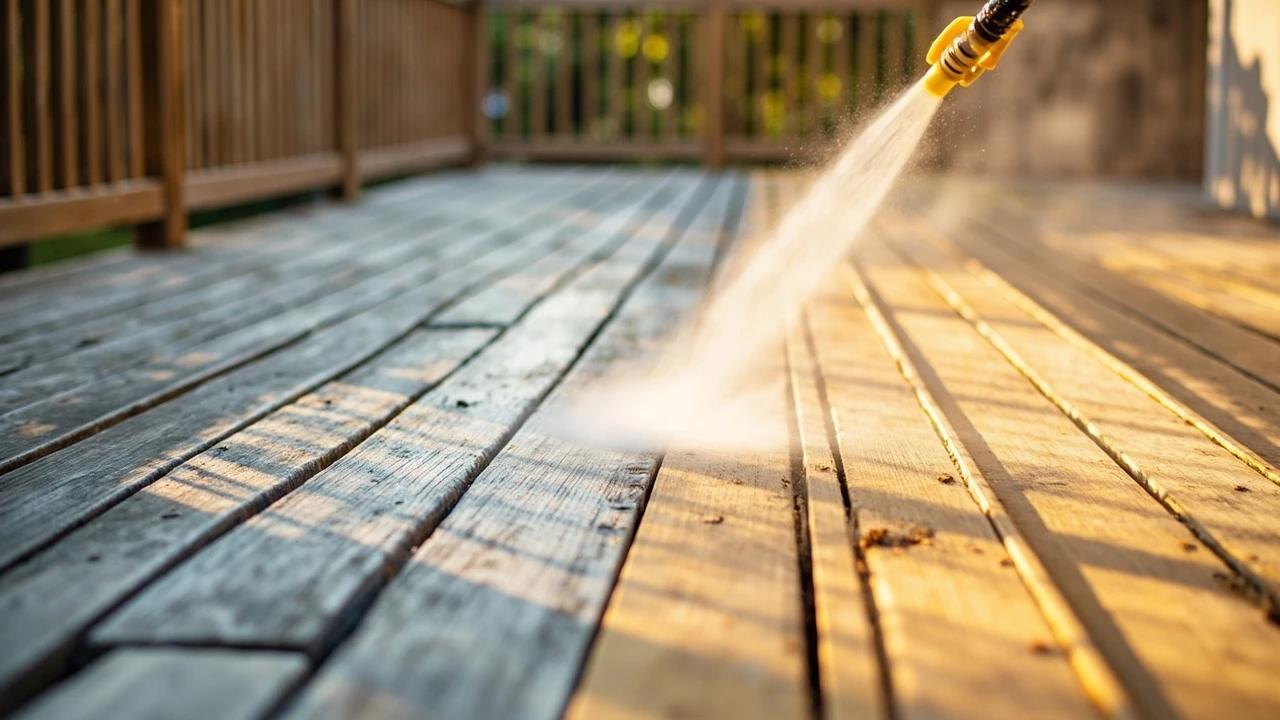
How to Power Wash a Deck Before Staining
A deck that has not been pressure-washed before staining will fail the new stain within 12 months — dirt, mildew, and old stain residue prevent proper penetration. But too much pressure gouges softwood boards permanently. This guide covers the right PSI range, nozzle choice, wand technique, and the 48-hour dry window before staining that determines whether the new finish lasts 2 years or 5.
 Medium8 hrs
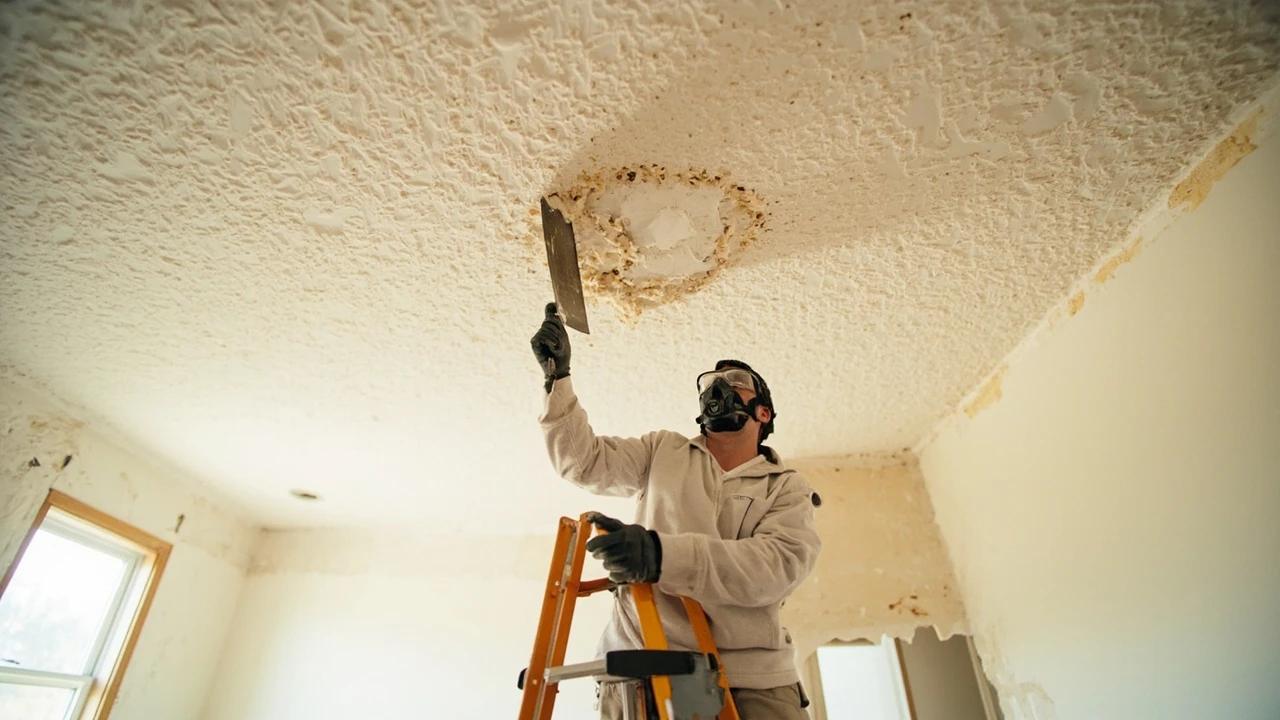
How to Remove a Popcorn Ceiling
Scraping off a dated popcorn ceiling instantly modernizes a room and can lift resale value — and it's a genuine DIY for $50 to $150 in materials per room, versus the $1 to $2 per square foot a pro charges. But there's one non-negotiable first step: popcorn texture sprayed on before the mid-1980s can contain asbestos, so it has to be tested before you disturb a single flake. This guide covers that test, the wet-scrape technique that keeps the dust down, and the patch-sand-prime work that leaves a smooth, paint-ready ceiling.
You Might Also Like
 Easy3 hrs
Spring Lawn Care Checklist
What you do to your lawn in the first six weeks of spring determines its health for the entire growing season. Follow this sequence to fix winter damage, encourage deep roots, and crowd out weeds before they establish.
 Easy1 hr
How to Start a Compost Bin
Composting converts kitchen scraps and yard waste into rich, free fertilizer that dramatically improves garden soil. Setup takes under an hour and once running, the bin requires minimal effort for big rewards.
 Medium2 hrs
How to Prune Fruit Trees
Regular pruning is the most important annual task for fruit tree health and productivity. Properly pruned trees produce larger, higher-quality fruit, resist disease better, and live significantly longer than unpruned trees.