How to Regrout Bathroom Tile
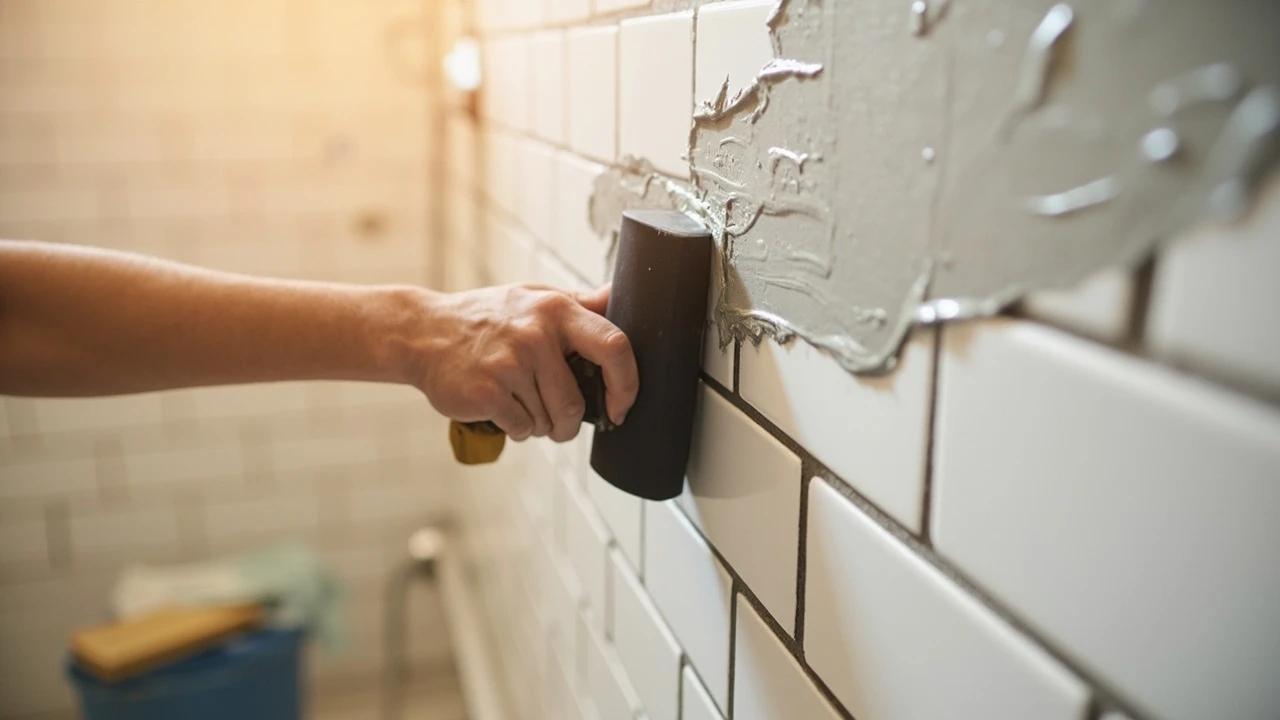

Cracked, stained, or crumbling grout makes a whole bathroom look tired — and worse, it lets water seep behind the tile where it rots the backer board. Regrouting is a weekend job that costs under $40 and makes old tile look brand new, no demolition required. This guide covers grinding out the old grout to the right depth, picking sanded vs. unsanded, floating in the new grout cleanly, beating grout haze, and the one spot you should caulk instead of grout.
What You'll Need
🛠 Tools
📦 Materials
Safety First
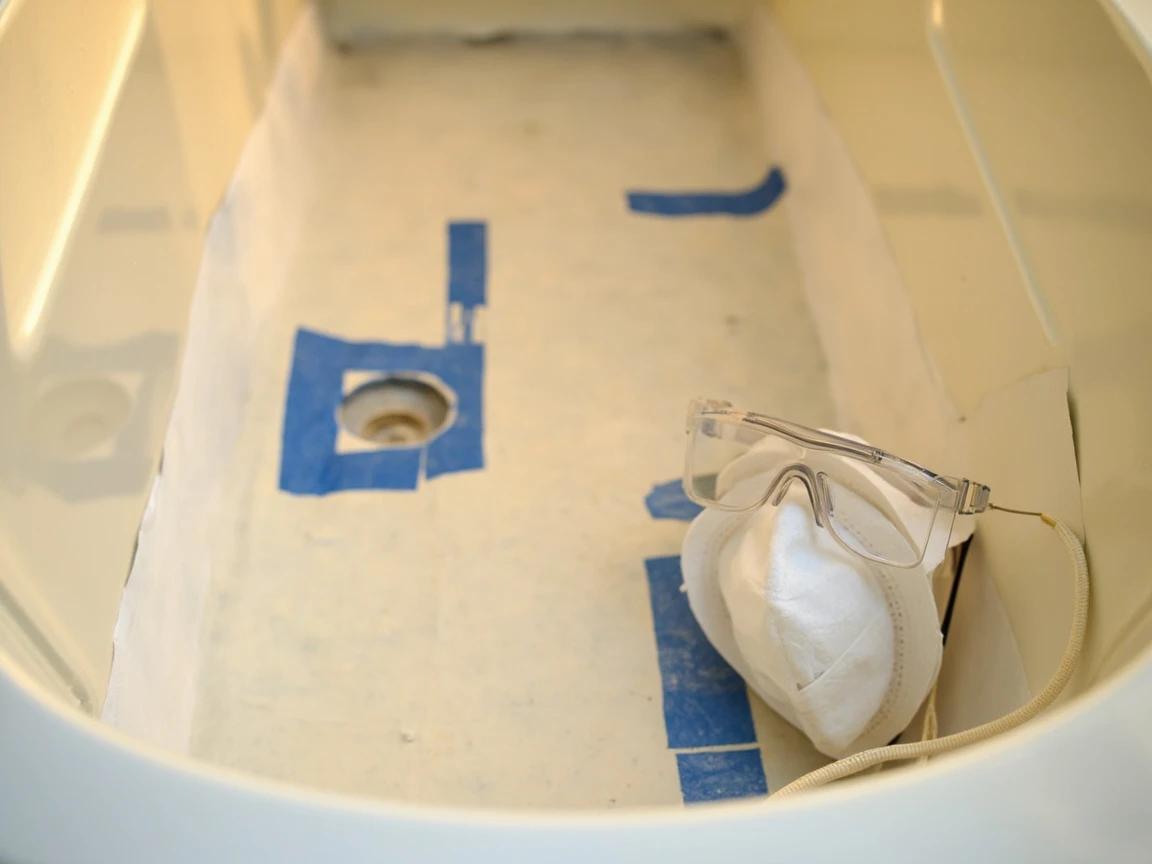
- •Wear safety glasses and an N95 dust mask while grinding out old grout — the silica dust from cementitious grout is a serious respiratory hazard, and chips fly toward your eyes at high speed from an oscillating tool.
Step-by-Step Instructions
Inspect first — make sure regrouting is the right fix
Before grinding anything, tap firmly across the tiles with a knuckle or the handle of a screwdriver. A solid 'tock' means the tile is well-bonded; a hollow 'drummy' sound means the tile has separated from the wall and water may have gotten behind it — that's a tear-out job, not a regrout. Also check for tiles that wiggle, cracked tiles, and any black staining seeping out from behind (not just on the grout surface). If the tile is sound and only the grout looks bad, you're good to proceed.
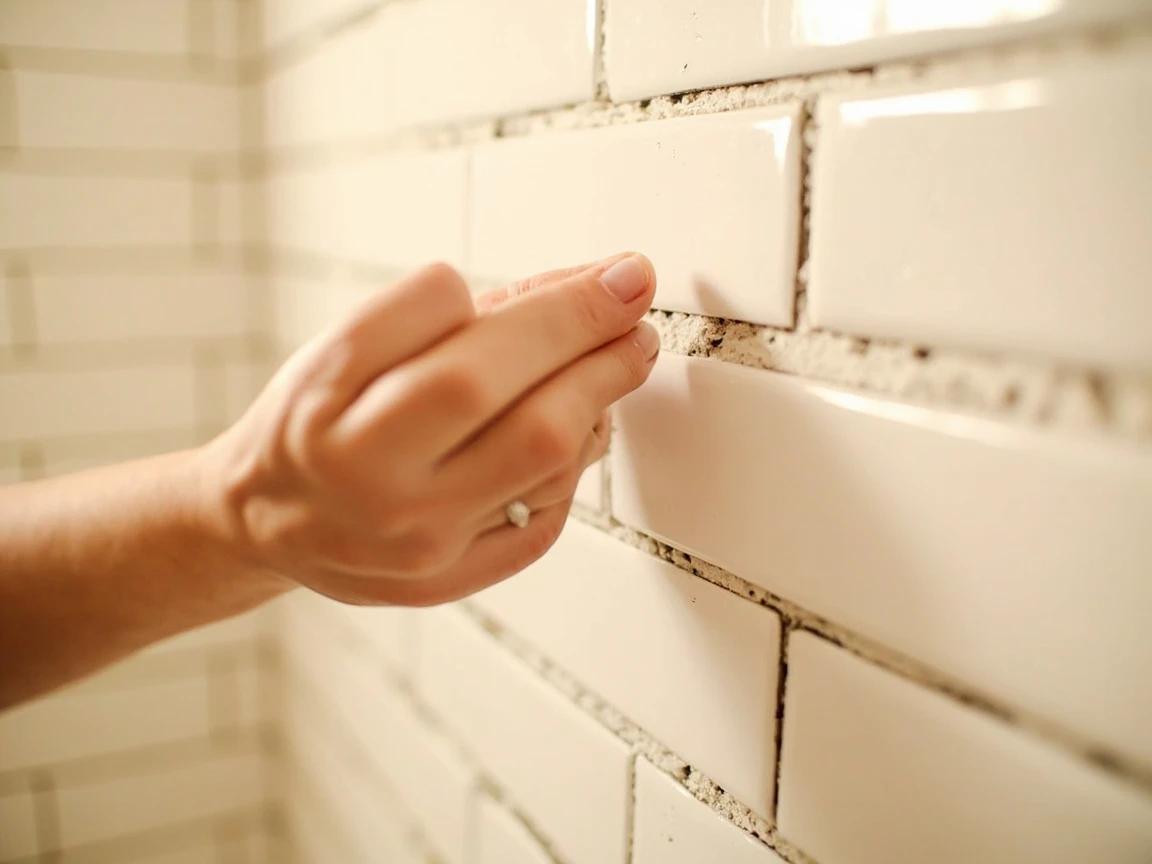
A drummy tile near the bottom of a shower wall is a red flag — that's where water collects. One or two hollow tiles in a wet zone usually means the problem is bigger than grout.
Mask the drain, lay drop cloths, and gear up
Cover the tub or shower drain with painter's tape so grout chips and dust don't wash into the trap and clog it. Lay a drop cloth or plastic sheeting over the tub floor and any nearby countertop. Put on safety glasses and an N95 dust mask — grinding cementitious grout throws fine silica dust that's genuinely harmful to breathe. Open a window or run the bath fan for ventilation.
Grind out the old grout to about 1/8 inch deep
Fit your oscillating multi-tool with a carbide grout-removal blade and run it down the center of each grout line, making a shallow scoring pass first, then a second pass to take it down to roughly 1/8 inch deep. Keep the blade centered — riding it against the tile edges chips the glaze. For tight or detailed spots, finish with a manual grout saw. Work in sections and vacuum as you go so you can see the joints.
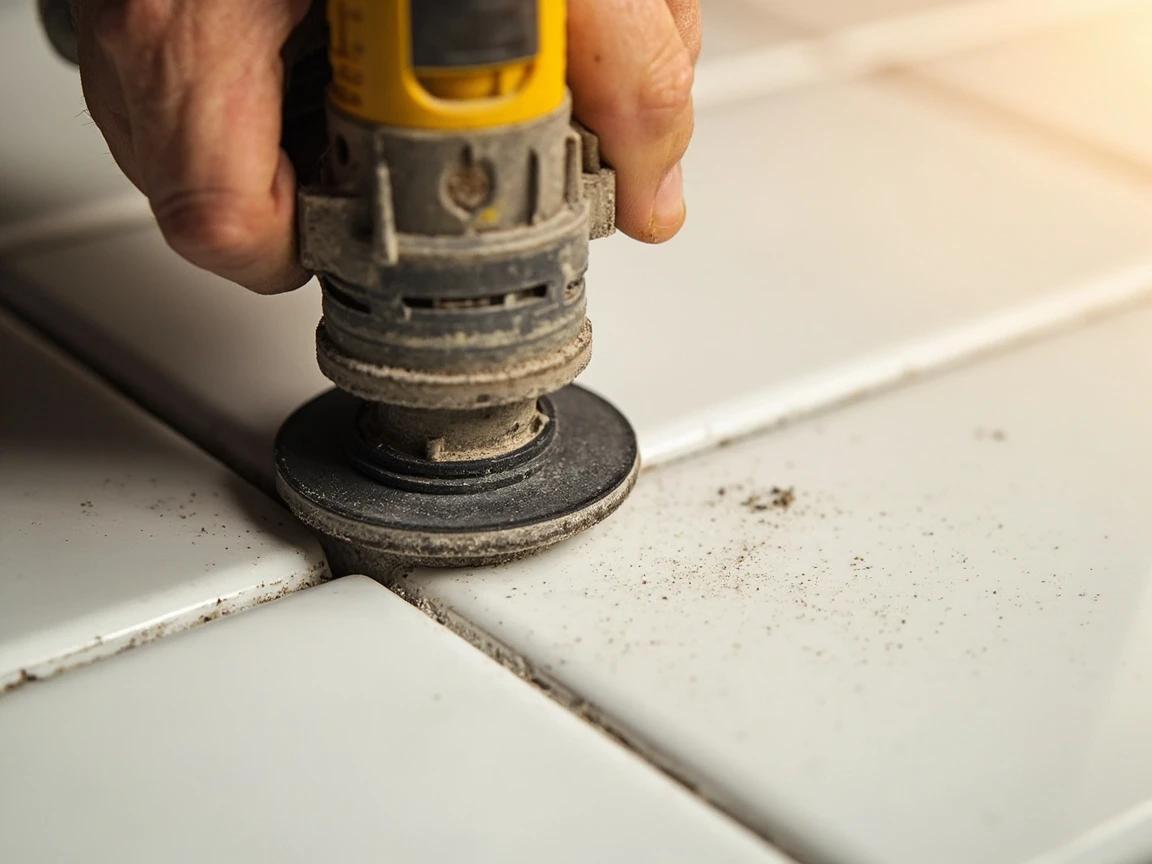
Let the tool do the work — forcing the blade or letting it wander into the tile edge will chip the glaze, and a chipped tile is far harder to fix than old grout. Light, centered passes.
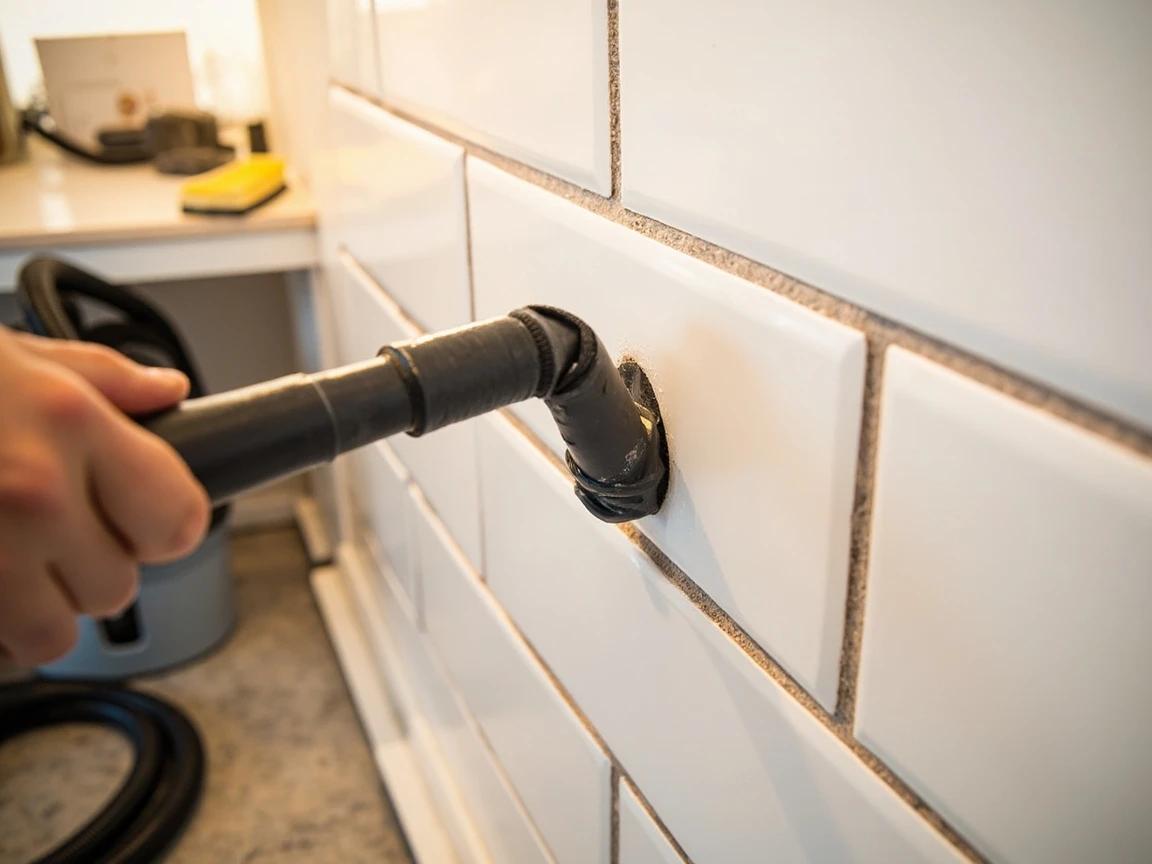
Vacuum and wipe every joint clean
Run the shop vac along every grout line to pull out the loose grit, then wipe the whole area with a damp sponge to capture the fine dust. The joints must be completely free of dust and loose debris — new grout will not bond to a dusty channel. Let the tile dry fully before grouting; grouting into damp joints throws off the water ratio and weakens the cure.
Mix the right grout to a peanut-butter consistency
Choose sanded grout for joints 1/8 inch and wider, unsanded for narrower joints. In a bucket, add the powder to the water (not the other way around) per the bag ratio, and mix with a margin trowel or drill paddle until it's smooth and holds its shape like peanut butter — not soupy. Let it 'slake' (rest) for 5-10 minutes, then remix briefly. Only mix what you can use in about 30 minutes before it starts setting in the bucket.
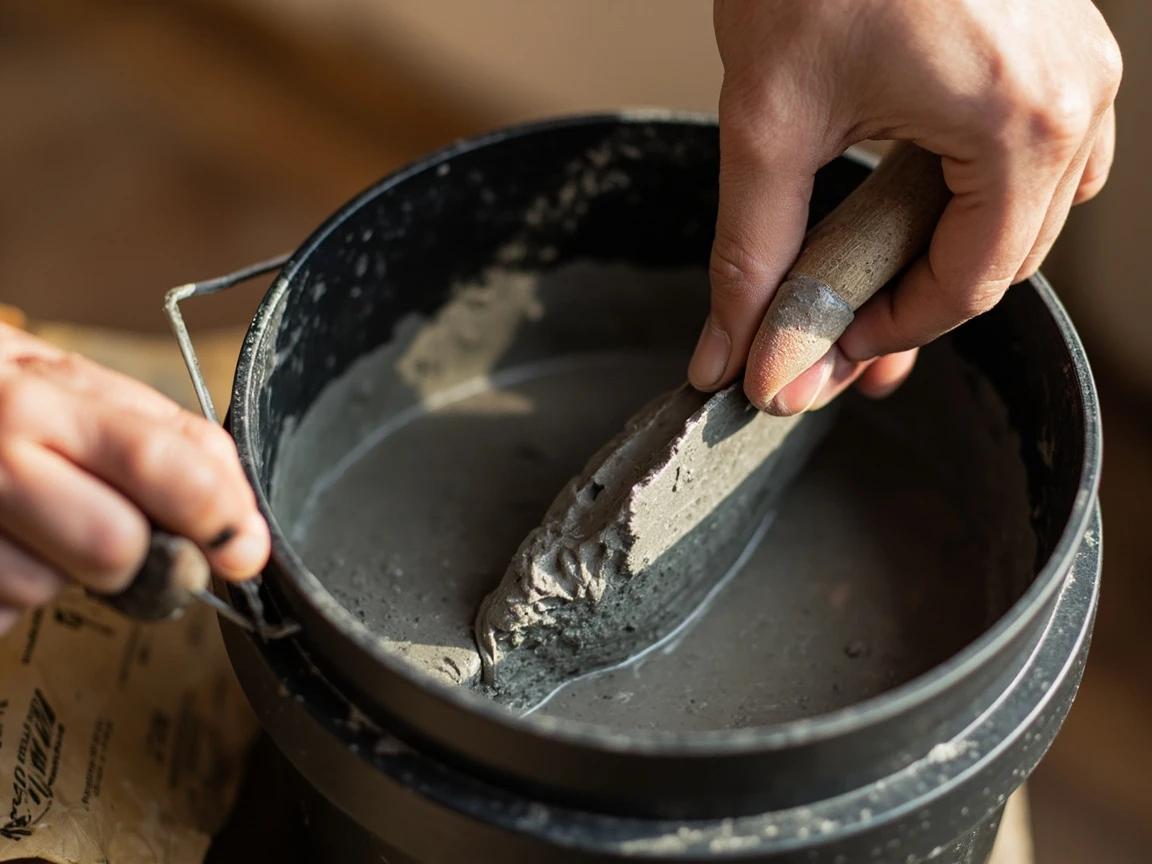
Mix in small batches. A 30-minute working window goes fast on your first regrout, and grout that's started to set in the bucket goes on lumpy and won't pack into the joints properly.
Float the grout in at a 45-degree angle
Scoop grout onto the rubber float and spread it across the tile holding the float at a 45-degree angle to the joints. Work diagonally across the lines (not parallel to them) so the float packs grout fully into each joint instead of dragging it back out. Make passes from several directions to fill every line completely with no gaps or air pockets. Then hold the float at a steeper angle and scrape the excess off the tile faces.
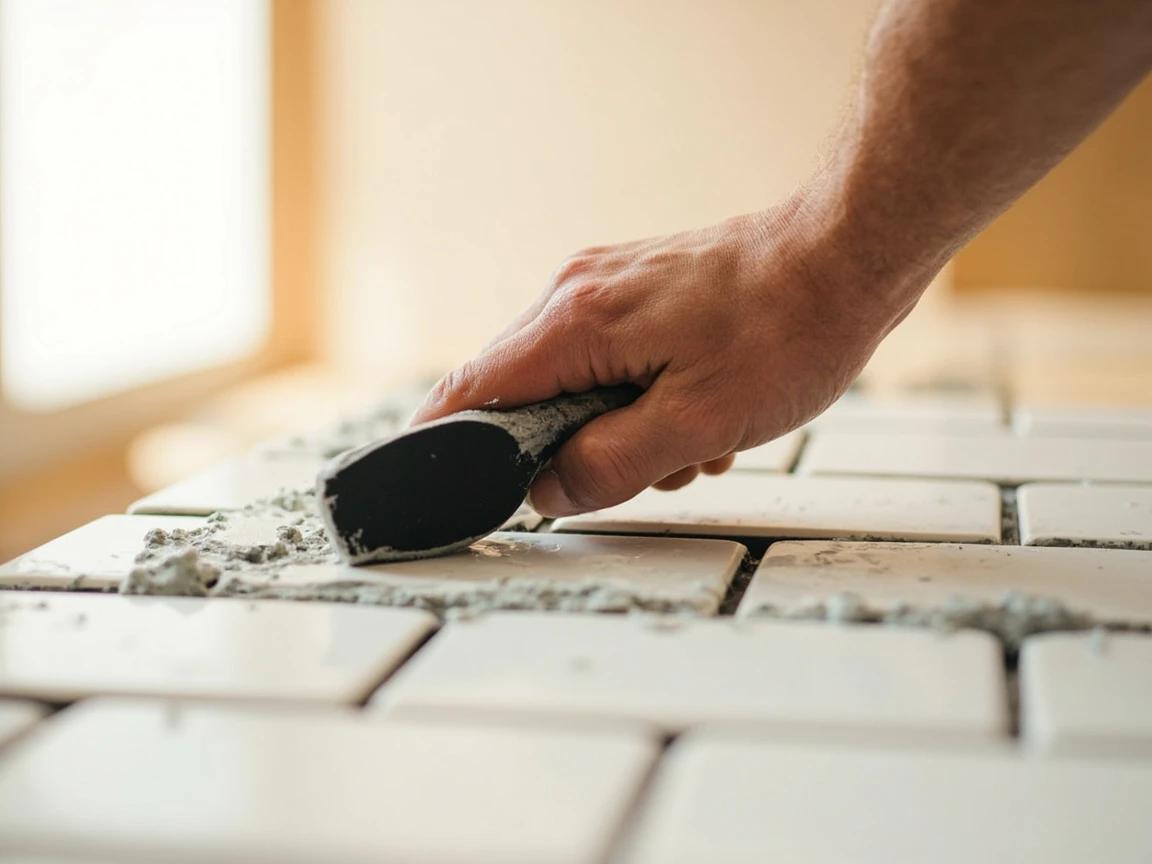
Wipe with a damp sponge within 20-30 minutes
After the grout has firmed up for about 15-20 minutes (it should resist a light fingernail press), wipe the tile faces with a damp — not soaking — sponge using light pressure. Rinse the sponge in clean water constantly and wring it out well; a too-wet sponge pulls grout out of the joints and weakens them. Use rounded edge passes to shape each joint into a smooth, slightly concave line. Don't scrub.
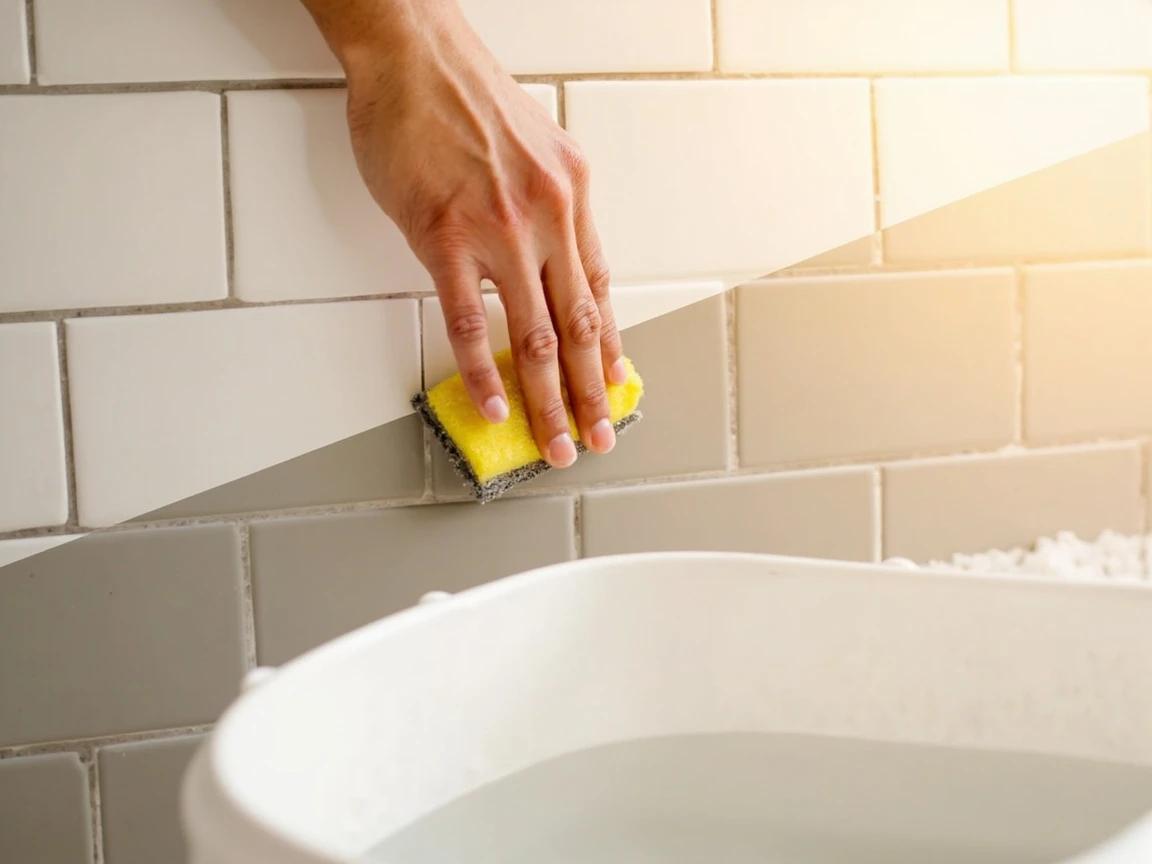
Wiping too soon or with a soaking-wet sponge drags fresh grout out of the joints, leaving low spots and weak lines. Wait until the grout resists a light fingernail press, and keep the sponge just damp.
Buff off the haze and caulk the corners
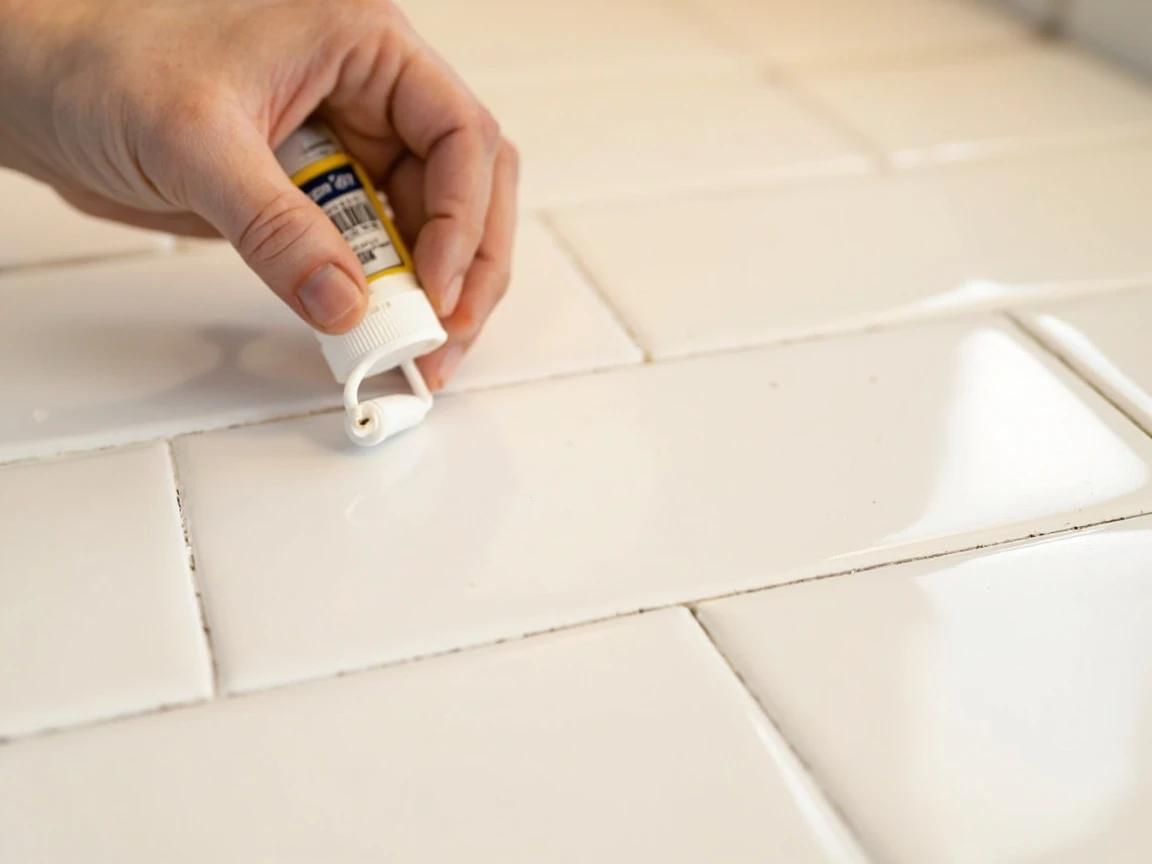
As the grout dries, a powdery film called haze appears on the tile. Once the joints are firm (an hour or two), buff the haze off the tile faces with a dry lint-free cloth; for stubborn film, use a 1:1 vinegar-water mix or commercial haze remover. Then run 100% silicone caulk — not grout — into every inside corner and the joint where tile meets the tub. These flexing joints crack if grouted; caulk stays flexible.
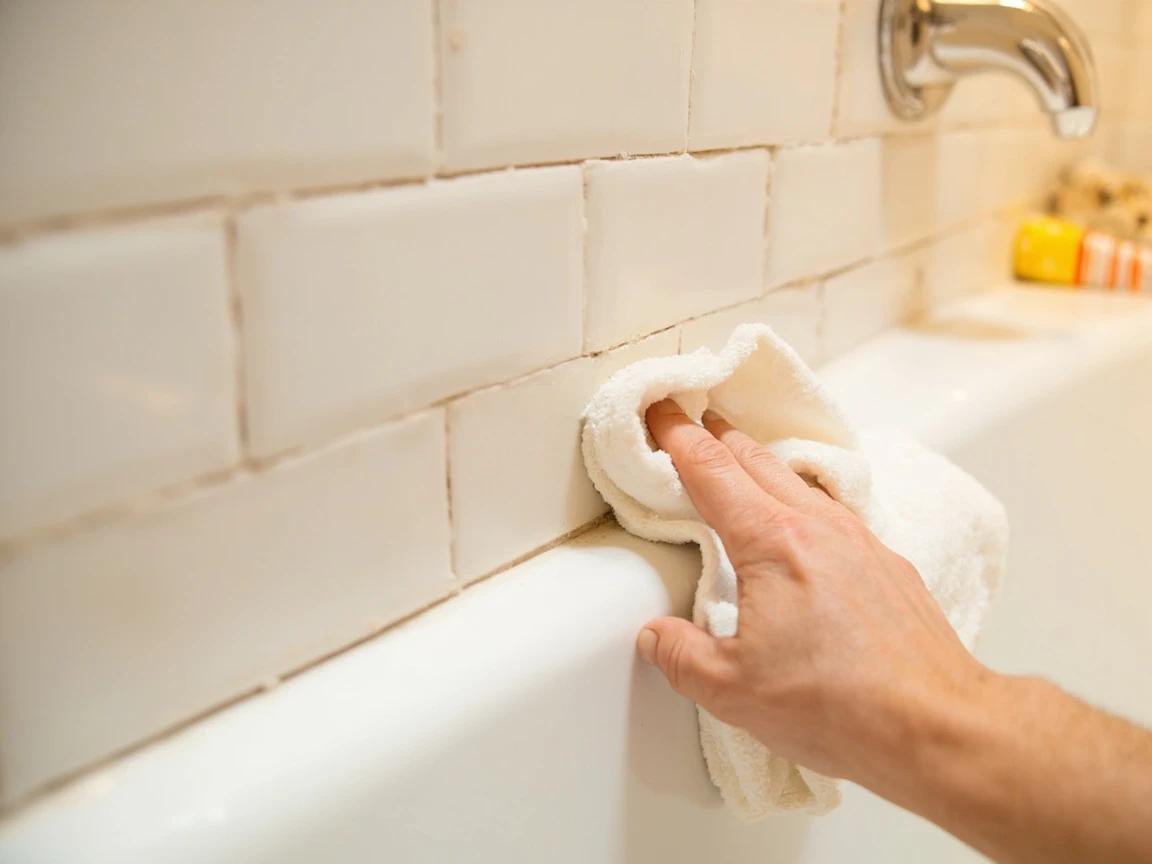
Color-matched caulk that matches your new grout makes the corners disappear. Most grout brands sell a silicone caulk in the exact same color as their grout.
Cure 24-72 hours, then seal the grout
Keep the shower and tub completely dry for the full cure window on your grout's bag — usually 24 to 72 hours. Don't be tempted to test it early; water on uncured grout ruins the lines. Once fully cured, apply a penetrating grout sealer with a small applicator or brush along every joint, let it soak per the label, and wipe the excess off the tile. Sealing makes the grout resist stains, moisture, and mildew — our guide to cleaning and sealing grout covers the application in detail, plus the water-drop test that tells you when it's time to reseal.
Frequently Asked Questions
Can I regrout over old grout without removing it first?
+
No — and this is the #1 reason DIY regrout jobs fail within months. New grout needs at least 1/8 inch of clean depth to physically bond and hold. Smeared over the top of old grout it has nothing to grip, so it cracks and flakes out almost immediately. There's no shortcut here: the grinding-out step is tedious but non-negotiable. The only exception is a grout-renewal paint/colorant, which is a different (and less durable) product entirely.
Should I use sanded or unsanded grout?
+
It depends entirely on your grout-line width, not the room. Joints 1/8 inch and wider need sanded grout — the sand adds bulk that resists shrinkage and cracking in a wide joint. Joints narrower than 1/8 inch need unsanded grout, which is smoother and packs into tight lines. One caution: unsanded is gentler on scratch-prone surfaces like polished marble or glass tile, so use it on those even at slightly wider joints.
How long before I can shower after regrouting?
+
Most cementitious grout needs 24-72 hours to fully cure before water exposure — check your specific product's bag, as fast-set formulas cure quicker. Showering too early washes uncured grout out of the joints and leaves soft, weak, mildew-prone lines you'll have to redo. Use a different bathroom or the gym for two to three days. Don't apply sealer until after the full cure, either — sealing wet grout traps moisture.
Why is my tile cloudy or hazy after grouting?
+
That's grout haze — a thin film of grout that dried on the tile surface. It's the most common DIY regrouting mistake and it's preventable: wipe the tile faces with a damp (not wet) sponge within 20-30 minutes of floating the grout, rinsing the sponge constantly. For light haze that's already dried, buff it off with a dry lint-free cloth. For stubborn haze, a 1:1 white-vinegar-and-water solution or a commercial grout-haze remover will cut it.
Should I grout or caulk the corners where the walls meet?
+
Caulk — never grout — any inside corner or change of plane (wall-to-wall corners, where the tile meets the tub or floor). These joints flex as the house settles and as the tub fills and empties, and rigid grout cracks out of them within weeks. Use 100% silicone caulk in a matching color instead. See our guide on how to re-caulk a bathtub or shower surround for the technique.
Sources & further reading
- Grout (FAQ) — Tile Council of North America
- Silica, Crystalline — Construction — OSHA
More Carpentry Guides
View all →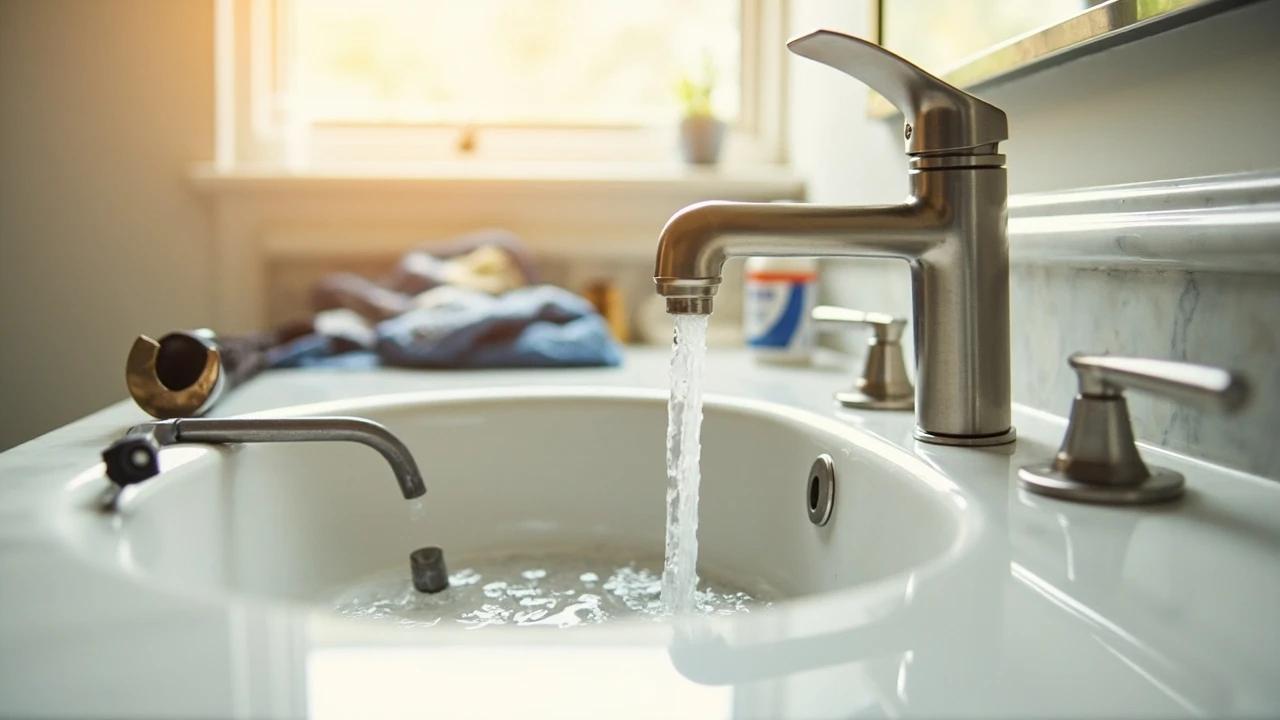 Easy1h 15m
How to Replace a Bathroom Faucet
Swapping a tired bathroom faucet for a fresh one is one of the highest-impact DIY upgrades in the house — a $60 to $150 fixture and 60 to 90 minutes of work transforms how a bathroom feels and quietly fixes years of drips, mineral staining, and a wobbly handle. The single trick that separates a 90-minute project from a four-hour Saturday is owning a basin wrench (about $15); without one, the mounting nuts six inches up inside the cabinet are essentially out of reach.
 Easy2 hrs
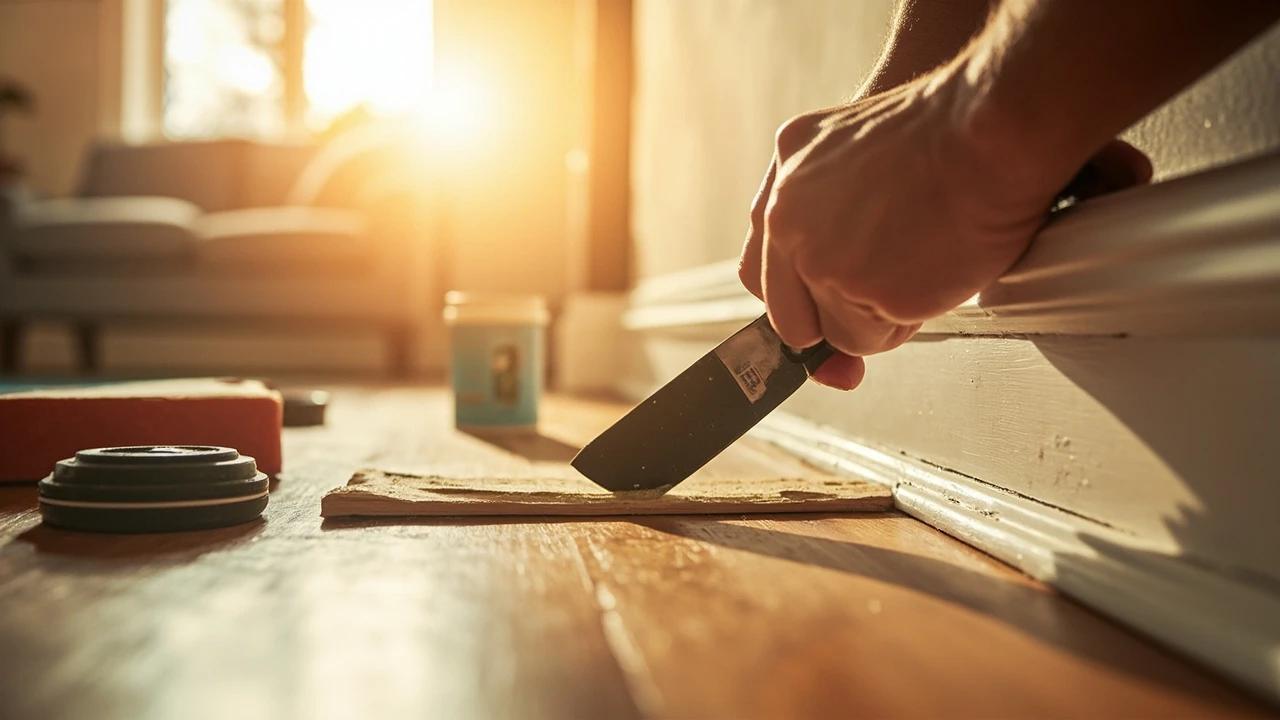
How to Repair Damaged Baseboard Trim
Dented, chipped, and gouged baseboards are one of the most visible signs of a neglected home — but they are also one of the easiest things to fix. With $10-20 in filler and a few hours of work (mostly drying time), you can make battered trim look factory-fresh without pulling a single board off the wall.
 Medium2 hrs
How to Patch a Hole in Drywall (Any Size)
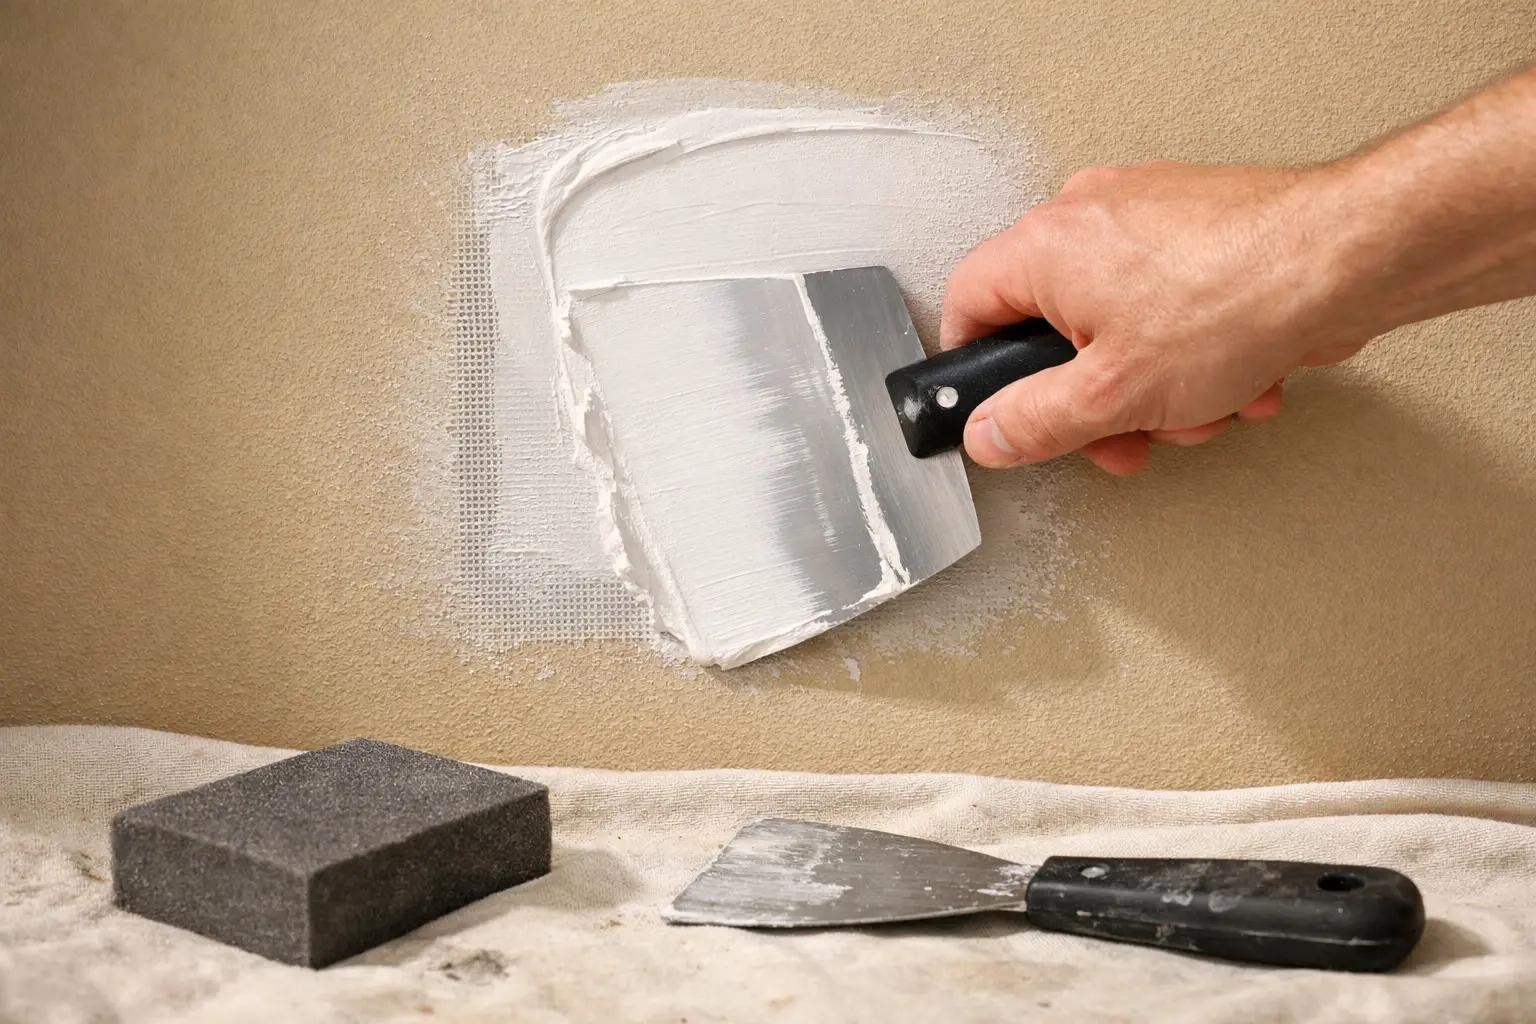
A nail hole, a doorknob punch-through, and a fist-sized hole from moving furniture each need a different repair. Match the hole to the method: spackle under 1/2 inch, a self-adhesive mesh patch up to 4 inches, a California patch from 4 to 8 inches, and a backer strip with a new drywall piece beyond that. Every method finishes with the same thin coats, sanding, and primer, and the materials cost under $40.
You Might Also Like
 Easy45 min
How to Install a Smart Thermostat
A smart thermostat is one of the highest-ROI upgrades you can make to your home — it learns your schedule, adjusts automatically when you're away, and typically saves about 8% on heating and cooling bills — the figure ENERGY STAR verifies from real-home data, roughly $50 a year — so the $120-250 device usually pays for itself within a few years. If your old thermostat has labeled wires behind it, the swap takes about 30-45 minutes with nothing more than a screwdriver and your phone. This guide covers checking compatibility, labeling wires, mounting the new base, connecting everything, and walking through the app setup so your system is running smart the same day.
 Easy30 min
How to Fix a Dripping Faucet
A dripping faucet wastes more than 3,000 gallons of water per year and can add $20 or more to your monthly water bill. The fix is almost always a worn cartridge, washer, or O-ring — parts that cost under $10 and take 20-30 minutes to replace with basic tools.
 Hard8 hrs
How to Paint Kitchen Cabinets
A professional cabinet refinish costs $3,000-8,000, but painting them yourself with the right prep and materials delivers the same transformation for under $200 in a long weekend. The secret is thorough degreasing, a bonding primer, and thin coats with proper dry time between each — skip any of those and the paint will chip within months. This guide walks through the full process from door removal and labeling to final reassembly, covering both brush and roller techniques for a smooth, factory-like finish.