How to Repair Scratches in a Hardwood Floor
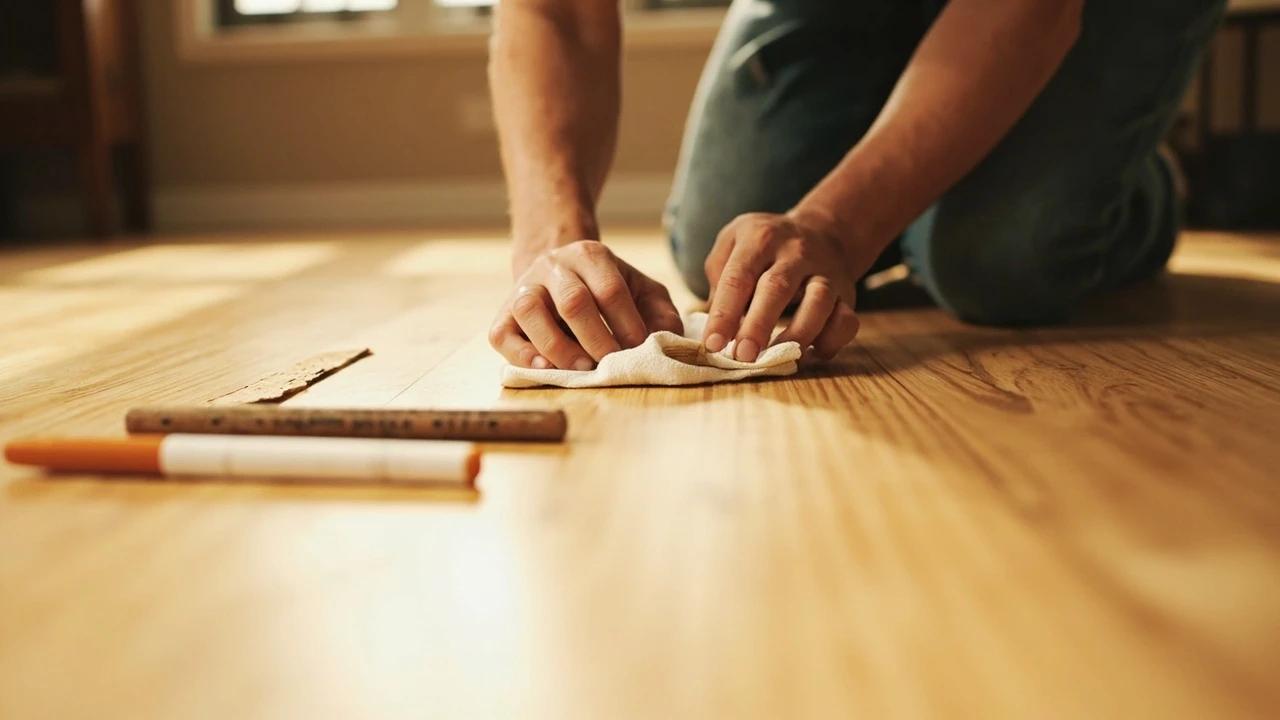

Scratched hardwood almost never means refinishing the whole floor. This guide shows you how to match the fix to the damage — a touch-up marker for finish-level scratches, a wax fill stick for shallow ones, and stainable wood filler with stain and polyurethane for deep gouges — all for under $40 in supplies and about an hour of work.
What You'll Need
🛠 Tools
📦 Materials
Safety First
- •Rags soaked with oil-based stain or finish can spontaneously combust — spread them flat outdoors to dry completely before disposal.
- •Ventilate the room when applying stain or polyurethane, and keep kids and pets off the repair until it fully cures.
Step-by-Step Instructions
Identify Your Floor's Finish
Place a single drop of water on a board in the scratched area. If it beads up and holds its shape for ten minutes, you have a surface finish (polyurethane or a factory aluminum-oxide coating) — the repairs in this guide apply directly. If the drop soaks in and darkens the wood within a few minutes, you have a penetrating oil or wax finish: shallow scratches there are fixed by simply working a little of the matching oil into the spot, no filler or topcoat needed.

Micro-beveled grooves between every board are the giveaway of a prefinished floor with a factory aluminum-oxide finish — the hardest type to blend invisibly, so test your color match somewhere hidden first.
Clean the Scratch and the Area Around It
Spray hardwood floor cleaner on a microfiber cloth and wipe down the scratched area, then dry it completely. Dirt and floor polish hide the scratch's true depth and keep repair products from bonding. If the floor has ever been treated with a polish or oil soap, wipe the repair zone once more with a cloth barely dampened in mineral spirits to strip the residue.
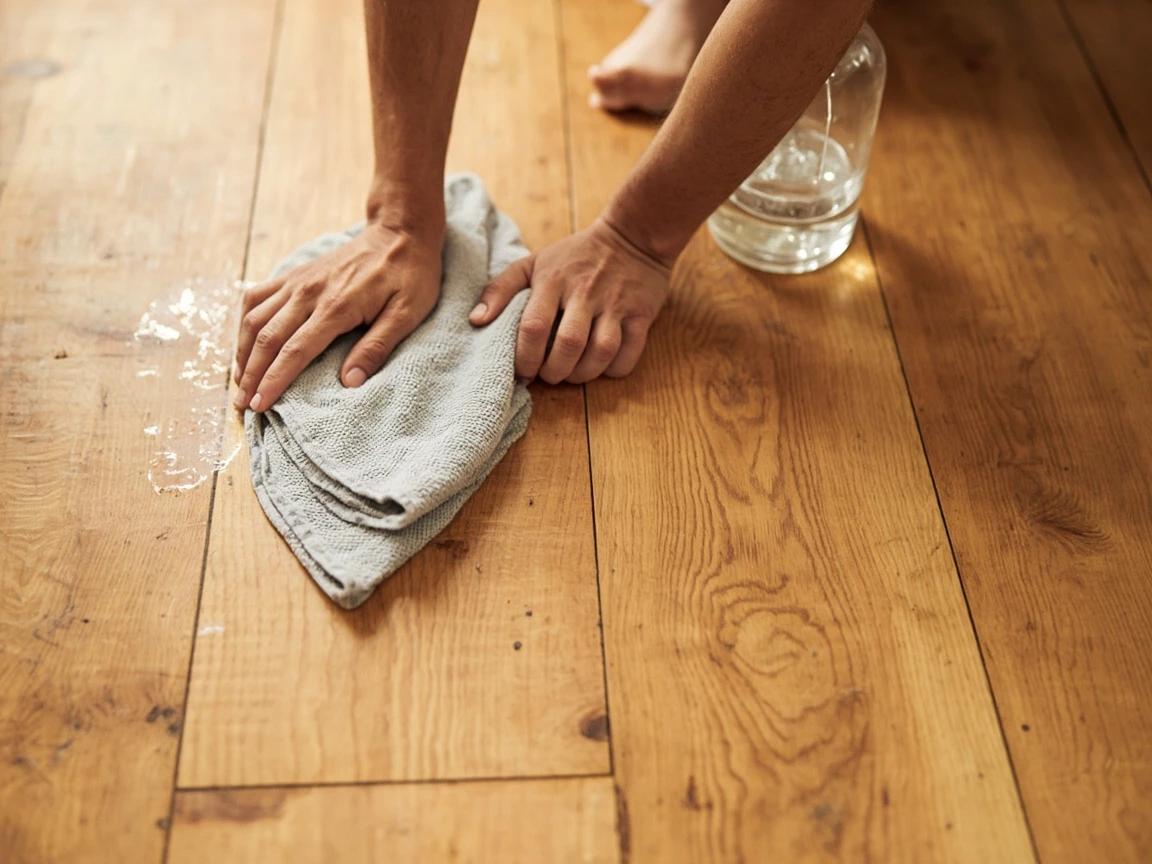
Clean first, judge second — plenty of "scratches" turn out to be a streak of shoe rubber, candle wax, or drywall dust sitting on top of the finish and wipe right off.
Gauge the Depth With Your Fingernail
Drag a fingernail across the scratch, perpendicular to it. If the nail glides over without catching, the scratch is only in the finish — go to step 4. If it catches slightly but the scratch is still the same color as the floor, it's shallow but into the wood — step 5. If there's a real groove showing pale raw wood or splinters, it's a gouge — steps 6 through 9. If scratches cover the whole room rather than a few spots, stop here: that calls for a screen-and-recoat or a full refinish, not dozens of spot repairs.
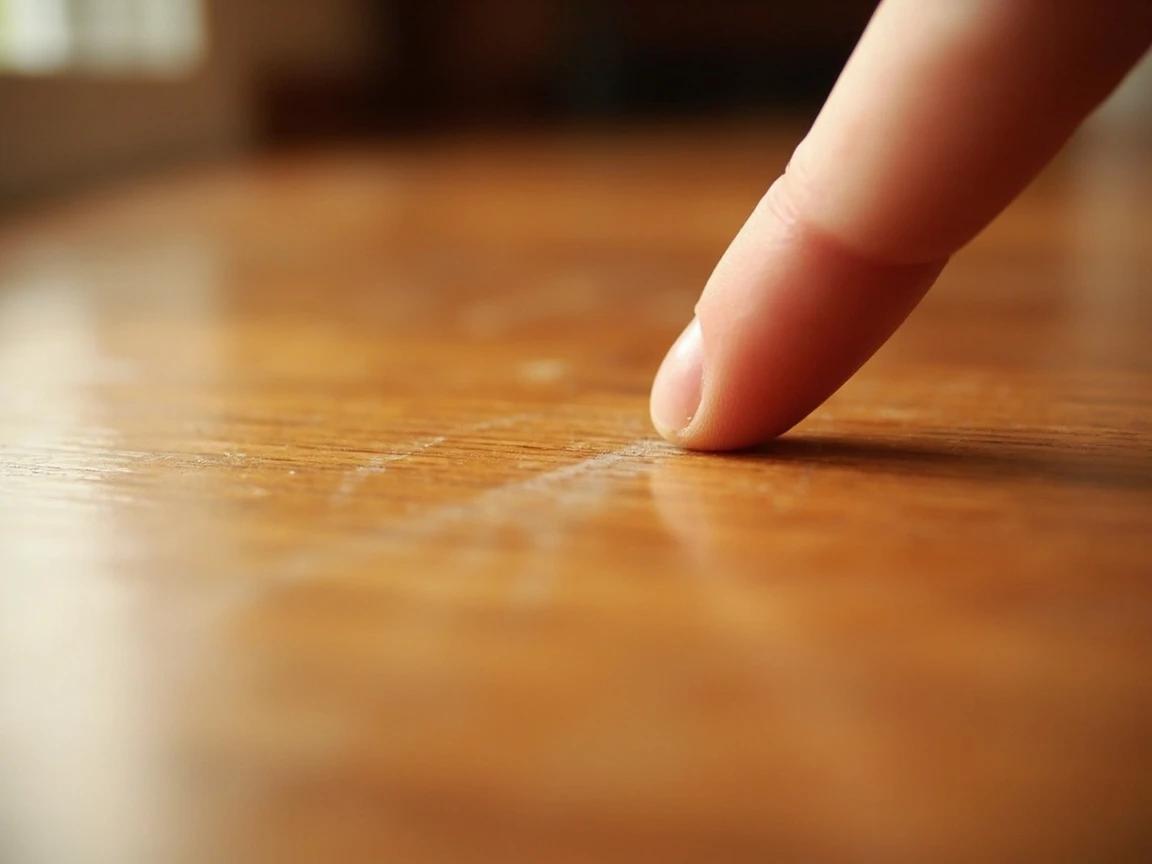
Check the scratch in low, raking light from a flashlight laid on the floor — depth and width show far more clearly than under overhead light.
Hide Finish-Level Scratches With a Touch-Up Marker
Pick a wood-tone marker one shade lighter than your floor — you can always darken a repair, but you can't lighten it. Draw slowly along the scratch line only, then immediately wipe across it with a dry cloth so the color stays in the scratch instead of tinting the surrounding finish. Layer a second pass if it reads too light, and switch to a fine blending pencil for hairline scratches a marker tip overshoots.
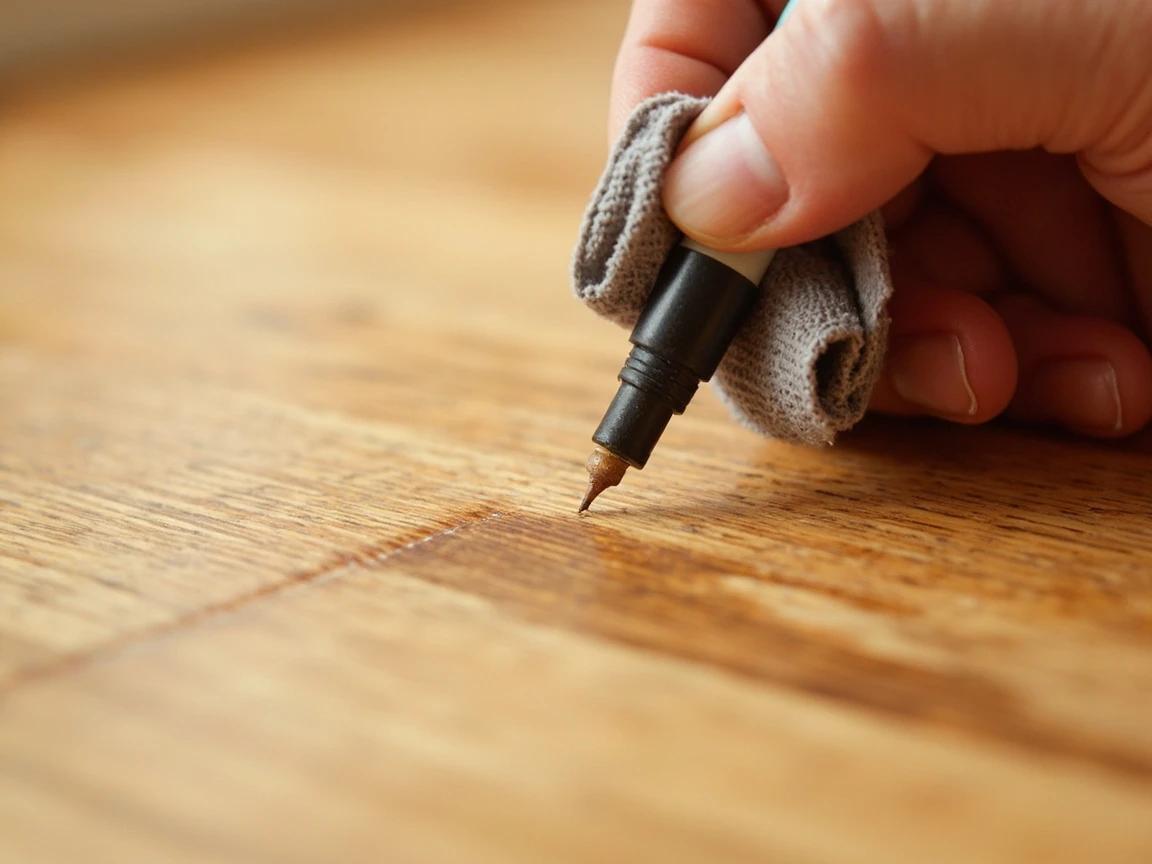
Buy a multi-shade kit rather than a single marker — real boards vary plank to plank, and alternating two shades along one scratch blends better than a perfect single-color line.
Fill Shallow Scratches With a Wax Fill Stick
Rub a wax fill stick firmly across the scratch — perpendicular strokes pack the wax down into the groove instead of skating over it. Scrape the excess flush with a plastic putty knife or an old gift card (never metal, which leaves new scratches), then buff the spot with a soft cloth until the sheen matches. For a scratch that crosses color variation in the grain, melt-blend two shades by rubbing one over the other.
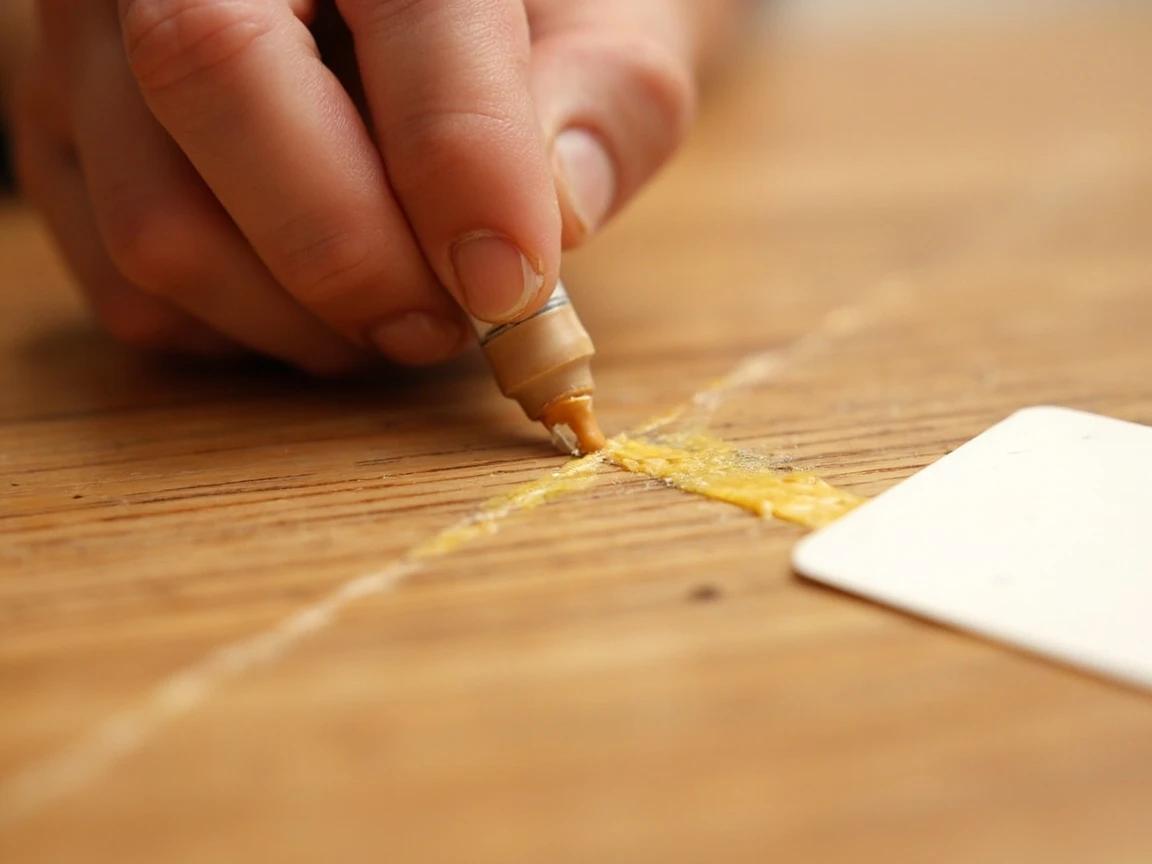
Wax contaminates future finish coats — polyurethane will not bond over it, and a floor peppered with wax repairs can't be screen-and-recoated without a full sand-down. If a professional recoat is in your plans, use wood filler instead.
Fill Deep Gouges With Stainable Wood Filler
Pick out any splinters and vacuum the gouge, then press stainable latex wood filler in with a plastic putty knife, working it in firmly so it packs the bottom of the groove. Leave the fill slightly proud of the surface — filler shrinks as it dries. Wipe smears off the surrounding boards with a damp cloth before they set, and let deep fills dry for the full time on the label, which can be several hours.
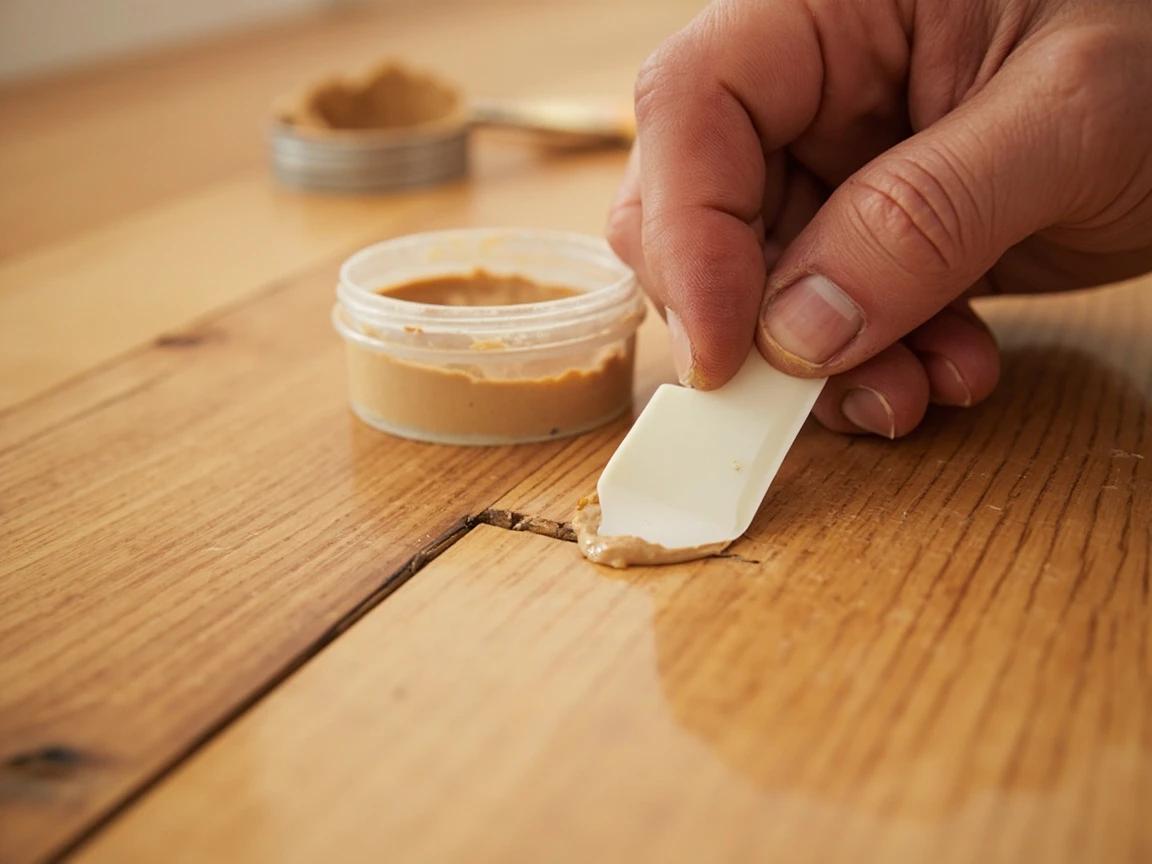
Pre-tinted floor fillers matched to common species (red oak, white oak, walnut) skip the staining step entirely — worth hunting down if your floor is a standard color.
Sand the Repair Flush
Frame the repair with painter's tape to protect the surrounding finish, then sand the dried filler with 220-grit paper folded into a small pad, always stroking with the grain. Stop as soon as the filler sits flush and your fingertip can't feel the edge. Vacuum the dust and wipe with a barely damp cloth before moving on.
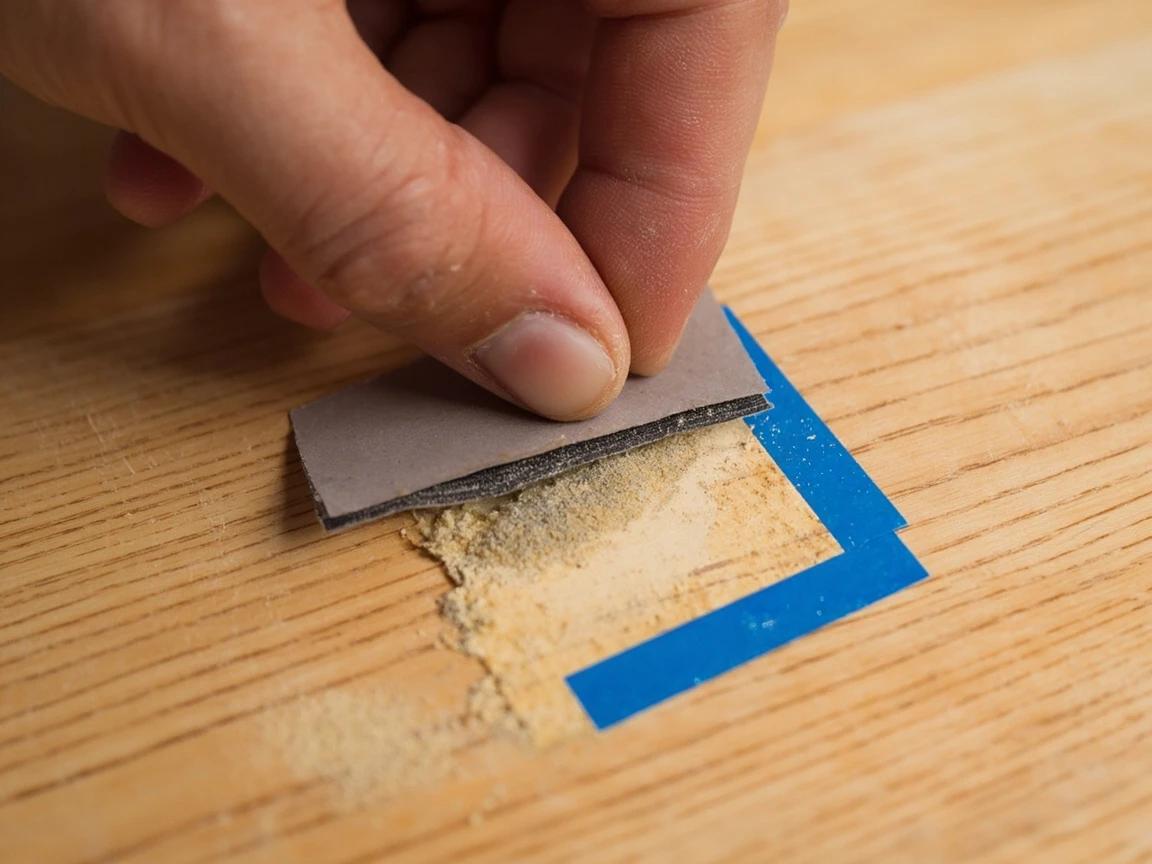
On engineered hardwood, keep sanding strictly confined to the filler — the real-wood veneer is only about 1/16 inch thick, and cutting through it ruins the board.
Stain the Repair to Match
Brush matching stain onto the sanded filler with a small artist's brush, let it sit for about a minute, then wipe it back with a rag. Filler takes stain differently than wood, so build depth in thin layers rather than one heavy coat, feathering the last pass a hair beyond the filler so there's no sharp color edge. Once the base color matches, draw a few thin grain lines across the repair with a darker touch-up marker.
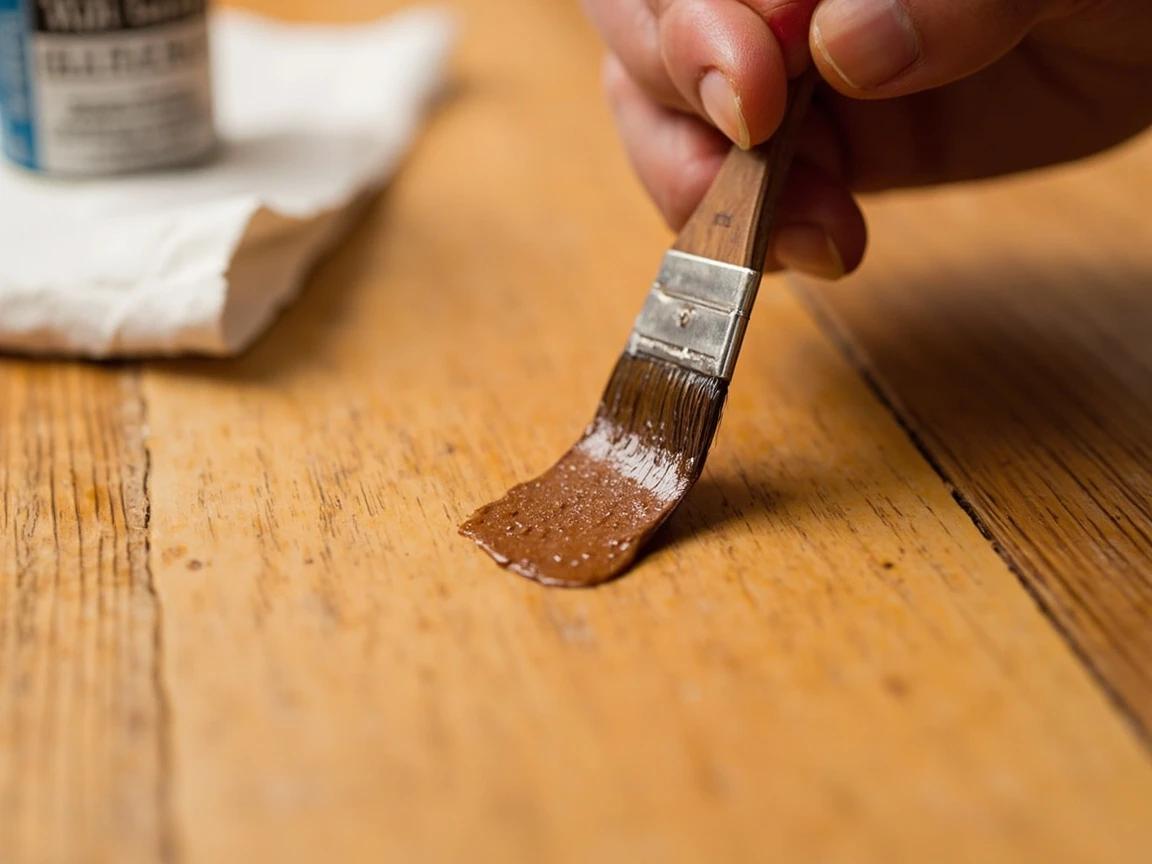
Test the stain on a dried blob of the same filler first — the hand-drawn grain lines are what make a repair disappear; a flat single-color patch is what the eye catches.
Seal the Repair With Matching-Sheen Polyurethane
Once the stain has dried per the label, brush a thin coat of water-based polyurethane over the repair in the same sheen as your floor — satin is the most common. Feather the edges so the new finish tapers into the old rather than stopping at a ridge, and add a second thin coat after two hours rather than one thick coat. The repair will look slightly brighter for a few weeks until the sheen ages in.
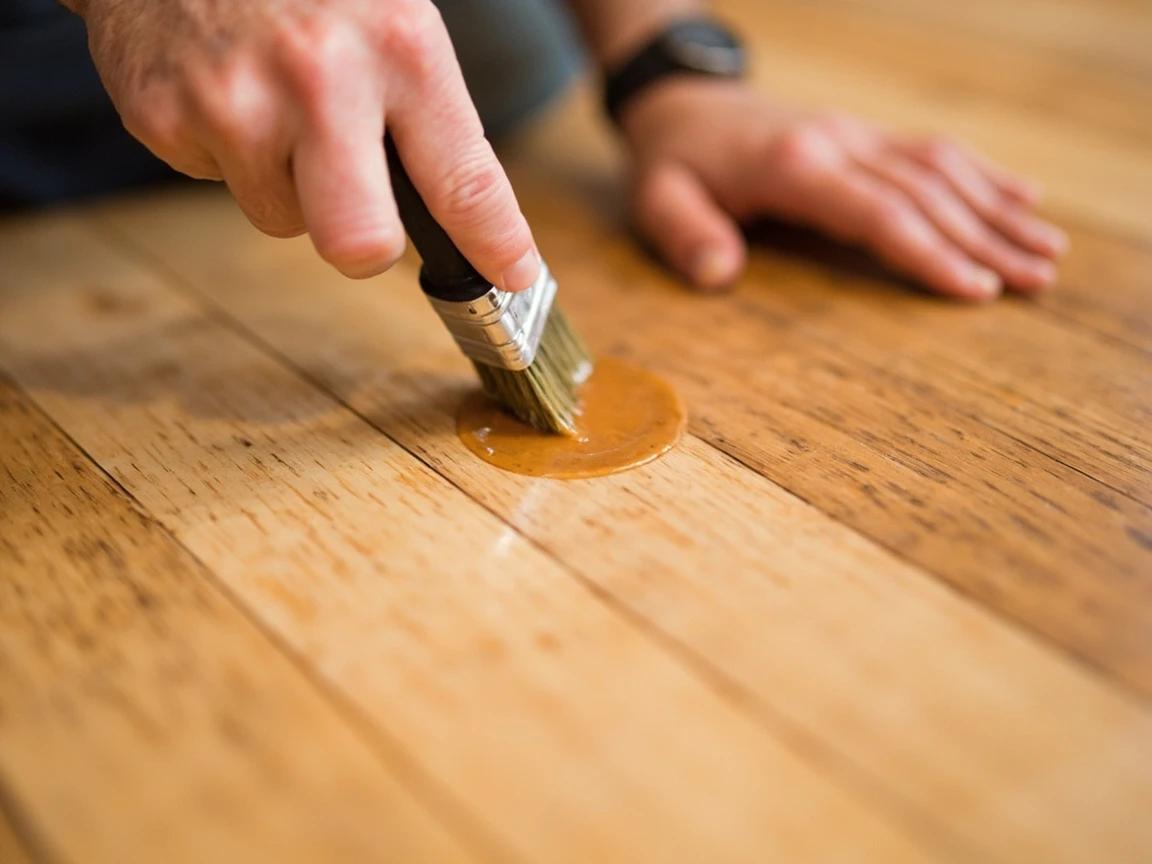
Gloss level is the giveaway on poly repairs, not color — hold a sheen sample card against your floor in daylight before buying, and when in doubt go one step flatter.
Protect the Floor From the Next Scratch
Stick felt pads under every furniture leg and replace them yearly — embedded grit turns an old pad into sandpaper. Put walk-off mats at exterior doors and runners in traffic paths, keep pet nails trimmed, and sweep or vacuum weekly, since tracked-in grit does more cumulative scratching than any single accident. Skip steam mops entirely: steam forces moisture into board seams and clouds polyurethane.
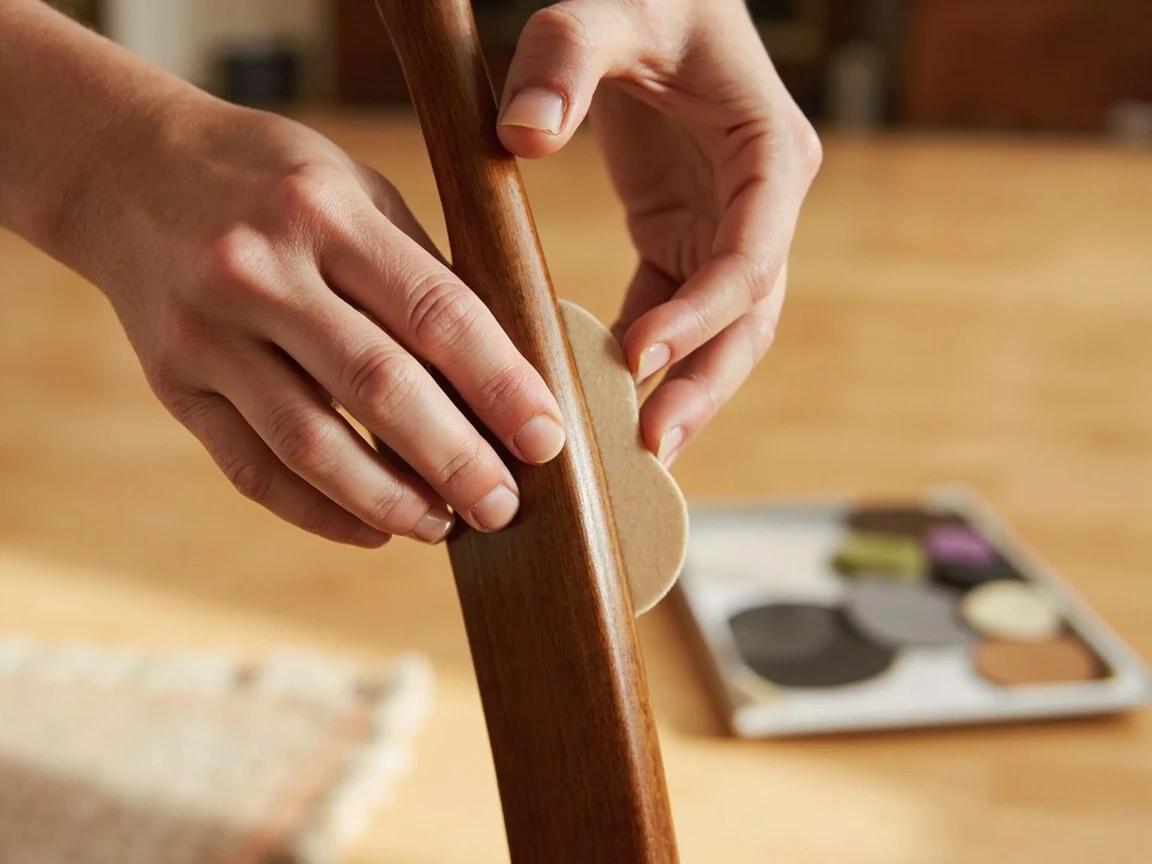
Check chair and table feet every few months by tipping them back — a felt pad that's slid off or worn through is how most "mystery scratches" happen.
Frequently Asked Questions
Does the walnut trick really work on hardwood floor scratches?
+
It works as temporary camouflage on fine surface scratches. Rubbing a raw walnut along the scratch deposits natural oil that darkens the exposed wood so the line blends in, but the effect fades within days to weeks as the oil dries out. It does nothing for scratches sitting in a polyurethane topcoat or for real gouges, so treat it as a quick fix before guests arrive and use a marker or wax stick for a lasting repair.
How do I fix dog scratches on hardwood floors?
+
Pet scratches are usually clusters of shallow, finish-level marks, so clean the area and blend them with a touch-up marker or a bottled scratch concealer, then keep nails trimmed to slow the next round. If a whole traffic path has dulled through the finish, spot fixes will look patchy — a professional screen-and-recoat (roughly $1 to $2.50 per square foot) restores the entire surface. Individual deep gouges get the same wood-filler repair as any other gouge.
Can I fix scratches in engineered hardwood the same way?
+
Yes for markers, wax sticks, and filler — none of those remove wood. What you should avoid is aggressive sanding: the real-wood veneer on engineered flooring is only about 1/16 to 1/8 inch thick, and sanding through it ruins the board. Keep any sanding confined to the filler itself, and know that many engineered floors can only be professionally refinished once, if at all.
Will a magic eraser remove scratches from a hardwood floor?
+
Be careful — melamine foam is a fine abrasive, not a cleaner. Scrubbing a wood floor with it can dull the sheen or strip finish, leaving a hazy patch that looks worse than the scratch. If you want to try it on a scuff, test in a closet first and use a light touch; a hardwood floor cleaner followed by a touch-up marker is the safer route.
How much does professional hardwood scratch repair cost?
+
A buff or screen-and-recoat runs about $1 to $2.50 per square foot — typically $300 to $600 for a living room — and handles widespread surface scratches. A full sand-and-refinish runs $3 to $8 per square foot, and national averages for hardwood repair jobs land between roughly $475 and $1,600. DIY spot repair costs under $40, so for a handful of isolated scratches it's worth trying first.
Sources & further reading
- How to Fix Scratches on Hardwood — Bruce Flooring
- Fast Fixes for Floor Scratches — This Old House
- Wood Floor Finishes — National Wood Flooring Association
More Carpentry Guides
View all → Hard30 hrs
How to Refinish a Wood Floor
Refinishing a tired, scratched-up hardwood floor is the single highest-impact upgrade you can make to a room — it strips away decades of wear, reveals the wood's original color, and adds years of life to the boards. A professional job runs $3-8 per square foot ($900-2,400 for a 300 sq ft room), but a dedicated DIYer with a rental drum sander can do the same work for $200-400 in rentals and materials over a long weekend.
 Easy1 hr
How to Fix a Squeaky Floor (From Above and Below)
A squeaky floor isn't a structural problem — it's the subfloor lifting off the joists by a hair every time you step. From a basement or crawlspace, you can fix it permanently with a $5 shim and a $0.10 screw. From above (carpet, hardwood, or vinyl) the Squeeeek No More kit drives a scored screw that snaps off below the surface — no exposed hardware. This guide covers both approaches.
 Medium8 hrs
How to Install Vinyl Plank (LVP) Flooring
A floating click-lock luxury vinyl plank floor is the most beginner-friendly way to replace a tired floor — no glue, no nails, just angle-click-and-tap planks that cut with a utility knife. The catch is everything that happens before the first plank: acclimation, a dead-flat subfloor, a balanced layout, and a perimeter expansion gap. Get those right and a room takes a day and $2-7 a square foot; skip them and the floor buckles. This guide walks the whole job in order.
You Might Also Like
 Hard8 hrs
How to Paint Kitchen Cabinets
A professional cabinet refinish costs $3,000-8,000, but painting them yourself with the right prep and materials delivers the same transformation for under $200 in a long weekend. The secret is thorough degreasing, a bonding primer, and thin coats with proper dry time between each — skip any of those and the paint will chip within months. This guide walks through the full process from door removal and labeling to final reassembly, covering both brush and roller techniques for a smooth, factory-like finish.
 Medium6 hrs
How to Paint a Room
A fresh coat of paint is the fastest, cheapest way to transform any room — and doing it yourself saves $400-800 in labor for an average 12x12-foot bedroom. The job takes a weekend from prep to final coat, and the difference between an amateur-looking result and a professional finish comes down to technique, not talent. This guide covers prep, cutting in, rolling, and cleanup so you get clean lines and even coverage the first time.
 Easy30 min
How to Replace an Electrical Outlet
A worn-out or discolored electrical outlet is one of the simplest electrical repairs you can tackle yourself — swapping one takes about 15-30 minutes and costs under $5 in parts versus $75-150 for an electrician visit. This guide walks you through safely replacing a standard duplex receptacle, including how to handle the wiring correctly and avoid the most common DIY mistakes.