How to Patch a Large Hole in Drywall
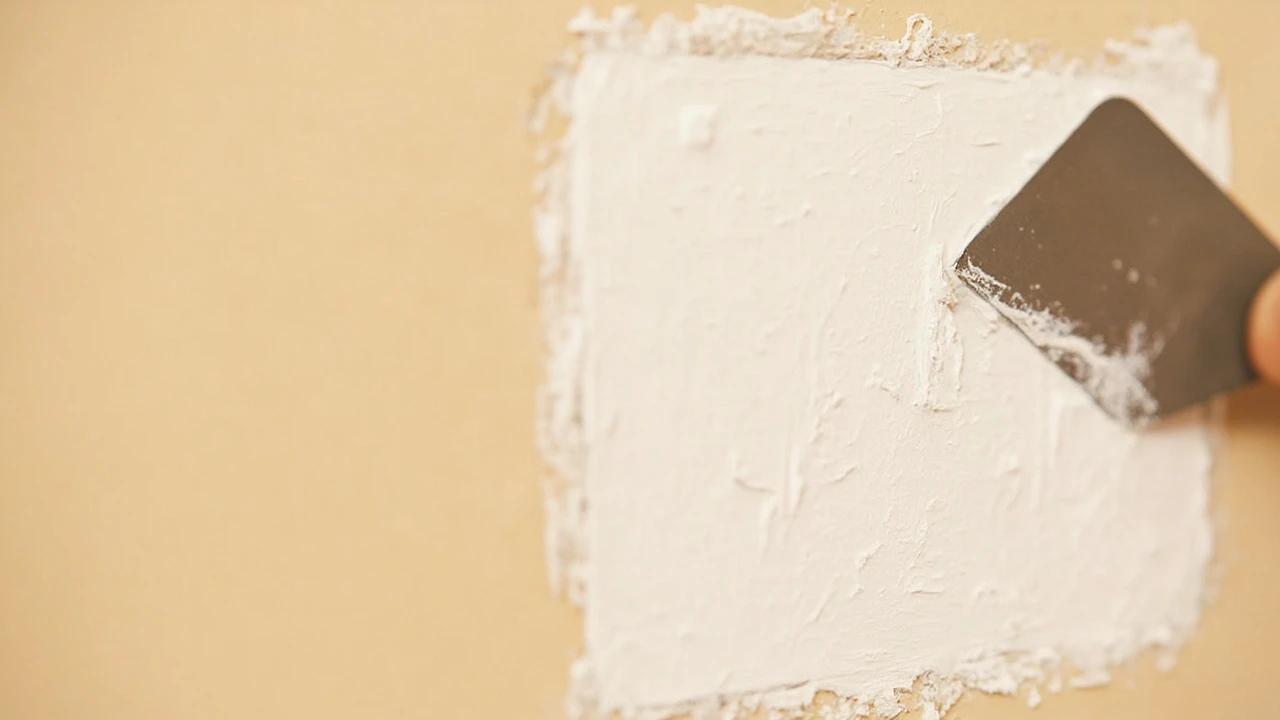

A doorknob blowout, a wall-anchor failure, a fist through the drywall during the move-out — these holes are too big for spackle but too small to justify cutting in a full drywall section. The mesh patch (for 1/2-inch to 4-inch holes) and the California patch (for 4 to 8-inch holes) both finish flush, paint over invisibly, and cost under $25 in materials. The job takes about two hours of hands-on work spread over two or three days of compound cure time.
What do you need to patch a large hole in drywall?
🛠 Tools
📦 Materials
Safety First
- •Before sawing into a wall, check for electrical, plumbing, or HVAC ducts behind the drywall. A stud finder with live-wire detection or a small inspection mirror through the existing hole prevents a $25 repair from turning into a $500 utility fix.
How do you patch a large hole in drywall?
Measure the hole and pick the method
Measure the hole at its widest point. Under 4 inches? Use a self-adhesive mesh patch — it's faster, fully beginner-friendly, and the finish quality is good. Between 4 and 8 inches? Use the California patch — it takes more steps but produces an invisibly flat repair that's structurally as strong as the original wall. Over 8 inches? Stop here and use the full drywall-cutout method in How to Patch Drywall Holes — neither mesh nor California will be rigid enough.
Square up the hole and check for utilities behind
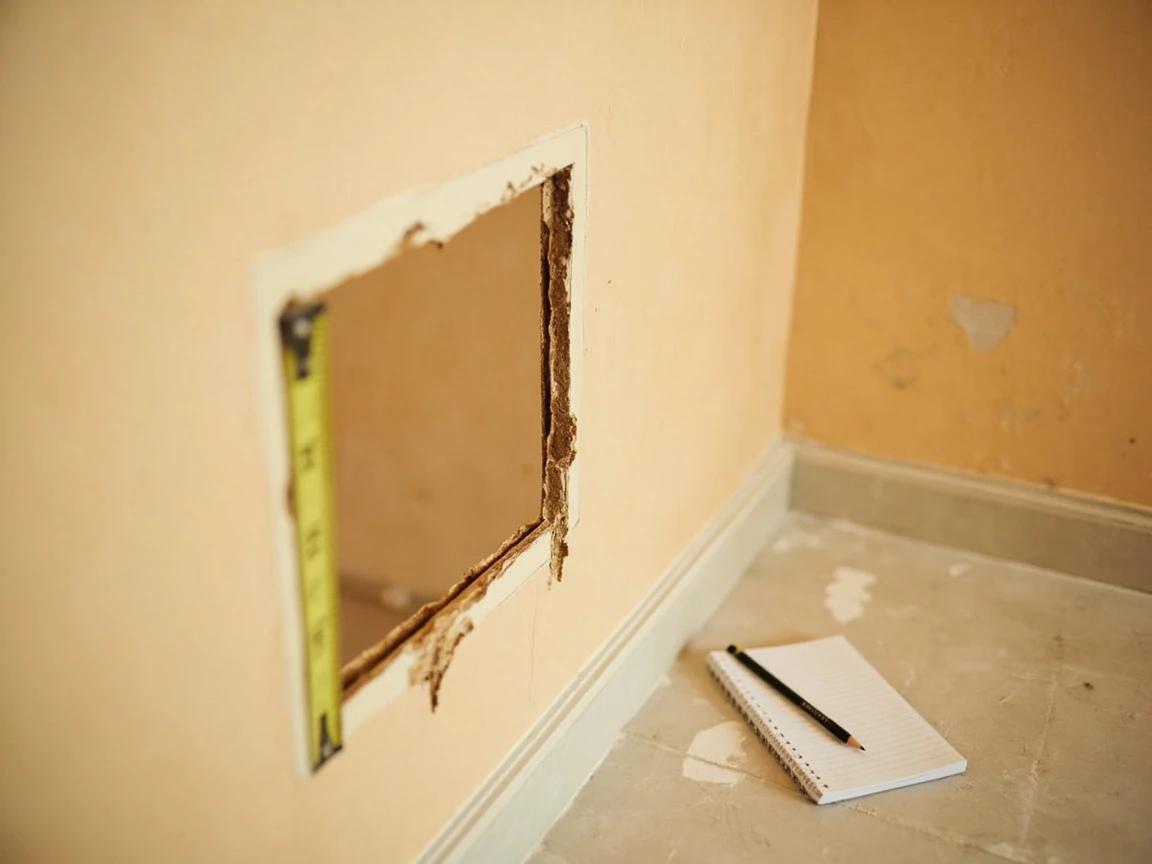
Ragged edges weaken a patch. Use a utility knife or drywall saw to cut the hole into a clean rectangle or square — give yourself straight edges to work against. Before sawing deep, peek behind the hole with a flashlight (or push a phone in for a photo) to check for electrical wires, plumbing, or HVAC ducts. Studs typically run 16 inches on center; you want to cut between studs, not through them. Lay a drop cloth below to catch dust.
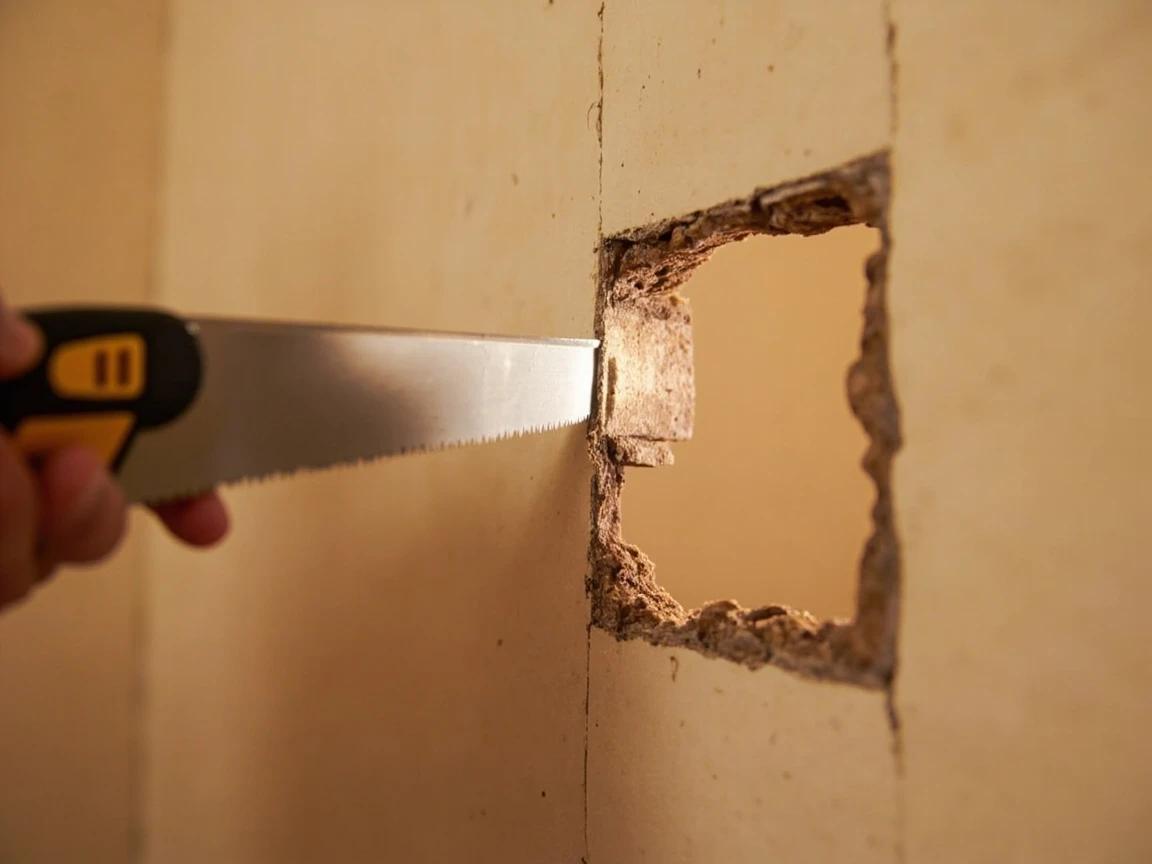
Never plunge a saw into a wall blind. A stud finder with live-wire detection (about $25) or a quick look through the existing hole with a phone flashlight catches the wires and pipes that turn a $25 repair into a $500 utility fix.
Mesh method (under 4 inches): peel-and-stick the patch
If you chose the mesh method, the patch does most of the work. Peel the backing off a self-adhesive fiberglass mesh patch sized at least 1 inch bigger than the hole on all sides, center it over the squared-up hole, and press the adhesive border firmly onto the surrounding drywall. The mesh bridges the opening; the adhesive holds it to the wall. Skip to step 7 (first coat of compound).
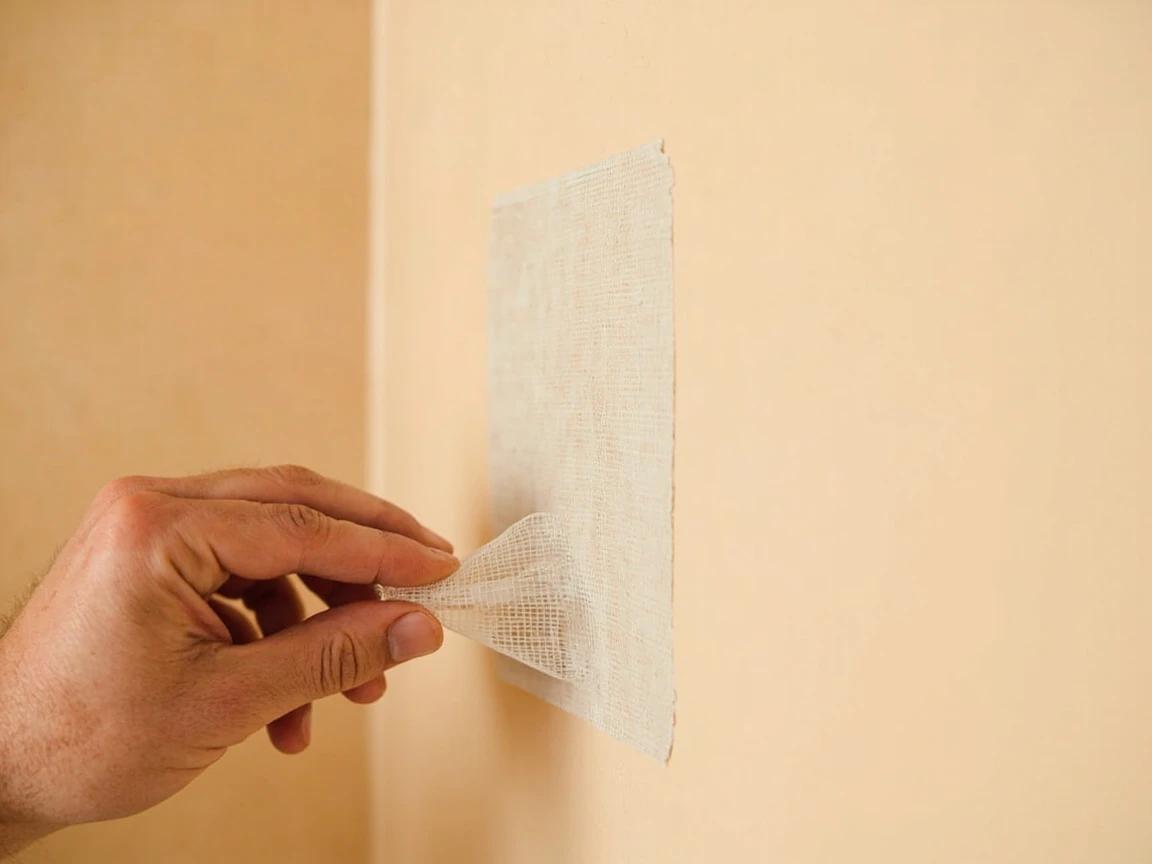
Press the adhesive border firmly with a putty knife, not just your fingers. The harder you press, the better the bond — and the less likely the mesh edge telegraphs through the finished compound.
California method (4-8 inches): cut a scrap with a paper border
Cut a scrap of 1/2-inch drywall (match your wall thickness) about 3 inches wider and taller than your hole on all sides. Flip it over (paper-side down). With a sharp utility knife, score a square on the BACK that's exactly the size of the wall hole, 1.5 inches in from each edge. Snap the gypsum off the back along your score lines so the center gypsum stays attached and the outer 1.5 inches becomes a paper-only flap on all sides. The paper border replaces tape.
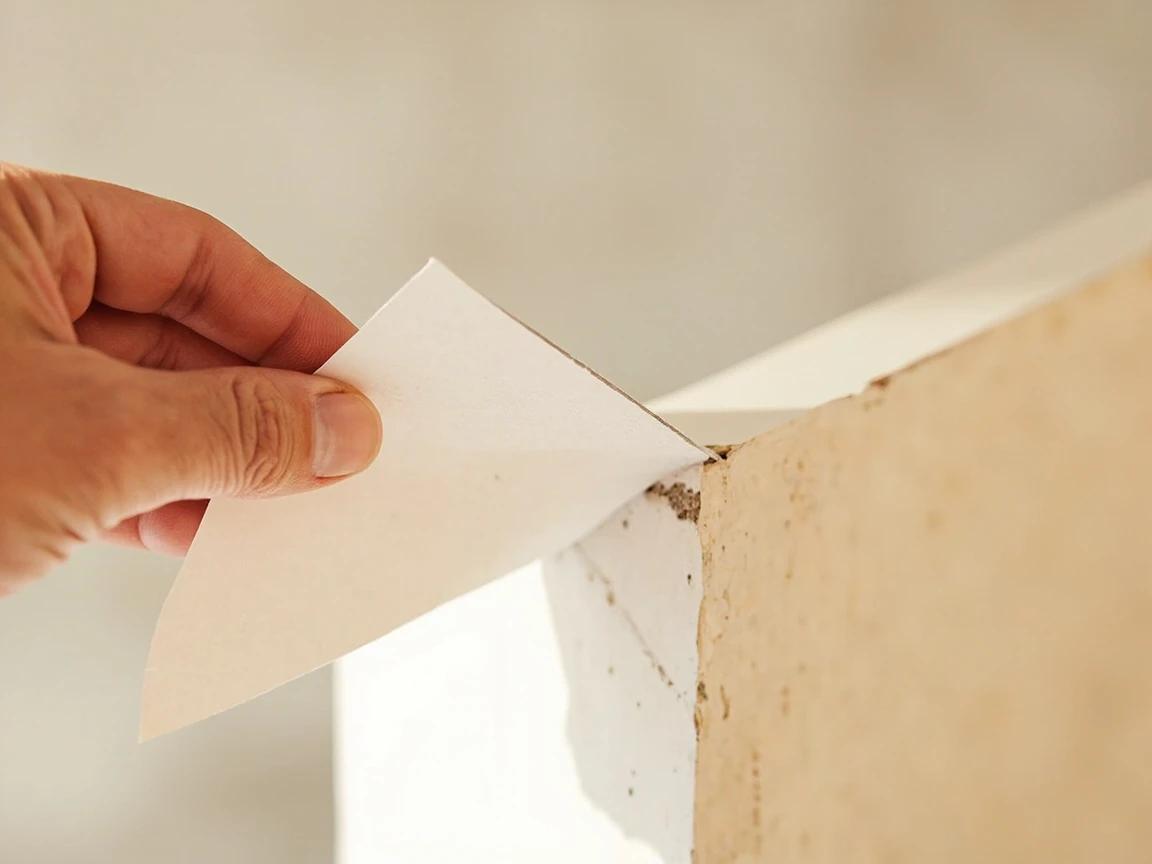
California method: trace and trim the wall hole to fit
Hold the patch flat against the wall, gypsum side toward the wall, with the paper border flat against the surface. Trace around just the gypsum square (not the paper border) with a pencil onto the wall. Set the patch aside and use a drywall saw to cut along your traced line, opening the wall hole to match the gypsum exactly. Test-fit the patch — the gypsum center should drop snug into the hole while the paper border lies flat on the surrounding wall.
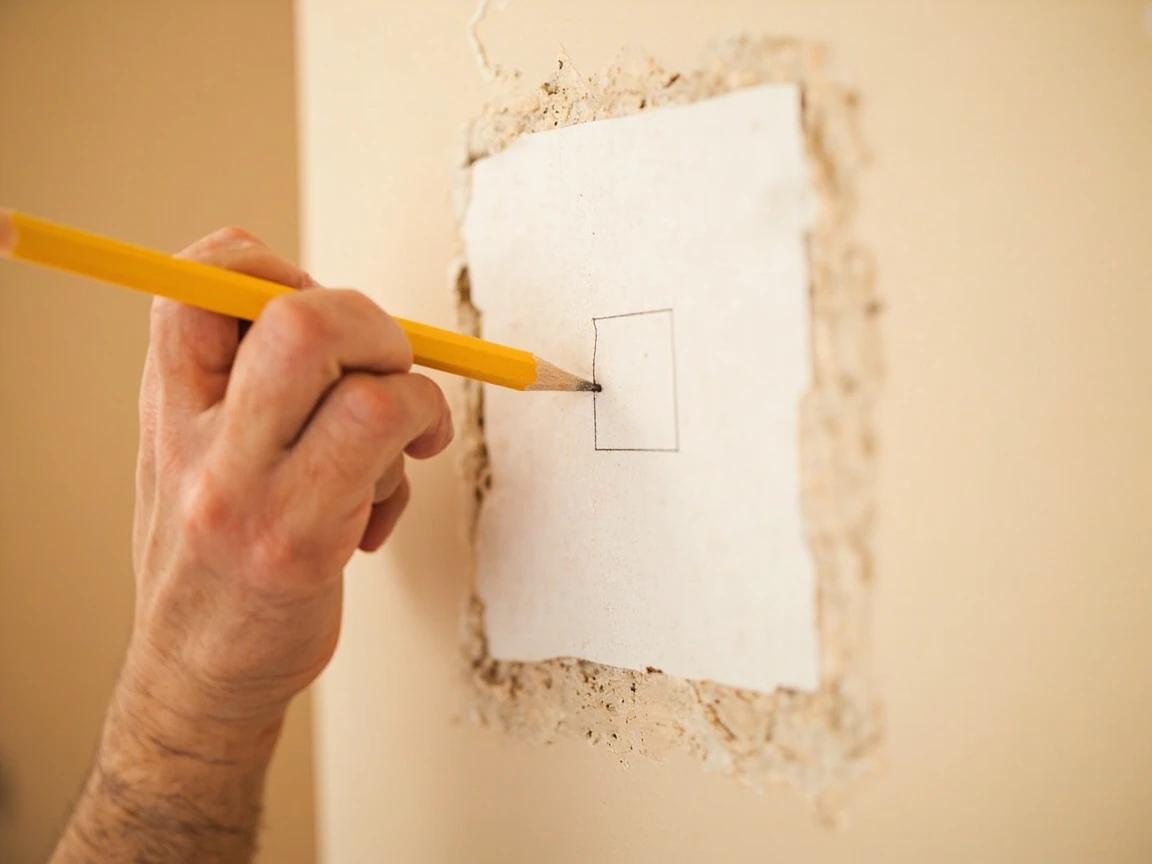
If the gypsum center doesn't drop in, don't force it — shave the wall hole a hair wider with the utility knife. The gypsum should sit flush with the wall surface, not proud and not sunken.
California method: butter and embed the patch
Load your 6-inch drywall knife with joint compound and butter a generous layer onto the wall around the hole, where the paper border will sit. Press the patch into place — gypsum into the hole, paper border into the wet compound. Smooth the paper firmly with the knife, working from the center outward to push out air bubbles and excess compound. Wipe excess and let it set up before adding more compound on top.
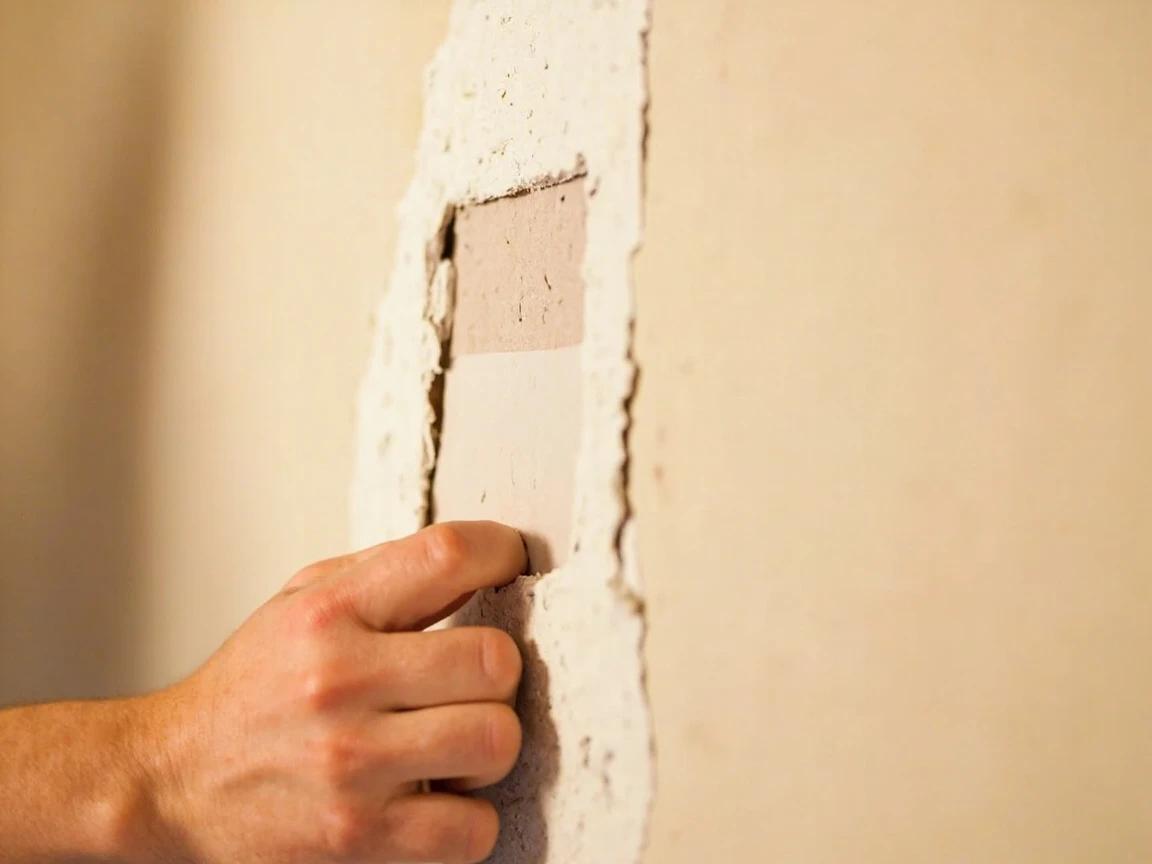
First coat: thin pass with the 6-inch knife
Now build up the patch with compound. Load the 6-inch knife and pull compound across the patch in long, smooth strokes — packing it into the mesh weave or onto the paper border. For a mesh patch, a setting-type compound (hot mud, e.g. Easy Sand 45) makes a stronger first coat that resists the hairline cracking premixed all-purpose can develop over fiberglass mesh; premixed all-purpose is fine for the California patch and for every finish coat. Feather the outer edge by lifting the back of the knife as you finish each pass, blending into the wall. Keep this coat thin; you'll build thickness in coats 2 and 3. Let it dry fully before the next coat — about 24 hours for premixed all-purpose, or just 20-90 minutes if you used setting-type compound.
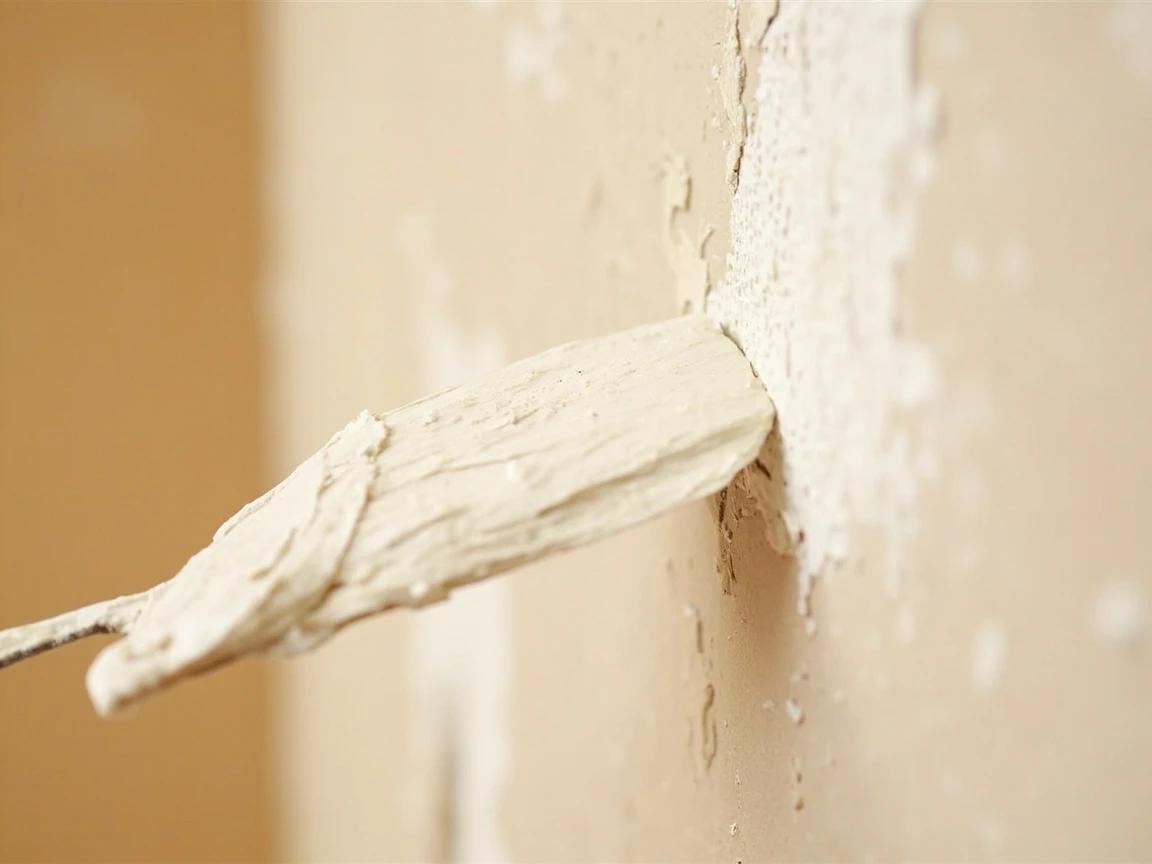
Thin coats are everything. Three thin coats produce a smoother, stronger patch than one thick blob — thick mud cracks as it shrinks and sands miserably. The same thin-coat, feather-wide technique is what makes a taped drywall seam disappear, too.
Second and third coats: feather wider each time
Once the first coat is bone-dry (white, not gray), give it a light sanding with the sponge to knock down ridges. Apply a second coat with the 6-inch knife, extending 2 inches beyond the first coat in every direction. Let dry, sand lightly again, then apply a third skim coat with the 10 or 12-inch knife extending another 2-3 inches further out. Each coat is thinner and wider than the last — that's the feathering that makes the patch disappear.
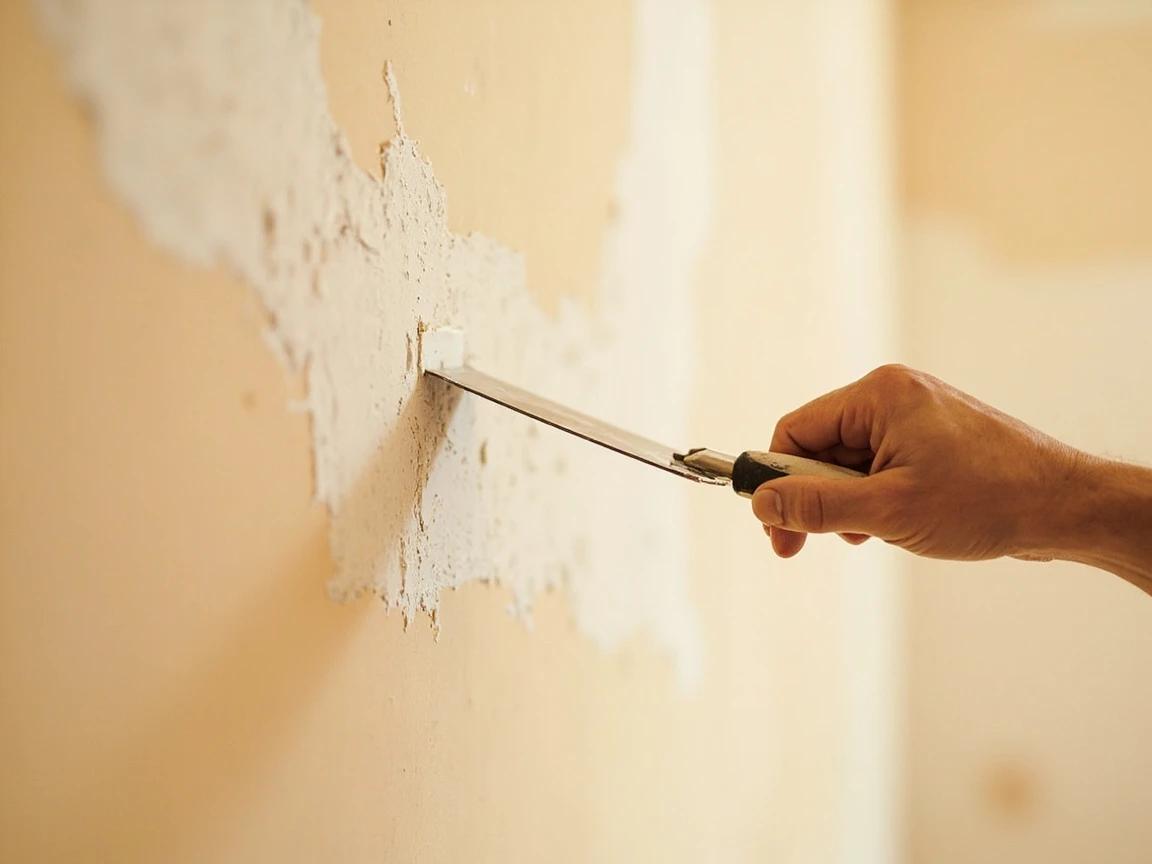
Don't try to fix bumps or ridges by adding more compound on top. Sand them flat first, then add the next thin coat. Burying a ridge under another coat just makes the ridge bigger.
Sand smooth, prime, and paint
After the final coat is dry, sand the whole patch flush with a 150-grit sanding sponge using light circular passes — feel with your fingertips as much as you look (fingers catch ridges your eye misses). Wipe the dust with a damp rag, then spot-prime the patch with PVA drywall primer. Primer prevents flashing — the dull spot that shows when paint absorbs differently on bare compound. Once dry, paint with the original wall color, using a 4-inch foam roller for the closest texture match.
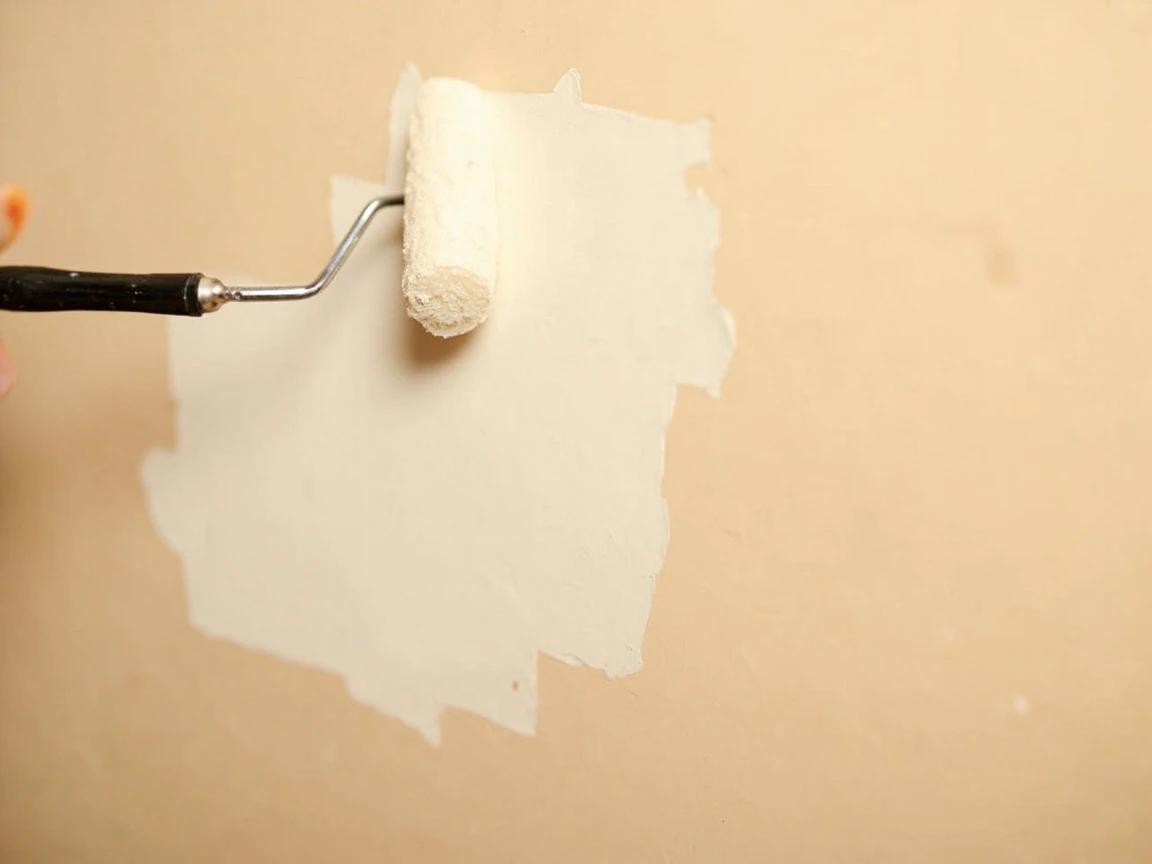
Hold a flashlight at a low raking angle across the dry patch before priming. Any ridges that aren't visible head-on light up immediately under raking light, telling you exactly where to do one more light sand.
Frequently Asked Questions
What's the difference between a mesh patch and a California patch?
+
A self-adhesive fiberglass mesh patch is a pre-made square of stiff fiberglass mesh that sticks directly over the hole — you just smooth joint compound over the top. It's faster and beginner-friendly but works best for holes up to about 4 inches. A California patch (also called a 'hot patch') uses scrap drywall: you cut a piece 3 inches larger than the hole and shave away the back gypsum, leaving a 1.5-inch paper border that acts as built-in tape. California patches handle bigger holes (4-8 inches), are stronger, and finish flatter — but take more skill and time. One detail decides whether a mesh patch holds: the first coat over mesh should be setting-type compound, not premixed. Mesh flexes, premixed stays slightly soft, and that combination produces the hairline crack that reappears months later. Setting compound cures hard and locks the mesh down. Cost is near identical, so pick on location — mesh for low-traffic walls, California for anything a shoulder or door handle reaches.
What's the biggest hole I can patch this way without cutting in a new drywall section?
+
About 8 inches is the practical limit for a California patch. Beyond that, the patch starts to flex unsupported between studs, and you really need a wood backer (a 1x3 furring strip sistered behind the existing wall) plus a full drywall section screwed in. That bigger job is covered in the comprehensive How to Patch Drywall Holes guide. For nail holes and dings under 1/2 inch, see How to Patch a Small Hole in Drywall — spackle alone is the right tool. Before cutting anything larger, find the framing. Studs sit 16 inches on centre in most homes and 24 in some newer builds, so a square opening cut back to stud centres gives the new piece something solid to screw to on both sides. Cut with a keyhole saw at shallow depth rather than plunging a multi-tool in blind — cable runs vertically above and below outlets, and supply lines live in kitchen and bathroom walls.
Can I use spackle instead of joint compound for a large hole?
+
No. Spackle is formulated for small dings — it's a soft, lightweight filler that doesn't have the strength to bridge a mesh patch or hold up over a California patch's paper border. Joint compound (also called drywall mud) is denser, sticks to tape and paper, and is what mesh and California patches are designed to work with. Use all-purpose or lightweight premixed joint compound. Spackle on a large hole cracks within weeks. Within joint compound there is a further choice worth making deliberately. Lightweight premixed sands very easily and is forgiving on finish coats, but it is weaker and shrinks more. All-purpose is denser and the better structural first coat. Setting-type compound, the bagged powder you mix, is stronger than either and does not shrink, which is why it belongs on the coat that does the actual bridging. A common combination is setting-type for coat one and lightweight premixed for the last two, which trades the least strength for the easiest sanding.
How long should I wait between coats of joint compound?
+
All-purpose premixed joint compound needs 24 hours per coat at normal room temperature and humidity. The patch goes white when dry; if any gray cast remains, give it longer. Quick-set 'hot' mud (sold as bagged powder mixed with water) sets in 20-90 minutes — the bag tells you which. It's harder to sand, so many people use it only for the first coat (it bonds especially well over a fiberglass mesh patch) and switch to premixed all-purpose for the finish coats. For three coats with all-purpose, expect a 3-day total project. Those times assume roughly 70 degrees and normal humidity, and both move the number a lot. A damp basement can double it, and compound below 55 degrees may never cure properly. A fan moving air across the patch is safe; a heat gun is not, because drying the surface faster than the core traps moisture and cracks the finish. Judge by color, not the clock — uniformly bright white means ready to sand.
Why is my patch visible after I paint over it?
+
Three usual suspects, in order: skipped the primer step (causes 'flashing' — the patched area absorbs paint differently than the surrounding wall and shows as a dull spot), didn't feather the compound wide enough so the patch reads as a flat rectangle under the paint, or surface texture mismatch (your patch is glass-smooth and the wall has knockdown or orange-peel texture). Fix flashing by spot-priming with PVA drywall primer; fix texture mismatch with texture-in-a-can spray. Catch all three before the paint goes on, not after. Hold a work light almost flat against the wall and sight along the surface: raking light exposes ridges, hollows and the edge of the feathering that straight-on lighting hides completely. Feather the compound about three times the width of the hole, so an 6-inch patch blends out across roughly 18 inches. Finish sanding at 150 grit or finer, since coarser paper leaves scratch marks that telegraph through paint, and match the sheen of the surrounding wall as well as the color.
Community Tips
💬 Sign in to share tips with the community
Sources & further reading
- How To Patch a Drywall Hole — This Old House
- How to Patch Drywall: Small, Medium, and Large Hole Repair — Bob Vila
More Carpentry Guides
View all →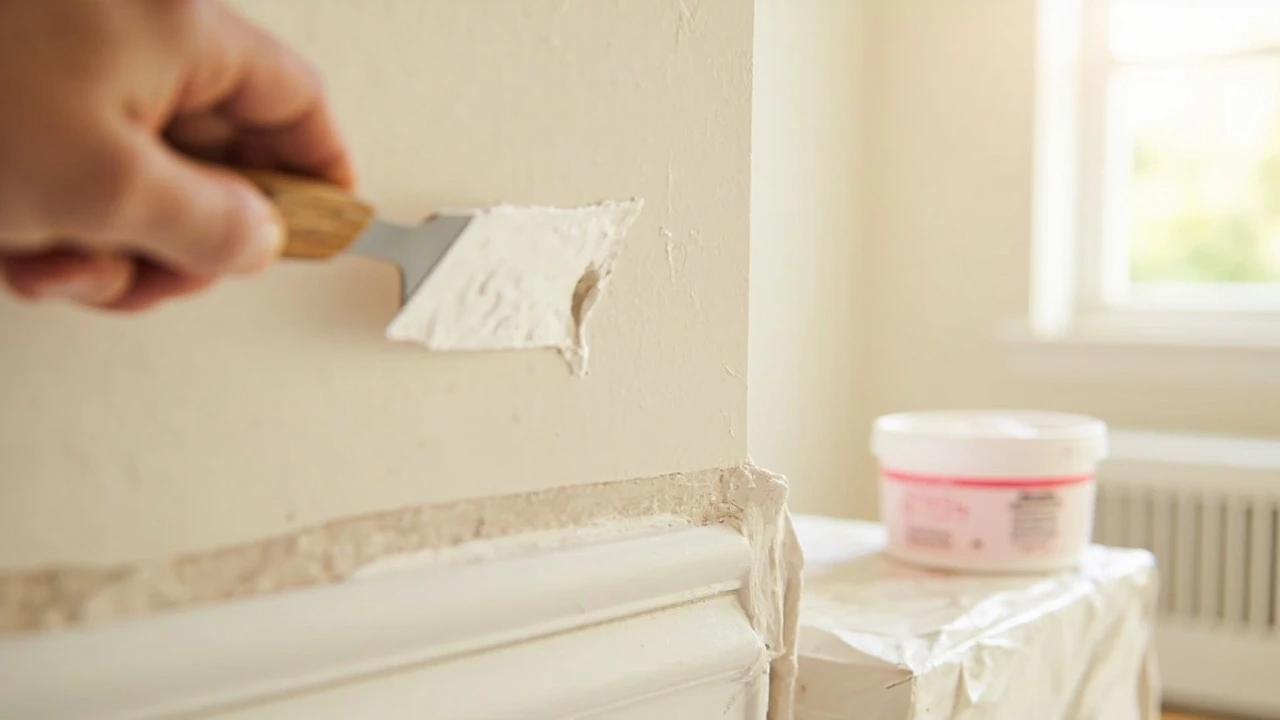 Easy1 hr
How to Patch a Small Hole in Drywall (Spackle Method)
A nail hole, picture-hanger ding, or doorknob dent doesn't need a contractor — it needs a $5 tub of spackle and twenty minutes of hands-on time. This guide covers the two-coat method, drying-time tradeoffs, and the touch-up paint trick that makes the patch invisible. For holes bigger than 1/2 inch, step up to the mesh-patch and drywall-cutout methods instead.
 Easy1 hr
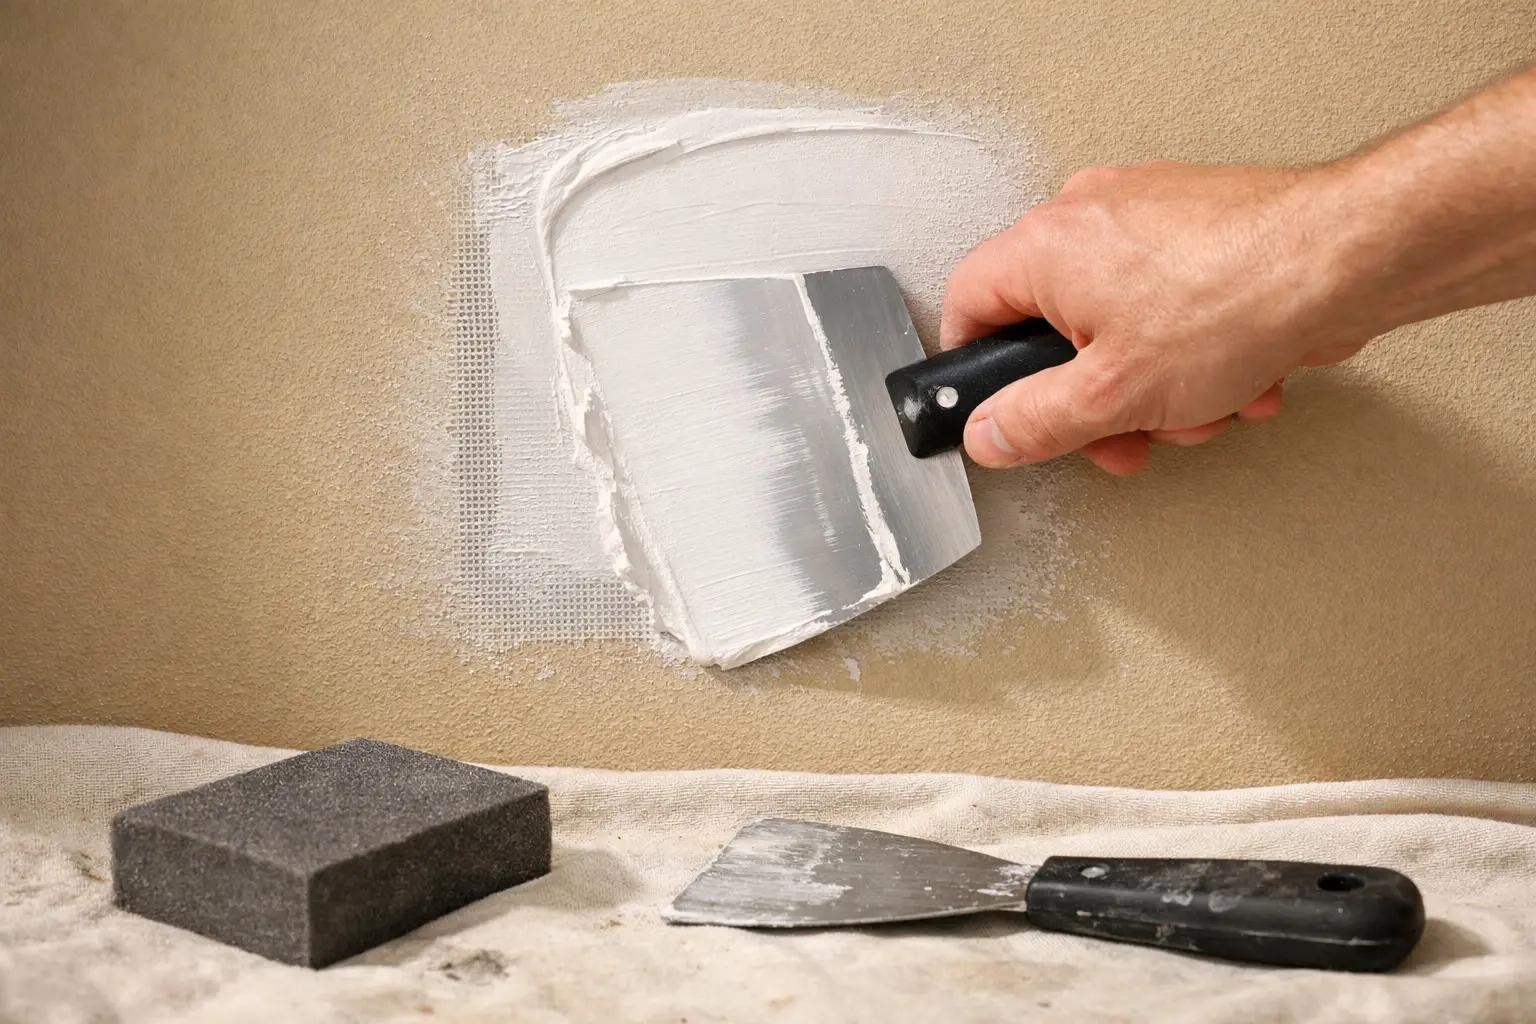
How to Patch Any Size Hole in Drywall: Which Method to Use
Whether it's a nail pop, a doorknob punch-through, or a fist-sized hole from moving furniture, patching drywall is one of the most common home repairs — and doing it yourself saves $75-200 per hole versus hiring a handyman. This guide is the decision tree: match your hole size to the right method — spackle, mesh patch, or backer-board cutout — then follow the pro steps to an invisible, paint-ready finish.
 Easy15 min
How to Find a Stud Without a Stud Finder
No stud finder? No problem. You can locate the wooden studs behind your drywall with things you already own — an outlet, a tape measure, and a strong magnet — in about ten minutes. This guide walks through every reliable method, from the quickest starting point to a foolproof way to confirm a stud before you drill a single hole.
You Might Also Like
 Easy30 min
How to Fix a Dripping Faucet
A dripping faucet wastes more than 3,000 gallons of water per year and can add $20 or more to your monthly water bill. The fix is almost always a worn cartridge, washer, or O-ring — parts that cost under $10 and take 20-30 minutes to replace with basic tools.
 Hard8 hrs
How to Paint Kitchen Cabinets
A professional cabinet refinish costs $3,000-8,000, but painting them yourself with the right prep and materials delivers the same transformation for under $200 in a long weekend. The secret is thorough degreasing, a bonding primer, and thin coats with proper dry time between each — skip any of those and the paint will chip within months. This guide walks through the full process from door removal and labeling to final reassembly, covering both brush and roller techniques for a smooth, factory-like finish.
 Medium30 min
How to Troubleshoot a Microwave That Won't Heat
A microwave that runs — light on, turntable spinning, timer counting down — but leaves food stone cold is one of the most common appliance failures, and about half the time the cause is something you can fix in five minutes for free. This guide walks the diagnosis from the easy stuff (demo mode, power level, a tripped GFCI, a dirty door latch) to reading the failure signature that tells you the high-voltage circuit is gone, then helps you make the repair-or-replace call with real numbers.