How to Re-Caulk a Bathtub or Shower Surround
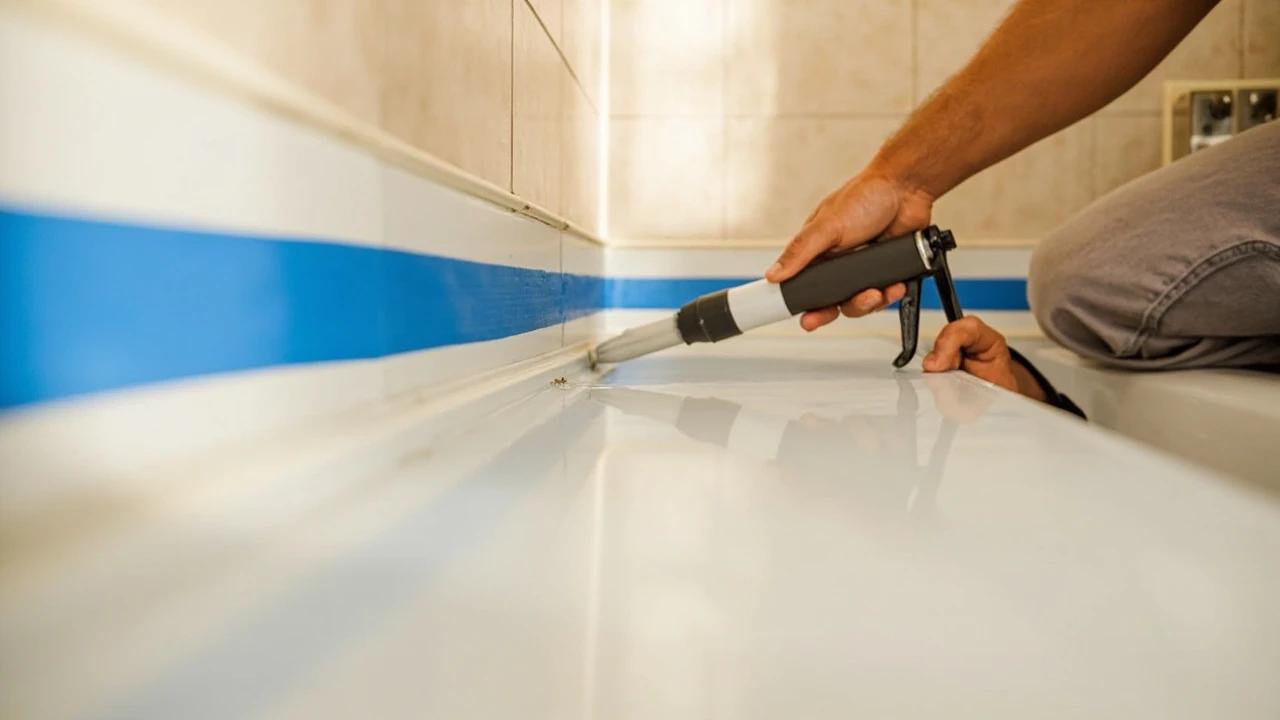

Mildewed, cracked, or peeling caulk around a bathtub isn't just ugly — it's letting water reach the drywall and studs behind the wall, which turns a $10 caulk job into a thousand-dollar tile-and-framing repair. This guide walks through removing the old caulk completely, treating mold, masking and tooling a clean single bead of 100% silicone, and the curing schedule that keeps the new joint waterproof for years.
What do you need to re-caulk a bathtub?
🛠 Tools
📦 Materials
Safety First
- •Use only 100% silicone or kitchen-and-bath formulation — siliconized acrylic latex will fail in a wet area within 1-2 years. The tube must say "100% silicone" or "kitchen and bath."
How do you re-caulk a bathtub or shower surround?
Diagnose: is it really just caulk, or is there water damage behind the wall?
Before stripping anything, run a hand along the lower tile and the wall just above the caulk line. Press firmly. If the tile flexes, sounds hollow, or you can feel soft drywall behind the grout, water has been getting past the old caulk for a while and the substrate needs to be repaired or replaced before new caulk goes on. Also look for dark staining showing through the grout or a musty smell — both are signs the problem is deeper than the bead.
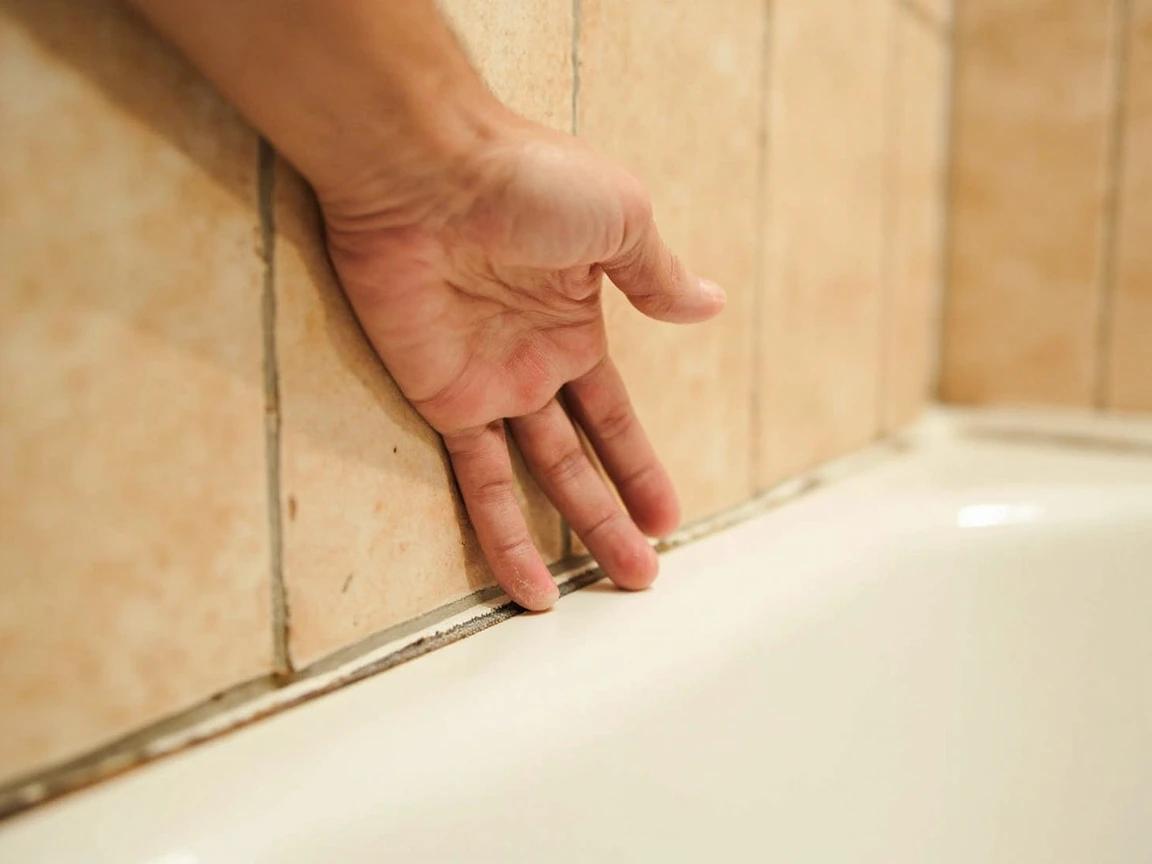
If the tile flexes or sounds hollow when you tap it with a knuckle, stop here. The fix is opening the wall to repair backer board or studs — caulk over compromised substrate is throwing money away.
Cut and pull out the old caulk completely
Score along both edges of the old caulk with a sharp utility knife — one cut where caulk meets tile, one where it meets tub. On acrylic or fiberglass tubs, swap to a plastic razor blade to avoid gouging the surface. Once both edges are scored, the caulk bead usually pulls out in long ribbons; grab one end with pliers or your fingernails and peel. For stubborn silicone, apply caulk softener (3M Caulk Remover) per the label — usually 2-4 hours of dwell time — then scrape the residue.
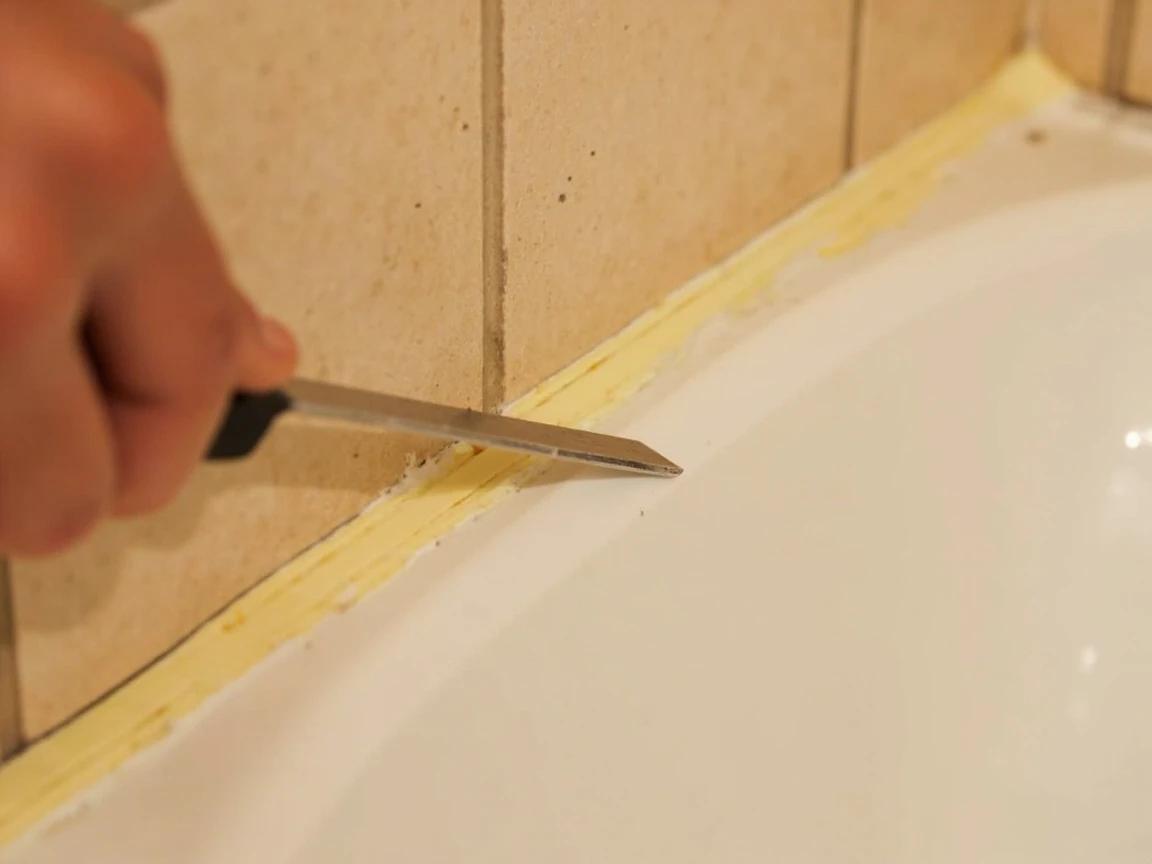
Any silicone residue left behind will prevent the new caulk from bonding. Drag the back of your fingernail across the joint — if it catches on anything, more cleanup needed.
Kill mildew spores and wipe the joint with alcohol
Spray the freshly stripped joint with a 1:4 bleach-to-water solution (or use RMR-86 / Tilex), let it sit 10-15 minutes, then rinse with clean water and dry thoroughly with a lint-free rag. Follow with a wipe of isopropyl alcohol on both surfaces — alcohol evaporates fast and dissolves any remaining silicone oil residue that would prevent the new caulk from bonding. The joint should be visibly clean, completely dry, and smell like nothing before you proceed.
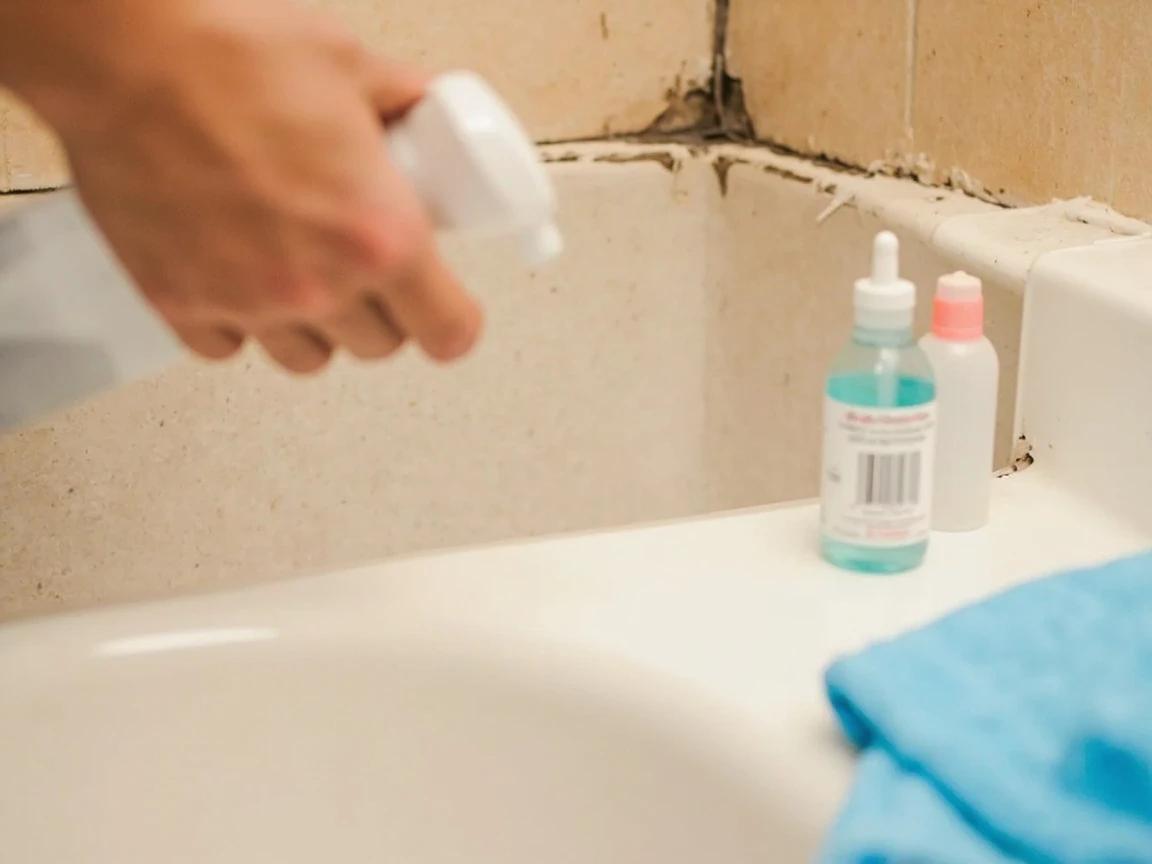
The joint has to dry overnight anyway, so this is the ideal window to deep-clean and seal the grout above it — the shower is already out of service, and sealer and silicone cure on the same 24-48 hour schedule.
Fill the bathtub with water before you caulk
Plug the drain and run cold water until the tub is full to within an inch of the overflow drain. The weight of the water — 200-400 lbs depending on tub size — flexes the tub downward and widens the gap to the wall. Caulk applied to this weighted, wider joint cures at the gap's maximum dimension, so when you step in later, the joint doesn't stretch and tear the caulk. Leave the tub full until step 9 (curing complete).

Shower-only stalls don't need this step — they don't flex the way a soaking tub does. Tubs that bathers actually use absolutely do.
Mask both edges with two parallel rows of painter's tape
Find the widest gap along the joint (usually a corner) and use that as your spacing reference. Run one row of 1-inch blue painter's tape along the tile, just above the joint, parallel to it. Run a second row along the tub edge, just below the joint. Aim for a 1/8 to 3/16 inch channel between the two tape rows — that's the width of your finished bead. Press the tape edges down firmly with a fingernail so caulk doesn't bleed under.
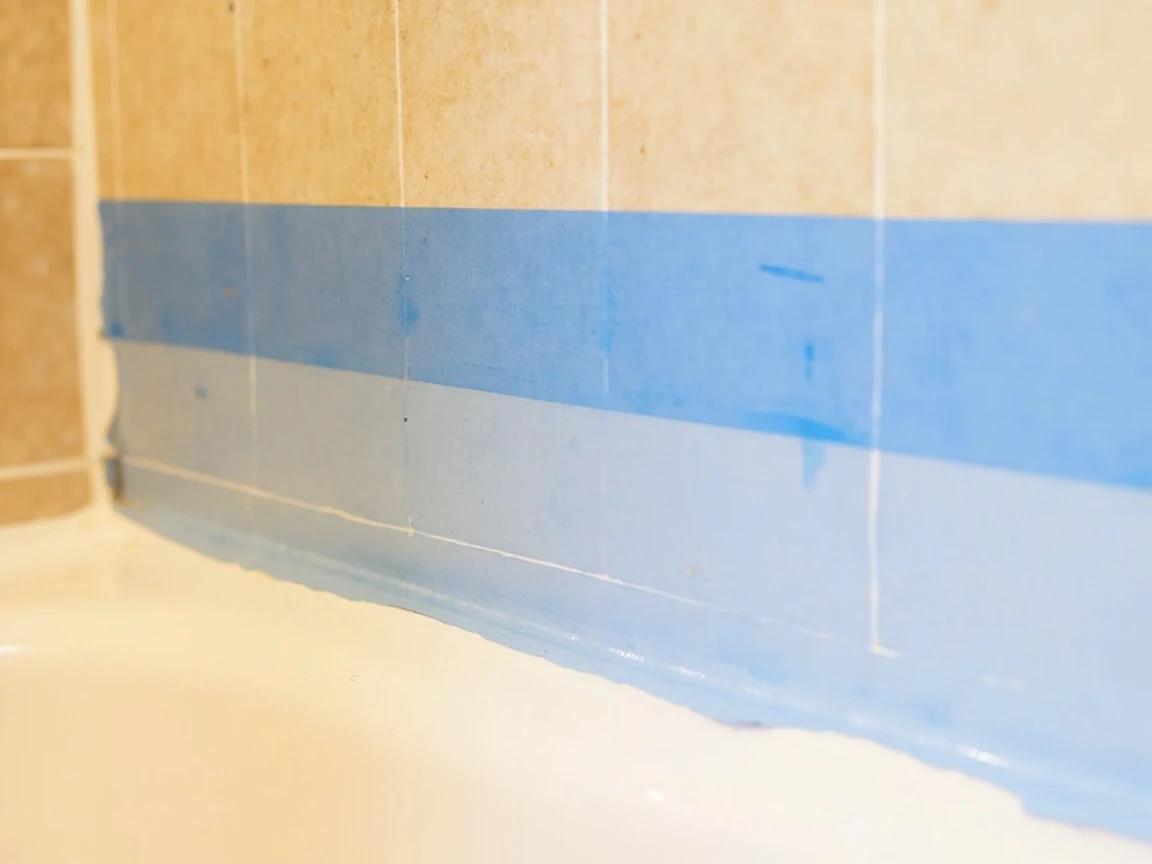
Cut the nozzle and apply a single bead at 45 degrees
Cut the caulk tube nozzle at a 45-degree angle, sizing the opening to match your tape channel — too small and you'll have to over-apply, too large and you'll waste caulk and fight a fat bead. Load the gun, squeeze until caulk just appears at the tip, then start in a corner. Hold the gun at a 45-degree angle to the joint and push the tip ahead of you (not pull behind) at a steady pace, applying just enough pressure to fill the channel. One continuous bead per wall section is ideal — stop-and-start joints invite leaks.
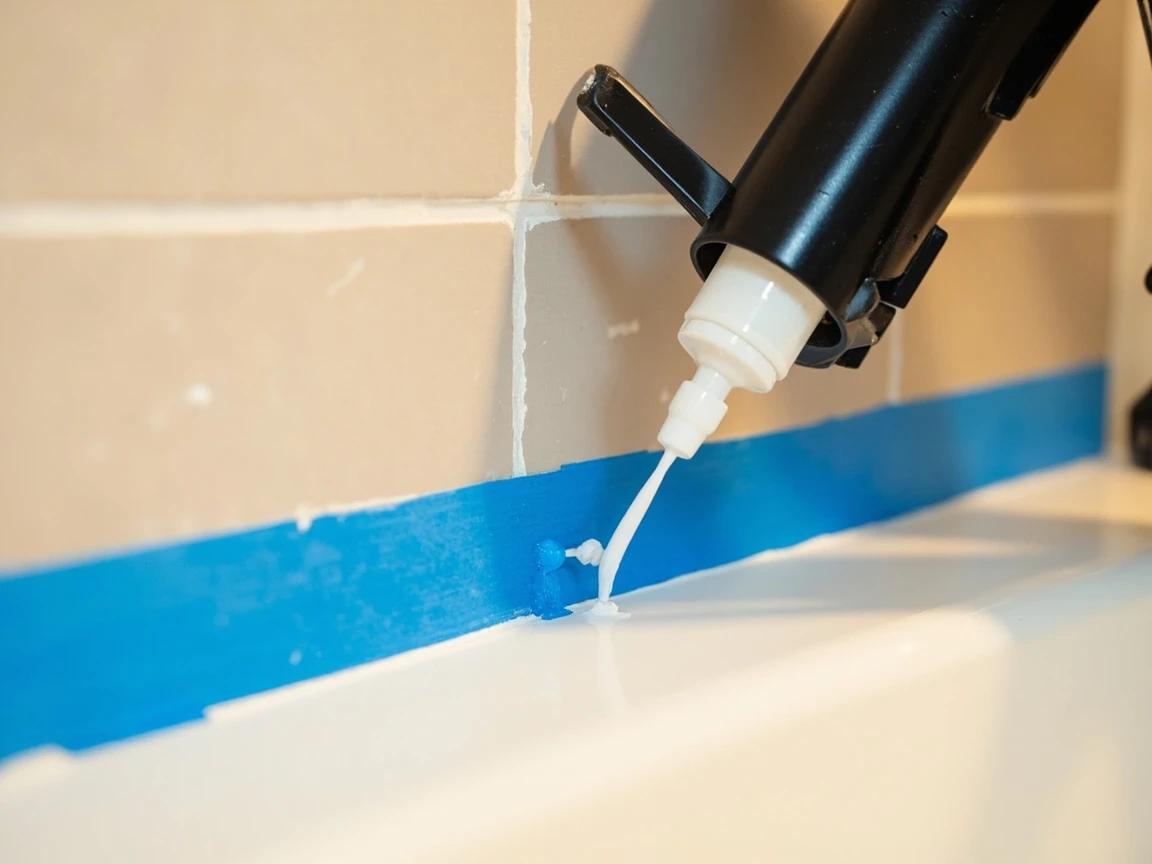
Push, don't pull. Pulling the gun drags air bubbles into the bead and leaves a ropy texture that won't tool smooth. Pushing forces caulk down into the joint and produces a denser, smoother line.
Tool the bead smooth with a wet finger in one pass
Dip your index finger in a bowl of water with a drop of dish soap (the soap lets your finger glide without grabbing). Starting at a corner, drag your finger along the bead in one smooth, steady motion — apply gentle pressure to press the caulk into the joint and form a concave fillet. Don't lift, don't restart, don't go back over it. Wipe excess caulk off your finger on a rag between passes. A caulk-smoothing tool works the same way but is harder for beginners than a wet finger.
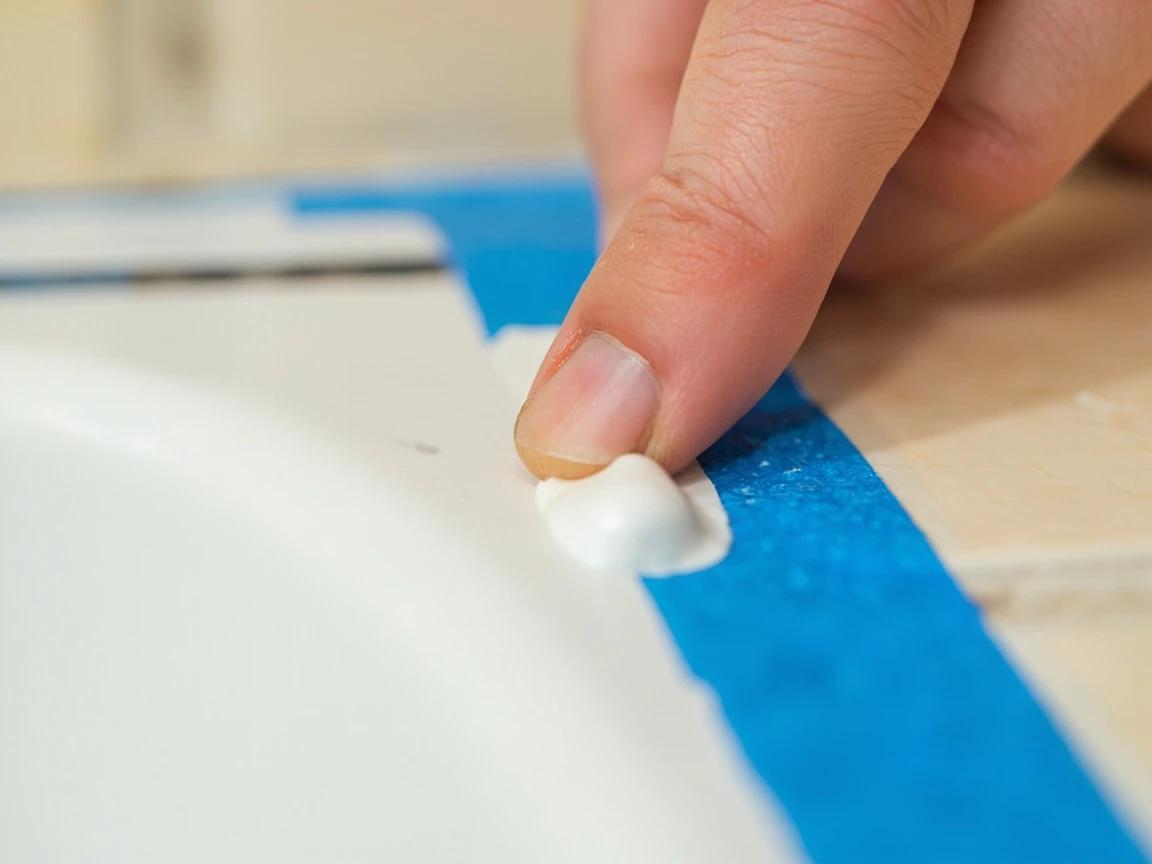
Peel the tape before the caulk skins (within 5-10 minutes)
Silicone forms a skin in 10-15 minutes. While the caulk is still wet, grab a corner of each tape strip and pull it away from the joint at a steep angle — back over itself, not straight up. This lifts the tape cleanly and leaves a crisp, factory-looking edge on both sides of the bead. If you wait until the skin forms, the tape pulls a torn strip of cured caulk along with it and you'll have to recut and re-tool the line.
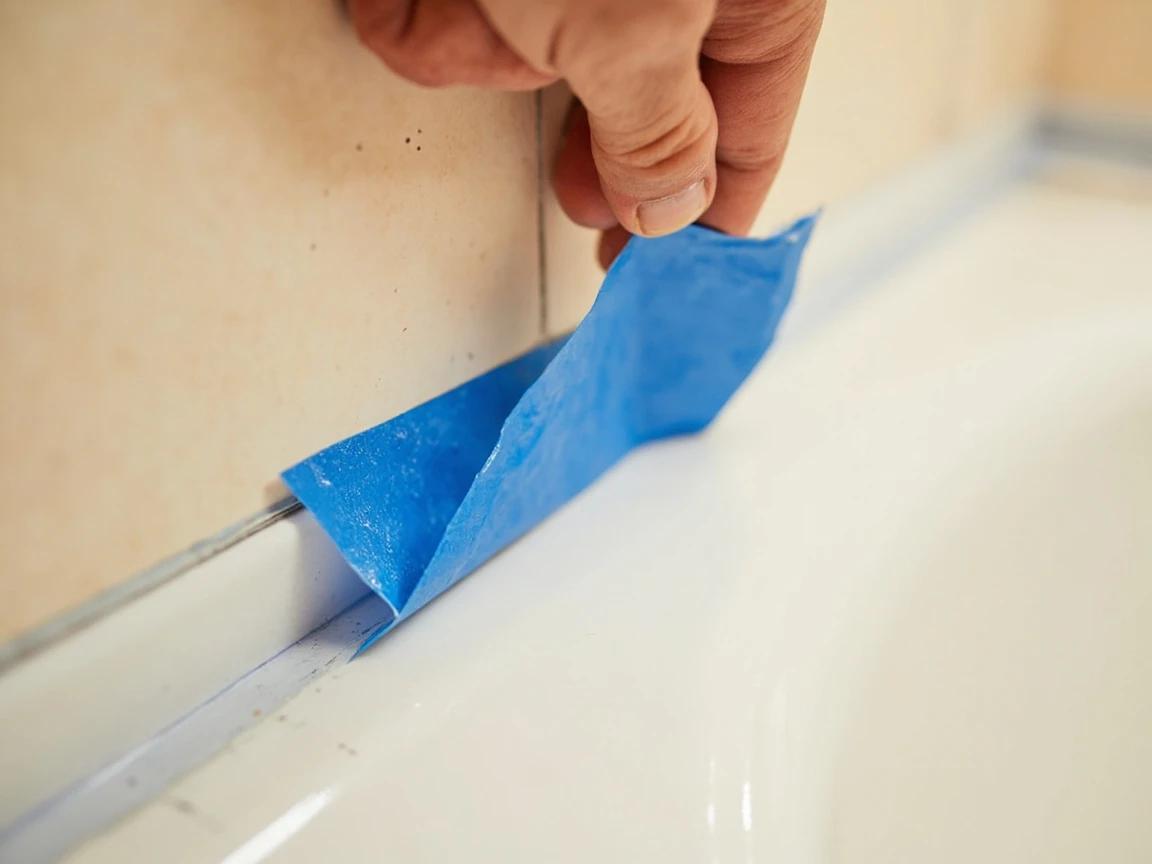
Don't tug. If a strand of caulk lifts with the tape, stop, lay it back, wait a minute, and pull from a different angle. Cured caulk doesn't re-bond — once a bead tears, that section has to be cut out and redone.
Wait 24-48 hours before draining the tub or showering
Tape the bathroom door open if possible (good ventilation accelerates cure). Leave the tub full for the first 24 hours so the joint stays at its weighted, widest dimension during the critical curing window. After 24 hours the caulk is structurally cured and you can drain the tub. Wait the full 48 hours before showering, especially in a poorly ventilated bathroom or for a heavy-use shower. Resist the temptation to test the bead early — water on uncured silicone washes out the surface layer and leaves a soft, sticky band that will mildew within weeks.
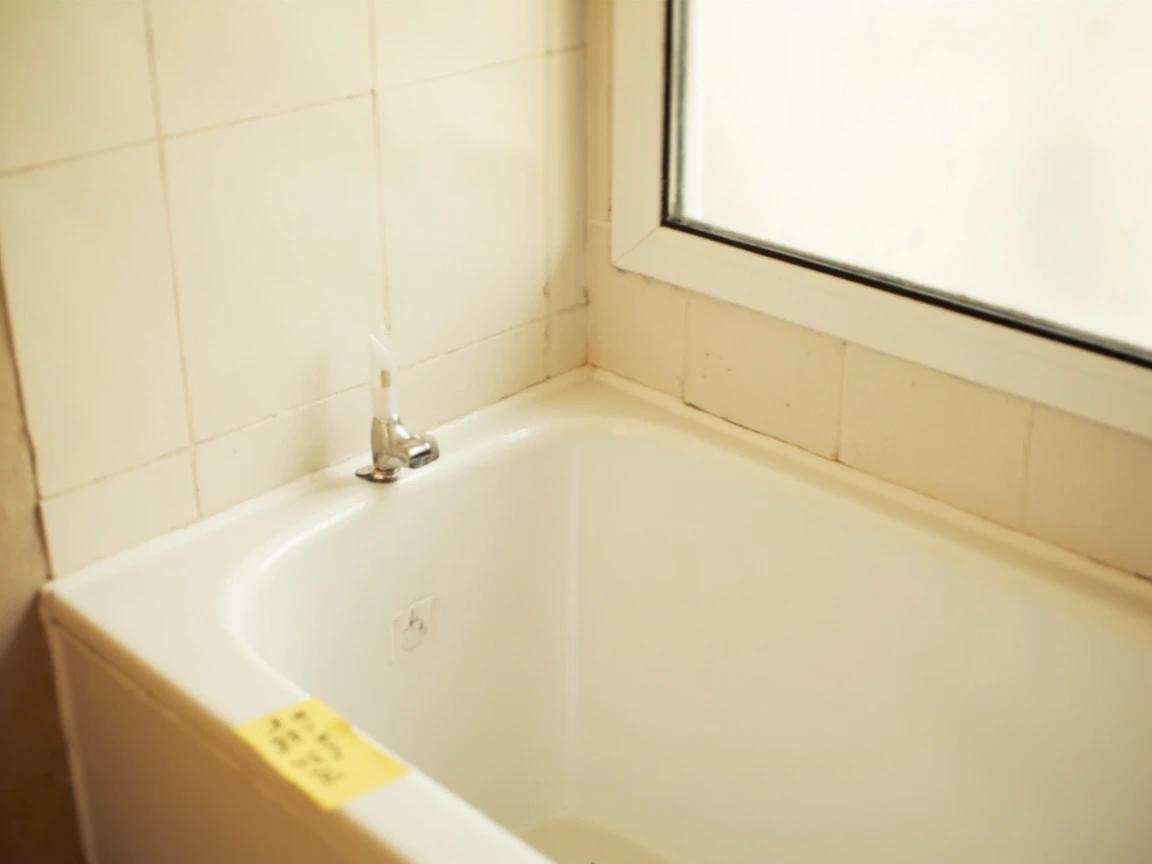
Put a Post-it on the faucet — "Do not use until [date + 48 hr]". One unguarded shower undoes the whole job, and "someone forgot" is the most common reason a re-caulk fails in week one.
Frequently Asked Questions
Should I use silicone or acrylic caulk in a bathtub?
+
100% silicone every time. Siliconized acrylic latex (sold as "tub and tile" caulk) is easier to tool and clean up with water, but it fails within 1-2 years in a wet area — it gets brittle, separates from the substrate, and grows mildew. 100% silicone is permanently flexible, won't shrink, and is the only product that holds up to daily shower exposure long-term. The trade-off is messier cleanup (mineral spirits, not water) and a stronger smell while it cures. One buying detail matters as much as the material: get a tube marked mildew-resistant or kitchen-and-bath rather than general-purpose or window-and-door silicone. The bath formulations carry a fungicide in the cure package, and the construction grades do not. Also check the cure chemistry on the label. Neutral-cure silicone is the safer default because acetoxy silicone, the type that smells strongly of vinegar, can corrode metal and will not bond well to some natural stone. On marble or travertine surrounds, neutral-cure is the only correct choice.
How long after re-caulking can I take a shower?
+
Minimum 24 hours, ideally 48. Silicone is "tack-free" to the touch in 30 minutes but isn't fully cured (chemically crosslinked and waterproof) for 24-48 hours. Showering before full cure washes uncured caulk out of the joint and leaves a soft, mildew-prone band. In humid bathrooms or for thick beads, give it 72 hours. Heavy daily-use shower? 48 hours is the floor. Silicone cures by pulling moisture out of the air rather than by drying out, which makes ventilation the lever people get backwards. A closed, still bathroom cures slower than an open one, so leave the door open and run the extractor rather than sealing the room. Cold slows it further, and a bead much thicker than a quarter inch cures from the outside in and can stay soft in the middle for days. If you cannot give the joint a full day, the practical workaround is showering elsewhere for one night rather than gambling on a partial cure.
Why does my bathtub caulk keep getting moldy no matter what I do?
+
Three causes, in order of likelihood: (1) the old caulk wasn't removed completely — even thin residue feeds mildew under the new bead; (2) the joint was wet or contaminated when caulked — silicone can't bond to a damp surface and water gets behind the bead; (3) you used siliconized acrylic instead of 100% silicone (acrylic is mildew food). To break the cycle, strip everything down to bare substrate, kill spores with bleach or RMR-86, wipe with isopropyl alcohol, let it dry completely (no shower for 24 hours), then caulk. Worth separating two problems that look identical. Mildew on the surface of the bead wipes off and returns — that is a ventilation issue, and a fan that actually vents outdoors and runs 20 minutes after a shower fixes more recurring mold than any product. Black staining under the silicone is the other case, and nothing applied on top will reach it. That one only ends by cutting the bead out.
Do I really need to fill the bathtub with water before caulking?
+
Yes — this is the single biggest pro trick. A bathtub flexes downward under 200-400 lbs of water plus a bather, which widens the gap to the tile. If you caulk an empty tub, the bead is sized to the narrow (unweighted) gap. The first time someone steps in, the joint stretches, the caulk separates from one edge, and water gets in. Fill the tub to the overflow before tooling the bead, let it sit while the caulk cures, then drain. The same logic applies to a fiberglass or acrylic shower pan, which flexes even more than a steel tub — stand in it while you tool the joint if you cannot fill it. Two supporting habits: tool the bead once with a wetted fingertip or a caulk tool and then leave it alone, because reworking a partly skinned bead tears it, and mask both sides with tape pulled while the silicone is still wet. Tape pulled after skinning takes the edge of the bead with it.
Can I just apply new caulk over the old caulk?
+
No. New silicone will not bond to old silicone — it sits on top, traps the mildew underneath, and peels off in a sheet within months. The hard part of re-caulking is removing the old caulk completely; once you skip that you've poured 30 minutes of work into a bead that will fail in weeks. The only exception is fresh silicone over fresh silicone within the same 24-hour cure window, which can happen if you need to patch a missed spot. Removal is most of the job, so it is worth doing with the right tools. Score both edges with a utility knife or a plastic caulk removal blade, then pull the bead out in one continuous strip rather than picking at fragments. A silicone digester softens any residue in a couple of hours. The test before reloading the gun: run a fingertip along the joint, and any rubbery drag means silicone is still there and the new bead will lift where the old one did.
Sources & further reading
- Mold Cleanup in Your Home — U.S. Environmental Protection Agency
- Mold & Moisture — U.S. Environmental Protection Agency
More Plumbing Guides
View all →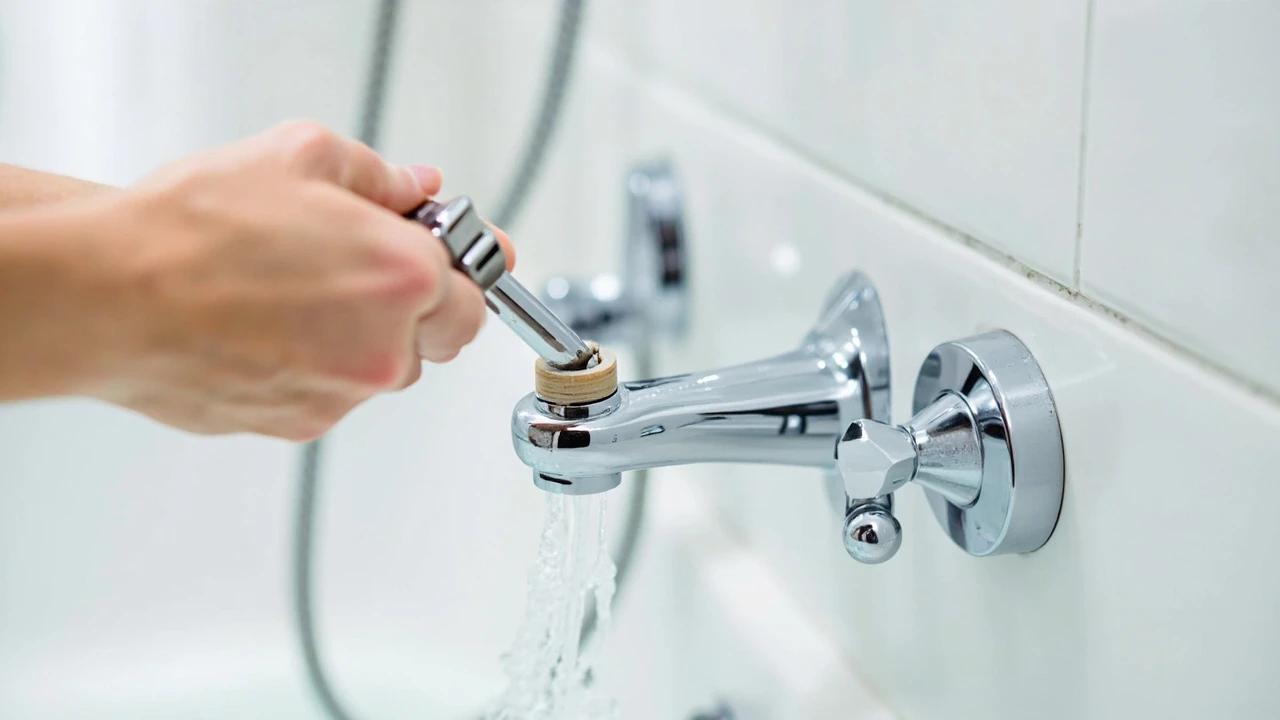 Easy45 min
How to Repair a Shower Diverter Valve
When you pull the diverter knob and water still pours from the tub spout instead of the showerhead, the fix is usually a worn washer or mineral buildup — not a $200 plumber visit. This guide covers the three most common diverter types (tub spout, three-valve, and two-valve) and walks you through cleaning, replacing washers, and swapping the diverter if needed, all in under an hour with basic tools.
 Easy30 min
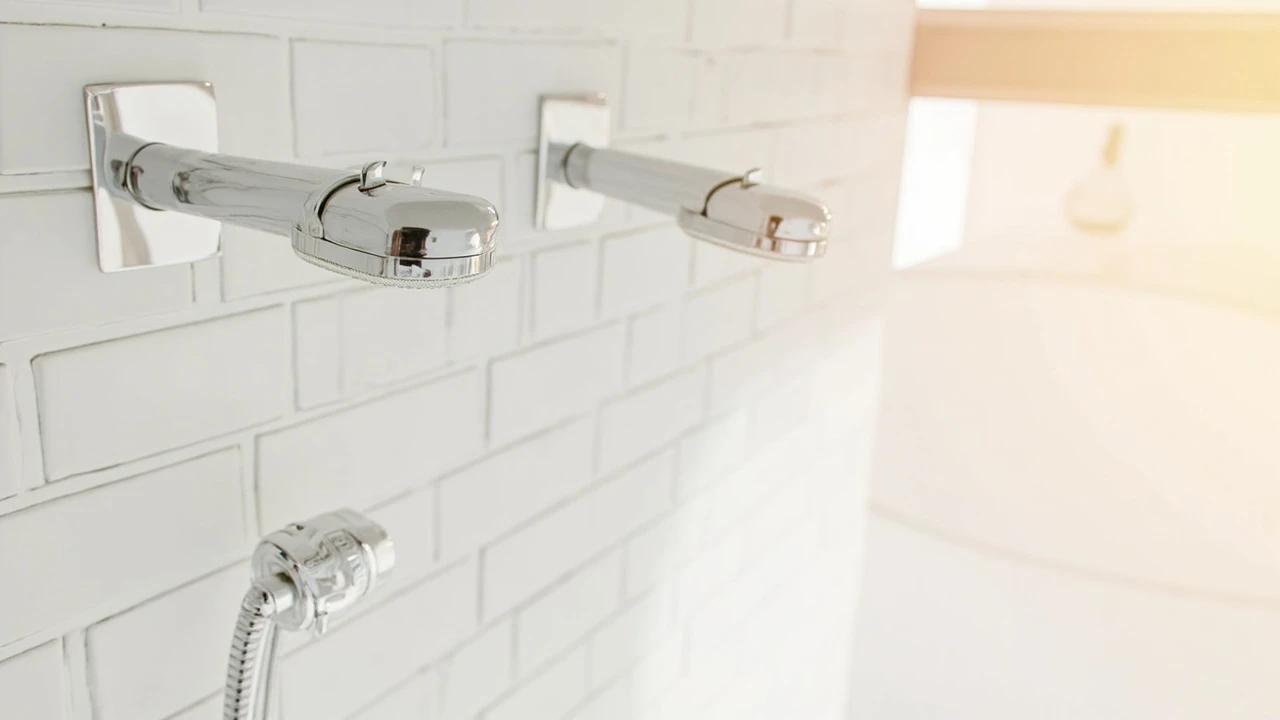
How to Replace a Shower Head and Shower Arm
Swapping just the shower head is a 10-minute job, but if the arm (the pipe curving out of the wall) is corroded, leaking, or the wrong length for a new rain head, you'll want to replace both. The whole job costs under $50 and takes half an hour — the one trick that separates a clean swap from a flooded wall is holding the arm steady so it doesn't snap off inside the tile. This guide covers removing a stuck arm, prepping the in-wall fitting, taping the threads right, and testing leak-free.
 Easy15 min
How to Replace a Shower Head
Swapping out a shower head is one of the simplest plumbing upgrades you can do — no special tools, no shutting off the main water supply, and it takes about 15 minutes. A modern low-flow shower head can cut your water usage by 40% while actually improving pressure, saving $70+ per year on water and energy bills.
You Might Also Like
 Medium6 hrs
How to Paint a Room
A fresh coat of paint is the fastest, cheapest way to transform any room — and doing it yourself saves $400-800 in labor for an average 12x12-foot bedroom. The job takes a weekend from prep to final coat, and the difference between an amateur-looking result and a professional finish comes down to technique, not talent. This guide covers prep, cutting in, rolling, and cleanup so you get clean lines and even coverage the first time.
 Easy30 min
How to Replace an Electrical Outlet
A worn-out or discolored electrical outlet is one of the simplest electrical repairs you can tackle yourself — swapping one takes about 15-30 minutes and costs under $5 in parts versus $75-150 for an electrician visit. This guide walks you through safely replacing a standard duplex receptacle, including how to handle the wiring correctly and avoid the most common DIY mistakes.
 Medium30 min
How to Troubleshoot a Microwave That Won't Heat
A microwave that runs — light on, turntable spinning, timer counting down — but leaves food stone cold is one of the most common appliance failures, and about half the time the cause is something you can fix in five minutes for free. This guide walks the diagnosis from the easy stuff (demo mode, power level, a tripped GFCI, a dirty door latch) to reading the failure signature that tells you the high-voltage circuit is gone, then helps you make the repair-or-replace call with real numbers.