How to Install a Dishwasher
Installing a dishwasher yourself saves the $150 to $250 that delivery crews charge for hookup, and once the cabinet opening already has water, drain, and power, it's a roughly two-hour job that comes down to three connections. The catch is the small details that cause callbacks — forgetting the disposal knockout plug, skipping the drain-hose high loop, and overtightening the fittings. This guide walks the full replacement: pull the old unit, prep the new one, make the three connections, level it, secure it, and leak-test so it runs dry and quiet the first time.
What You'll Need
🛠 Tools
📦 Materials
Safety First
- •Kill the power at the breaker before you touch any wiring, and confirm it's dead with a non-contact voltage tester. A built-in dishwasher is usually on its own 15- or 20-amp circuit, and the wiring connects under the unit where you can't see it.
- •Shut the hot-water stop valve under the sink and keep a bucket and towels ready — the supply line and the dishwasher's inlet hold water that runs out when you disconnect them.
- •A dishwasher weighs 60 to 100 pounds and its sharp steel base will gouge a vinyl or tile floor — slide it on a piece of cardboard rather than dragging it bare.
Step-by-Step Instructions
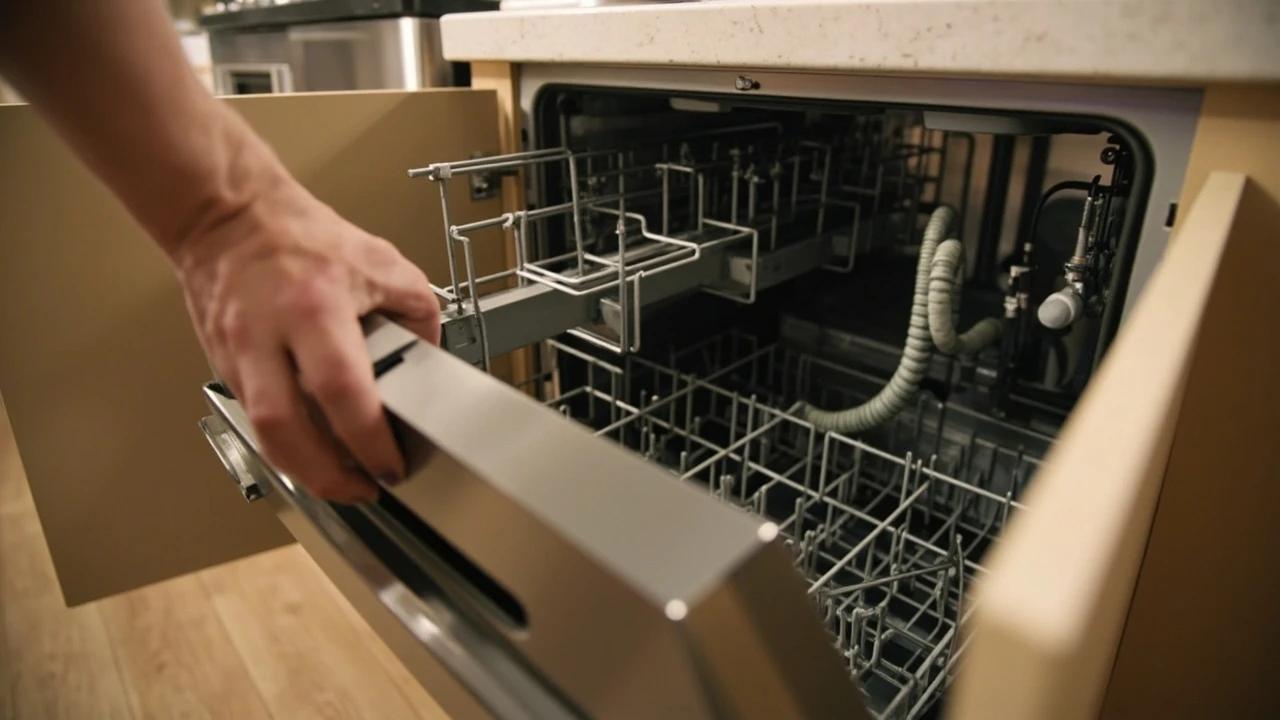
Cut the Power and Water, Then Remove the Old Dishwasher
Switch off the dishwasher's circuit at the breaker and close the hot-water stop valve under the sink, then pull the lower kick plate and confirm the power is dead with a voltage tester. Disconnect the water supply line and the drain hose (keep a towel ready — both hold water) and disconnect the wiring or unplug the cord. Back out the two screws holding the unit's brackets to the underside of the countertop, turn the front leveling feet down to drop it slightly, and ease the old dishwasher out onto a sheet of cardboard.
Confirm the breaker is off with a tester before opening the wire connections — don't trust a wall switch. The supply and drain lines will dribble, so keep the water off and towels under the connections.
Prep the New Dishwasher
Tip the new dishwasher onto its back on the cardboard so you can reach the bottom — these connections are nearly impossible once it's in the cabinet. Wrap the threads of the water inlet valve with thread tape and screw on the 90-degree brass elbow from the install kit, then clamp the ribbed drain hose onto the pump outlet. Open the lower access/junction-box cover so the wiring is ready, and confirm whether your model needs a separate power cord — most don't include one.
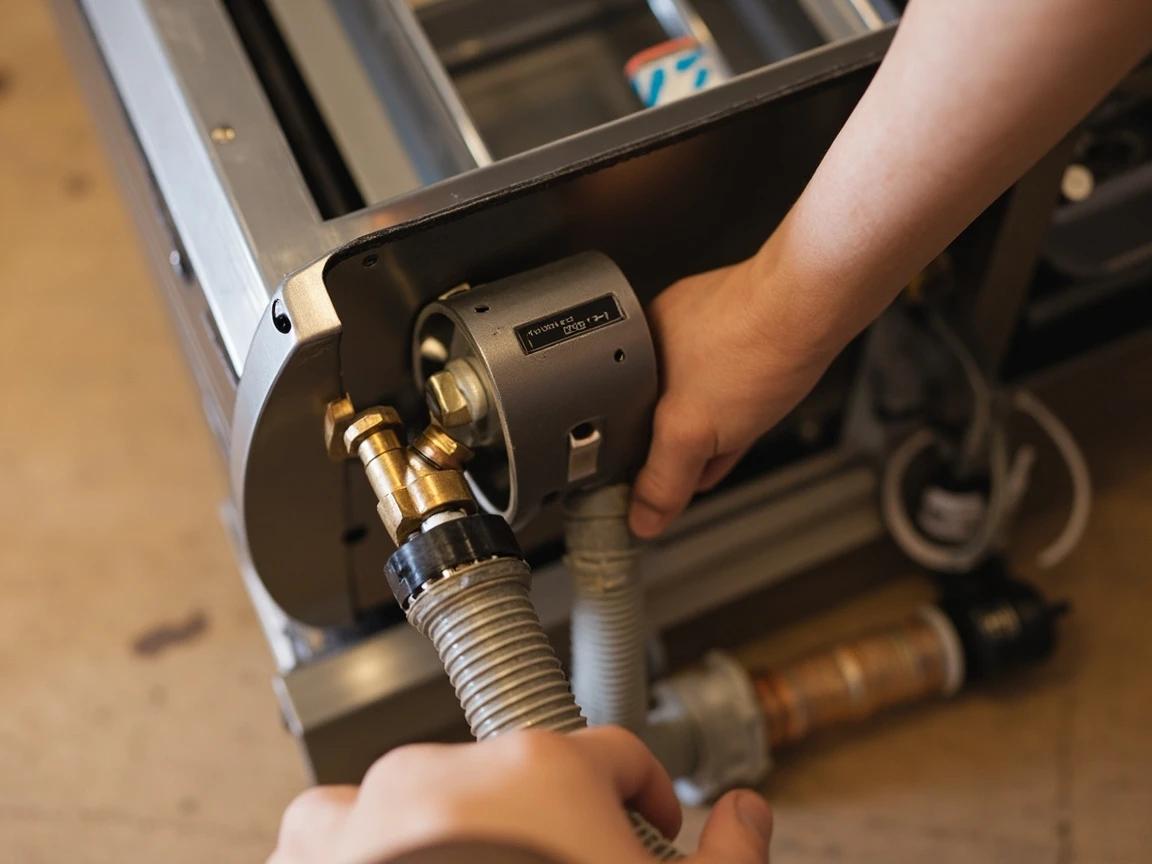
Hand-snug the brass elbow, then give it one wrench-turn past hand-tight — over-torquing cracks the plastic inlet valve, a leak you won't discover until the unit is buried in the cabinet.
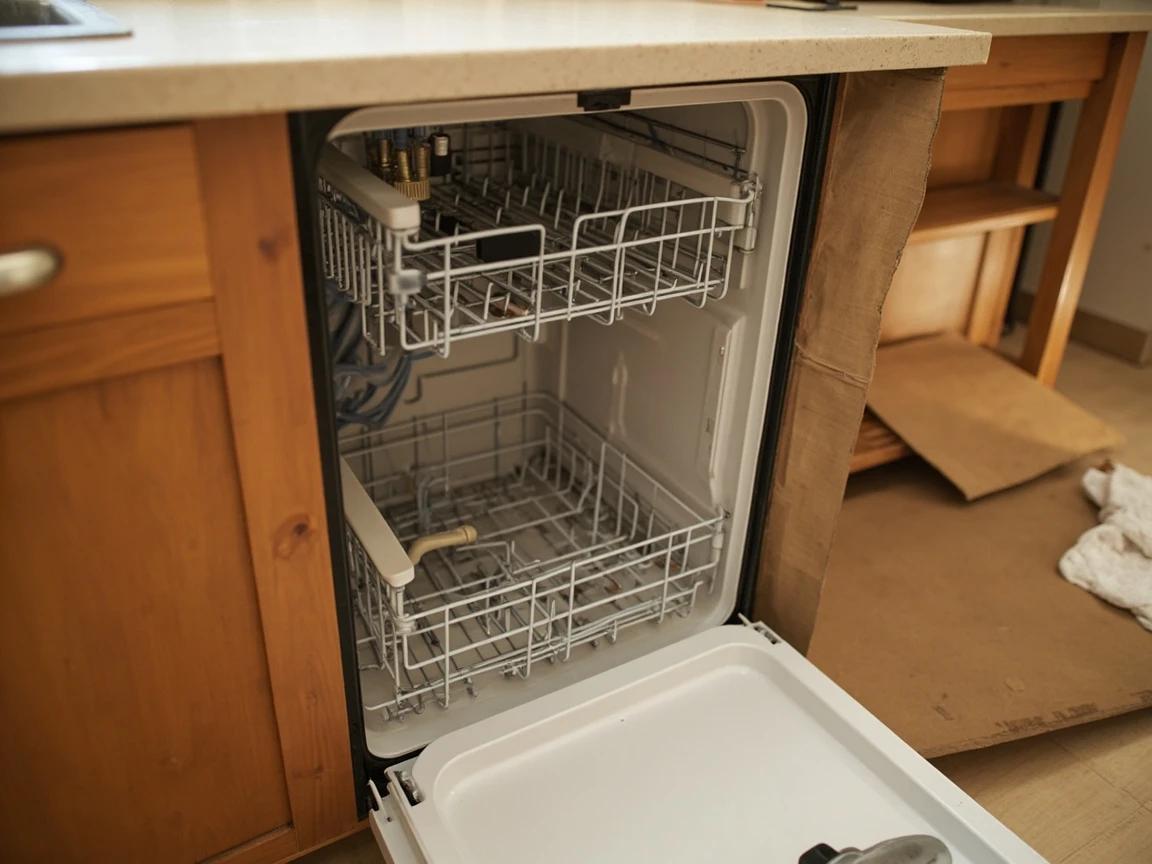
Route the Lines and Slide It Into the Opening
Most sink base cabinets already have a hole on the dishwasher side for the lines. Feed the braided water supply line, the drain hose, and the power cable through that hole into the sink cabinet, then slide the dishwasher straight into the opening, keeping the lines moving ahead of it so nothing kinks or gets pinned behind the tub. Stop with the front frame flush to the cabinet faces, and make sure the drain hose isn't crushed against the back wall.
Lay a towel or piece of hardboard on the finished floor in front of the opening and walk the dishwasher in on it. The leveling feet and steel base are exactly what scratch a new floor on the way in.
Level the Dishwasher
A level dishwasher seals at the door, drains fully, and won't rock. With the unit roughly in place, set a level on the top edge of the tub or the door frame and adjust the four feet — up or down with a wrench or screwdriver — until it reads level side to side and front to back, with the top snug under the counter. Open and close the door to check it sits squarely; a tilted machine lets the door drift or leaves a gap that leaks at the gasket.

Level it before you make the final water and drain connections — raising or lowering the feet afterward tugs on the lines and can loosen a fitting you just tightened.
Connect the Water Supply Line
Run the braided stainless steel supply line from the hot-water stop valve to the brass elbow on the dishwasher, with thread tape on the threaded ends, tightening hand-tight plus about a quarter turn with a wrench. Most dishwashers run on hot water (around 120 degrees), but check your manual — a few models take a cold connection and heat the water internally. If the stop valve is corroded or won't fully close, replace it now (see how to install a shut-off valve).
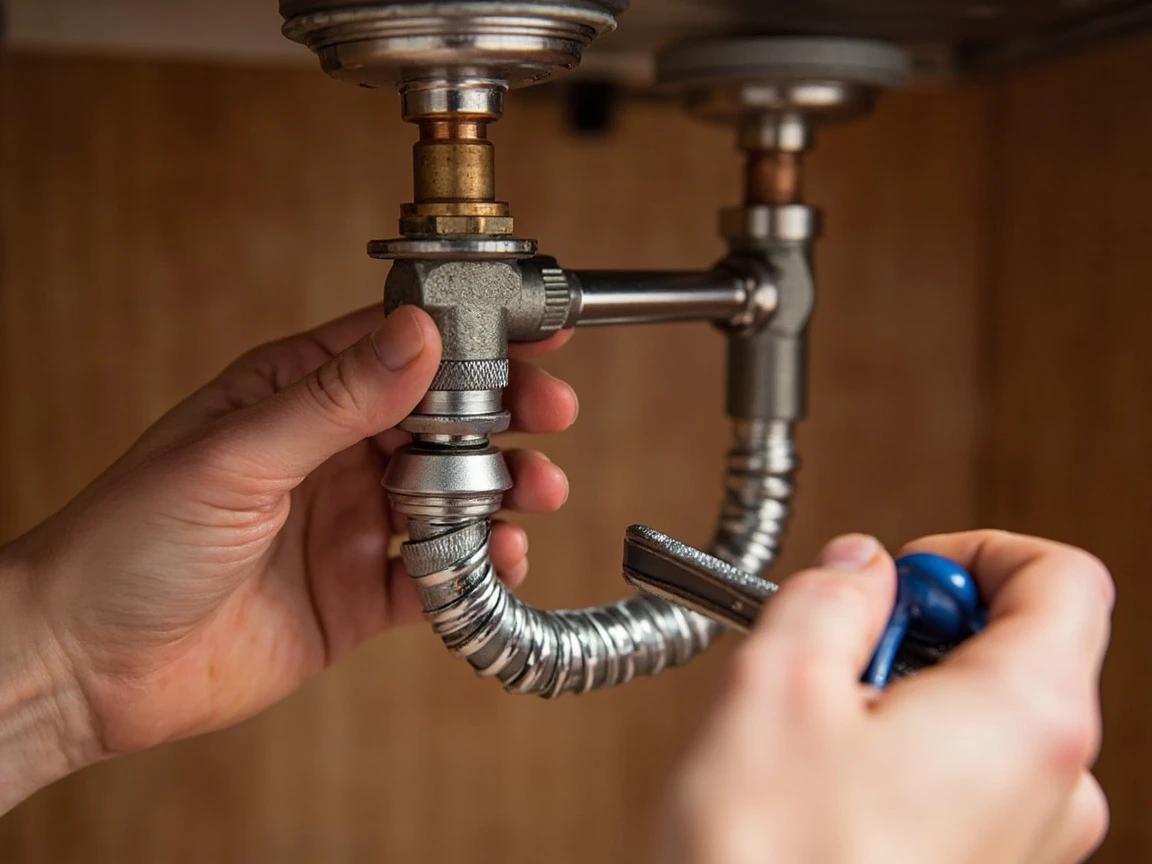
Don't overtighten the compression and brass fittings — snug plus a quarter turn is plenty. Cranking them distorts the ferrule or cracks the elbow and creates the slow leak you're trying to avoid.
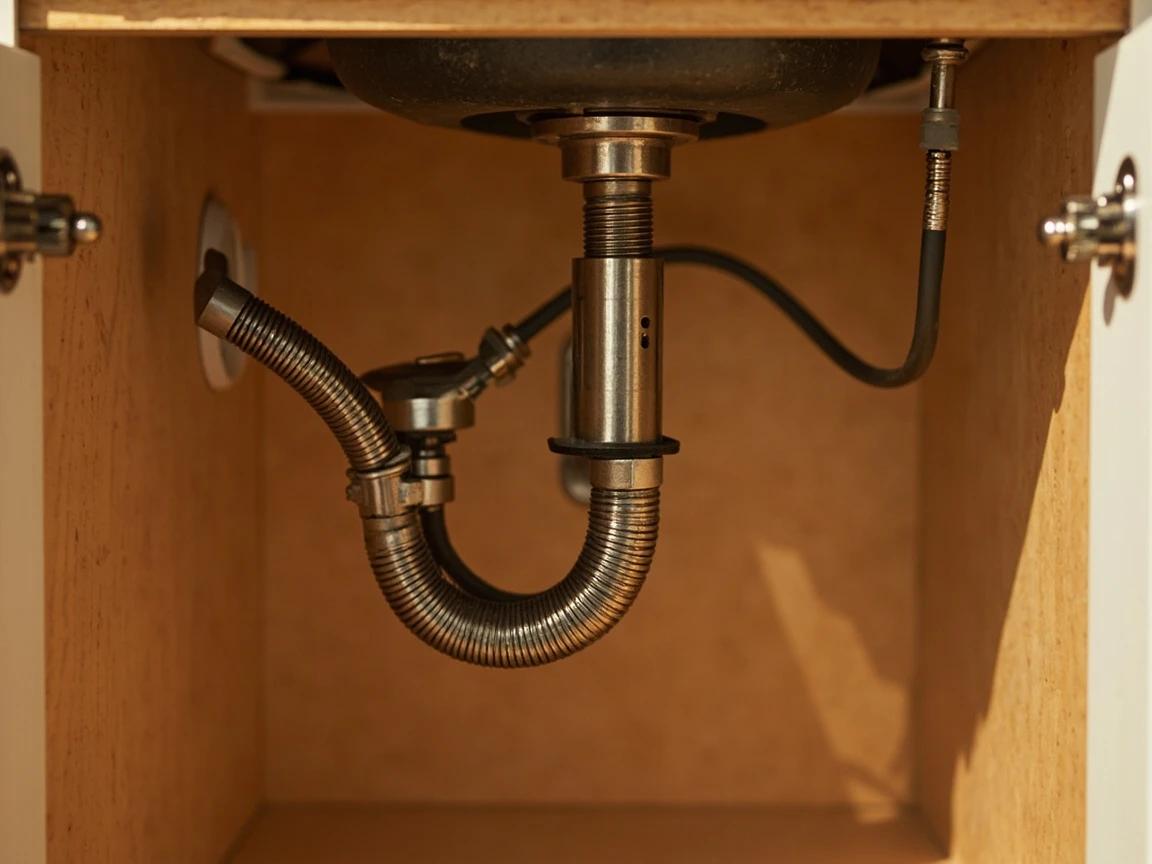
Connect the Drain Hose (High Loop + Knockout Plug)
Route the drain hose up and fasten it to the underside of the countertop in a HIGH LOOP — as high as it will reach — before it drops to the disposal or sink tailpiece; the loop keeps dirty sink water from siphoning back into the dishwasher. If you're draining into a garbage disposal, you must knock out its inlet plug first: tap a flathead screwdriver into the side inlet with a hammer to pop the plug loose, then fish the plug out of the disposal before clamping the hose on. Some codes (UPC areas like California) require a countertop air gap instead of, or in addition to, the high loop. Skipping the knockout plug is the top reason a newly installed dishwasher won't drain.
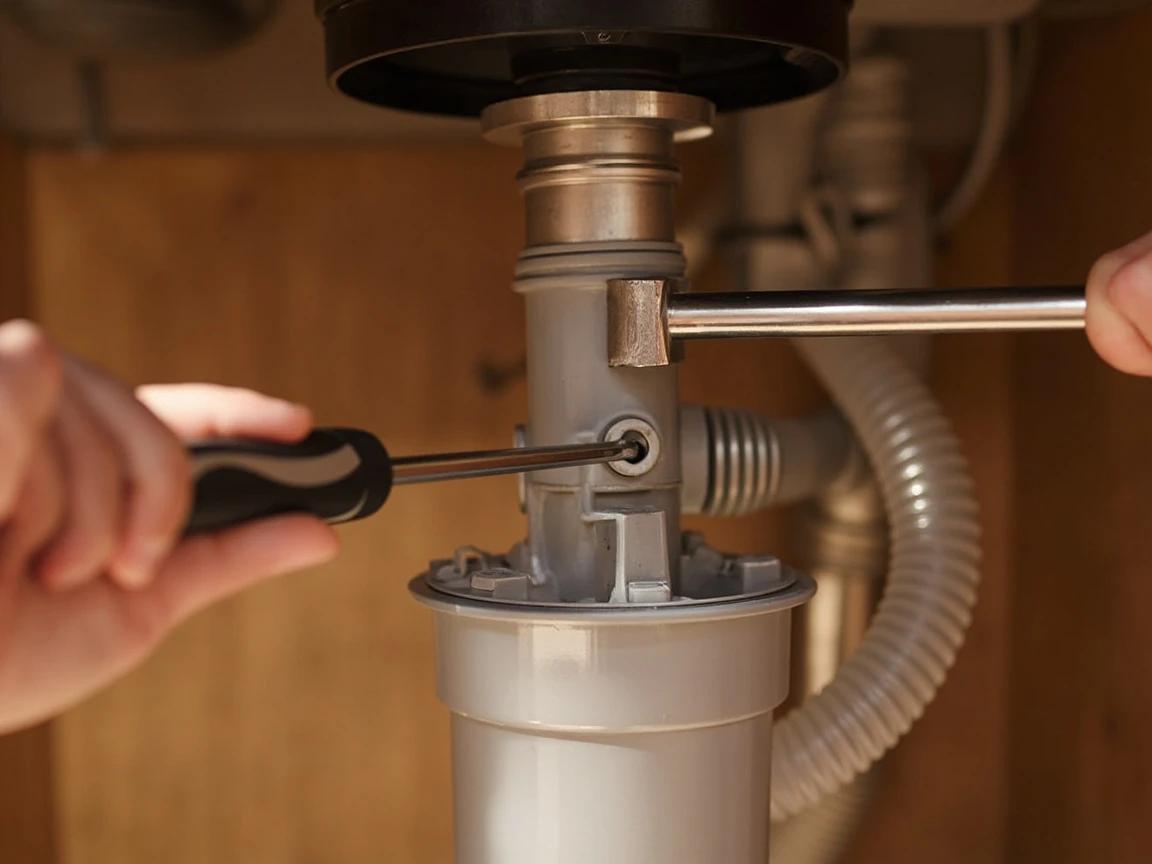
Leaving the disposal knockout plug in place is the single most common dishwasher-install mistake — the machine fills, but the water has nowhere to go and won't drain. If a new install won't drain, knock that plug out first.
Wire the Power (Cord or Hardwire)
With the breaker still off, make the electrical connection at the junction box under the door. For a cord-and-plug setup, join the cord kit's wires (black to black, white to white, green or bare to the ground screw) under a strain-relief clamp, then plug it into the under-sink receptacle. To hardwire, connect the house wires to the dishwasher leads the same way with wire nuts and secure the cable with a strain relief. Tuck the wires back and close the cover.
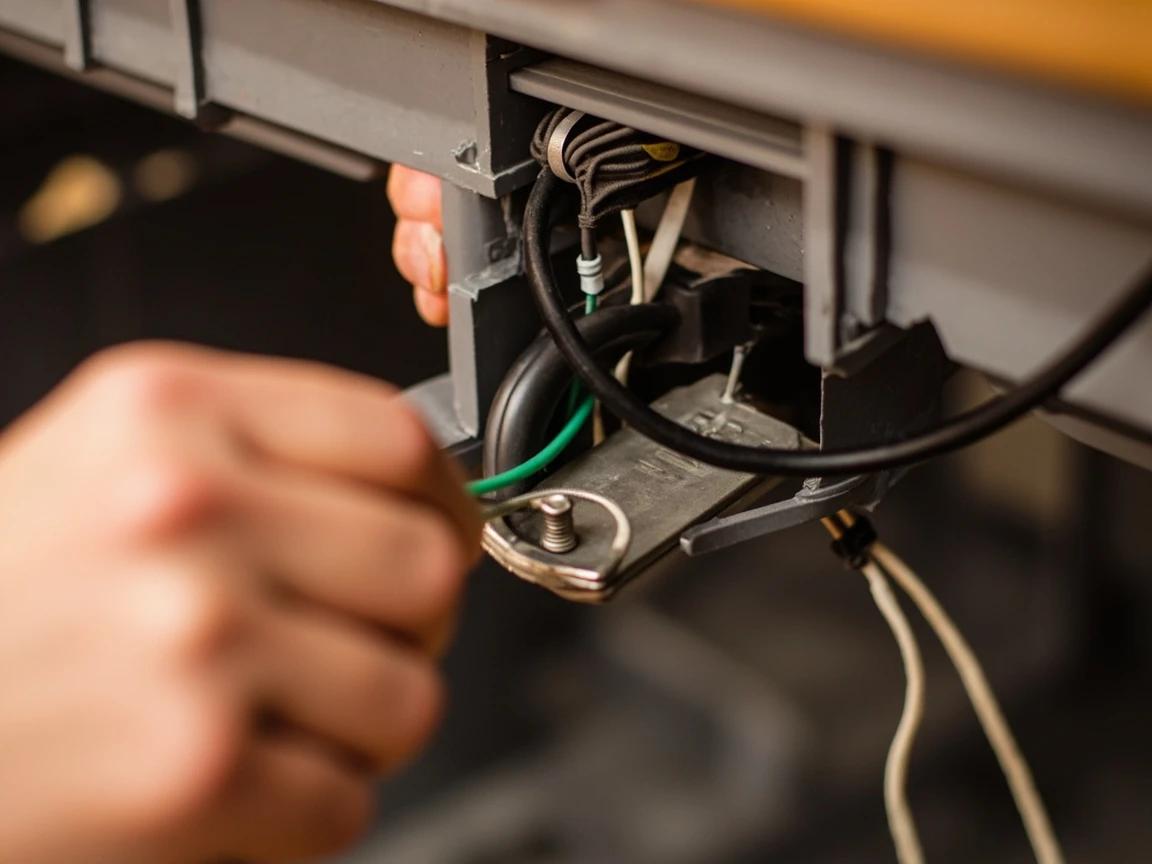
Use a strain relief (cable clamp) where the cord or cable enters the junction box — an unsecured wire chafes against the metal edge and can short out. The dishwasher belongs on its own under-sink receptacle or hardwired circuit, not a cord run across to a different outlet.
Secure the Dishwasher to the Counter
Once it's level and connected, fasten the unit so it can't tip forward when you pull out a loaded rack. Drive the two mounting-bracket screws up into the underside of the countertop through the tabs at the top of the dishwasher. If you have a stone or quartz countertop you can't screw into, use the side-mount brackets that fasten to the adjacent cabinet sides instead.
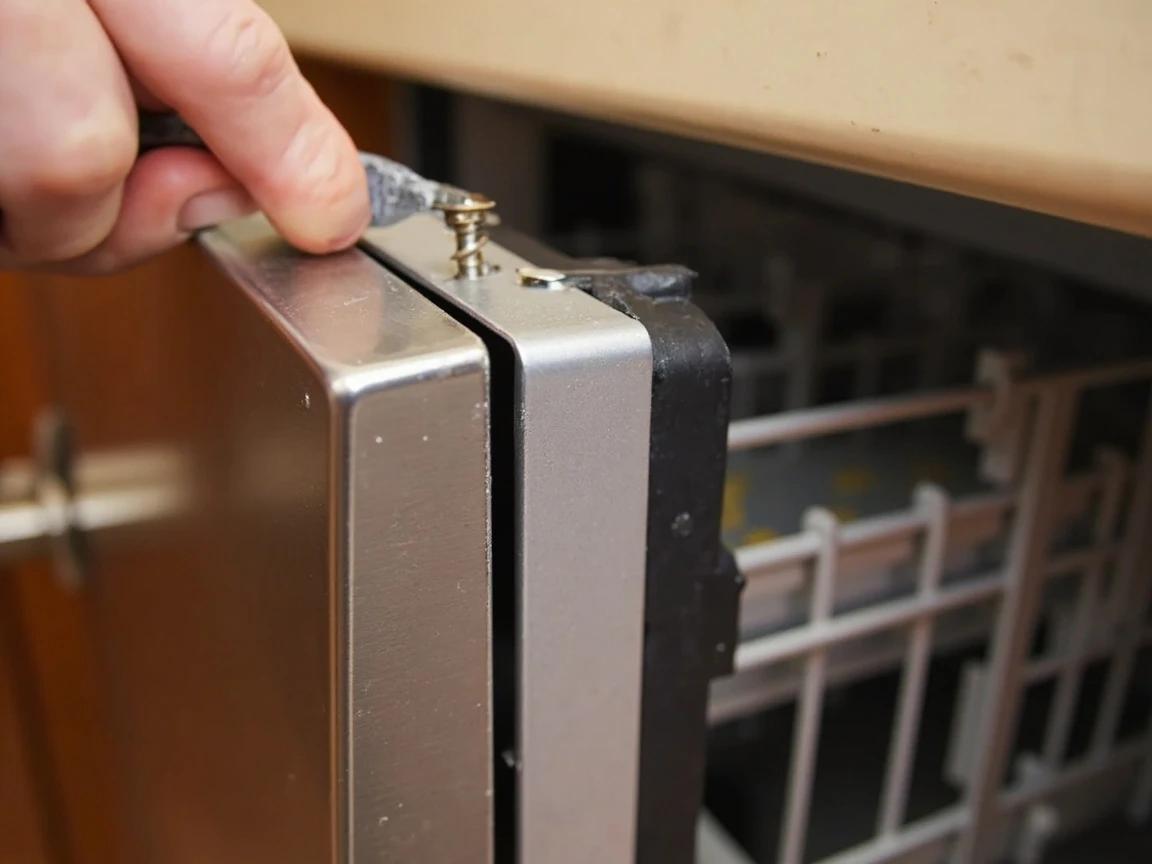
If the bracket screws can't reach the counter, the dishwasher isn't raised enough — run the leveling feet up until the top brackets meet the underside of the counter, then re-check that it's still level.
Turn It On and Run a Leak-Test Cycle
Open the hot-water valve and switch the breaker back on. Start a normal cycle and watch the connections through fill and drain — check the supply fitting, the drain-hose clamp, and the floor under the unit for any water, and confirm the dishwasher actually pumps out at the drain. Let it run at least one full fill-and-drain before you trust it, then check again an hour later for a slow weep.
Leave the kick plate off for the first full cycle so you can spot a leak immediately. Once it runs a complete cycle bone-dry, snap the kick plate on and you're finished.
Frequently Asked Questions
Do dishwashers come with a power cord?+
Usually not. Most dishwashers ship without a cord because they can be either hardwired or fitted with a plug, so you buy a manufacturer-approved power cord kit separately or hardwire the unit. Check the box before installation day — discovering there's no cord with the old one already pulled out is a classic mid-project trip to the store.
Do dishwashers use hot or cold water?+
Most dishwashers connect to the hot-water supply and expect water around 120 degrees Fahrenheit, which is why the supply line ties into the hot stop valve under the sink. A few models (some Samsung units, for example) are designed for a cold connection and heat the water internally, so always check your model's manual before you plumb it in.
Do I need an air gap, or is a high loop enough?+
It depends on your local plumbing code. Jurisdictions on the Uniform Plumbing Code (much of the western US, including California) typically require a countertop air gap, while International Plumbing Code areas generally accept a high loop fastened up under the counter. Both codes allow a high loop at least 20 inches above the floor as backflow protection, but confirm what your local inspector requires.
Why won't my newly installed dishwasher drain?+
Nine times out of ten it's the garbage-disposal knockout plug left in place — the drain hose connects to a disposal inlet that's still sealed, so the water has nowhere to go. The other common cause is a missing high loop, which lets the cycle siphon out. Pull the unit's access panel, knock out that plug, and confirm the drain hose loops high before it drops to the disposal.
Can I connect the dishwasher drain to the garbage disposal?+
Yes — it's the most common setup. Knock out the disposal's dishwasher inlet plug with a screwdriver and hammer, fish the loose plug out of the disposal, then clamp the drain hose onto that inlet with a high loop in the line first. If you don't have a disposal, the hose connects to a dishwasher tailpiece (branch tailpiece) on the sink drain instead.
Community Tips
💬 Sign in to share tips with the community
Sources & further reading
- Install a Dishwasher Drain Hose — Lowe's
- Do Dishwashers Use Hot Water? — Whirlpool
- Newly Installed Dishwasher Not Draining — Maytag
More Appliance Repair Guides
View all → Medium45 min
How to Fix a Washing Machine That Won't Drain
A washing machine that won't drain leaves you with a tub full of standing water and a pile of soaking clothes — but the fix is almost always a clogged filter, kinked hose, or small object jamming the pump, not a dead motor. Most homeowners can diagnose and resolve the problem in 30-45 minutes with basic tools and no replacement parts. This guide walks through every common cause from simplest to most involved so you can get your washer spinning again.
 Easy25 min
How to Clean a Refrigerator Condenser Coil
Dirty condenser coils are the number-one cause of refrigerator inefficiency — they force the compressor to run longer and harder, driving up your electricity bill by 10-25% and shortening the appliance's lifespan. Cleaning them takes about 20 minutes with a brush and vacuum, and the improvement in cooling performance is immediate. This guide covers locating coils on both bottom-mount and rear-mount models, safe cleaning technique, and a maintenance schedule to keep your fridge running at peak efficiency.
 Easy25 min
How to Level a Washing Machine to Stop Shaking
A washer that walks across the laundry room on the spin cycle, hammers the wall behind it, or sounds like a jet engine taking off is almost never broken — it is unlevel, and the drum is throwing the wet load off-axis because the cabinet is rocking on its feet. The fix is a 20-minute job with a $5 bubble level and a pair of pliers (no parts, no service call). Skipping it is genuinely expensive: the constant out-of-balance shaking shortens the life of the bearings, the suspension rods, and the shock absorbers, and a $300 bearing replacement is a real possibility on a washer that runs unlevel for a year. This guide covers both front-loaders and top-loaders, plus the stacked combo unit that vibrates loose every six months.
You Might Also Like
 Medium45 min
How to Install a Ceiling Fan
Replacing a light fixture with a ceiling fan improves air circulation in summer and can reduce heating costs in winter by circulating warm ceiling air downward. Most installs take 45-60 minutes.
 Easy3 hrs
Spring Lawn Care Checklist
What you do to your lawn in the first six weeks of spring determines its health for the entire growing season. Follow this sequence to fix winter damage, encourage deep roots, and crowd out weeds before they establish.
 Easy1 hr
How to Start a Compost Bin
Composting converts kitchen scraps and yard waste into rich, free fertilizer that dramatically improves garden soil. Setup takes under an hour and once running, the bin requires minimal effort for big rewards.