How to Replace an Oven Heating Element
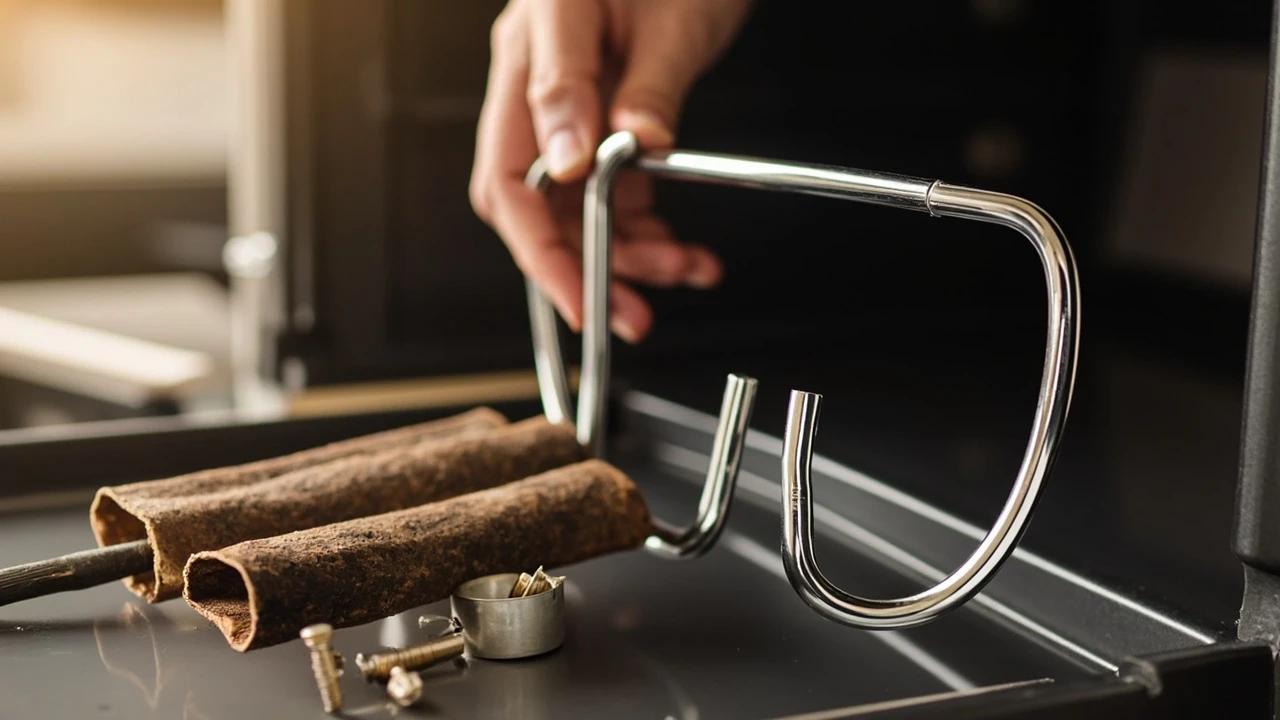

An electric oven that will not heat, is dim on one side, or trips its breaker mid-bake is almost always a failed heating element — the U-shaped coil at the bottom (bake) or top (broil) of the cavity. The part costs $30-60 OEM and the entire job is two screws and two spade connectors, versus a $200-300 service call. This guide covers Whirlpool, KitchenAid, Maytag, GE, Frigidaire, Kenmore, and Samsung electric ranges, plus notes for swapping a bad broil element using the same procedure.
What You'll Need
🛠 Tools
📦 Materials
Safety First
- •Cut power to the range at the breaker panel before working — even with the oven switch off, the 240-volt control board and element terminals remain energized, and a slipped finger contacts live power.
- •Let the oven cool completely before starting if it has been used recently — bake elements operate at 600-700°F and stay hot to the touch for 30+ minutes after shutoff.
- •Do not let the loose element wires retract back through the rear wall hole when you disconnect them — fishing them back out requires pulling the entire range away from the wall and removing the rear access panel.
Step-by-Step Instructions
Confirm the Element Is the Failure
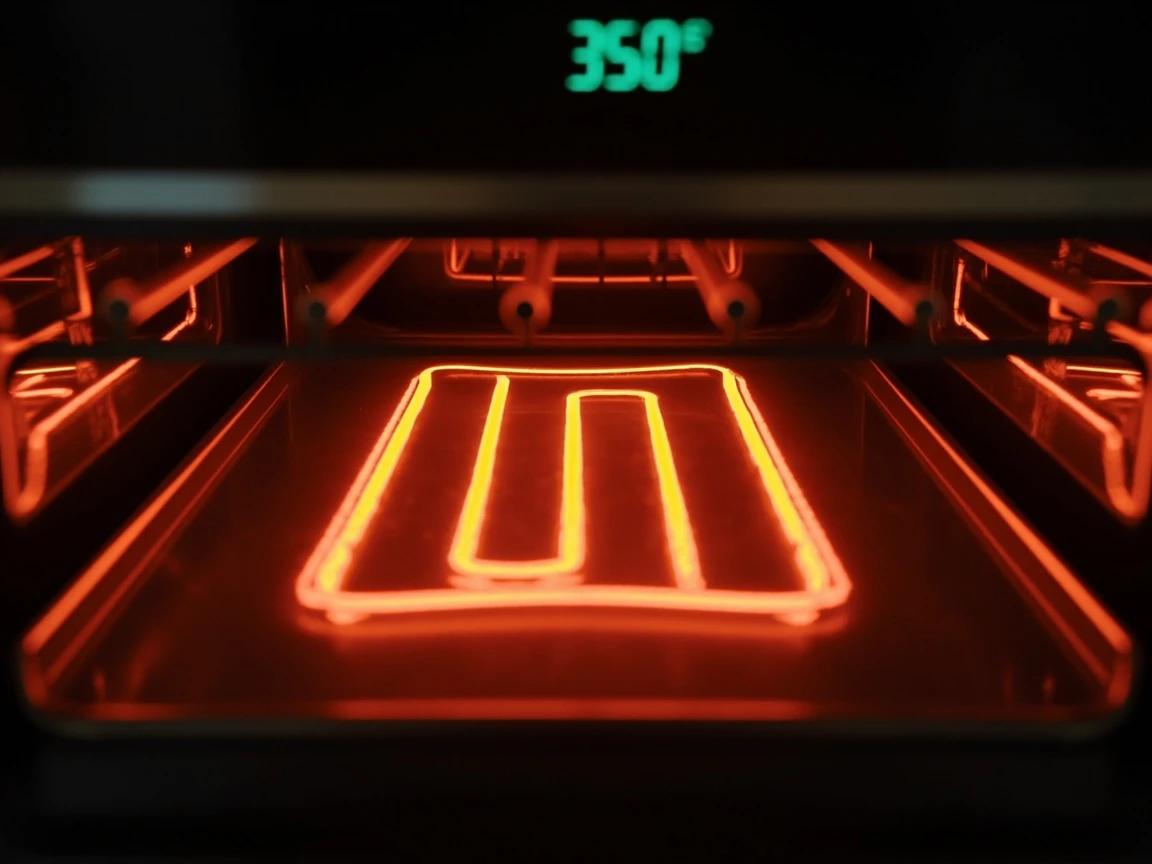
Before you order a part, verify which element is dead. Open the oven and look at the bottom (bake) and top (broil) coils — a failed element almost always has a visible burn mark, blister, or hairline crack at one of its bends. Turn the oven on to bake at 350°F and look through the window after 60 seconds: a healthy bake element glows uniformly bright orange across its entire length; a failed one stays dark, glows only on one side, or glows briefly then fades. For a definitive test, set a multimeter to ohms (Ω), pull either spade connector off the back of the element (after cutting power at the breaker), and touch the probes to the two element terminals — a working element reads 20-50 ohms; a failed element reads OL or infinite.
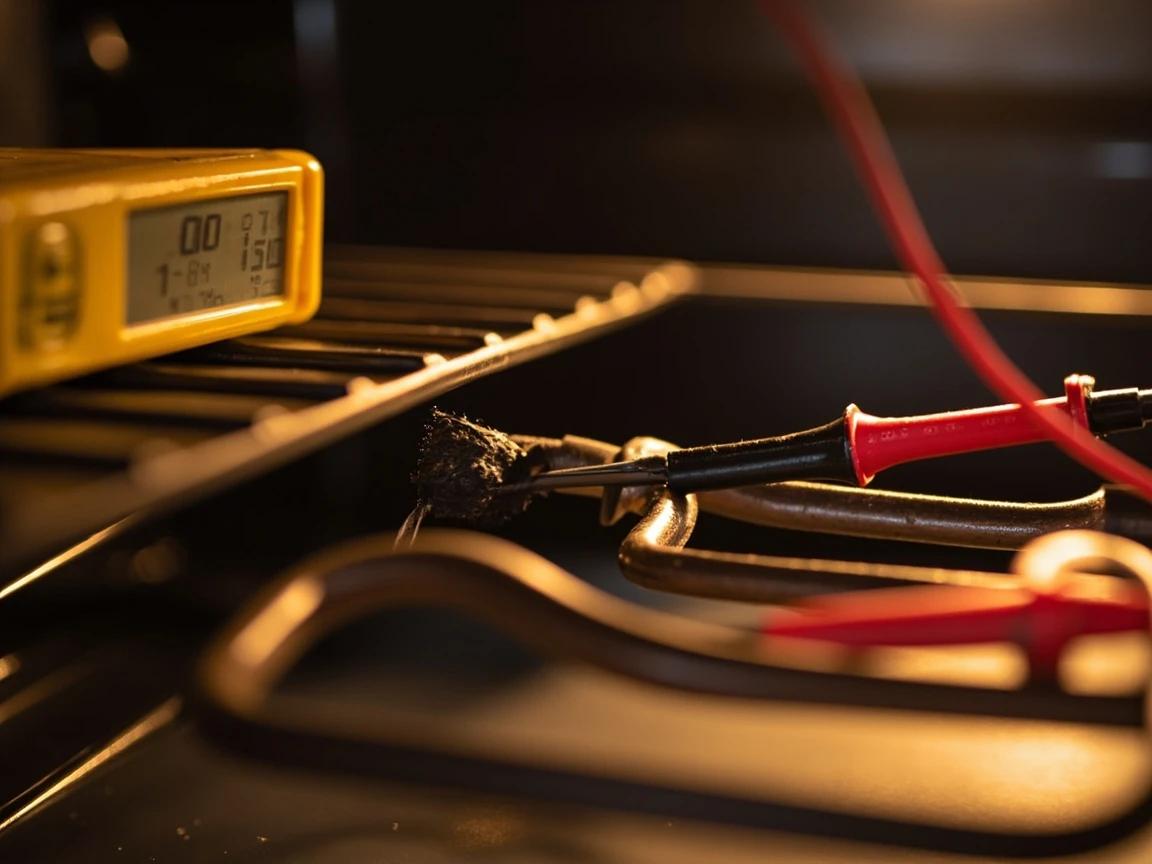
If the breaker trips the moment you turn the oven on, that is also a definitive failed-element symptom — the nichrome wire has shorted to the metal sheath and is dumping current straight to ground. Skip the multimeter test and order the part.
Find Your Range Model Number and Order the OEM Element
The model number sticker is usually on the inside edge of the storage drawer at the bottom of a freestanding range (pull the drawer all the way out and look at the top of the kickplate or the side of the drawer cavity), on the inside edge of the oven door frame on a wall oven, or behind the bottom front grille on a slide-in range. Write down the full alphanumeric model number including any suffix letters. Search "[brand] [model number] bake element" or "broil element" on RepairClinic.com, PartSelect.com, AppliancePartsPros.com, or the manufacturer's parts site. The listing will show wattage, voltage, terminal style (spade vs screw), and a fitment list — confirm your model is in the fitment list before ordering. Most elements ship in 2-3 days for $30-60.
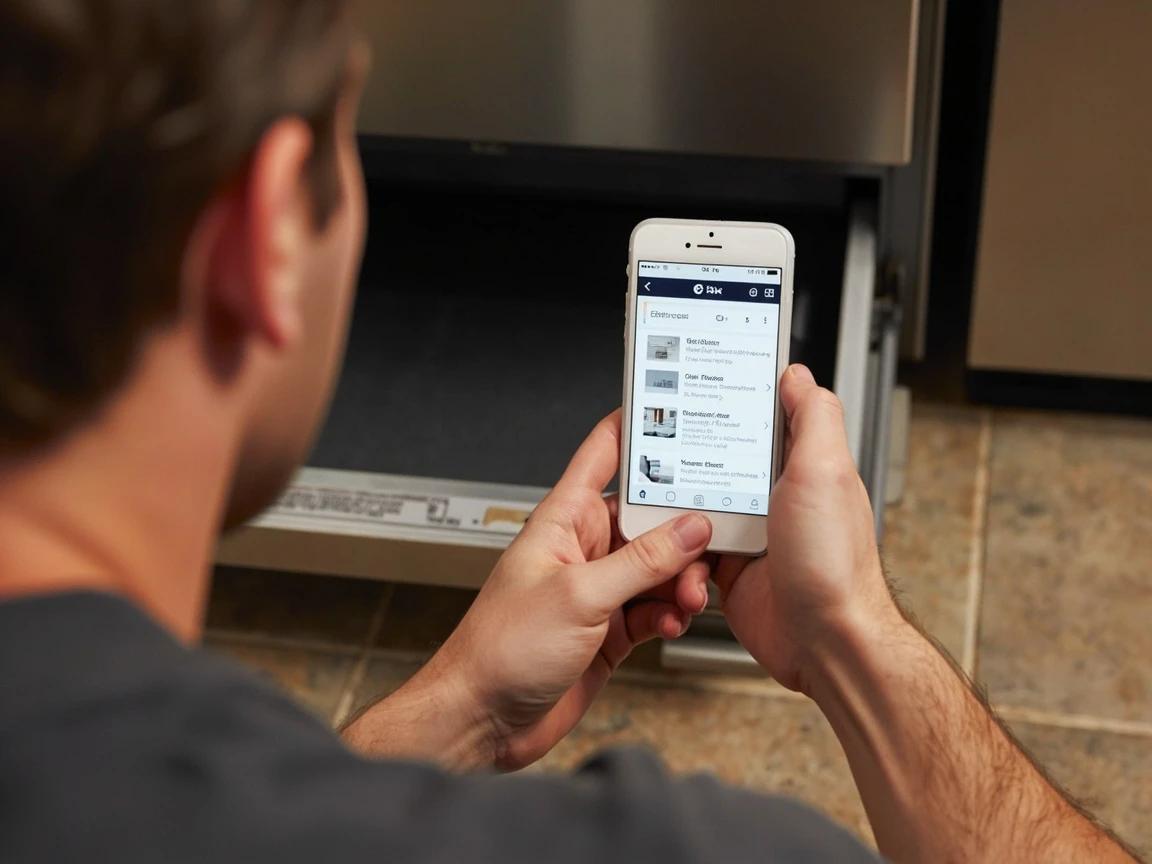
Photograph the model sticker before you start ordering — the print is small and the sticker is in an awkward low position, and a typo of one character will ship you the wrong part.
Do not order by photo alone. A "looks identical" universal element from Amazon may have terminals 1/4 inch off from where the wires emerge in your oven, which means the wires will not reach without modification.
Cut Power at the Breaker and Let the Oven Cool
Open your home electrical panel and find the double-pole 240-volt breaker labeled OVEN, RANGE, or KITCHEN — flip it to OFF. Verify power is off by turning the oven on at the control panel: the display should be completely dark and no element should glow. If the oven was recently in use, wait at least 30 minutes for the elements to cool fully — a bake element coming out of a 350°F bake stays hot enough to burn skin for the better part of an hour. Slide-in and freestanding ranges sometimes plug into a 240V outlet behind the unit; on these, you can pull the range forward and unplug it as a belt-and-suspenders confirmation that power is dead.
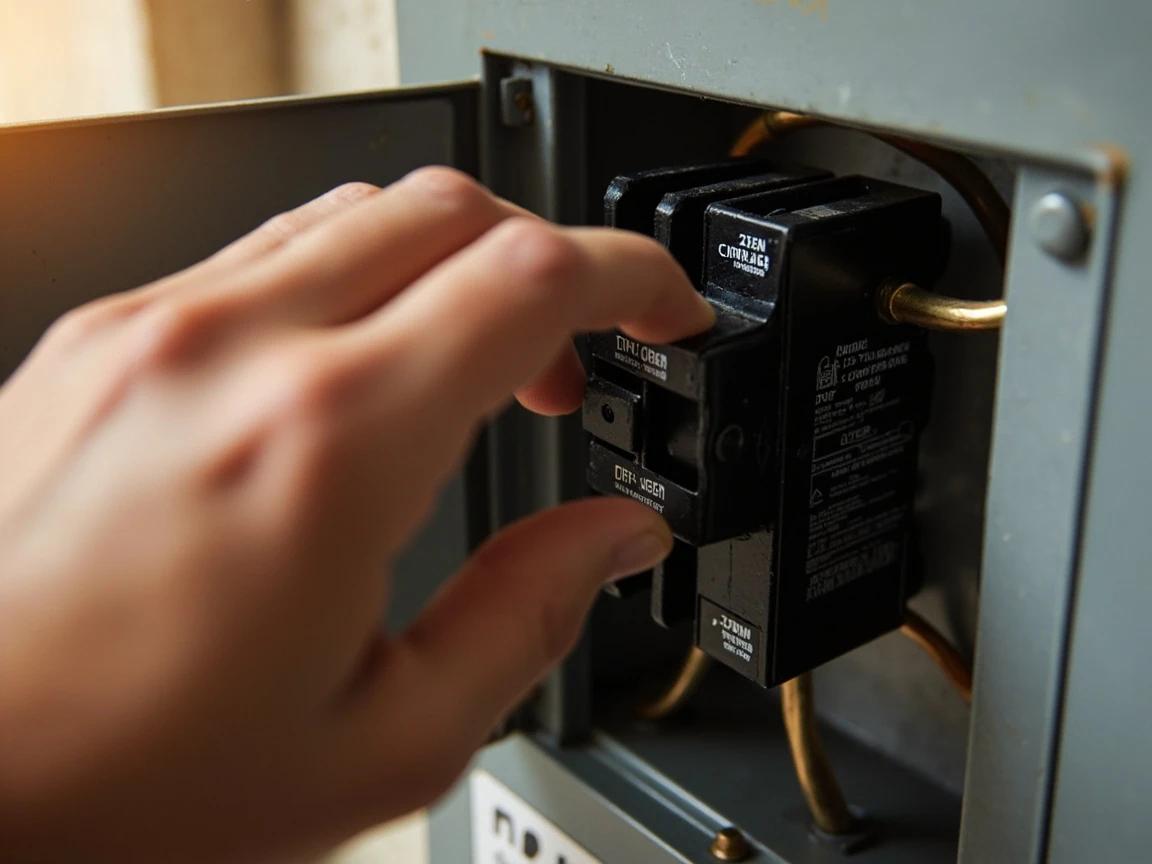
Element terminals carry 240 volts — twice the voltage of a normal household outlet. The control switch turning off does not de-energize the terminals. Confirm at the breaker every time, no exceptions.
Remove the Oven Racks
Pull each oven rack out to the stop, lift the front edge up at a slight angle until it clears the rack guides, and pull the rack the rest of the way out. Stand the racks against a wall or in the hallway out of the work zone — they are awkward to maneuver around and a stray bump will scratch your kitchen floor or chip an enamel finish. With the racks out, you have a clear shot at the rear wall of the oven cavity where the bake element's mounting bracket is screwed in. For a broil element replacement (top of cavity), the racks do not strictly need to come out, but removing them gives you a much better working angle to see the bracket screws.
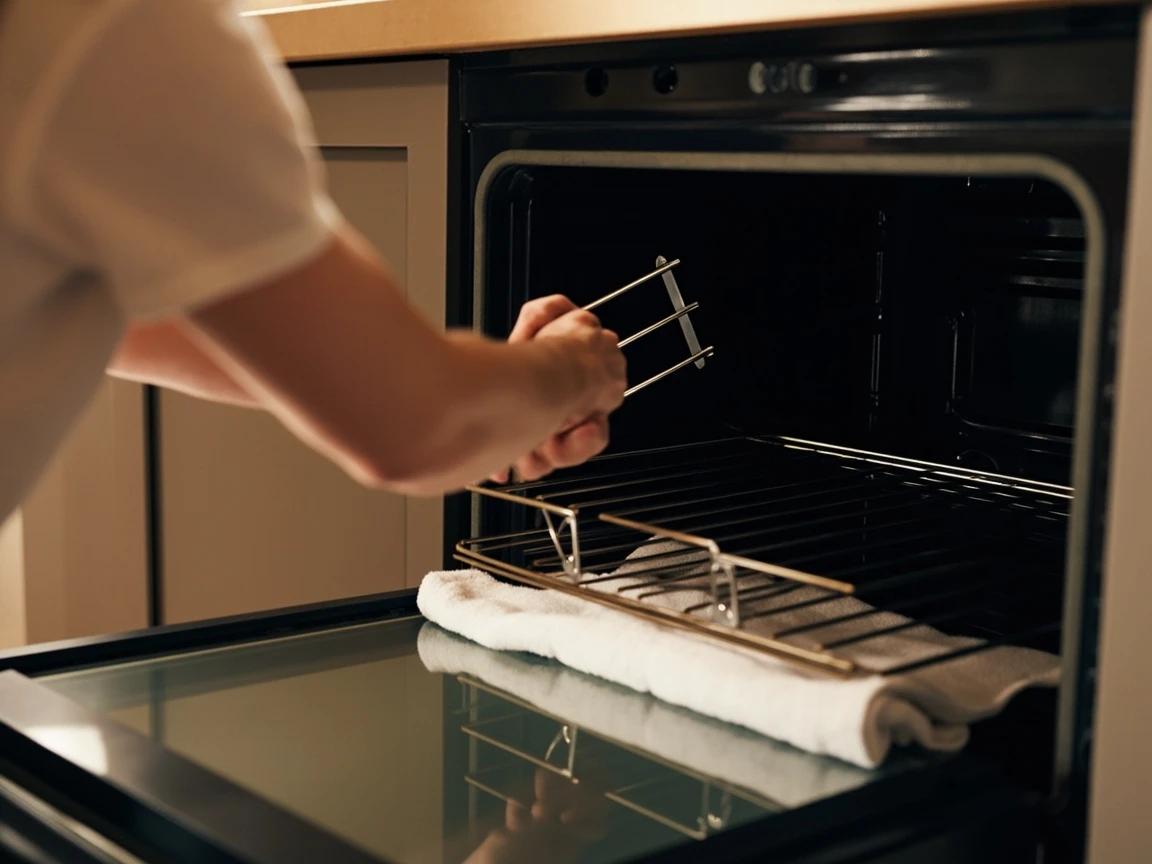
Unscrew the Element Mounting Bracket From the Rear Wall
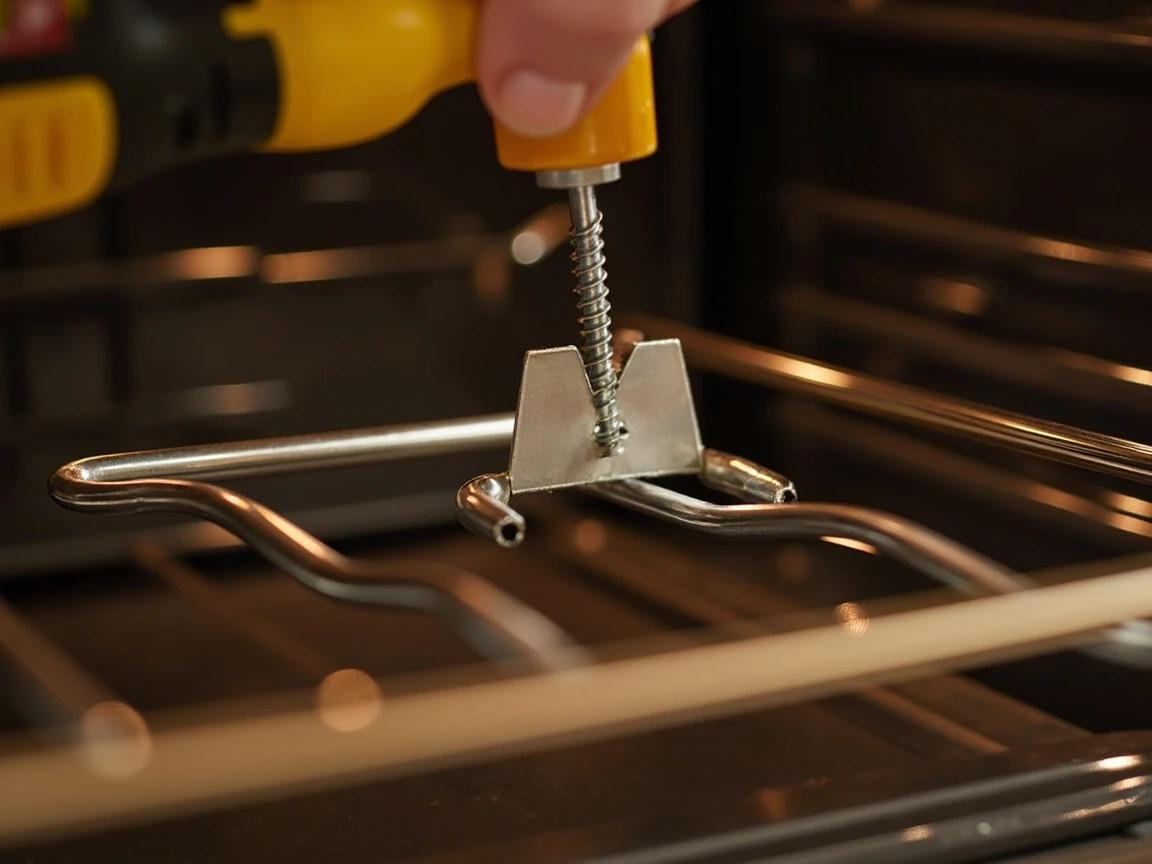
At the rear of the oven cavity, locate the small flat metal bracket where the front of the element's U-shape attaches to the back wall — there are typically two Phillips-head screws, sometimes 1/4-inch hex-head, holding it in place. Drive each screw out and drop them into a small bowl or onto the towel laid across the oven door so they do not skitter into the oven cavity (where they vanish through the broiler vent and live in your range frame forever). On a few models, particularly older Frigidaire and Tappan ranges, there is a single screw plus a pair of slotted tabs — loosen the screw and slide the element to release the tabs.
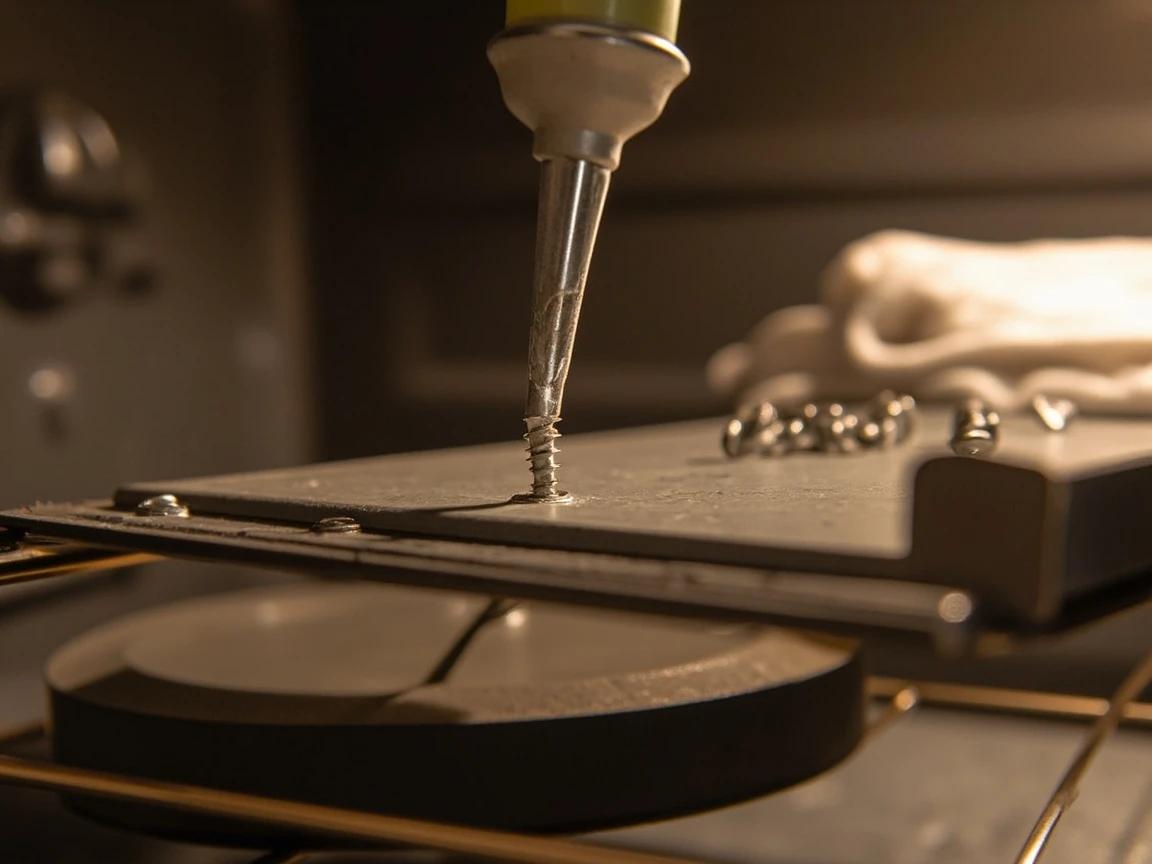
A magnetized screwdriver tip is worth its weight in gold for this step — the screws sit in deep wells at an awkward angle, and a magnetized tip lifts the screw out cleanly instead of dropping it into the oven floor.
Pull the Element Forward and Disconnect the Wires
With the bracket free, gently pull the element straight toward you 4-6 inches — the two wires running into the back wall will follow it and expose the spade-connector terminals on the back of the element. Before disconnecting anything, clip a spring clamp or wooden clothespin onto each wire about 6 inches from the terminal. This is the single most important step in the whole job: if a wire slips out of your fingers while disconnected, it retracts straight through the rear wall hole and disappears into the oven's back panel, which means pulling the entire range away from the wall and removing the rear service panel to fish it back out. With the clamps secured, pull each spade connector straight off its terminal — use needle-nose pliers if they are stiff, but pull on the metal connector itself, never on the wire insulation.
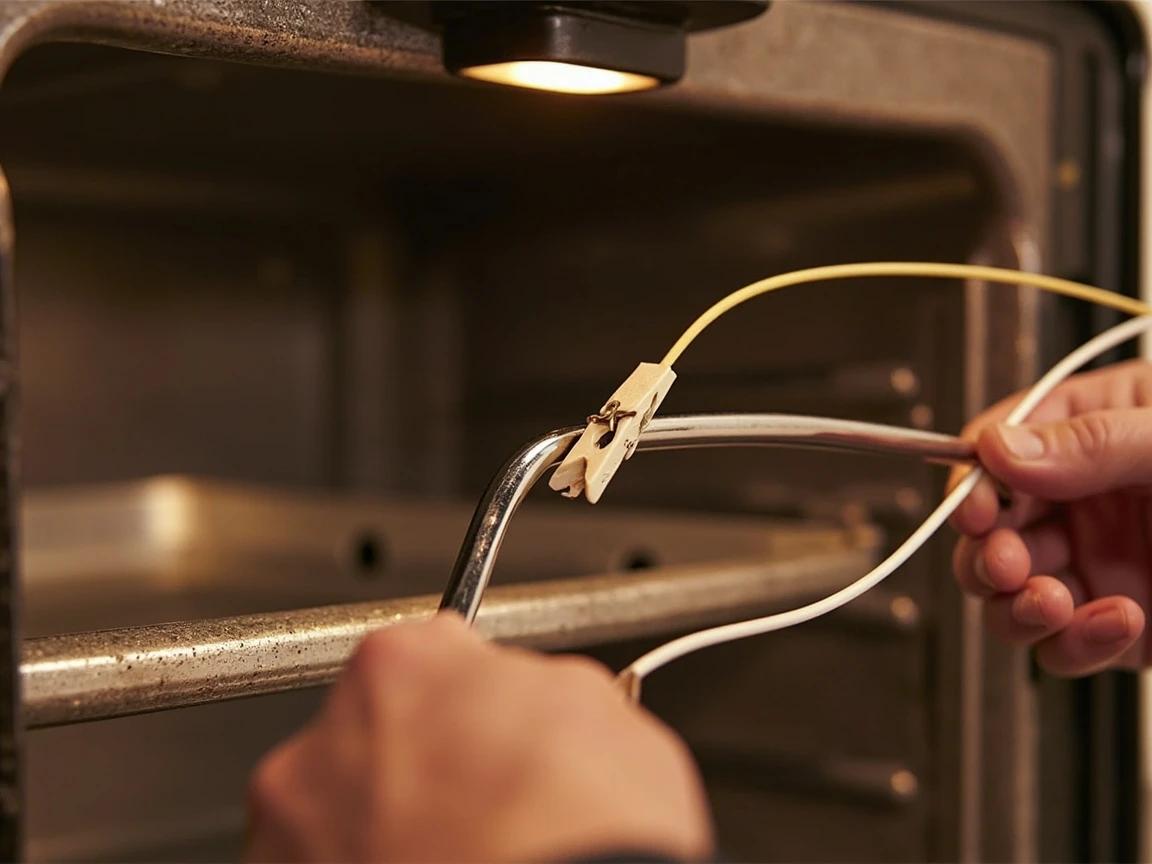
Never let go of a wire before clamping it. Bake element wires retract through the wall hole because of the natural curl of the wire harness behind the panel — gravity is not on your side here, and "fishing them back out" is not a 5-minute fix.
Connect the Wires to the New Element
Take the new element out of its packaging and hold it next to the old one — the terminal positions and bracket holes should be identical. Most bake and broil elements are not polarized (they are simple resistors), so it does not matter which spade connector goes on which terminal as long as both are firmly seated. Push each spade connector straight onto its new terminal until it bottoms out and feels tight — a loose connector creates an arc that can melt the terminal and ruin the new element within hours of installation. Wiggle each connection lightly to confirm it does not pull off easily. If the spade connector is loose enough to slip off with finger pressure, crimp it gently with needle-nose pliers to tighten the grip before pushing it on.
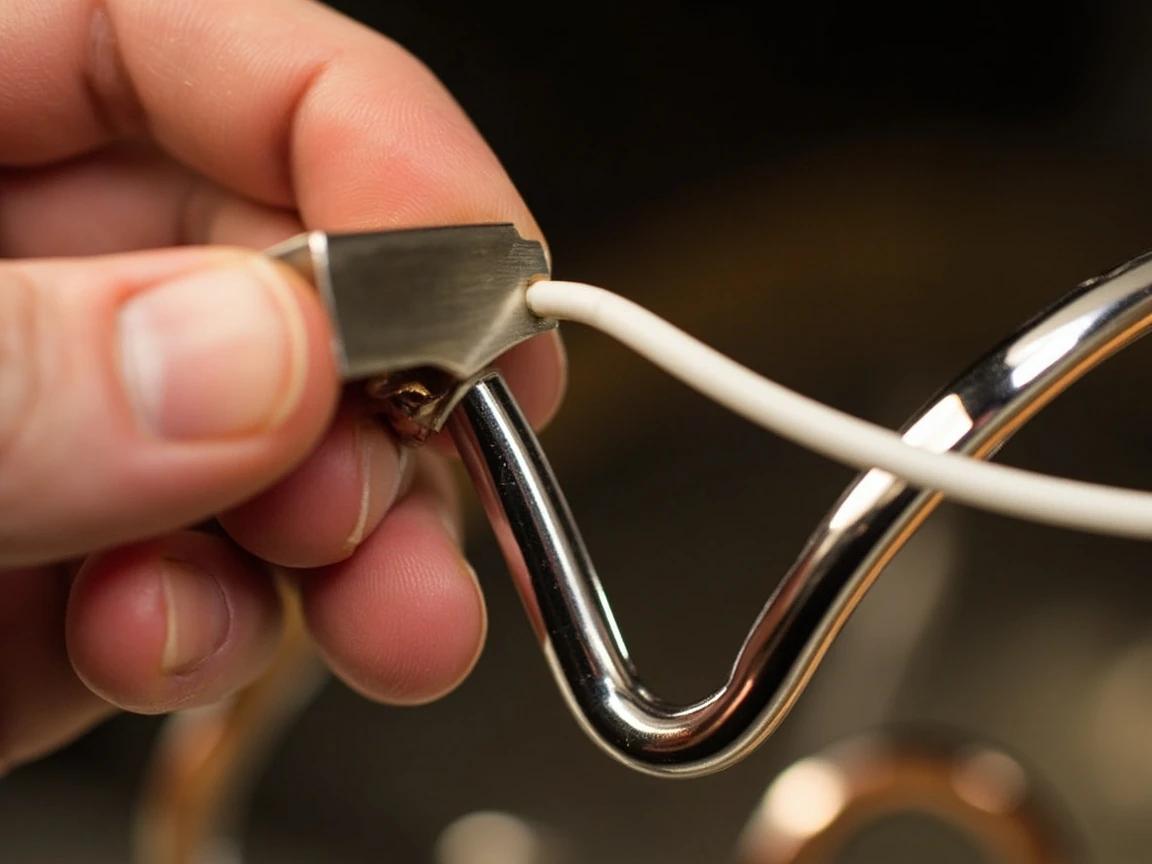
Compare the old and new elements side by side before installing — wattage stamps near the terminal end should match, and the bracket hole spacing should be identical. If anything looks off, stop and reconfirm the part number against your model.
Slide the Element Into Place and Reattach the Bracket
Guide the wires back through the rear wall hole as you push the element straight back into the cavity — feed the slack wire gently into the hole rather than letting the element pull it. Line up the bracket holes with the threaded mounts on the back wall and start each screw by hand a turn or two before tightening with the screwdriver, which prevents cross-threading. Drive the screws snug but not white-knuckle tight — these threads are in thin sheet metal and will strip if over-torqued. Remove the spring clamps from the wires after the element is fully secured. Give the element a gentle wiggle to confirm it is solidly anchored and does not move when bumped.
Restore Power and Test on Bake at 350°F
Slide the racks back into their guides. Restore power at the breaker panel — the oven's clock display should light up. Set the oven to bake at 350°F and watch through the window: within 30-60 seconds, the new element should glow uniformly bright orange across its entire length. Run the oven at 350°F for 15 minutes the first time — you may notice a slight burn-off smell and faint smoke as the manufacturing oils on the new coil cook off; this is normal and stops within the first cycle. After 15 minutes, the oven should hold a steady 350°F (verify with an oven thermometer if you have one). Bake a test item — a tray of cookies or a frozen pizza is the classic confirmation that the bottom is browning evenly again.
Run the first 15-minute burn-off cycle with the kitchen exhaust fan on and a window cracked — the smoke from manufacturing oils is harmless but the smell is strong. After this first cycle, the element will not smell again for the rest of its life.
Frequently Asked Questions
How do I know if my oven heating element is bad?
+
Three signs almost always confirm a failed element: a visible burn mark, blister, or break in the U-shaped coil; the element does not glow uniformly orange when the oven is preheating (one side dark or completely cold); or the oven trips the breaker the moment you turn it on. The definitive test is a multimeter set to ohms — pull the element terminals off, touch the probes to the two element posts, and a working element reads 20-50 ohms while a failed one reads OL (open / infinite). If only the bottom of food browns, the bake element is dead; if only the top browns, the broil element is dead.
How much does it cost to replace an oven heating element?
+
A genuine OEM replacement bake or broil element costs $30-60 from the manufacturer or RepairClinic, PartSelect, or AppliancePartsPros. Universal aftermarket elements run $20-35 but often have slightly different terminal positions or wattage and may not seat properly against the rear wall. If you hire an appliance repair tech, expect $200-300 total including the part, since most companies have a $120+ minimum service call fee plus a $90+ labor charge for what is genuinely a 20-minute job.
Why did my oven element burn out with a visible blister?
+
Heating elements are a thin nichrome wire packed inside a magnesium-oxide insulator and sealed in a metal sheath. When the sheath gets nicked, scratched, or has food spill arcing on it, moisture seeps into the insulator and the next time the element heats up, the trapped moisture flashes to steam and blows out a section of the coil — that is the blister or break you see. Self-cleaning cycles also stress old elements because of the extreme temperatures (over 900°F), which is why elements often die during or right after a self-clean.
Does the wattage have to match exactly on a replacement element?
+
Yes — match wattage to within 100 watts of the original spec, and match voltage exactly (240V for almost all US residential ovens). The wattage is stamped on the element near the terminal end (typical bake element: 2500-3400W; typical broil element: 3000-4000W). An undersized element will not bring the oven to temperature; an oversized element draws more current than the wiring and control board are rated for, which causes premature failure or, in the worst case, damages the oven control board. Always order by your range model number rather than by visual match.
Can I use a bake element in place of a broil element or vice versa?
+
Physically, the brackets often look identical between bake and broil elements on the same range — they bolt to the same kind of rear-wall mount. But broil elements are usually higher wattage (3000-4000W vs 2500-3400W for bake) because they need to crank to red-hot temperature quickly for searing. Swapping them will work in the short term but the bake element used as a broil will heat slowly, while a broil element used for bake will run hotter than the oven thermostat expects and may shorten food. Order the correct part for the position.
Sources & further reading
- How to Replace a Bake Element in an Electric Oven — RepairClinic
- Range/Oven Bake Element Replacement — Sears PartsDirect
- How to Test an Oven Bake Element with a Multimeter — PartSelect
More Appliance Repair Guides
View all → Easy1 hr
How to Descale a Coffee Maker
Slow brewing, lukewarm coffee, a sputtering carafe, or a flashing "Descale" light all point to the same culprit: a layer of calcium and magnesium scale clinging to the inside of your heating element and water lines. Left unchecked, scale doubles your brew time and eventually burns out the heater. The fix takes about an hour, costs under $5 in white vinegar (or $1 in citric acid), and is the same procedure for drip machines, Keurigs, and most pod brewers — with a few small differences this guide will walk you through end to end.
 Medium1 hr
How to Fix an Ice Maker
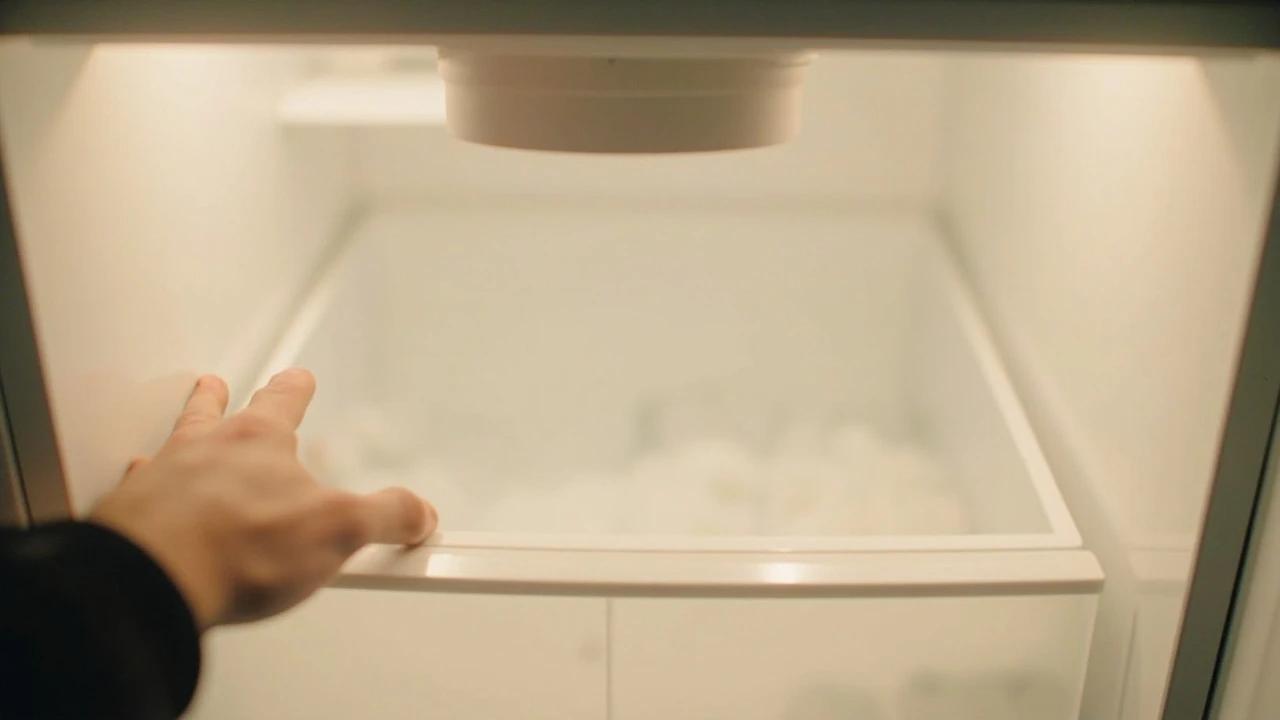
A refrigerator ice maker that quits is almost always a cheap, fixable problem — not a dead appliance. The trick is to work the causes cheapest-first instead of replacing parts at random: nine times out of ten it's a clogged water filter, a frozen fill tube, or a freezer that's drifted too warm, all of which cost little or nothing to fix. This guide walks the full diagnostic flow in order, from the free checks to swapping the inlet valve or ice-maker module, so you replace a part only after you've proven it's the culprit.
 Easy25 min
How to Level a Washing Machine to Stop Shaking
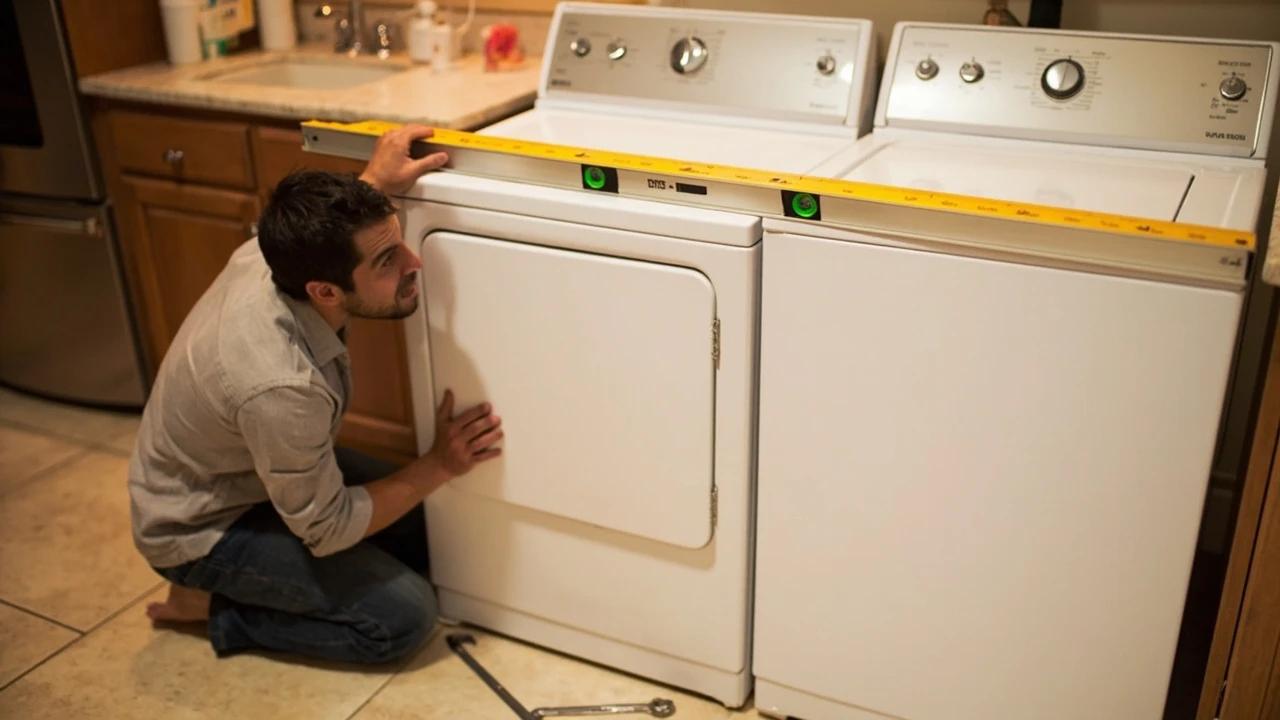
A washer that walks across the laundry room on the spin cycle, hammers the wall behind it, or sounds like a jet engine taking off is almost never broken — it is unlevel, and the drum is throwing the wet load off-axis because the cabinet is rocking on its feet. The fix is a 20-minute job with a $5 bubble level and a pair of pliers (no parts, no service call). Skipping it is genuinely expensive: the constant out-of-balance shaking shortens the life of the bearings, the suspension rods, and the shock absorbers, and a $300 bearing replacement is a real possibility on a washer that runs unlevel for a year. This guide covers both front-loaders and top-loaders, plus the stacked combo unit that vibrates loose every six months.
You Might Also Like
 Medium1 hr
How to Repair Scratches in a Hardwood Floor
Scratched hardwood almost never means refinishing the whole floor. This guide shows you how to match the fix to the damage — a touch-up marker for finish-level scratches, a wax fill stick for shallow ones, and stainable wood filler with stain and polyurethane for deep gouges — all for under $40 in supplies and about an hour of work.
 Easy20 min
Best Paint for Kitchen Cabinets, Compared
The four paints that actually hold up to daily kitchen use are Benjamin Moore Advance, Sherwin-Williams Emerald Urethane Trim Enamel, INSL-X Cabinet Coat, and Behr Urethane Alkyd. They all work; they each fail in different ways. This guide compares cure time, leveling, scratch resistance, and price so you pick the one that matches your skill level and timeline — not the one a paint-store clerk has the most stock of.
 Easy25 min
Best Deck Stain: Transparent vs Semi vs Solid
There is no "best" deck stain — there is the right stain for your sun exposure, wood condition, and how often you want to redo the job. Transparent stains last 1-2 years but let the natural grain show. Solid stains last 4-7 years but look like paint. This guide walks the four opacity levels and the oil-vs-water choice so you pick the one that matches your deck and your tolerance for re-staining.