How to Fix a Dishwasher That Won't Drain
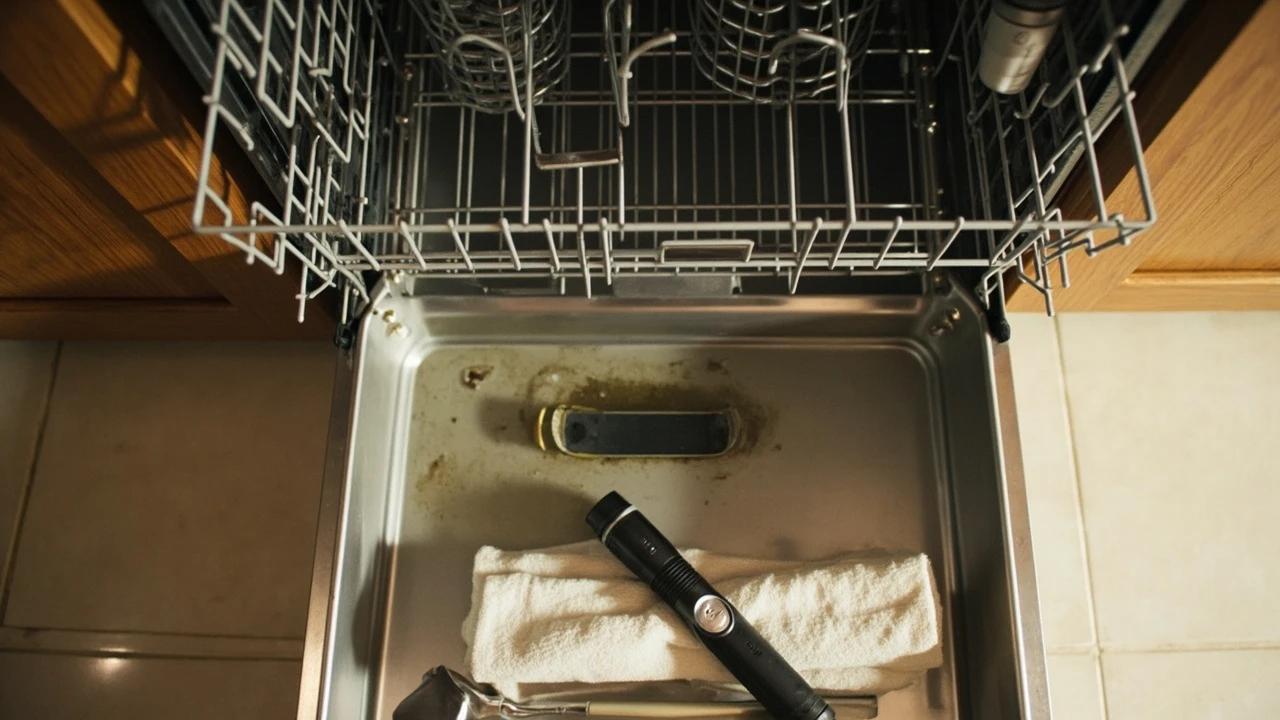

Standing water in the bottom of the dishwasher after a cycle is one of the most common kitchen complaints — and a service call costs $150-300 to diagnose what is almost always a clogged filter, blocked drain hose, or unrun garbage disposal. The fix takes 30-45 minutes with basic tools, and roughly nine out of ten cases are solved without replacing a single part. This guide walks through every cause from simplest to most involved, in the exact order a repair tech would check them.
What You'll Need
🛠 Tools
📦 Materials
Safety First
- •Always cut power to the dishwasher at the breaker panel before pulling it out or disconnecting any wiring — flipping the cycle off at the door does not de-energize the control board.
- •Turn off the hot water supply valve under the sink before disconnecting any plumbing to prevent flooding.
- •Standing water that has sat overnight grows bacteria and may contain broken glass — wear nitrile gloves while bailing and inspecting the drain area.
Step-by-Step Instructions
Cancel the Cycle and Run the Garbage Disposal
Press Cancel/Drain or hold the Start button for 3 seconds to abort the current cycle — most dishwashers will attempt one final drain pulse, which sometimes resolves the issue on its own. While that runs, turn on the hot water at the kitchen sink and run the garbage disposal for 30 seconds. Roughly half of all "dishwasher won't drain" calls are actually a clogged disposal: the dishwasher drains through the disposal in most installations, so any food caught there blocks the entire drain path. After the disposal runs clear, try a Drain-only cycle on the dishwasher and see if the water disappears.
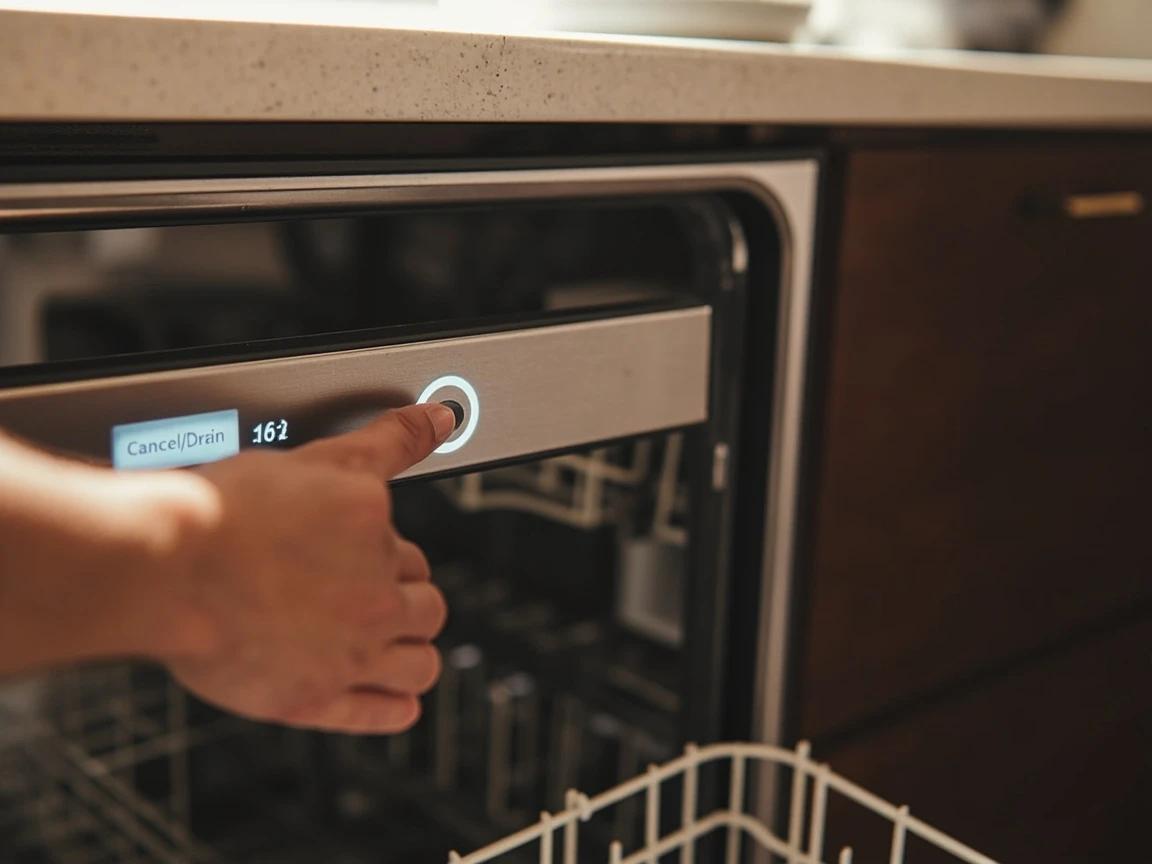
Make running the disposal for 15-20 seconds before every dishwasher cycle a permanent habit — it prevents 80% of all future drainage problems.
Bail the Standing Water Out of the Tub
If the drain pulse did not clear the water, you need to remove it manually before troubleshooting further — the filter and drain pump are submerged and you cannot inspect anything until the tub is dry. Lay 2-3 bath towels on the floor in front of the dishwasher to catch drips. Pull out the lower rack and set it aside. Use a turkey baster or large cup to bail water into a 5-gallon bucket, or — much faster — use a wet/dry shop vacuum to suck the water directly out of the sump. Keep going until the tub bottom is dry enough to wipe with a paper towel.
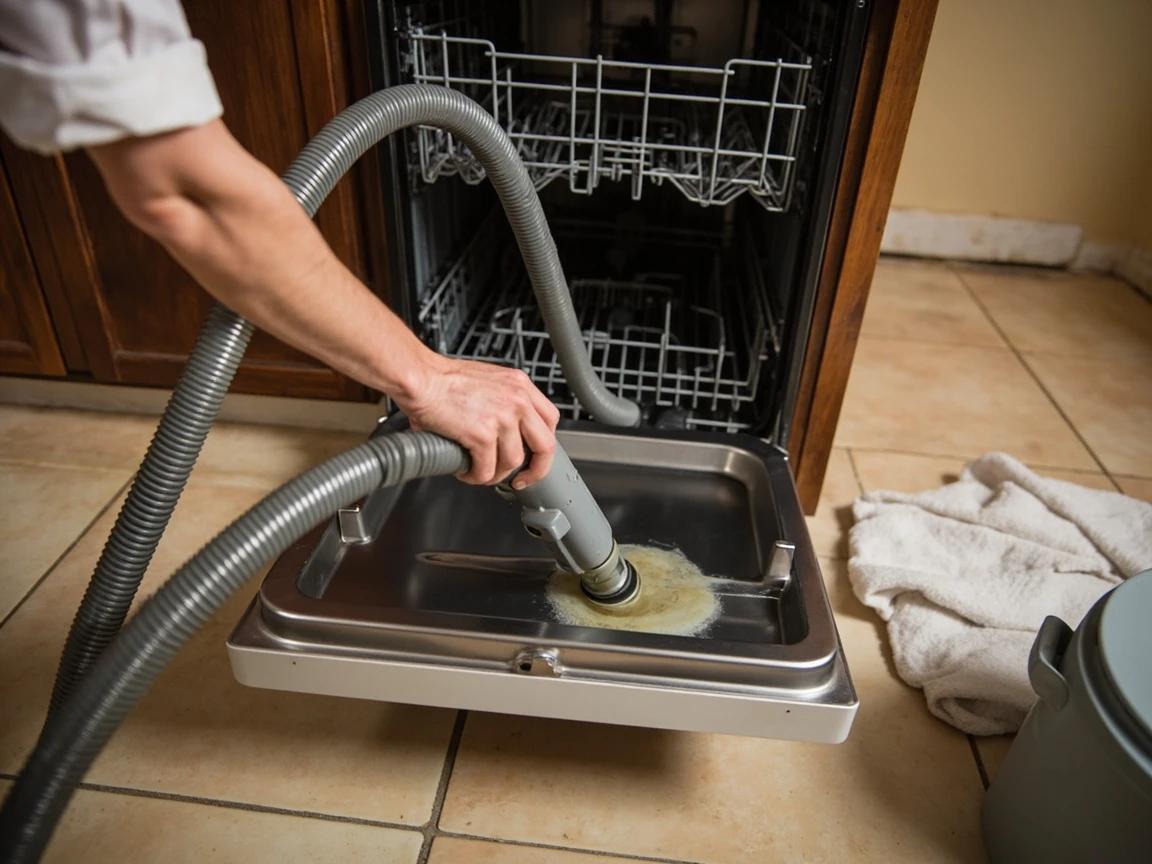
A cheap wet/dry shop vac empties even a heavily flooded dishwasher in 3-5 minutes versus 20+ minutes of bailing with a cup. If you do this kind of work more than once, the vac pays for itself.
Wear nitrile gloves while reaching into the tub — broken glass shards from chipped drinking glasses are extremely common in the sump area and can cut your fingers.
Remove and Clean the Filter Assembly
Locate the filter at the bottom-center of the tub, just below where the lower spray arm sits. Most modern dishwashers (Bosch, KitchenAid, Whirlpool, Maytag from roughly 2010 on) have a cylindrical "fine" filter that twists counterclockwise to release, with a flat "coarse" mesh filter underneath it. Lift both pieces out and rinse them under hot running water in the sink. Use an old toothbrush with a few drops of dish soap to scrub out the food particles, grease, and biofilm clogging the mesh — hold each piece up to the light and confirm every hole is clear. A heavily clogged filter alone can prevent drainage entirely.
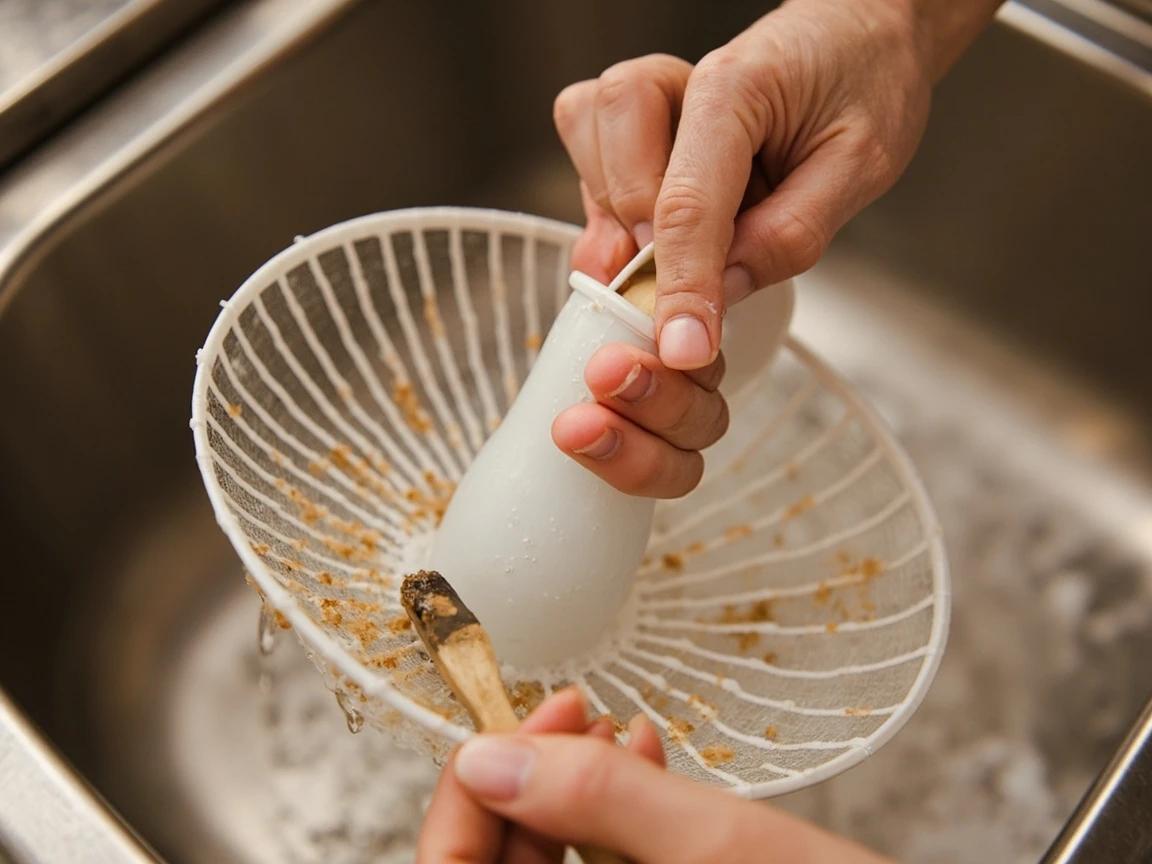
Some older dishwashers (pre-2010 GE, some Frigidaire) have a self-cleaning grinder with no removable filter — if you cannot find one, do not force anything; skip to the next step.
Clear the Sump and Check Valve
With the filter out, you have a clear view of the sump (the deep well at the bottom of the tub) and the drain opening. Shine a flashlight in and look for debris — broken glass, fruit pit fragments, popcorn kernels, label peels, and small bones are the usual offenders. Remove anything you see by hand (gloves on). Many dishwashers have a small rubber or plastic check valve flap inside the drain opening that prevents dirty water from siphoning back in — gently push it with a finger or pencil eraser to confirm it moves freely and has not stuck shut from grease buildup. Wipe the sump area with a vinegar-soaked cloth to dissolve mineral scale.
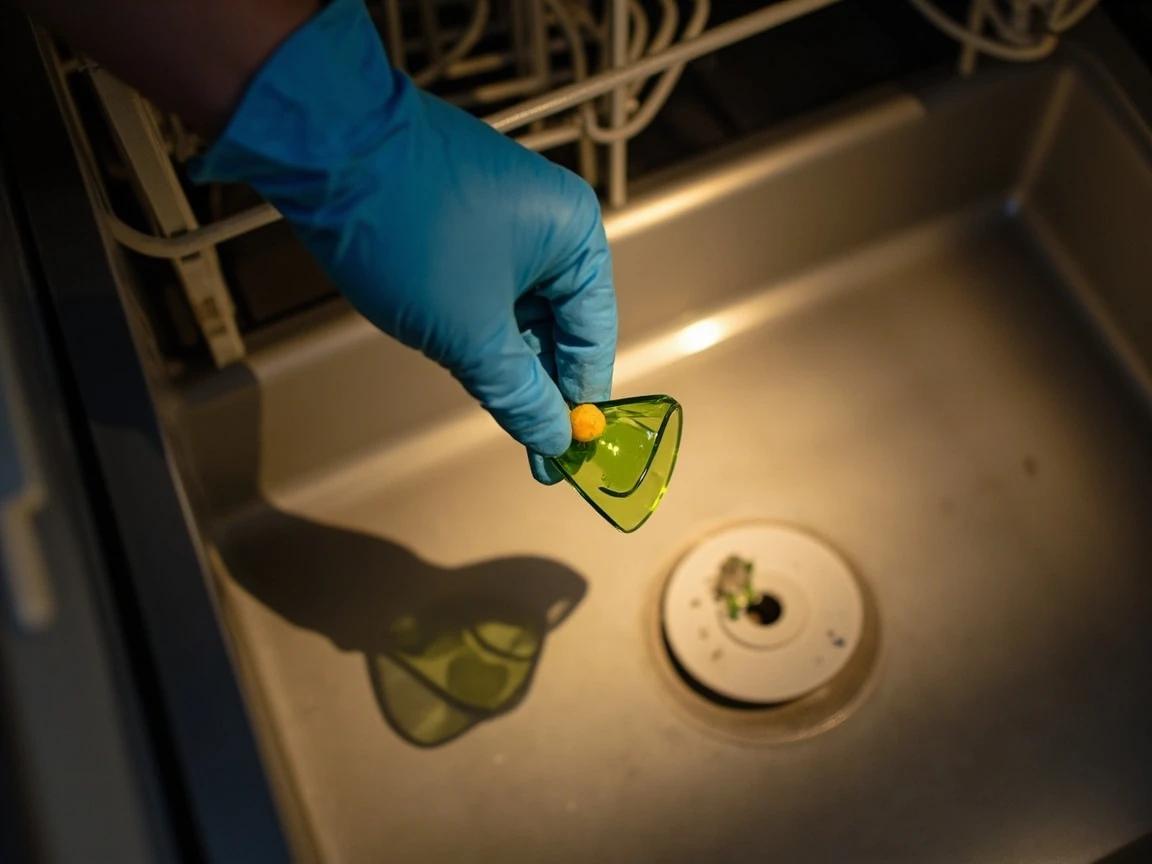
Glass shards in the sump are common and almost invisible against stainless steel. Run a paper towel across the area before reaching in with bare fingers.
Clean the Air Gap (If Equipped)
If you have a small chrome cylinder mounted on the countertop next to the faucet — usually about 2 inches tall — that is your air gap, a code-required backflow preventer in many jurisdictions. Twist the cap off (it usually pulls straight up or unscrews counterclockwise), lift out the inner cover, and look inside for a clog of food sludge. Wipe out anything you find with a paper towel and rinse the cap and cover under the tap. A clogged air gap is one of the top three causes of poor dishwasher drainage and is invisible from the dishwasher itself. If you do not have an air gap, skip this step.
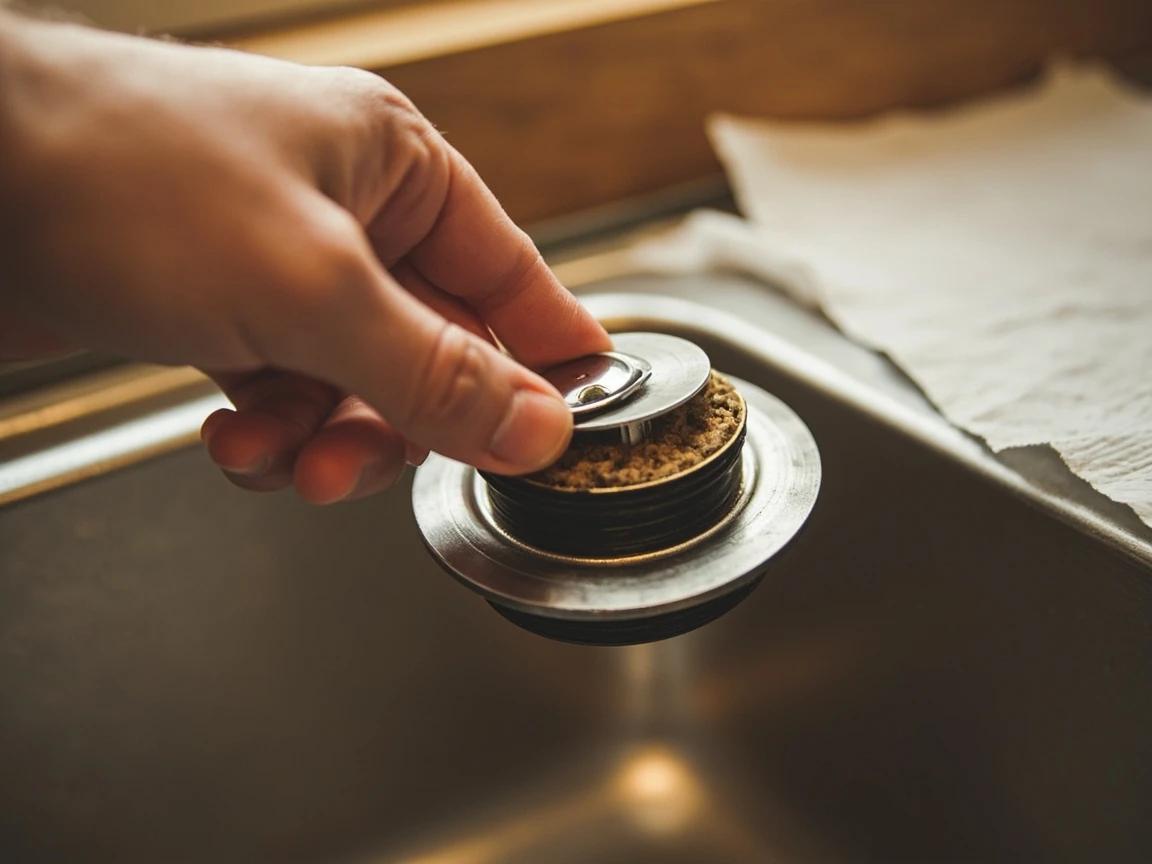
If you find sludge in the air gap, also pour a cup of vinegar followed by hot water down the air gap chamber to flush the connected drain line — this is where the gunk has been collecting for years.
Inspect the Drain Hose for Kinks and the High Loop
Open the under-sink cabinet. The dishwasher drain hose is the corrugated white or grey hose that runs from a hole in the back-left of the cabinet up and over to either the garbage disposal's side inlet or the air gap. Check the entire length for sharp kinks, especially where it bends behind drawers or around the disposal — even a one-inch kink can completely block flow. Confirm the hose makes a "high loop" up to within 2 inches of the underside of the countertop before dropping down to the disposal; if it just runs straight across the cabinet floor, gravity siphons dirty sink water back into the dishwasher and confuses the drain cycle. Use a zip tie or hose clamp screwed to the underside of the counter to secure the loop.
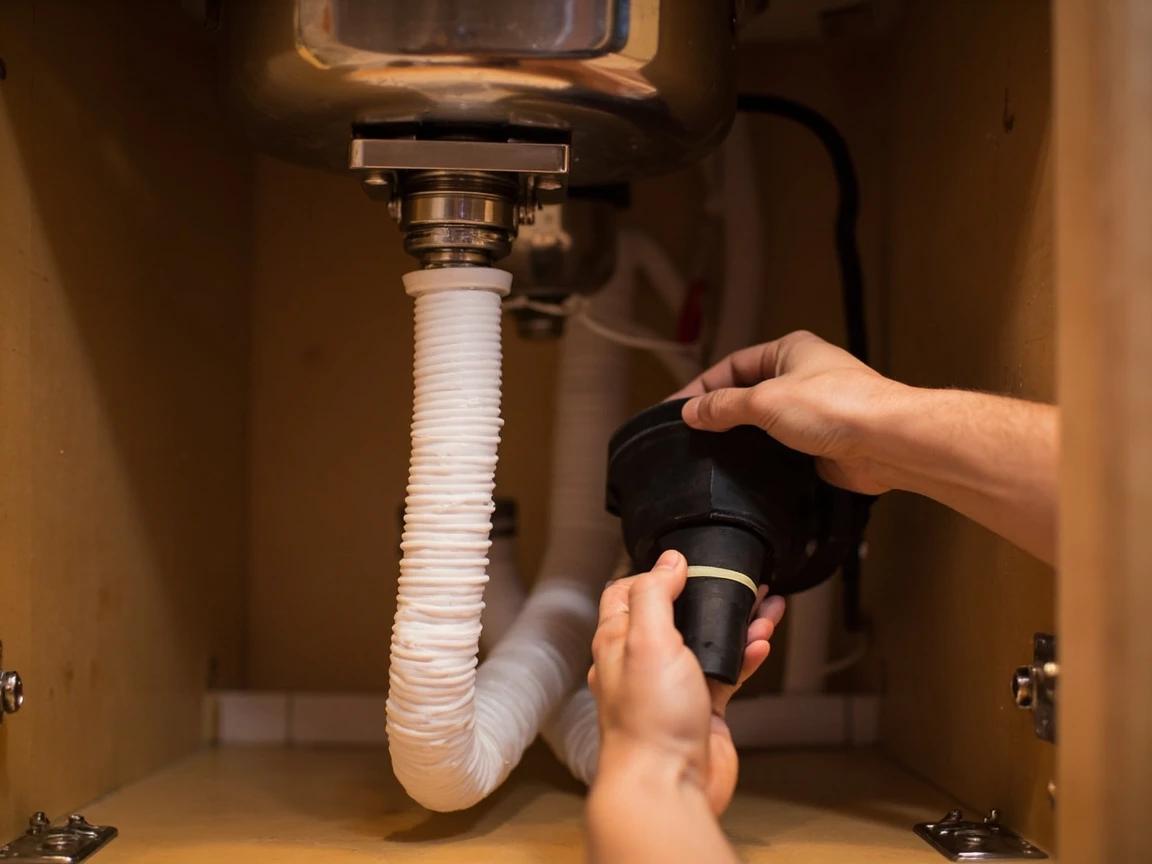
A missing high loop is the #1 issue home inspectors flag on dishwasher installations. Even if the dishwasher is draining now, fixing the loop prevents future backflow and odor problems.
Disconnect and Flush the Drain Hose
If the hose looks clear externally but you still suspect a clog, disconnect it from the disposal end by loosening the spring clamp with channel-lock pliers and pulling the hose off. Hold the open end over a 5-gallon bucket. Pour a kettle of hot water plus 1 cup of white vinegar into a funnel inserted into the high end of the hose (you may need to disconnect the dishwasher end as well) — anything that comes out the bottom is what was blocking your drain. Common culprits: dried-on grease, label fragments from store-bought jars, and the occasional fruit sticker. Reconnect both ends and tighten the spring clamps fully.
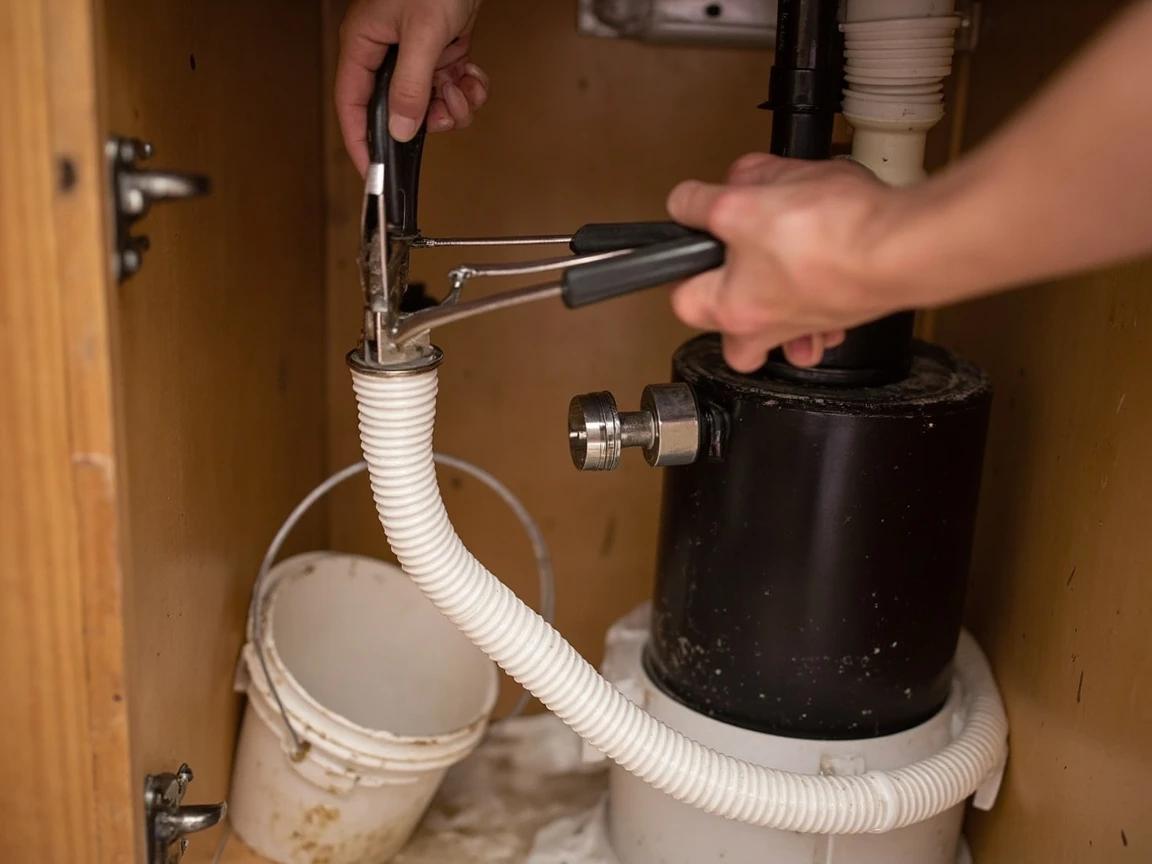
If the hose has any cracks, bulges, or visibly stiff sections from age, replace it now — a $15 hose is far cheaper than the water damage from a midnight burst under the sink.
Check the Drain Pump for Obstructions
If everything upstream is clear and the dishwasher still will not drain, the drain pump impeller may be jammed. Remove the lower spray arm and the filter assembly to expose the pump opening at the bottom of the sump. Shine a flashlight in and look for the pump impeller — a small plastic fan-blade visible through the opening. Try rotating it gently with a pencil or your gloved finger; it should spin freely with light resistance. If it is locked in place, a small object — a toothpick, a popcorn kernel, a piece of broken glass, or a chicken bone fragment — is wedged in the blades. Carefully tease it out with needle-nose pliers or a pair of tweezers. If the impeller spins freely but the pump still hums and fails to move water when powered, the pump motor itself has likely failed and needs professional replacement.
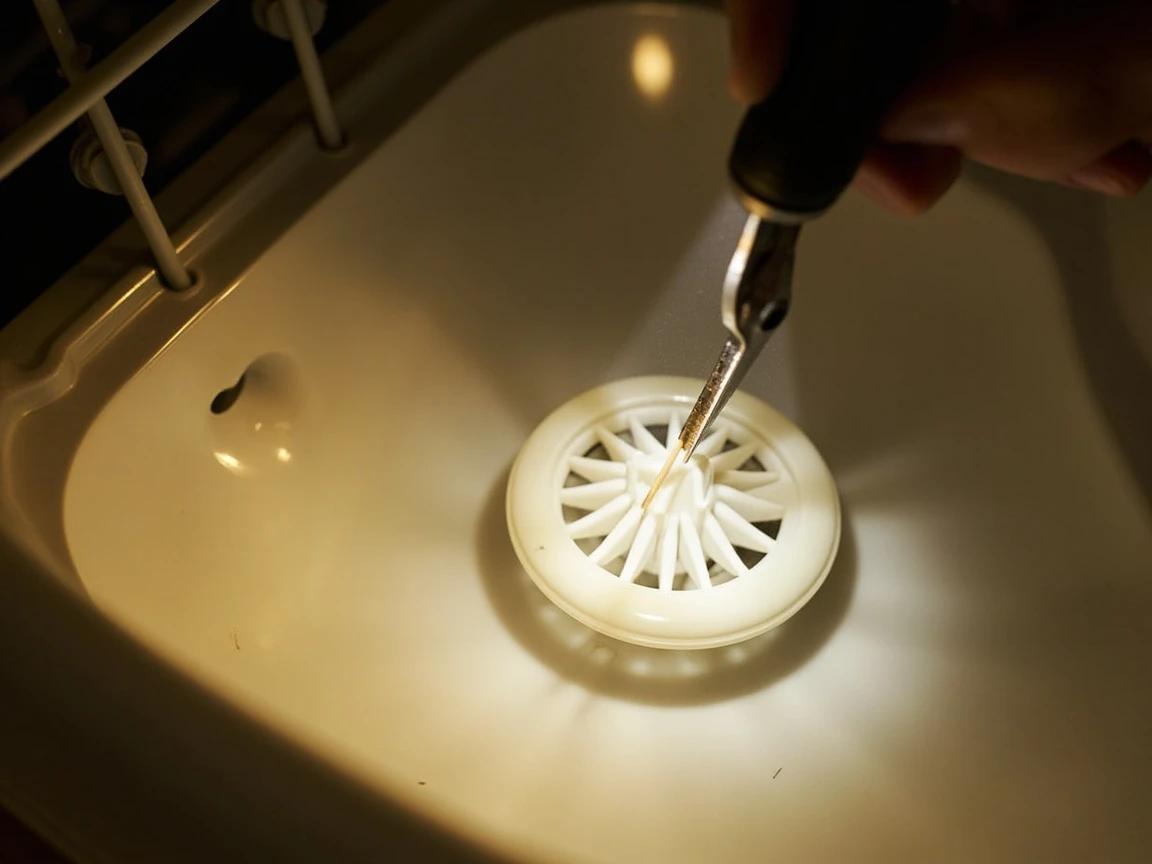
Never force the impeller if it will not rotate — the plastic blades crack easily, and a cracked impeller means a $80-150 pump replacement. Work obstructions free gently from multiple angles.
Reassemble, Run a Drain Cycle, and Verify
Reinstall the coarse filter first, then twist the cylindrical fine filter clockwise back into its seat until it locks. Snap the spray arm back on, push the lower rack into position, and close the door. Run a Drain-only cycle (or start a Rinse cycle and cancel it after 30 seconds, which forces a drain). Listen for the pump — it should hum smoothly, not grind, rattle, or pulse intermittently. Open the door after the drain finishes and confirm the sump is dry. Run one full empty cycle with a cup of vinegar on the top rack to flush out any remaining gunk and verify normal operation before loading dishes.
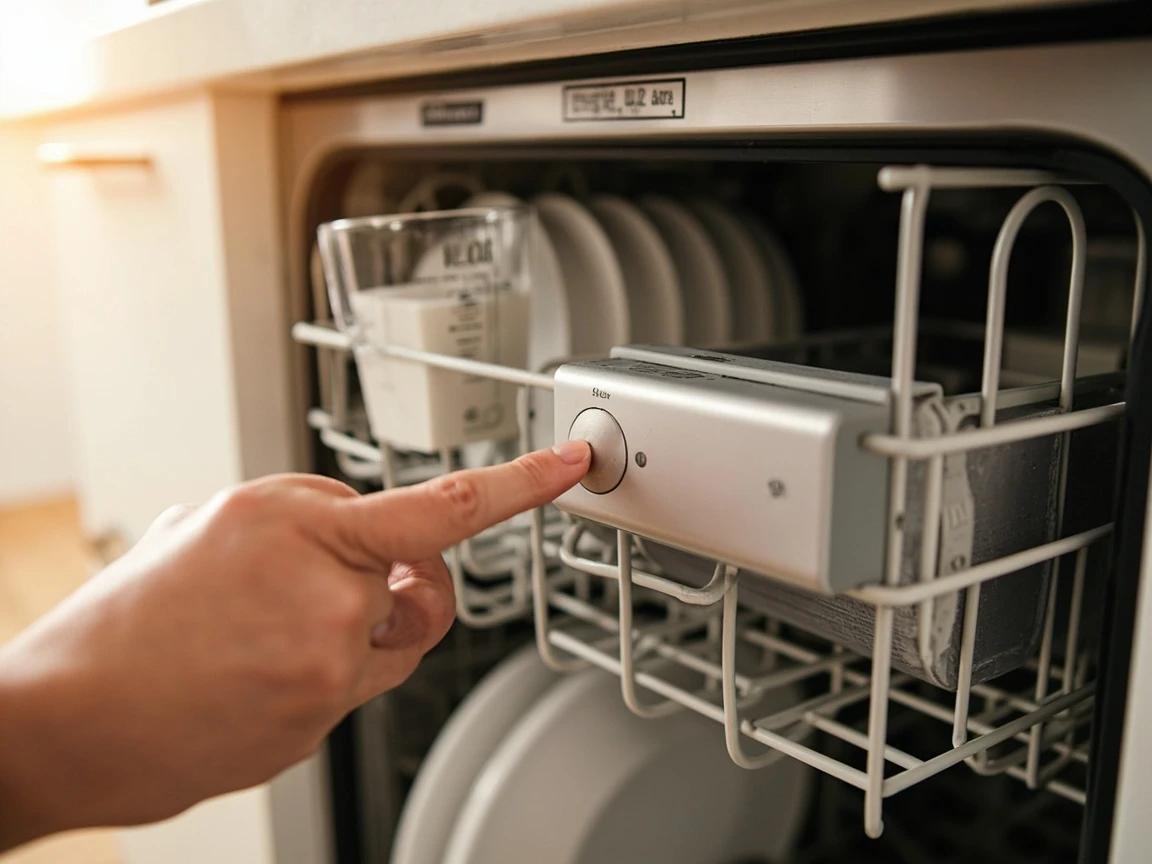
If the dishwasher drains during this test but slowly, run one more vinegar cycle in 24 hours — it takes a couple of cycles to fully dissolve old grease deposits along the drain hose interior.
Frequently Asked Questions
Why is there standing water in the bottom of my dishwasher?
+
A small amount of clean water (under an inch) at the bottom of the sump is normal — it keeps the seals from drying out. Anything more, especially if it is dirty or has food particles floating in it, means the dishwasher could not drain at the end of its last cycle. The four most common causes, in order, are a clogged garbage disposal, a clogged dishwasher filter, a kinked or clogged drain hose, and a clogged air gap.
Should I run my garbage disposal before starting the dishwasher?
+
Yes — always. Most dishwashers drain through the garbage disposal, so any food caught in the disposal blocks the dishwasher's drain path. Run the disposal with cold water for 15-20 seconds before every dishwasher cycle. This single habit prevents the majority of "dishwasher won't drain" calls.
How do I drain a dishwasher manually?
+
Cancel the current cycle and pull out the lower rack. Lay towels in front of the door, then use a turkey baster, large cup, or wet/dry shop vacuum to remove the standing water from the sump area at the bottom of the tub. A shop vac empties most dishwashers in under 5 minutes. Do not run another cycle until you have identified and fixed the cause of the original blockage.
Can I run my dishwasher with standing water in it?
+
No. Running another cycle on top of standing water will not push the clog through — it will overflow onto your floor or trip the float switch and stop the cycle anyway. Always remove the standing water first, then troubleshoot the drain path before attempting another wash.
Why does my dishwasher have water in it after I just installed a new garbage disposal?
+
This is the single most common cause of a brand-new "dishwasher won't drain" problem: garbage disposals ship with a solid plastic knockout plug sealing the dishwasher inlet. The plug must be punched out with a hammer and screwdriver before connecting the dishwasher drain hose, or the dishwasher has nowhere to drain to. If you forgot, disconnect the hose, knock out the plug from inside the disposal, fish out the loose plug, and reconnect.
Sources & further reading
More Appliance Repair Guides
View all →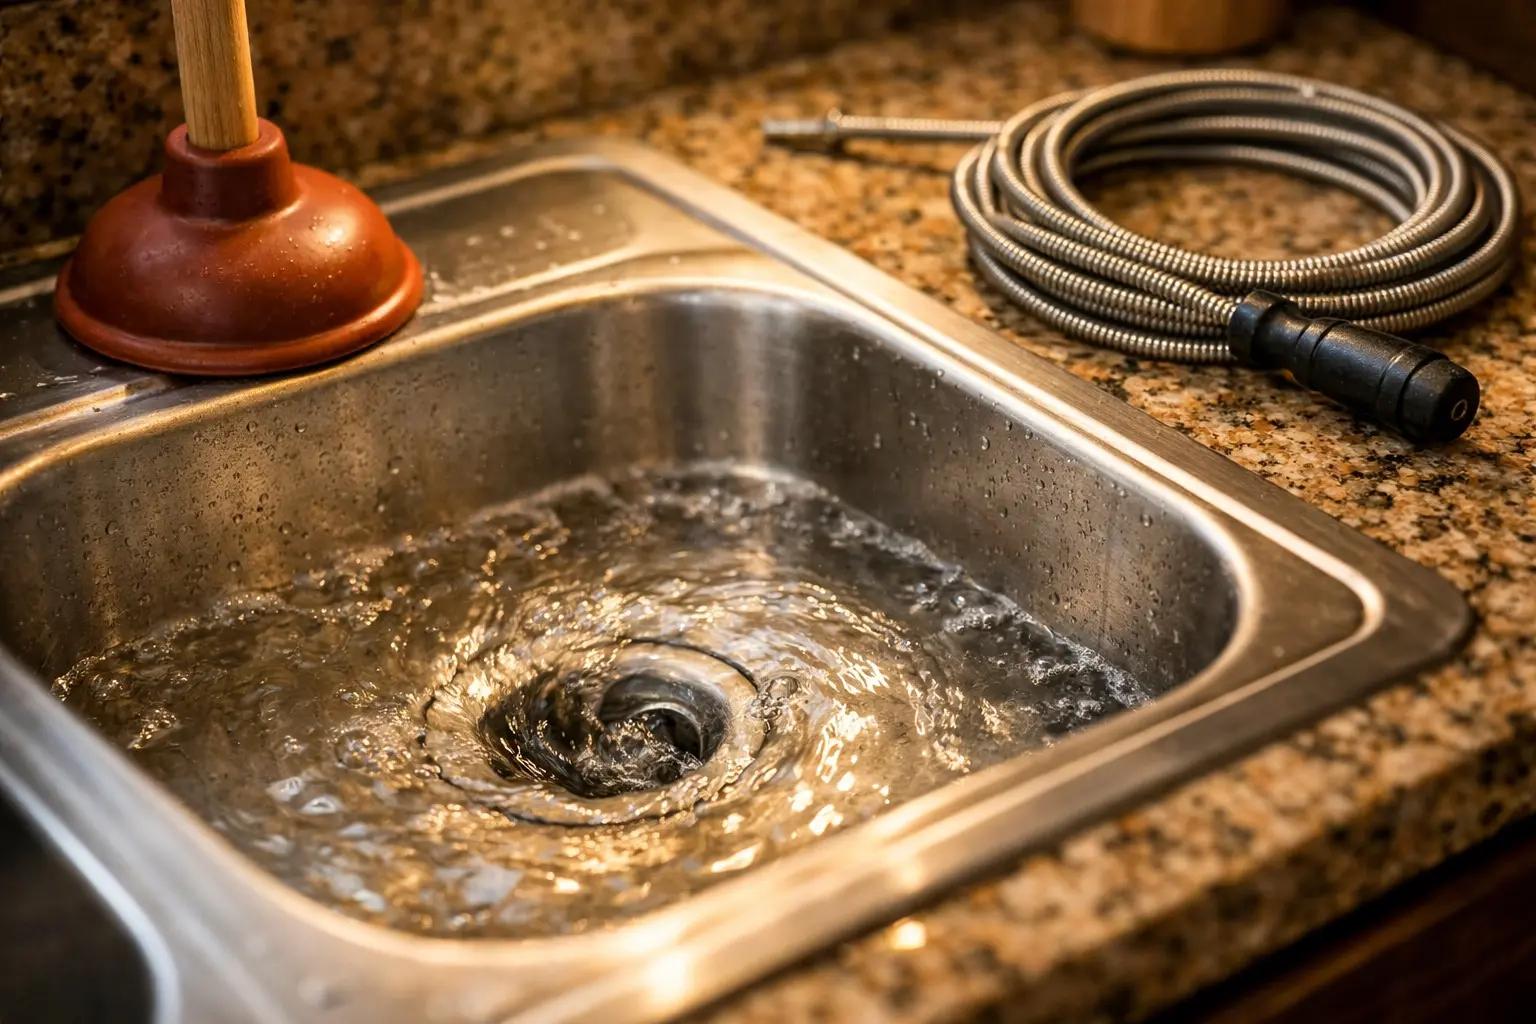 Easy30 min
How to Unclog a Drain
A slow or fully blocked drain is one of the most common household plumbing issues — and usually one of the cheapest to fix yourself. Most clogs can be cleared in under 30 minutes with tools you already own, saving the $150-300 a plumber would charge for the same job.
 Easy45 min
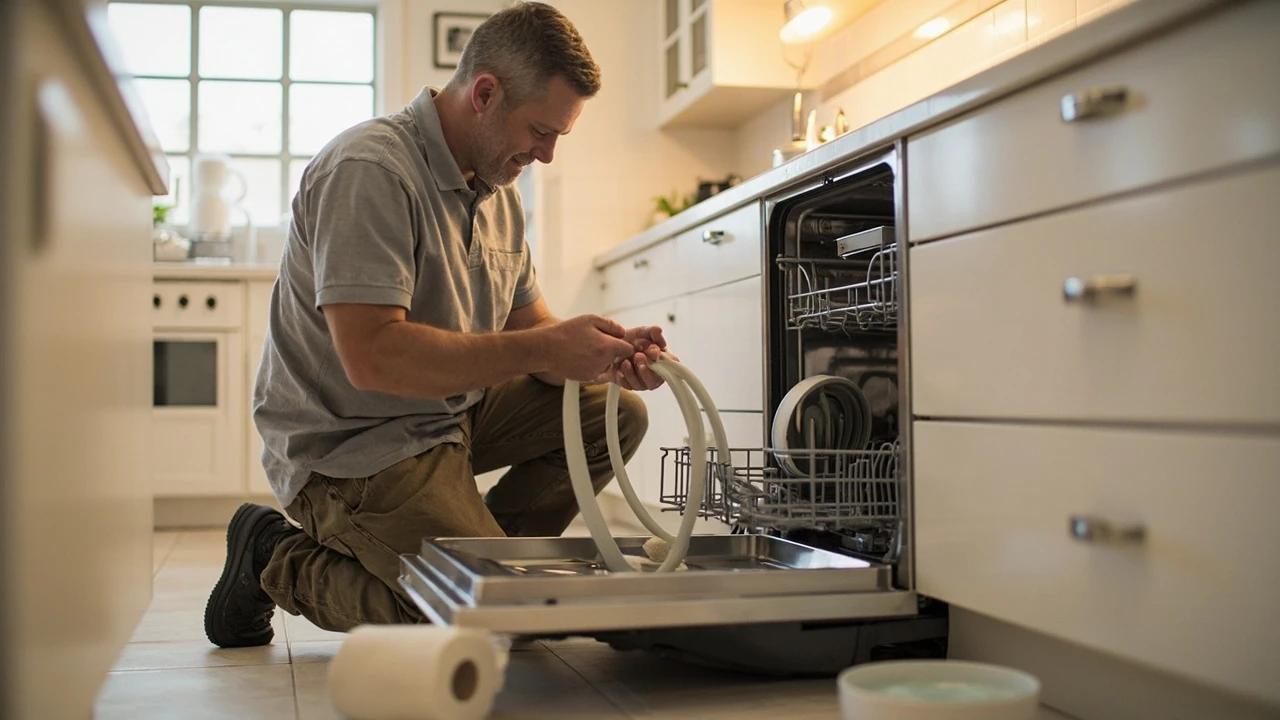
How to Replace a Dishwasher Door Seal
A leaking dishwasher door is almost always a worn or hardened door gasket — the rubber seal that runs around the perimeter of the inner tub. The part costs $10-25 and the entire job takes 30-45 minutes of active work, versus a $150-250 service call. This guide covers Whirlpool, KitchenAid, Maytag, GE, and Frigidaire (which all share the same tub-perimeter design) plus Bosch-specific notes for upper and lower seals.
 Medium30 min
How to Troubleshoot a Microwave That Won't Heat
A microwave that runs — light on, turntable spinning, timer counting down — but leaves food stone cold is one of the most common appliance failures, and about half the time the cause is something you can fix in five minutes for free. This guide walks the diagnosis from the easy stuff (demo mode, power level, a tripped GFCI, a dirty door latch) to reading the failure signature that tells you the high-voltage circuit is gone, then helps you make the repair-or-replace call with real numbers.
You Might Also Like
 Hard8 hrs
How to Paint Kitchen Cabinets
A professional cabinet refinish costs $3,000-8,000, but painting them yourself with the right prep and materials delivers the same transformation for under $200 in a long weekend. The secret is thorough degreasing, a bonding primer, and thin coats with proper dry time between each — skip any of those and the paint will chip within months. This guide walks through the full process from door removal and labeling to final reassembly, covering both brush and roller techniques for a smooth, factory-like finish.
 Medium6 hrs
How to Paint a Room
A fresh coat of paint is the fastest, cheapest way to transform any room — and doing it yourself saves $400-800 in labor for an average 12x12-foot bedroom. The job takes a weekend from prep to final coat, and the difference between an amateur-looking result and a professional finish comes down to technique, not talent. This guide covers prep, cutting in, rolling, and cleanup so you get clean lines and even coverage the first time.
 Easy30 min
How to Replace an Electrical Outlet
A worn-out or discolored electrical outlet is one of the simplest electrical repairs you can tackle yourself — swapping one takes about 15-30 minutes and costs under $5 in parts versus $75-150 for an electrician visit. This guide walks you through safely replacing a standard duplex receptacle, including how to handle the wiring correctly and avoid the most common DIY mistakes.