How to Install Crown Molding

Crown molding turns a plain room into a finished one — but it is the trickiest trim to cut, thanks to corners that are never quite square and a profile that has to be cut upside down. This guide walks through the whole job the way a finish carpenter does it: coping inside corners so they stay tight, mitering outside corners, and fastening into framing instead of bare drywall. Expect about half a day for a typical room and roughly one to six dollars per linear foot in materials.
What You'll Need
🛠 Tools
📦 Materials
Safety First
- •A compound miter saw is the most dangerous tool in this job. Keep both hands clear of the blade path, let the blade stop fully before lifting it, and never reach across a spinning blade. Wear eye and ear protection.
- •Cutting MDF and sanding filler create very fine dust — wear a dust mask or respirator, especially in an enclosed room.
- •Work from a stable step ladder, not the top rung, and have a helper support long lengths overhead instead of overreaching.
Step-by-Step Instructions
Choose your molding and buy extra
Pick a material to match your skill and finish: pre-primed polyurethane or polystyrene is the most forgiving for a first job, MDF is smooth and stable for paint, and solid wood is best for stain-grade work. Most home-center crown has a 38-degree spring angle (the angle it leans out from the wall), which sets your cutting angles later. Measure the room perimeter and buy 10 to 15 percent extra to cover copes, test cuts, and mistakes.

Buy one extra full-length stick purely for practice cuts and copes — burning a few feet learning the saw is far cheaper than ruining a measured piece.
Locate the framing and mark a layout line
Crown is fastened into solid wood, not drywall, so first map the framing. Mark every wall stud and the ceiling joists along each run — if you do not have a stud finder, the tricks in our guide to finding a stud without a stud finder work just as well. Hold a scrap of molding in the corner at its spring angle and trace a light pencil line on the wall and ceiling to show exactly where the top and bottom edges will land.

Where joists run parallel to a wall and give you nothing to nail the top edge into, glue plus a nail into the top wall plate holds fine — or screw a triangular nailer block into the corner first.
Measure each wall and plan the order
Measure each wall along the ceiling line, corner to corner, and sketch the room with every measurement. Plan which corners get coped and which get mitered: inside corners are coped, outside corners are mitered. Start your first piece on the wall opposite the main doorway and cut both its ends square, so the two adjacent pieces can be coped to overlap it.

Set up the saw with the upside-down trick
Crown is cut in a position that mirrors how it hangs. On a standard miter saw, stand the molding upside down and angled against the fence — the edge that meets the ceiling rests flat on the saw table, and the edge that meets the wall sits against the fence — then cut at 45 degrees for a 90-degree corner. If you are laying the crown flat on a compound saw instead, set the miter to about 31.6 degrees and the bevel to about 33.9 degrees. Make a test cut on your practice stick and dry-fit it in a corner before touching a real piece.

Confirm the molding cannot slip or rock against the fence before you start the cut — crown that shifts mid-cut both ruins the angle and can kick back.
Cope the inside corners
The first piece butts square into the corner; the second piece is coped to wrap over its face. Cut a 45-degree inside miter on the second piece to expose the profile, then run a pencil along the front edge to highlight the line. With a coping saw, cut along that line, angling the blade to back-cut (undercut) behind the face so only the very front edge touches. Test-fit against a scrap and refine high spots with a round file until the joint closes tight.

Rubbing the cut edge of the cope with a pencil, then test-fitting, leaves graphite on any spot that is touching too soon — file exactly there for a perfect fit.
Miter the outside corners
Outside corners are mitered, never coped. Cut both meeting pieces at opposing 45-degree angles (using the same upside-down setup) so their faces form a crisp point that wraps the corner. Dry-fit the pair before nailing — if the tip gaps slightly, shave a degree off one piece or close it later with filler. Run a bead of wood glue on the joint faces so the corner stays together as one unit.

Nail it up into the framing
Starting with your square-cut piece, press the molding into the corner where wall meets ceiling, aligned to your layout lines. Drive 2-inch finish or brad nails through the bottom edge into the studs and top plate, and through the top edge into the joists or blocking, spacing fasteners roughly every 16 inches to hit framing. Add a zig-zag of construction adhesive on the back of long runs for extra hold, and have a helper support the far end so it does not sag while you nail.

Tack a temporary scrap block to the wall at your bottom layout line to rest the molding on — it holds the piece at the right height so both hands are free to nail.
Join long runs with a scarf joint
When a wall is longer than a single stick, never butt two square ends together — the seam will telegraph as it shrinks. Instead, cut matching 45-degree bevels on the two ends so one laps over the other in a scarf joint, and locate that joint over a stud. Glue the overlap and nail through both pieces into the framing; the angled seam nearly disappears and tightens rather than gaps.

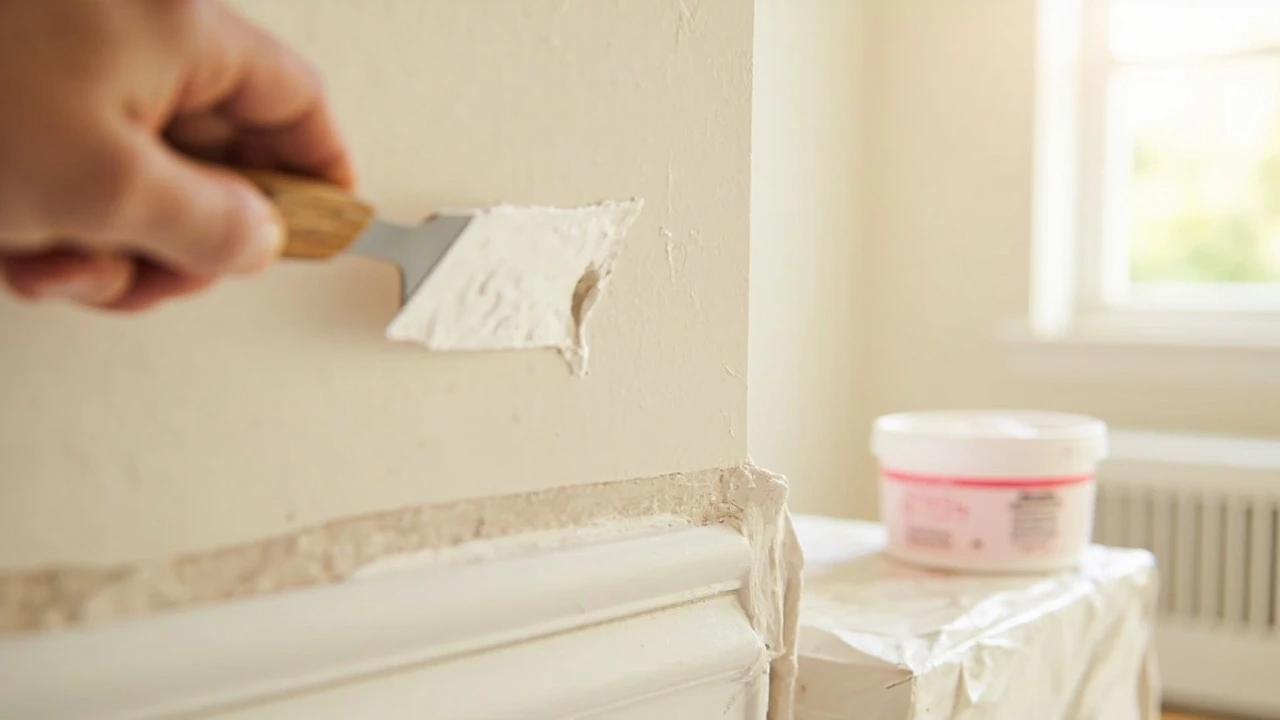
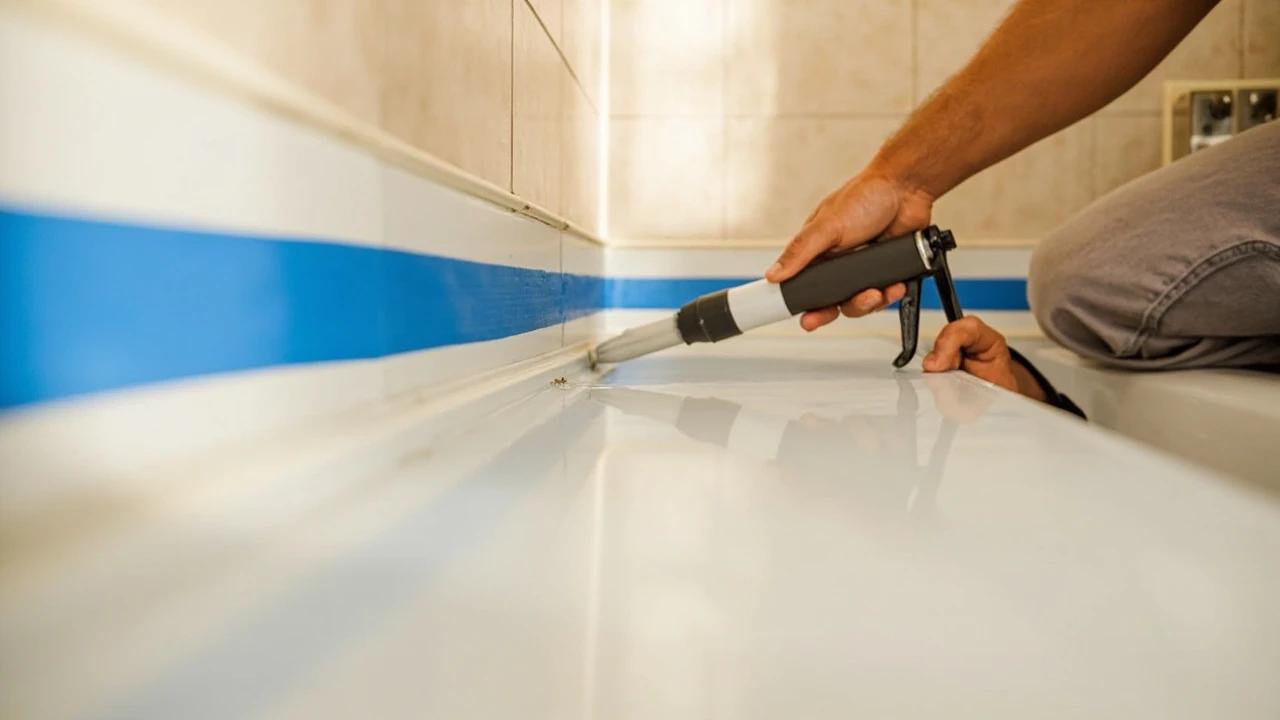
Fill, caulk, and paint
Set any proud nail heads, fill the holes with wood filler or spackle, let it dry, and sand smooth with 150-grit. Run a thin bead of paintable latex caulk along the top edge against the ceiling and the bottom edge against the wall, plus any corner or scarf gaps, then tool it with a damp finger for a seamless line — this is the same filling-and-caulking finish that completes any trim job, like repairing damaged baseboard. Prime bare spots and apply your finish coat, and the room is transformed.

Caulk only the edges and joints, never the coped or mitered face seams you worked hard to fit — and keep the bead small, since heavy caulk lines yellow and crack over time.
Frequently Asked Questions
Do you have to cope crown molding, or can you just miter it?
+
You can miter, and it is faster, but coped inside corners stay tight as the wood expands and contracts and they forgive corners that are not perfectly square. Mitered inside joints tend to open into visible gaps over time. Finish carpenters cope inside corners on wood trim and always miter outside corners. For dimensionally stable MDF, mitering inside corners is acceptable, because a coped MDF edge is fragile and crumbles.
What angle do you cut crown molding for inside corners?
+
For the most common 38-degree spring-angle crown cut lying flat on a compound miter saw, set the miter to about 31.6 degrees and the bevel to about 33.9 degrees — many saws have detents marked at those numbers. The simpler method on a basic miter saw is to stand the crown upside down and angled against the fence and cut at 45 degrees. Either way, real corners are rarely exactly 90 degrees, so check yours with an angle finder and adjust.
Should crown molding be nailed to the wall or the ceiling?
+
Both. Nail the bottom edge into the wall studs and the top wall plate, and the top edge into the ceiling joists or blocking. Nailing only into drywall will let the molding sag and pull loose within a season. Where the joists run parallel to the wall and there is no backing to hit, rely on the top plate plus construction adhesive, or add nailer blocks in the corner first.
How much crown molding do I need and what does it cost?
+
Measure the perimeter of the room and add about 10 to 15 percent for copes, miters, and mistakes. Materials run roughly one to six dollars per linear foot: polystyrene and MDF are the cheapest and easiest for DIY, while solid wood and stain-grade profiles cost more. A typical room runs about fifty to two hundred dollars in materials doing it yourself, versus several hundred for a professional.
What is the best crown molding for a first-timer?
+
Lightweight polyurethane or polystyrene molding is the most forgiving: it is inexpensive, cuts cleanly, will not split, usually comes pre-primed, and some profiles install with adhesive and only a few nails. MDF is stable and smooth for painting but heavy, and it is best mitered rather than coped. Save solid wood and stain-grade crown for when you are comfortable coping, since every joint shows and there is no caulk to hide a gap.
Community Tips
💬 Sign in to share tips with the community
Sources & further reading
- Crown Molding: Mitering vs. Coping. Which Do You Do? — Fine Homebuilding
- Cutting & Coping Crown Molding — THISisCarpentry
- Crown Molding Cutting Tips for DIY'ers — Rockler
More Carpentry Guides
View all → Easy2 hrs
How to Repair Damaged Baseboard Trim
Dented, chipped, and gouged baseboards are one of the most visible signs of a neglected home — but they are also one of the easiest things to fix. With $10-20 in filler and a few hours of work (mostly drying time), you can make battered trim look factory-fresh without pulling a single board off the wall.
 Easy15 min
How to Find a Stud Without a Stud Finder
No stud finder? No problem. You can locate the wooden studs behind your drywall with things you already own — an outlet, a tape measure, and a strong magnet — in about ten minutes. This guide walks through every reliable method, from the quickest starting point to a foolproof way to confirm a stud before you drill a single hole.
 Easy1 hr
How to Patch a Small Hole in Drywall (Spackle Method)
A nail hole, picture-hanger ding, or doorknob dent doesn't need a contractor — it needs a $5 tub of spackle and twenty minutes of hands-on time. This guide covers the two-coat method, drying-time tradeoffs, and the touch-up paint trick that makes the patch invisible. For holes bigger than 1/2 inch, step up to the mesh-patch and drywall-cutout methods instead.
You Might Also Like
 Medium45 min
How to Install a GFCI Outlet
A GFCI outlet cuts power in a fraction of a second when it senses electricity leaking to ground — the exact protection code now requires in kitchens, bathrooms, garages, basements, laundry rooms, and anywhere outdoors. Installing one yourself takes about 45 minutes and costs $15-25 in parts versus $120-250 for an electrician. This guide shows you how to wire the LINE and LOAD terminals correctly so the outlet actually works the first time — and how to protect a whole string of downstream outlets from a single device.
 Easy1h 30m
How to Re-Caulk a Bathtub or Shower Surround
Mildewed, cracked, or peeling caulk around a bathtub isn't just ugly — it's letting water reach the drywall and studs behind the wall, which turns a $10 caulk job into a thousand-dollar tile-and-framing repair. This guide walks through removing the old caulk completely, treating mold, masking and tooling a clean single bead of 100% silicone, and the curing schedule that keeps the new joint waterproof for years.
 Medium45 min
How to Install a Ceiling Fan
Replacing a light fixture with a ceiling fan improves air circulation in summer and can reduce heating costs in winter by circulating warm ceiling air downward. Most installs take 45-60 minutes.