How to Unclog a Toilet Without a Plunger
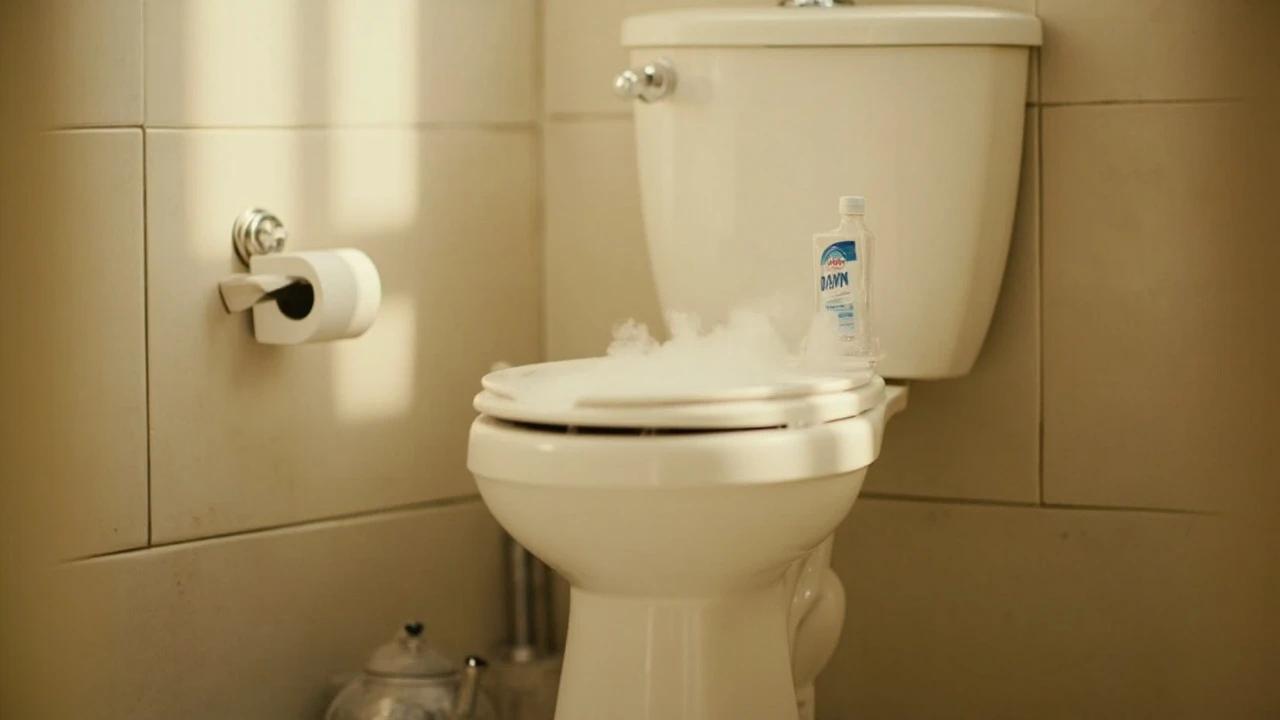

It's 11 PM, the toilet won't flush, and the plunger is at your in-laws' house. Dish soap and a gallon of hot tap water will clear most clogs in 30 minutes for about a dollar — no plumber, no panic, no overflowing bowl. This guide walks through stopping the water first, the dish-soap method, the baking-soda-and-vinegar backup, and the wire-hanger snake for stubborn clogs, plus the boiling-water mistake that cracks porcelain and turns a $1 fix into a $400 toilet replacement.
What You'll Need
🛠 Tools
📦 Materials
Safety First
- •Never pour boiling water into a porcelain toilet — the thermal shock can crack the bowl, turning a $1 unclog into a $400 toilet replacement. Use the hottest your tap will produce (around 120°F), no hotter.
- •Do not use chemical drain cleaners (Drano, Liquid-Plumr) on a toilet. They sit in the standing water for hours, dissolving the rubber flapper, gaskets, and wax ring, and can splash back into your eyes if you later try to plunge.
Step-by-Step Instructions
Stop the water FIRST — don't let the bowl overflow
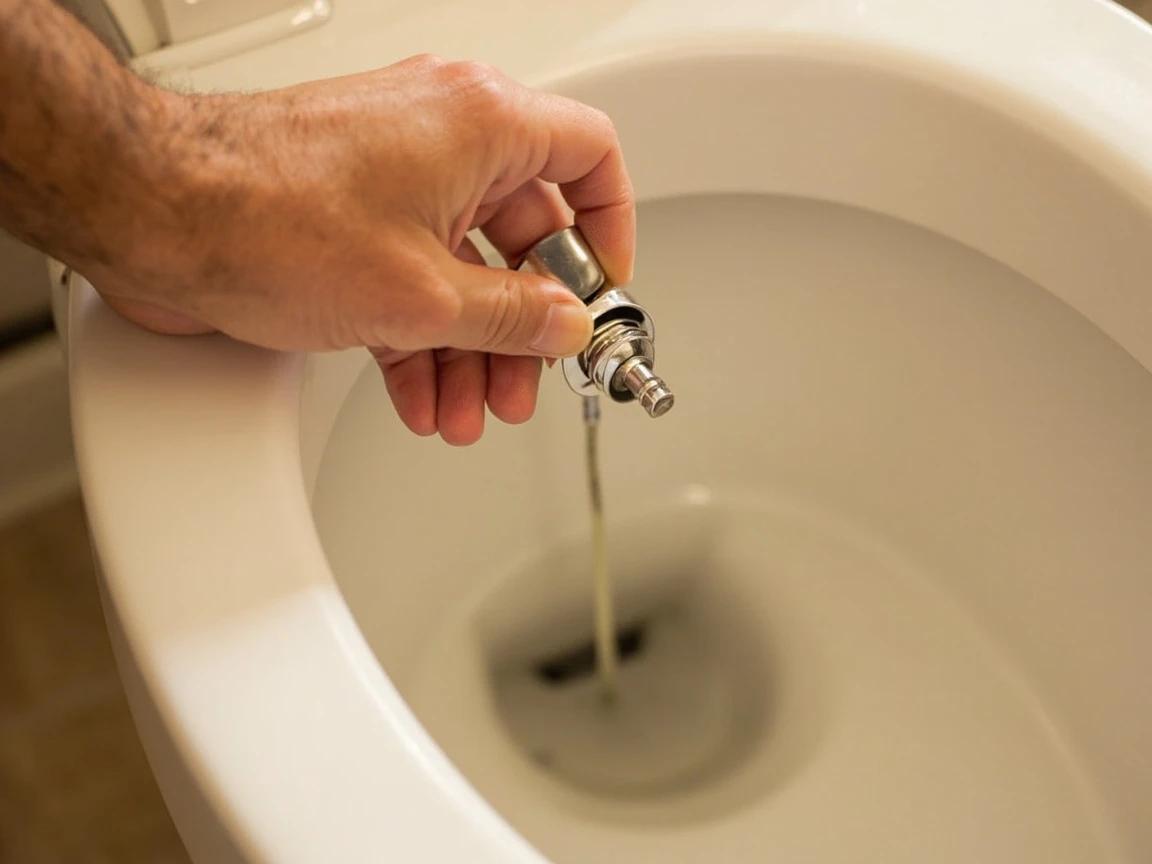
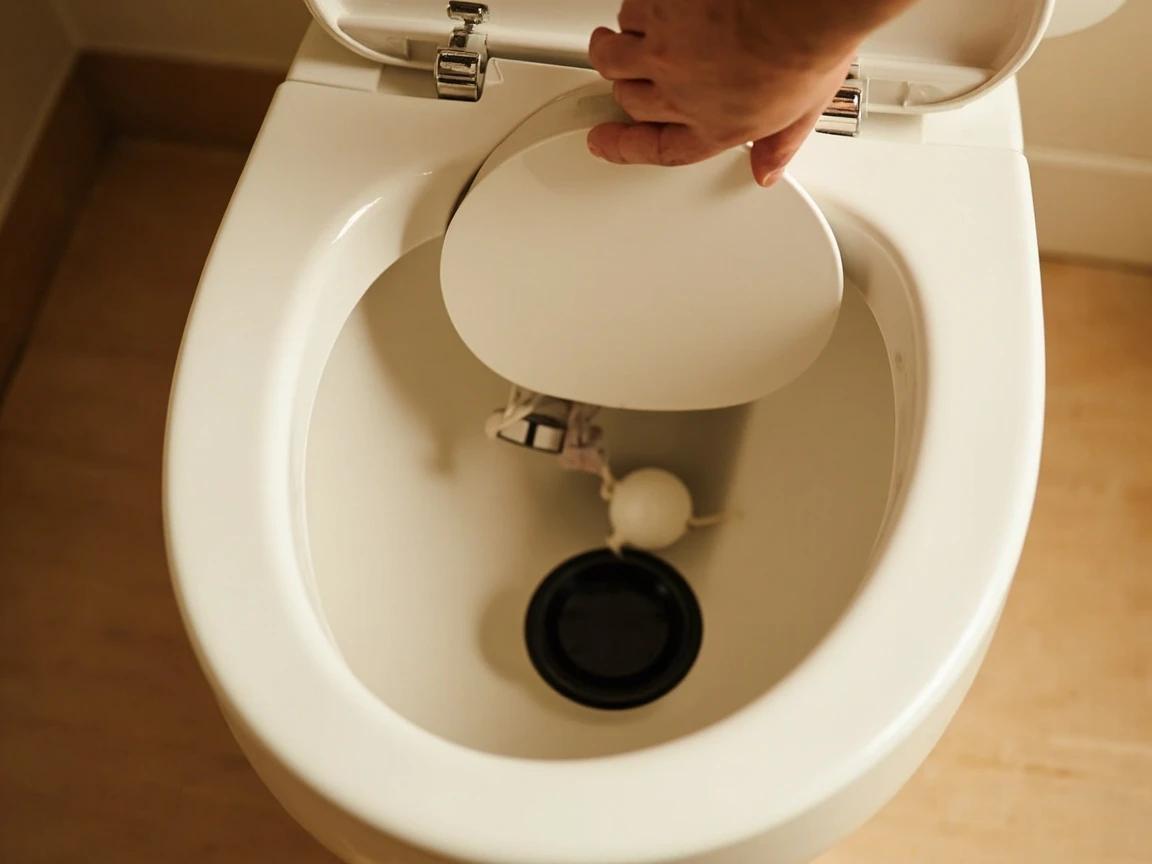
Before doing anything else, reach behind the toilet and turn the chrome shut-off valve clockwise until it stops — this stops more water from entering the tank if you accidentally flush. If you don't have a shut-off valve (older homes), lift the tank lid, reach in, and push the rubber flapper down to seal the tank. Both moves stop the bowl from rising further while you work.
Resist the urge to flush "just one more time" hoping it'll go down. A clogged toilet flushed twice almost always overflows — the tank refills fast and the bowl has nowhere to release the next gallon.
Lay down towels and check the water level
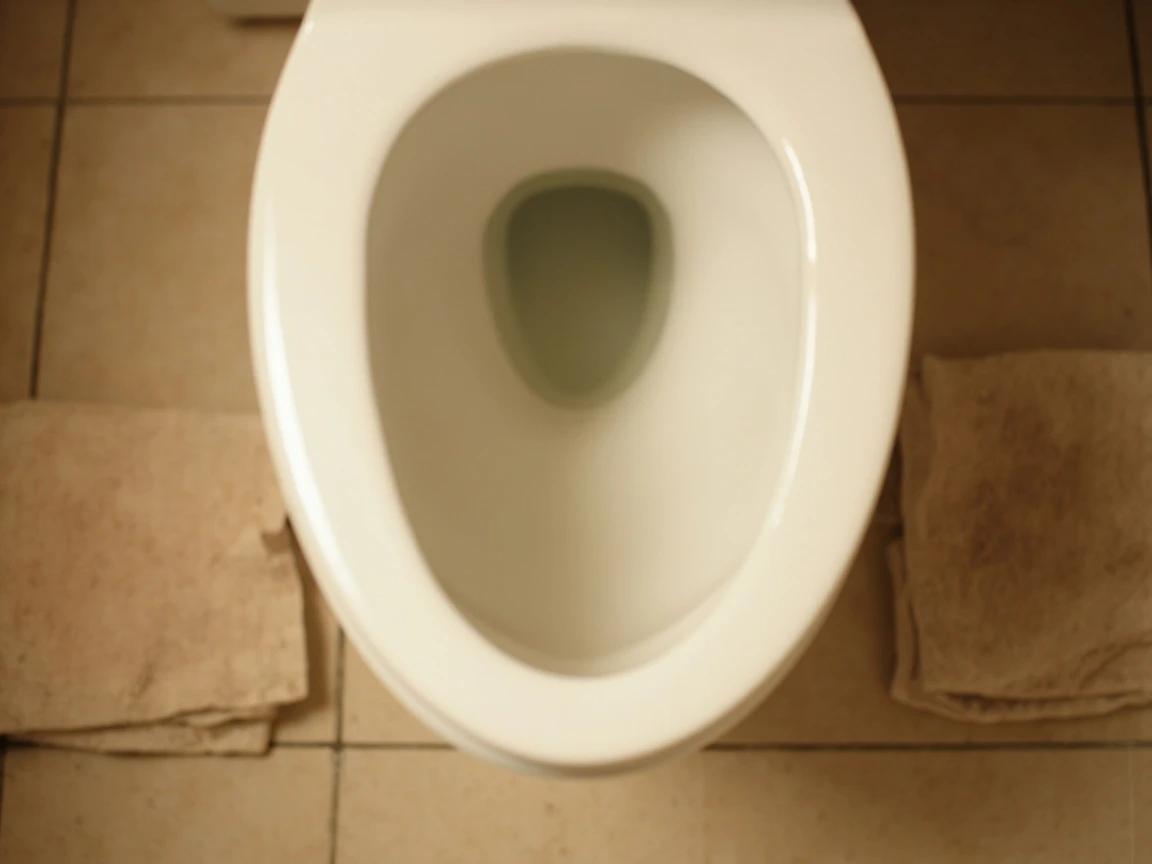
Spread one or two old towels around the base of the toilet — they'll catch any splash if the dish-soap method generates a sudden surge as the clog clears. Then look in the bowl: if the water is near the rim, you'll need to bail some out (next step) before adding more. If the water is below halfway, you have plenty of room to work and can skip to step 4.
Bail excess water if the bowl is near full
Put on rubber gloves. Use a small disposable cup or empty yogurt container to scoop water out of the bowl and into a bucket — get the level down to about half-full so you have room to add the gallon of hot water in step 5. Dump the bucket into the bathtub or another flushing drain. The water is mostly clean (the clog is below the bowl), but the gloves and bucket are still strongly recommended.
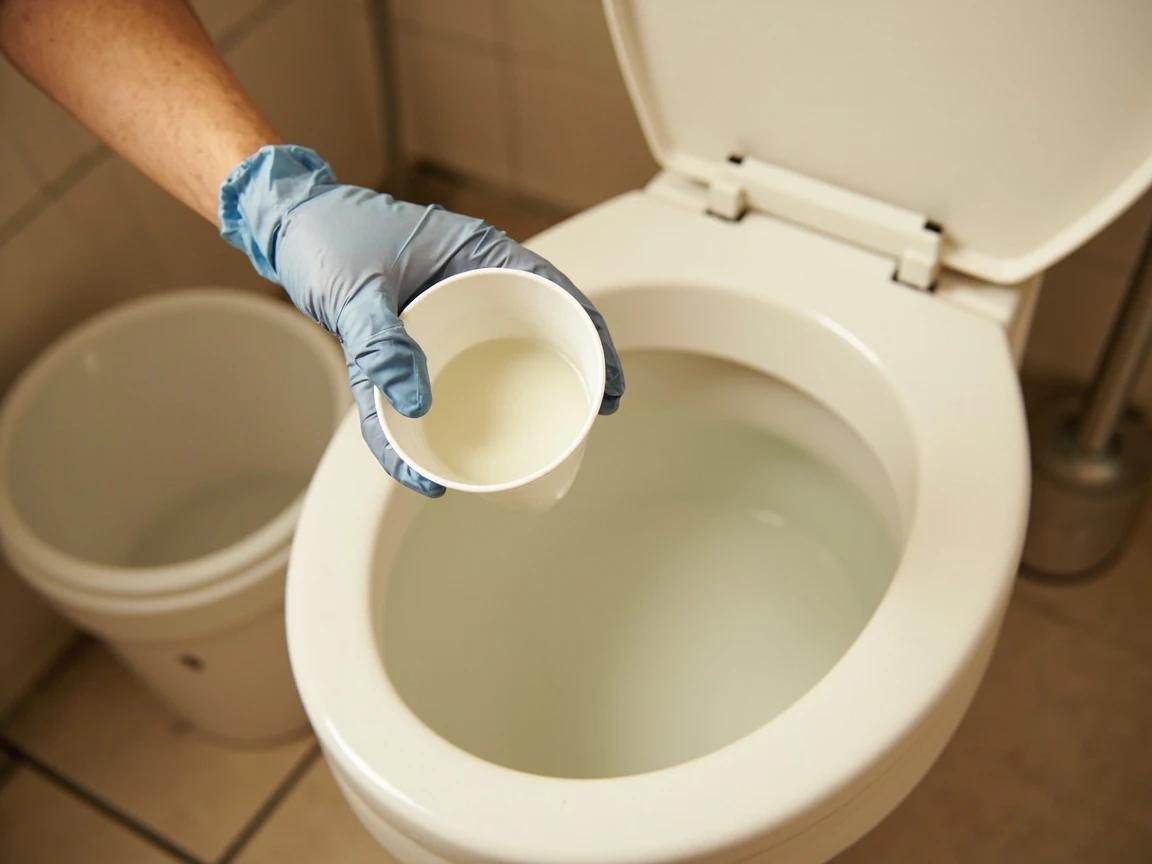
Don't use a cup you'll use for food again. Even a quick rinse won't fully sanitize it. A disposable yogurt container or an old plastic cup destined for the trash is the right tool.
Pour about 1/2 cup of dish soap directly into the bowl
Squeeze roughly half a cup (about 4 oz) of liquid dish soap straight into the toilet bowl — Dawn works best because it's formulated to cut grease, and toilet clogs are mostly biological waste with a fat component. Direct the soap at the water surface so it sinks into the trap rather than pooling on the porcelain. Don't dilute it; concentrated soap migrates through the clog more effectively.
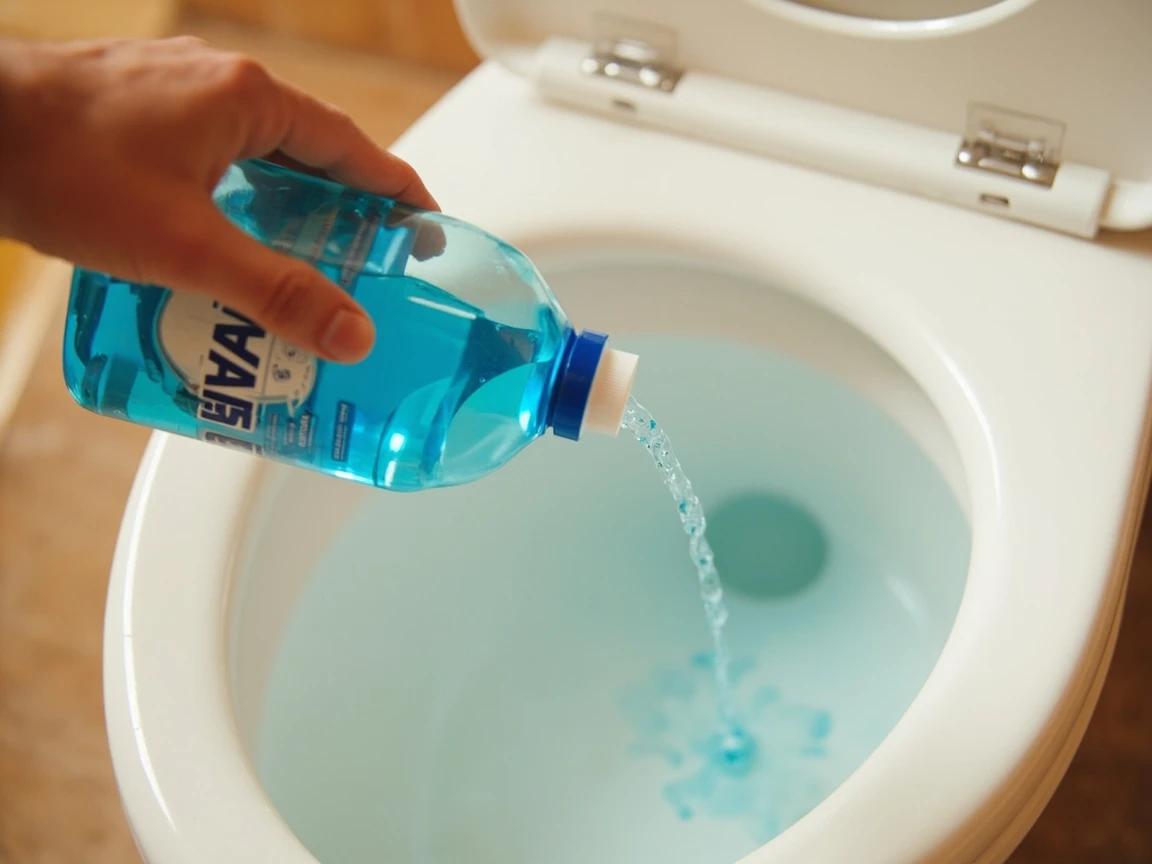
Out of dish soap? Shampoo, body wash, or hand soap all work — anything in the surfactant family. Avoid laundry detergent (too sudsy, harder to flush).
Pour 1 gallon of HOT (not boiling) water from waist height
Fill a bucket with hot water from the tap — the hottest your water heater produces (usually 110-120°F) is perfect. Carry it to the toilet and pour the full gallon in from about waist height — the height adds gravity-driven force that helps push the lubricated clog through the trap. Pour in a steady stream, not all at once; aim for the center of the bowl, not the rim.
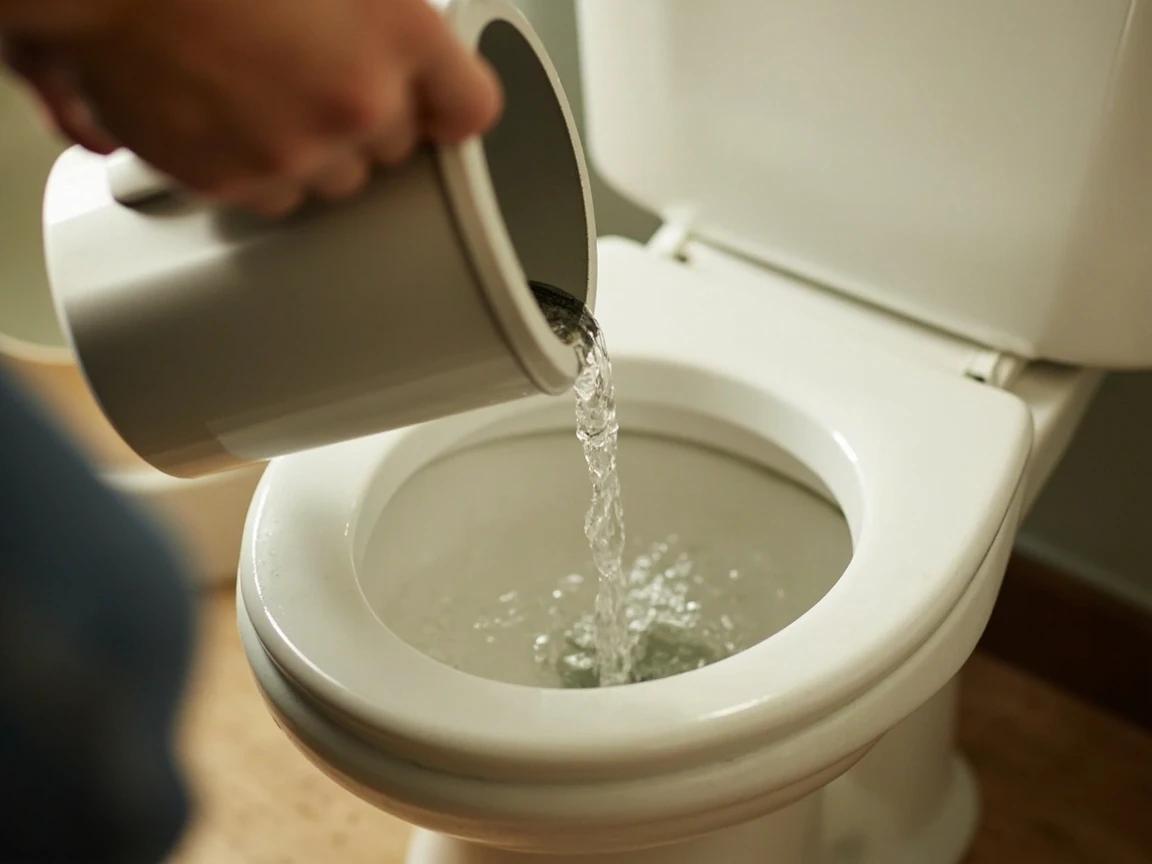
Never use boiling water (212°F). The thermal shock to cool porcelain can crack the bowl instantly, requiring a full toilet replacement. The hottest tap setting is plenty.
Wait 20-30 minutes, watching the water level
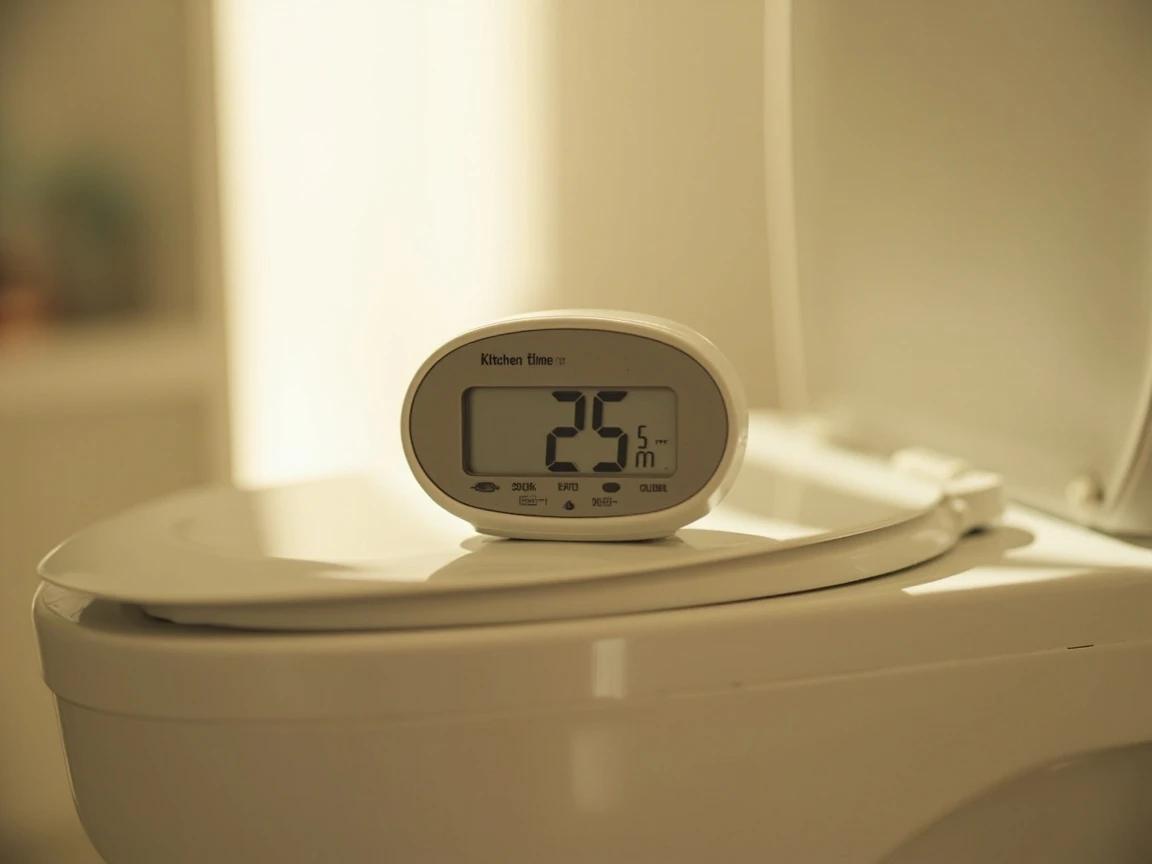
Set a timer and walk away. During the wait, the soap is coating and lubricating the clog while the hot water softens it. You should see the bowl water level slowly drop over the 20-30 minutes — that's the visual confirmation the method is working. If after 30 minutes the level is unchanged, the clog is more stubborn; move to the baking soda backup in step 8. If the level dropped at all, proceed to step 7.
Test-flush carefully — be ready to stop the flow
Once the water level has dropped noticeably, re-open the shut-off valve (counterclockwise) and let the tank fill. Then flush — but stand by the tank with the lid off. If the bowl water rises instead of draining, immediately push the rubber flapper down to stop more water entering. If the bowl drains normally with that swirling sound, you're done — the clog is clear. Test a second flush to confirm.
If the bowl drains slowly but completely, you've cleared the clog but the trap arm still has soap residue. Pour one more gallon of hot tap water through to rinse, then flush again normally.
Backup method: baking soda + vinegar if dish soap didn't work
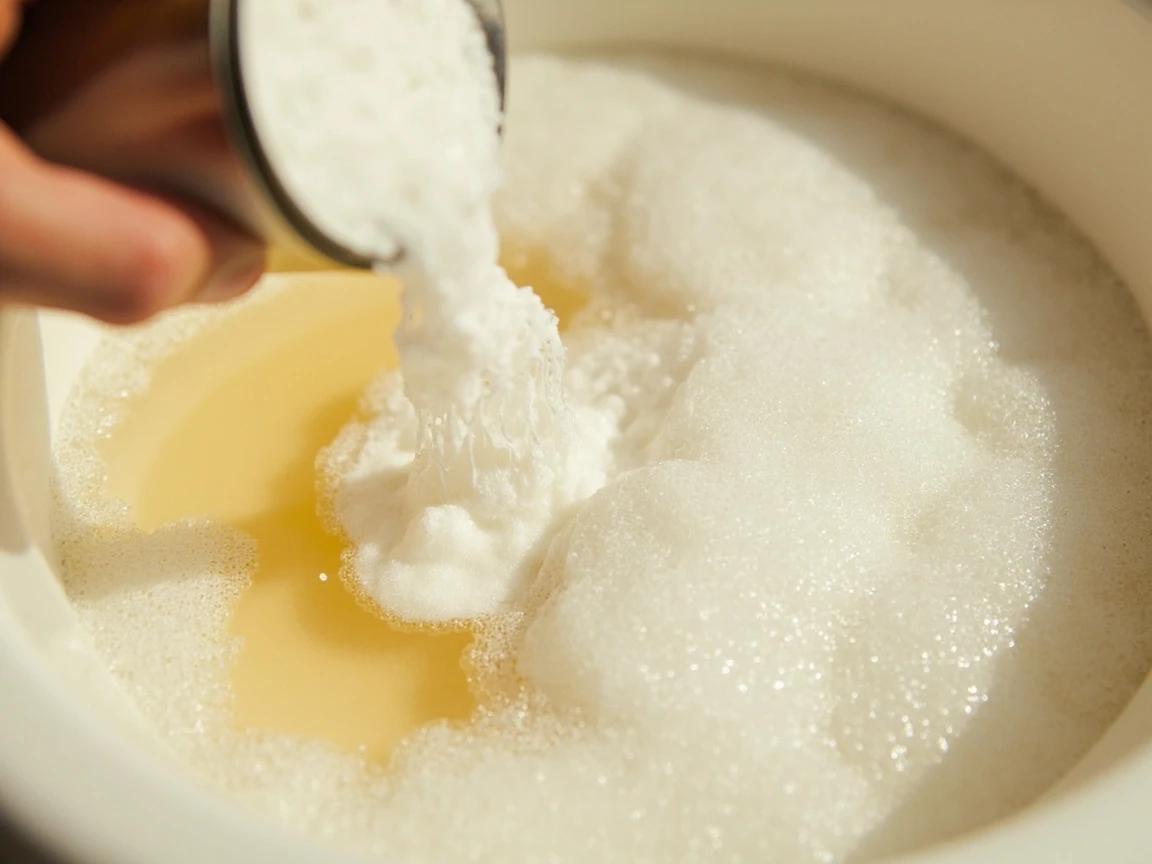
Pour 1 cup of baking soda into the bowl, then slowly pour in 2 cups of white vinegar — the mixture will foam aggressively (the same fizz as the science-fair volcano). The foaming creates pressure that can push the clog and the chemical reaction breaks down organic material. Let it sit 30 minutes, then add another gallon of hot tap water from waist height and wait another 15 minutes before testing a flush.
Last resort: improvise a snake from a wire coat hanger
Take an old wire coat hanger and untwist it until it's mostly straight, keeping the hooked end. Wrap the hook end with a small rag or piece of cloth and secure with a rubber band — this prevents the metal from scratching the porcelain. Feed the wrapped hook into the drain, rotate gently to break up or hook the clog, and pull back to extract material. Don't force it; if you feel hard resistance, stop and call a plumber rather than damage the trap arm.
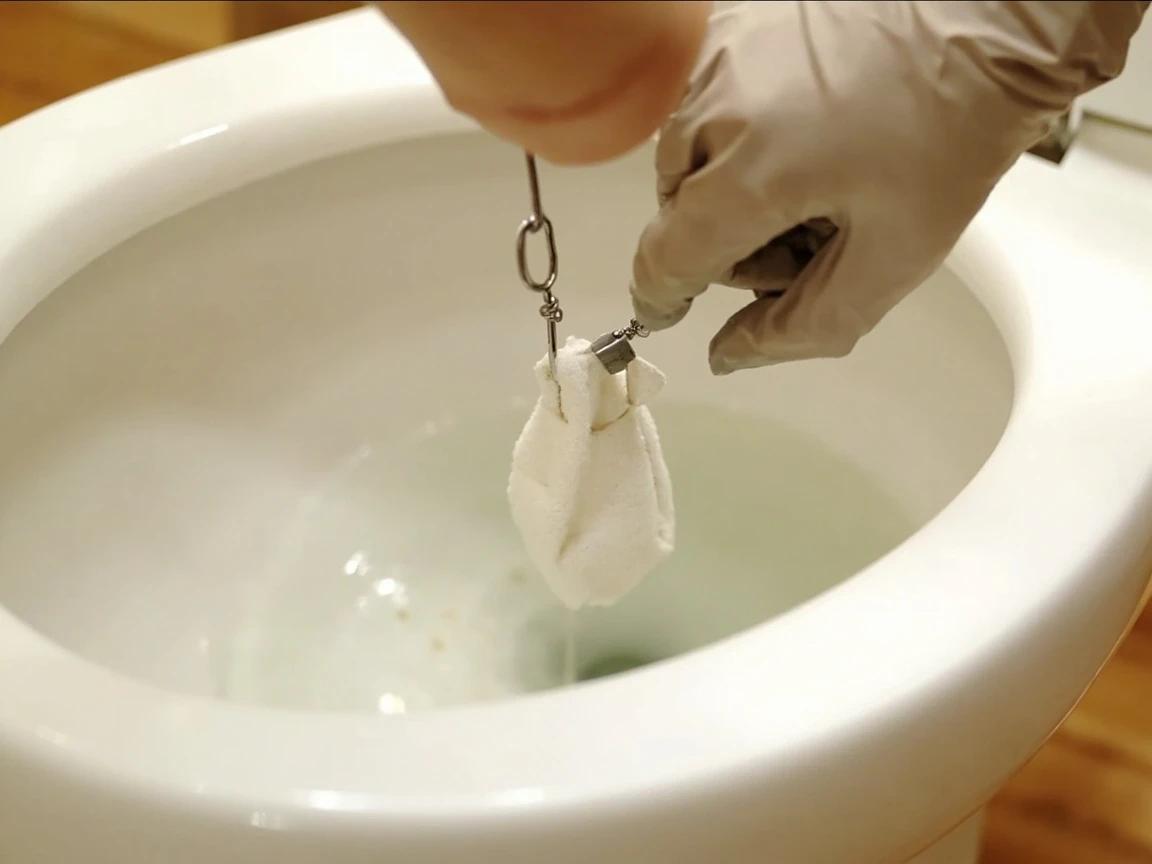
Wire hangers can scratch porcelain or damage the trap arm if pushed too hard. Use this method only as a last resort before buying a $25 closet auger from the hardware store, which has a rubber sleeve specifically to protect the bowl.
Frequently Asked Questions
Does dish soap really unclog a toilet?
+
Yes, for soft clogs — toilet paper, organic waste, and the everyday stuff that 90% of toilet clogs are made of. The dish soap coats the clog and the inside of the trap arm with a slippery film, while the hot water softens whatever's stuck. Within 20-30 minutes the combination lubricates the clog enough that it slides past the trap. It won't work on hard objects (a kid's toy, a toothbrush, a phone) — those need a toilet auger or the toilet pulled.
Why can't I pour boiling water into the toilet?
+
Porcelain is brittle and conducts heat poorly. When boiling water (212°F) hits a cool toilet bowl, the inside surface expands rapidly while the outside stays cool — the thermal stress can crack the bowl on the spot or cause a hairline crack that leaks weeks later. Hot tap water tops out around 120°F, which is plenty for softening clogs and well within porcelain's safe range. "Hot but not boiling" is the rule.
How long should I wait for the dish soap method to work?
+
Minimum 20 minutes, ideally 30. The soap needs time to migrate down through the clog and coat the trap arm walls. For a stubborn clog, wait up to an hour before giving up — the water level should slowly drop during that window, which is a good sign. If the bowl is still full at the 60-minute mark, move to the baking soda + vinegar method or a wire-hanger snake.
Is it safe to use Drano or Liquid-Plumr in a toilet?
+
No. Toilets are not like sink drains — they hold standing water that keeps the chemical in contact with the rubber flapper, wax ring, gaskets, and PVC trap arm for hours. The caustic chemicals (sodium hydroxide / sulfuric acid) destroy the rubber, can soften the wax ring causing leaks at the base, and create a serious injury hazard if you later try to plunge (chemicals splash back into your face). Plumbers specifically warn against this.
What if dish soap and baking soda don't work?
+
Buy a closet auger (also called a toilet auger) from the hardware store — about $25. Unlike a regular drain snake, it has a rubber sleeve over the metal cable that protects the porcelain from scratches. Feed the cable in, crank the handle to push the clog through or hook it for retrieval. If even the auger fails, it usually means the obstruction is past the trap arm and in the main drain line — that's a plumber call. If a solid object like a toy or a toothbrush is what's lodged, no method will dissolve it — the fix is pulling and resetting the toilet to reach the trap from below.
Sources & further reading
- The Best Methods to Unclog a Toilet Without a Plunger — This Old House
- How to Snake a Clogged Toilet — This Old House
More Plumbing Guides
View all →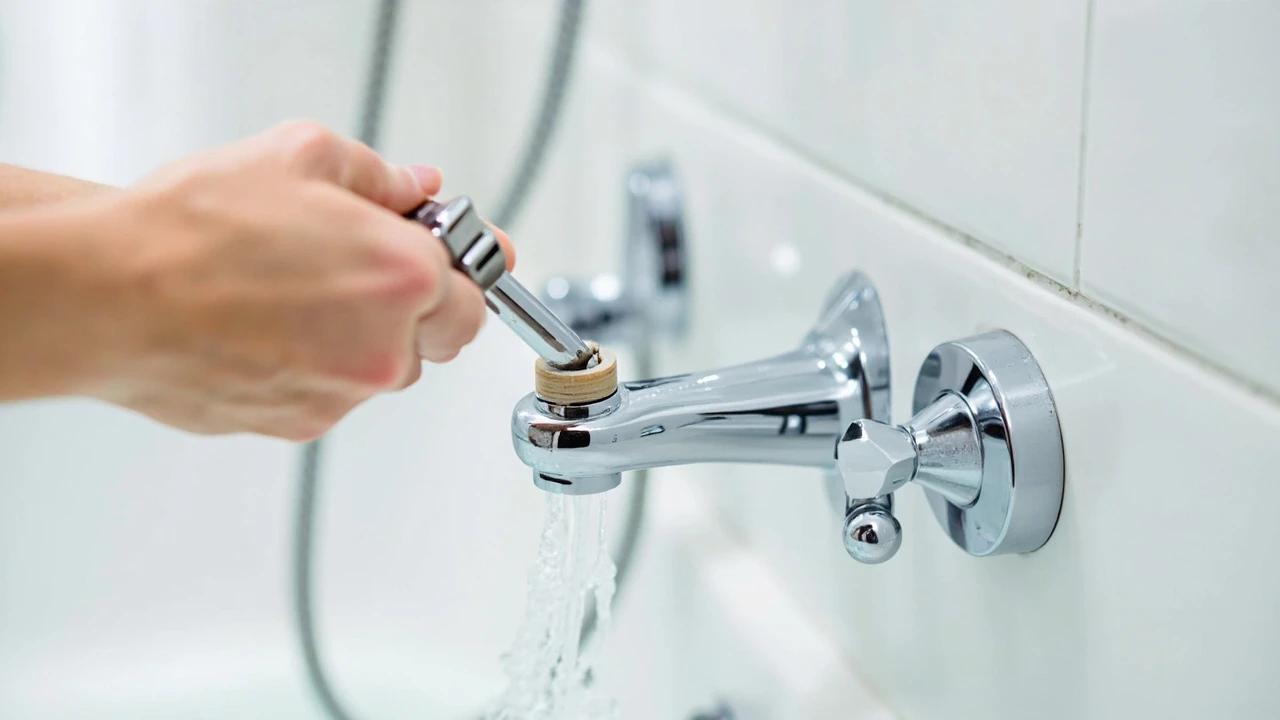 Easy45 min
How to Repair a Shower Diverter Valve
When you pull the diverter knob and water still pours from the tub spout instead of the showerhead, the fix is usually a worn washer or mineral buildup — not a $200 plumber visit. This guide covers the three most common diverter types (tub spout, three-valve, and two-valve) and walks you through cleaning, replacing washers, and swapping the diverter if needed, all in under an hour with basic tools.
 Easy1h 30m
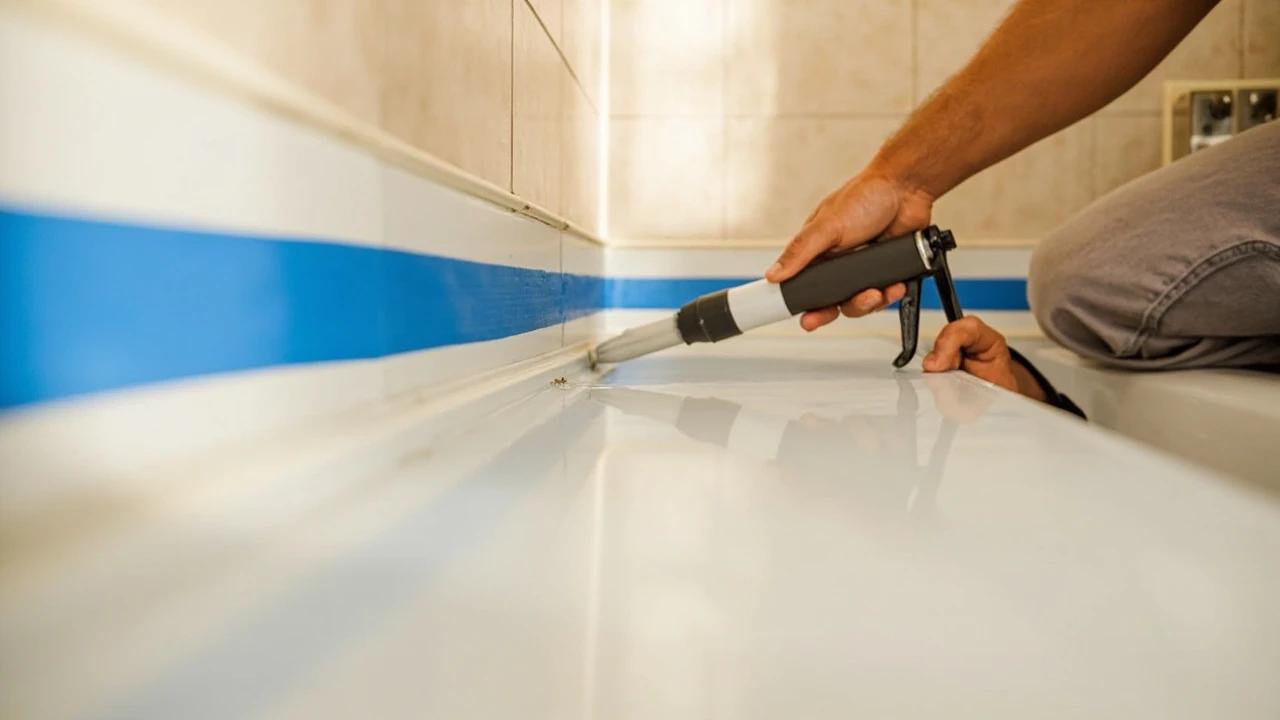
How to Re-Caulk a Bathtub or Shower Surround
Mildewed, cracked, or peeling caulk around a bathtub isn't just ugly — it's letting water reach the drywall and studs behind the wall, which turns a $10 caulk job into a thousand-dollar tile-and-framing repair. This guide walks through removing the old caulk completely, treating mold, masking and tooling a clean single bead of 100% silicone, and the curing schedule that keeps the new joint waterproof for years.
 Medium1 hr
How to Fix Low Water Pressure
Weak, trickling water usually has a cheap, findable cause — a clogged aerator, a half-closed valve, or a tired pressure-reducing valve — long before it means re-piping the house. This guide walks the diagnosis in order: first pin down whether it's one fixture or the whole house (and hot-only or both), then work each cause with a $12 pressure gauge as your guide. Most fixes are free or under $30; you'll also learn the few signs that mean it's time to call a plumber.
You Might Also Like
 Easy45 min
How to Install a Smart Thermostat
A smart thermostat is one of the highest-ROI upgrades you can make to your home — it learns your schedule, adjusts automatically when you're away, and typically saves about 8% on heating and cooling bills — the figure ENERGY STAR verifies from real-home data, roughly $50 a year — so the $120-250 device usually pays for itself within a few years. If your old thermostat has labeled wires behind it, the swap takes about 30-45 minutes with nothing more than a screwdriver and your phone. This guide covers checking compatibility, labeling wires, mounting the new base, connecting everything, and walking through the app setup so your system is running smart the same day.
 Hard8 hrs
How to Paint Kitchen Cabinets
A professional cabinet refinish costs $3,000-8,000, but painting them yourself with the right prep and materials delivers the same transformation for under $200 in a long weekend. The secret is thorough degreasing, a bonding primer, and thin coats with proper dry time between each — skip any of those and the paint will chip within months. This guide walks through the full process from door removal and labeling to final reassembly, covering both brush and roller techniques for a smooth, factory-like finish.
 Medium6 hrs
How to Paint a Room
A fresh coat of paint is the fastest, cheapest way to transform any room — and doing it yourself saves $400-800 in labor for an average 12x12-foot bedroom. The job takes a weekend from prep to final coat, and the difference between an amateur-looking result and a professional finish comes down to technique, not talent. This guide covers prep, cutting in, rolling, and cleanup so you get clean lines and even coverage the first time.