How to Tape and Mud a Drywall Seam
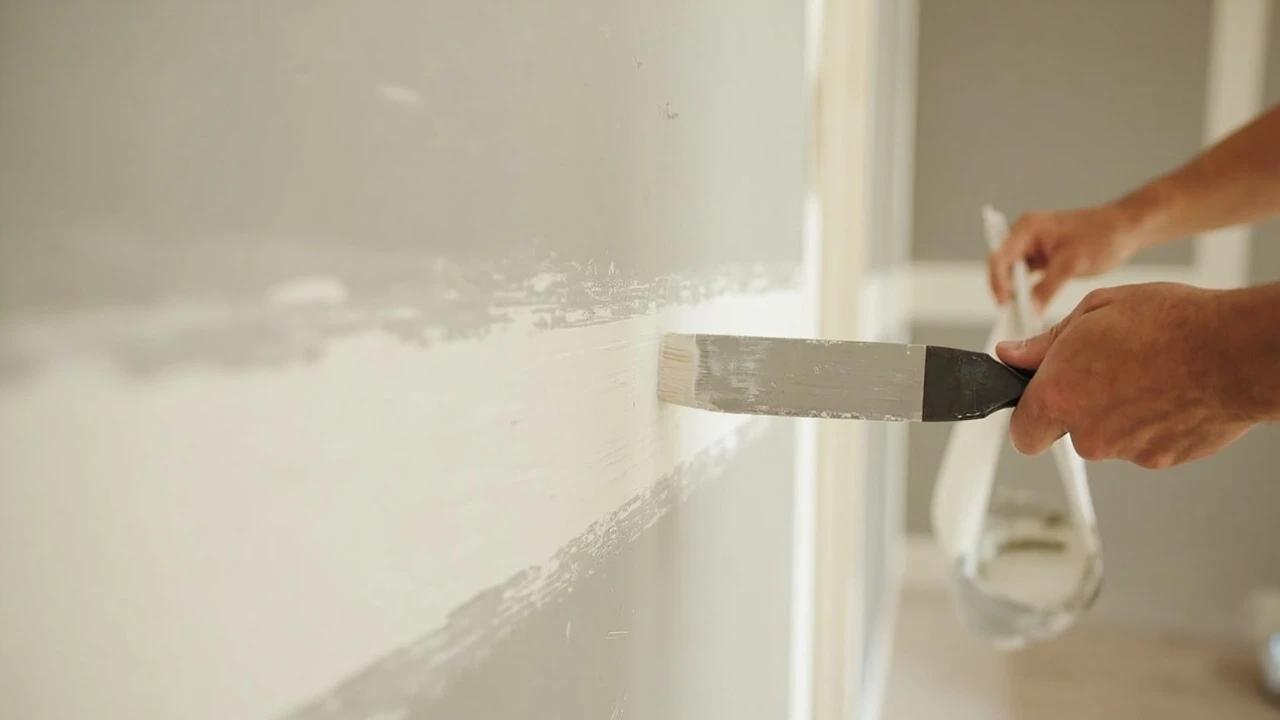

Taping and mudding is the skill that separates walls that look professional from walls that show every sheet of drywall behind the paint. The system is simpler than it looks: bed the tape, then two progressively wider coats with progressively wider knives, feathered to nothing. About $30 in materials finishes a room's worth of seams — the trade you're really making is three short sessions across three days.
What You'll Need
🛠 Tools
📦 Materials
Safety First
- •Never rinse leftover joint compound down a drain — it settles in the trap and hardens like plaster. Scrape tools into the trash and rinse outdoors or into a bucket you let settle.
- •Sanding dust is fine gypsum and additives — wear a NIOSH-rated dust mask, seal the doorway with plastic, and cover HVAC vents before you sand.
Step-by-Step Instructions
Read Your Seam: Tapered or Butt Joint
Run a straightedge across the seam before you open the bucket. Factory long edges of drywall are tapered — the last 2 inches of each sheet thin down, so two sheets meet in a shallow recess your tape and mud can fill while ending up dead flat. Cut ends have no taper: where they meet is a butt joint that sits proud of the surrounding wall, and hiding it means feathering compound out 18 to 24 inches instead of 12. Knowing which one you have sets your expectations — and your knife widths — for everything that follows.
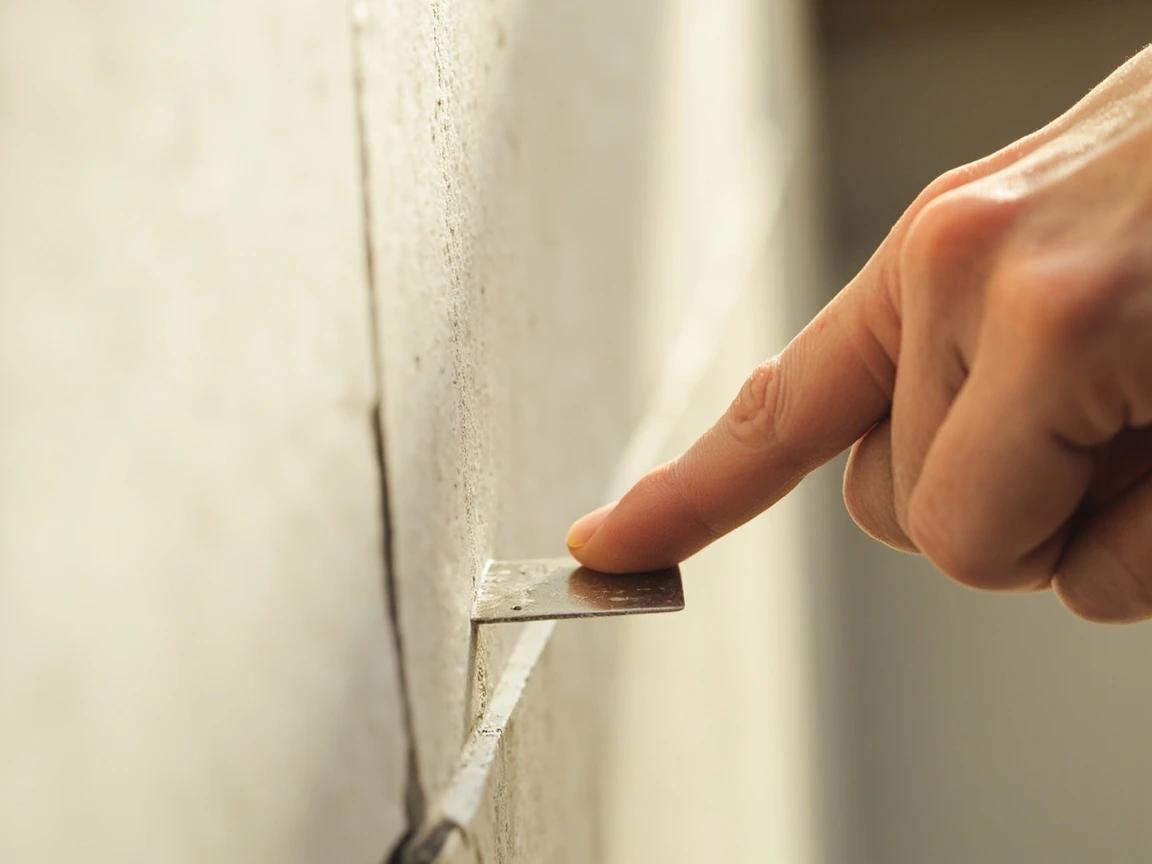
Whenever you get a choice during hanging, put tapered edges together and place butt joints high, low, or behind furniture lines — the best butt joint is the one nobody's eye level ever crosses.
Choose Your Tape and Compound
The default combination is paper tape bedded in premixed all-purpose compound — thin, strong, and creasable for corners. Self-stick fiberglass mesh is easier for a first-timer to position, but it comes with a manufacturer's rule: the coat over mesh must be setting-type compound (the bagged powder that hardens chemically), because mesh stretches under weaker premixed mud and the joint can crack. Setting-type is also worth having for prefilling gaps — a 45-minute bag lets you recoat the same afternoon instead of waiting overnight.
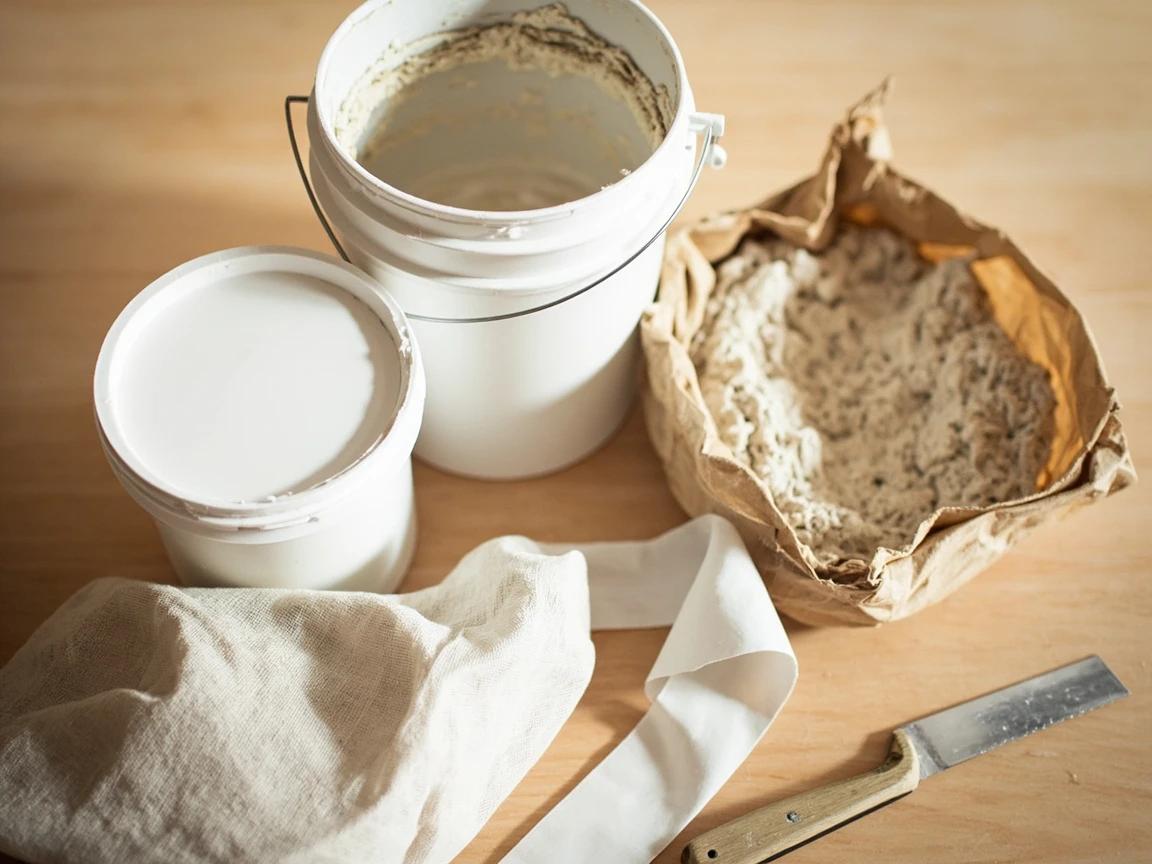
Stir premixed compound and, if it's stiff, loosen it with a splash of water to a mayonnaise consistency — mud that spreads easily is half the technique.
Set the Screws and Prefill Gaps
Drag a clean taping knife flat along the seam and listen: every click is a screw or nail head sitting proud, and each one needs a quarter-turn until it dimples just below the surface without tearing the paper face. Prefill any gap wider than about 1/4 inch between sheets with setting-type compound and let it harden before taping — tape spanning a void will crack. This same screw-setting habit is what prevents the nail pops that show up a season later.
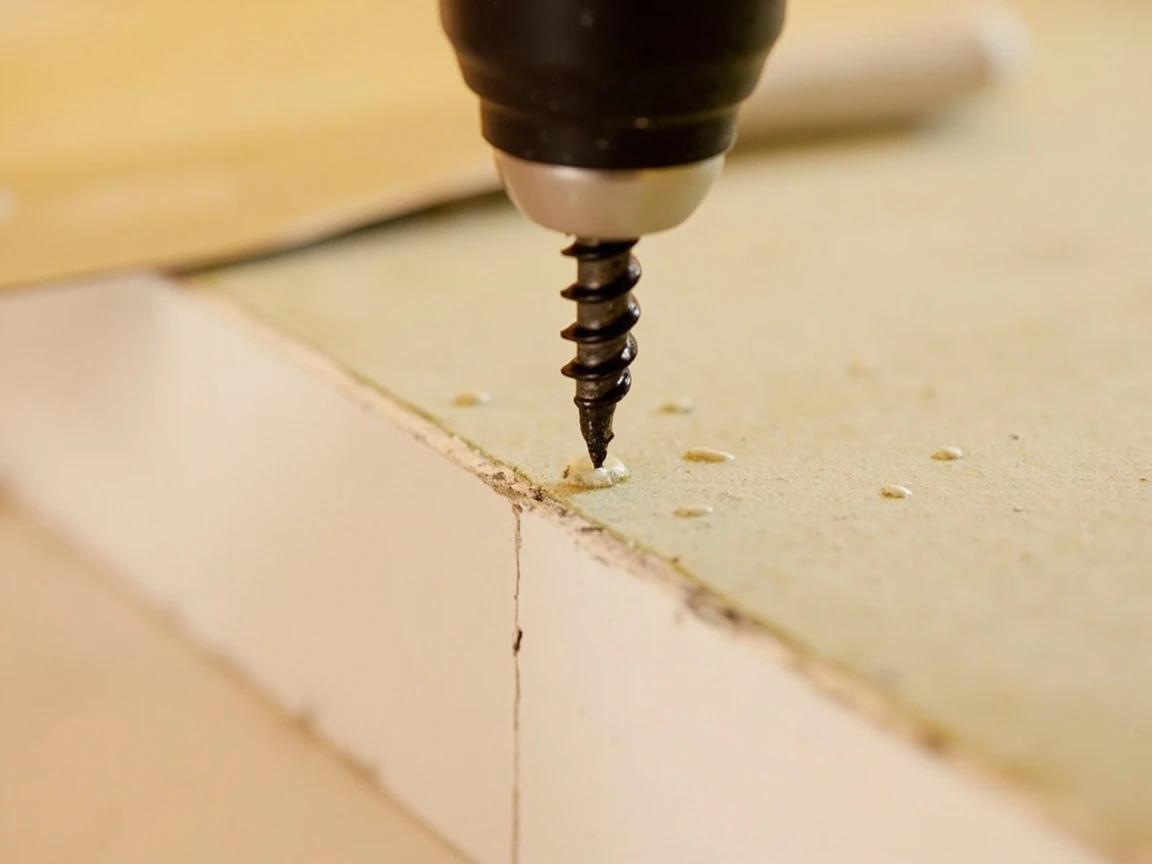
Bed the Tape in a Coat of Mud
Load the 6-inch knife and spread an even bed of compound about 1/8 inch thick down the full length of the seam. Center the paper tape on the wet mud, then hold the knife at about 45 degrees and draw it firmly from the middle of the run toward each end, squeezing out the excess while leaving a thin, continuous layer of compound under the tape. That thin layer is the whole game — any dry, starved spot under the tape becomes a bubble later.
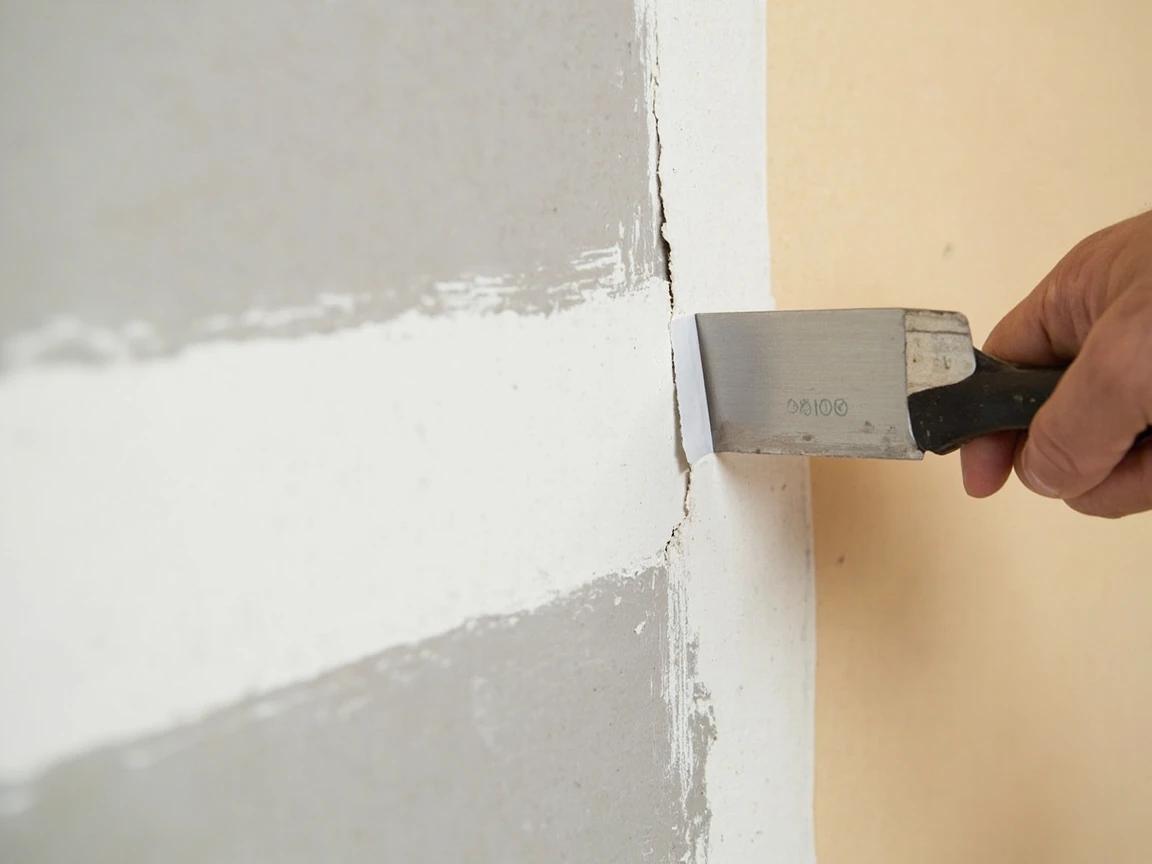
Don't press the tape bone-dry in pursuit of a flat wall — scraping out all the compound underneath is the number-one cause of bubbled and loose tape.
Skim a Thin Coat Over the Tape
While the bed coat is still wet, run one more thin pass of compound over the top of the tape with the same 6-inch knife — just enough to fill the weave of the paper and feather an inch or two past its edges. This locks the tape in and gives the next coat something flat to build on. Then walk away and let it dry completely: uniformly white, typically overnight for premixed compound.
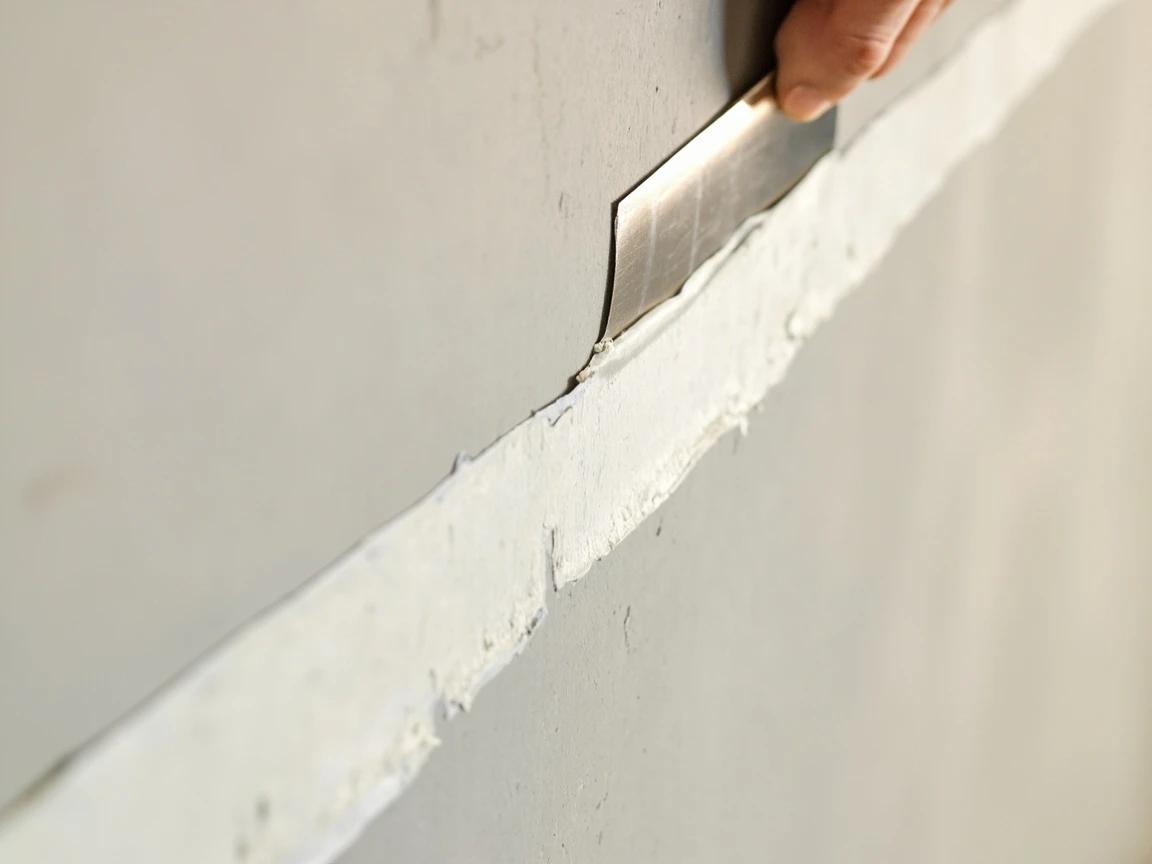
Scrape your knife clean against the pan edge between every pass — a single dried crumb on the blade plows a groove down an otherwise perfect stroke.
Apply the Fill Coat With the 10-Inch Knife
Once the first coat is dry, knock off any ridges with a clean knife edge, then switch to the 10-inch knife and lay a wider coat that fills the taper flush with the wall, feathering the edges to nothing about 10 to 12 inches wide. On a butt joint, do it differently: run one moderate swath along each side of the tape line rather than piling mud on top of it, building the wall up gradually over a wider span so the unavoidable hump becomes too shallow to see.
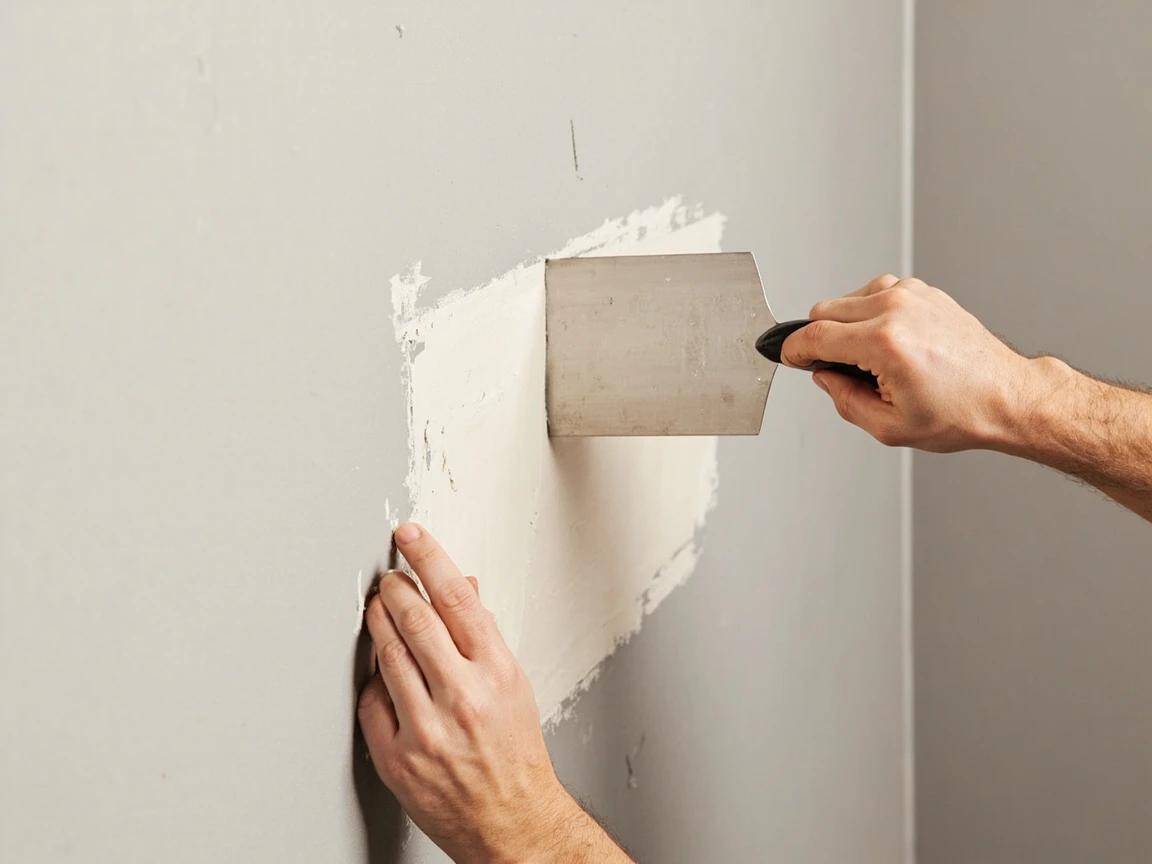
Feather the Finish Coat With the 12-Inch Knife
After the fill coat dries, thin a little compound with water and apply the final coat with the 12-inch knife, extending 2 to 3 inches past the previous coat on each side — roughly 12 inches total width on a tapered seam, up to 24 on a butt joint. Use light pressure and long, continuous strokes, and let the knife ride the wall so the edges feather to zero. You're not adding thickness anymore; you're erasing the evidence of the coats underneath.
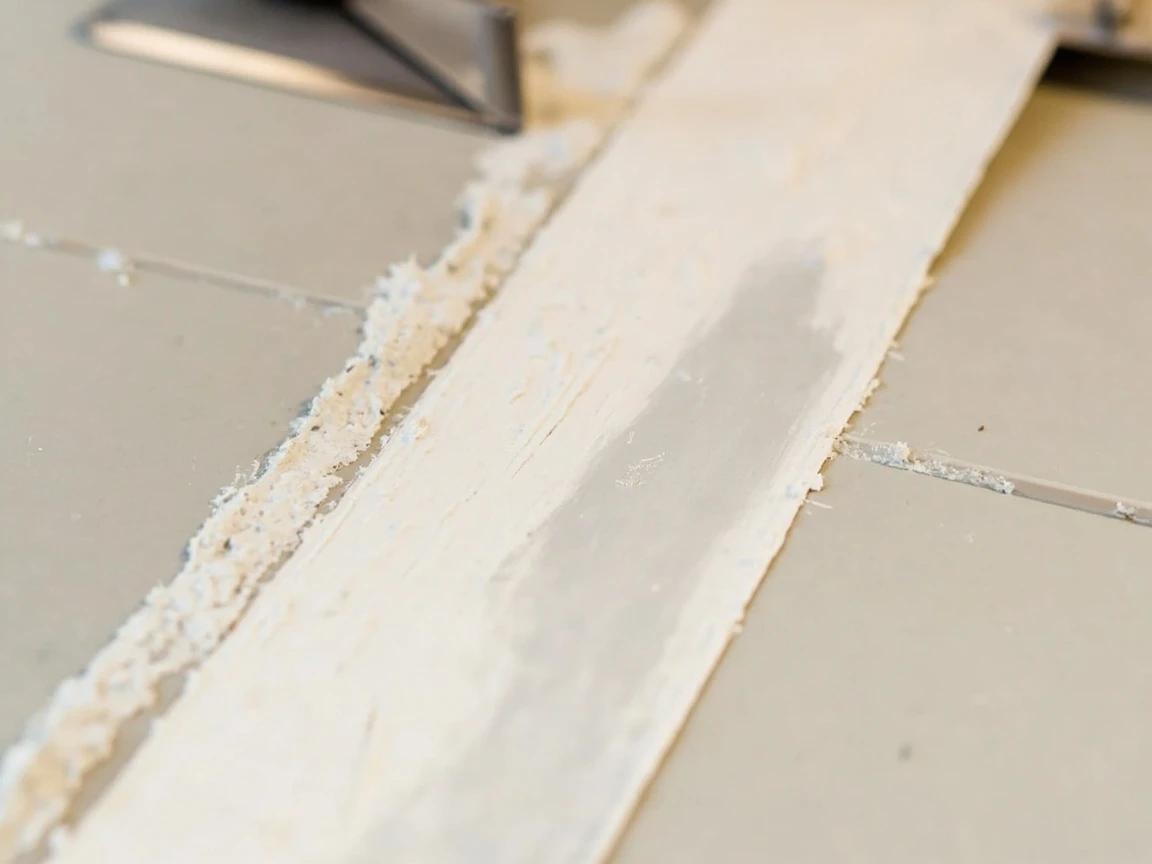
Hold your work light against the wall so it rakes across the seam while you make the final strokes — hollows and ridges throw shadows you'll never see in overhead light.
Sand Once, Checked by Raking Light
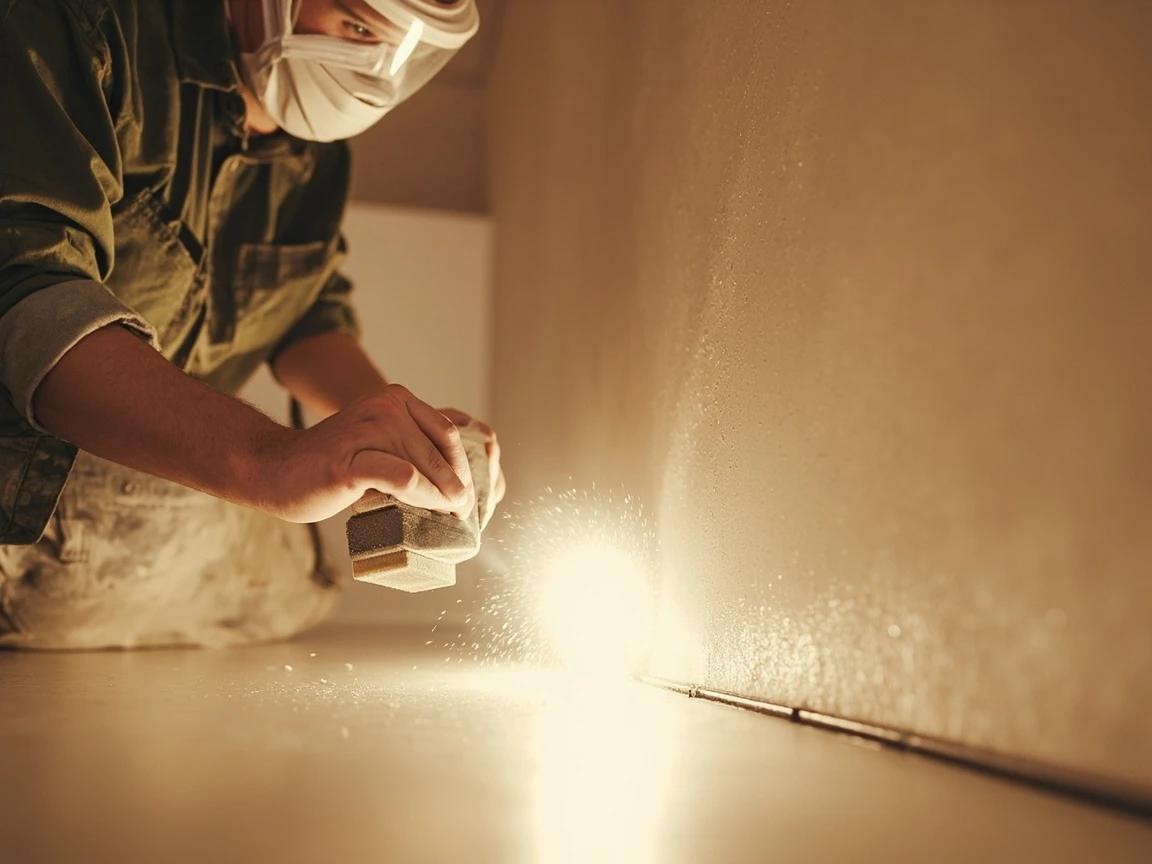
When the finish coat is fully dry, seal the doorway, put on the dust mask, and sand the seam with 150-grit on a pole sander or block, finishing with a light 220-grit pass. Work with moderate pressure in long strokes along the seam, and keep the raking light on the wall the whole time — sand until the shadows disappear, then stop, because oversanding fuzzes the paper tape and digs hollows. A barely damp drywall sponge in place of the final pass keeps the dust down in lived-in rooms.
Prime Before You Judge — Then Touch Up
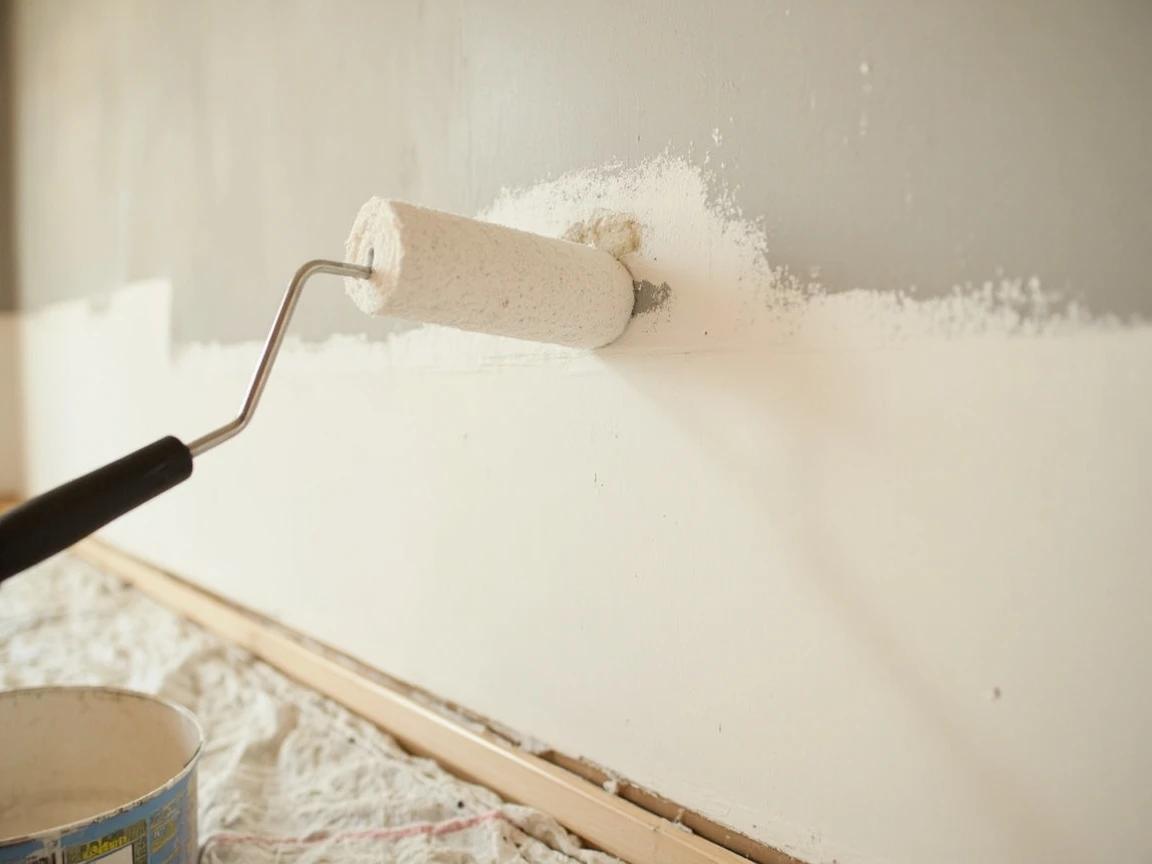
Bare compound and drywall paper absorb paint differently, so nothing you see before primer is the final verdict. Roll a coat of PVA drywall primer over the finished seam, let it dry, and inspect once more under raking light — small flaws that appear now take a quick skim of compound, a spot-sand, and a dab of primer. The same three-coat rhythm you just learned is exactly what finishes a large drywall patch, so the skill pays rent all over the house.
Keep a golf-ball lump of leftover setting compound sealed in a zip bag with the room's paint can — future dings get fixed with materials that already match.
Frequently Asked Questions
Is paper or mesh tape better for drywall seams?
+
Paper is what most pros use: it's thinner, it's stronger in tension, and it creases cleanly for inside corners. Its one catch is that it must be bedded into wet compound, which takes a little feel. Self-stick mesh is easier to position, but it stretches, so manufacturers require a setting-type compound (not premixed all-purpose) for the coat over it — skip that and the joint can crack. If you use mesh, treat that rule as non-negotiable.
How long should drywall mud dry between coats?
+
Premixed all-purpose compound needs to dry fully — typically 24 hours, longer in cool or humid rooms — and it should look uniformly white, not gray-spotted, before you recoat. Setting-type "hot mud" is different: it hardens by chemical reaction in its rated time (20, 45, or 90 minutes), so you can recoat as soon as it's firm even though it still feels damp. That's how pros compress a three-day job into one.
Do you sand between coats of drywall mud?
+
Not really. Between coats, just knock off ridges and crumbs with the edge of a clean taping knife — a five-second scrape. Save real sanding for one session after the final coat, with 150-grit followed by 220. Sanding between every coat wastes compound you'll immediately replace, fills the room with dust twice, and risks fuzzing the paper tape.
How many coats of mud does a drywall seam need?
+
Three is the standard system: the tape-embedding coat with a 6-inch knife, a fill coat with a 10-inch knife, and a finish coat with a 12-inch knife, each feathered wider than the last. Tapered factory seams finish about 12 inches wide; butt joints — where two cut ends meet with no recess — need the mud built out 18 to 24 inches wide, and often a fourth thin pass, to hide the hump.
Why is my drywall tape bubbling, and can I fix it?
+
Bubbles mean there was a dry spot with no compound under the tape — the bed coat was scraped too thin or missed a stretch. Small bubbles can be sliced open with a utility knife, filled with compound worked under the flap, and pressed flat; a run of bubbles is faster to cut out entirely, re-bed with fresh tape, and recoat. Bubbles never improve with more mud on top, so fix them the moment you see them.
Sources & further reading
- How to Tape Drywall Like a Pro — Family Handyman
- Sheetrock Brand All Purpose Joint Compound — USG
- How to Mud Drywall: Step-by-Step Instructions — Bob Vila
More Carpentry Guides
View all →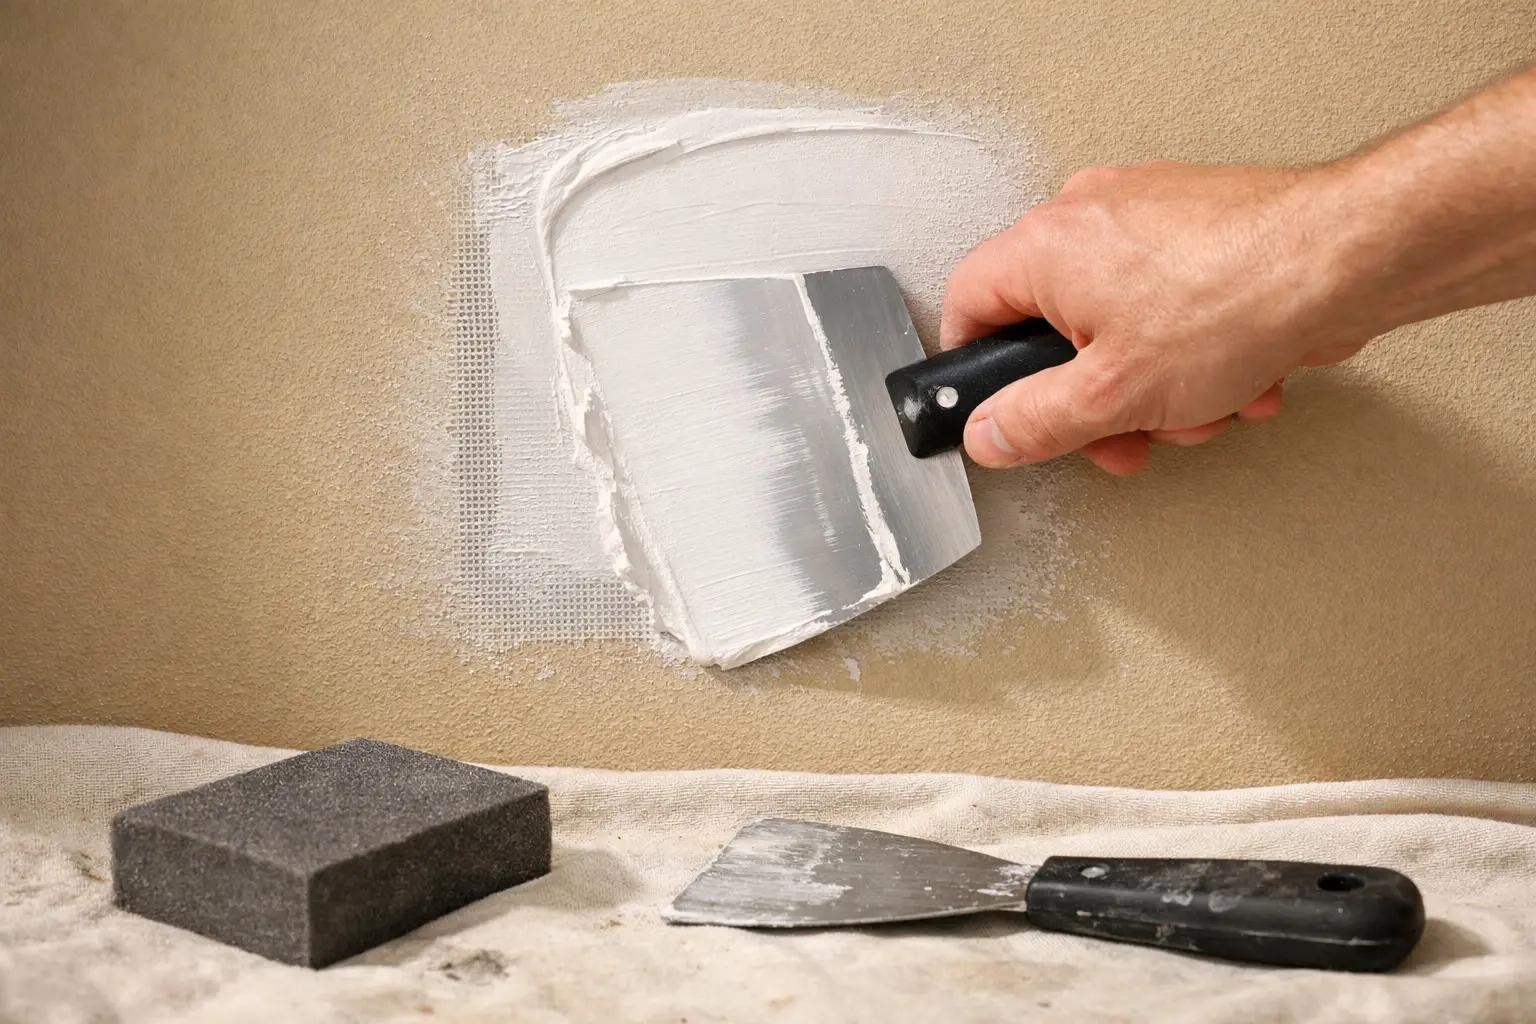 Medium2 hrs
How to Patch a Hole in Drywall (Any Size)
A nail hole, a doorknob punch-through, and a fist-sized hole from moving furniture each need a different repair. Match the hole to the method: spackle under 1/2 inch, a self-adhesive mesh patch up to 4 inches, a California patch from 4 to 8 inches, and a backer strip with a new drywall piece beyond that. Every method finishes with the same thin coats, sanding, and primer, and the materials cost under $40.
 Easy45 min
How to Fix a Nail Pop or Screw Pop in Drywall
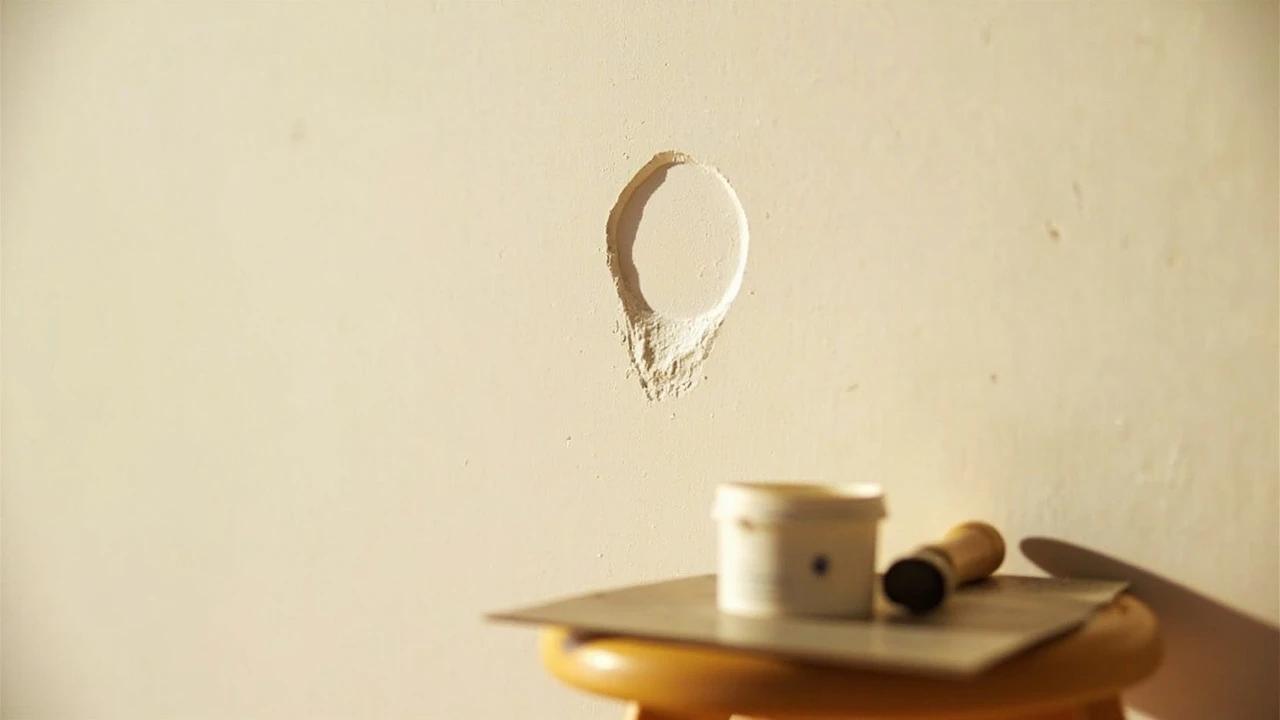
That little round bump or crescent crack in your wall is a nail pop — the framing lumber dried and shrank, and the fastener stayed put while the wood moved around it. Hammering it back in is a two-month fix; the permanent repair takes twenty minutes and about ten dollars: re-anchor the drywall with new screws above and below the pop, deal with the old fastener, and fill. This guide covers walls, the ceiling version, and how to tell a harmless pop from a symptom worth investigating.
 Medium5 hrs
How to Skim Coat a Textured Wall Smooth
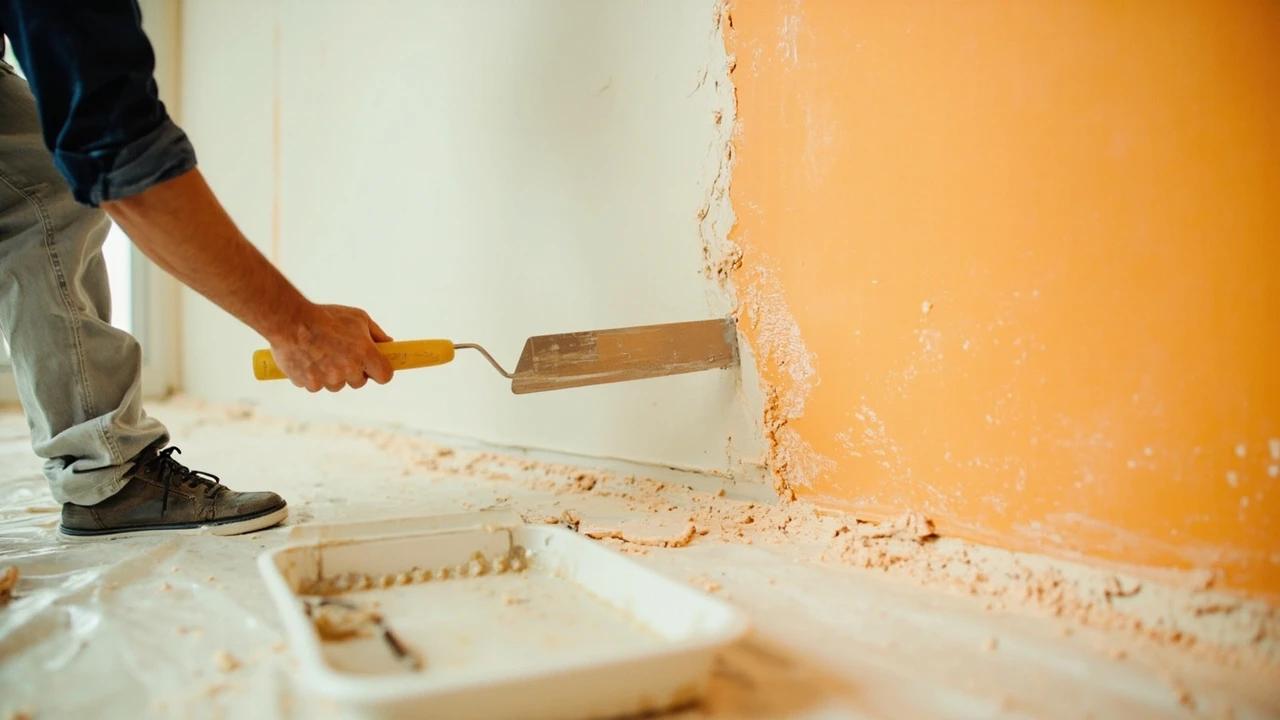
Flat, smooth walls are the look everyone wants now — but you don't have to tear out dated orange-peel or knockdown texture to get there. Skim coating buries the texture under a couple of thin layers of joint compound for a fraction of the $1.50-3.50 per square foot a pro charges, using a paint roller and a wide knife instead of a spray rig. This guide covers the roller-and-blade method that makes it DIY-friendly, how many coats your texture actually needs, and the raking-light trick pros use to catch every ridge before paint.
You Might Also Like
 Easy30 min
How to Fix a Dripping Faucet
A dripping faucet wastes more than 3,000 gallons of water per year and can add $20 or more to your monthly water bill. The fix is almost always a worn cartridge, washer, or O-ring — parts that cost under $10 and take 20-30 minutes to replace with basic tools.
 Hard8 hrs
How to Paint Kitchen Cabinets
A professional cabinet refinish costs $3,000-8,000, but painting them yourself with the right prep and materials delivers the same transformation for under $200 in a long weekend. The secret is thorough degreasing, a bonding primer, and thin coats with proper dry time between each — skip any of those and the paint will chip within months. This guide walks through the full process from door removal and labeling to final reassembly, covering both brush and roller techniques for a smooth, factory-like finish.
 Medium6 hrs
How to Paint a Room
A fresh coat of paint is the fastest, cheapest way to transform any room — and doing it yourself saves $400-800 in labor for an average 12x12-foot bedroom. The job takes a weekend from prep to final coat, and the difference between an amateur-looking result and a professional finish comes down to technique, not talent. This guide covers prep, cutting in, rolling, and cleanup so you get clean lines and even coverage the first time.