How to Fix a Nail Pop or Screw Pop in Drywall
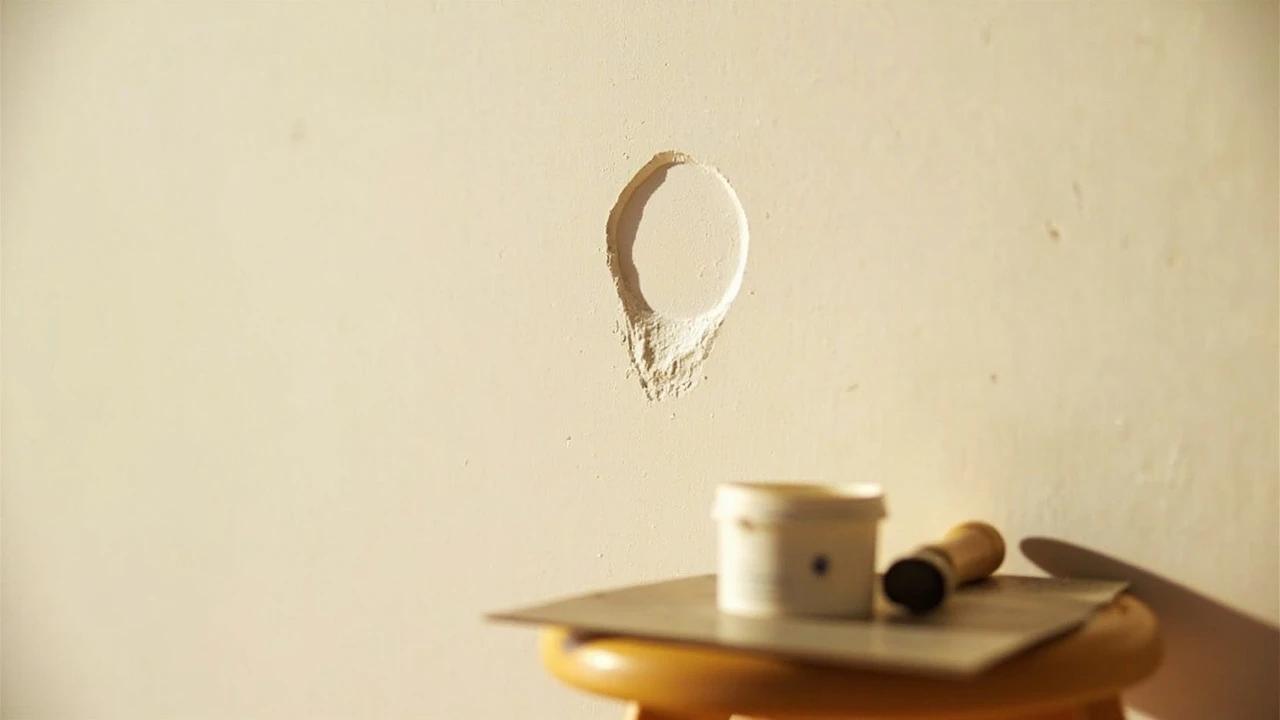
That little round bump or crescent crack in your wall is a nail pop — the framing lumber dried and shrank, and the fastener stayed put while the wood moved around it. Hammering it back in is a two-month fix; the permanent repair takes twenty minutes and about ten dollars: re-anchor the drywall with new screws above and below the pop, deal with the old fastener, and fill. This guide covers walls, the ceiling version, and how to tell a harmless pop from a symptom worth investigating.
What You'll Need
🛠 Tools
📦 Materials
Safety First
- •Textured ceilings in homes built before the mid-1980s can contain asbestos — do not sand or scrape a popcorn ceiling to chase a nail pop without having the texture tested first.
- •Wear a dust mask when sanding joint compound; the fine gypsum dust is a lung and eye irritant.
Step-by-Step Instructions
Press the bump and diagnose the pop
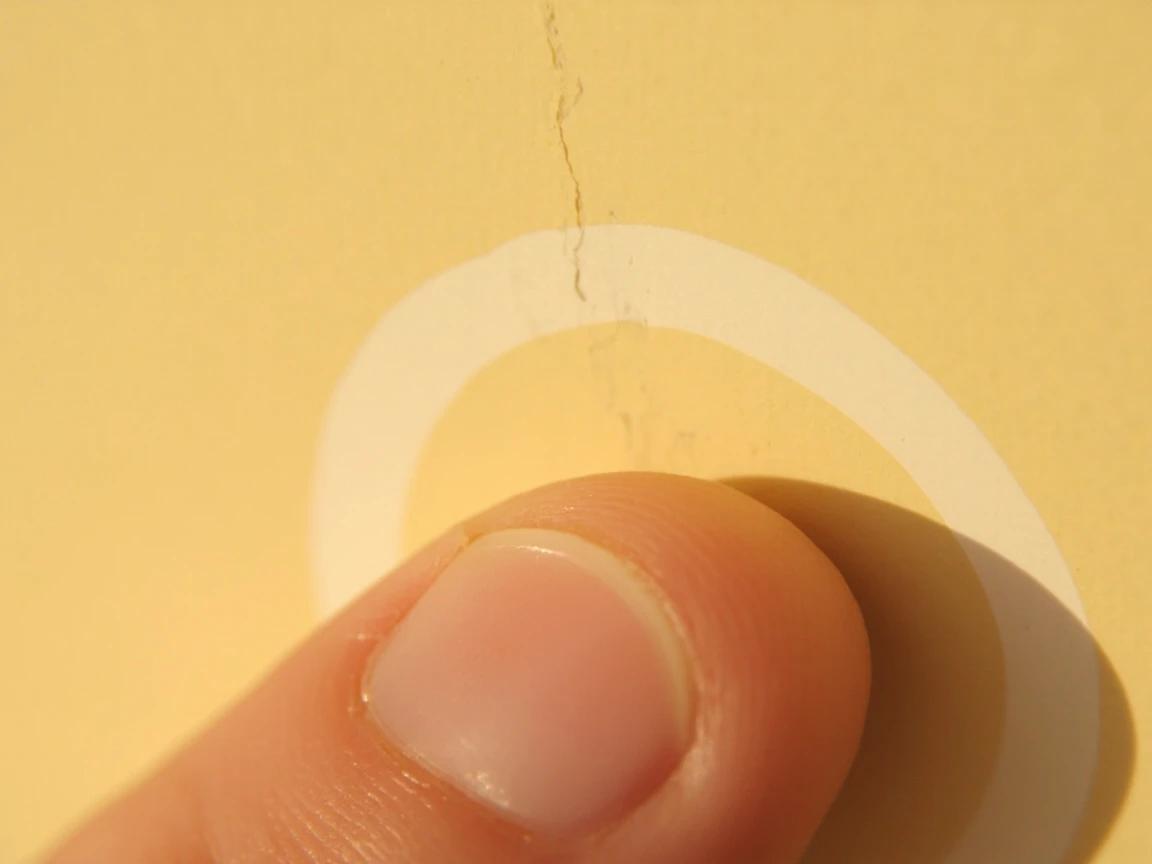
Push gently on the bump with your thumb. If the drywall flexes inward and the bump moves, the panel has separated from the framing and is riding on the fastener head — the classic seasoning pop. If the wall feels solid and only the paint film is cracked in a crescent, the fastener barely moved and you may only need to set it and fill. Note whether the pop sits on a wall or a ceiling, because ceiling pops near the wall line get an extra check in the last step.
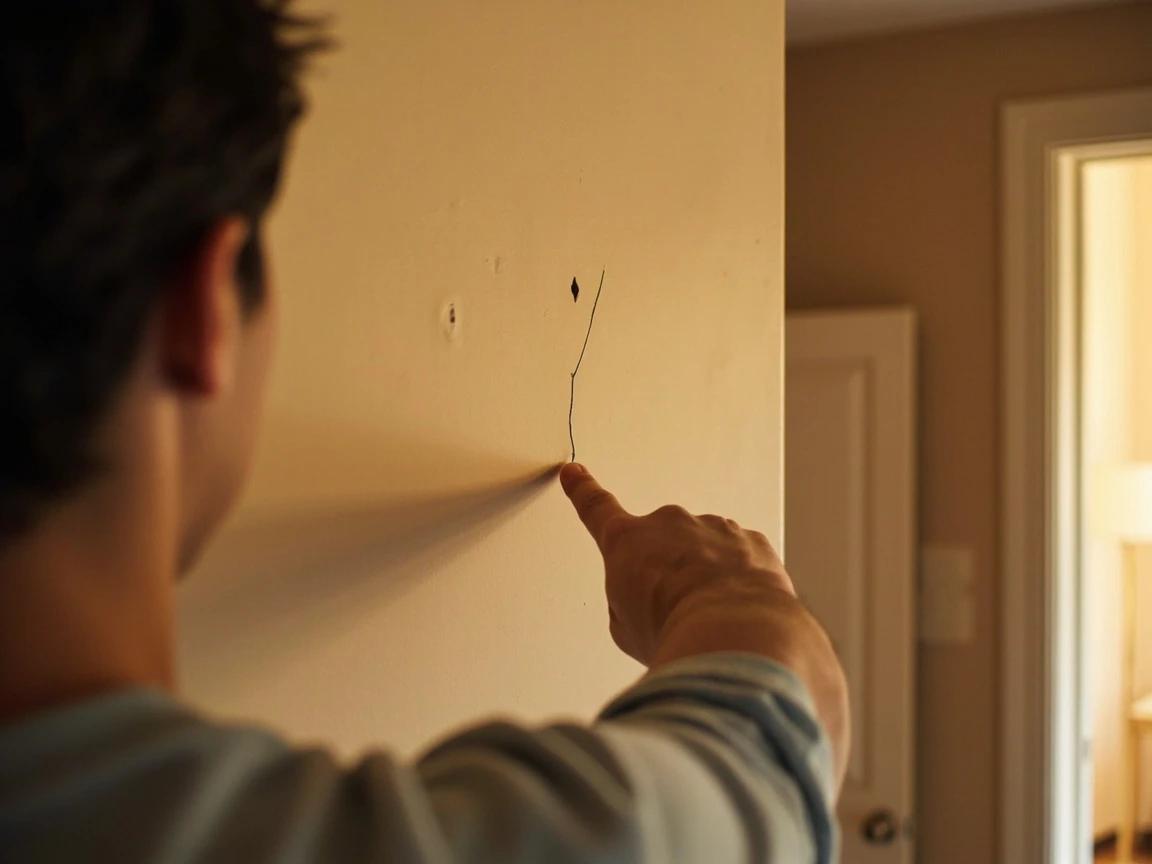
Rule out the pops that are messengers
Walk the room before you patch. One or two scattered pops in a newer home are routine lumber seasoning. A row of pops marching along one stud or joist line, pops paired with diagonal cracks off door or window corners, or a pop sitting inside a brown water ring are different stories — movement or moisture that patching will only hide. Fix the cause first (or get an inspection), then come back to cosmetics.
A pop inside a water stain means an active or past leak — trace it before any repair, or the new patch bubbles within weeks.
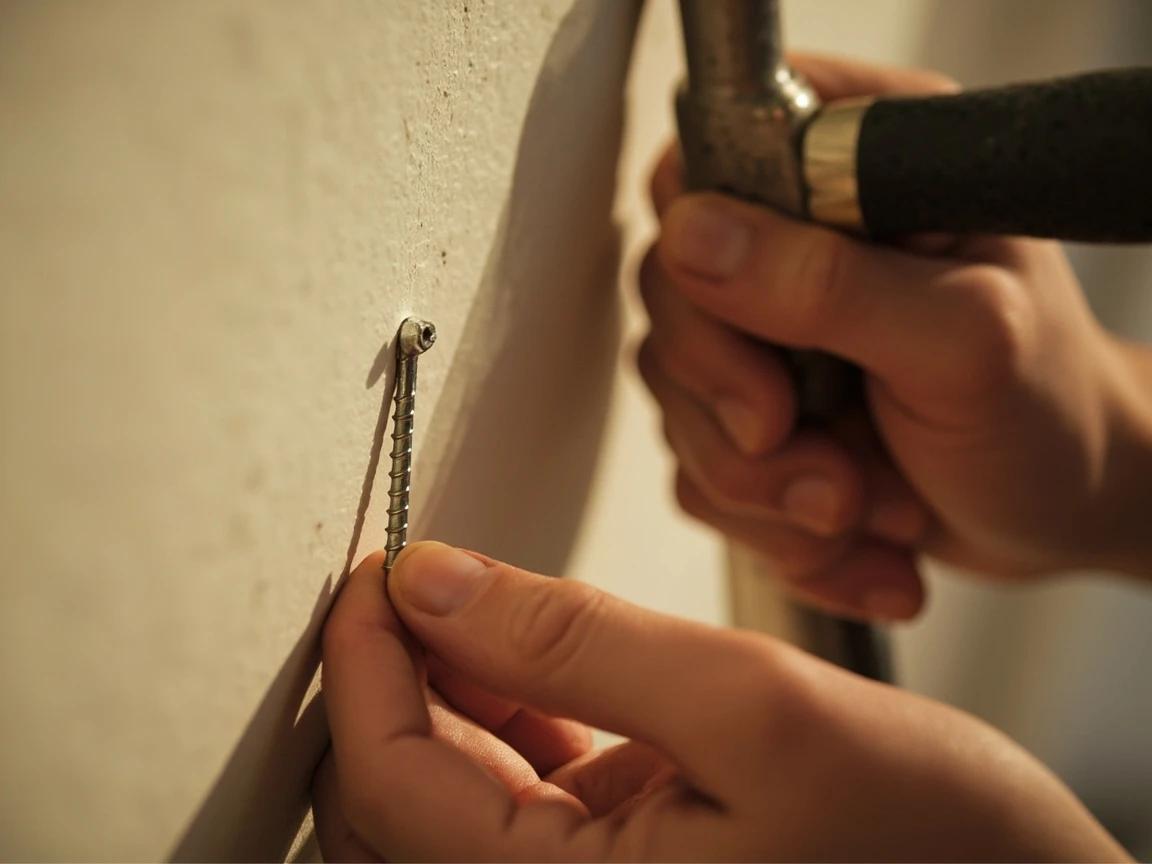
Drive new screws above and below the pop
The permanent fix is re-anchoring the panel, not re-seating the old fastener. Drive a 1-1/4 inch coarse-thread drywall screw into the same stud or joist about 1 to 2 inches above the pop, and a second one the same distance below (or on each side for a ceiling). Sink each screw until the head sits just below the surface in a shallow dimple without tearing the paper face — if the fastener misses solid wood and spins, the original nail probably missed the stud too, so find the framing and re-drive on center.
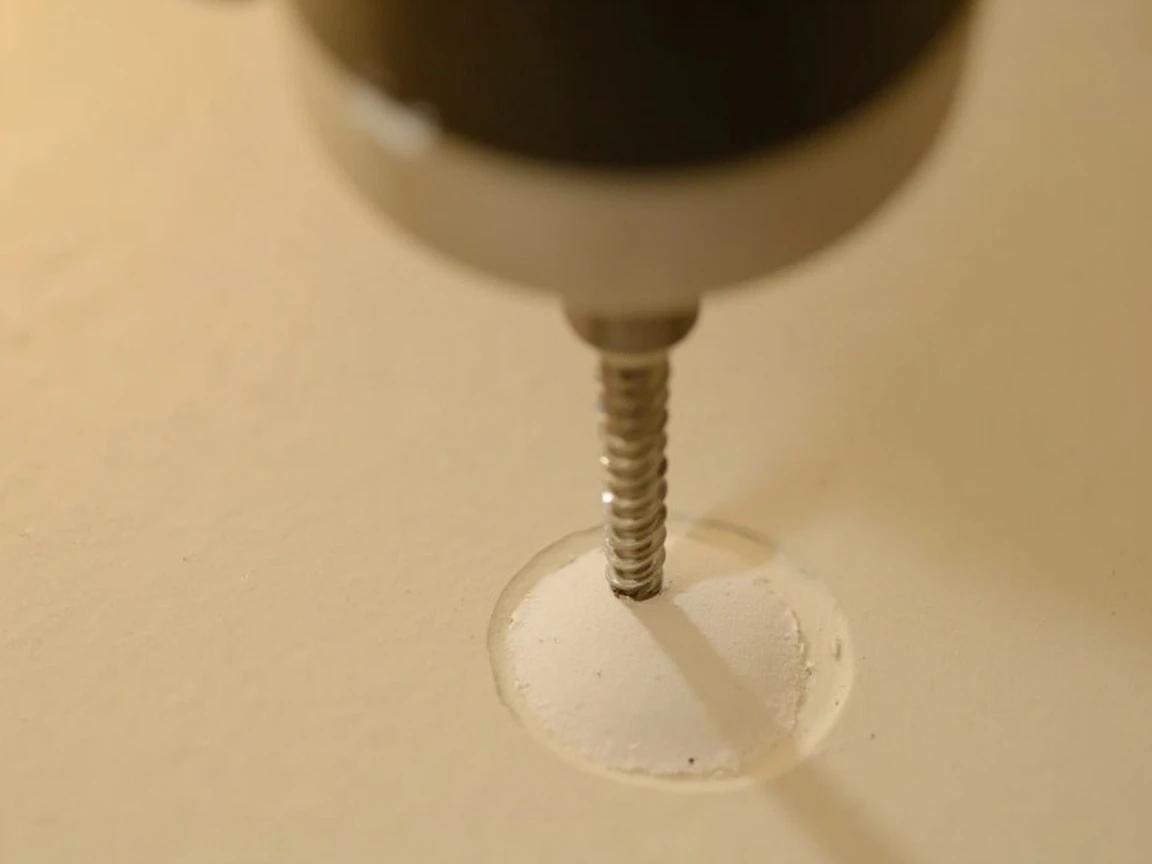
Press the drywall firmly against the framing with your palm while driving — the screws should clamp the panel tight, not pull it through a gap.
Set or remove the old fastener
Now take the load off the popped fastener. If it is a nail, hold a nail set on the head and tap it about 1/16 inch below the surface — driving it deeper through the existing hole rather than pulling it, which tears a bigger crater. If it is a screw, back it out entirely or re-drive it a hair deeper; a screw that spins without biting comes out. Either way the old fastener is now just a passenger — the new screws are doing the holding.
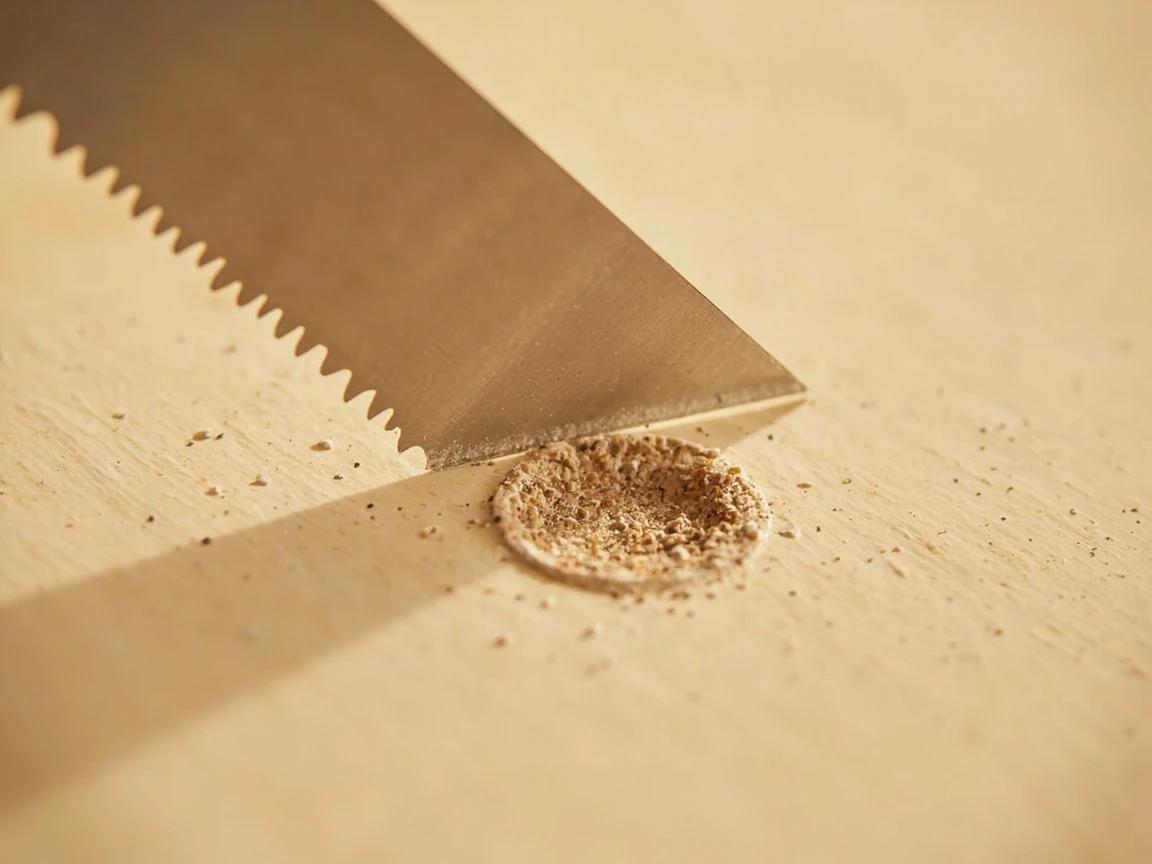
Trim the blister before you fill
A pop usually leaves a small volcano of cracked paint and compound. Shave it flush with a utility knife or scrape it with the putty knife edge, and slice away any loose paper facing around the crater — anything proud of the surface or flapping loose will telegraph through the patch. You want a shallow, clean divot with tight edges before the first coat goes on.
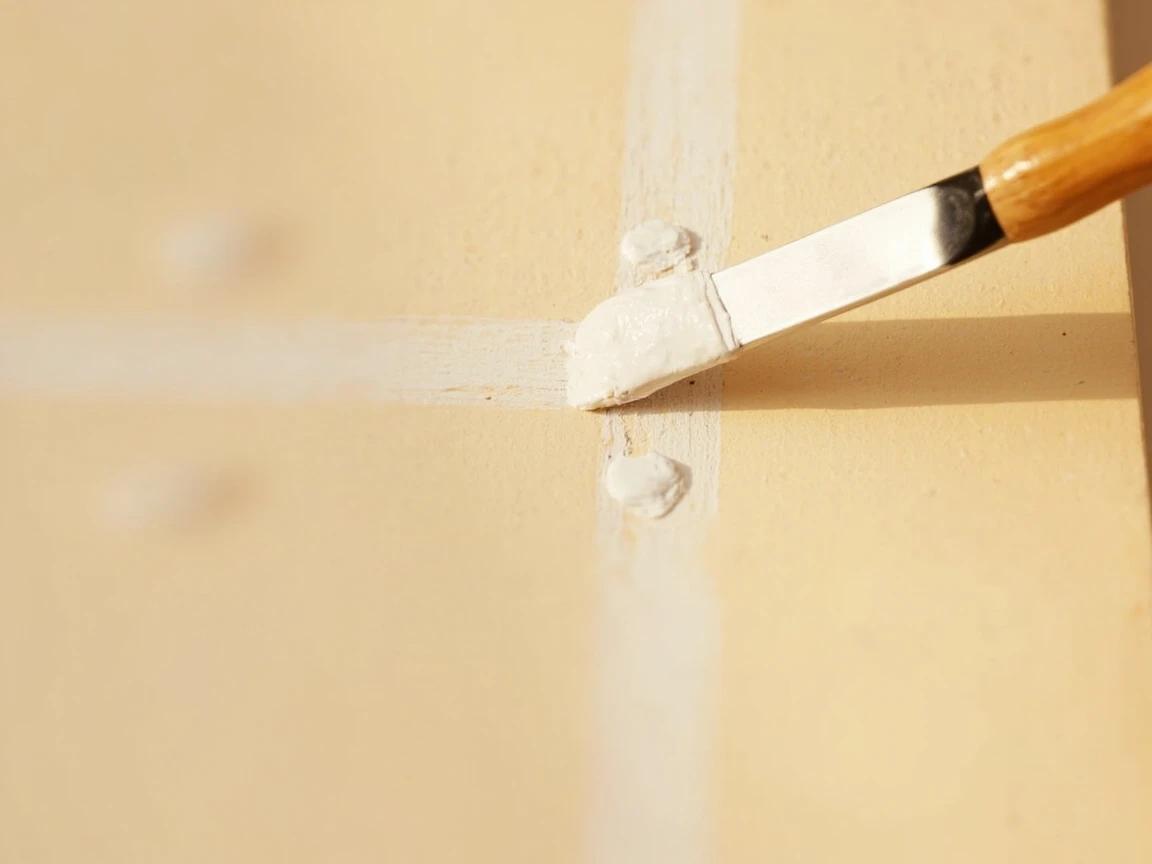
Fill everything in two thin coats
Load the corner of the putty knife with lightweight spackle or joint compound and fill the old pop plus both new screw dimples in one pass, scraping tight so the compound sits only in the depressions. Let it dry fully (30-60 minutes for lightweight spackle), then apply a second thin coat feathered an inch or two beyond the first to erase any shrinkage. Two tight coats beat one thick one — thick fills shrink, crack, and flash under paint. The same feathering technique covers any small drywall hole, so this skill pays rent all over the house.
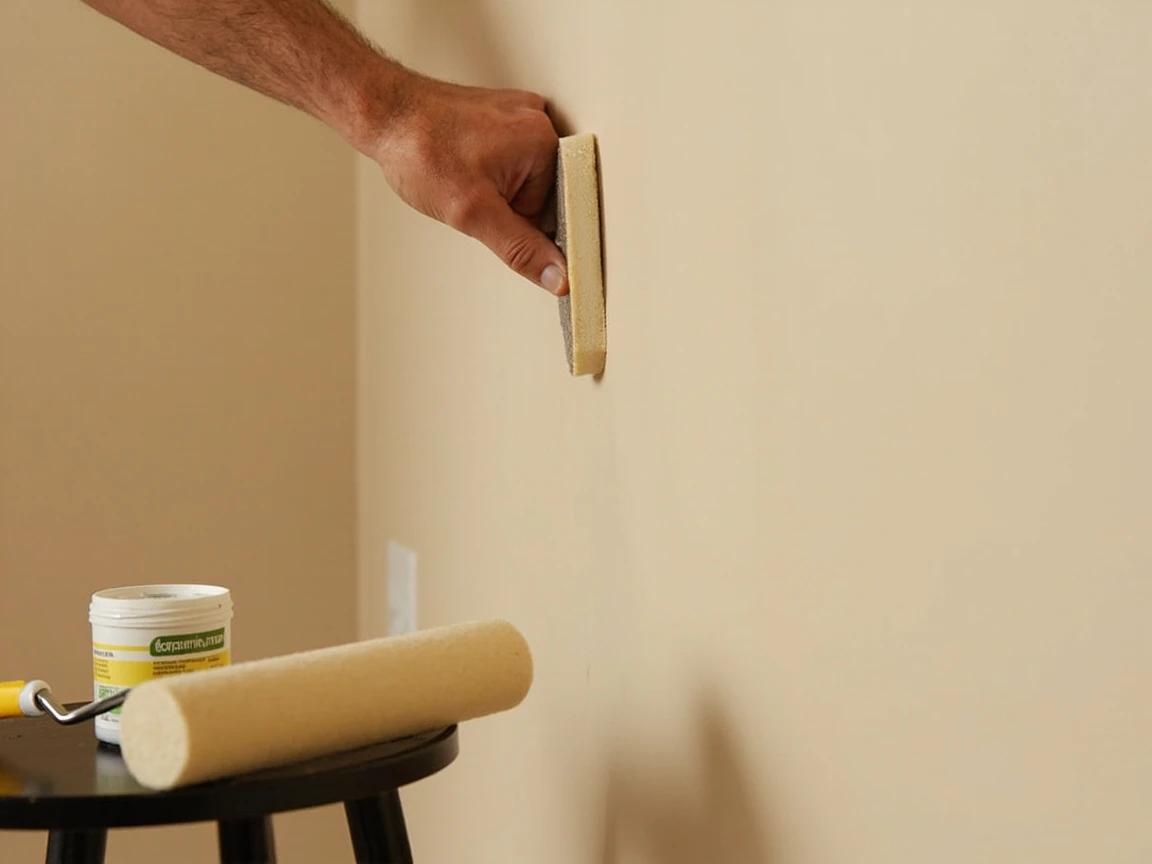
Sand, prime, and touch up the paint
Once the second coat is bone dry, sand lightly with a fine sanding sponge until your fingertips can't find the repair, then wipe the dust off with a barely damp cloth. Spot-prime the patches — bare compound drinks paint and leaves dull flashing spots if you skip it — and touch up with the wall color using a small roller for texture match. On a wall with old or faded paint, feather the touch-up toward the nearest corner so any slight color shift disappears at a natural edge.
Never dry-sand a pre-1980s textured ceiling — the texture may contain asbestos. Get it tested before disturbing it.
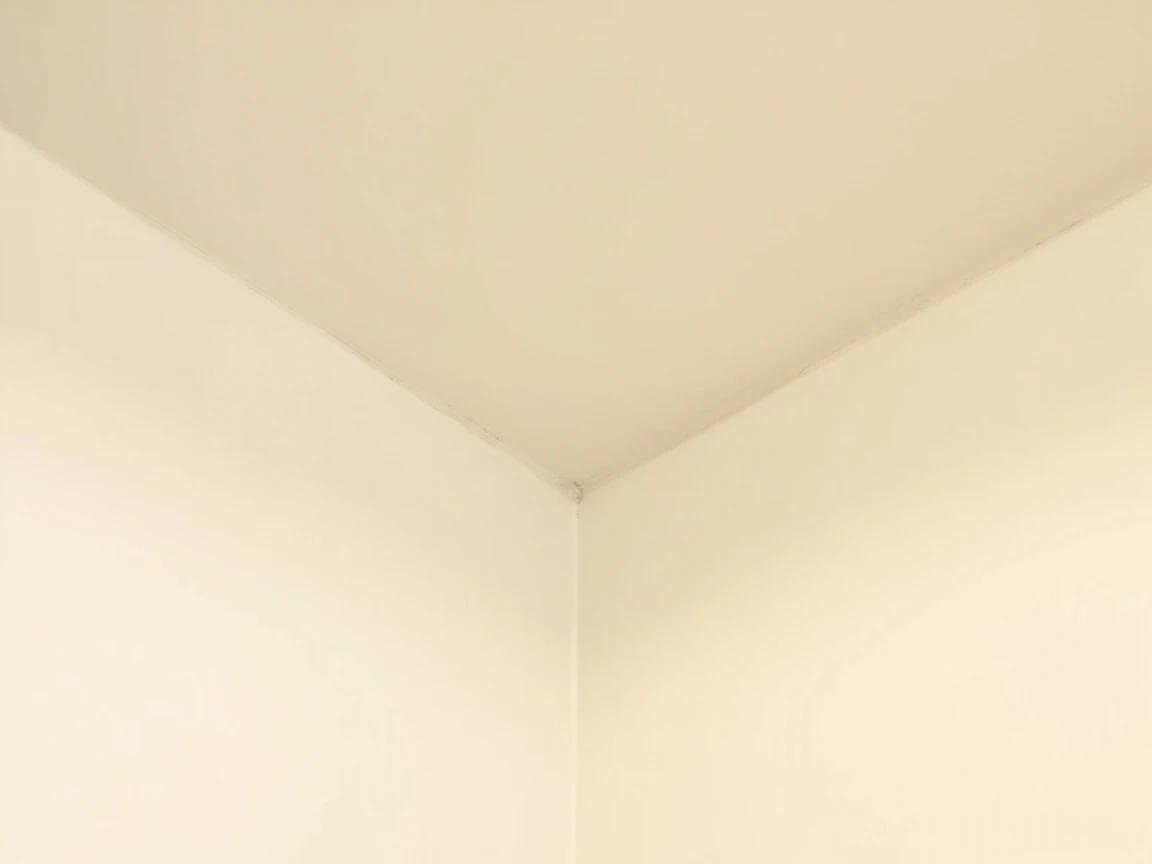
Handle ceiling pops near walls differently
If your pops line up on the ceiling within a foot or two of interior walls — and open in winter, close in summer — you are looking at truss uplift, not bad fasteners. The roof truss's bottom chord arches seasonally as its wood gains and loses moisture, lifting the ceiling drywall off the wall plates. Re-screwing tighter makes it worse: the fix is the opposite — remove fasteners within about 16 inches of the wall so the drywall can flex, and let crown molding (fastened to the ceiling only) or a flexible corner bead ride over the seasonal gap.
Frequently Asked Questions
Why do nails pop out of drywall?
+
Almost always lumber shrinkage: framing studs are installed with a fairly high moisture content, and as they dry over the first year or two they shrink around the nail shank. The wood moves, the nail stays, and the head ends up proud of the drywall surface. Smooth-shank nails rely only on friction, which is why older nail-hung drywall pops far more than modern screw-hung drywall — a screw's threads lock into the wood and move with it.
Are nail pops a sign of foundation problems?
+
A few scattered pops in a home under five years old are normal seasoning, not structure. The pattern that deserves attention is different: many pops appearing at once in a line along one wall or ceiling, paired with diagonal cracks radiating from door and window corners, doors that suddenly stick or swing, or stair-step cracks in exterior brick. That combination points to movement worth having a structural engineer or home inspector evaluate — the pops are the messenger, not the problem.
Can I just hammer the nail back in?
+
You can, and it will look fine until the next humidity swing pushes it right back out — the nail's grip on the shrunken wood is already gone. The permanent fix re-anchors the drywall to the framing with new screws next to the pop so the old fastener no longer carries any load. That is the difference between a twenty-minute repair that lasts and one you repeat every season.
Why do nail pops keep appearing in my ceiling near the walls?
+
In truss-roofed homes in cold climates, that is usually truss uplift: the top and bottom chords of the roof trusses absorb moisture at different rates in winter, and the bottom chord arches upward — lifting the ceiling drywall and popping fasteners or cracking the wall-ceiling corner. It opens in winter and closes in summer, and it is cosmetic, not structural. The lasting fix is to stop fastening the ceiling within about 16 inches of the wall and let crown molding or a corner detail float over the seasonal movement.
Will my builder fix nail pops in a new house?
+
Usually yes, once. Nail pops from first-year lumber seasoning are one of the most common builder-warranty items, and most one-year workmanship warranties cover a single drywall touch-up pass, typically scheduled near the end of year one so the framing has finished most of its drying. Save your list and submit it as one request rather than piecemeal — and expect the builder to fill and paint, not re-screw every pop.
Community Tips
💬 Sign in to share tips with the community
Sources & further reading
- How to Fix Nail Pops in Drywall: Pro Contractor Method — Hyde Tools
- Roof Truss Uplift: Causes & Cures — InspectAPedia
- Truss Uplift and Ceiling Cracks — Ask the Builder
More Carpentry Guides
View all →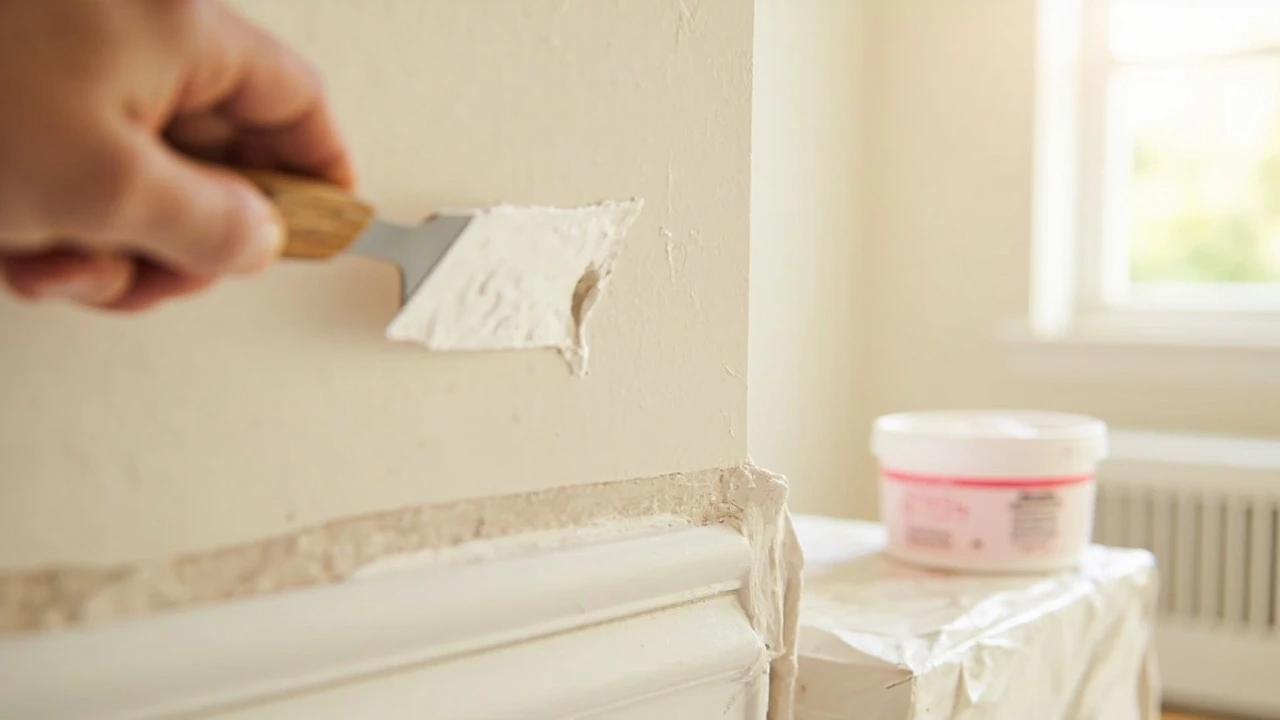 Easy1 hr
How to Patch a Small Hole in Drywall (Spackle Method)
A nail hole, picture-hanger ding, or doorknob dent doesn't need a contractor — it needs a $5 tub of spackle and twenty minutes of hands-on time. This guide covers the two-coat method, drying-time tradeoffs, and the touch-up paint trick that makes the patch invisible. For holes bigger than 1/2 inch, step up to the mesh-patch and drywall-cutout methods instead.
 Easy1 hr
How to Patch Any Size Hole in Drywall: Which Method to Use
Whether it's a nail pop, a doorknob punch-through, or a fist-sized hole from moving furniture, patching drywall is one of the most common home repairs — and doing it yourself saves $75-200 per hole versus hiring a handyman. This guide is the decision tree: match your hole size to the right method — spackle, mesh patch, or backer-board cutout — then follow the pro steps to an invisible, paint-ready finish.
 Easy15 min
How to Find a Stud Without a Stud Finder
No stud finder? No problem. You can locate the wooden studs behind your drywall with things you already own — an outlet, a tape measure, and a strong magnet — in about ten minutes. This guide walks through every reliable method, from the quickest starting point to a foolproof way to confirm a stud before you drill a single hole.
You Might Also Like
 Easy3 hrs
Spring Lawn Care Checklist
What you do to your lawn in the first six weeks of spring determines its health for the entire growing season. Follow this sequence to fix winter damage, encourage deep roots, and crowd out weeds before they establish.
 Easy1 hr
How to Start a Compost Bin
Composting converts kitchen scraps and yard waste into rich, free fertilizer that dramatically improves garden soil. Setup takes under an hour and once running, the bin requires minimal effort for big rewards.
 Medium2 hrs
How to Prune Fruit Trees
Regular pruning is the most important annual task for fruit tree health and productivity. Properly pruned trees produce larger, higher-quality fruit, resist disease better, and live significantly longer than unpruned trees.