How to Replace a Window Screen
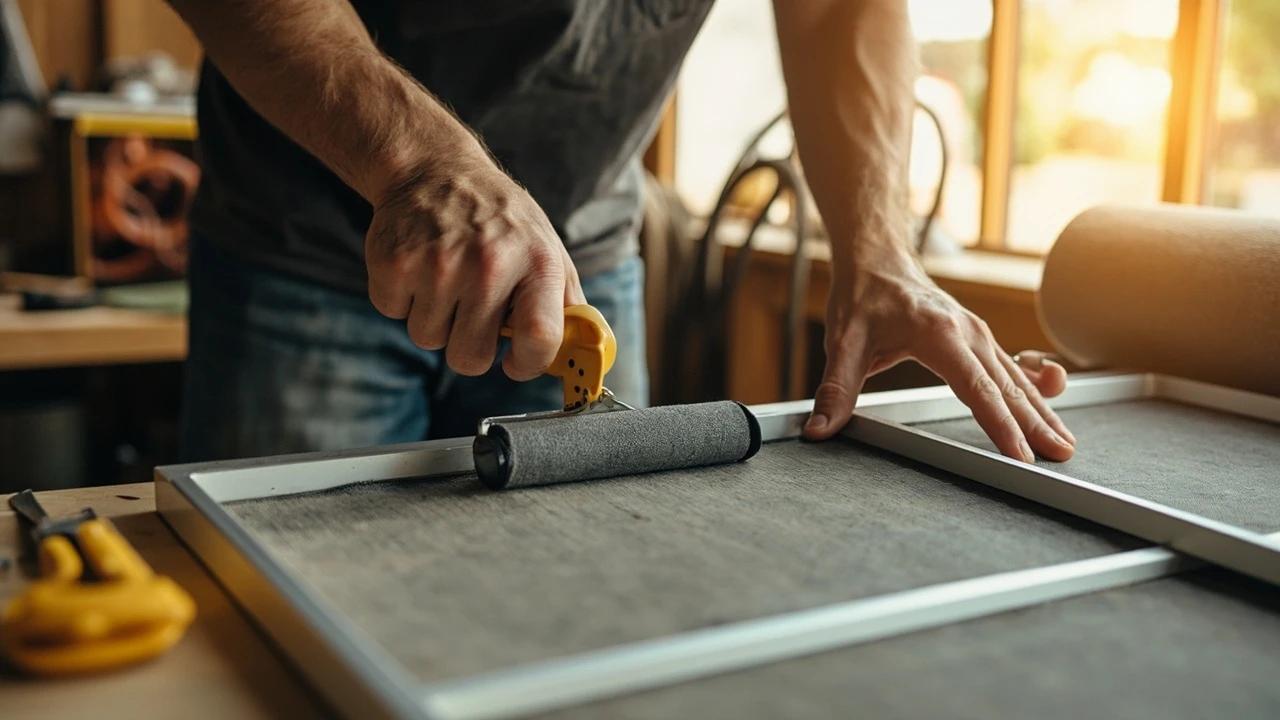

A torn window screen is a bug highway all summer, and the fix is one of the best value-for-effort repairs in the house: about $15 in mesh and spline, a $6 roller tool, and 30 minutes at a table. This guide covers the patch-or-rescreen decision, matching spline size to mesh type, and the rolling technique that gets a drum-flat screen without bowing the frame.
What You'll Need
🛠 Tools
📦 Materials
Safety First
- •Trimming the excess mesh is where this project draws blood — use a fresh utility blade, cut away from your steadying hand, and keep the frame flat on the table, not in your lap.
- •Never lean out an upper-story window to wrestle a screen free — screens are designed to pop inward from inside the room, and a stuck one is not worth the fall.
Step-by-Step Instructions
Pop the Screen Frame Out of the Window
From inside the room, push the screen up into the top channel and swing the bottom edge free — most screens lift and tilt out, while others have plunger pins you pull inward or flexible tabs you squeeze. Note which face pointed outdoors and which edge was up so it goes back the same way. Lay the frame on a flat table larger than the screen; the floor works, but your knees will complain. This is the same removal you'd do when installing a window AC unit, so it's worth learning smoothly.
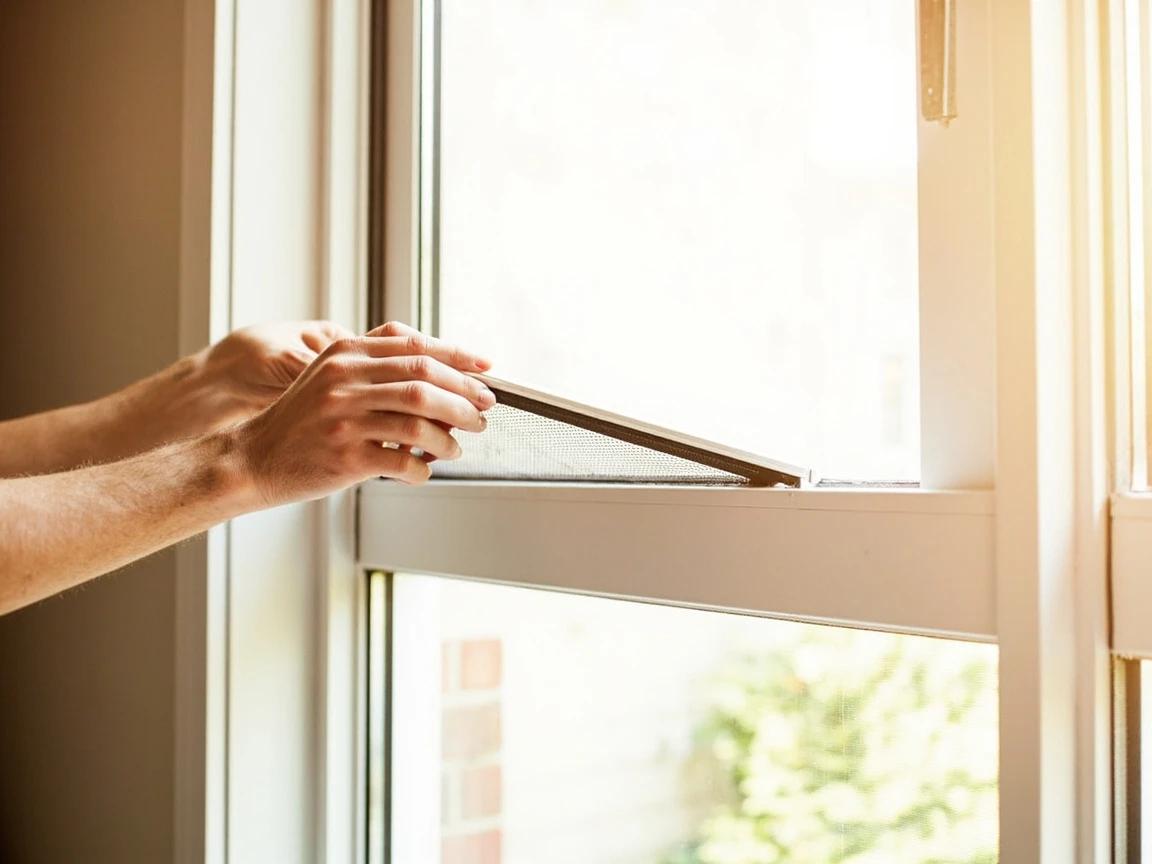
No visible pins or tabs? Look for finger-pull tabs along the bottom rail — and if the screen is painted or caulked into place, score the paint line with a utility knife before prying.
Decide: Patch, Rescreen, or New Frame
Give the damage the quarter test. A single clean hole smaller than a quarter gets an adhesive patch — press it over the hole from the outside face and you're done in two minutes. Rescreen when there are multiple holes, a tear along the spline line, or mesh so sun-rotted it crumbles between your fingers. If the frame itself is kinked, twisted, or the corners have let go, stop here: buy a frame kit or have a screen shop build a new one, because fresh mesh cannot straighten bent aluminum.
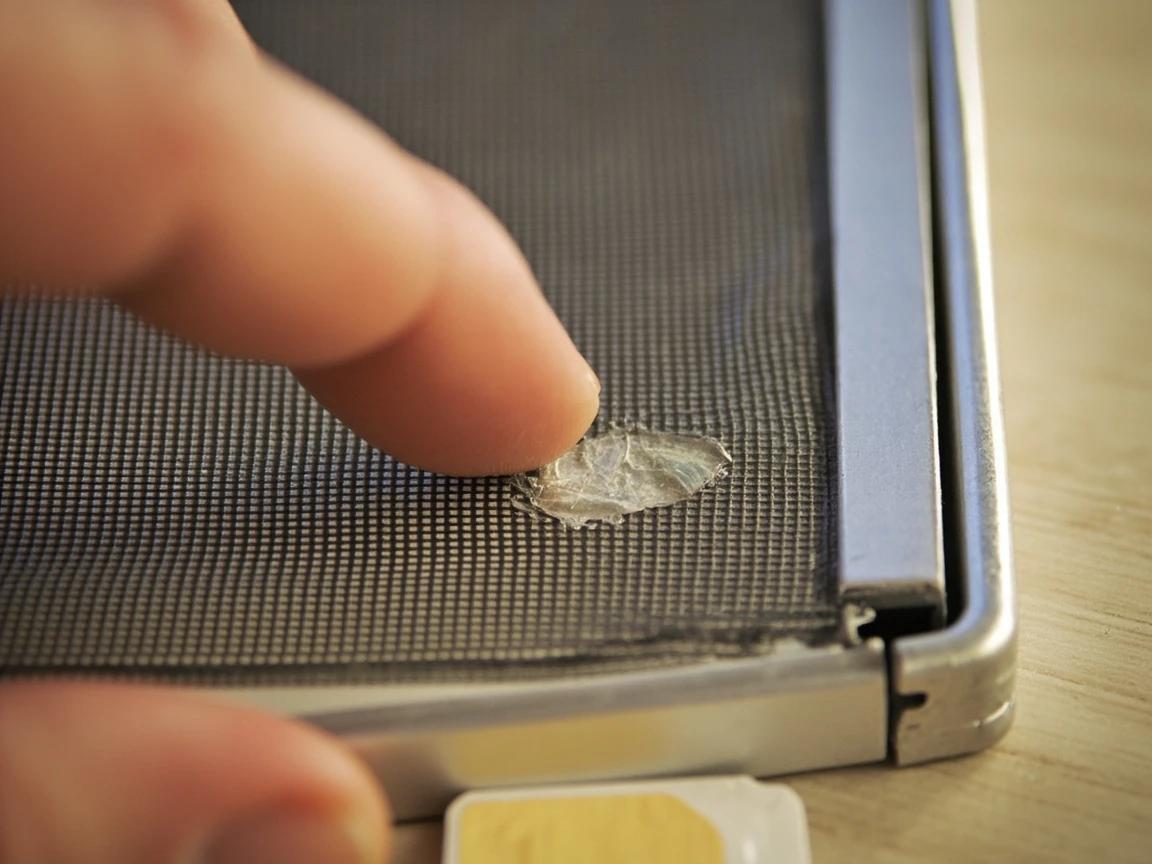
Press a fingertip into the mesh in a sunny corner of the screen — if the strands snap instead of flexing, the whole sheet is UV-rotted and patching one hole just schedules the next one.
Pry Out the Old Spline and Strip the Mesh
Find the spline — the thin rubber cord pressed into the groove around the frame's perimeter — and lift one end out at a corner with a flathead screwdriver or awl. Once started, it pulls out by hand in one or two long pieces, and the old mesh comes off with it. Cut a 2-inch piece of the old spline and put it in your pocket: matching it at the store beats guessing between 0.140 and 0.160 inch, which look nearly identical and behave completely differently.
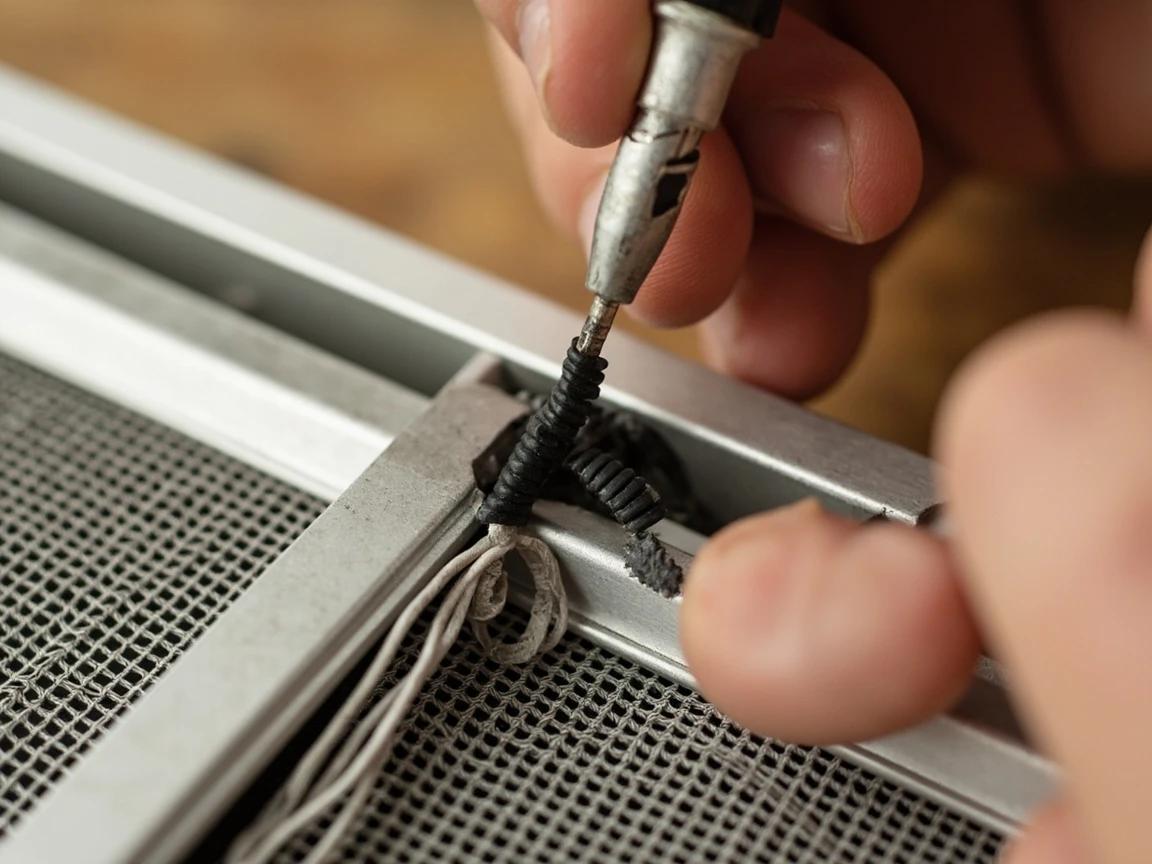
Old spline that's gone hard and cracked must be replaced, but spline less than a few years old that's still rubbery can be reused in a pinch — roll a test inch and see if it seats snugly.
Choose the Mesh and Match the Spline to It
Standard fiberglass in charcoal is the right call for most windows: it's cheap, it can't crease, and it doesn't corrode. Aluminum mesh is tougher but holds every accidental fold forever; vinyl-coated polyester pet screen stands up to claws; tighter no-see-um weave suits porches near water; solar screen cuts heat gain on west-facing glass. Buy a roll at least 2 inches bigger than the frame on every side — and if you picked any of the heavy fabrics, buy spline about 0.010 inch smaller than the old piece, since thick mesh eats groove space.
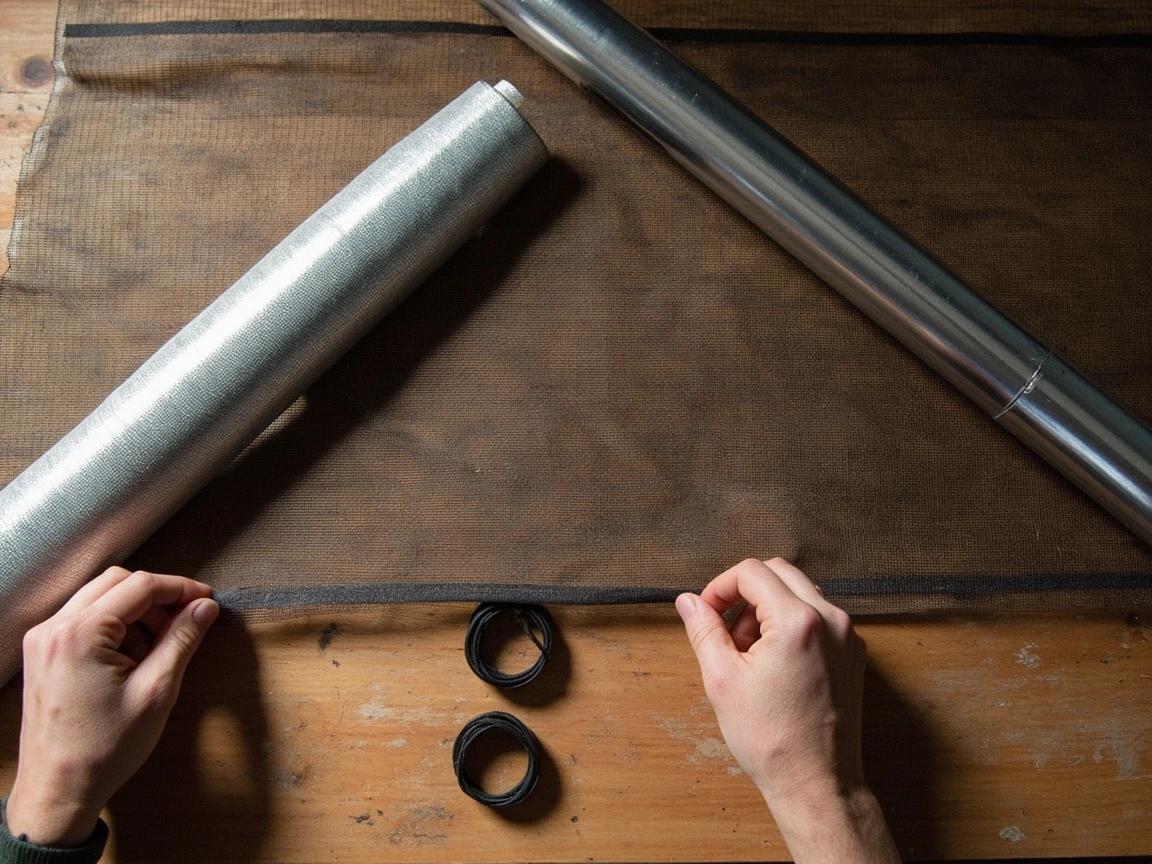
Clean the Groove and Anchor the Frame Flat
Wipe the empty spline groove with a damp rag and dig any crumbled rubber out with the screwdriver tip — grit in the channel keeps new spline from seating. Then anchor the frame so it can't shift or flex: clamp the corners to the table with spring clamps, or weight the rails with heavy books. On frames longer than about 3 feet, clamping the middle of the long rails matters most, because that's where spline tension will try to bow them inward.
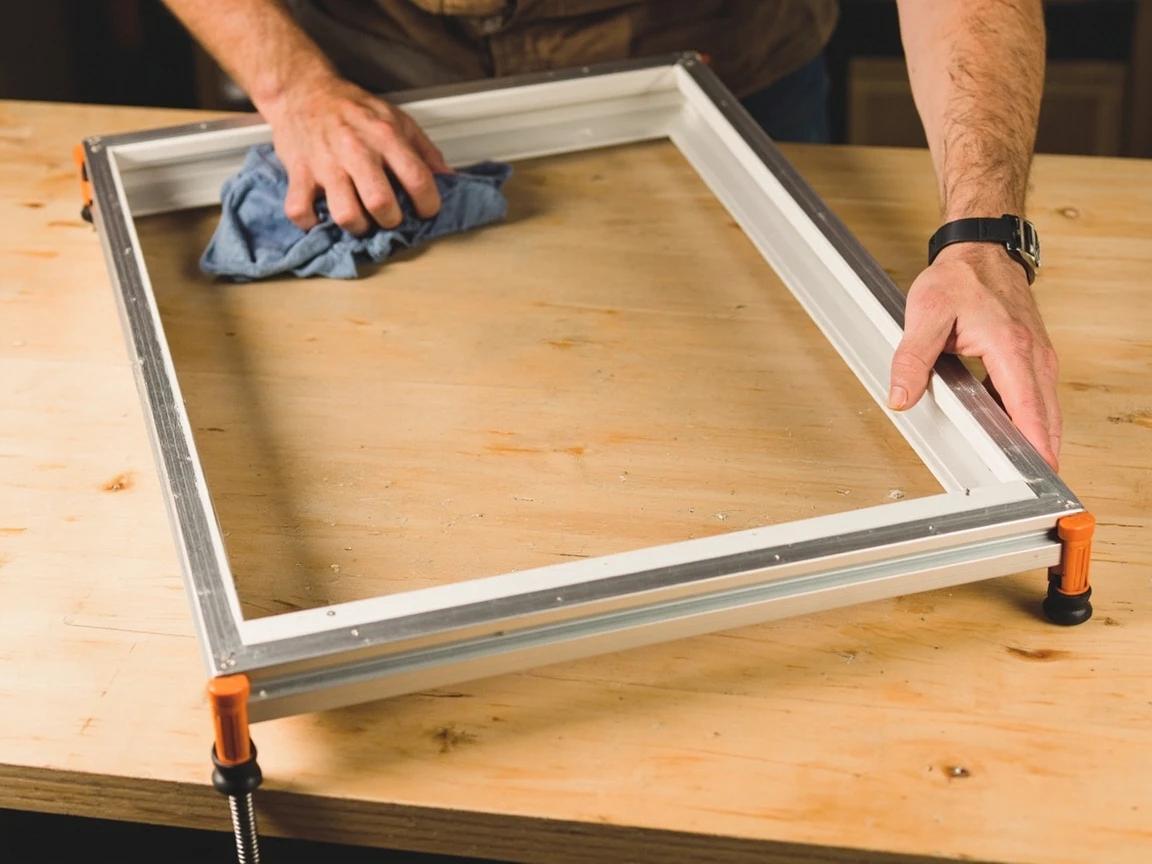
Lay the Mesh Square and Roll the First Side
Unroll the mesh over the frame with 2 inches of overhang on every side and line the weave up parallel with the rails — a crooked weave telegraphs through the finished screen. Starting at a top corner, use the spline roller to press the spline down over the mesh into the groove, working in short back-and-forth passes along the whole top rail. The wheel with the groove in its edge (concave) drives the spline; the plain convex wheel is only for pre-creasing aluminum mesh into the channel first.
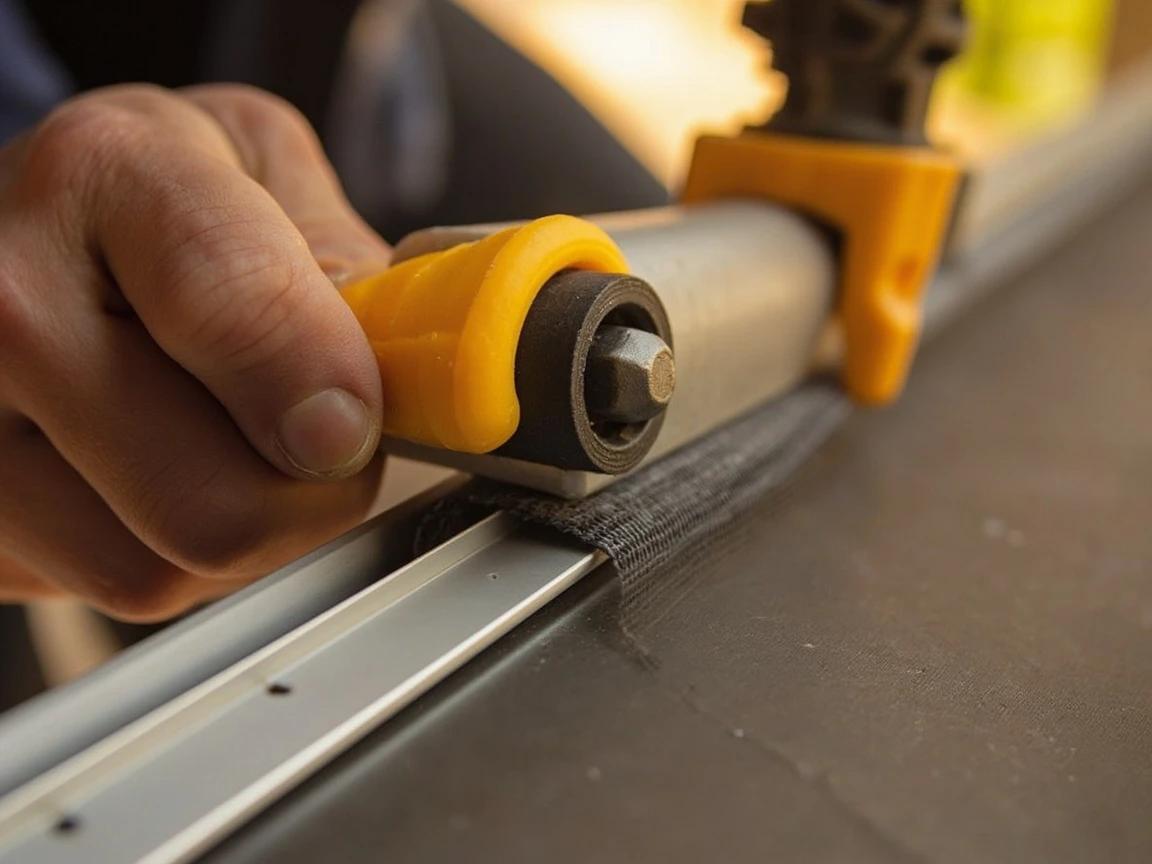
Fiberglass mesh and spline go in together in one rolling pass. Aluminum mesh is a two-pass job: crease the bare mesh into the groove with the convex wheel first, then roll the spline in over it.
Spline the Remaining Sides Under Light Tension
Roll the two side rails next, then the bottom, keeping the mesh smoothed flat with your palm and just light finger tension a few inches ahead of the roller. Don't haul on it — pressing the mesh down into each groove takes up slack automatically, and gentle, even tension gives a flatter screen than muscle ever will. At each corner, poke the spline firmly into the turn with the screwdriver tip before continuing, and cut the spline only when you arrive back where you started.
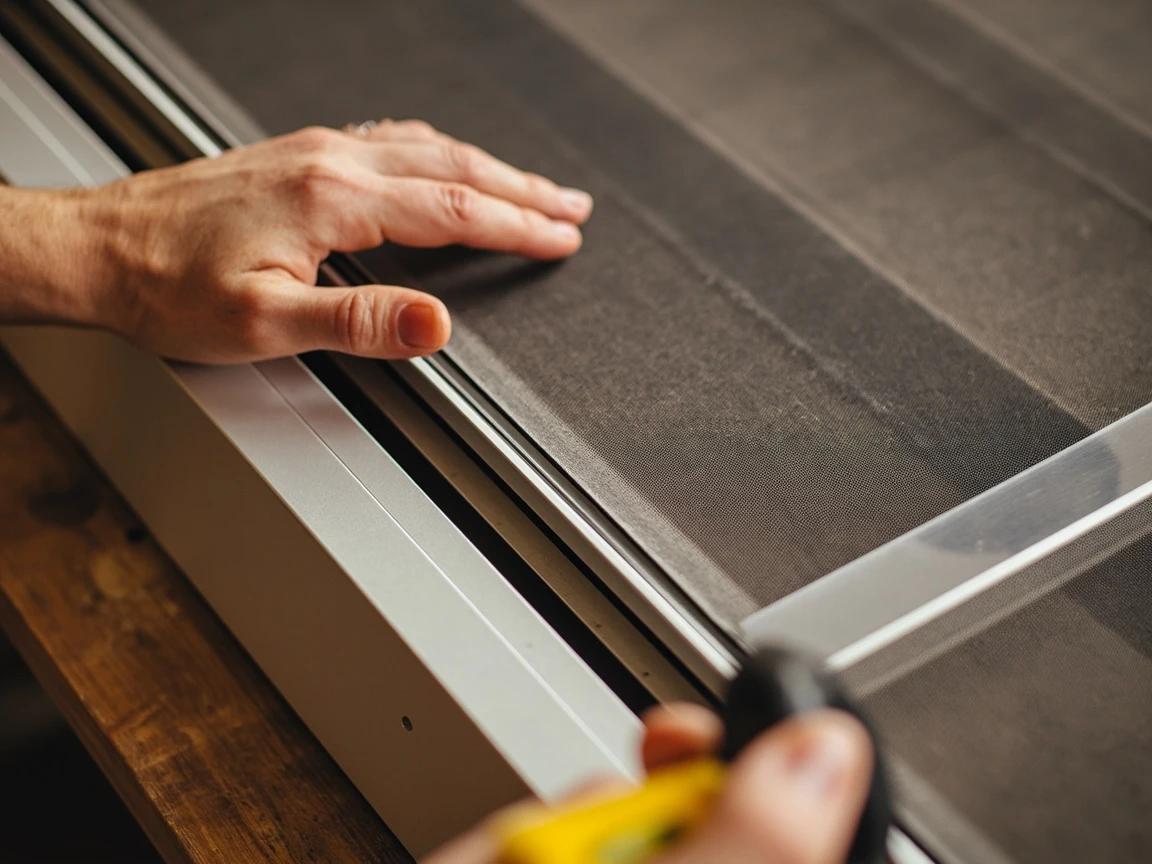
If you see the long rails starting to curve inward as you roll, stop — the mesh is too tight. Pull the last side's spline back out, relax the mesh, and re-roll with less tension before the bow sets the shape.
Trim the Excess Mesh Flush
Load a fresh blade in the utility knife — a dull one snags and pulls threads instead of cutting. Run the blade along the outside edge of the spline groove in one continuous stroke per side, angling the cutting edge away from the spline so a slip can't slice the new cord. The offcut should come away in a single clean ribbon, leaving the mesh edge hidden inside the groove.
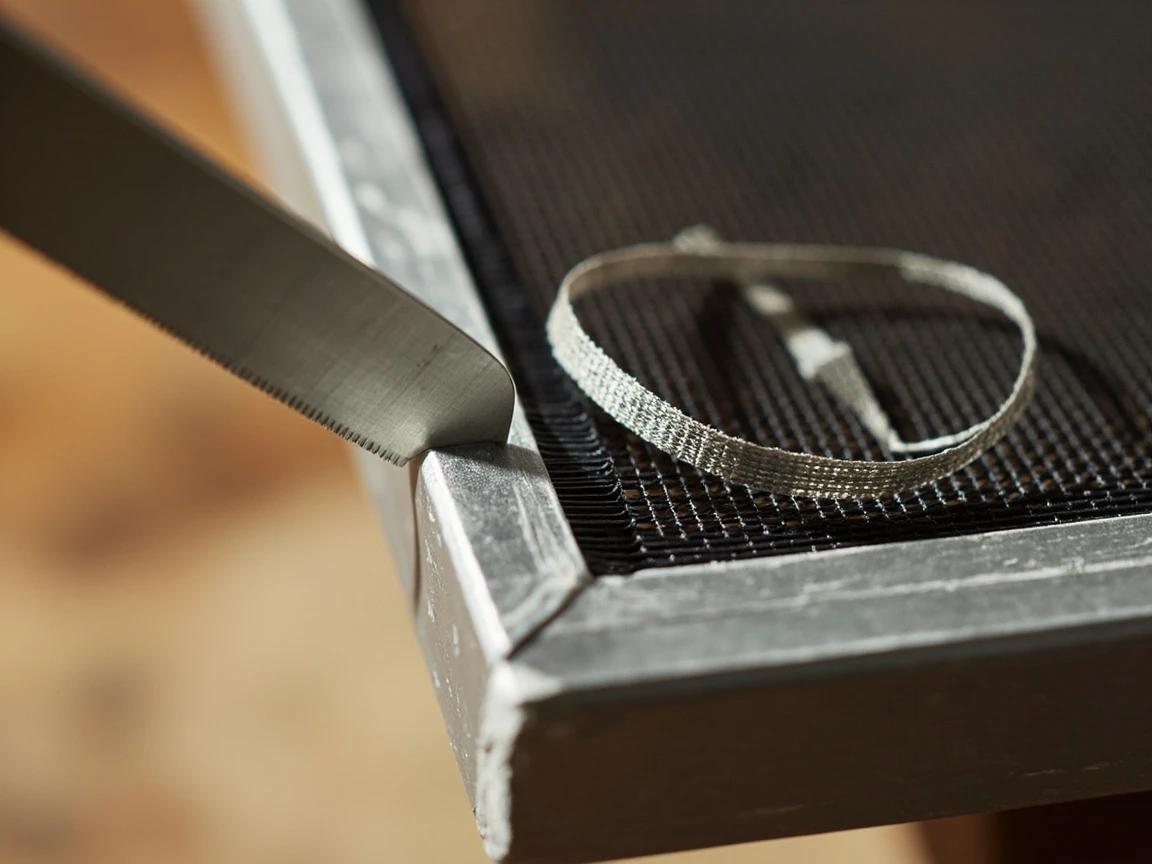
Reinstall the Screen and Tune the Fit
Snap or tilt the frame back into the window the same way it came out, pins and pull tabs facing the room. Check the perimeter from outside: bugs exploit any gap over about 1/8 inch, so if a corner sits proud, re-square the frame or replace a worn corner connector — they cost about a dollar and just slide into the rail ends. While the window's open anyway, it's a good moment to check the weatherstripping around the sash so the screen isn't the only thing in good shape come fall.
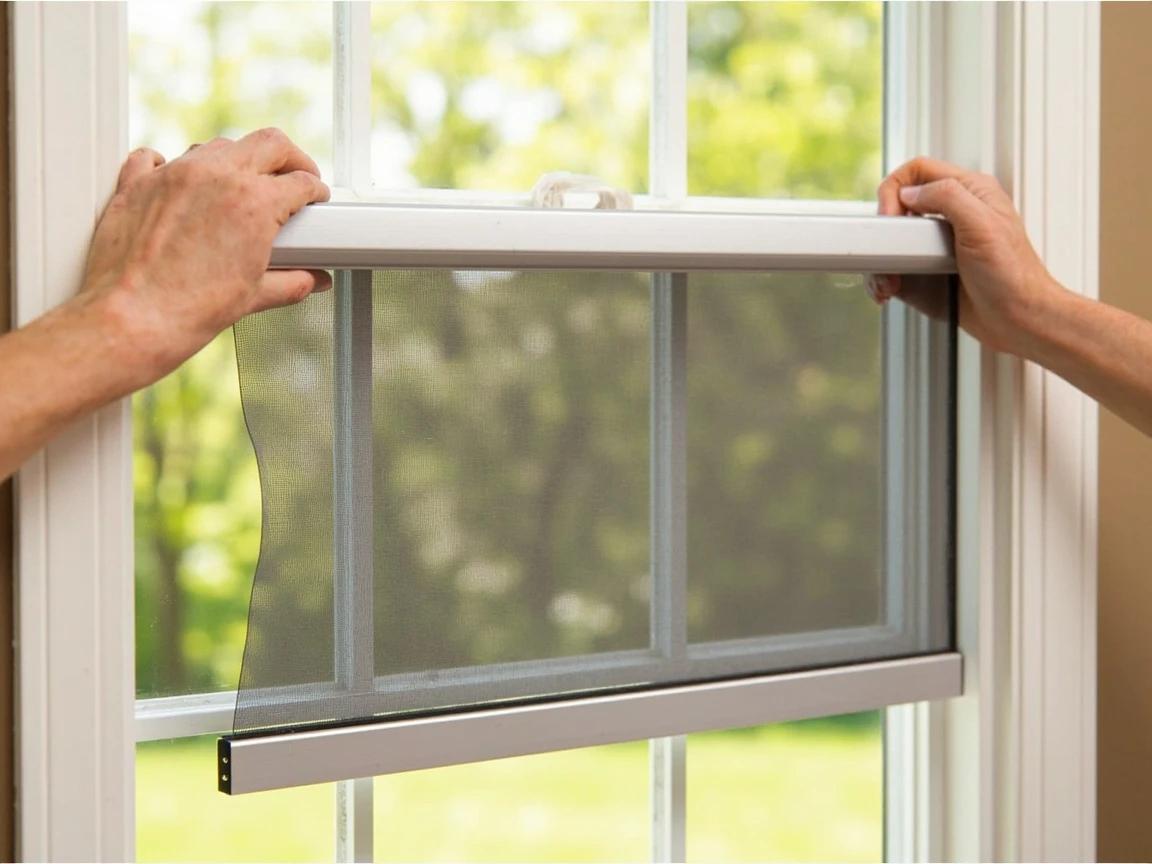
Rescreen in the morning shade if you can — mesh laid out in hot direct sun expands slightly and can end up loose once it cools in the evening.
Frequently Asked Questions
Should I patch a window screen or replace the mesh?
+
Use the quarter test: a clean hole smaller than a quarter takes a $3 adhesive patch that will last for years. Rescreen the whole frame when the mesh has multiple holes, a tear near the edge, sun-rotted fibers that crumble when you press them, or an all-over sag. And if the frame itself is bent or twisted, new mesh won't fix it — order a replacement frame or a frame kit, because rescreening can't correct geometry.
What size spline do I need for a window screen?
+
The two most common diameters are 0.140 and 0.160 inch, but grooves range from about 0.125 to 0.250. The foolproof method is to bring a short piece of the old spline to the hardware store and match it. One catch: if you're upgrading to a heavier fabric like pet screen or solar screen, drop the spline about one size (0.005 to 0.010 inch smaller), because the thicker fabric takes up groove space the spline used to fill.
Which is better for window screens, fiberglass or aluminum?
+
Fiberglass is the right default: it's cheaper, it forgives handling because it can't crease, and its vinyl coating shrugs off coastal air that corrodes metal. Aluminum is stronger against impacts and chewing insects, but one careless fold leaves a permanent crease, and it can oxidize. Households with dogs or cats scratching at screens should skip both and use vinyl-coated polyester pet screen — roughly seven times stronger than standard fiberglass.
How do you keep a window screen tight when replacing it?
+
Counterintuitively, by not pulling hard. Smooth the mesh flat with your palm, keep just light finger tension ahead of the roller, and let the spline do the tightening — pressing mesh down into the groove takes up slack automatically on each side. Pulling the mesh drum-tight is the classic mistake: on frames much longer than 3 feet it bows the rails inward, and the screen ends up both wavy and impossible to fit back in the window.
How much does it cost to replace a window screen?
+
Doing it yourself costs about $10 to $30 per window — a roll of fiberglass mesh runs $8 to $15 and covers several screens, spline is a few dollars, and the roller tool is a one-time $6 purchase. Hardware stores and screen shops charge roughly $15 to $50 per screen for the same rescreen. A completely new custom-built screen with frame typically runs $30 to $100 or more depending on size.
Sources & further reading
More Carpentry Guides
View all → Easy45 min
How to Install a Window AC Unit
A window air conditioner can cool a room for a fraction of the cost of central AC — units start at $150 and installation takes about 30 minutes with no special tools. But a poorly installed unit wastes energy, leaks water inside, or worse, falls out the window. This guide walks you through measuring your window, positioning and securing the unit, sealing gaps for maximum efficiency, and testing the drainage so you stay cool all summer without surprises.
 Easy45 min
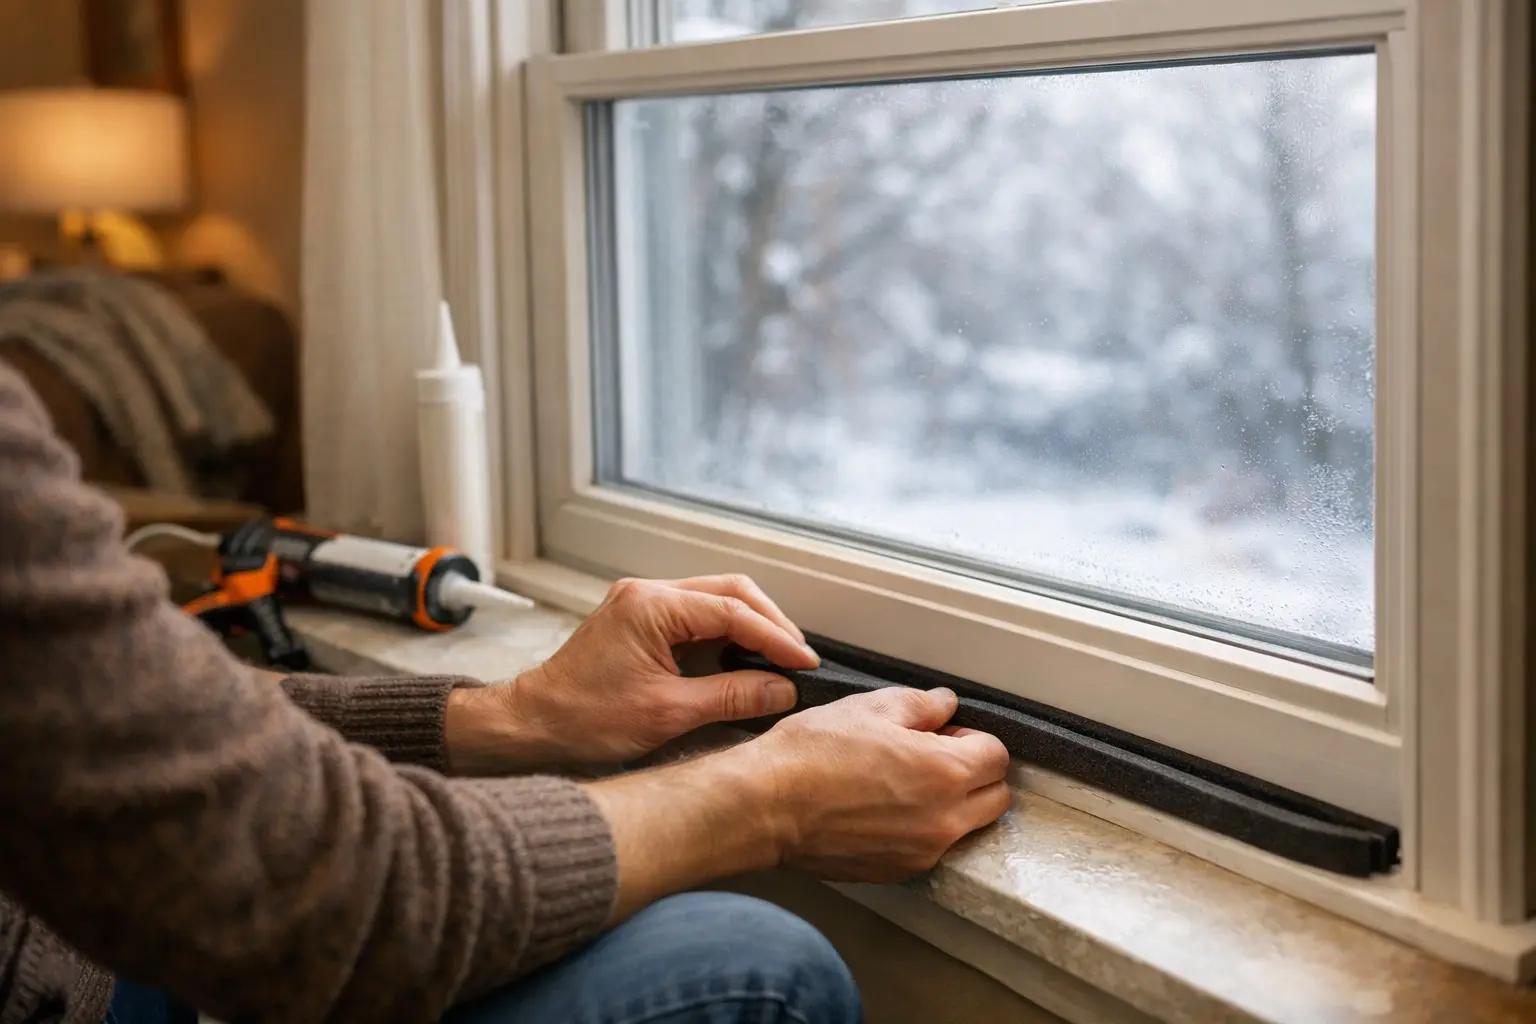
How to Seal Drafty Windows
Drafty windows can add 5-30% to your heating and cooling bills — the U.S. Department of Energy estimates that a comprehensive home weatherization project (which includes sealing windows, doors, and other air leaks) can save homeowners several hundred dollars per year on energy costs. Window sealing alone typically pays for itself within a few seasons through lower heating and cooling bills. The good news is that most drafts are fixed with $10-30 in weatherstripping and caulk, not expensive replacement windows. This guide walks you through finding the leaks, choosing the right sealant for each gap, and applying it for a tight, long-lasting seal.
 Medium45 min
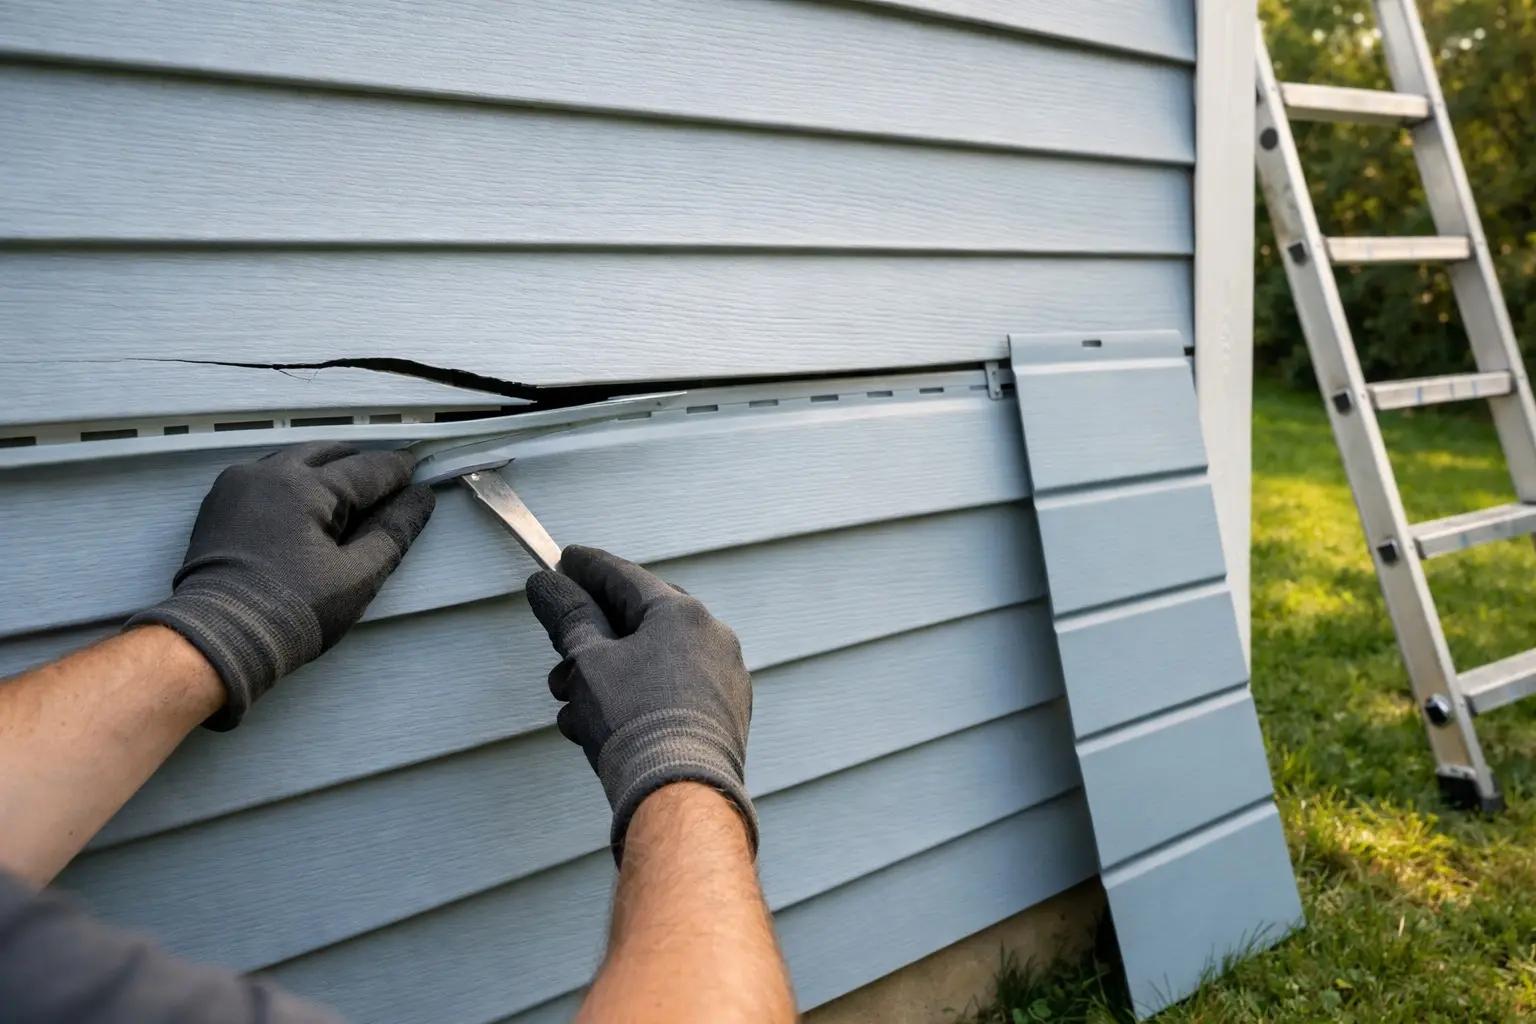
How to Repair Vinyl Siding
Cracked, holed, or loose vinyl siding panels let moisture behind the wall sheathing where it causes mold, rot, and insect damage — problems that cost thousands to fix if ignored. Replacing a single damaged panel is a straightforward 45-minute job once you own a $5 zip tool, and patching small holes takes even less time. This guide covers both patch repairs for holes under an inch and full panel replacement, so you can match the fix to the damage.
You Might Also Like
 Easy30 min
How to Replace an Electrical Outlet
A worn-out or discolored electrical outlet is one of the simplest electrical repairs you can tackle yourself — swapping one takes about 15-30 minutes and costs under $5 in parts versus $75-150 for an electrician visit. This guide walks you through safely replacing a standard duplex receptacle, including how to handle the wiring correctly and avoid the most common DIY mistakes.
 Medium30 min
How to Troubleshoot a Microwave That Won't Heat
A microwave that runs — light on, turntable spinning, timer counting down — but leaves food stone cold is one of the most common appliance failures, and about half the time the cause is something you can fix in five minutes for free. This guide walks the diagnosis from the easy stuff (demo mode, power level, a tripped GFCI, a dirty door latch) to reading the failure signature that tells you the high-voltage circuit is gone, then helps you make the repair-or-replace call with real numbers.
 Medium45 min
How to Install a Ceiling Fan
Replacing a light fixture with a ceiling fan improves air circulation in summer and can reduce heating costs in winter by circulating warm ceiling air downward. Most installs take 45-60 minutes.