How to Install a Window AC Unit

A window air conditioner can cool a room for a fraction of the cost of central AC — units start at $150 and installation takes about 30 minutes with no special tools. But a poorly installed unit wastes energy, leaks water inside, or worse, falls out the window. This guide walks you through measuring your window, positioning and securing the unit, sealing gaps for maximum efficiency, and testing the drainage so you stay cool all summer without surprises.
What You'll Need
🛠 Tools
📦 Materials
Safety First
- •Window AC units weigh 40-80 lbs — always have a helper when lifting the unit into the window to prevent drops and back injuries.
- •Plug the unit directly into a grounded wall outlet — never use an extension cord, which can overheat and cause a fire.
- •Verify the electrical circuit can handle the unit's amperage (typically 5-15 amps on a 115V circuit) before plugging in. Check the unit's label and your breaker panel.
Step-by-Step Instructions
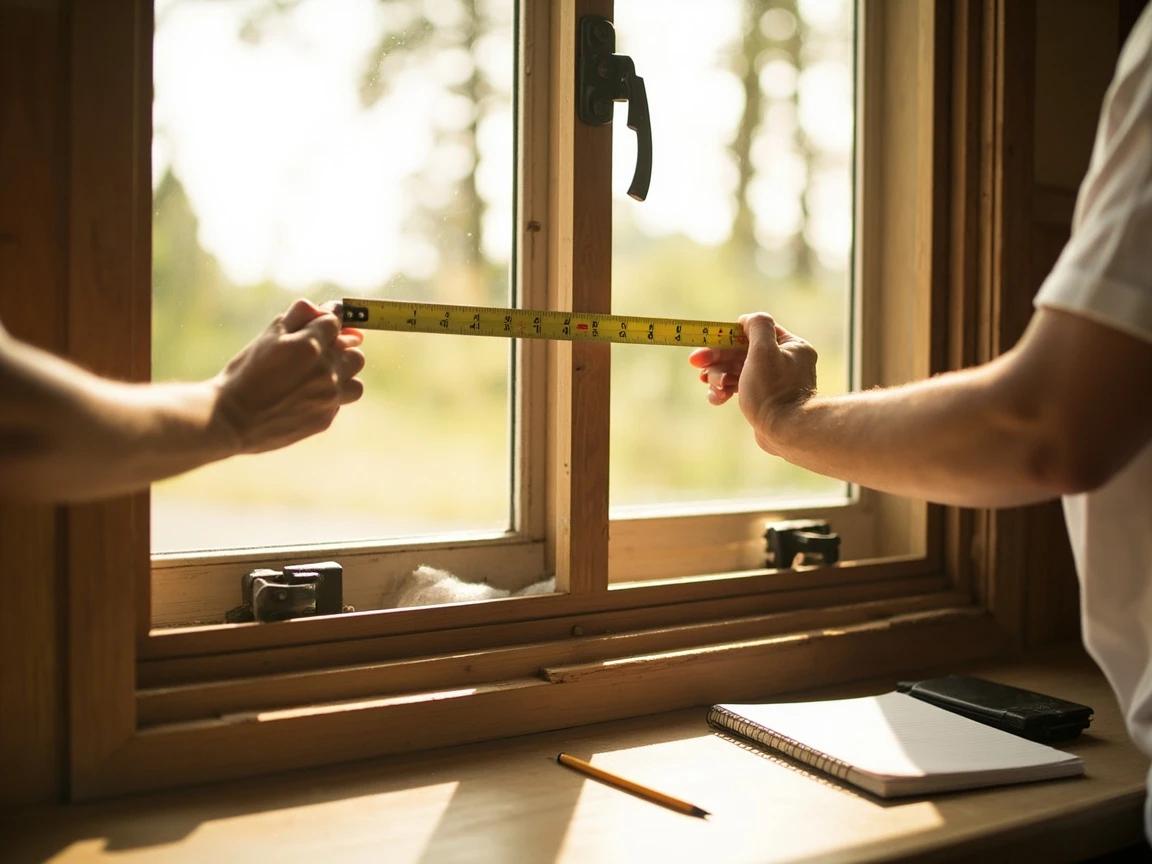
Measure Your Window and Choose the Right Unit
Open the window fully and measure the inside width of the opening from jamb to jamb, then measure the vertical height of the opening. Compare these measurements to the AC unit's dimensions on the box — the unit must fit within the window width, and the accordion side panels must be able to span any remaining gap. For room sizing, calculate your room's square footage (length x width) and multiply by 20 BTU — a 150 sq ft bedroom needs roughly 3,000 BTU, a 250 sq ft bedroom needs about 5,000 BTU, and a 350 sq ft living room needs 8,000-10,000 BTU. Oversized units cool too fast without dehumidifying, leaving the room clammy.
Choose a window that's shaded for most of the day and close to a grounded outlet — direct afternoon sun on the unit forces the compressor to work harder and raises your electric bill.
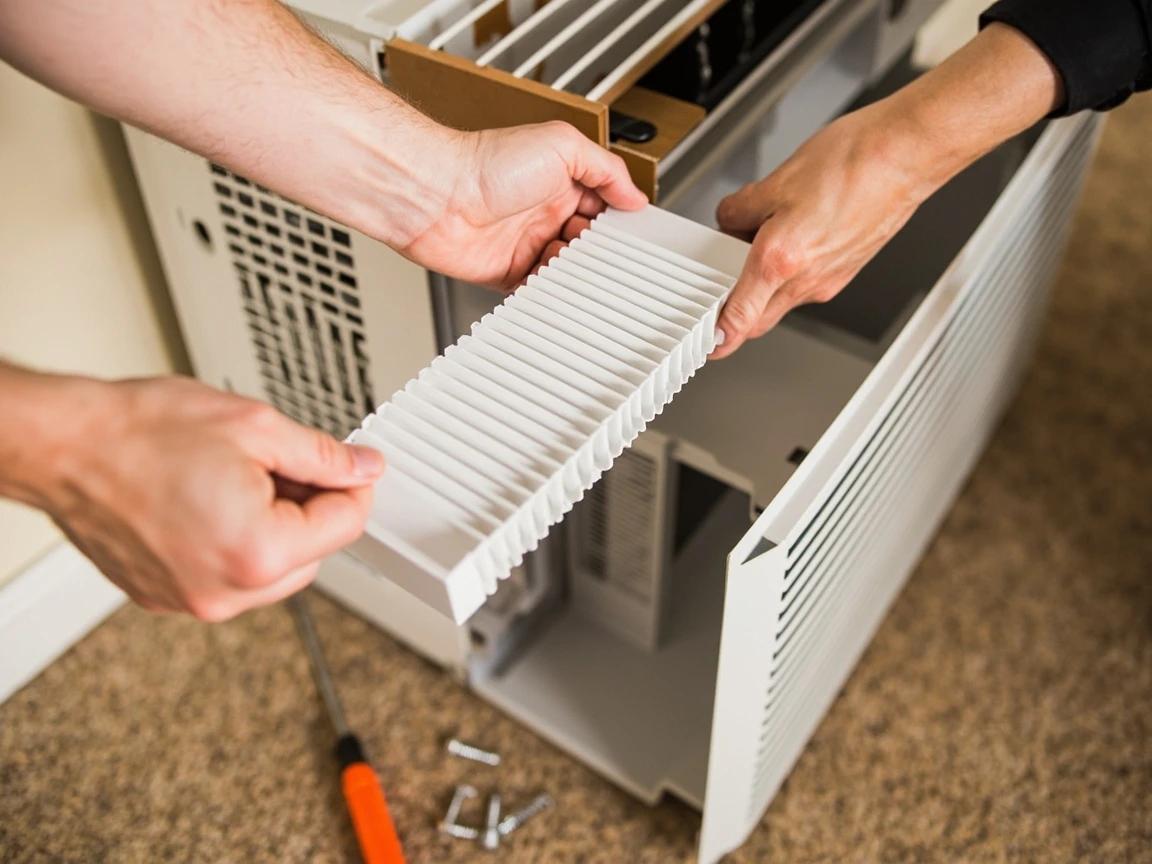
Prepare the Window Opening
Remove the window screen by pressing the tabs and sliding it out of the track — set it aside somewhere safe so it doesn't get damaged. Inspect the window frame, sill, and sash for any rot, cracks, or warping — the frame must be structurally sound to support 40-80 lbs of AC unit. Clean the windowsill of dirt and debris so the unit sits flat. If your window has a storm window, remove or raise that as well.
If the windowsill or frame is soft, cracked, or rotted, do not install the AC — the frame could fail under the weight. Repair the frame first or choose a different window.
Attach the Side Panels to the Unit
Before lifting the unit into the window, attach the accordion-style side panels (also called curtain panels) to the left and right sides of the AC housing. Slide each panel into its channel and secure it with the provided screws — most units have two screws per side. The panels will extend later to fill the gap between the unit and the window frame. If your unit came with foam strips for the top of the side panels, attach those now too.
Install a Support Bracket (If Needed)
For units over 50 lbs, second-floor or higher windows, or older window frames, install an exterior support bracket before placing the AC. Most brackets mount to the exterior wall below the window using lag screws driven into the wall studs or masonry anchors. Position the bracket so its top edge is level with or just below the windowsill, then level it with a torpedo level and tighten the fasteners. The bracket takes the unit's weight off the window sash and prevents the worst-case scenario — the unit falling out.
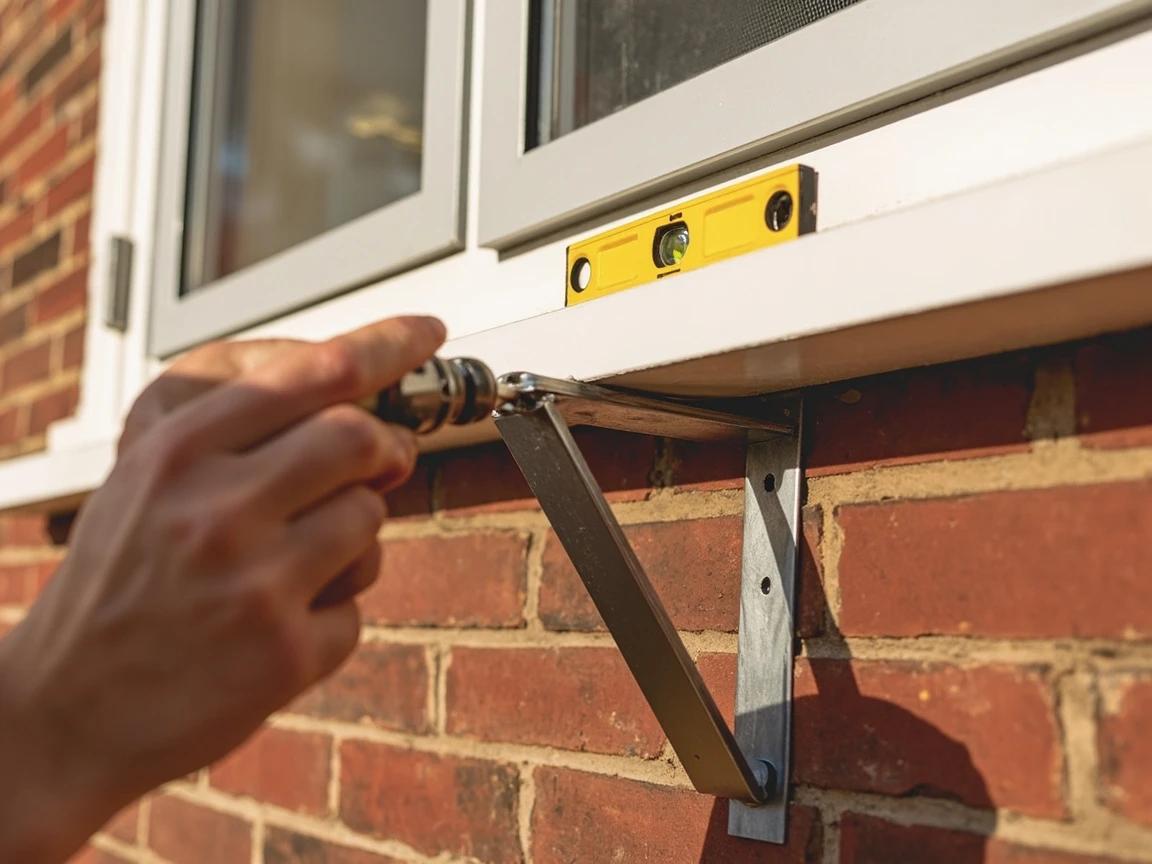
Support brackets cost $20-30 and take 10 minutes to install — cheap insurance against a unit that could fall and injure someone or damage property below.
Lift and Position the AC in the Window
With a helper, carefully lift the AC unit and set it on the windowsill, centering it in the opening. The back of the unit (the side with the condenser coils and fins) should extend outside, and the front (with the controls and vents) faces into the room. Most units are designed so that roughly one-third of the body sits inside and two-thirds hangs outside. Slowly lower the window sash down onto the top of the AC unit — there should be a flange or lip on the unit where the sash rests securely.

Never let go of the unit until the window sash is lowered and resting on it. An unsecured unit can tilt outward and fall — hold it firmly until it's locked in place.
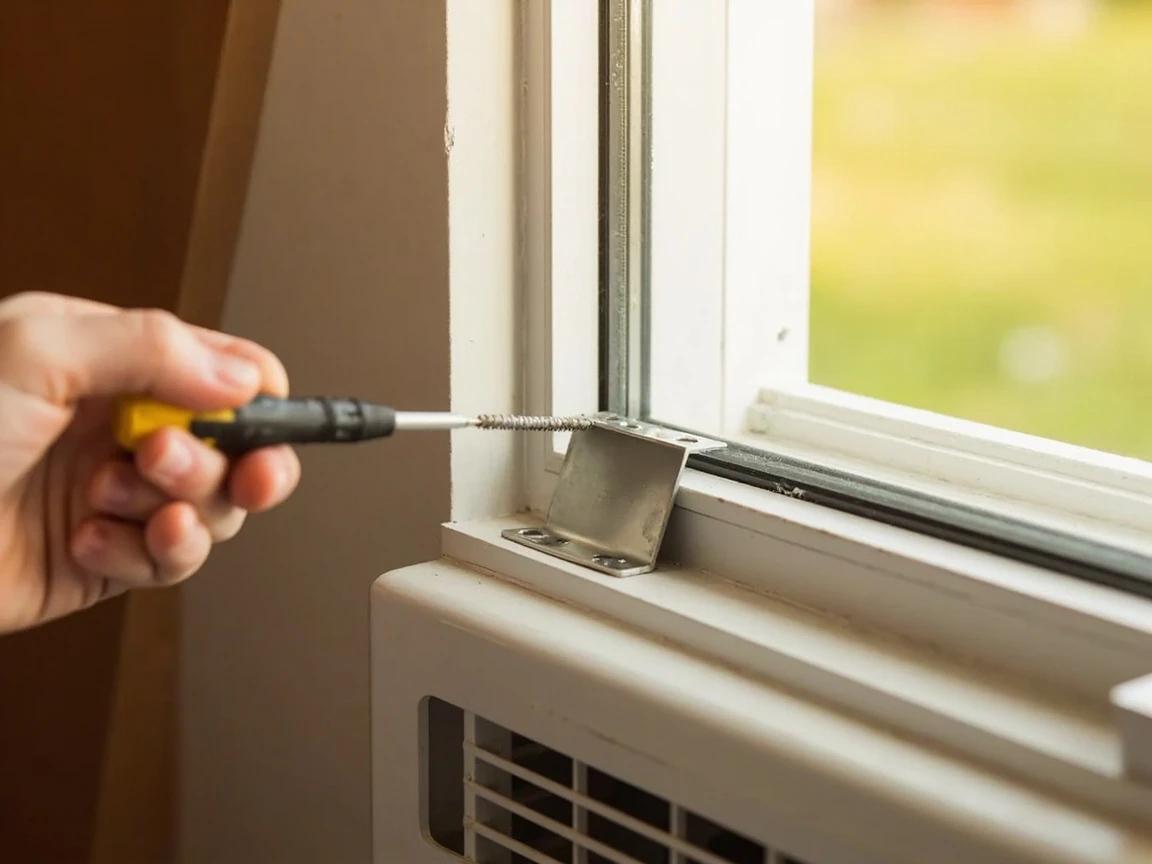
Secure the Window Sash with L-Brackets
Your AC unit likely came with one or two small metal L-brackets and screws. These brackets lock the upper and lower window sashes together so the window can't be accidentally opened from outside (a security concern) and can't slide up off the unit. Position one bracket so it bridges the gap where the two sashes meet, drill a pilot hole through the bracket into the upper sash, and drive the provided screw. Do the same on the other side if two brackets are included. The sashes should now be firmly locked together.
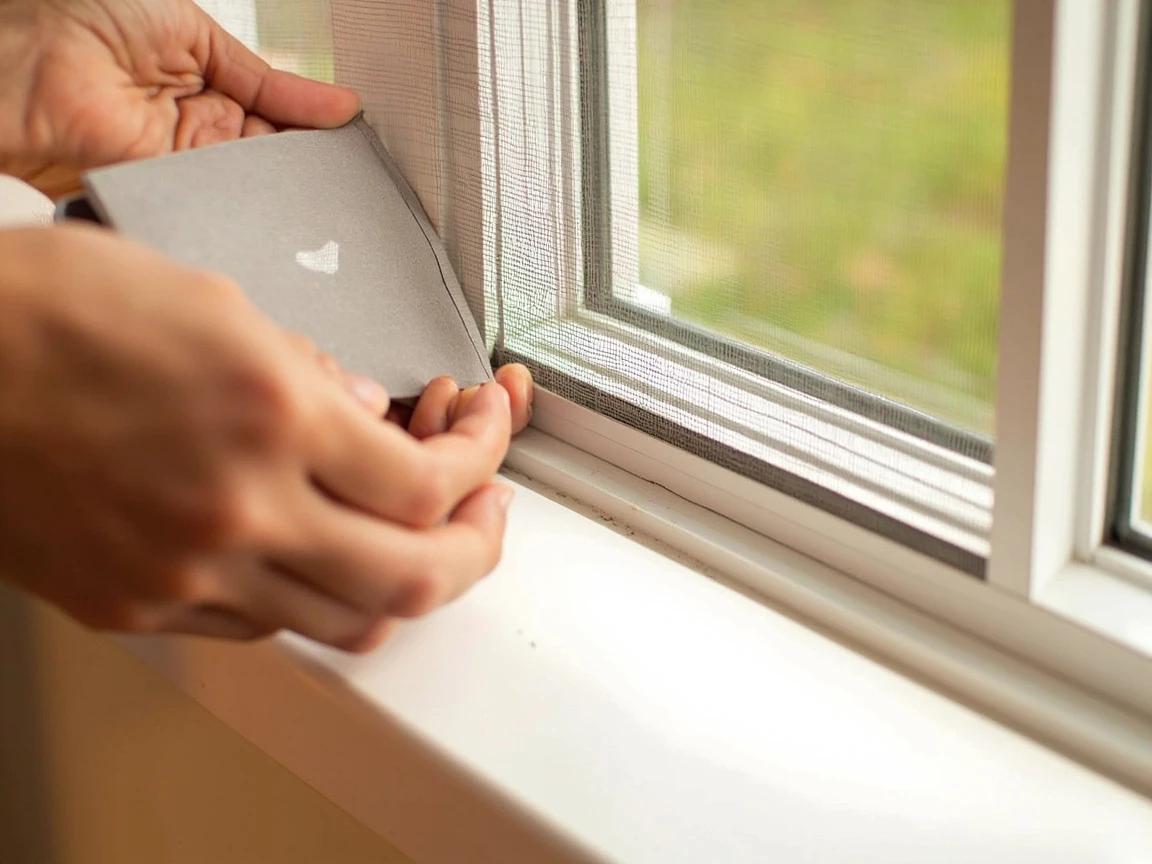
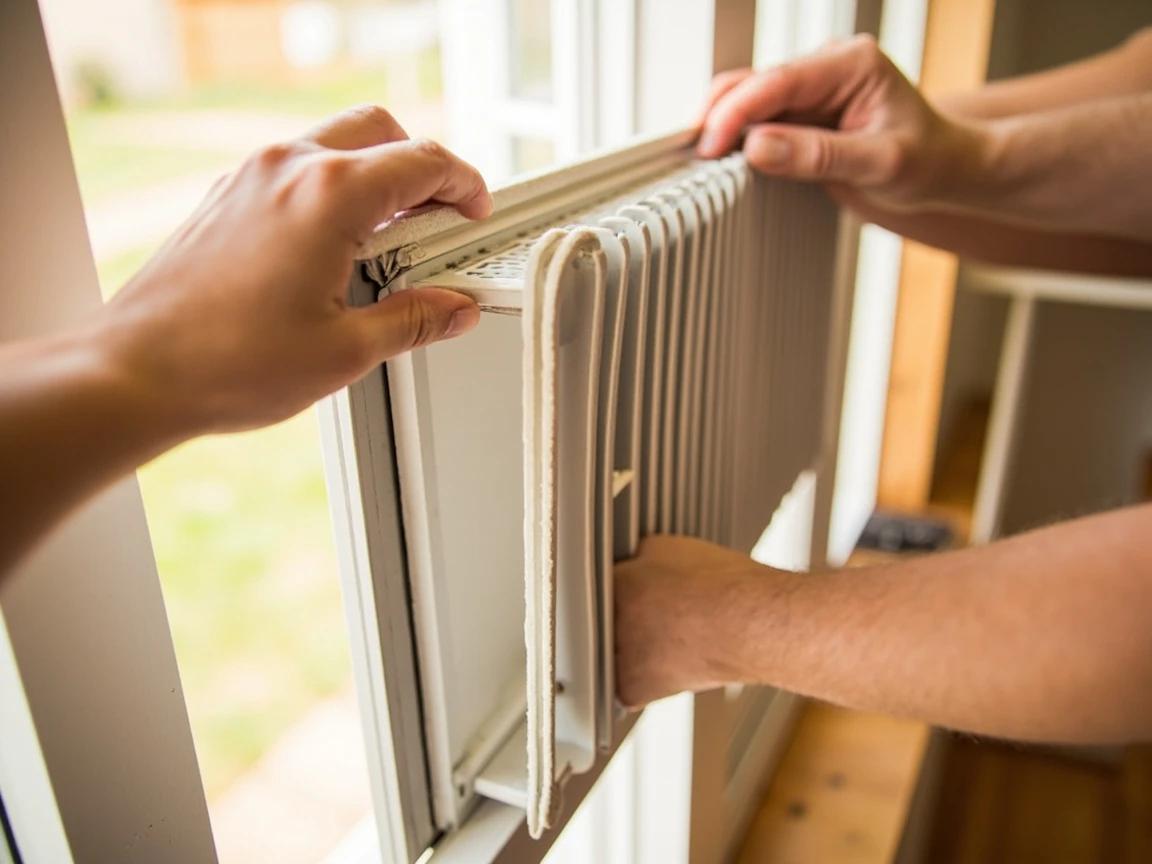
Extend and Seal the Side Panels
Pull the accordion side panels outward until they meet the window frame on each side, closing the gap completely. Secure each panel to the window frame with the provided screws — most panels have pre-drilled holes at the end. Then apply the foam weatherstrip along the top edge where the lower sash meets the upper sash's glass — cut it to length with scissors and press it firmly into the gap. This foam strip prevents warm outside air from leaking in around the top of the unit, which would make the AC work harder and waste energy.
For better insulation than the thin accordion panels, cut rigid foam board (available at any hardware store for $5-10) to fit the side gaps and tape it in place behind the panels — this can noticeably reduce your cooling costs.
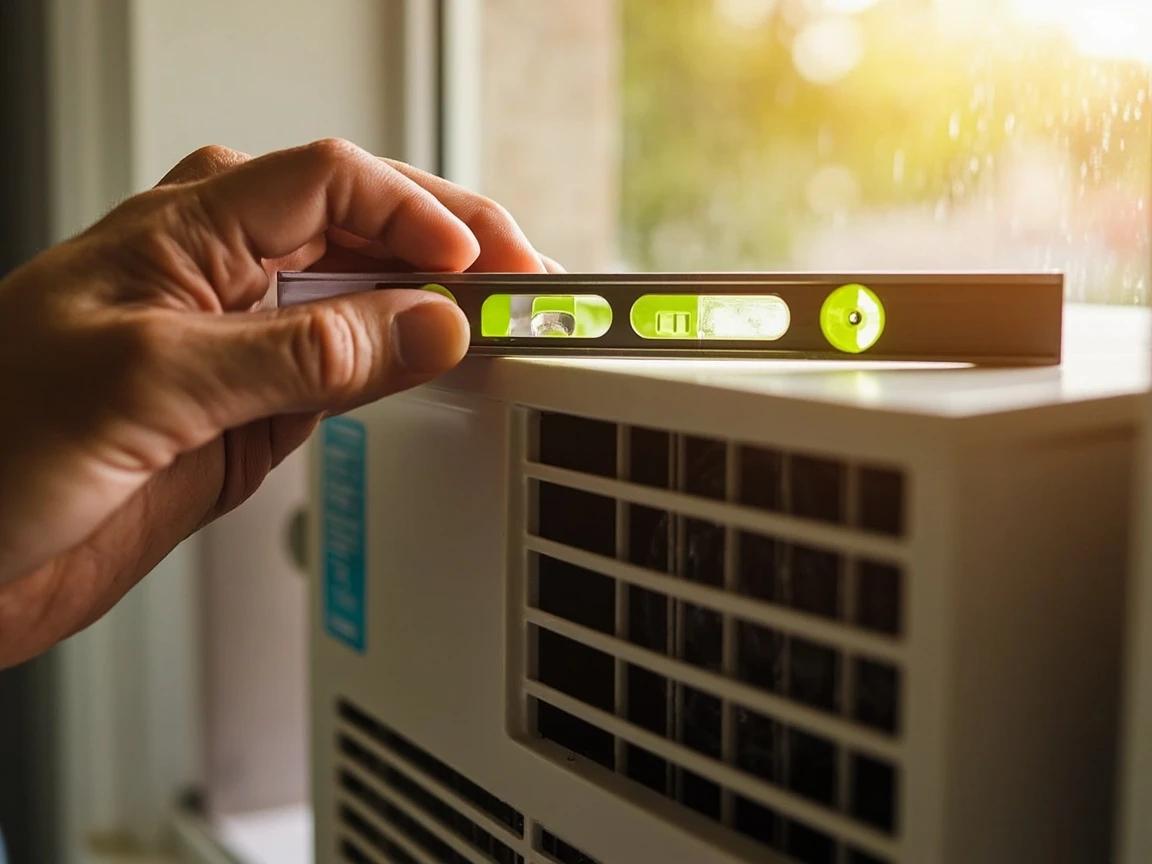
Check the Tilt and Drainage
Place a torpedo level on the top of the AC unit from front to back. The unit should tilt very slightly toward the outside — about 1/4 inch lower in the back than the front. This slight slope ensures that condensation drains out the back of the unit instead of pooling inside or dripping into your room. If the unit is perfectly level or tilts inward, shim the front edge with thin wood shims between the unit and the windowsill until you achieve the correct slope. Check the drain hole or channel on the back of the unit to confirm it's not blocked.
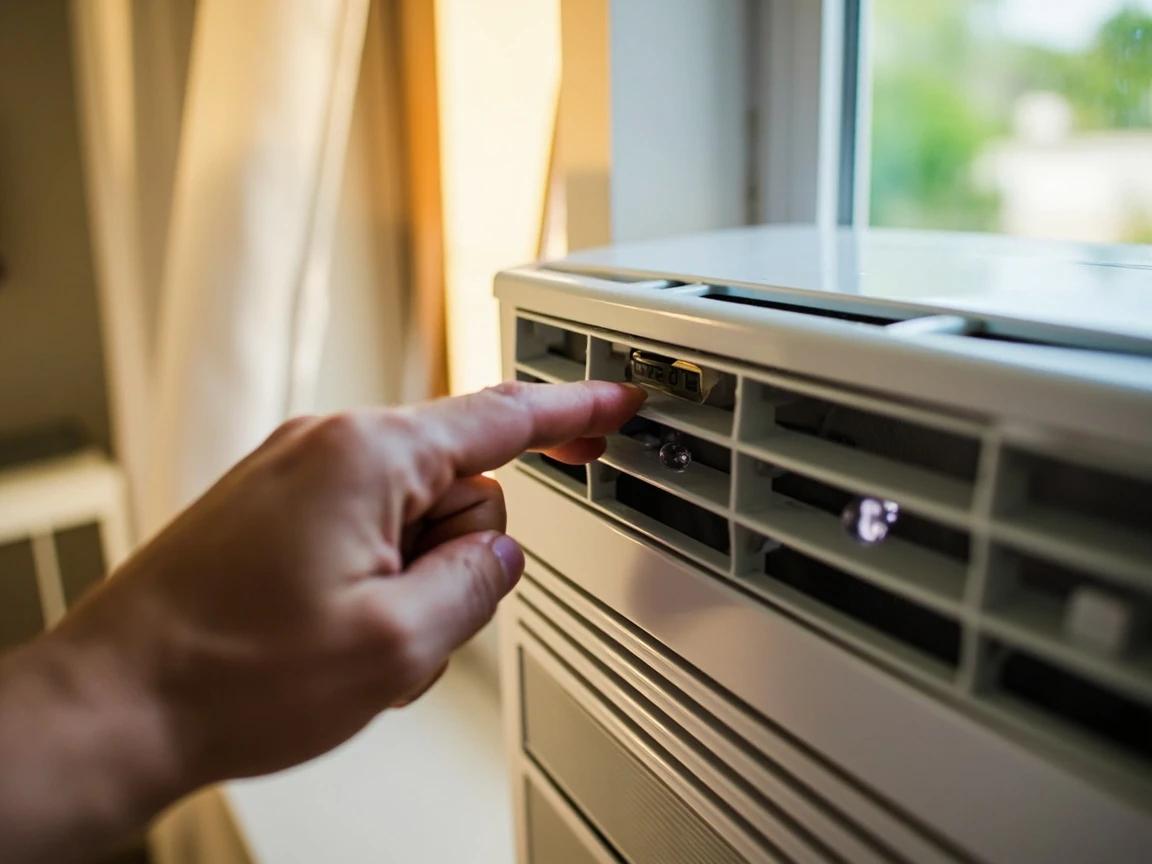
Plug In, Power On, and Test
Plug the AC unit directly into a grounded wall outlet — never an extension cord or power strip. Turn the unit on, set it to its coldest setting, and let it run for 5-10 minutes. Hold your hand in front of the vents to confirm cold air is flowing strongly. Walk outside and check the back of the unit — you should see or hear condensation dripping from the drain, confirming the tilt is correct. Check around all four edges of the installation from inside for any air leaks by holding a tissue near the seams — if it flutters, add more weatherstrip or foam to seal the gap. Set your preferred temperature and enjoy.
Close the door to the room you're cooling for the first 20 minutes — the AC will reach the target temperature much faster cooling a sealed space, then you can open the door to let cool air spread to adjacent rooms.
Frequently Asked Questions
How long does it take to install a window ac unit?
+
This project typically takes about 45 min. The guide includes 9 steps with detailed instructions for each.
What tools do I need?
+
You will need: Phillips-head screwdriver, Cordless drill/driver (optional, speeds up bracket screws), Tape measure, Torpedo level, Pencil, Scissors (for cutting foam weatherstrip to length). Materials include: Window air conditioner unit (sized for your room — 20 BTU per square foot as a baseline), Foam weatherstrip insulation (usually included with the unit), L-bracket sash locks (usually included — secures window sash to prevent opening), Support bracket (recommended for units over 50 lbs or second-floor windows), Foam side panel insulation or rigid foam board (for better insulation than accordion panels alone).
Is this a good project for beginners?
+
Yes! This is rated as an easy project that most homeowners can complete with basic tools and no prior experience.
Community Tips
💬 Sign in to share tips with the community
Sources & further reading
- Room Air Conditioners — U.S. Department of Energy
- Air Conditioner Maintenance — U.S. Department of Energy
More HVAC Guides
View all → Medium45 min
How to Troubleshoot a Furnace That Won't Start
When a gas furnace won't fire, the cause is usually something simple and free to fix — a thermostat set wrong, a flipped power switch, a filter clogged solid, or a sooted flame sensor — not a dead furnace. This guide walks the checks in order of likelihood, starting with gas safety, so you can get the heat back in about 45 minutes without a $150 service call. It also draws a clear line at the repairs that are genuinely a pro's job.
 Easy45 min
How to Install a Smart Thermostat
A smart thermostat is one of the highest-ROI upgrades you can make to your home — it learns your schedule, adjusts automatically when you're away, and typically saves about 8% on heating and cooling bills — the figure ENERGY STAR verifies from real-home data, roughly $50 a year — so the $120-250 device usually pays for itself within a few years. If your old thermostat has labeled wires behind it, the swap takes about 30-45 minutes with nothing more than a screwdriver and your phone. This guide covers checking compatibility, labeling wires, mounting the new base, connecting everything, and walking through the app setup so your system is running smart the same day.
 Easy45 min
How to Replace a Thermostat (Non-Smart)
A faulty or outdated thermostat can cause uneven temperatures and inflate your energy bill by 10-20%. Swapping it for a new programmable or basic digital thermostat is a 30-minute job that requires only a screwdriver and costs $20-50 for the part. This guide walks you through safely disconnecting the old unit, labeling wires, mounting the new thermostat, and verifying your HVAC system responds correctly.
You Might Also Like
 Medium2 hrs
How to Prune Fruit Trees
Regular pruning is the most important annual task for fruit tree health and productivity. Properly pruned trees produce larger, higher-quality fruit, resist disease better, and live significantly longer than unpruned trees.
 Medium30 min
How to Troubleshoot a Microwave That Won't Heat
A microwave that runs — light on, turntable spinning, timer counting down — but leaves food stone cold is one of the most common appliance failures, and about half the time the cause is something you can fix in five minutes for free. This guide walks the diagnosis from the easy stuff (demo mode, power level, a tripped GFCI, a dirty door latch) to reading the failure signature that tells you the high-voltage circuit is gone, then helps you make the repair-or-replace call with real numbers.
 Easy45 min
How to Repair a Shower Diverter Valve
When you pull the diverter knob and water still pours from the tub spout instead of the showerhead, the fix is usually a worn washer or mineral buildup — not a $200 plumber visit. This guide covers the three most common diverter types (tub spout, three-valve, and two-valve) and walks you through cleaning, replacing washers, and swapping the diverter if needed, all in under an hour with basic tools.