How to Replace a Cracked Floor or Wall Tile
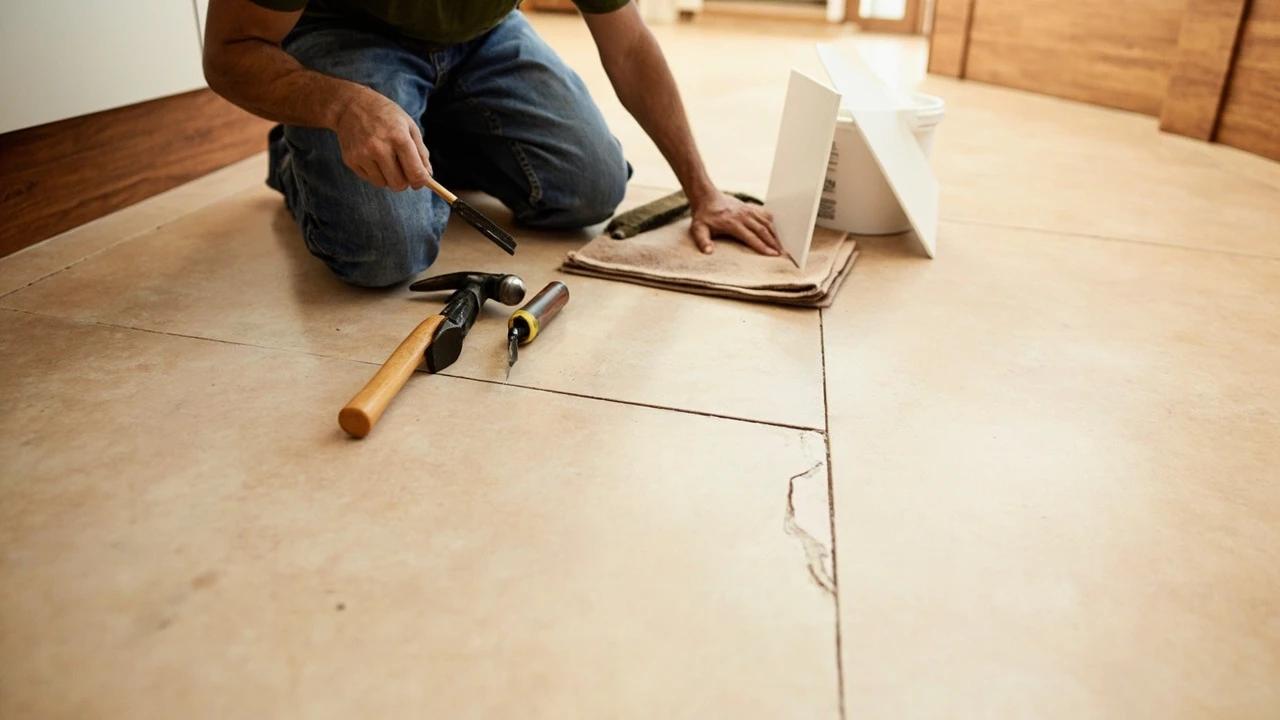

One cracked tile can nag at you for years because the fix looks riskier than the flaw — one bad pry and you've turned a single replacement into five. The real method protects the neighbors from the start: free the grout, break the damaged tile from its center, and never lever against the tiles you're keeping. About 90 minutes of work, $20 to $60 in materials, and the crack is gone without a trace.
What You'll Need
🛠 Tools
📦 Materials
Safety First
- •Breaking tile throws glass-sharp shards — wear safety glasses every second the hammer or chisel is out, and gloves whenever you handle broken pieces.
- •Floor tile or its adhesive installed before 1981 must be presumed to contain asbestos unless tested — do not dry-break, grind, or chisel it. Get a test kit or a licensed abatement quote first.
Step-by-Step Instructions
Diagnose the Crack Before You Fix It
Study the crack and tap the surrounding tiles with a knuckle. An impact chip or a crack spreading from one point is cosmetic — carry on with this guide. A clean line crossing multiple tiles, or a floor where several tiles ring hollow, points to movement or voids underneath, and a replacement tile will crack the same way until the cause is fixed. Replacing one tile is also your one free look under the floor, so treat the opening as an inspection opportunity.
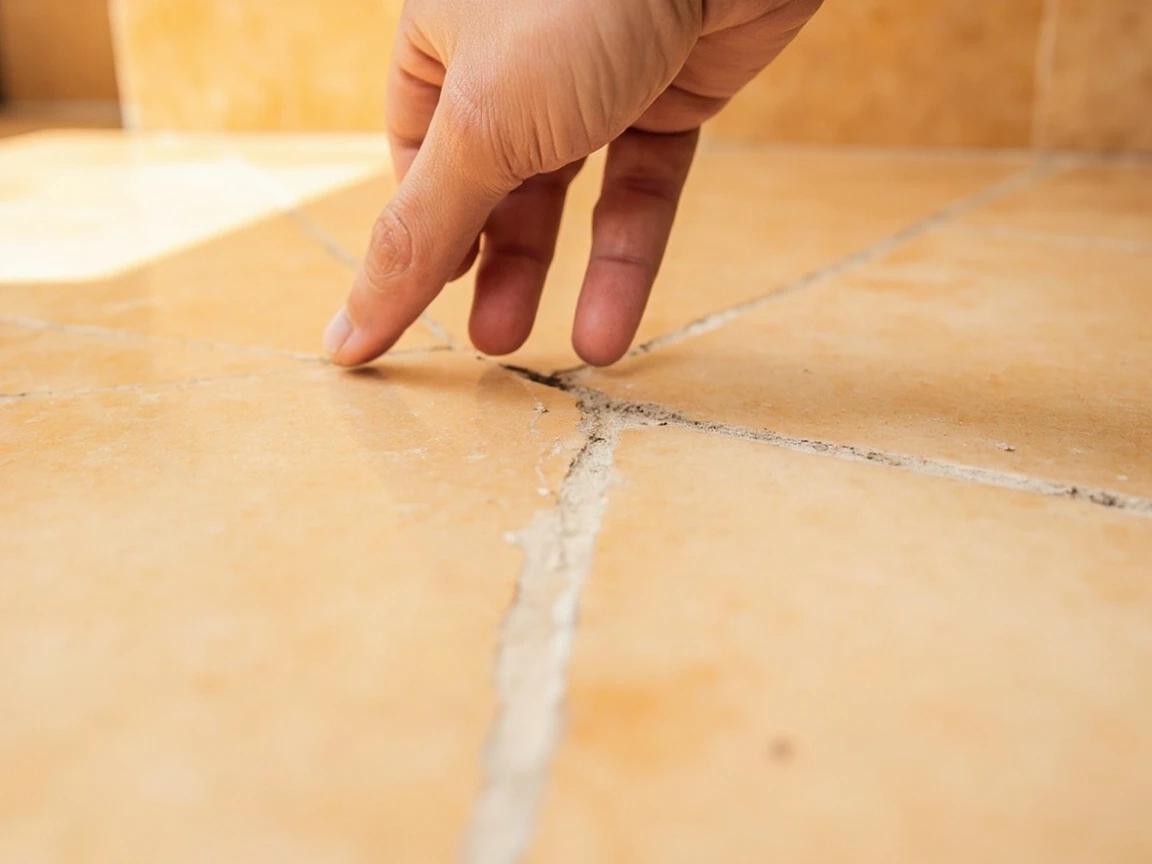
Slide a straightedge across the cracked tile and its neighbors — if the cracked one sits low or rocks, note it; you'll want extra thinset under the replacement to bring it flush.
Line Up the Replacement Tile
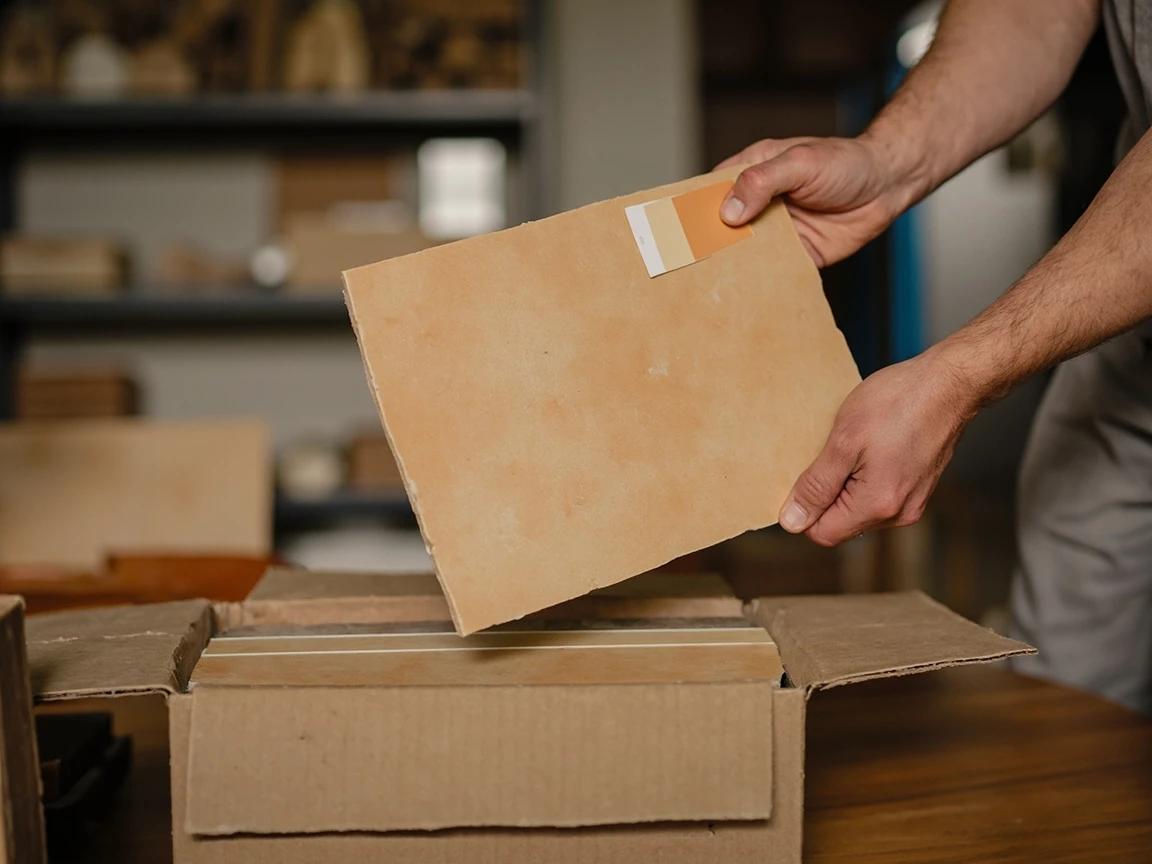
Hunt for leftovers first — installers almost always stash a partial box in the garage, basement, or attic. No spares? Harvest a donor tile from a hidden spot like a closet floor or behind the fridge and hide your near-match there instead, or try a tile-matching service for discontinued lines. If the replacement needs trimming to fit a cut position along a wall, our tile-cutting guide covers scoring and nippers — no wet saw required for a single tile.
Tape Off the Neighbors and Gear Up
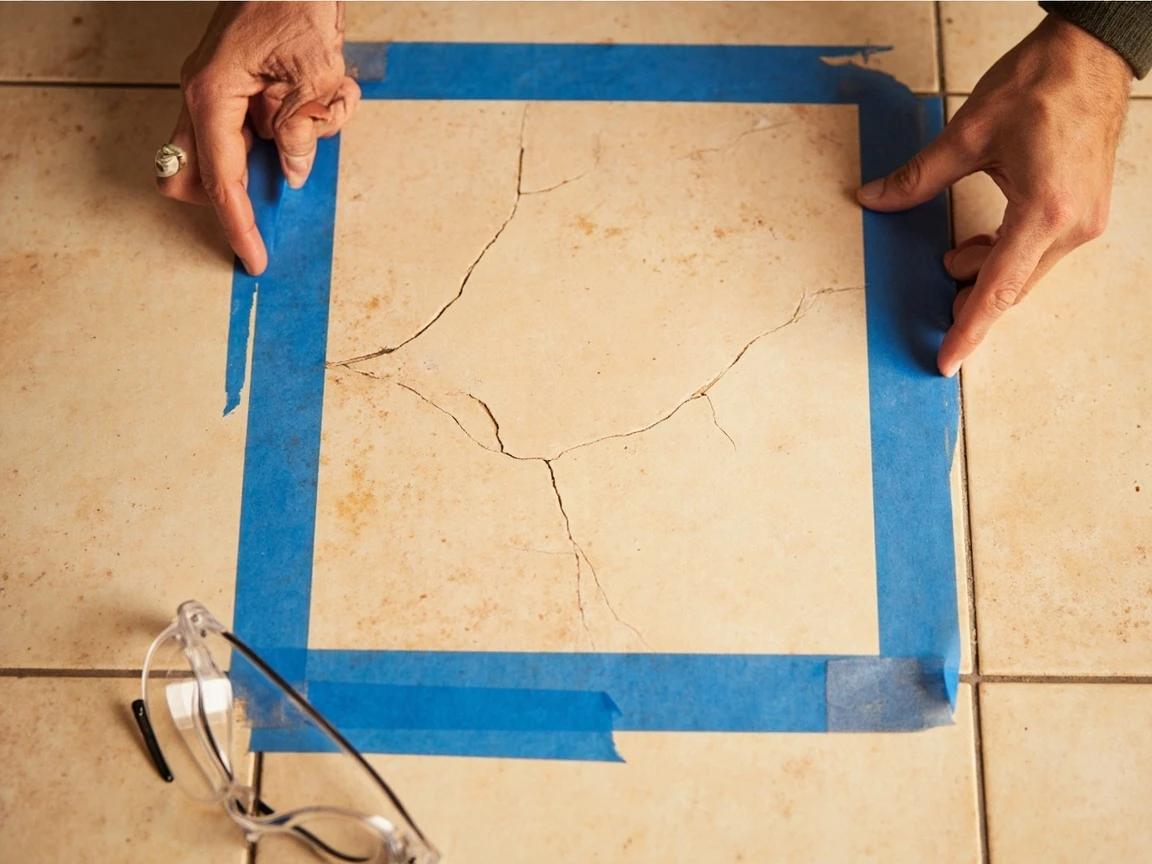
Run painter's tape around the perimeter of the damaged tile, overlapping onto each neighboring tile — it shields their glazed edges from a skipping chisel and gives your eye a bright boundary while you work. Put on safety glasses now, not when the hammer comes out, and clear the room of bare feet, kids, and pets. If you're working in a tub or shower surround, drape the drain and basin with a drop cloth so shards and grout crumbs don't go down the plumbing.
Cut Out the Grout on All Four Sides
This is the step that saves the neighbors, so be thorough: work a carbide grout saw or an oscillating multi-tool with a grout blade along every joint around the damaged tile until you can see the tile's bare edges top to bottom. Grout locks adjacent tiles together — any bridge of grout left behind transmits your hammer blows straight into the tile next door. Vacuum the joints as you go so you can see your progress.
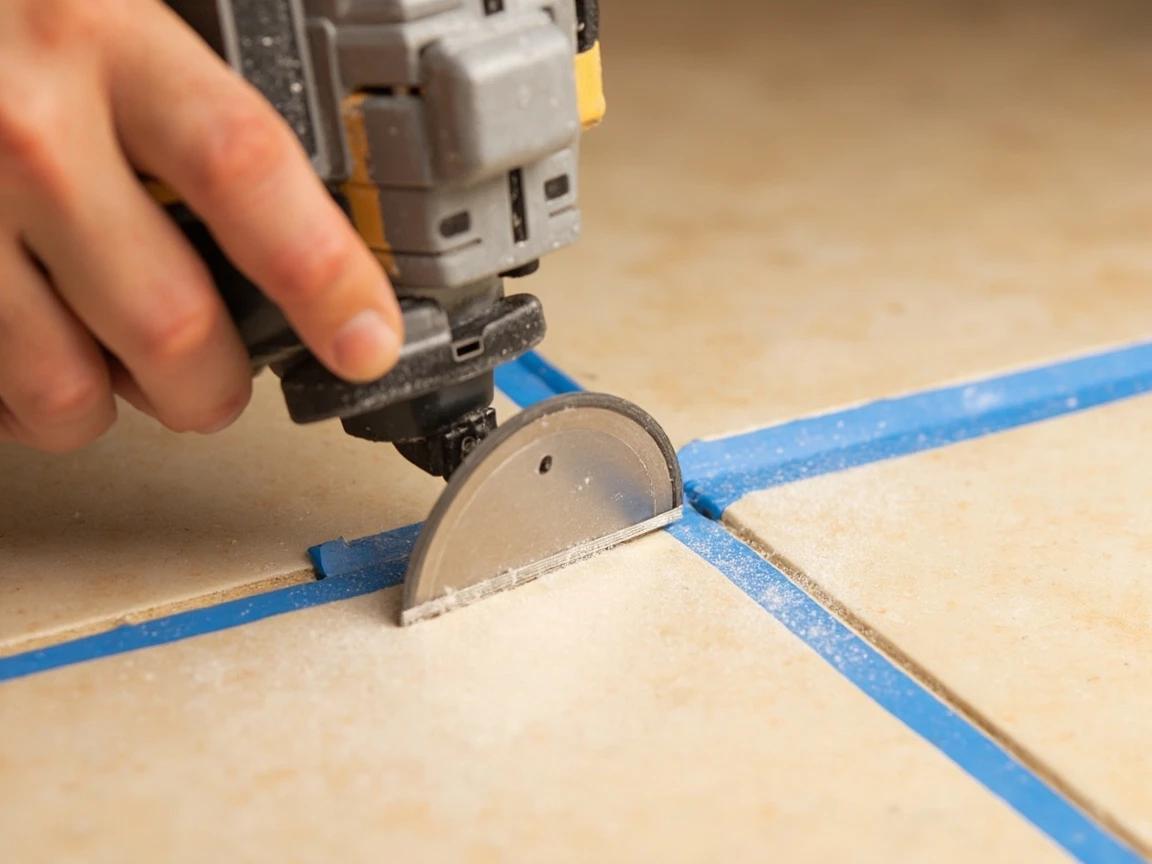
An oscillating tool does in five minutes what a hand grout saw does in twenty-five, and the blade costs about ten dollars — worth it even for one tile if you own the tool.
Break Out the Tile From the Center
Drill a line of 1/4-inch holes with a masonry bit across the middle of the tile — through the crack if it's central — to weaken it. Then set a cold chisel in the drilled zone and tap with moderate hammer strikes, popping out pieces from the center and working outward toward the edges. Keep every pry and lever motion pointed at the substrate in the middle of the opening; the moment you lever off a neighboring tile's edge, you're shopping for two replacements.
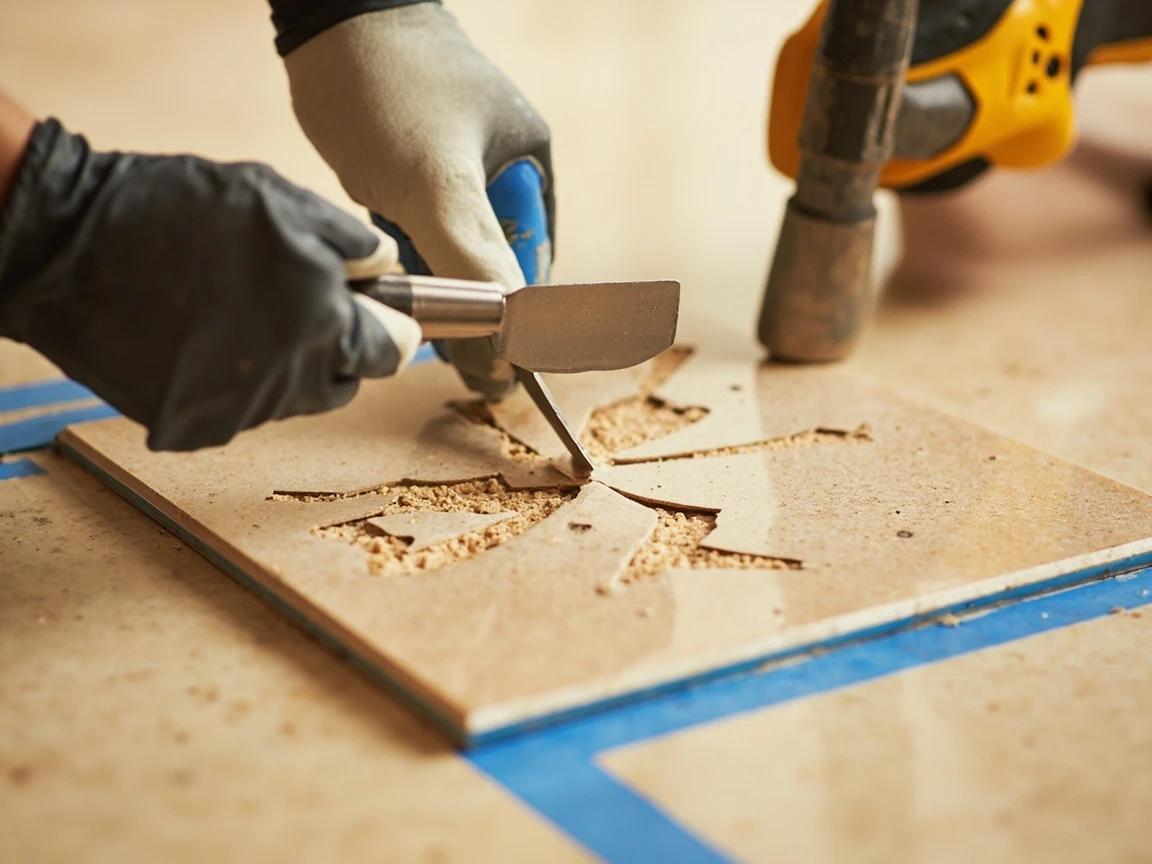
Moderate taps, not full swings — heavy blows send shock through the substrate and can crack the very tiles you're protecting, even with the grout removed.
Scrape the Bed Flat and Vacuum It Clean
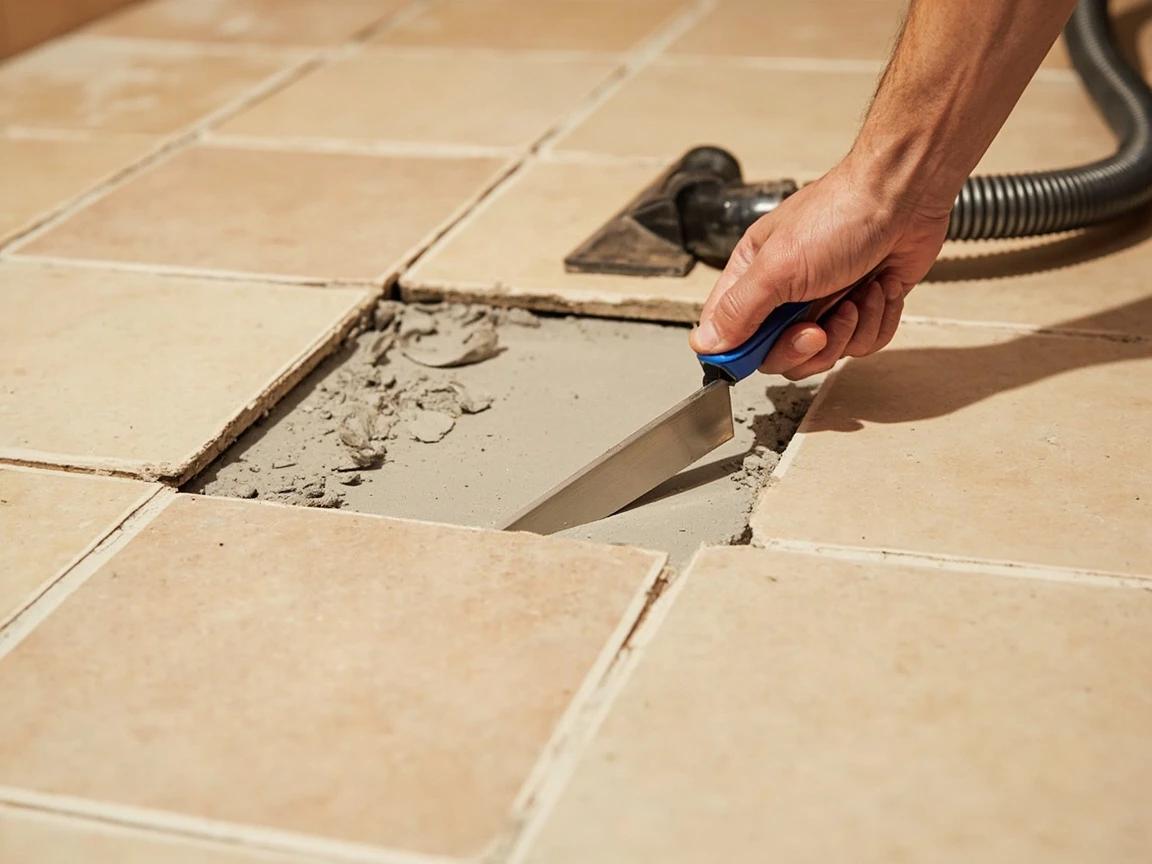
Chisel and scrape the old thinset off the substrate until the opening is flat — hold the chisel nearly parallel to the floor and shave it down in passes rather than digging in. It doesn't need to be surgically bare, but ridges must go: the new tile needs the same assembly height as its neighbors. Vacuum thoroughly, then check the exposed substrate for cracks, dampness, or crumbling backer board, and dry-fit the new tile to confirm it sits flush with the surrounding surface.
Set the New Tile in Fresh Thinset
Comb thinset onto the substrate with the notched trowel in straight parallel ridges, and back-butter the tile itself with a thin skim coat — the combination is how you hit the 80-percent-plus contact that keeps tiles from cracking again. Lower the tile in place, add spacers to hold the joint widths, and tap it down with a rubber mallet on a flat scrap board until it sits dead flush with all four neighbors. Check with a straightedge, clean squeeze-out from the joints, and stay off it for 24 hours.
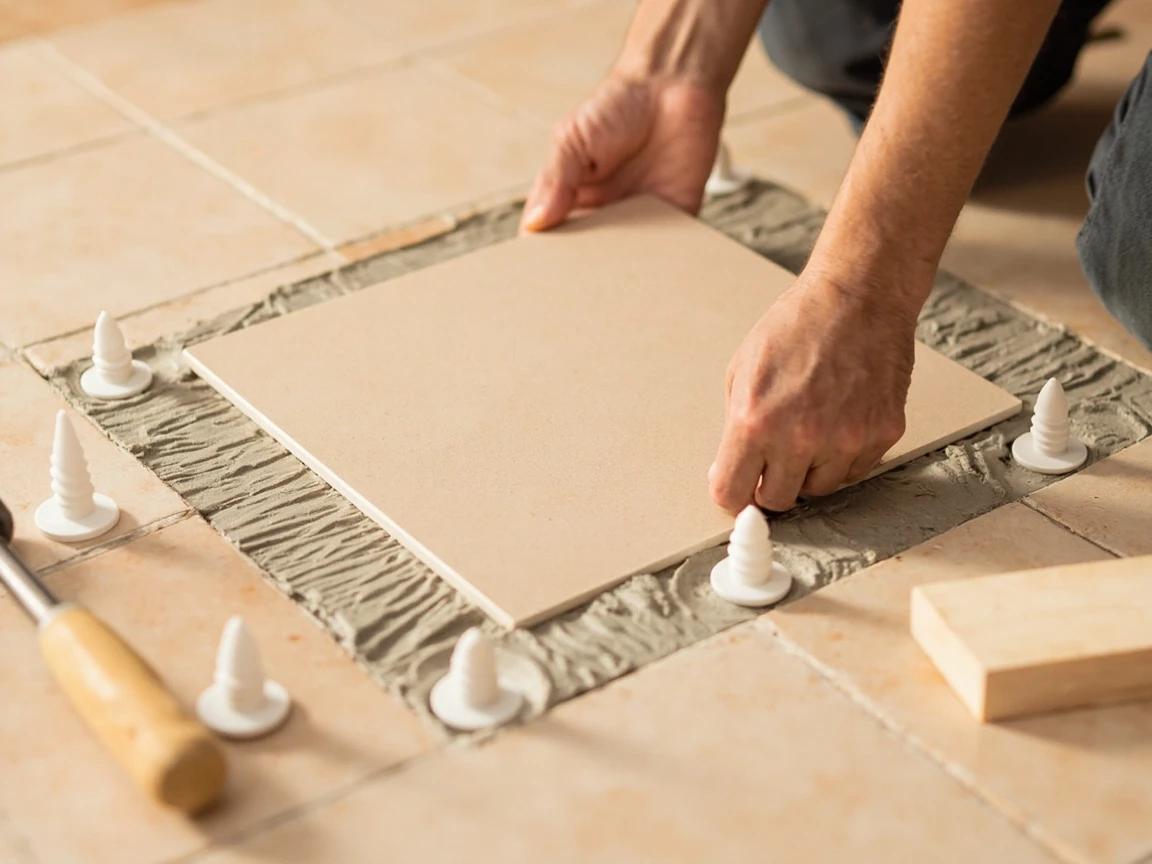
Comb all your trowel ridges in one direction — straight ridges collapse fully when the tile is tapped down, while swirls trap air pockets that become tomorrow's hollow spots.
Grout the Joints the Next Day
After the thinset cures, pull the spacers, then pack grout into the open joints with a rubber float held at 45 degrees, sweeping diagonally across the joints so the float doesn't dig the grout back out. Wait ten to fifteen minutes until the surface firms, then sponge diagonally with a barely damp sponge, rinsing often, and buff the haze off with a dry cloth once it dries. Matching color matters more than technique here — take a broken chip to the store, since grout brands and age shift shades, and our regrouting guide covers blending old and new.
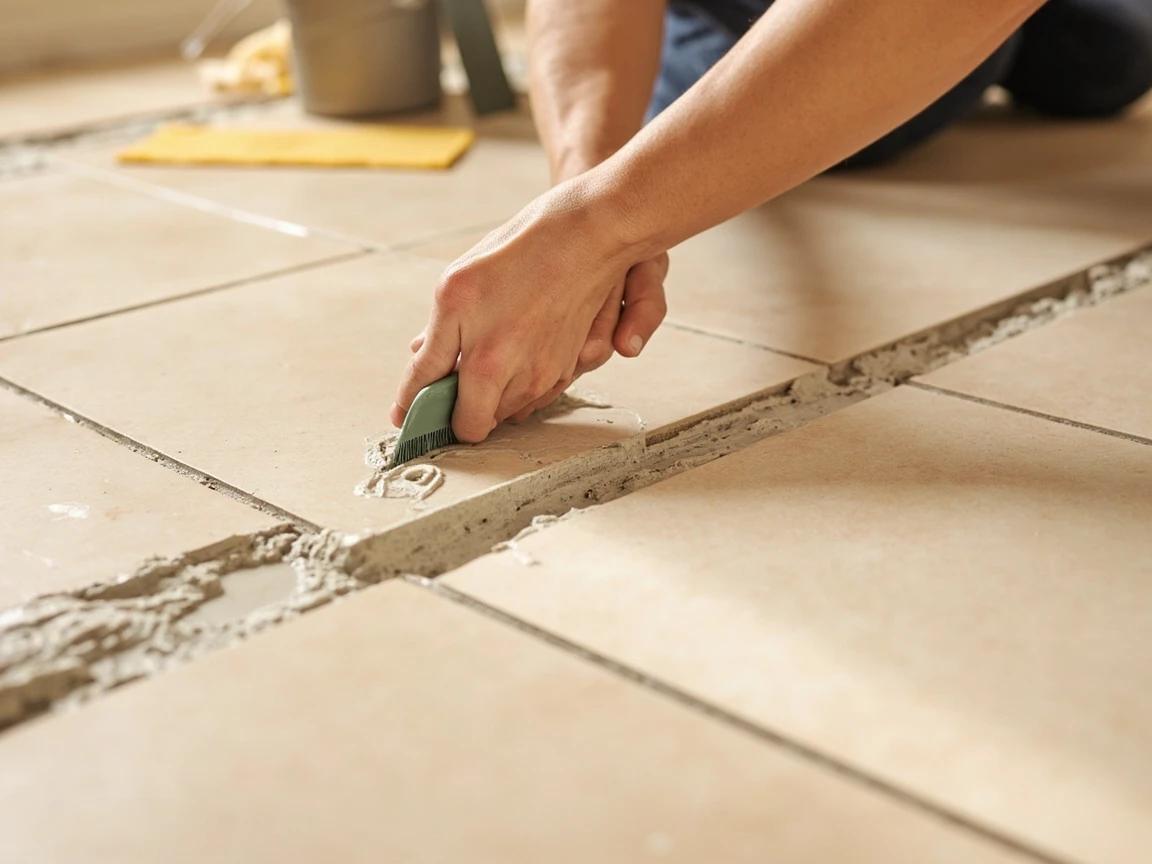
New grout against decades-old grout will read slightly brighter no matter how well the color matches — grouting the surrounding few joints at the same time feathers the difference so it disappears.
Cure, Seal, and Put It Back in Service
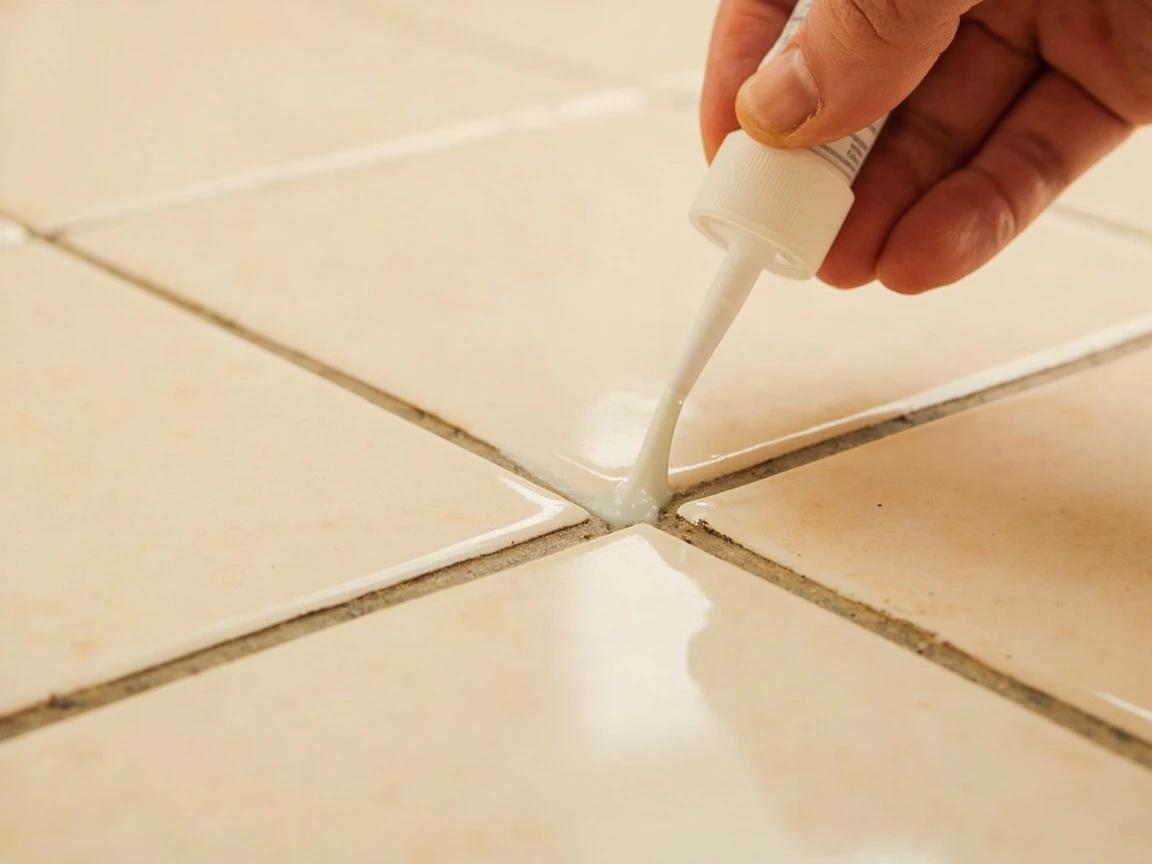
Keep traffic off the repair for 24 hours after grouting and water away from it for about 72. Once the grout has cured fully, apply a penetrating grout sealer with a small applicator brush along the new joints — it's what keeps the fresh grout from staining darker than its neighbors over the next year. If the tile meets a tub, shower pan, or any change of plane, that joint gets flexible tile caulk instead of grout, because rigid grout in a movement joint is how the next crack starts.
Frequently Asked Questions
How do I remove one tile without cracking the tiles around it?
+
Three rules do it. First, remove the grout on all four sides completely — grout mechanically locks tiles together, and skipping this is how neighbors crack. Second, break the damaged tile working from its center outward, using moderate hammer taps rather than full swings, since heavy blows send vibration through the substrate into adjacent tiles. Third, never use a neighboring tile as a fulcrum for your chisel or pry bar; lever against the substrate in the middle of the opening instead.
Why did my tile crack in the first place?
+
Read the crack before you fix it. A chip or crack radiating from an impact point (a dropped pot) is cosmetic — replace and move on. A clean crack running across one or more tiles in a line usually telegraphs from below: a crack in the slab, a flexing subfloor, or a missing movement joint. A tile that sounded hollow before cracking likely had thinset voids under it — industry standards call for at least 80 percent mortar contact, and unsupported spots turn tiles into little bridges that snap under load. Structural causes crack the replacement too unless addressed.
What if I don't have a spare tile and mine is discontinued?
+
Check the garage and closets first — installers usually leave a partial box. If there are no spares, you can harvest a perfect donor from somewhere hidden: inside a closet, under the refrigerator, or behind a vanity, then put the near-match in the hidden spot. Tile-matching services and salvage yards can also hunt discontinued lines. And when nothing matches, replacing the tile with a deliberately contrasting accent reads as a design choice instead of a patch.
Can I put new thinset over the old thinset?
+
No — scrape the old bed flush with the substrate first. The new tile needs the same total assembly thickness as its neighbors, and fresh thinset over old ridges leaves the tile sitting proud, rocking on high spots, or bonding poorly. You don't need to remove every molecule; flat and clean is the standard, and a stiff scraper or chisel held nearly parallel to the floor gets there in a few minutes.
How long before I can walk on or grout the replaced tile?
+
Give standard thinset 24 hours before grouting or any foot traffic, then give cement grout another 24 hours before light traffic and about 72 hours before wet use like showering. Rapid-setting thinsets shrink the first wait to a few hours if the repair is in a doorway you can't block off. Sealing the grout comes last, once it's fully cured — typically 48 to 72 hours after grouting.
Sources & further reading
- How to Replace a Cracked Floor Tile — This Old House
- Hollow/Loose Tile — Tile Council of North America
- Six Simple Steps for Replacing Tile — Marshalltown
More Carpentry Guides
View all →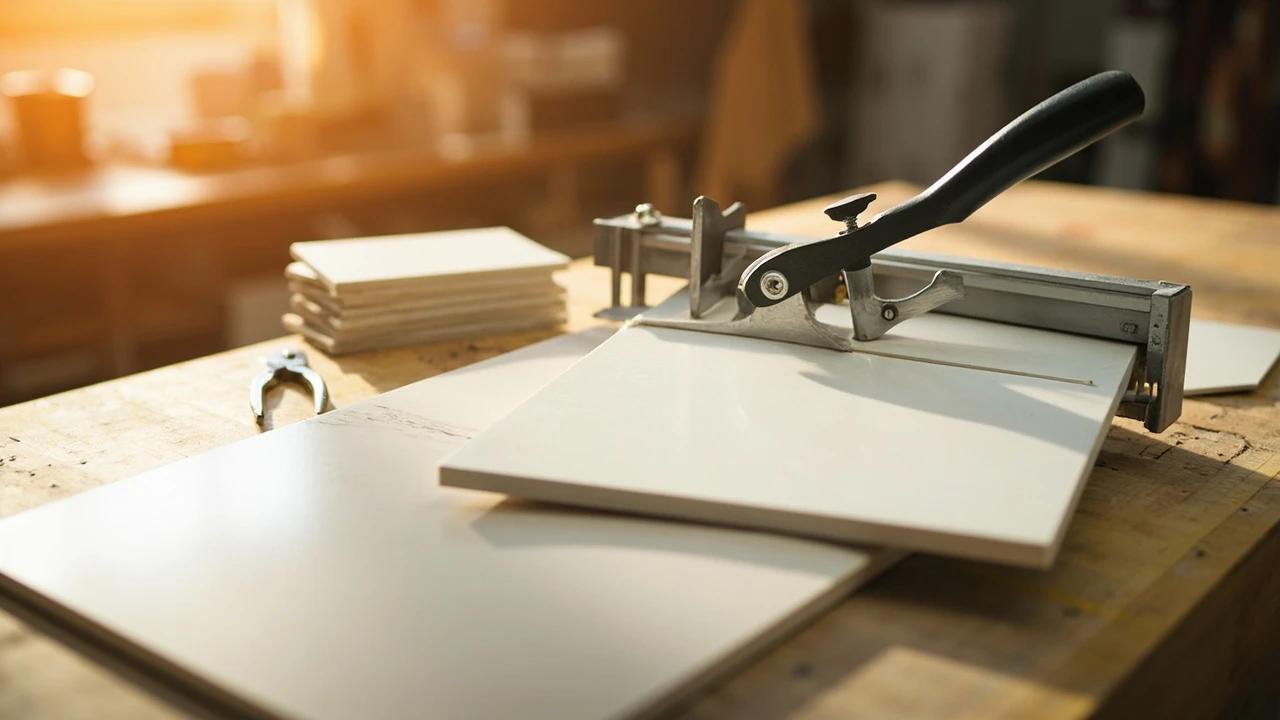 Medium1 hr
How to Cut Tile Without a Wet Saw
You don't need to rent a $60-a-day wet saw to cut tile for a backsplash or a small floor. A $25 snap cutter handles every straight cut in ceramic, nippers eat notches and curves, and an angle grinder with a diamond blade covers the hard stuff — porcelain, stone, and holes. This guide matches each cutting method to your tile type so you buy one cheap tool instead of renting a big one.
 Medium3 hrs
How to Regrout Bathroom Tile
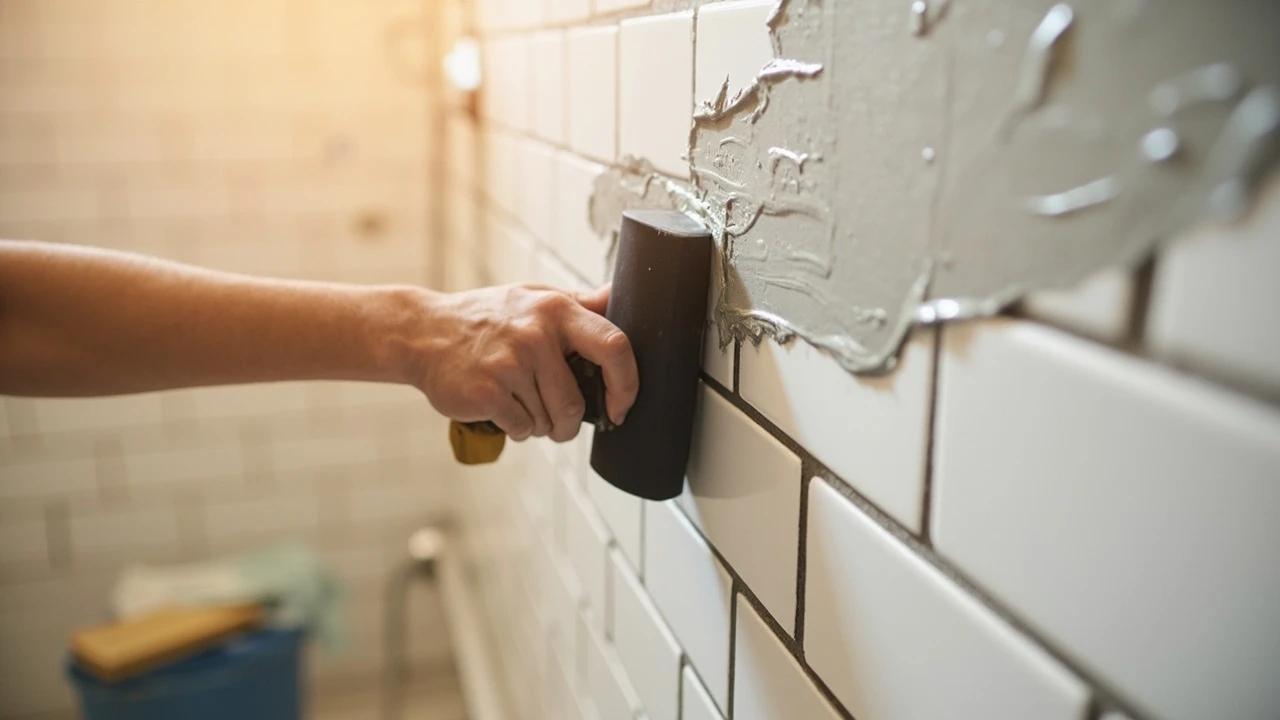
Cracked, stained, or crumbling grout makes a whole bathroom look tired — and worse, it lets water seep behind the tile where it rots the backer board. Regrouting is a weekend job that costs under $40 and makes old tile look brand new, no demolition required. This guide covers grinding out the old grout to the right depth, picking sanded vs. unsanded, floating in the new grout cleanly, beating grout haze, and the one spot you should caulk instead of grout.
 Hard16 hrs
How to Tile a Floor
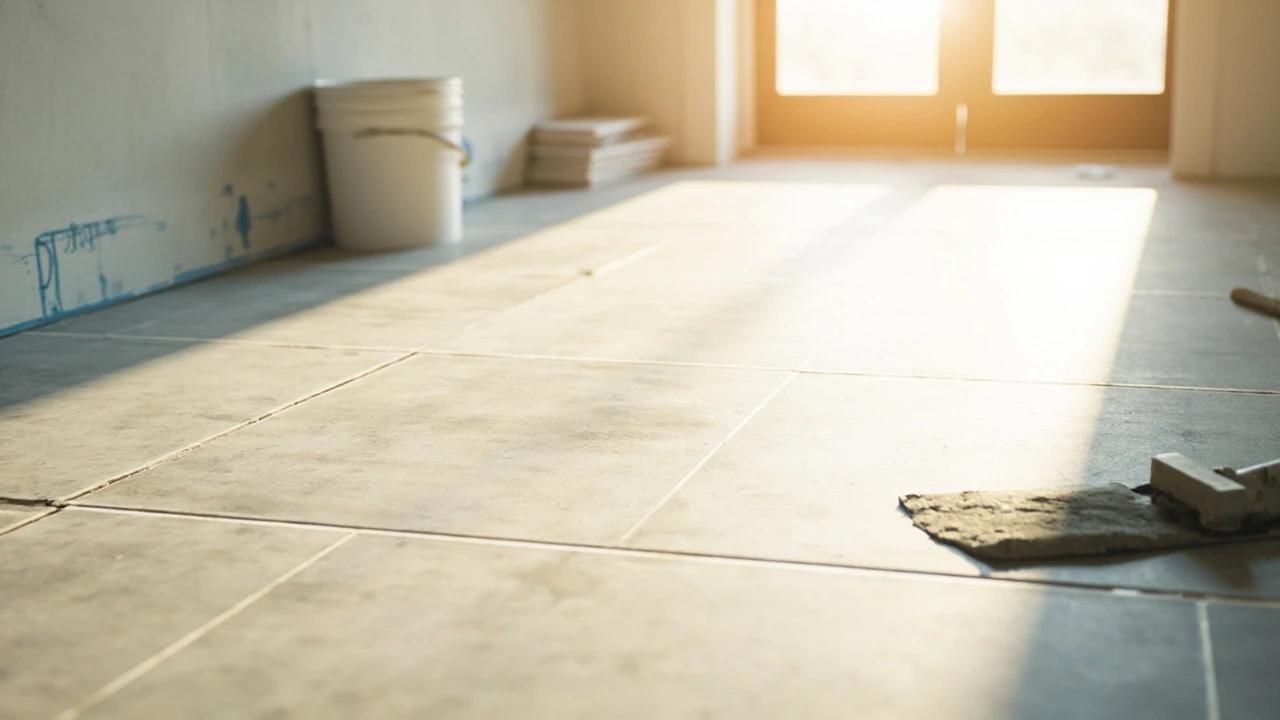
A tile floor outlasts every other surface you can put down — but it's the least forgiving to install, because tile only stays put if the base under it is stiff, flat, and properly prepped. This guide walks the whole job the way a pro sequences it: checking the subfloor, laying cement backer board or an uncoupling membrane, snapping center lines for balanced cuts, combing thinset for full coverage, controlling lippage, cutting, and finally grouting, caulking, and sealing. Plan on $3 to $10 per square foot in materials and a multi-day project around the mortar and grout cure windows.
You Might Also Like
 Easy30 min
How to Fix a Dripping Faucet
A dripping faucet wastes more than 3,000 gallons of water per year and can add $20 or more to your monthly water bill. The fix is almost always a worn cartridge, washer, or O-ring — parts that cost under $10 and take 20-30 minutes to replace with basic tools.
 Hard8 hrs
How to Paint Kitchen Cabinets
A professional cabinet refinish costs $3,000-8,000, but painting them yourself with the right prep and materials delivers the same transformation for under $200 in a long weekend. The secret is thorough degreasing, a bonding primer, and thin coats with proper dry time between each — skip any of those and the paint will chip within months. This guide walks through the full process from door removal and labeling to final reassembly, covering both brush and roller techniques for a smooth, factory-like finish.
 Easy30 min
How to Replace an Electrical Outlet
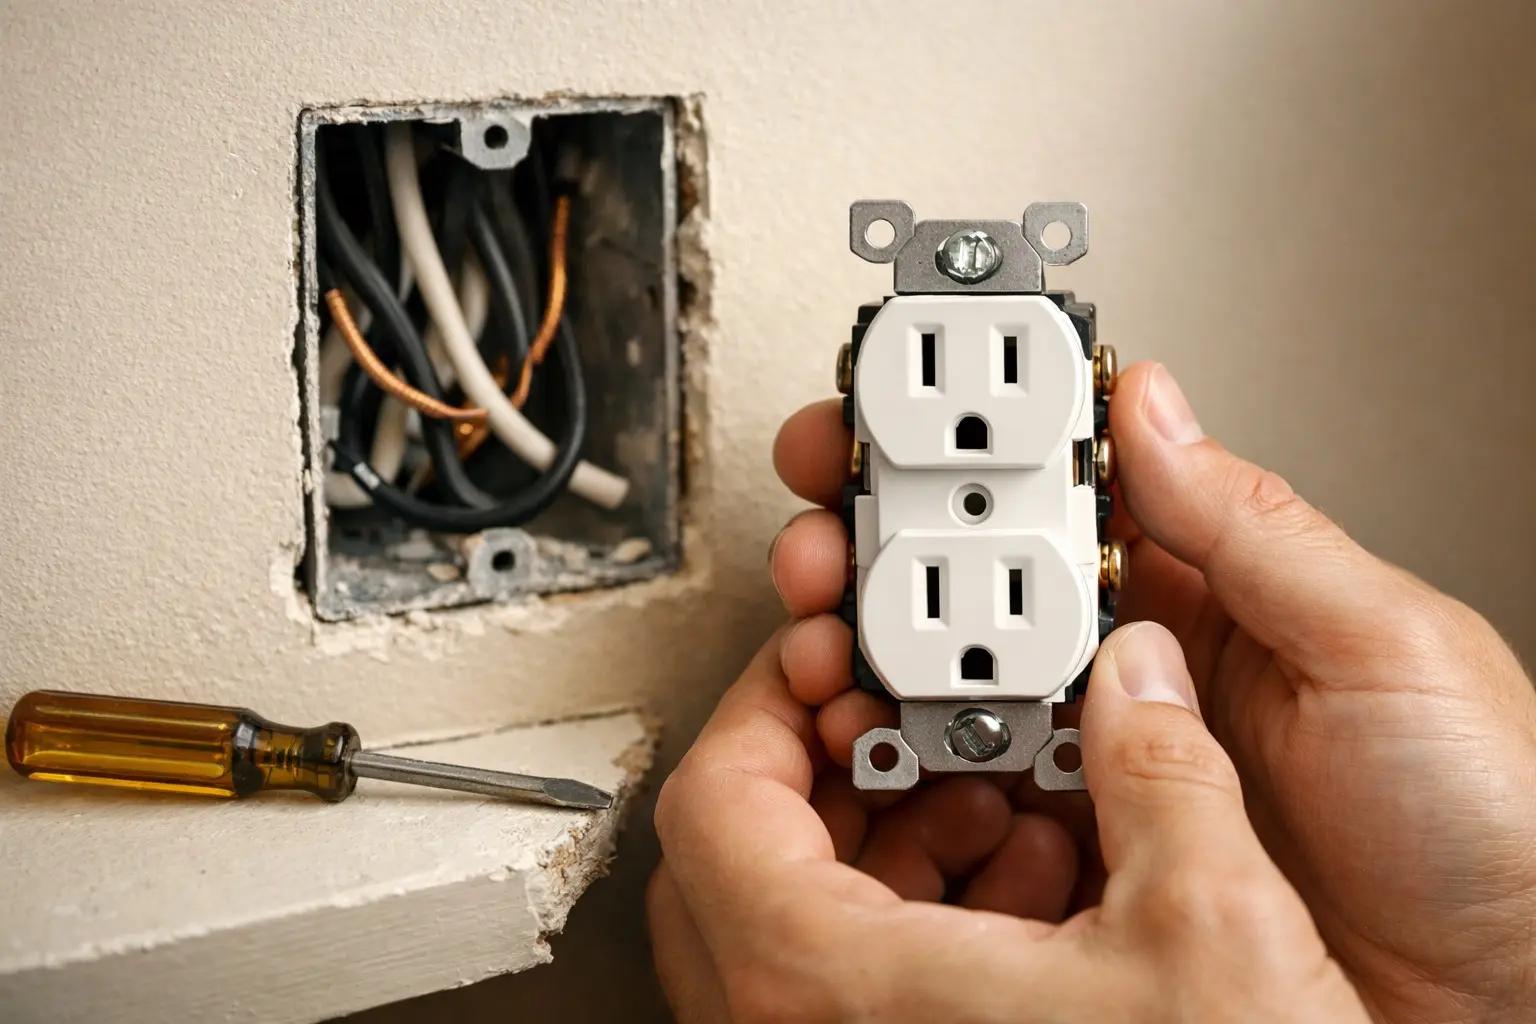
A worn-out or discolored electrical outlet is one of the simplest electrical repairs you can tackle yourself — swapping one takes about 15-30 minutes and costs under $5 in parts versus $75-150 for an electrician visit. This guide walks you through safely replacing a standard duplex receptacle, including how to handle the wiring correctly and avoid the most common DIY mistakes.