How to Cut Tile Without a Wet Saw
You don't need to rent a $60-a-day wet saw to cut tile for a backsplash or a small floor. A $25 snap cutter handles every straight cut in ceramic, nippers eat notches and curves, and an angle grinder with a diamond blade covers the hard stuff — porcelain, stone, and holes. This guide matches each cutting method to your tile type so you buy one cheap tool instead of renting a big one.
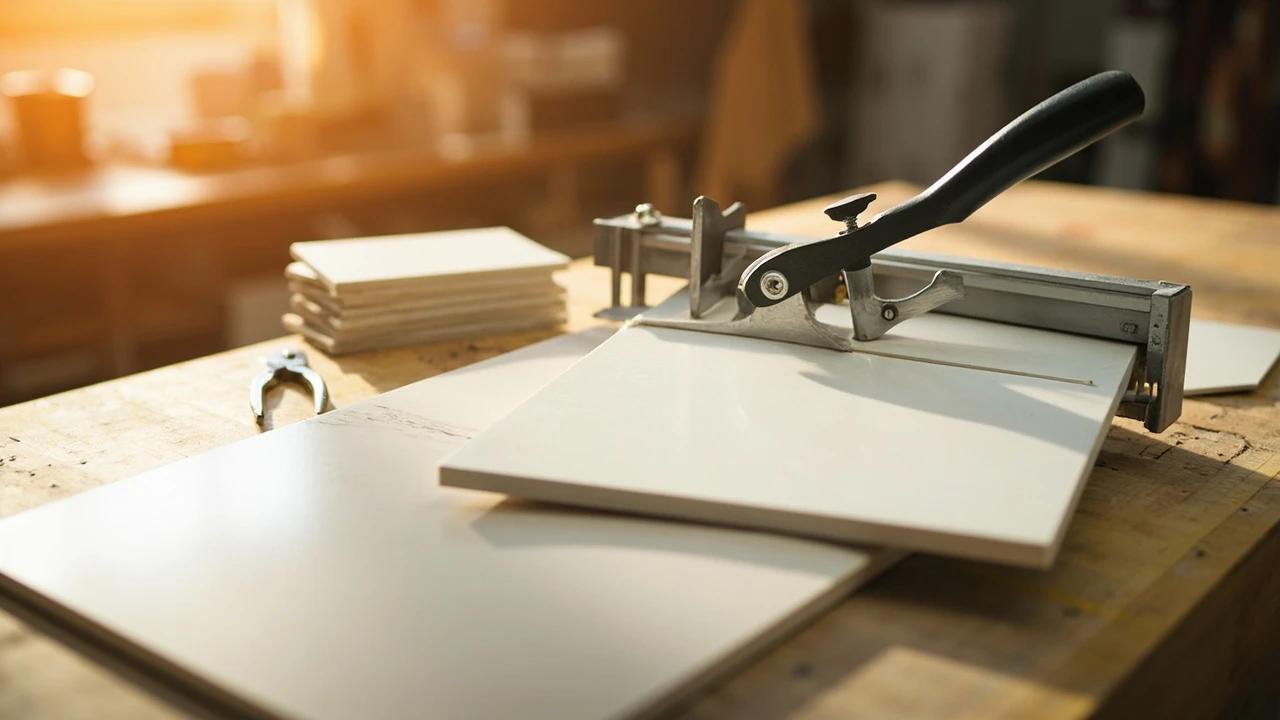
What You'll Need
🛠 Tools
📦 Materials
Safety First
- •Grinding or dry-cutting tile releases crystalline silica dust, which scars lungs permanently. Cut outdoors, wear an N95 or better, and keep helpers and kids away from the dust cloud.
- •Freshly cut tile edges are razor sharp — handle cut pieces by the glazed face and smooth every edge before installing.
- •Wear safety glasses for every method, including nippers — snapped and nipped tile throws small glass-hard chips.
Step-by-Step Instructions
Match the method to your tile
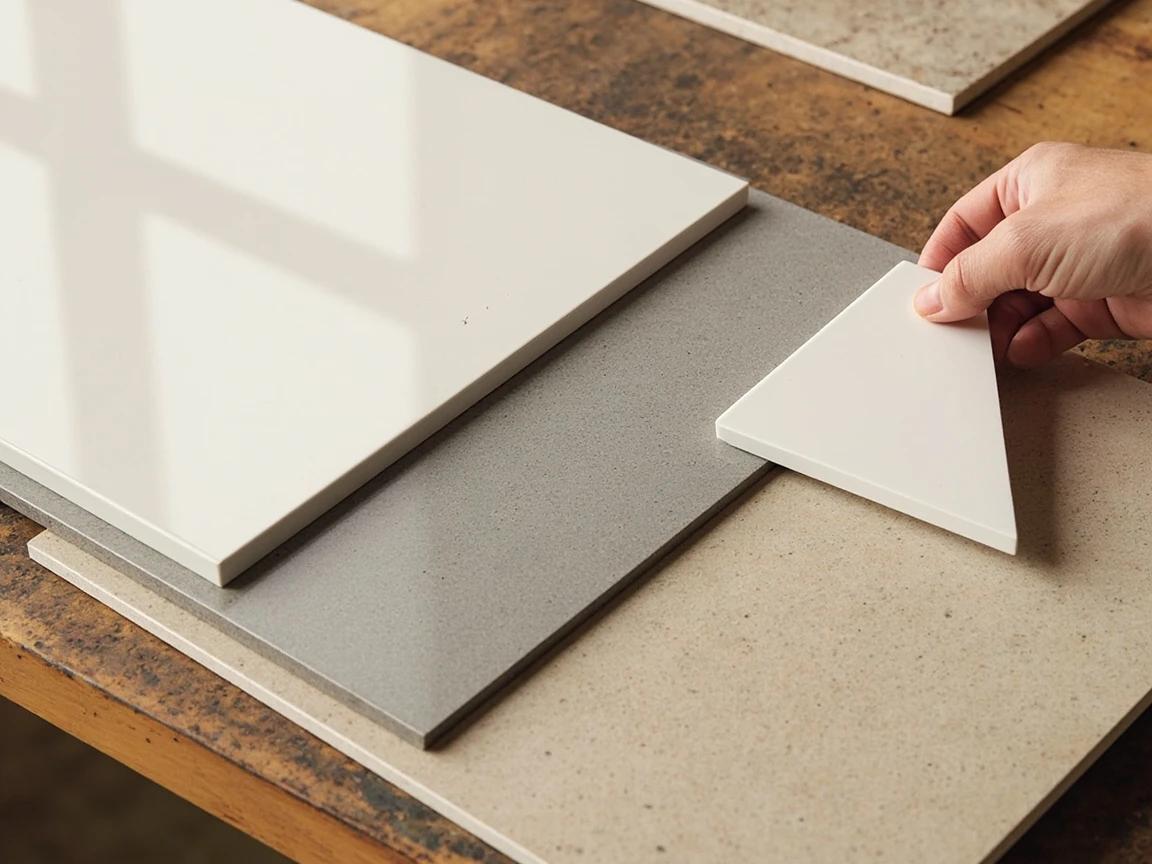
Check the box or the back of a spare tile before buying any tool. Standard glazed ceramic scores and snaps beautifully — the manual cutter is all you need. Porcelain (usually marked PEI 4-5, or sold as floor-rated) is dense enough that snap cuts get unreliable, so plan on the angle grinder for anything beyond simple straight cuts. Natural stone — marble, granite, slate, travertine — will not score-and-snap at all; it's diamond blade only.
Buy 10-15 percent extra tile and sacrifice one to a practice cut with each tool — thirty seconds of practice predicts exactly how your tile will behave.
Measure, mark, and tape the cut line
Measure the gap the cut tile will fill, subtract the width of two grout joints, and transfer the line to the glazed face with a pencil or wax marker and a square. On dark or glossy tile, run a strip of painter's tape across the cut zone first and mark on the tape — it's easier to see and it reduces edge chipping on powered cuts. Double-check the measurement against the actual wall or floor gap, not the tile you're replacing.

Score and snap straight cuts
Set the tile in the snap cutter with the mark under the scoring wheel, glazed side up. Make one firm, continuous scoring pass from edge to edge — a single confident stroke, never back-and-forth, which crumbles the score line and guarantees a ragged snap. Then drop the breaker foot onto the tile and press down smoothly; the tile pops cleanly along the score. This is the quietest, cleanest, most dust-free cut in tiling.
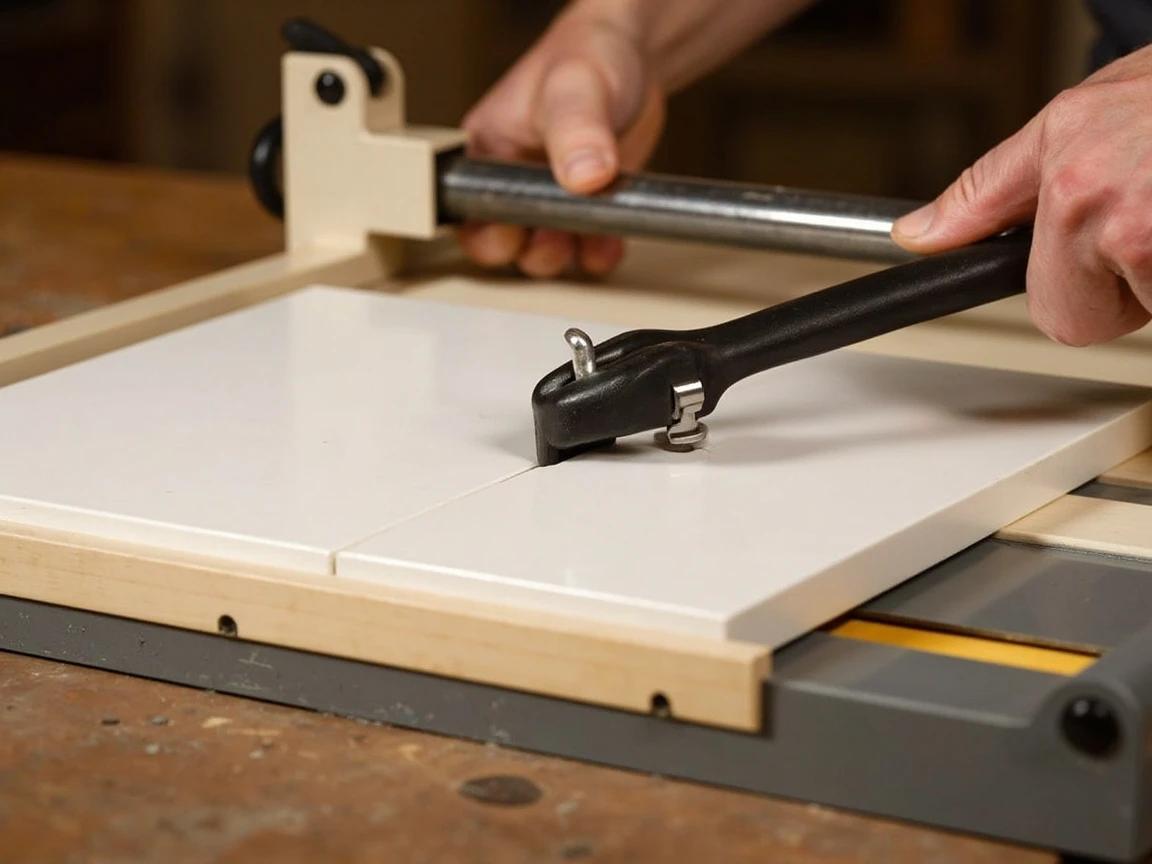
Listen while you score: a steady hiss means the wheel is biting; silence means you're riding on the glaze and need slightly more pressure.
Narrow slivers under about an inch won't snap cleanly on a rail cutter — plan the layout so border tiles stay at least a third of a tile wide.
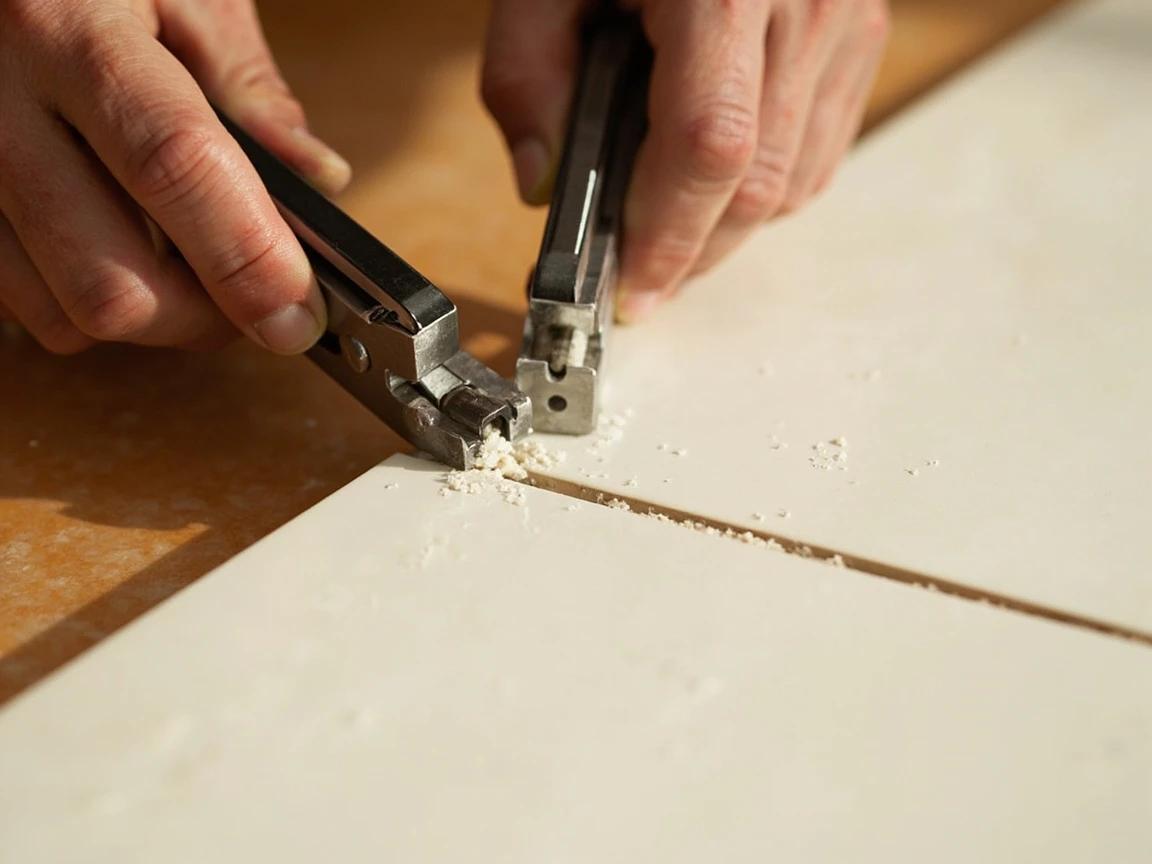
Nibble notches and L-cuts with tile nippers
For a notch around an outlet or a doorway corner, score the cut lines first with the snap cutter or a glass cutter, then chew away the waste with tile nippers — small, pea-sized bites working from the tile edge toward the lines. Big bites crack tile across the face; patience is the entire technique. The nipped edge will look rough, which is fine anywhere trim, a cover plate, or caulk will hide it.
Grind curves and porcelain with a diamond blade
Fit the angle grinder with a continuous-rim diamond blade rated for dry cutting, clamp the tile to a bench with the cut overhanging, and take the taped line in several shallow passes rather than one deep push. Let the blade's speed do the work — forcing it is what chips porcelain edges. This is the tool for dense porcelain, natural stone, gentle curves, and interior cutouts that nippers can't reach.
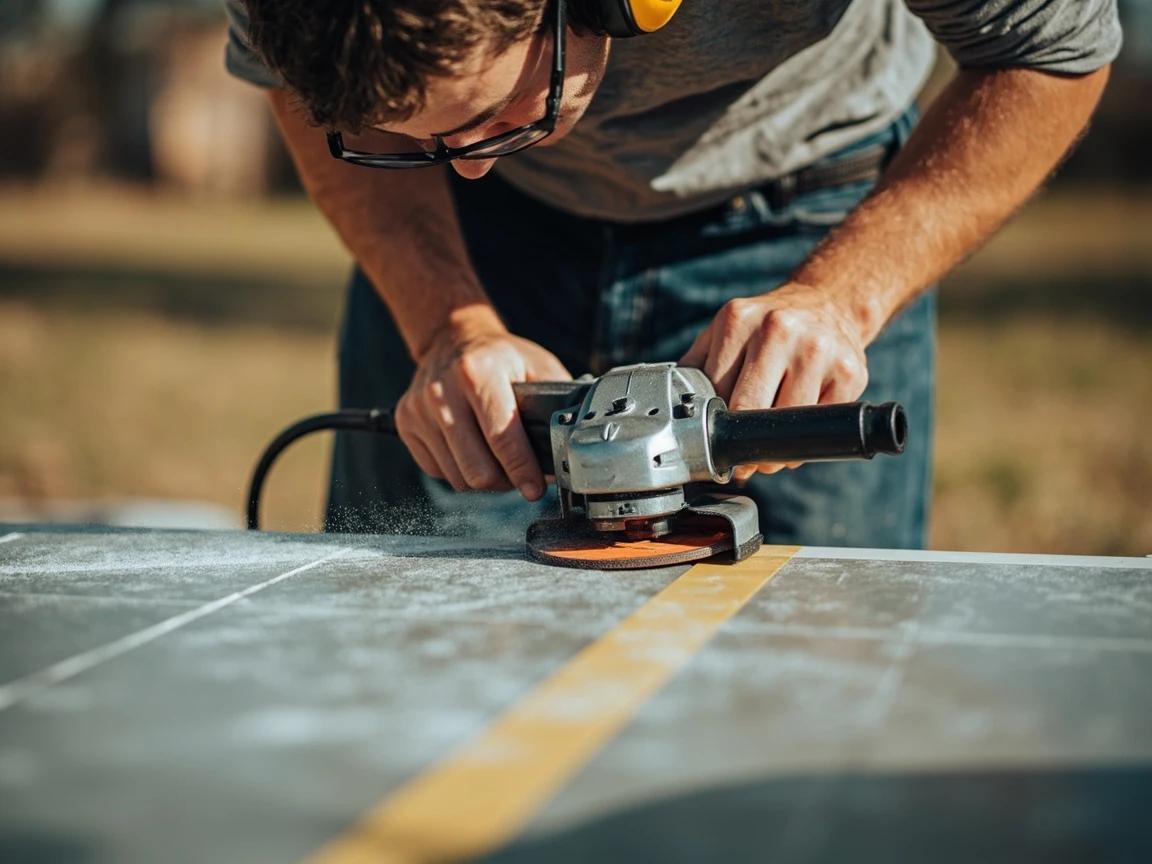
Dry-grinding tile releases crystalline silica — OSHA treats it as a serious lung hazard. Cut outdoors only, wear an N95 or better, and never let anyone stand in the dust plume.
Drill clean holes for pipes and faucets
For a shower valve or supply-line hole, use a carbide-grit or diamond hole saw one size larger than the pipe. Stick painter's tape over the spot to keep the bit from wandering, start the drill at an angle to establish a groove, then bring it upright and drill at low speed with light pressure. A sponge dribbling water on the cut, or a squirt bottle, keeps the bit cool and doubles its life.
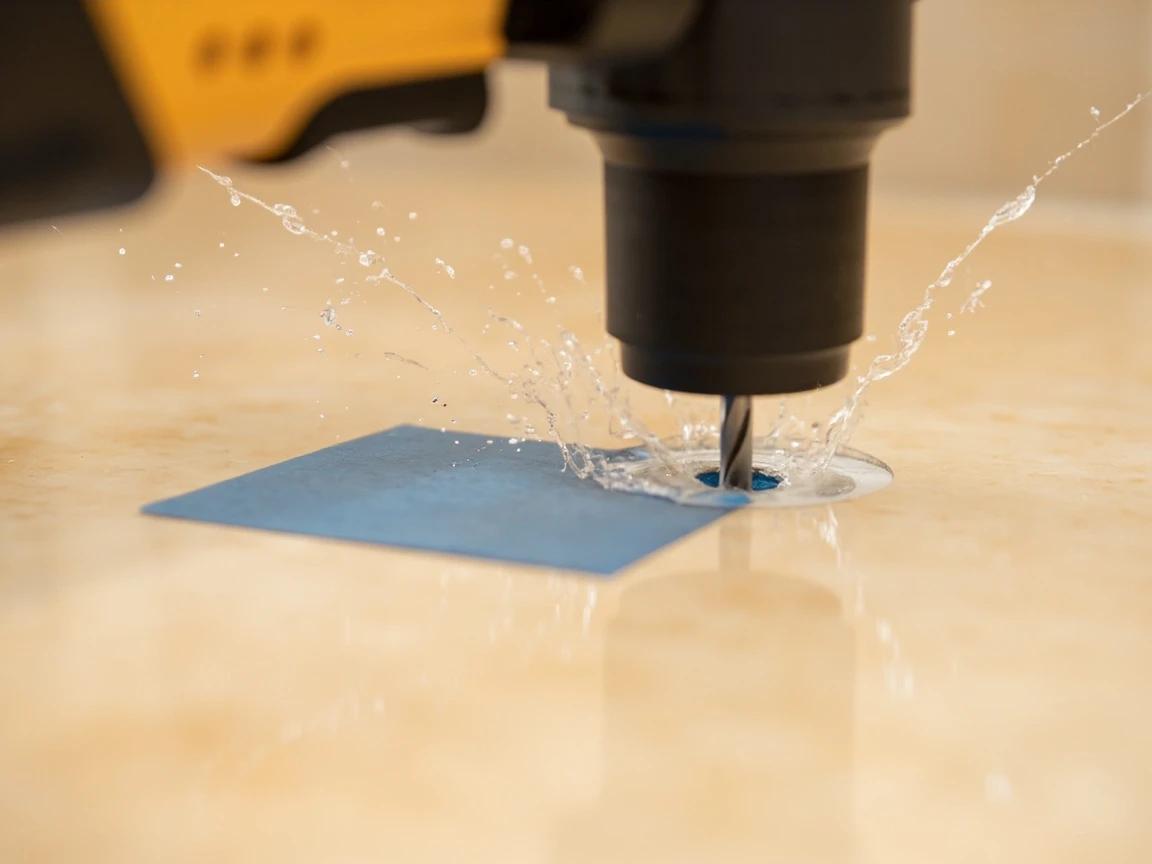
Escutcheon plates cover a multitude of sins — the hole only has to be round-ish and smaller than the trim plate that hides it.
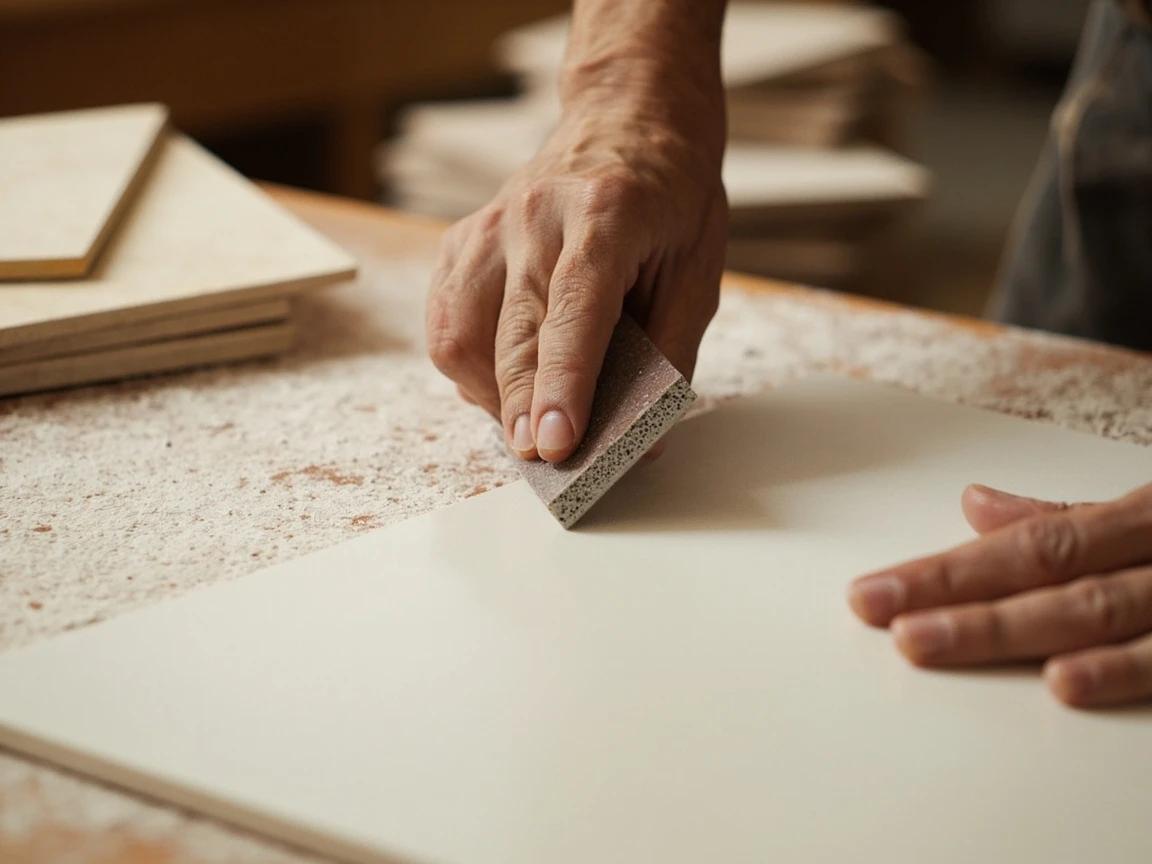
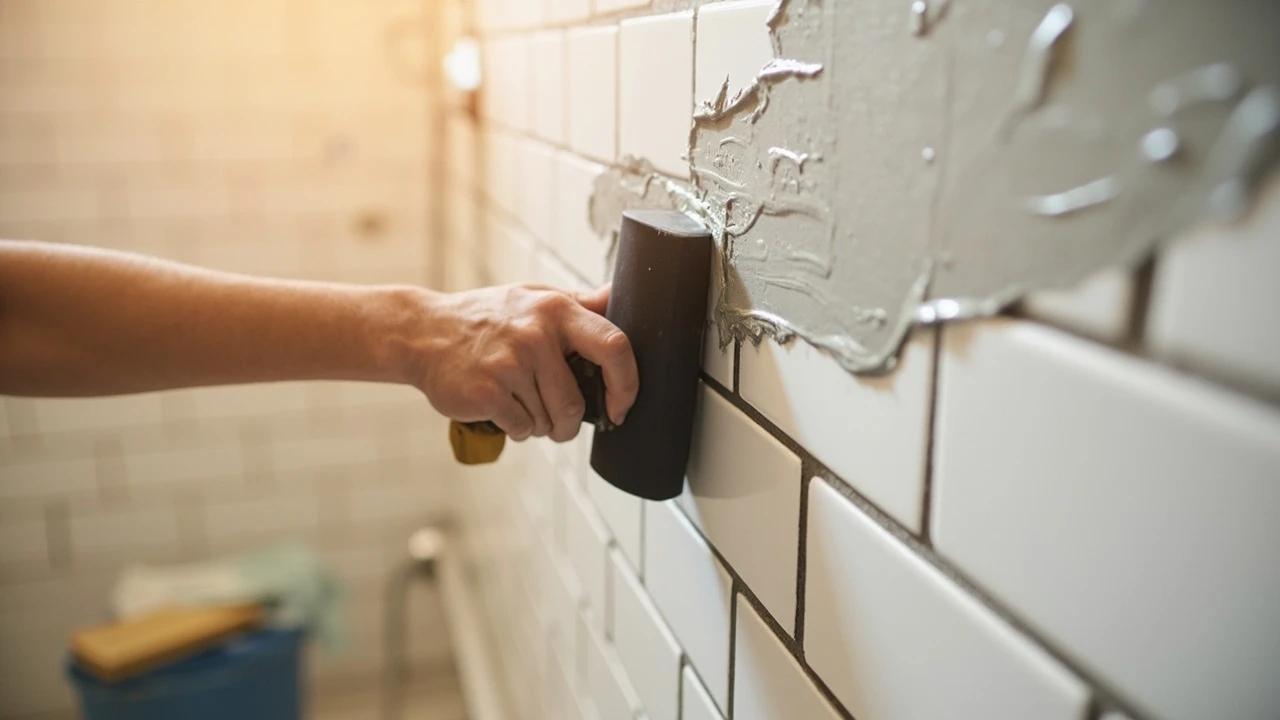
Smooth every cut edge
Run a rubbing stone or 120-grit sandpaper along each cut edge at a 45-degree angle, two or three strokes per side. This knocks off the razor edge, removes small chips that would telegraph through grout lines, and makes the pieces safe to handle during installation. Nipped curves need the most attention; snap cuts often need almost none.
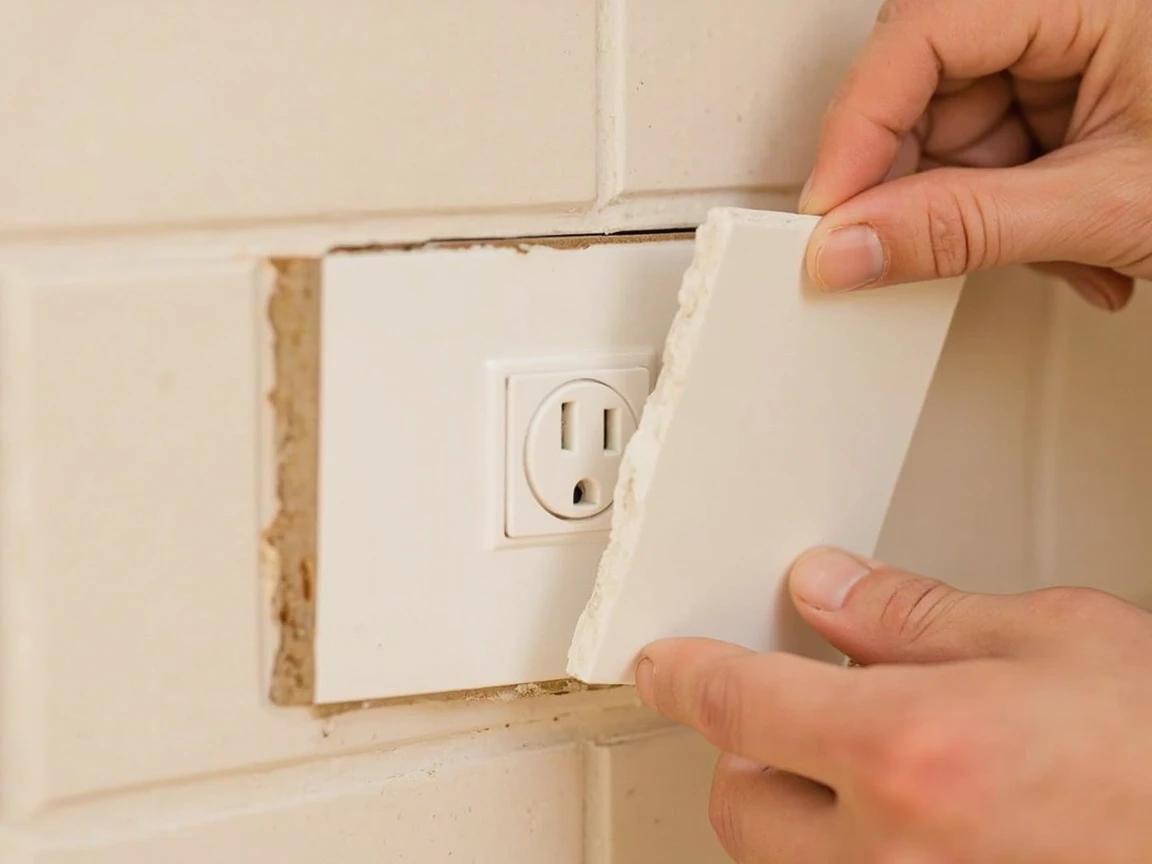
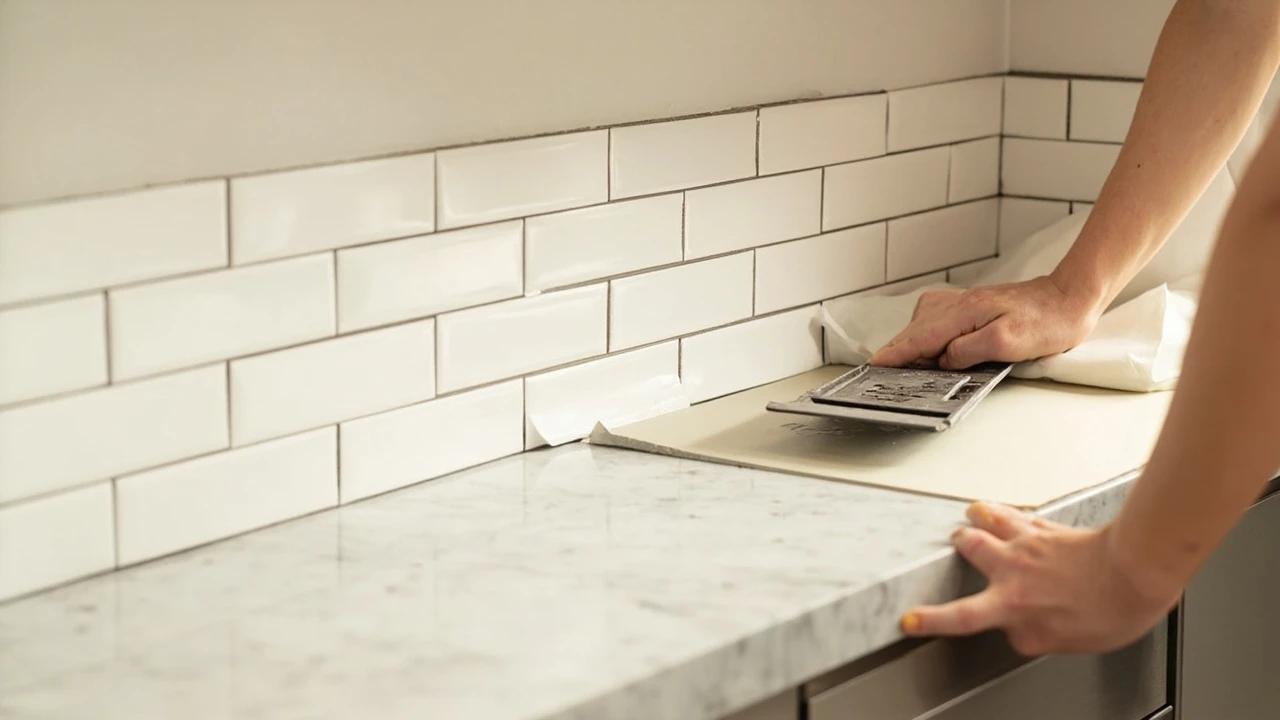
Dry-fit before anything touches mortar
Set every cut piece in place dry, with spacers, before mixing a drop of thinset. Check that grout gaps stay consistent and that cut edges land where trim, caulk, or cover plates will hide them. It's a thirty-second check that catches the one tile cut 1/8-inch short — and if you're mid-project, our floor tiling guide and backsplash guide cover the layout and setting steps from here.
Frequently Asked Questions
Can you score and snap porcelain tile?
+
Sometimes — and it's the least reliable cut you'll make. Porcelain is fired much denser than ceramic, so it resists the scoring wheel and tends to snap off-line or chip at the edge. A quality rail cutter with a fresh tungsten-carbide wheel and one firm, single scoring pass gives you the best odds. For porcelain rated PEI 4 or 5, plan on the angle grinder instead.
What is the cheapest way to cut tile?
+
For a handful of straight cuts in ceramic, a $15-25 manual snap cutter is the cheapest real tool, and it makes cleaner cuts than anything powered. If you only need one or two cuts, some tile shops and rental counters will make them for a small fee, and a carbide-tipped glass cutter plus a straightedge can score a soft ceramic tile you then snap over a wire hanger or dowel.
Can I use an angle grinder to cut tile?
+
Yes — fit a continuous-rim diamond blade rated for dry cutting, mark the line with tape, and make several shallow passes instead of one deep cut. The grinder is the only budget tool that handles porcelain, natural stone, curves, and L-shaped cutouts. It is loud and throws silica dust, so cut outside with eye and ear protection and an N95.
How do you cut a curve in tile without a wet saw?
+
Score the curved line first with a glass cutter or the grinder, then take small bites up to the line with tile nippers — pea-sized nibbles, never big crunches. Smooth the finished curve with a rubbing stone. For tight inside radii, drill a starter hole with a carbide hole saw and nibble outward from there.
Is it worth renting a wet saw instead?
+
For a whole floor of dense porcelain, large-format tile over 16 inches, or a diagonal layout where every border tile needs a cut, yes — a $40-70 daily rental pays for itself in saved tile and time. The no-wet-saw methods shine for backsplashes, repairs, small bathrooms, and any job with fewer than a couple dozen cuts.
Community Tips
💬 Sign in to share tips with the community
Sources & further reading
- How To Use a Manual Tile Cutter — The Tile Shop
- No Wet Saw? How To Cut Tile Without A Wet Saw Cleanly — Defusco Industrial Supply
- Crystalline Silica — Health Hazards — OSHA
More Carpentry Guides
View all → Hard16 hrs
How to Tile a Floor
A tile floor outlasts every other surface you can put down — but it's the least forgiving to install, because tile only stays put if the base under it is stiff, flat, and properly prepped. This guide walks the whole job the way a pro sequences it: checking the subfloor, laying cement backer board or an uncoupling membrane, snapping center lines for balanced cuts, combing thinset for full coverage, controlling lippage, cutting, and finally grouting, caulking, and sealing. Plan on $3 to $10 per square foot in materials and a multi-day project around the mortar and grout cure windows.
 Medium8 hrs
How to Install a Tile Backsplash
A tile backsplash is the highest-impact weekend upgrade in a kitchen — it transforms the room for $150 to $400 in materials, far less than the $800-plus a pro charges to install one. The work is genuinely DIY with patience: the secret isn't artistic skill, it's a level ledger board, the right adhesive, and caulking the corners instead of grouting them. This guide walks the whole job over painted drywall, from dry-laying the layout to the final bead of caulk.
 Medium3 hrs
How to Regrout Bathroom Tile
Cracked, stained, or crumbling grout makes a whole bathroom look tired — and worse, it lets water seep behind the tile where it rots the backer board. Regrouting is a weekend job that costs under $40 and makes old tile look brand new, no demolition required. This guide covers grinding out the old grout to the right depth, picking sanded vs. unsanded, floating in the new grout cleanly, beating grout haze, and the one spot you should caulk instead of grout.
You Might Also Like
 Medium45 min
How to Install a Ceiling Fan
Replacing a light fixture with a ceiling fan improves air circulation in summer and can reduce heating costs in winter by circulating warm ceiling air downward. Most installs take 45-60 minutes.
 Easy3 hrs
Spring Lawn Care Checklist
What you do to your lawn in the first six weeks of spring determines its health for the entire growing season. Follow this sequence to fix winter damage, encourage deep roots, and crowd out weeds before they establish.
 Easy1 hr
How to Start a Compost Bin
Composting converts kitchen scraps and yard waste into rich, free fertilizer that dramatically improves garden soil. Setup takes under an hour and once running, the bin requires minimal effort for big rewards.