How to Patch a Small Hole in Drywall (Spackle Method)
A nail hole, picture-hanger ding, or doorknob dent doesn't need a contractor — it needs a $5 tub of spackle and twenty minutes of hands-on time. This guide covers the two-coat method, drying-time tradeoffs, and the touch-up paint trick that makes the patch invisible. For holes bigger than 1/2 inch, step up to the mesh-patch and drywall-cutout methods instead.
What You'll Need
🛠 Tools
📦 Materials
Safety First
- •Wear a dust mask when sanding — drywall dust is a respiratory irritant.
Step-by-Step Instructions
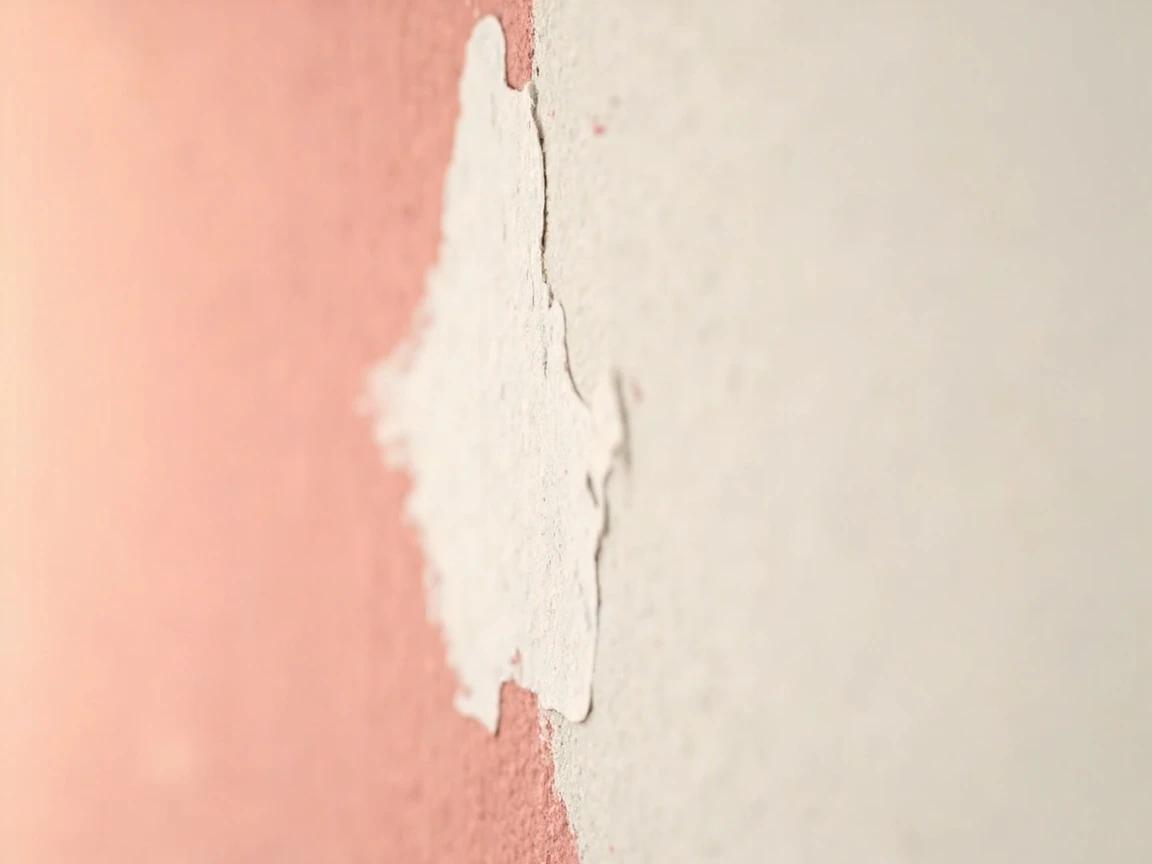
Prep the hole — knock down anything protruding
Run the edge of your putty knife around the hole to flatten any drywall paper that's poking out, and brush away loose gypsum dust with the rag. If the hole has a raised crater rim from where the nail pulled, push it flat — bumps will telegraph through the patch and become visible after paint.
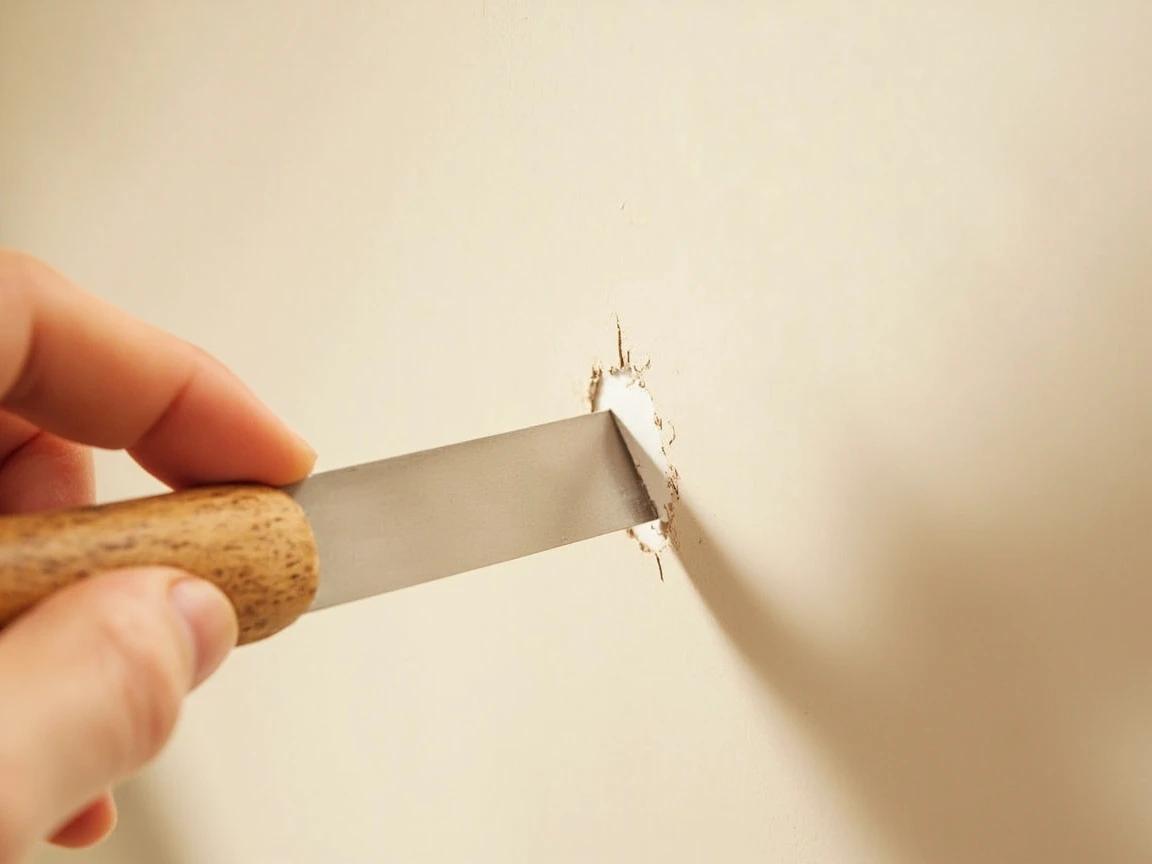
If the hole was made by a screw that pulled out at an angle, gently widen it into a clean circle with the tip of the putty knife — you want flat sides around the hole, not jagged paper.
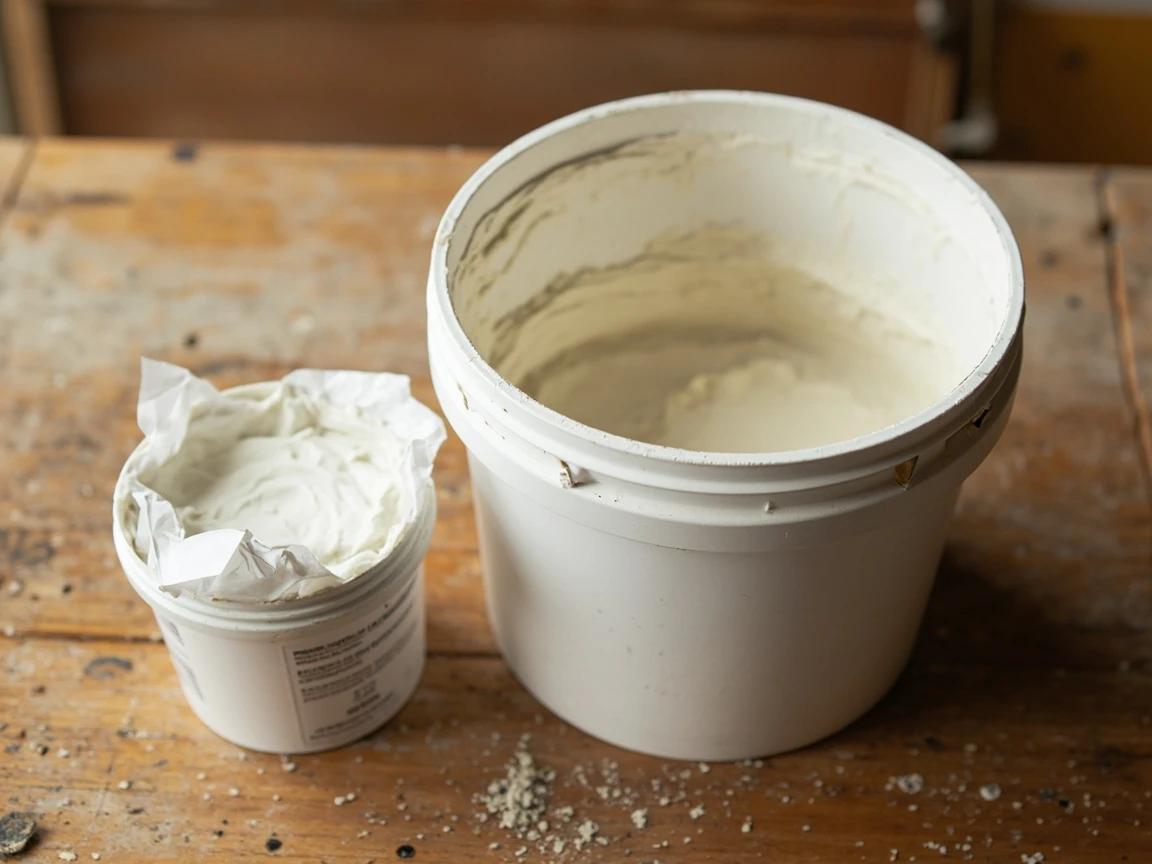
Pick the right product — lightweight spackle, not joint compound
Reach for lightweight, non-shrinking spackle (DAP Fast 'N Final, 3M Patch Plus Primer, or DryDex with the pink-to-white color indicator). Joint compound is for taping seams and large patches — it shrinks 5-10% as it dries and you'll need two or three coats just to fill what spackle does in one. The lightweight stuff is also far easier to sand smooth.
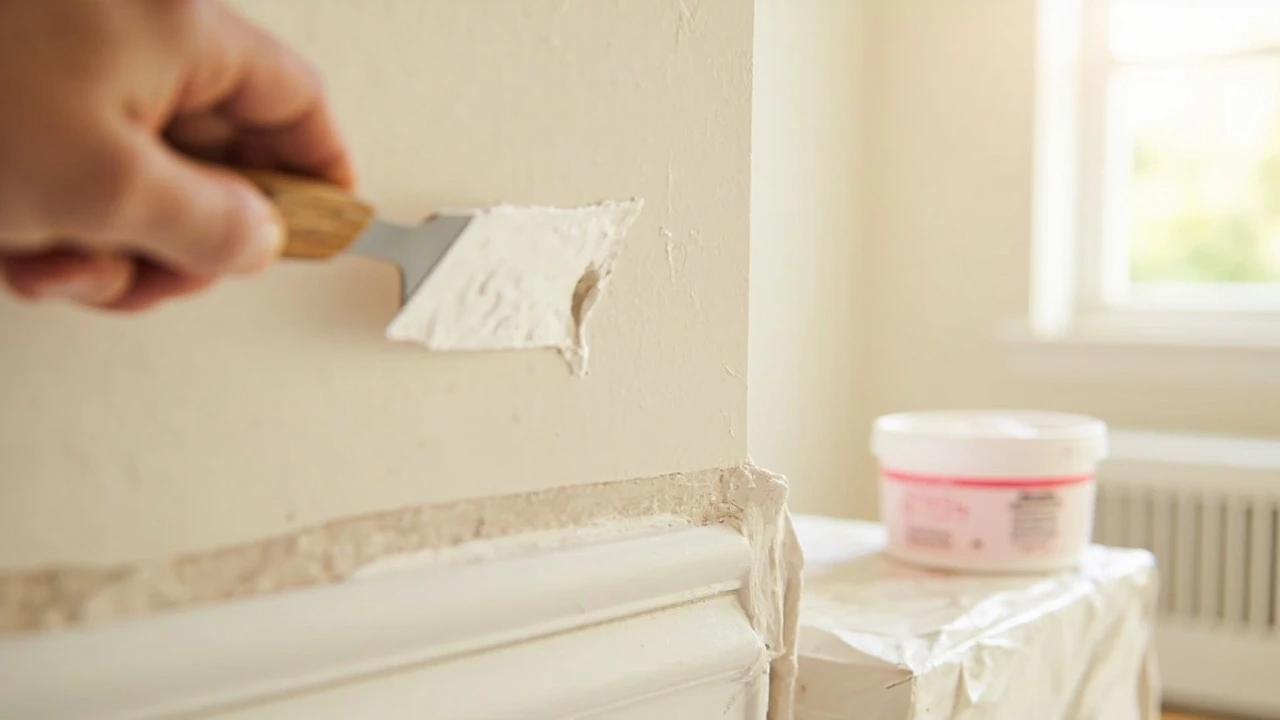
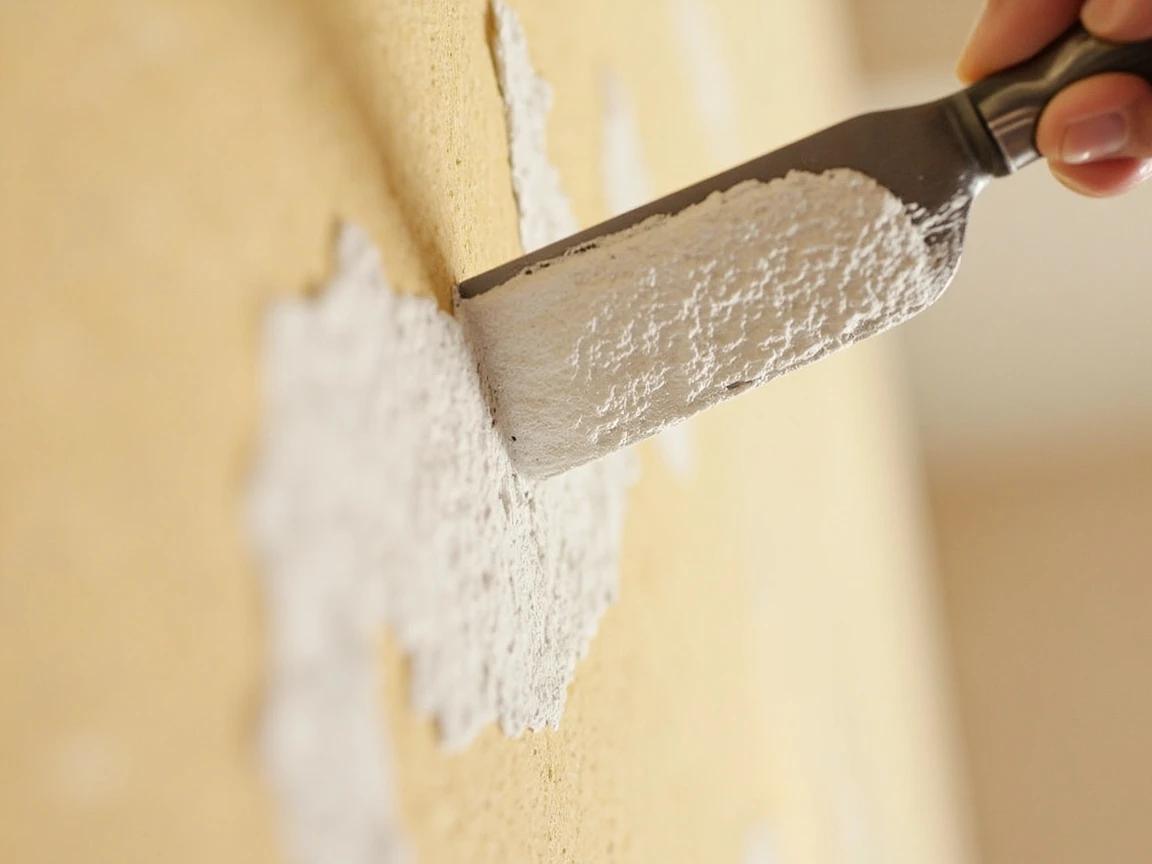
Apply the first coat — press, then drag flat
Scoop a small dab of spackle onto the corner of the putty knife — about the size of a dime is plenty for a nail hole. Press it firmly into the hole at a 45-degree angle so the spackle is forced into the cavity, then drag the knife across the hole at a flatter 15-20° angle to scrape the surface flush with the wall. Wipe excess off the knife back into the tub.
Less is more. A thin coat that needs a second pass will sand much smoother than one thick blob that cracks as it dries.
Wait for full dry — use the color indicator or the clock
Fast-dry color-change spackle is ready when the pink turns fully white — usually 30 minutes at room temperature, longer in humid weather. Standard lightweight spackle needs 1-2 hours by the clock. Don't try to sand or recoat while the patch is still cool to the touch — wet spackle will gum up the sanding sponge and tear out of the hole.
Painting over wet or partly-cured spackle traps moisture under the paint film. The patch will shrink as it finishes curing, pulling the paint with it and leaving a cracked or sunken spot you have to redo.
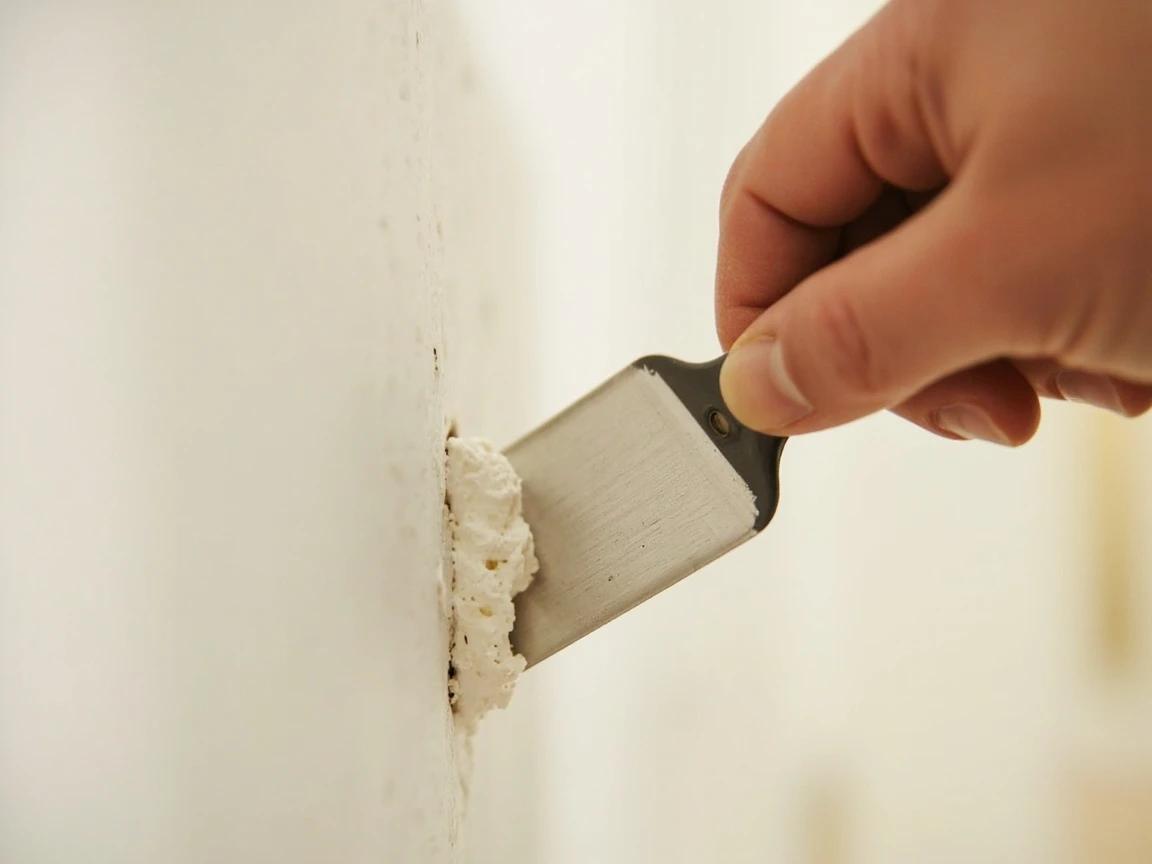
Apply a thin second coat if the patch sank
Once dry, run your finger across the patch. If it feels recessed at all, drag a very thin second coat of spackle across with the putty knife held nearly flat — you're filling the slight shrinkage, not rebuilding. Wait for this coat to fully dry the same way as the first.
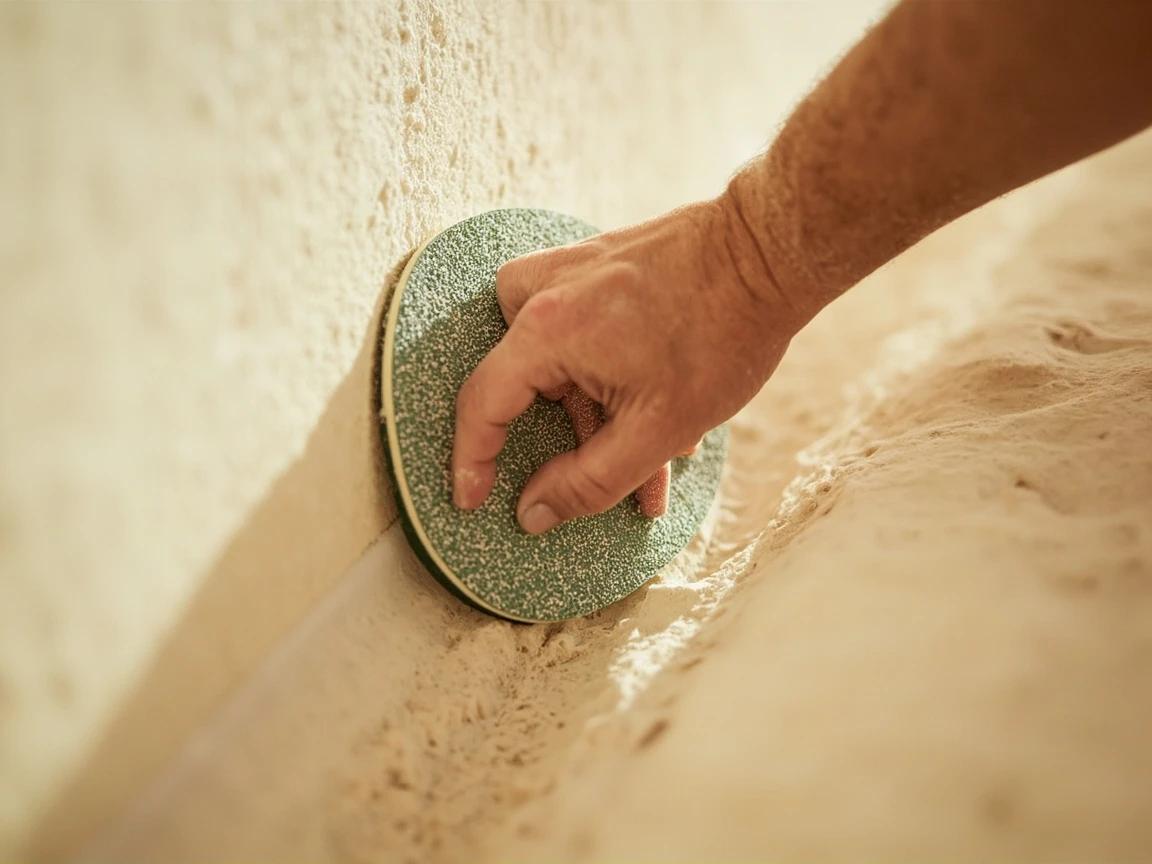
Sand flush with a fine-grit sponge
Use a 150-220 grit sanding sponge in light circular motions, sanding the patch and feathering 1-2 inches into the surrounding wall paint. Stop the moment the patch is flush — over-sanding will scuff the surrounding paper-faced drywall and create a wider patch area to repaint. Wipe the wall clean with a damp rag and let it dry.
Hold a flashlight at a low angle to the wall after sanding. The raking light will reveal any bumps or ridges that look invisible head-on but will show clearly under normal room lighting once painted.
Spot-prime the patch (any sheen above eggshell)
On flat or eggshell walls, you can skip primer and go straight to paint. On satin, semi-gloss, or high-gloss walls, dab a small amount of stain-blocking primer (Kilz, Zinsser 123) onto just the patch with a small foam roller and let it dry 30 minutes. Without this step, the patch absorbs paint differently than the wall and shows as a dull spot called 'flashing.'
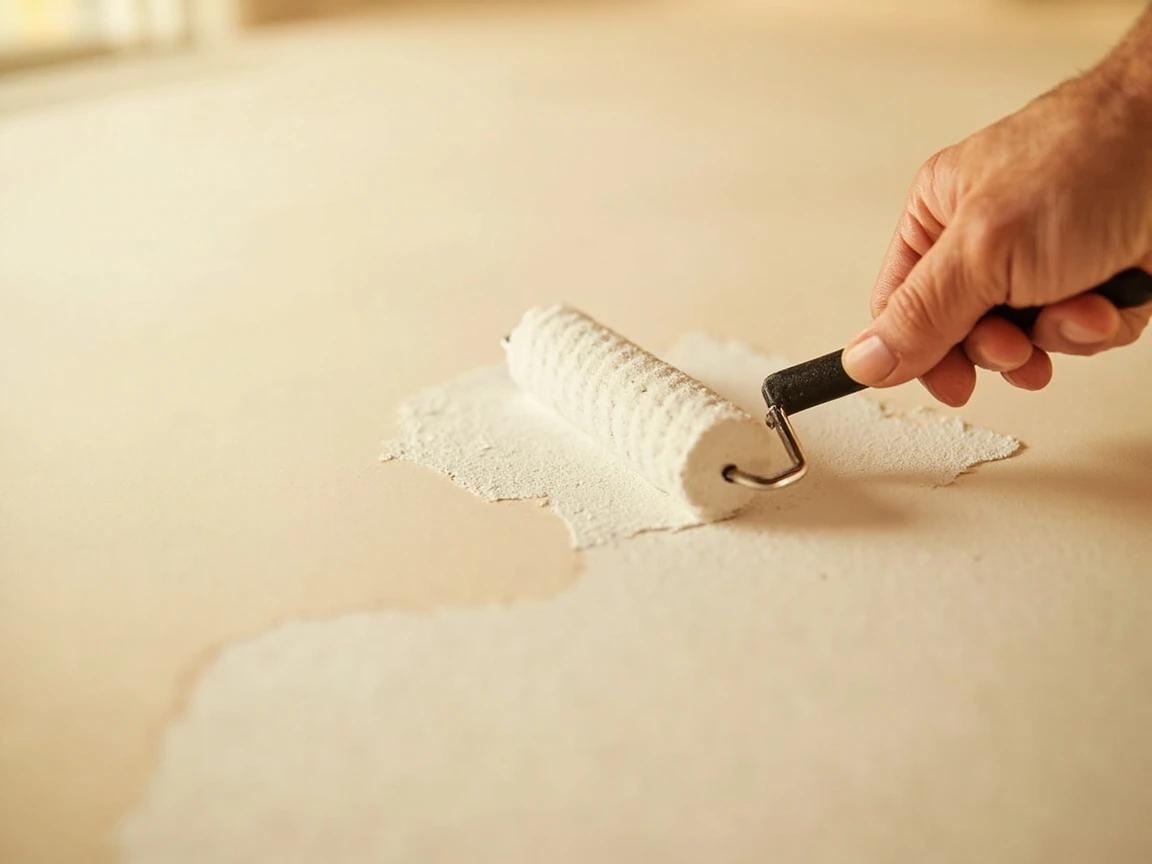
Touch up with two coats of wall paint
Use the original wall paint if you have it — a slightly different formulation will be visible even in the same color. Apply two thin coats with a small angled brush for tight spots or a 4-inch foam roller for a larger patch area, feathering each coat 2-3 inches beyond the patch and letting it dry 2-4 hours between coats. The roller leaves a closer match to the existing wall texture than a brush. If the hole came from a failed anchor or a pulled-out shelf screw, our drywall anchor guide shows how to re-hang it so it holds this time.
If your touch-up paint doesn't perfectly match (lighting, age, or a different batch), feather it out to the nearest corner or edge. The eye reads color transitions much better against a hard edge than across an open wall.
Frequently Asked Questions
Should I use spackle or joint compound for a nail hole?
+
Spackle, every time. Joint compound shrinks as it dries, which means a single application will leave a sunken divot you have to fill again. Lightweight spackle barely shrinks, so one or two thin coats and you're done. Reserve joint compound for tape-and-mud seams and patches bigger than a quarter.
How long does spackle take to dry before I can sand?
+
Fast-dry color-change spackle (DAP DryDex and similar) is sandable in 30 minutes at room temperature. Standard lightweight spackle wants 1-2 hours. Full cure for both is around 24 hours, but you only need surface-dry to sand and paint — the color-change indicator (pink to white) is your reliable cue.
Can I paint over spackle without priming?
+
On flat or eggshell walls, usually yes — one coat of spackle and two coats of wall paint will hide the repair. On satin, semi-gloss, or any sheen above eggshell, spot-prime first with a stain-blocking primer. Without primer, the patch absorbs paint differently than the surrounding wall and creates a dull spot called 'flashing' that's visible from across the room.
Why is my patch still visible after painting?
+
Two likely causes: flashing (the patch absorbed paint differently because you skipped primer) or surface texture mismatch (the patch is glass-smooth and the wall has orange-peel or knockdown texture). Fix flashing with a primer coat. Fix texture mismatch with a texture-in-a-can spray or by dabbing thinned spackle with a stiff brush before it dries.
How big a hole can I patch with spackle alone?
+
About 1/2 inch wide is the practical limit. Anything larger — picture-hanger blowouts, doorknob punches, ex-cabinet holes — needs a mesh patch or a 'California patch' (a hand-cut drywall scrap). Spackle on its own has no structural backing, so a hole wider than your putty knife will just push the spackle through into the wall cavity. For those, follow How to Patch Drywall Holes.
Community Tips
💬 Sign in to share tips with the community
Sources & further reading
- Spackling 101 — DAP
- How to Fix Nail Holes — The Right Way — Bob Vila
More Carpentry Guides
View all → Medium2 hrs
How to Patch a Large Hole in Drywall
A doorknob blowout, a wall-anchor failure, a fist through the drywall during the move-out — these holes are too big for spackle but too small to justify cutting in a full drywall section. The mesh patch (for 1/2-inch to 4-inch holes) and the California patch (for 4 to 8-inch holes) both finish flush, paint over invisibly, and cost under $25 in materials. The job takes about two hours of hands-on work spread over two or three days of compound cure time.
 Easy1 hr
How to Patch Any Size Hole in Drywall: Which Method to Use
Whether it's a nail pop, a doorknob punch-through, or a fist-sized hole from moving furniture, patching drywall is one of the most common home repairs — and doing it yourself saves $75-200 per hole versus hiring a handyman. This guide is the decision tree: match your hole size to the right method — spackle, mesh patch, or backer-board cutout — then follow the pro steps to an invisible, paint-ready finish.
 Easy30 min
How to Install Drywall Anchors for Heavy Items
A failed wall anchor doesn't just dent your drywall — it can drop a 60-pound TV onto a coffee table. This guide explains the five anchor types, when to use each, the stud-first rule that pros follow, and the pull-test that catches a bad install before your TV does. For the holes left behind by failed anchors, a $5 tub of spackle and ten minutes covers the cleanup.
You Might Also Like
 Easy1 hr
How to Start a Compost Bin
Composting converts kitchen scraps and yard waste into rich, free fertilizer that dramatically improves garden soil. Setup takes under an hour and once running, the bin requires minimal effort for big rewards.
 Medium2 hrs
How to Prune Fruit Trees
Regular pruning is the most important annual task for fruit tree health and productivity. Properly pruned trees produce larger, higher-quality fruit, resist disease better, and live significantly longer than unpruned trees.
 Medium30 min
How to Troubleshoot a Microwave That Won't Heat
A microwave that runs — light on, turntable spinning, timer counting down — but leaves food stone cold is one of the most common appliance failures, and about half the time the cause is something you can fix in five minutes for free. This guide walks the diagnosis from the easy stuff (demo mode, power level, a tripped GFCI, a dirty door latch) to reading the failure signature that tells you the high-voltage circuit is gone, then helps you make the repair-or-replace call with real numbers.