How to Install a GFCI Outlet
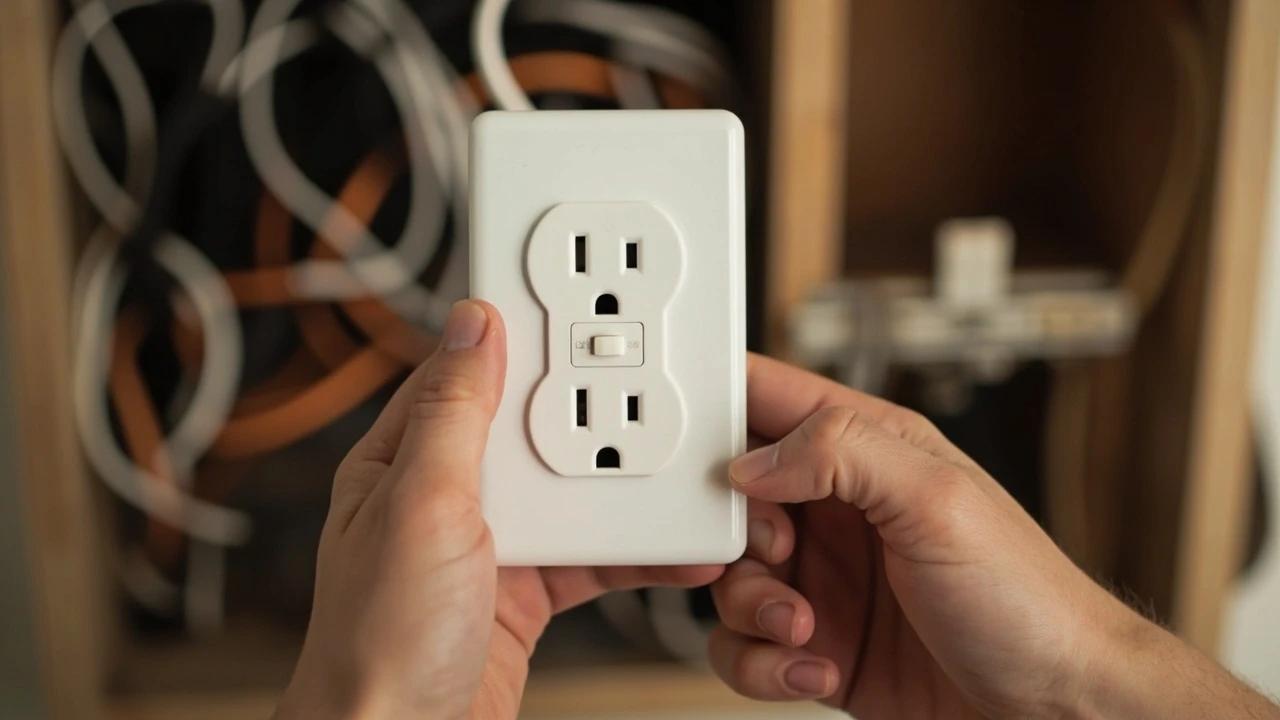

A GFCI outlet cuts power in a fraction of a second when it senses electricity leaking to ground — the exact protection code now requires in kitchens, bathrooms, garages, basements, laundry rooms, and anywhere outdoors. Installing one yourself takes about 45 minutes and costs $15-25 in parts versus $120-250 for an electrician. This guide shows you how to wire the LINE and LOAD terminals correctly so the outlet actually works the first time — and how to protect a whole string of downstream outlets from a single device.
What You'll Need
🛠 Tools
📦 Materials
Safety First
- •Turn off power at the circuit breaker — not just a wall switch — and confirm the box is dead with a non-contact voltage tester, checking every wire, before touching anything. Household 120V current can cause serious injury or death.
- •Match the GFCI amperage to the circuit. Putting a 20-amp GFCI on a 15-amp circuit wired with 14-gauge wire lets the wire overheat before the breaker trips — a fire hazard.
- •GFCI screw terminals are rated for a single wire each. If a terminal must feed two cables, pigtail them together with a wire nut and one jumper to the screw — never force two wires under one terminal.
Step-by-Step Instructions
Turn Off Power and Confirm the Box Is Dead
Go to the main panel and switch off the breaker feeding the outlet. If the breakers aren’t labeled, plug a lamp into the outlet and flip breakers until it goes dark, then tape a note over that breaker so no one flips it back on. Return to the outlet, remove the cover plate, and hold a non-contact voltage tester against each wire and screw terminal. Only proceed once the tester stays silent on every conductor in the box.
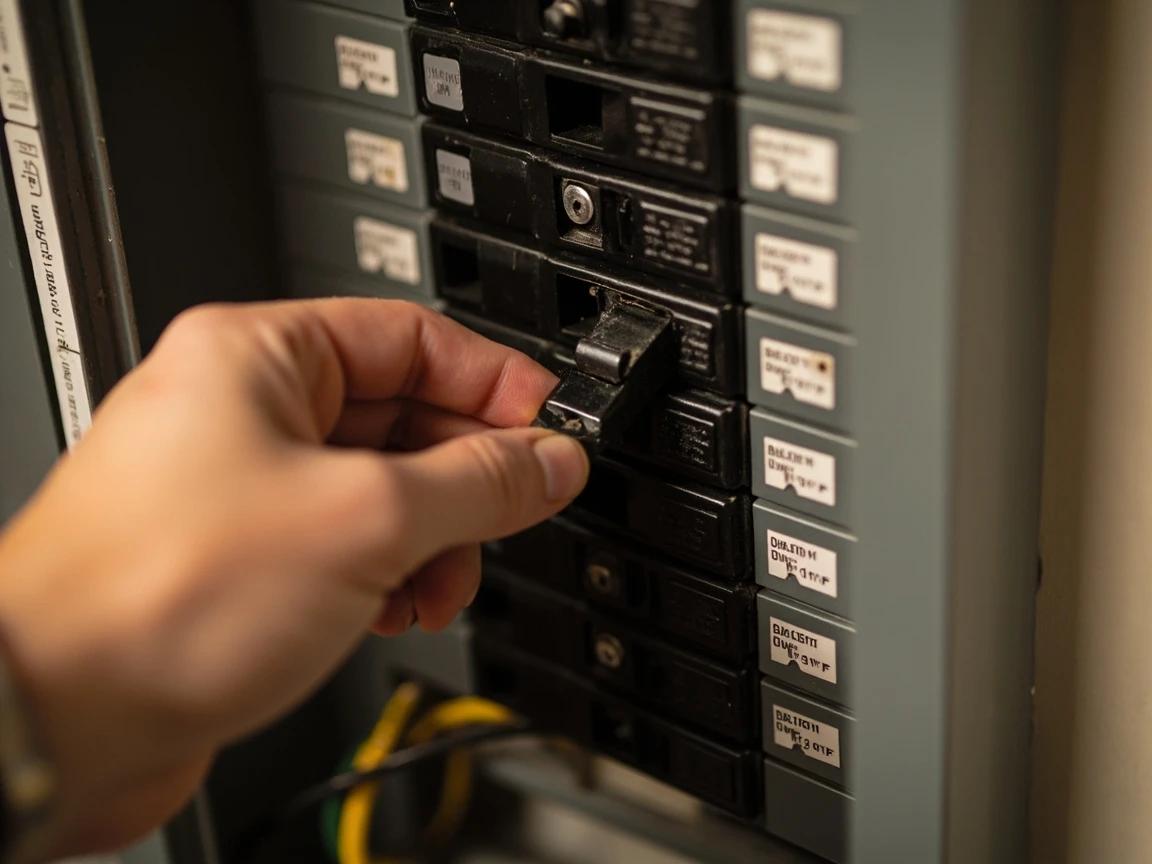
Don’t trust the breaker alone. Multi-wire branch circuits can keep part of a box live from a second breaker — always verify with the tester.
Remove the Old Outlet and Count the Cables
Unscrew the two mounting screws and pull the old receptacle straight out by its mounting tabs, bringing the wires with it. Take a clear phone photo of the connections before you touch them. Now count the cables (not wires) entering the box. One cable (a hot, a neutral, and a ground) is the simple case — all of it is LINE. Two or more cables means one is the incoming power (LINE) and the other(s) feed downstream outlets (LOAD), and you’ll need to tell them apart in the next step.
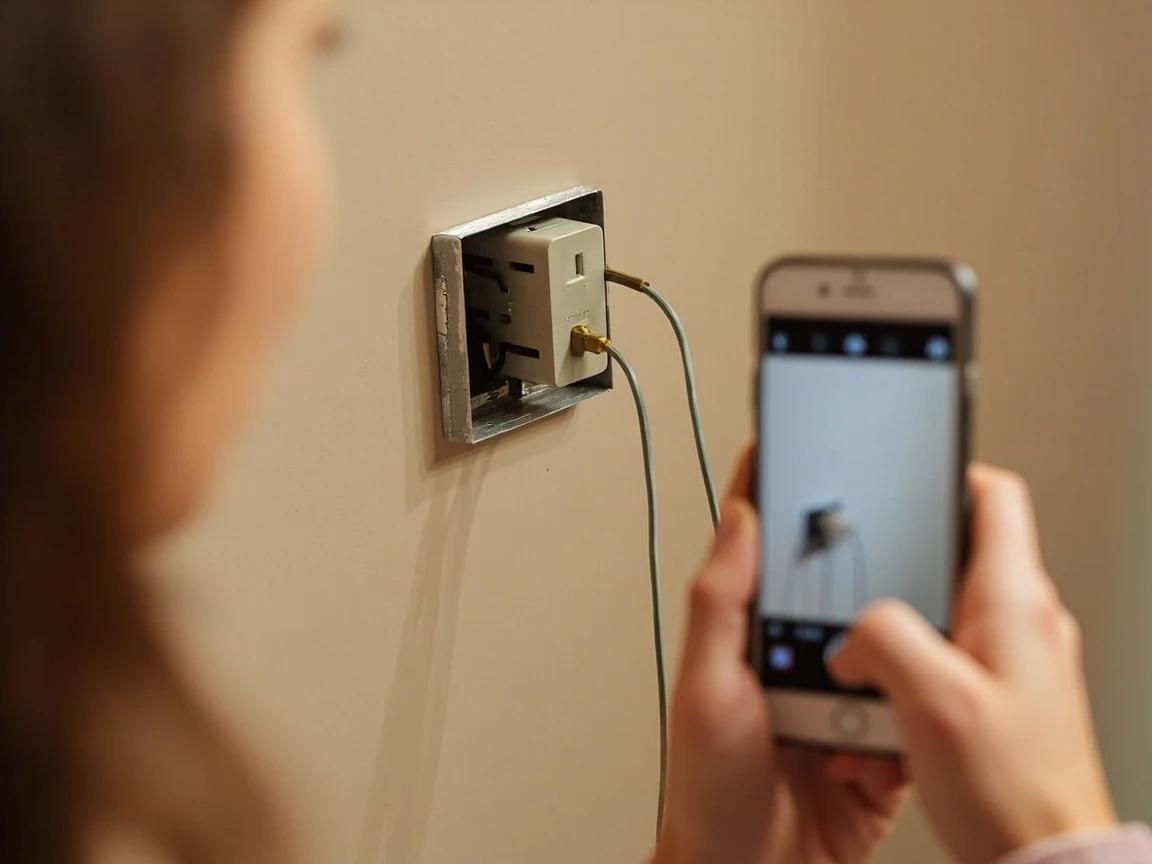
If there’s only a single cable in the box, skip the LINE/LOAD identification — connect everything to the LINE terminals and tape over the LOAD side.
Identify the LINE Cable (Two-Cable Boxes Only)
Disconnect every wire from the old outlet and separate the two black (hot) wires so they can’t touch each other, the box, or any neutral — cap each with a wire nut for safety. Briefly switch the breaker back on, then use a non-contact voltage tester (or a multimeter reading to neutral) to find which black wire is energized. That live wire and its paired white and ground are your LINE. Switch the breaker back off, re-cap nothing you need, and mark the LINE cable with a wrap of tape so you don’t lose track.
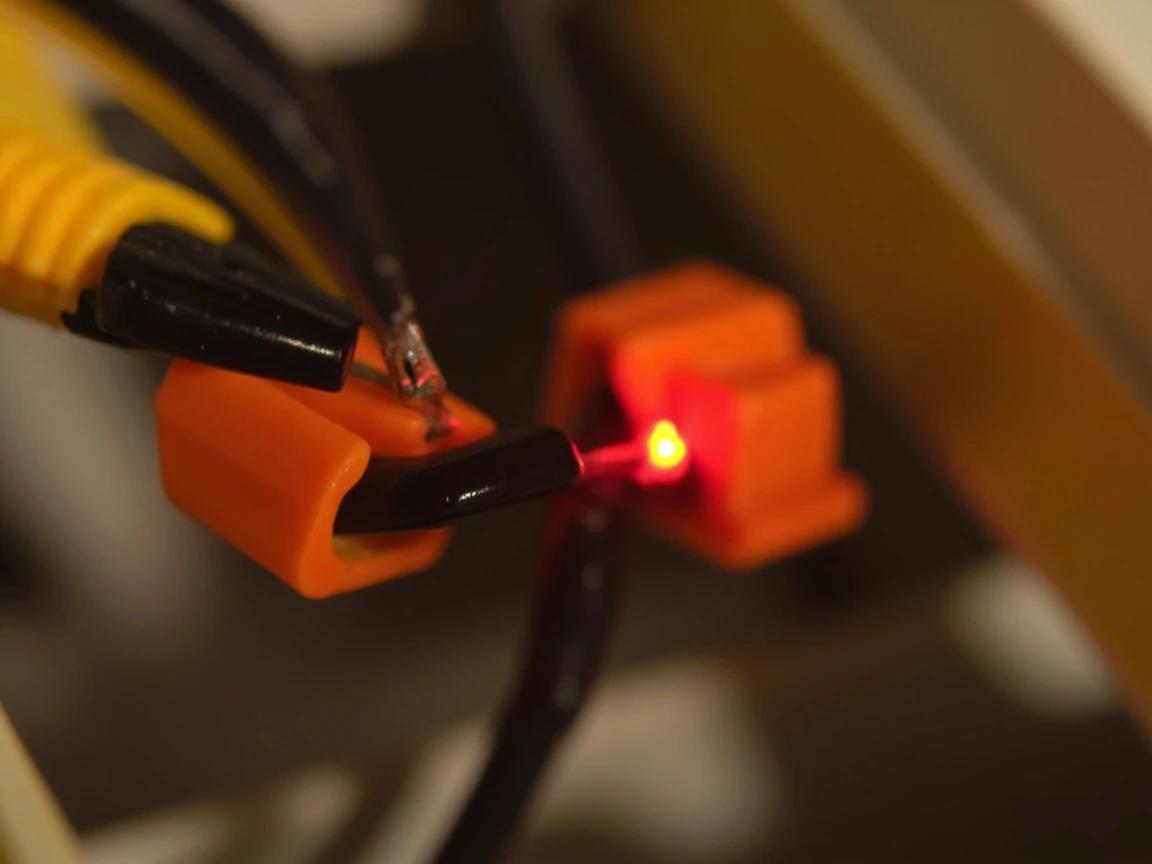
The wires are live during this test. Keep the separated conductors apart, handle only the insulated portions, and switch the breaker off again before wiring the new outlet.
Strip and Shape the Wire Ends
With the power confirmed off again, inspect each wire end. Trim off any nicked, corroded, or over-bent copper and use wire strippers to expose a fresh 3/4 inch of bare conductor — the strip gauge is usually printed on the GFCI body. For screw terminals, use needle-nose pliers to bend the bare end into a clockwise hook; if your GFCI has clamp-style back-wire terminals, leave the wire straight. Make sure no more than about 1/16 inch of bare copper will show past the terminal once tightened.
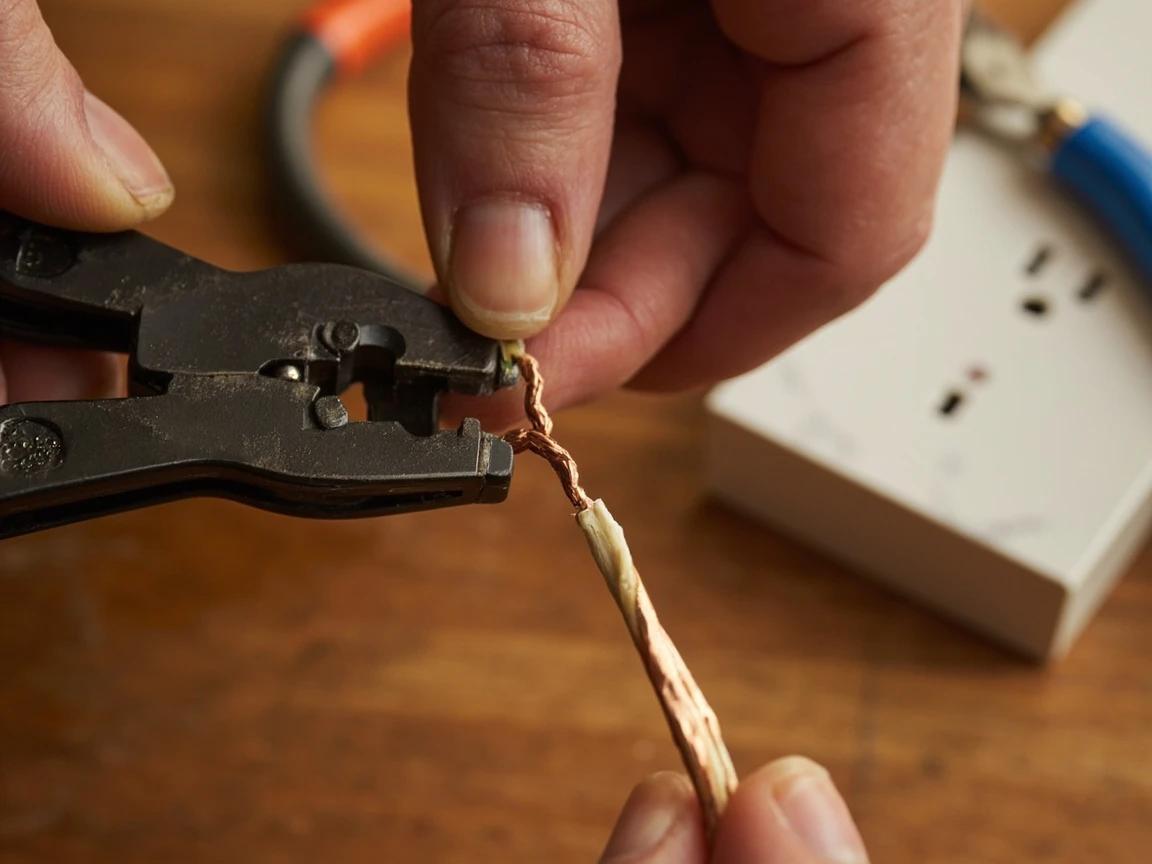
Wire the LINE Terminals and Ground
On the back of the GFCI, the LINE terminals are the pair NOT covered by the yellow factory tape. Connect the incoming black (hot) wire to the brass LINE terminal and the incoming white (neutral) to the silver LINE terminal. Then attach the bare copper or green ground wire to the green grounding screw with a clockwise hook. Tighten every screw firmly — a loose terminal is the top cause of a GFCI that nuisance-trips or fails. If the box has no ground wire, leave the green screw empty and plan to label the outlet in Step 8.
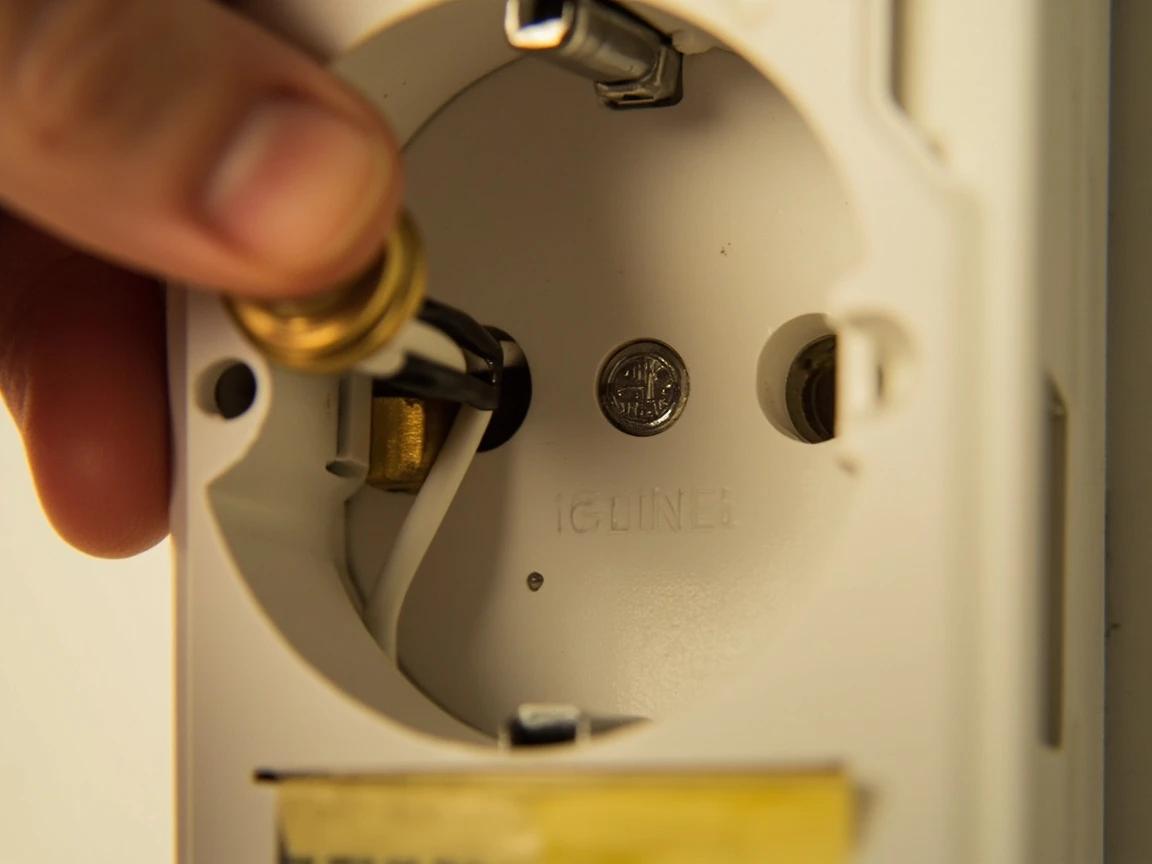
Wrap each hook clockwise around its screw so tightening pulls the loop closed. Counterclockwise pushes the wire out from under the screw head.
Wire the LOAD Terminals (or Tape Them Off)
If a second cable feeds downstream outlets you want GFCI-protected, peel the yellow tape off the LOAD terminals and connect the outgoing black to the brass LOAD screw and the outgoing white to the silver LOAD screw. This single GFCI will now protect every standard outlet past it. If you’re only protecting this one location, leave the LOAD terminals untouched with the factory tape in place. Getting LINE and LOAD backwards is the number-one GFCI mistake — double-check that the incoming power is on LINE.
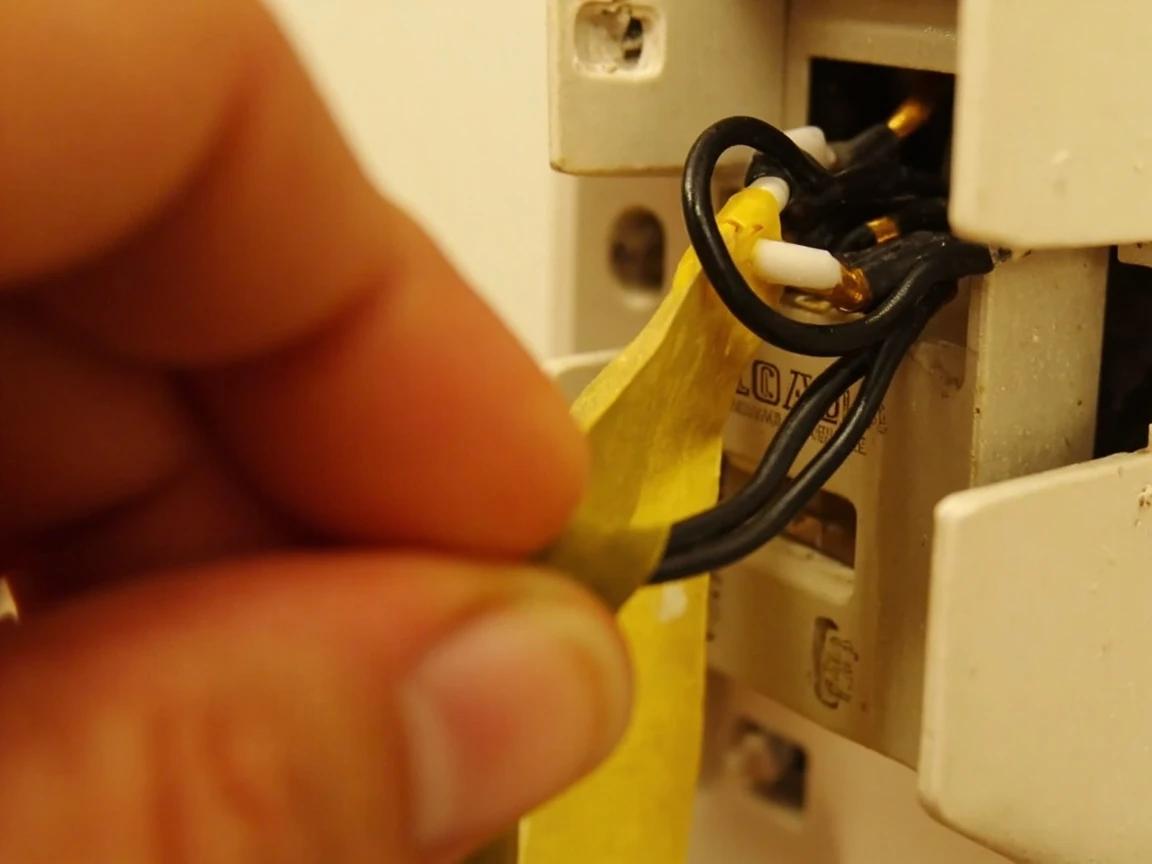
Reversing LINE and LOAD leaves downstream outlets unprotected and, on most modern GFCIs, prevents the unit from resetting at all. Incoming power always goes to LINE.
Fold the Wires and Mount the Outlet
GFCI receptacles are bulkier than standard outlets, so the box can get tight. Fold the wires back in an accordion pattern — don’t cram or kink them — and ease the GFCI into the box. Drive the top and bottom mounting screws until the outlet sits flush and vertical, using the slotted tabs to fine-tune the alignment. Attach the GFCI-rated cover plate; it should sit flat against the wall with the TEST and RESET buttons centered in their openings.
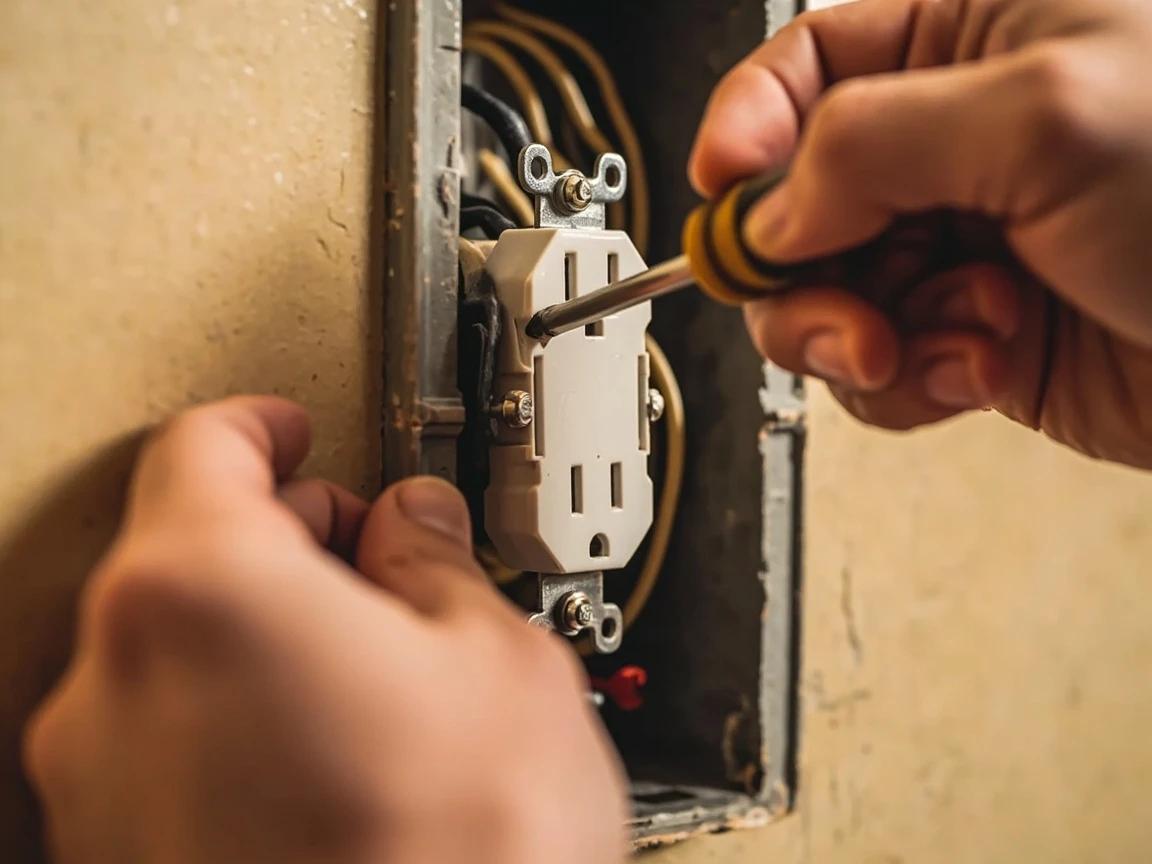
If the deep GFCI won’t fit, a $3 "box extender" or a switch to a slim-body GFCI buys the room you need without cutting the wall.
Restore Power, Test, and Label
Switch the breaker back on. Press the RESET button — it should click and stay in. Plug a lamp into the outlet to confirm it has power, then press TEST: the lamp should go dark and RESET should pop out. Press RESET again to restore power. If you wired a LOAD side, repeat the test at a downstream outlet to confirm it loses power too. Finally, if the circuit had no ground, apply the included "No Equipment Ground" and "GFCI Protected" labels.
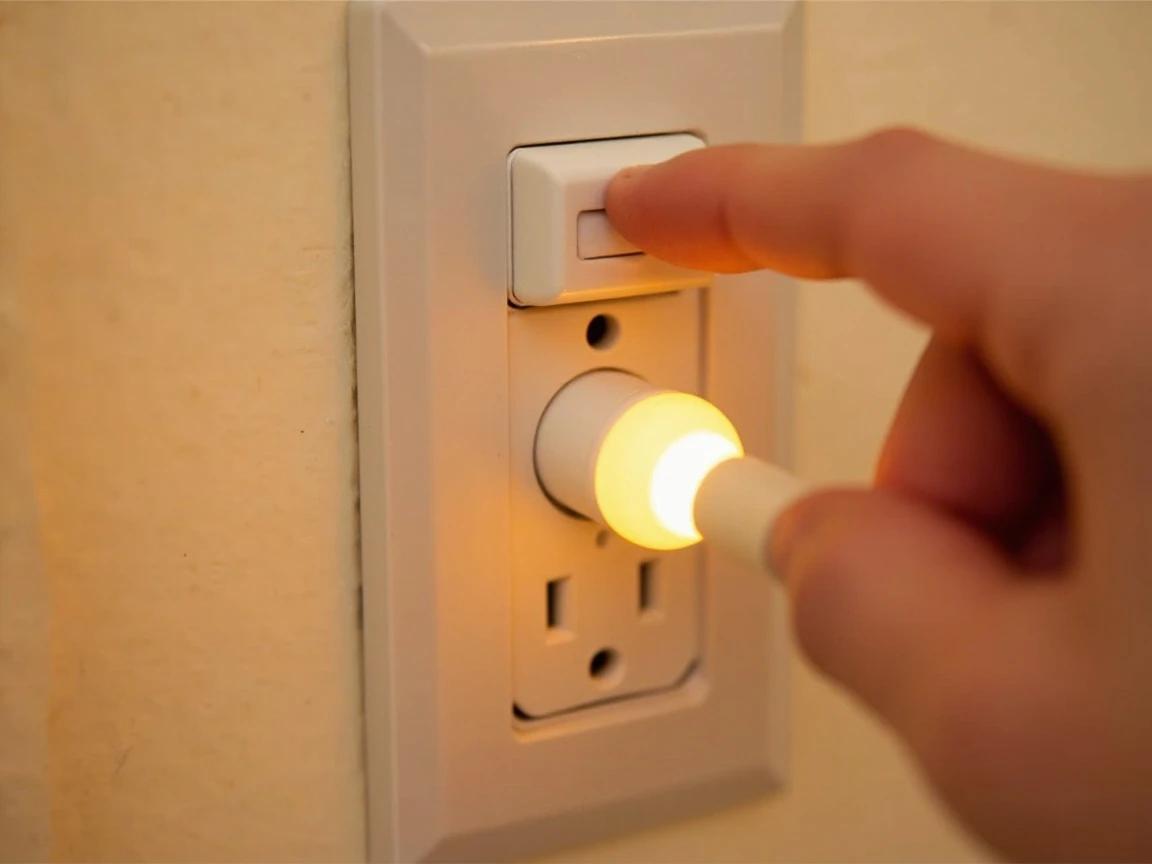
On an ungrounded circuit a plug-in three-light tester will read "open ground" and can’t trip the GFCI — that’s expected. The built-in TEST button is the valid check.
Frequently Asked Questions
Can I install a GFCI outlet without a ground wire?
+
Yes. The NEC (406.4(D)(2)) specifically allows a GFCI on a two-wire, ungrounded circuit — it’s the approved way to upgrade old two-prong outlets to a safer three-prong receptacle. Leave the green ground screw empty (never bridge it to neutral) and stick the included "No Equipment Ground" label on the outlet or cover plate. It still protects you, because a GFCI senses current imbalance between hot and neutral, not the ground path. One caveat: a plug-in three-light tester can’t trip an ungrounded GFCI, but the outlet’s own TEST button will.
What is the difference between the LINE and LOAD terminals?
+
LINE is the incoming power from your breaker panel — connect it here and the GFCI protects everything plugged into that outlet. LOAD is optional: wiring downstream outlets to the LOAD terminals extends GFCI protection to all of them from this one device. New GFCIs ship with yellow tape over the LOAD terminals so you don’t use them by accident. If you only need to protect this one spot, leave LOAD empty.
Why won’t my new GFCI outlet reset?
+
The most common reason is reversed LINE and LOAD — the incoming power got wired to the LOAD terminals instead of LINE. Modern GFCIs are designed not to reset when miswired, which is actually a built-in safety check. Kill the power and move the incoming hot and neutral to the LINE terminals. If wiring is correct, the other causes are no power reaching the line side, a genuine ground fault downstream, or a defective unit.
Do I need a 15-amp or a 20-amp GFCI?
+
Match it to the circuit. A circuit with 14-gauge wire on a 15-amp breaker takes a 15-amp GFCI; 12-gauge wire on a 20-amp breaker takes a 20-amp GFCI (recognizable by the T-shaped neutral slot). Check the breaker rating in your panel and the wire gauge in the box. Never install a 20-amp GFCI on a 15-amp circuit.
How often should I test a GFCI outlet?
+
Test it monthly. Press TEST — the power should cut off and the RESET button should pop out — then press RESET to restore it. Many newer outlets are "self-test" models that check themselves automatically, but a monthly manual test is still recommended. If an outlet won’t trip when you press TEST, or won’t hold a reset, replace it.
Sources & further reading
- How to Install GFCI Outlets — Family Handyman
- How To Install a GFCI Outlet — This Old House
- Home Electrical Safety — Electrical Safety Foundation International
More Electrical Guides
View all → Easy45 min
How to Install a Smart Lock on an Exterior Door
A smart lock is the rare upgrade that's both safer and more convenient — keypad or phone entry, no spare key under the mat, and a log of who came and went — and on a standard pre-bored door it's a 45-minute swap with a single screwdriver, no electrician needed. The catch isn't wiring (there usually isn't any); it's buying a lock that actually fits your door and getting the bolt to line up so it never jams. This guide covers the compatibility check that prevents a costly return, the install itself, and the alignment and app setup that make it reliable.
 Medium45 min
How to Install a Ceiling Fan
Replacing a light fixture with a ceiling fan improves air circulation in summer and can reduce heating costs in winter by circulating warm ceiling air downward. Most installs take 45-60 minutes.
 Easy30 min
How to Install a Dimmer Switch
Swapping a standard toggle switch for a dimmer takes about 30 minutes, costs $15-30 in parts, and instantly upgrades any room — you get adjustable ambiance, lower energy bills, and longer bulb life. If you can turn a screwdriver and twist a wire nut, you can handle this one-for-one replacement on a single-pole circuit.
You Might Also Like
 Easy30 min
How to Fix a Dripping Faucet
A dripping faucet wastes more than 3,000 gallons of water per year and can add $20 or more to your monthly water bill. The fix is almost always a worn cartridge, washer, or O-ring — parts that cost under $10 and take 20-30 minutes to replace with basic tools.
 Hard8 hrs
How to Paint Kitchen Cabinets
A professional cabinet refinish costs $3,000-8,000, but painting them yourself with the right prep and materials delivers the same transformation for under $200 in a long weekend. The secret is thorough degreasing, a bonding primer, and thin coats with proper dry time between each — skip any of those and the paint will chip within months. This guide walks through the full process from door removal and labeling to final reassembly, covering both brush and roller techniques for a smooth, factory-like finish.
 Medium6 hrs
How to Paint a Room
A fresh coat of paint is the fastest, cheapest way to transform any room — and doing it yourself saves $400-800 in labor for an average 12x12-foot bedroom. The job takes a weekend from prep to final coat, and the difference between an amateur-looking result and a professional finish comes down to technique, not talent. This guide covers prep, cutting in, rolling, and cleanup so you get clean lines and even coverage the first time.