How to Fix Garage Door Sensors That Block Closing
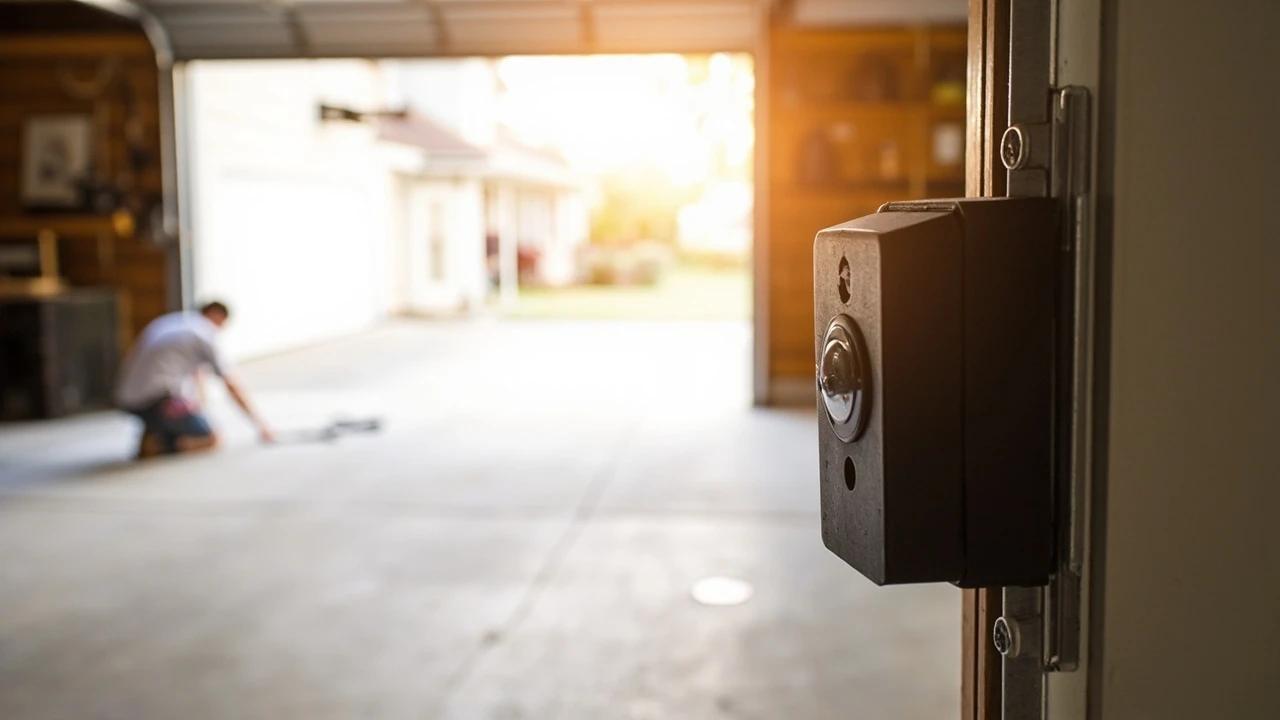

When your garage door rolls down a few inches, stops, and reverses while the opener light blinks, the safety photo-eye sensors are almost always the cause — not the motor. This guide walks the fix in diagnostic order, from a ten-second lens wipe to realignment and a wiring check, so you fix it for free before spending $40 on parts you may not need.
What You'll Need
🛠 Tools
📦 Materials
Safety First
- •The hold-to-close override disables the auto-reverse safety feature — never use it if a child, pet, or anything else could be in the doorway, and only ever as a one-time way to secure the door until you fix the sensors.
- •The photo-eye sensors are what stop the door from crushing a child or pet. Never permanently bypass, disable, or twist the wires together to fake alignment — auto-reverse sensors have been federally required on residential openers since 1993.
Step-by-Step Instructions
Confirm It's the Sensors, Not the Motor
Watch the door as you press the button: if it starts down, stops after a few inches, reverses back up, and the opener's overhead light flashes (often ten times), that's the signature of a photo-eye fault, not a broken motor or spring. A door that instead grinds, rumbles, or struggles is a mechanical issue — that's a lubrication or roller problem, not a sensor one. The sensors are the two small housings mounted low on the tracks on either side of the door, a few inches off the floor.
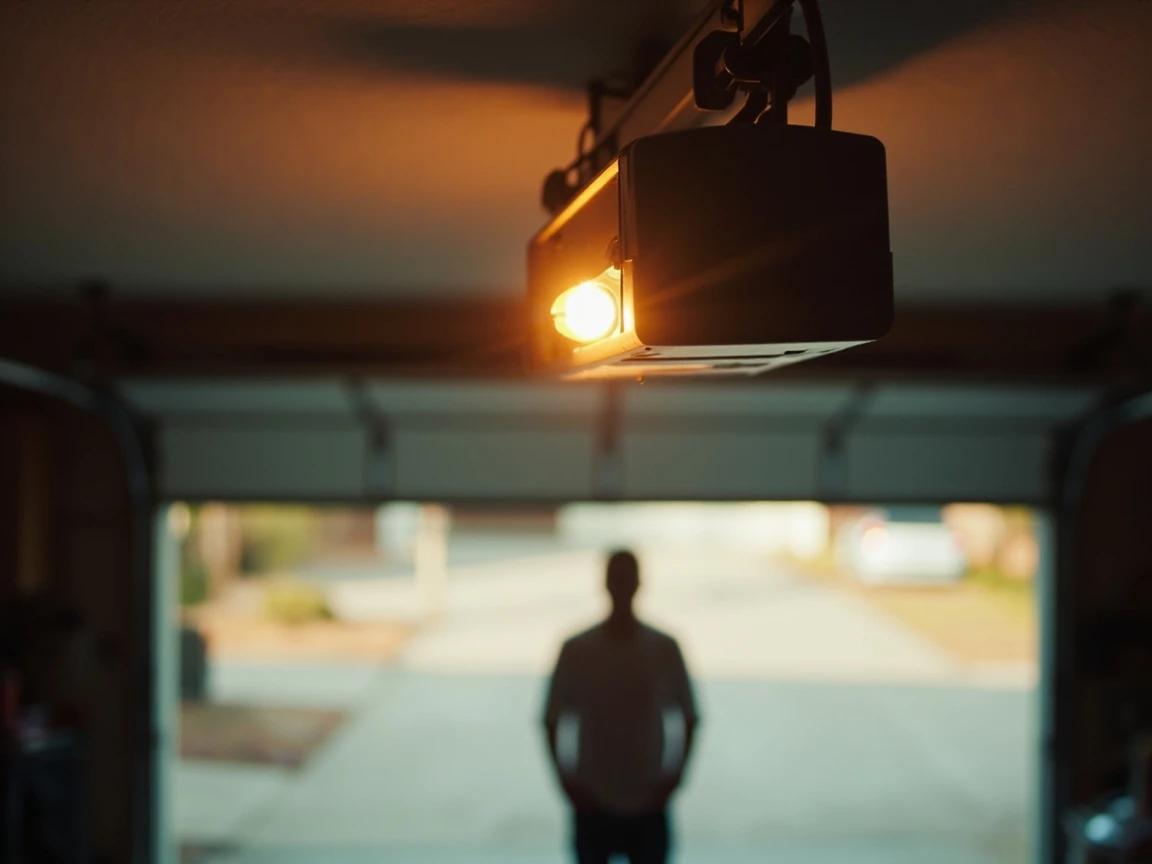
Count the flashes and check your opener's manual — most brands print a blink-code table, and the count often pinpoints whether it's alignment, a blocked beam, or a wiring fault.
Secure the Door Tonight With the Wall-Button Override
If you just need the door closed right now, press and hold the hardwired wall button — the flat panel mounted on the garage wall — and keep holding it until the door is fully down. This constant-pressure override tells the opener you're watching the doorway, so it bypasses the sensors for that one close. It works only from the wall button, not a remote, keypad, or car button, and only while you hold it down.
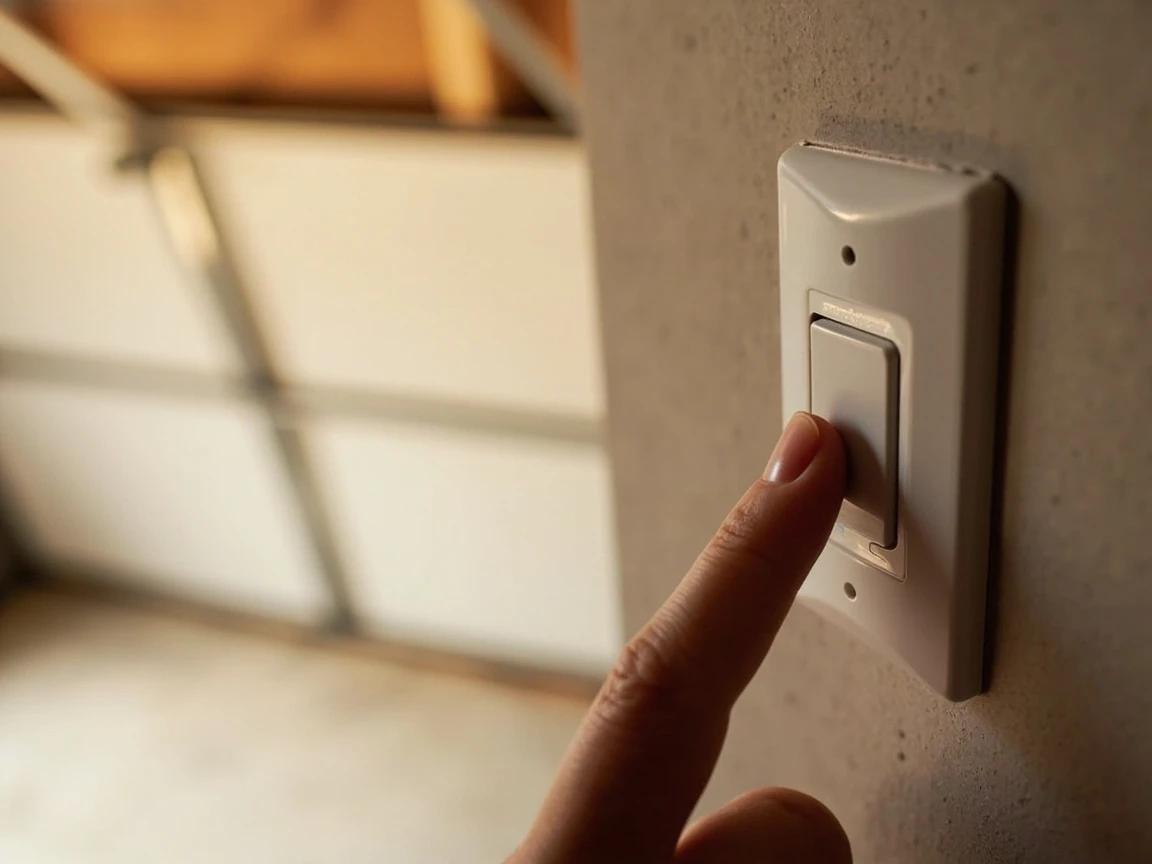
Holding the button switches off the auto-reverse — make absolutely sure the doorway is clear of people and pets before you use it, and treat it only as a stopgap until the sensors are fixed.
Read What the Two Indicator Lights Are Telling You
Each sensor has a tiny LED. The sending sensor's light stays steady whenever it has power; the receiving sensor's light comes on only when it can actually see the beam across the doorway. So a lit sender with a dark or blinking receiver means the beam is broken — go clean and align. If both LEDs are completely dark, skip ahead to the wiring check, because that points to lost power rather than misalignment.
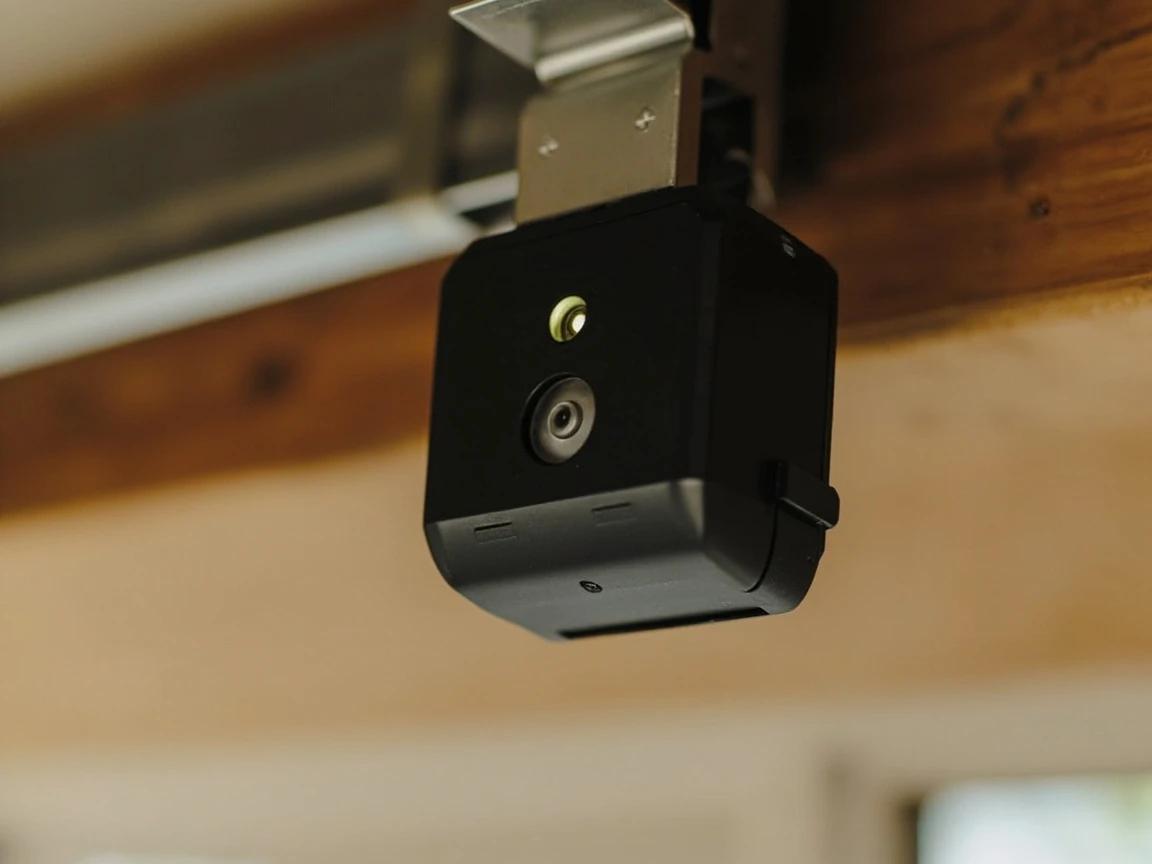
Which color means what varies by brand, but the rule holds everywhere: the receiving light is the one that only glows when the beam is intact — that's the light you're trying to make solid.
Wipe Both Lenses Clean
Gently wipe the round lens on each sensor with a dry microfiber cloth — a single cobweb, a film of dust, or road grime is enough to scatter the infrared beam and stop the door. Spiders are the number-one repeat offender, so check inside the little hood over each lens. If there's stuck-on grime, dampen the cloth with water or a dab of glass cleaner, never a harsh solvent that could haze the plastic.
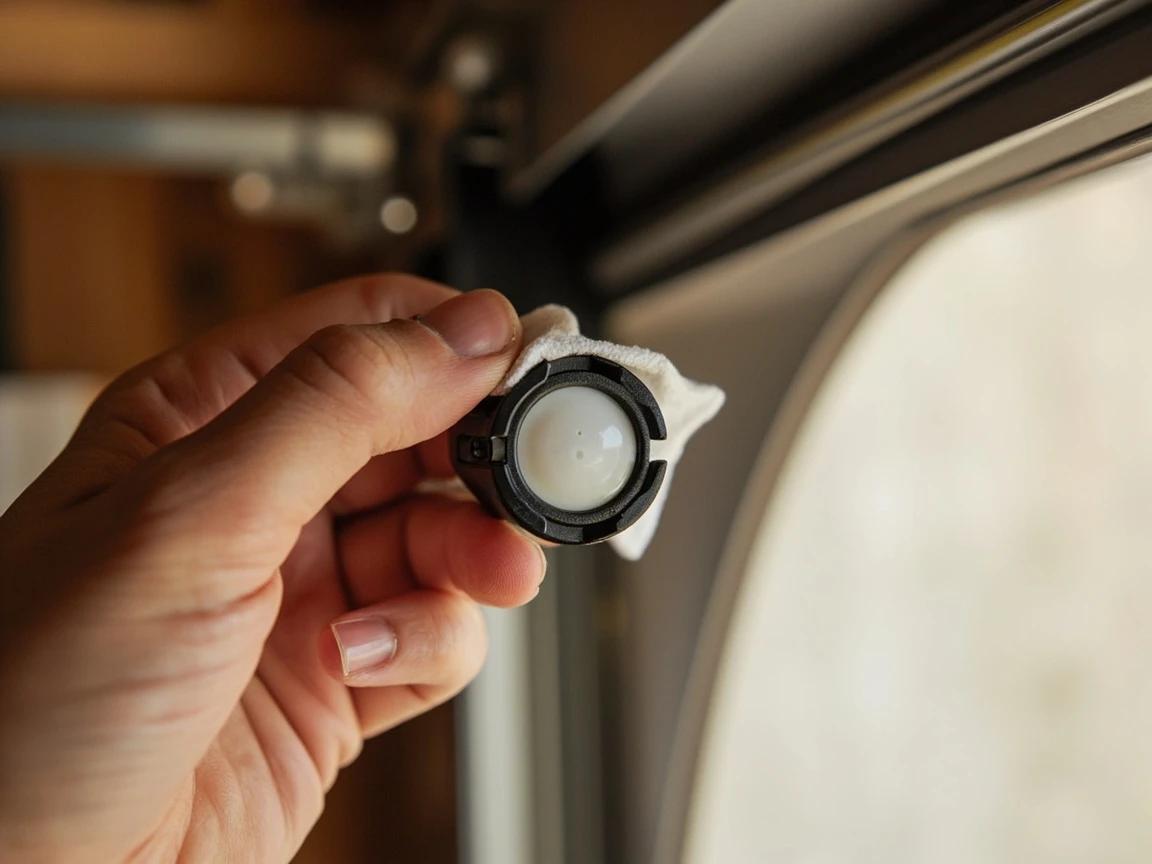
Condensation and morning frost fog the lens the same way dirt does — if the door only misbehaves on cold or humid mornings, a quick wipe is usually the whole fix.
Clear the Beam Path and Rule Out Sun Glare
Look along the floor between the two sensors and remove anything breaking the invisible line — a trash bin, a coiled hose, a leaf pile, even a slightly open door mat can clip the beam. Then consider the sun: low, direct sunlight shining straight into the receiving lens can overwhelm it and mimic a broken beam. If the door only fails at a certain time of day, shade that sensor with your hand to test, then add a short cardboard or plastic hood over the lens.
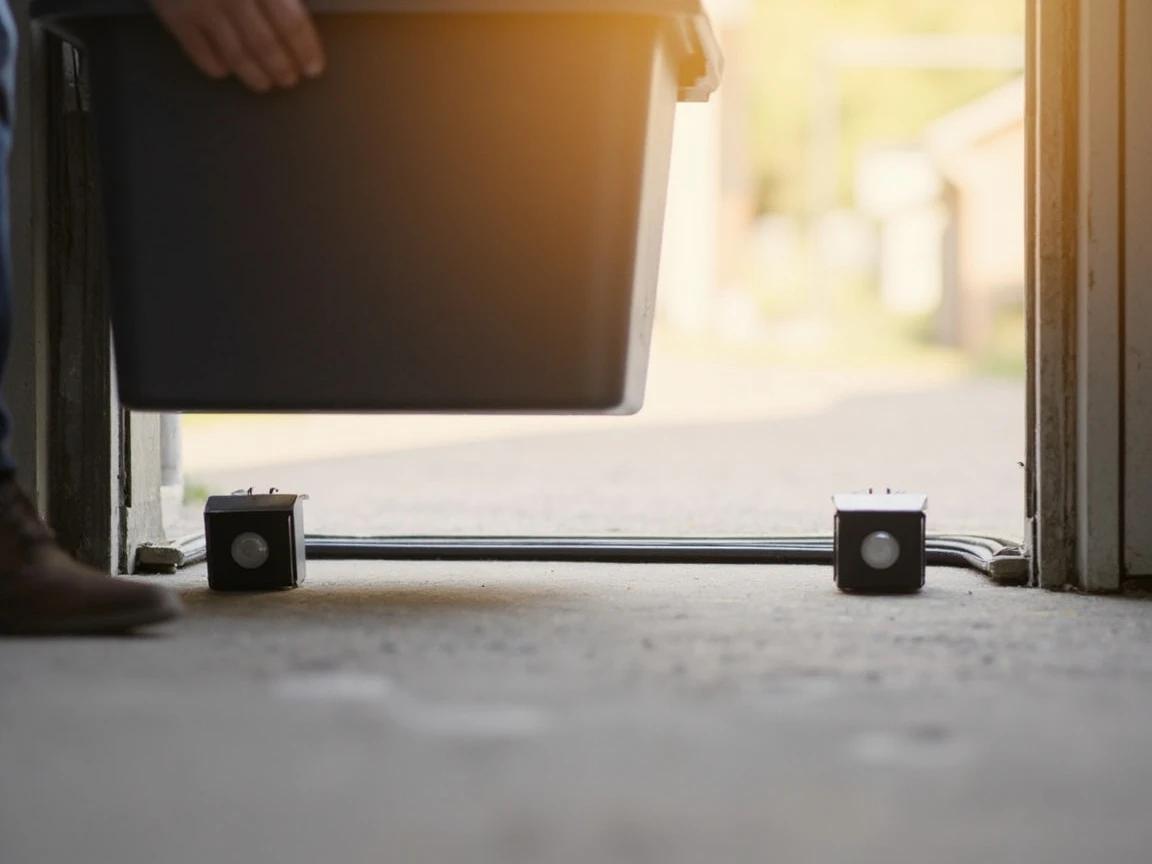
Realign Until the Receiving Light Glows Solid
If a sensor got bumped by a bike or a car door, it's aiming off. Loosen its wing nut or mounting screw just enough to pivot the housing, then aim it slowly toward the opposite sensor while watching the receiving LED — stop the instant it turns solid, then snug the fastener without over-tightening. Confirm both sensors sit at the same height and no more than 6 inches above the floor, which is the UL 325 code height so the beam can catch a small child or pet.
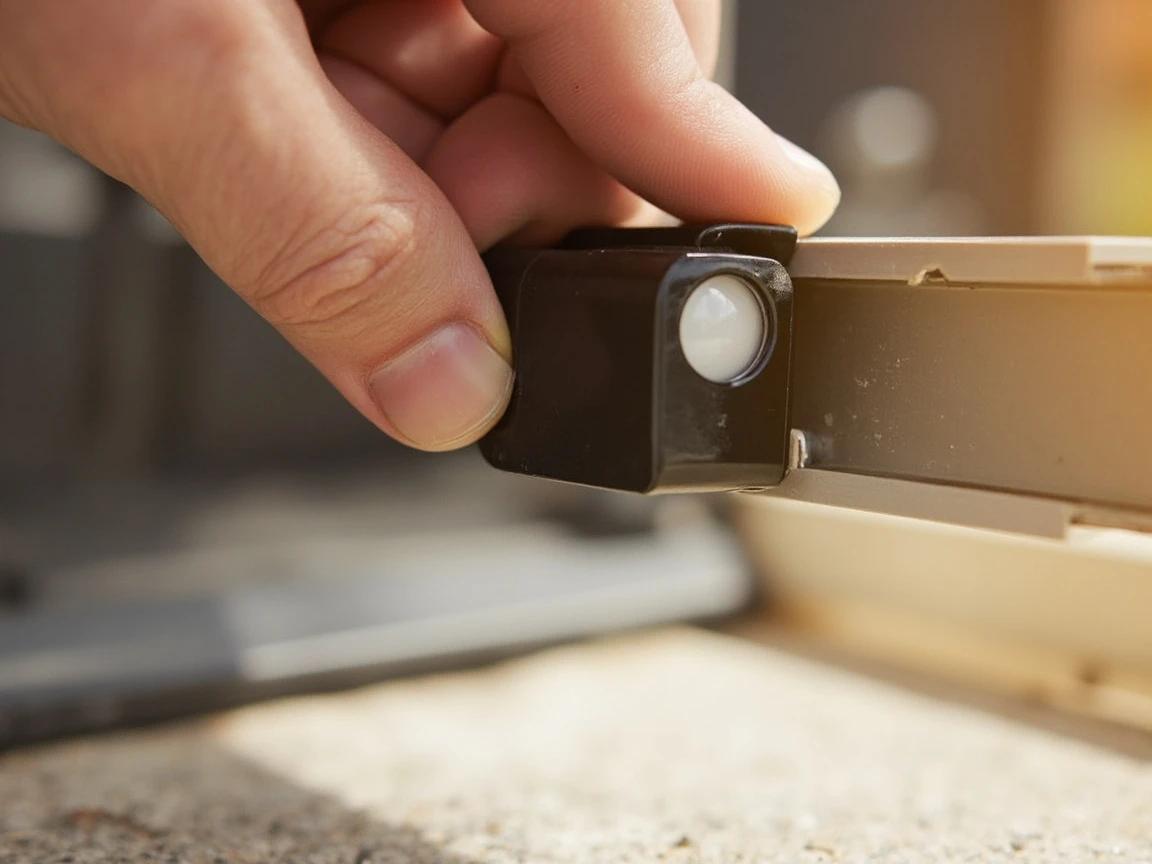
To match the heights exactly, measure from the floor to the center of each lens with a tape measure — even a half-inch difference can drop the beam on a long double-door opening.
Inspect and Fix the Low-Voltage Wiring
If cleaning and aligning didn't restore the solid light, follow each sensor's thin two-conductor wire up along the track and framing back to the opener, looking for a staple driven through the insulation, a kink, a rodent chew, or a green corroded terminal. Gently wiggle the wire near each sensor while watching the LED — a flicker means a broken conductor or loose connection at that spot. Re-strip and reconnect any damaged run with a proper twist and a wire nut; these are low-voltage lines, so there's no shock risk, but a nicked wire will keep the door from closing.
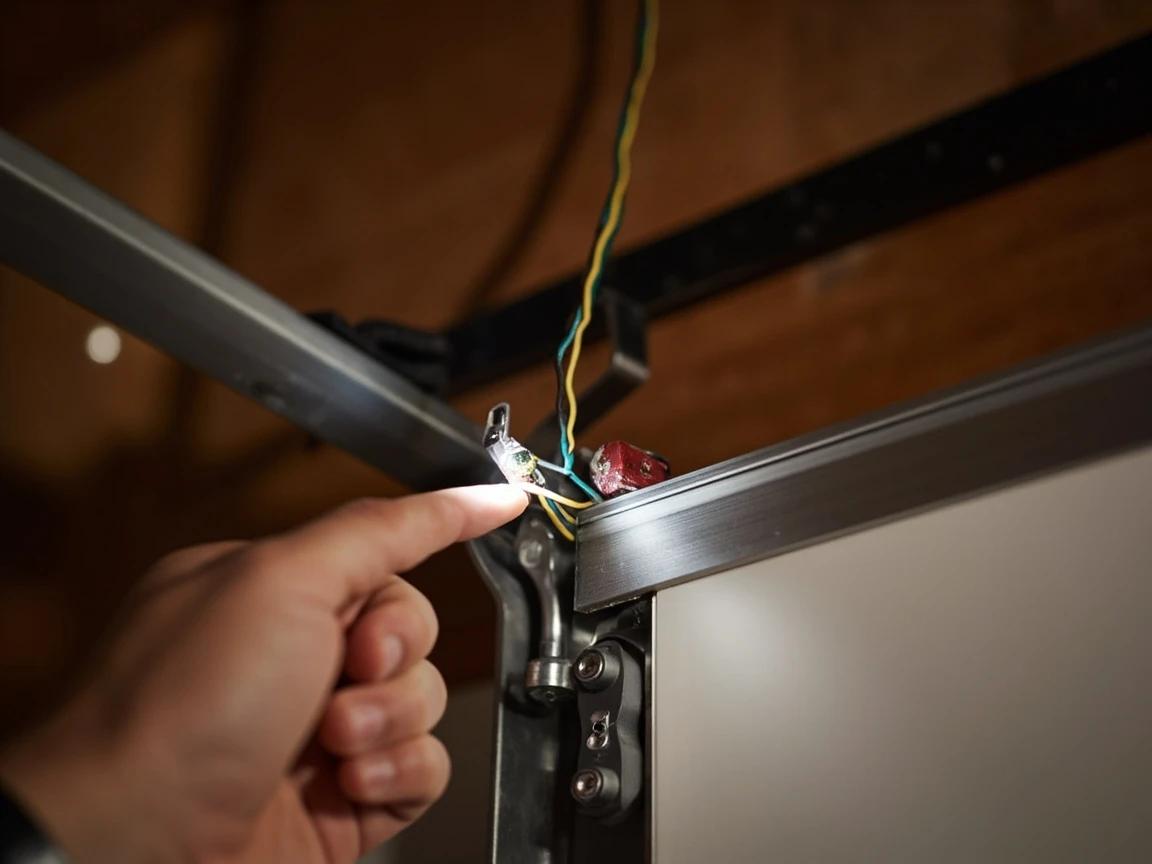
If the opener itself is completely dead — no lights, no hum — the problem is upstream at the outlet or breaker, not the sensors; check for a tripped circuit breaker or GFCI first.
Run the Safety Reversal Test
Once the door closes on its own again, prove the sensors still protect the doorway. Lay a flat object like a 2x4 or a paper-towel roll on the floor directly in the door's path, then press close: the door must reverse the moment the object breaks the beam. If it doesn't reverse, stop using the opener until the sensors are working — that auto-reverse is the entire reason they exist.
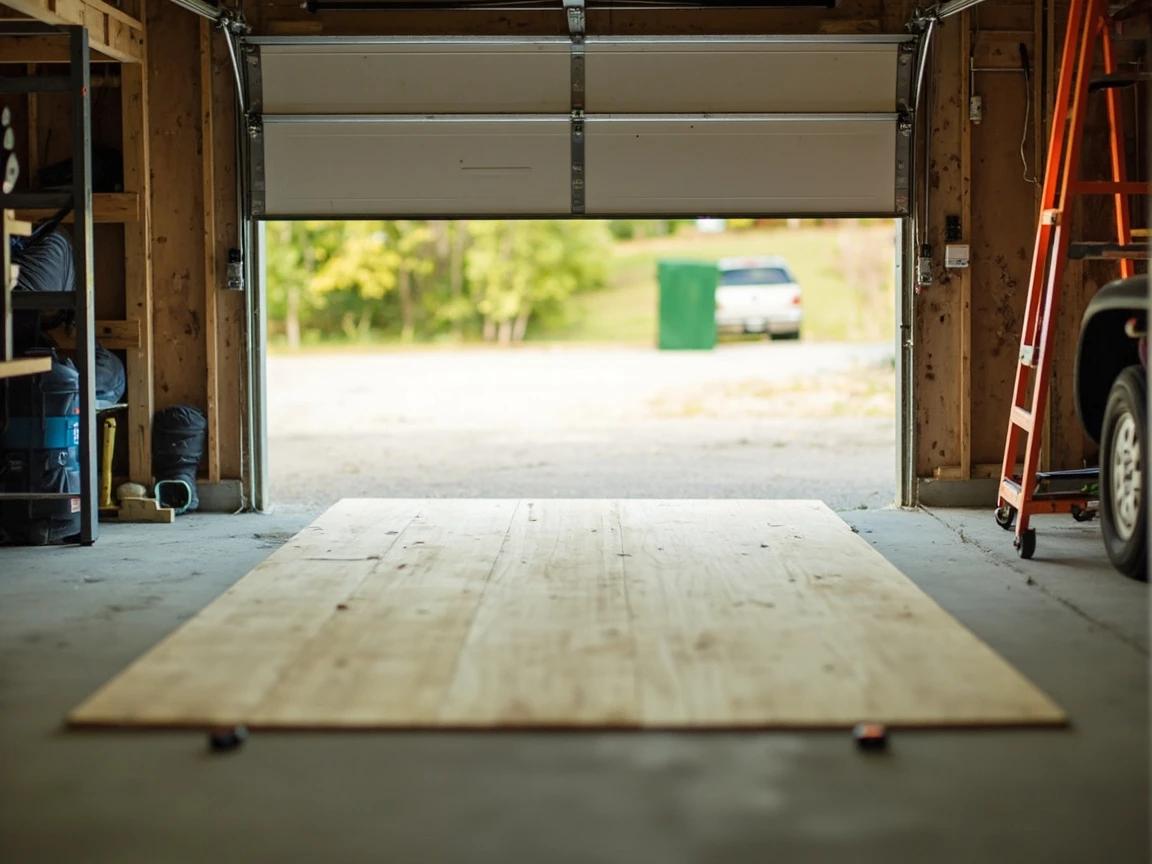
Also test the door's other safety feature while you're here: press close, then push up on the descending door's bottom edge with both hands — it should reverse from the pressure alone.
Replace a Failed Sensor as a Matched Pair
If a sensor won't light no matter how you clean, aim, or rewire it — and swapping it to the other side proves the sensor is the dead one — replace it. Buy sensors as a matched sending-and-receiving pair, since the two halves are tuned to each other and mixing brands rarely works; a universal pair runs about $18 to $40 and installs on the existing brackets. Match each new wire to the same terminal on the opener, mount both at the same height under 6 inches, and rerun the reversal test.
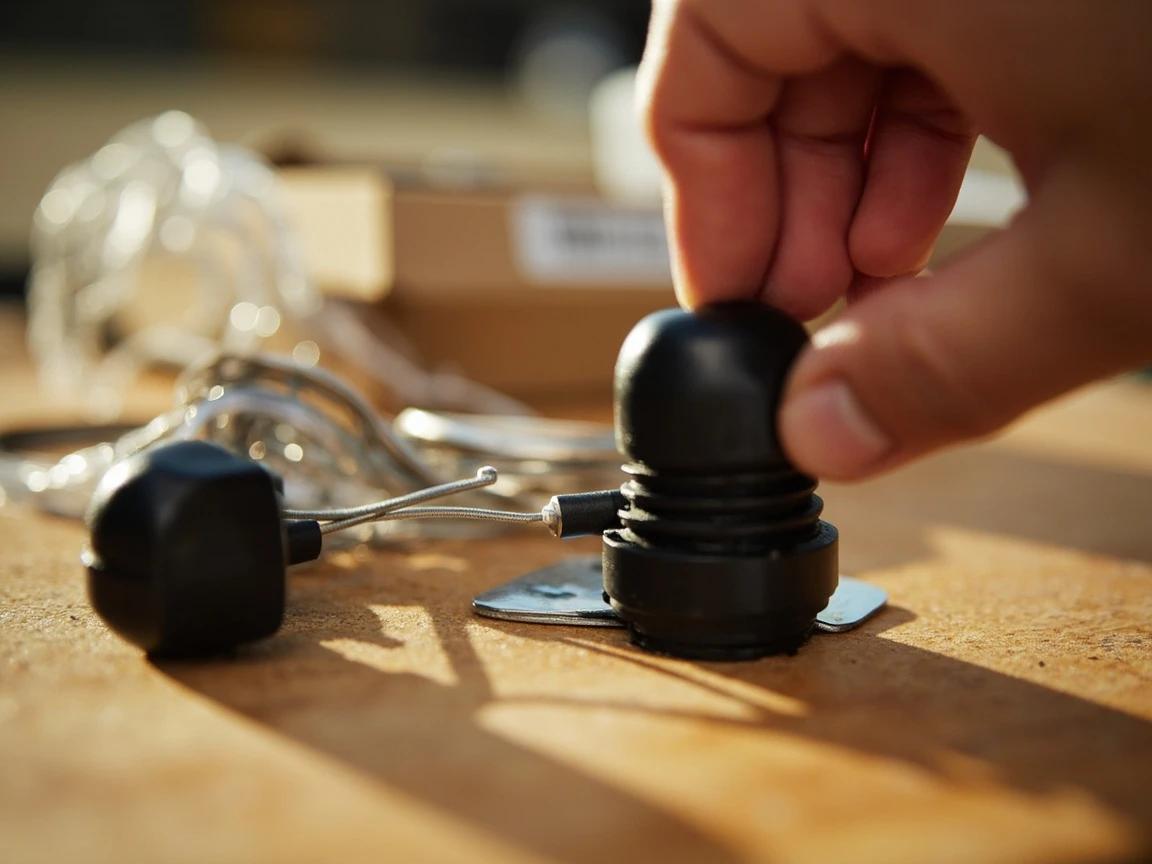
Snap a phone photo of the opener's wiring terminals before you disconnect anything — matching the new wires to the same screws later takes the guesswork out.
Frequently Asked Questions
Why is my garage door light blinking 10 times and the door won't close?
+
Ten blinks is the near-universal opener code for a safety-sensor fault: the two photo eyes near the floor aren't seeing each other, so the opener refuses to close. The cause is almost always a dirty or misaligned lens, something breaking the beam, or a damaged sensor wire. Start by wiping both lenses and checking that the receiving sensor's light glows steady — if it stays off or flickers, the beam is still broken.
Can I bypass or disable my garage door sensors to close it?
+
You can close it once by pressing and holding the hardwired wall button until the door is all the way down — that override works only from the wall button, never a remote or keypad, and it switches off the auto-reverse while you hold it. Do that only to secure the door temporarily, and never with anyone in the doorway. Permanently disabling the sensors is unsafe and violates the federal safety standard that has required them on residential openers since 1993.
How do I know if my garage door sensor is bad or just misaligned?
+
Clean both lenses and realign them until the receiving light is solid; if it won't go solid no matter how you aim it, and the wiring checks out, the sensor is likely dead. Confirm by swapping the two sensors left-for-right — if the fault follows the sensor to the other side, that sensor is bad; if the dark side stays dark, the problem is the wiring or terminal on that side. A replacement pair runs about $18 to $40.
Why is one garage door sensor light on and the other off?
+
That's usually normal: the sending sensor shows a steady light (often amber) any time it has power, while the receiving sensor's light (often green) only comes on when it can actually see the beam. So a lit sender plus a dark receiver means the beam is broken by dirt, misalignment, or sun glare. If both sensors are completely dark, the problem is power or wiring, not alignment.
How high should garage door safety sensors be mounted?
+
No more than 6 inches above the floor, per the UL 325 safety standard, so the beam catches a small child or pet lying in the door's path. Both sensors must sit at the same height for the beam to line up. If yours are mounted higher, lower them — a sensor mounted too high defeats the entire purpose of the auto-reverse.
Sources & further reading
- Garage Door Won't Close / Safety Sensor Troubleshooting (Lights Blink 10 Times) — Sears PartsDirect
- UL 325 Standards & Compliance — LiftMaster
- TDS 364: Installation Height of Photoelectric Sensors — DASMA (Door & Access Systems Manufacturers Association)
More Electrical Guides
View all → Easy30 min
How to Lubricate a Noisy Garage Door
A squealing, rattling garage door is almost always a dry garage door — and twenty minutes with a $10 can of the right lubricant fixes what sounds like a $300 repair. This guide covers exactly which parts get lubricated (hinges, rollers, springs, the opener rail), which part never does (the tracks), and the one product family to avoid.
 Easy15 min
How to Fix a Tripped Circuit Breaker
When a breaker trips, part of your home goes dark — and the breaker just did its job, cutting power before the wiring could overheat. This guide shows you how to reset it safely in about 15 minutes, how to read what the trip is telling you (overload, short circuit, ground fault, or arc fault), and the danger signs that mean you should leave it off and call an electrician.
 Medium1h 30m
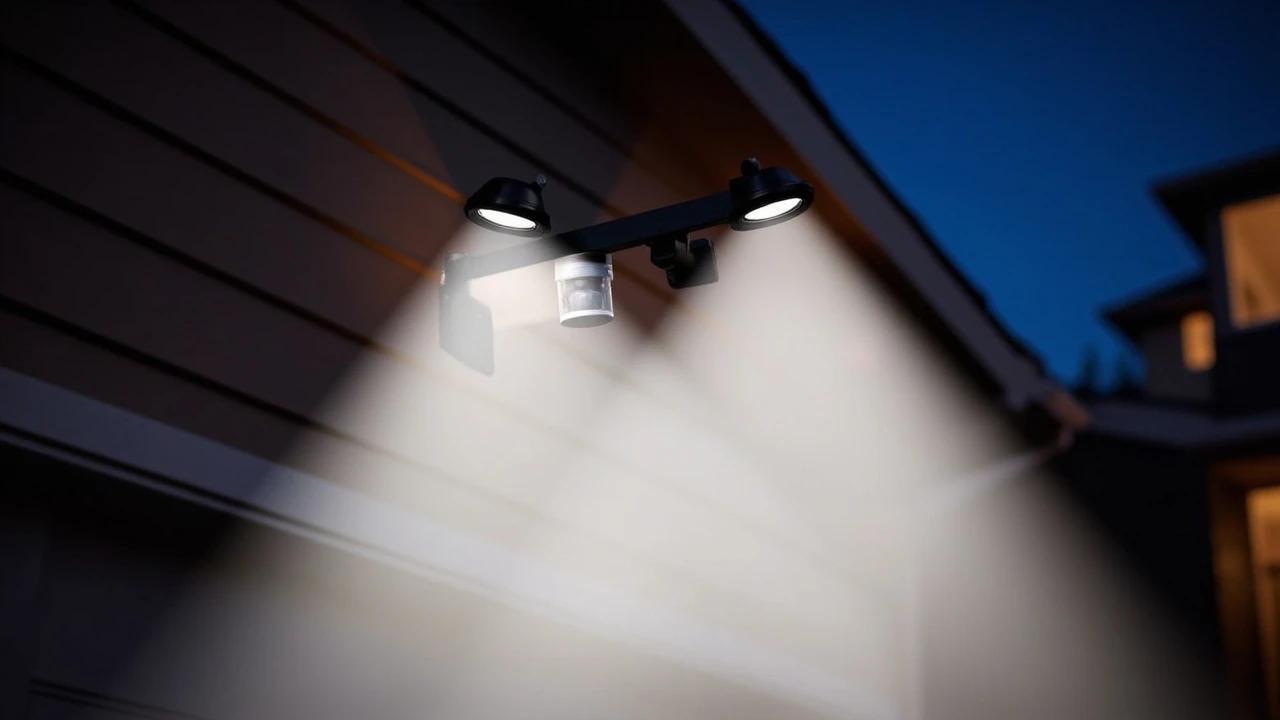
How to Install a Motion Sensor Light
A motion-activated floodlight is one of the most effective and affordable security upgrades you can make — it deters intruders, lights your path when you come home after dark, and typically costs under $40 for the fixture itself. If you're replacing an existing outdoor light, the wiring is already in place and the swap takes about 90 minutes with basic hand tools. This guide covers turning off power safely, removing the old fixture, wiring the new sensor light, mounting it, and dialing in the sensitivity and aim so it covers exactly the zone you want.
You Might Also Like
 Medium30 min
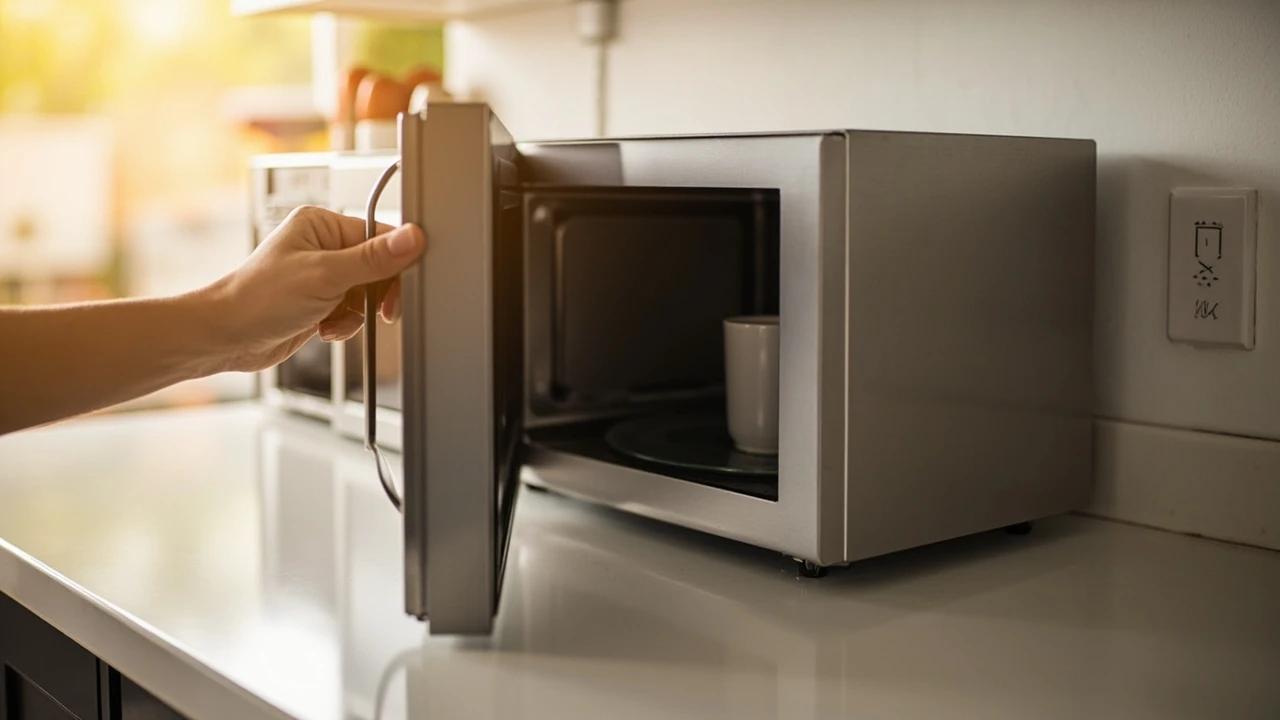
How to Troubleshoot a Microwave That Won't Heat
A microwave that runs — light on, turntable spinning, timer counting down — but leaves food stone cold is one of the most common appliance failures, and about half the time the cause is something you can fix in five minutes for free. This guide walks the diagnosis from the easy stuff (demo mode, power level, a tripped GFCI, a dirty door latch) to reading the failure signature that tells you the high-voltage circuit is gone, then helps you make the repair-or-replace call with real numbers.
 Easy15 min
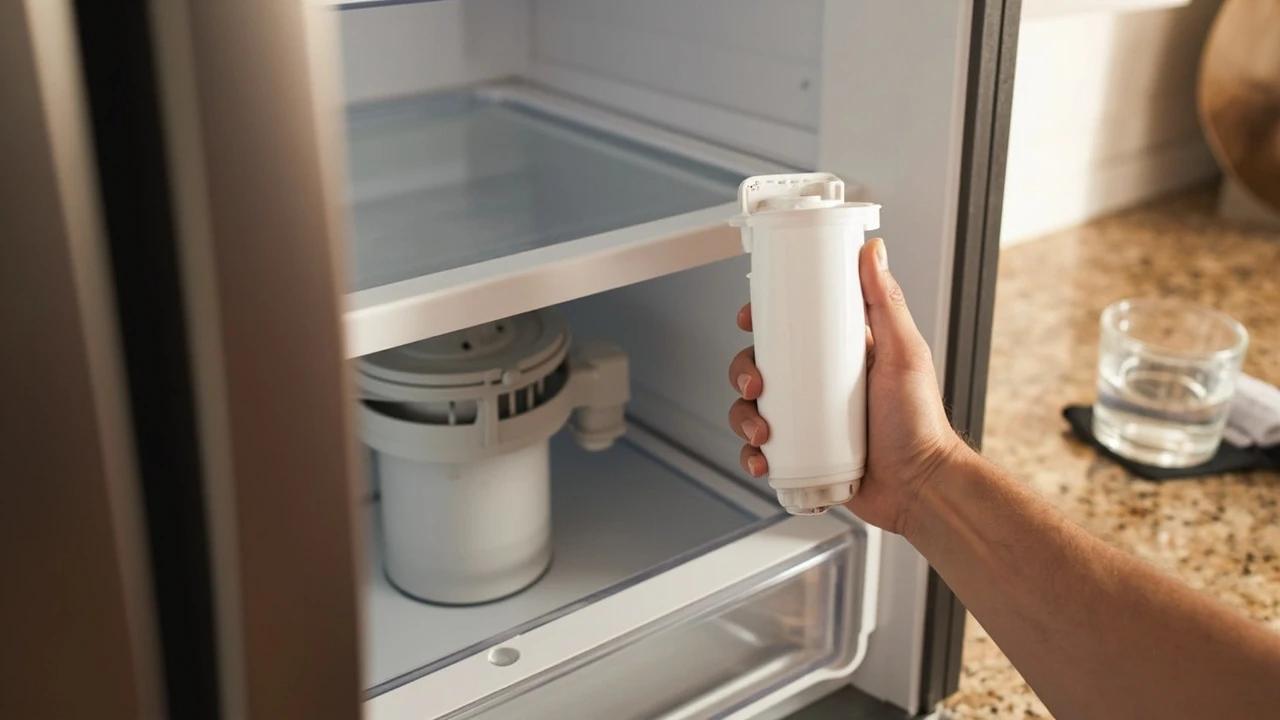
How to Replace a Refrigerator Water Filter
A clogged refrigerator water filter is the most common cause of slow dispensing, off-tasting water, and undersized ice cubes — and it is the easiest fix in your kitchen. Most filters are designed to be swapped in under five minutes with no tools, no shut-off valve, and no spilled water. This guide covers locating your filter, the two common removal styles (twist-in and push-in), inspecting the O-rings, flushing the new filter, and resetting the indicator light so you do not see the red "Replace" warning the next morning.
 Medium1 hr
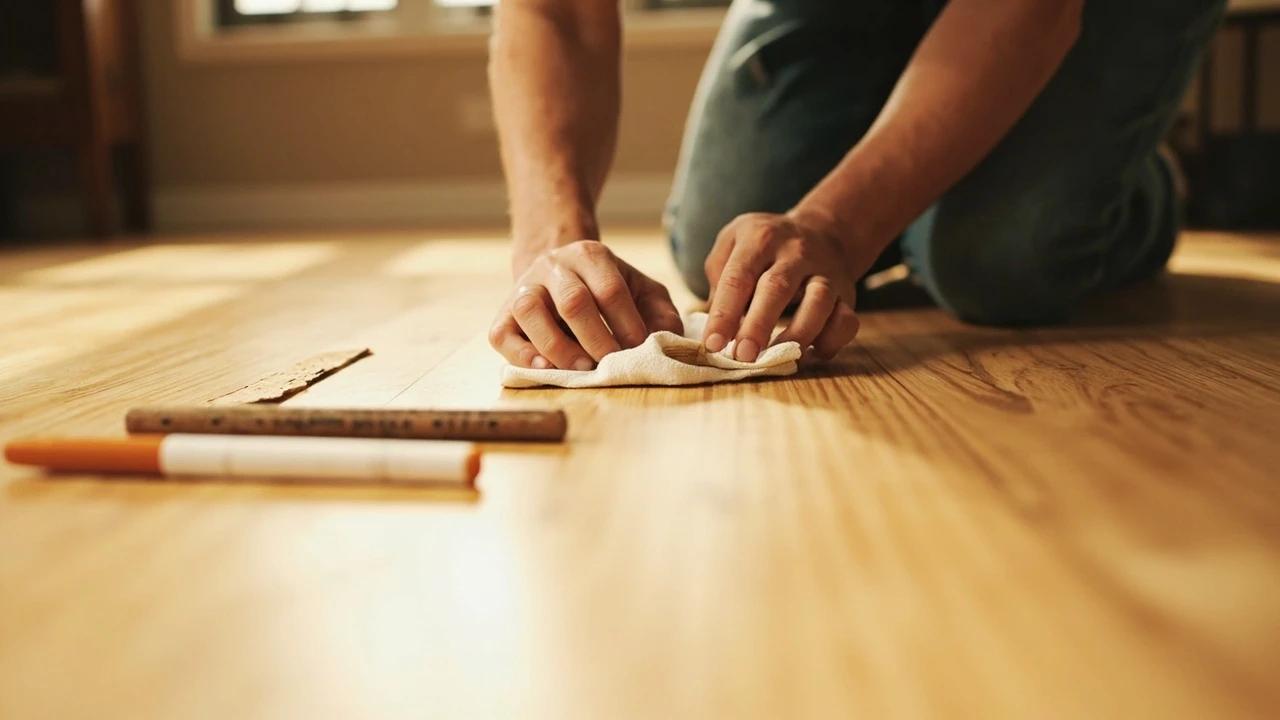
How to Repair Scratches in a Hardwood Floor
Scratched hardwood almost never means refinishing the whole floor. This guide shows you how to match the fix to the damage — a touch-up marker for finish-level scratches, a wax fill stick for shallow ones, and stainable wood filler with stain and polyurethane for deep gouges — all for under $40 in supplies and about an hour of work.