How to Flush a Water Heater Tank

Sediment buildup in your water heater tank silently drives up your gas or electric bill, makes your hot water lukewarm, and can cut the tank's lifespan in half — yet flushing takes about 45 minutes and costs nothing beyond a garden hose you probably already own. Most manufacturers recommend flushing once a year, or every six months in hard-water areas. This guide walks you through shutting down the heater safely, draining the tank, flushing until the water runs clear, and restarting without trapping air or burning out an exposed heating element.
What You'll Need
🛠 Tools
📦 Materials
Safety First
- •Water inside the tank is 120-140°F and can cause serious scalding — run a hot faucet for 10 minutes before draining to reduce the temperature, and wear gloves when handling the hose.
- •For electric water heaters, turn off the breaker before draining. Running an electric element in an empty or partially empty tank burns it out in minutes — a $200+ repair.
- •For gas water heaters, turn the gas control valve to the "pilot" position (not "off" unless relighting the pilot is easy for your model) so you don't have to reignite the pilot afterward.
Step-by-Step Instructions
Turn Off the Heat Source
For a gas water heater, turn the gas control valve (the box on the front of the tank with a temperature dial) to the "pilot" position — this keeps the pilot light lit but prevents the main burner from firing while the tank is empty. For an electric water heater, flip the dedicated breaker in your electrical panel to "off" and verify it's dead with a non-contact voltage tester. Never drain an electric water heater with the power on — an exposed heating element will burn out within minutes.

Turn Off the Cold Water Supply
Locate the cold water shut-off valve on the pipe entering the top of the water heater — it's usually a ball valve with a lever handle or a gate valve with a round knob. Turn the lever perpendicular to the pipe (ball valve) or turn the knob clockwise until tight (gate valve). This stops new water from entering the tank while you drain it. Confirm it's off by opening a hot water faucet upstairs — the flow should slow to a trickle within a few seconds.

Run a Hot Faucet to Cool the Water and Relieve Pressure
Open the hot water faucet at the nearest sink or bathtub and let it run for 10 minutes. This accomplishes two things: it reduces the water temperature inside the tank from scalding (120-140°F) down to a safer range, and it begins to relieve pressure so the tank drains faster once you open the drain valve. Leave this faucet open throughout the entire flush — it acts as a vacuum break that lets air into the system so water can flow out the bottom.

Connect a Garden Hose to the Drain Valve
Locate the drain valve near the bottom of the tank — it looks like an outdoor hose bib with a 3/4-inch male hose thread. Screw a garden hose onto the valve hand-tight, then snug it a quarter turn with an adjustable wrench to prevent drips. Route the other end of the hose to a floor drain, utility sink, driveway, or any area where hot, sediment-filled water can discharge safely. If draining uphill or a long distance, gravity alone may not work — in that case, drain into a 5-gallon bucket and empty it repeatedly.

Place a kitchen colander or an old towel over the floor drain at the hose outlet to catch sediment chunks — sand and mineral flakes can clog a drain trap.
Open the Drain Valve and Let the Tank Empty
Turn the drain valve counterclockwise to open it — plastic valves have a handle you turn by hand, while brass valves may need a flathead screwdriver in the slot. Water will begin flowing through the hose. The initial flow will likely be cloudy or rust-colored with visible sediment particles — this is normal and exactly what you're flushing out. A full 40-50 gallon tank takes 20-45 minutes to drain depending on hose length and gravity. Let it run until the flow slows to a trickle.

Flush with Short Bursts of Cold Water to Clear Remaining Sediment
With the drain valve still open and the hose still attached, briefly turn the cold water supply back on for 15-20 seconds, then turn it off again. This burst of incoming cold water stirs up sediment that settled on the bottom and pushes it out through the drain. Watch the hose outlet — the water will turn cloudy again as sediment flushes out. Repeat this on-off cycle three or four times until the water running from the hose is consistently clear with no grit or discoloration.

If you haven't flushed in several years and sediment is severe, the drain valve may clog. Carefully disconnect the hose and use a long screwdriver to break up the plug in the valve opening, then reconnect and continue.
Close the Drain Valve and Disconnect the Hose
Turn the drain valve clockwise until fully closed — firm but not overtightened, as plastic valves crack under excessive force. Open the cold water supply valve fully and let the tank refill. You'll hear water rushing into the tank. Keep the hot water faucet upstairs open — air trapped in the tank and pipes will sputter out through this faucet. Once the faucet runs a steady stream of water with no air bursts, the tank is full. Close the faucet. Unscrew the garden hose from the drain valve and check the valve for drips — if it weeps, wrap the threads with Teflon tape or replace the valve.

Restore Power and Verify Hot Water
For a gas heater, turn the gas control valve from "pilot" back to your desired temperature setting (120°F is the recommended default). You should hear the main burner ignite within a minute. For an electric heater, flip the breaker back on — but only after confirming the tank is completely full by checking that the hot faucet runs a steady, air-free stream. The tank will take 30-60 minutes to fully reheat. After an hour, open a hot faucet and confirm the water is hot and runs clear with no sediment or discoloration.

For electric heaters, never turn the breaker back on until the tank is completely full — an exposed element in an air pocket will burn out in under two minutes.
Frequently Asked Questions
How long does it take to flush a water heater tank?
+
This project typically takes about 1 hr. The guide includes 8 steps with detailed instructions for each.
What tools do I need?
+
You will need: Garden hose (long enough to reach a floor drain, utility sink, or exterior), Flathead screwdriver (for drain valves with a slotted stem), Adjustable wrench (for stubborn hose connections), Non-contact voltage tester (for electric heaters), Bucket (5-gallon), Heavy-duty work gloves, Safety glasses. Materials include: Kitchen colander or old towel (to catch sediment at the hose outlet so it doesn't clog the floor drain), Teflon tape (if the drain valve drips after you close it), Replacement drain valve — brass 3/4-inch boiler drain (optional, in case the old plastic valve leaks or breaks).
Is this a good project for beginners?
+
Yes! This is rated as an easy project that most homeowners can complete with basic tools and no prior experience.
Community Tips
💬 Sign in to share tips with the community
Sources & further reading
- Do-It-Yourself Savings Project: Lower Water Heating Temperature — U.S. Department of Energy
- Water Heater Maintenance Guide — A. O. Smith
More Plumbing Guides
View all →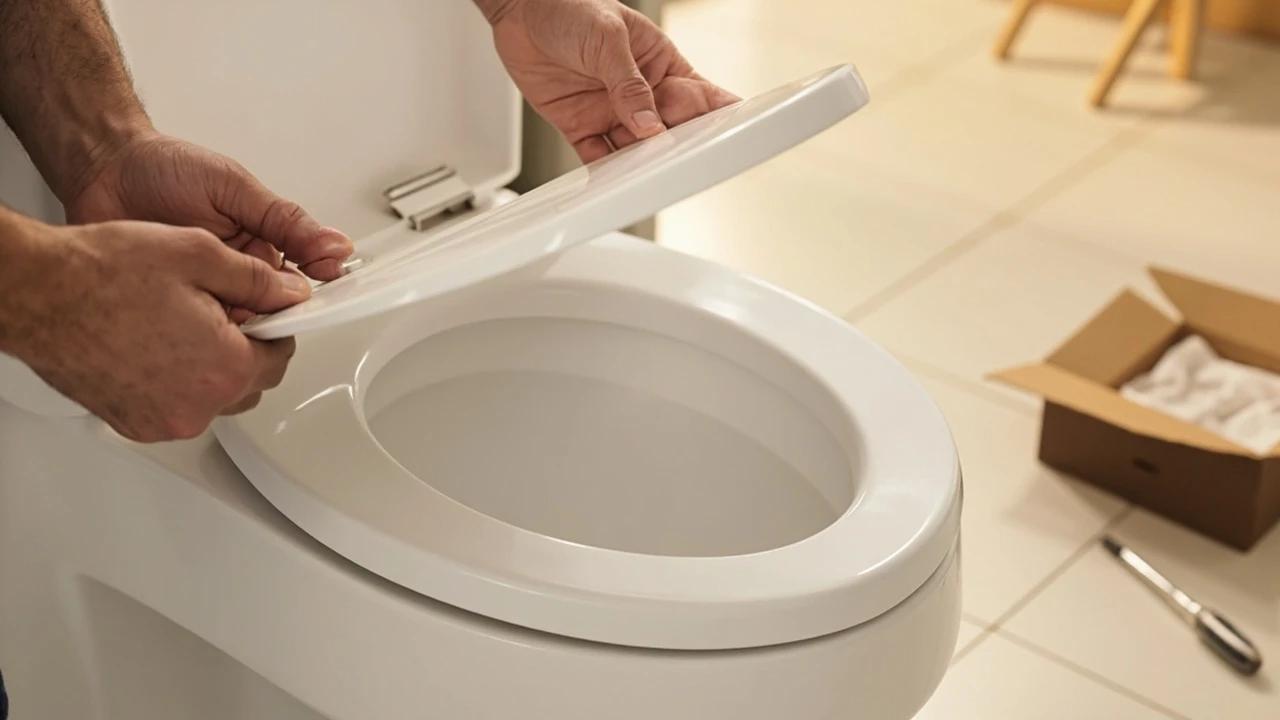 Easy25 min
How to Replace a Toilet Seat
A cracked, stained, or wobbly toilet seat is one of the cheapest, fastest upgrades in the house — a new seat runs $20-50 and the swap takes about 20 minutes with nothing more than a screwdriver. This guide covers both standard and soft-close (quick-release) seats, how to measure so the new one actually fits, and the part everyone gets stuck on: freeing corroded bolts without cracking the bowl.
 Easy25 min
How to Replace a Toilet Flapper Valve
A worn-out flapper is the cause of roughly 90% of "phantom flush" and running-toilet problems, and replacing it is the single cheapest plumbing fix in the house — $5 to $15 for a new flapper and 20 minutes of your time. A leaking flapper wastes 200 gallons of water per day at the high end, which can add $30 to $50 a month to a typical water bill. This guide covers sizing the right replacement, cleaning the valve seat so the new flapper actually seals, and dialing in the chain length so the toilet stops running for good.
 Medium1h 30m
How to Fix a Toilet Leaking at the Base
Water pooling around the bottom of the toilet is one of those leaks that punishes procrastination — every flush pushes dirty water under the flooring, and a $10 wax ring problem quietly becomes a $1,000 subfloor repair. This guide diagnoses where the water is really coming from first, then walks the fix in order: snug the bolts, and only if needed, pull the toilet and replace the seal.
You Might Also Like
 Medium2 hrs
How to Prune Fruit Trees
Regular pruning is the most important annual task for fruit tree health and productivity. Properly pruned trees produce larger, higher-quality fruit, resist disease better, and live significantly longer than unpruned trees.
 Medium30 min
How to Troubleshoot a Microwave That Won't Heat
A microwave that runs — light on, turntable spinning, timer counting down — but leaves food stone cold is one of the most common appliance failures, and about half the time the cause is something you can fix in five minutes for free. This guide walks the diagnosis from the easy stuff (demo mode, power level, a tripped GFCI, a dirty door latch) to reading the failure signature that tells you the high-voltage circuit is gone, then helps you make the repair-or-replace call with real numbers.
 Easy25 min
Best Deck Stain: Transparent vs Semi vs Solid
There is no "best" deck stain — there is the right stain for your sun exposure, wood condition, and how often you want to redo the job. Transparent stains last 1-2 years but let the natural grain show. Solid stains last 4-7 years but look like paint. This guide walks the four opacity levels and the oil-vs-water choice so you pick the one that matches your deck and your tolerance for re-staining.