How to Install a Motion Sensor Light

A motion-activated floodlight is one of the most effective and affordable security upgrades you can make — it deters intruders, lights your path when you come home after dark, and typically costs under $40 for the fixture itself. If you're replacing an existing outdoor light, the wiring is already in place and the swap takes about 90 minutes with basic hand tools. This guide covers turning off power safely, removing the old fixture, wiring the new sensor light, mounting it, and dialing in the sensitivity and aim so it covers exactly the zone you want.
What You'll Need
🛠 Tools
📦 Materials
Safety First
- •Always turn off the circuit breaker controlling the fixture and verify the wires are dead with a non-contact voltage tester before touching any wiring — household current (120V) can cause serious injury or death.
- •If the existing junction box is damaged, corroded, or not rated for outdoor use (it must be a weatherproof box with a gasket), replace it before mounting the new fixture — or hire a licensed electrician.
- •Never work from a ladder in wet conditions or on uneven ground. Have a helper hold the ladder if working above 8 feet.
Step-by-Step Instructions
Turn Off Power at the Breaker
Go to your electrical panel and flip off the breaker that controls the outdoor light circuit — it's often labeled "exterior lights," "front porch," or "garage." If the labels are unclear, turn on the existing light first, then flip breakers one at a time until it goes dark. Once the breaker is off, tape a note over it so nobody flips it back on while you're working. Go back to the fixture and hold a non-contact voltage tester against the wire connections to confirm they're dead before proceeding.

Never assume power is off just because the light switch is off — always verify at the breaker and test with a voltage tester.
Remove the Existing Light Fixture
Unscrew the mounting screws or decorative cap nuts holding the old fixture to the wall. Gently pull the fixture away from the wall to expose the wiring connections inside the junction box. Take a photo of the wire connections before disconnecting anything — this reference is invaluable if the new fixture's wiring diagram is confusing. Untwist the wire nuts connecting the black (hot), white (neutral), and bare copper or green (ground) wires, then separate the fixture wires from the house wires. Set the old fixture aside.

Snap a photo of the existing wiring before disconnecting — it's the fastest reference if you get confused later.
Inspect the Junction Box
With the old fixture removed, examine the junction box mounted in the wall. Check that it's securely fastened — grab it and try to wiggle it. If it moves, tighten the screws anchoring it to the framing or blocking. Verify it's a weatherproof outdoor-rated box (look for a UL listing or "WR" stamp). Check the house wires for cracked or brittle insulation, especially if the home is older — if more than a quarter inch of bare copper is exposed beyond the wire nut area, trim the wire back and strip a fresh half inch of insulation.

Attach the New Mounting Bracket
Most motion sensor lights include a new mounting bracket or crossbar that screws into the junction box. Remove the old bracket if one exists and attach the new one using the provided screws, threading them into the junction box ears. Make sure the bracket sits flush and level against the wall — a crooked bracket means a crooked fixture, which affects both aesthetics and the sensor aim. If the new bracket doesn't align with the existing holes, use a drill to create new pilot holes.

Connect the Wires
Match the fixture wires to the house wires by color: black to black (hot), white to white (neutral), and bare copper or green to bare copper or green (ground). For each connection, hold the stripped ends of both wires side by side with about half an inch of bare copper exposed, twist them together clockwise with pliers, then screw a wire nut on firmly — tug gently to confirm it's secure. Wrap each wire nut with a single layer of electrical tape for added protection against moisture. Carefully fold the connected wires into the junction box, making sure no bare copper is exposed outside the wire nuts.

If you find a red wire in the junction box in addition to black and white, the fixture may be on a three-way switch circuit — consult the fixture's wiring diagram or an electrician before connecting.
Mount the Fixture to the Wall
Align the fixture's mounting holes with the bracket and thread the mounting screws or cap nuts by hand to avoid cross-threading. Tighten them snugly with a screwdriver — firm enough to compress the rubber gasket between the fixture and the wall, but not so tight that you crack the fixture housing. The gasket creates a weatherproof seal that keeps rain out of the junction box. If your fixture has a separate rubber or foam gasket, make sure it's properly seated before tightening.

Seal Around the Mounting Plate
Run a bead of clear silicone caulk around the entire perimeter where the fixture's base plate meets the wall. This prevents water from wicking behind the fixture and into the junction box — the number one cause of outdoor fixture corrosion and tripped breakers. Smooth the bead with a wet fingertip for a clean finish. Skip the top edge only if the fixture is under a deep eave that shields it from rain; otherwise, seal all four sides completely.

Use clear silicone, not painter's caulk — silicone stays flexible in temperature swings and won't crack after a season outdoors.
Aim the Sensor and Light Heads
Before restoring power, physically aim the two light heads and the PIR sensor toward the areas you want to cover. Point the light heads to illuminate your driveway, walkway, or entry zone — angle them slightly downward rather than straight out to reduce light trespass into neighbors' windows. Aim the sensor dome toward the center of the detection zone at a slight downward angle. Most sensors have a detection range of 180 degrees and 40-70 feet, but aiming directly at the approach path gives the fastest trigger response. Mount height of 8-10 feet from the ground is ideal.

Restore Power and Fine-Tune Settings
Flip the breaker back on and let the light initialize — most motion sensors enter a test or walk-through mode for the first 1-3 minutes where the sensor triggers on any movement and the light stays on for only a few seconds. Use this window to walk the detection zone and confirm the sensor picks you up where expected. Then adjust the three dials on the fixture: sensitivity (start at 75% and lower if pets or passing cars trigger false alarms), timer duration (1-5 minutes is typical), and the dusk-to-dawn photocell (set to "auto" so the light only activates after dark). Wait until full darkness to confirm the photocell is working correctly.

If the light triggers on passing cars or tree branches, reduce sensitivity to 50% and narrow the detection arc by using the plastic blinders (included with most fixtures) to mask off the edges of the sensor.
Frequently Asked Questions
How long does it take to install a motion sensor light?
+
This project typically takes about 1h 30m. The guide includes 9 steps with detailed instructions for each.
What tools do I need?
+
You will need: Phillips-head screwdriver, Flat-head screwdriver, Wire strippers, Non-contact voltage tester, Drill with assorted bits (for masonry or new mounting holes), Needle-nose pliers, Stepladder (6-foot minimum for standard eave-height fixtures), Headlamp or work light (you'll be working with the power off). Materials include: Motion sensor floodlight fixture (LED, dual-head recommended), Wire nuts (assorted sizes — yellow for 14-gauge, red for 12-gauge), Electrical tape, Silicone caulk (clear or color-matched to siding), Mounting screws and wall anchors (if not included with fixture).
Is this a good project for beginners?
+
This is a moderate-difficulty project. Some basic DIY experience is helpful, but the step-by-step instructions make it approachable for motivated beginners.
Community Tips
💬 Sign in to share tips with the community
Sources & further reading
- How To Install Motion Sensor Lights — Family Handyman
- Improved Street Lighting (Practice Profile) — National Institute of Justice
More Electrical Guides
View all →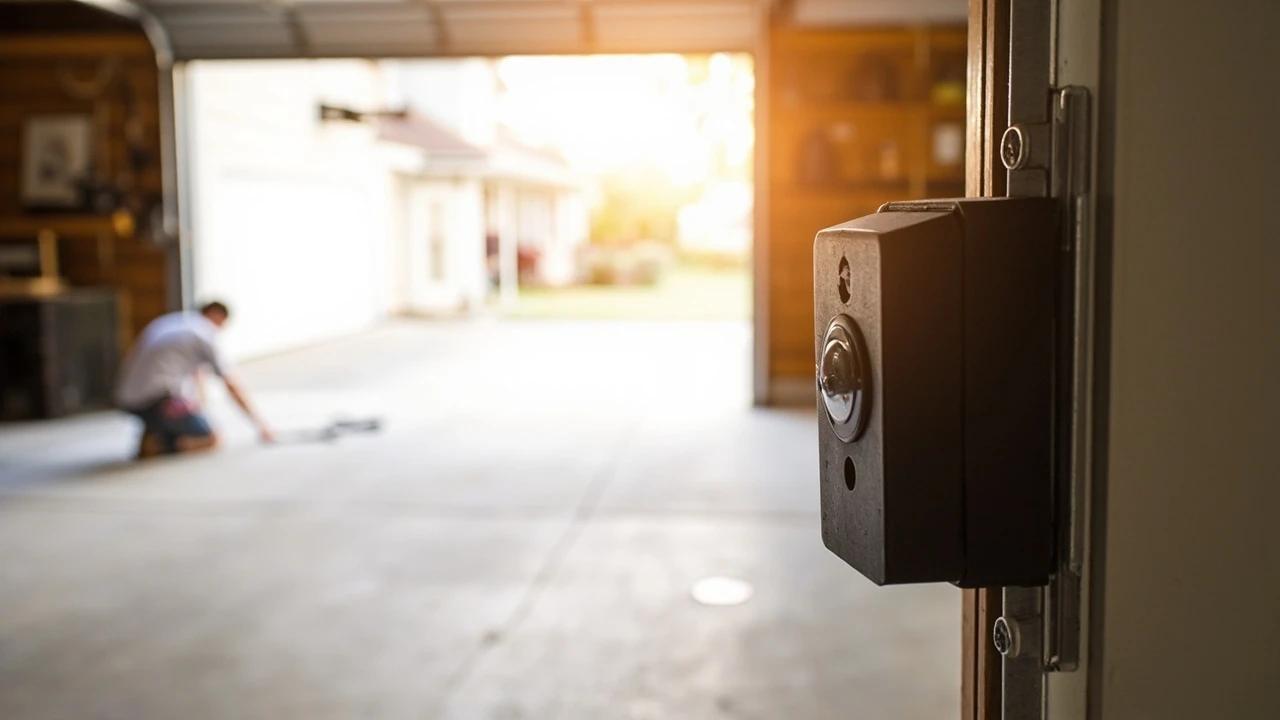 Easy30 min
How to Fix Garage Door Sensors That Block Closing
When your garage door rolls down a few inches, stops, and reverses while the opener light blinks, the safety photo-eye sensors are almost always the cause — not the motor. This guide walks the fix in diagnostic order, from a ten-second lens wipe to realignment and a wiring check, so you fix it for free before spending $40 on parts you may not need.
 Easy15 min
How to Fix a Tripped Circuit Breaker
When a breaker trips, part of your home goes dark — and the breaker just did its job, cutting power before the wiring could overheat. This guide shows you how to reset it safely in about 15 minutes, how to read what the trip is telling you (overload, short circuit, ground fault, or arc fault), and the danger signs that mean you should leave it off and call an electrician.
 Easy45 min
How to Install a Smart Lock on an Exterior Door
A smart lock is the rare upgrade that's both safer and more convenient — keypad or phone entry, no spare key under the mat, and a log of who came and went — and on a standard pre-bored door it's a 45-minute swap with a single screwdriver, no electrician needed. The catch isn't wiring (there usually isn't any); it's buying a lock that actually fits your door and getting the bolt to line up so it never jams. This guide covers the compatibility check that prevents a costly return, the install itself, and the alignment and app setup that make it reliable.
You Might Also Like
 Easy45 min
How to Repair a Shower Diverter Valve
When you pull the diverter knob and water still pours from the tub spout instead of the showerhead, the fix is usually a worn washer or mineral buildup — not a $200 plumber visit. This guide covers the three most common diverter types (tub spout, three-valve, and two-valve) and walks you through cleaning, replacing washers, and swapping the diverter if needed, all in under an hour with basic tools.
 Easy1h 30m
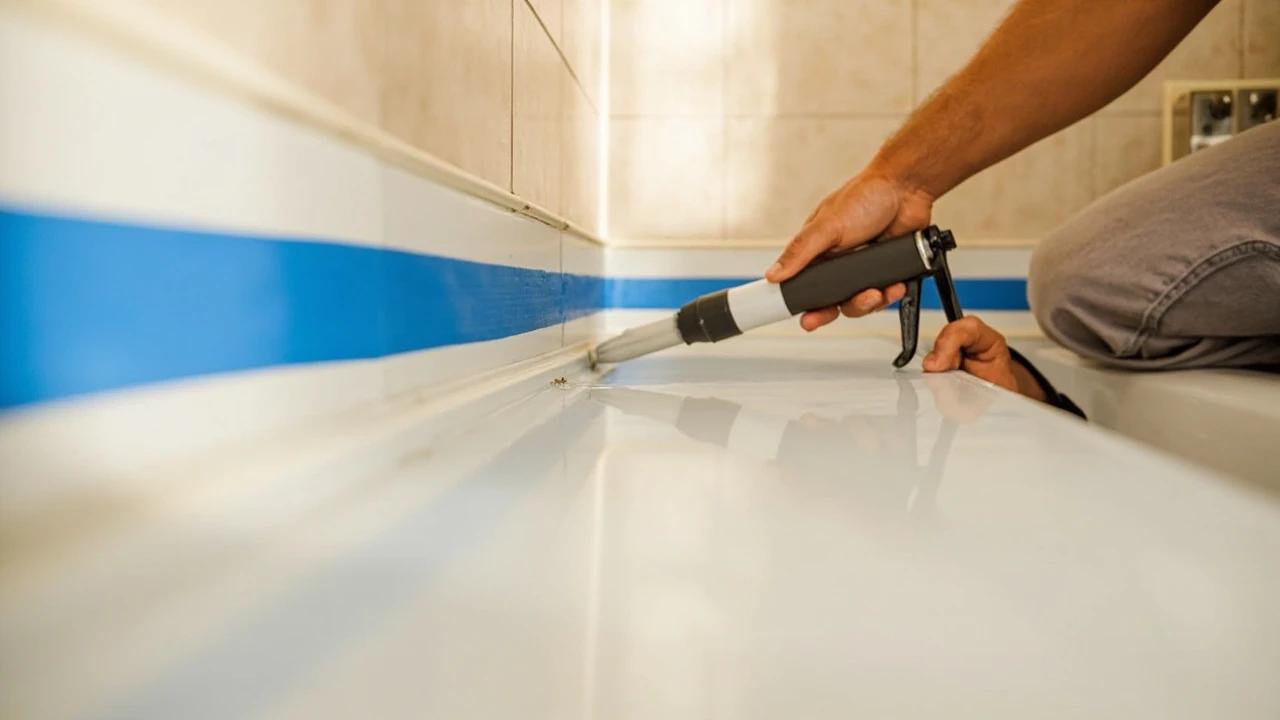
How to Re-Caulk a Bathtub or Shower Surround
Mildewed, cracked, or peeling caulk around a bathtub isn't just ugly — it's letting water reach the drywall and studs behind the wall, which turns a $10 caulk job into a thousand-dollar tile-and-framing repair. This guide walks through removing the old caulk completely, treating mold, masking and tooling a clean single bead of 100% silicone, and the curing schedule that keeps the new joint waterproof for years.
 Easy25 min
Best Deck Stain: Transparent vs Semi vs Solid
There is no "best" deck stain — there is the right stain for your sun exposure, wood condition, and how often you want to redo the job. Transparent stains last 1-2 years but let the natural grain show. Solid stains last 4-7 years but look like paint. This guide walks the four opacity levels and the oil-vs-water choice so you pick the one that matches your deck and your tolerance for re-staining.