How to Use Toggle Bolts to Hang Heavy Loads Without a Stud
When the stud isn't where you need it, a toggle bolt is the strongest thing you can put in bare drywall — a 1/4-inch toggle holds several times what any plastic anchor manages, and modern strap-style toggles hold 200+ pounds in half-inch drywall. This guide covers both types end to end: sizing the toggle to the load, drilling the right hole, the put-the-bolt-through-the-bracket-first rule that saves you from the classic one-way mistake, and the ceiling math that keeps things off your head.
What You'll Need
🛠 Tools
📦 Materials
Safety First
- •Toggle ratings are ultimate failure loads, not working loads — divide the package number by 4 for anything you hang, and by more for items that get bumped or pulled.
- •Before drilling, know what's behind the wall: cables run vertically above and below outlets and switches, and supply pipes live in kitchen and bathroom walls.
Step-by-Step Instructions
Check for a stud first — toggles are the fallback
A 3-inch screw into a stud holds more than any drywall anchor and costs nothing, so spend two minutes checking for a stud at your mounting height before reaching for hardware. Use a toggle when the framing genuinely isn't where the fixture needs to be — off-stud TV brackets, shelf standards between studs, curtain rods at window edges. For the full menu of anchor types by weight class, our drywall anchor guide covers the lighter-duty options.
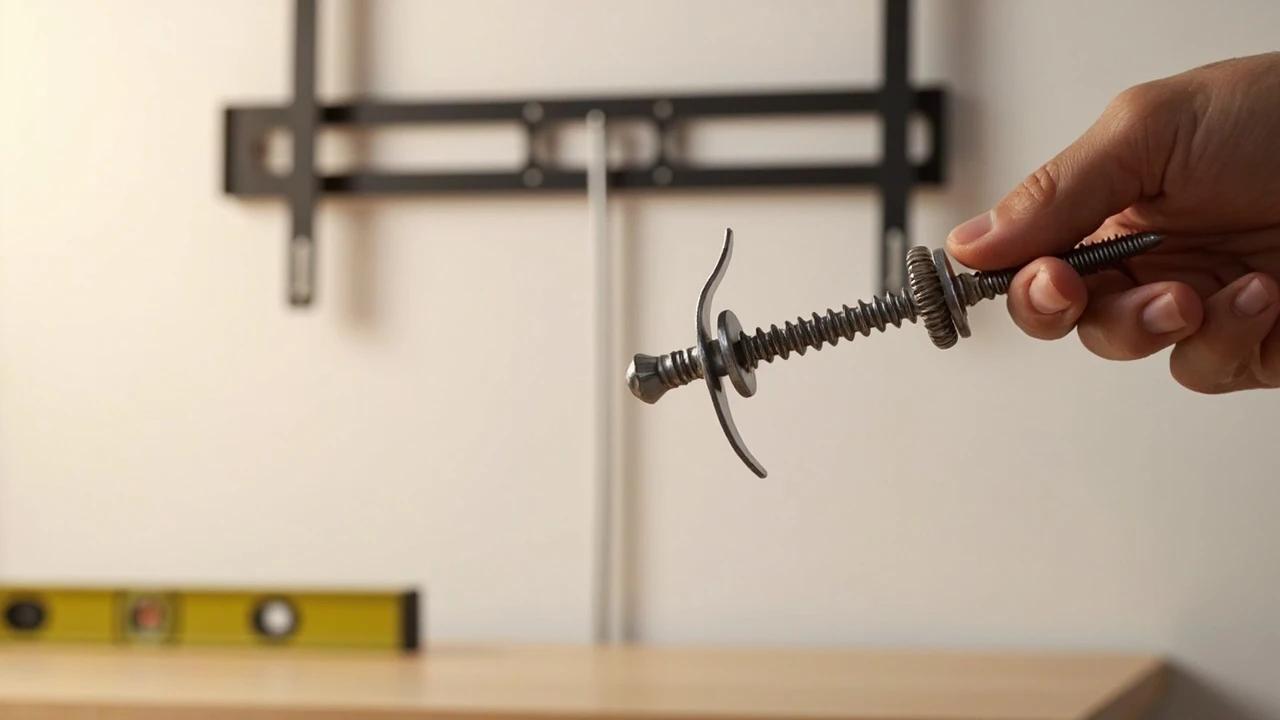
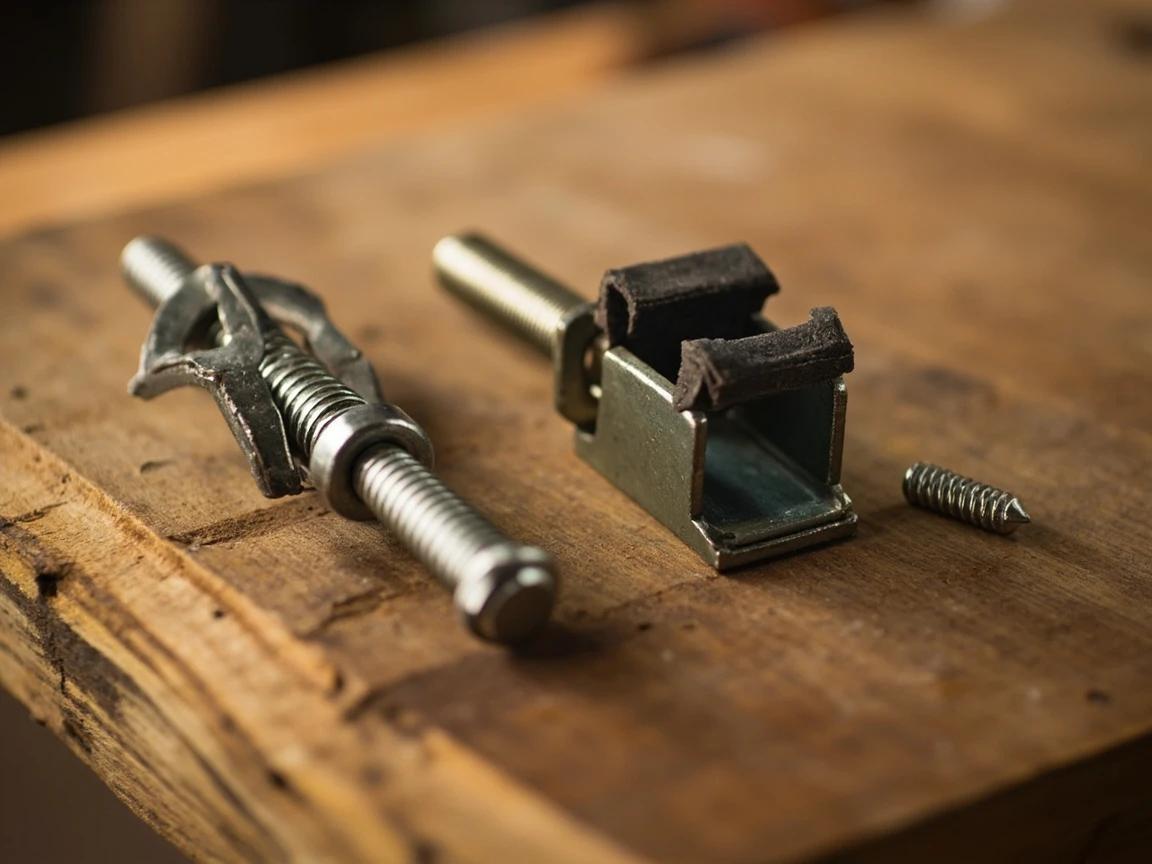
Choose wing toggles or strap-style snap toggles
Classic spring-wing toggles are cheap and everywhere: a machine bolt threads through two spring-loaded wings that fold flat, pass through the hole, and pop open behind the drywall. Strap-style snap toggles replace the wings with a solid metal channel on plastic straps — they need only a 1/2-inch hole, hold roughly twice as much, stay in the wall when you remove the bolt, and can be reused. For anything heavy, repeatedly removed, or hole-size sensitive, the strap style is worth the extra dollar per anchor.
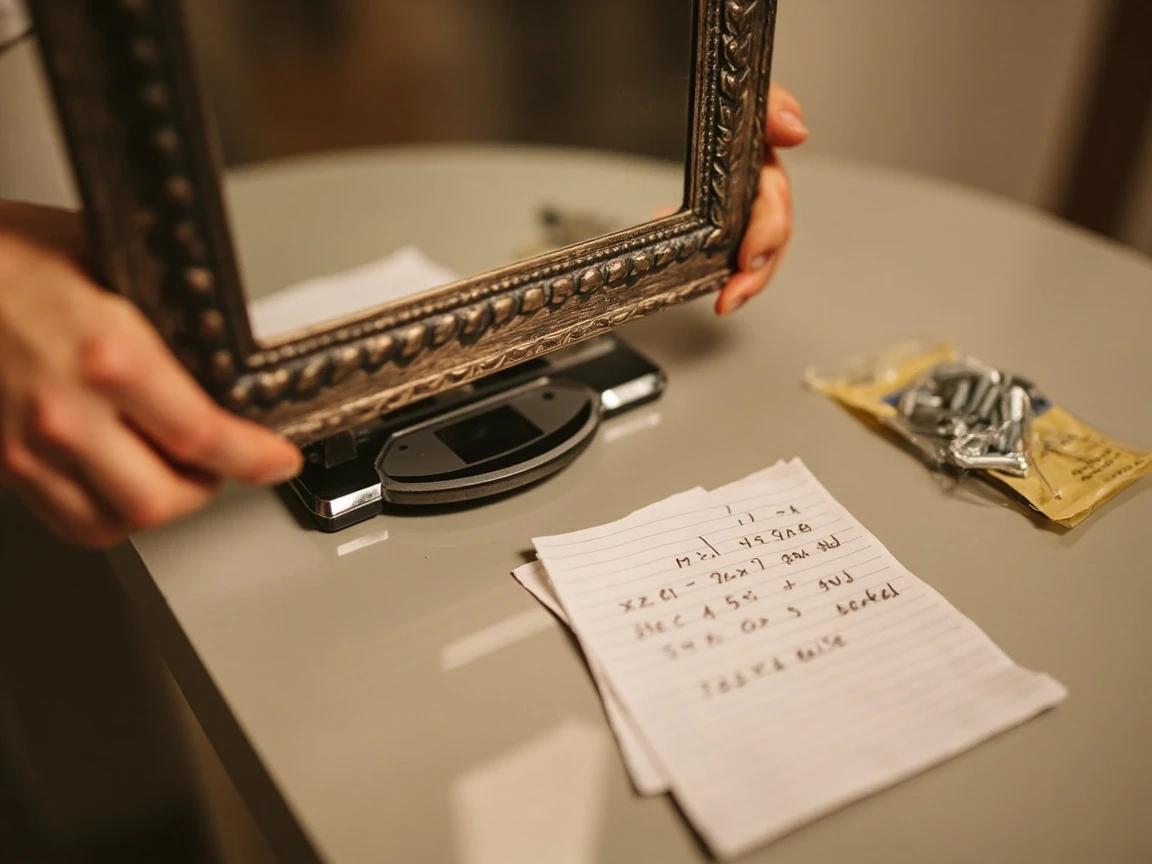
Size the toggle to the real load
Weigh the item (bathroom scale, or the manufacturer's spec) and multiply by 4 — package ratings are ultimate pull-out numbers from lab tests, and the 4:1 safety factor covers dynamic forces, imperfect drywall, and time. A 40-pound mirror on two toggles needs roughly 80 pounds of working capacity per the math (40 x 4 = 160, split across 2 anchors), which lands squarely on 1/4-inch wing toggles or any strap-style toggle. When an item will be bumped, tugged, or leaned on, size up again.
Spread the load: two smaller toggles a foot apart out-hold one big one, because each spreads its clamp across its own patch of drywall.
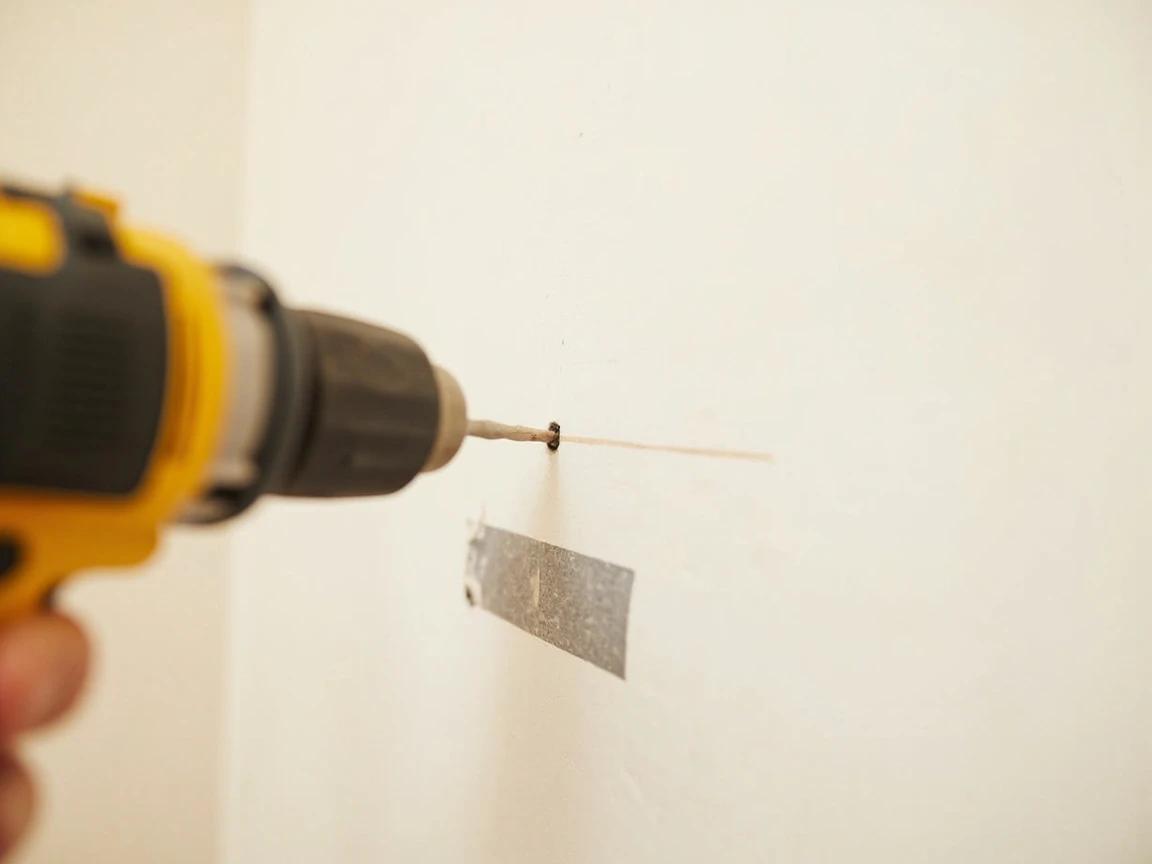
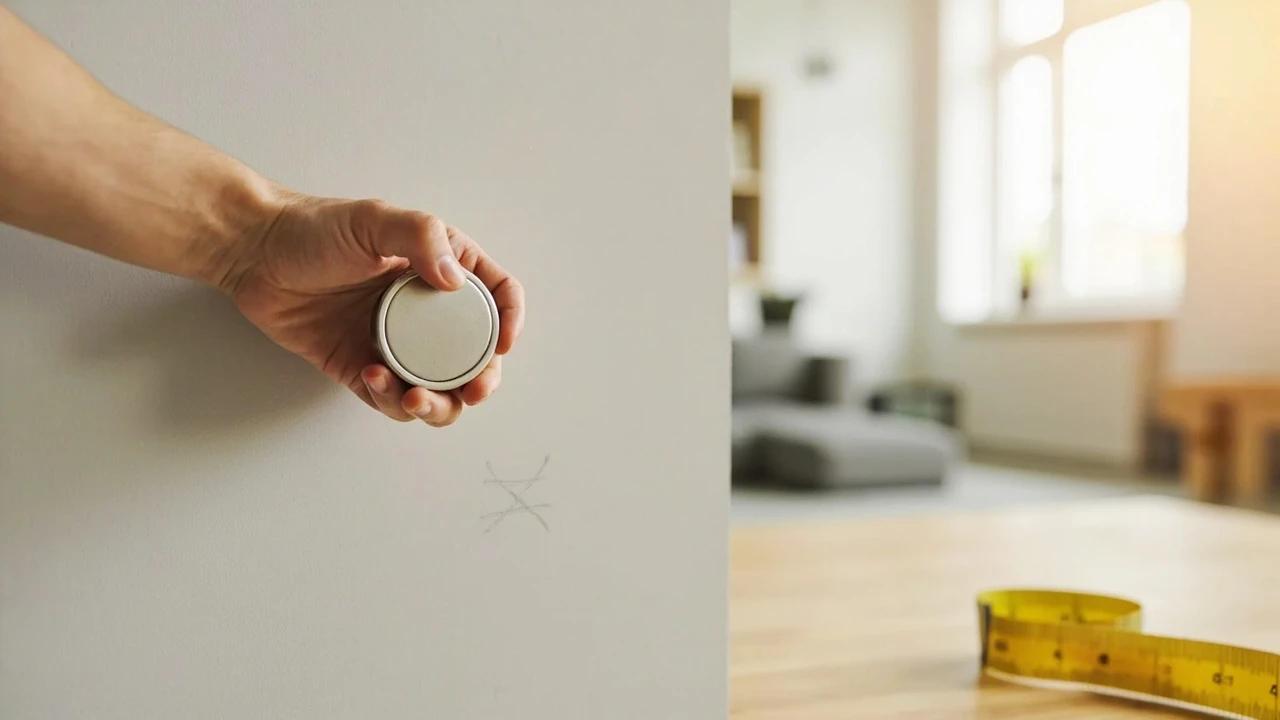
Mark the spots and drill the wing-clearance hole
Level and mark your mounting holes, then drill the size the package calls for — the hole must clear the folded wings, not just the bolt shank: 1/2 inch for 3/16-inch toggles, 5/8 inch for 1/4-inch toggles, and a neat 1/2 inch for strap-style at any rating. Drill straight in with light pressure; drywall offers almost no resistance and a wandering bit chews the hole oversize, which costs holding power.
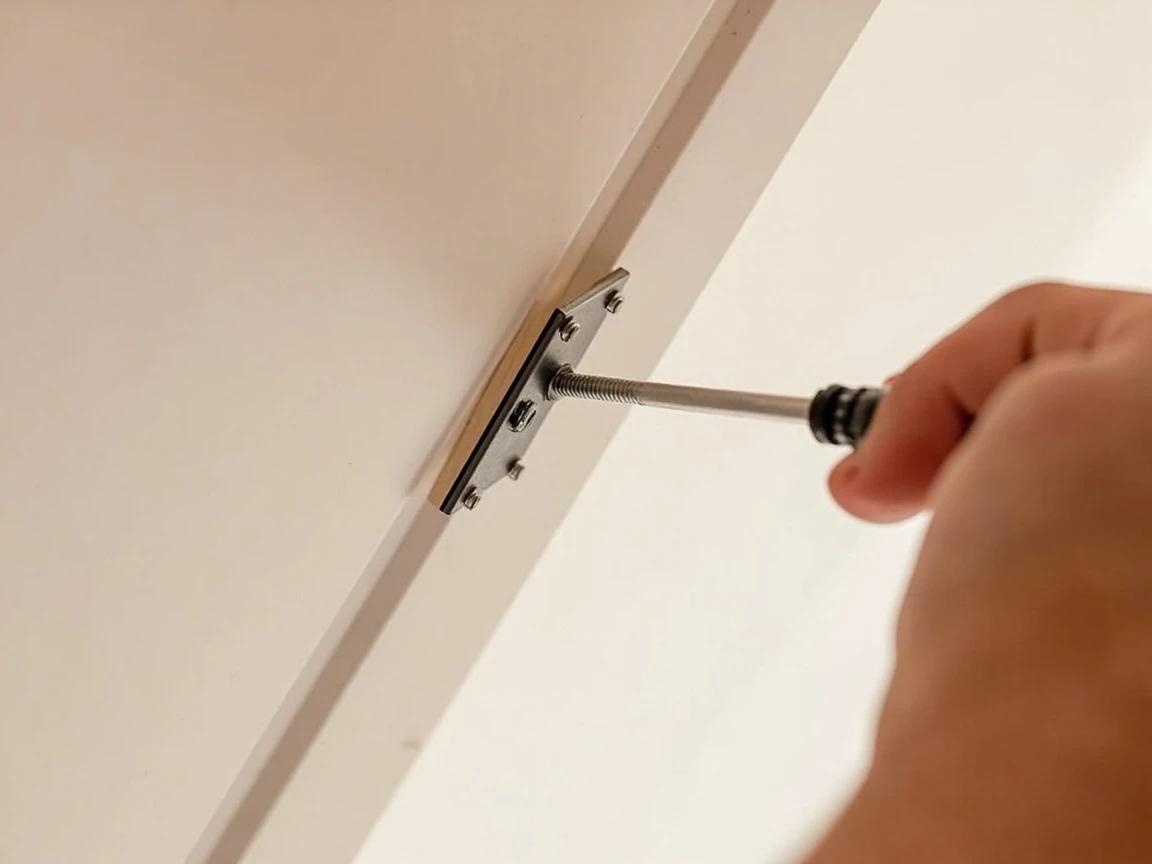
Thread the bolt through the fixture FIRST
This is the step everyone gets wrong once: the bolt must pass through the bracket, shelf standard, or fixture hole before the wings go on, because once the wings open inside the wall they never come back out. Slide the bolt through the fixture, spin the wings onto the tip a few turns with the fold pointing toward the bolt head, and confirm the bolt is long enough to reach through drywall plus fixture with a half inch to spare.
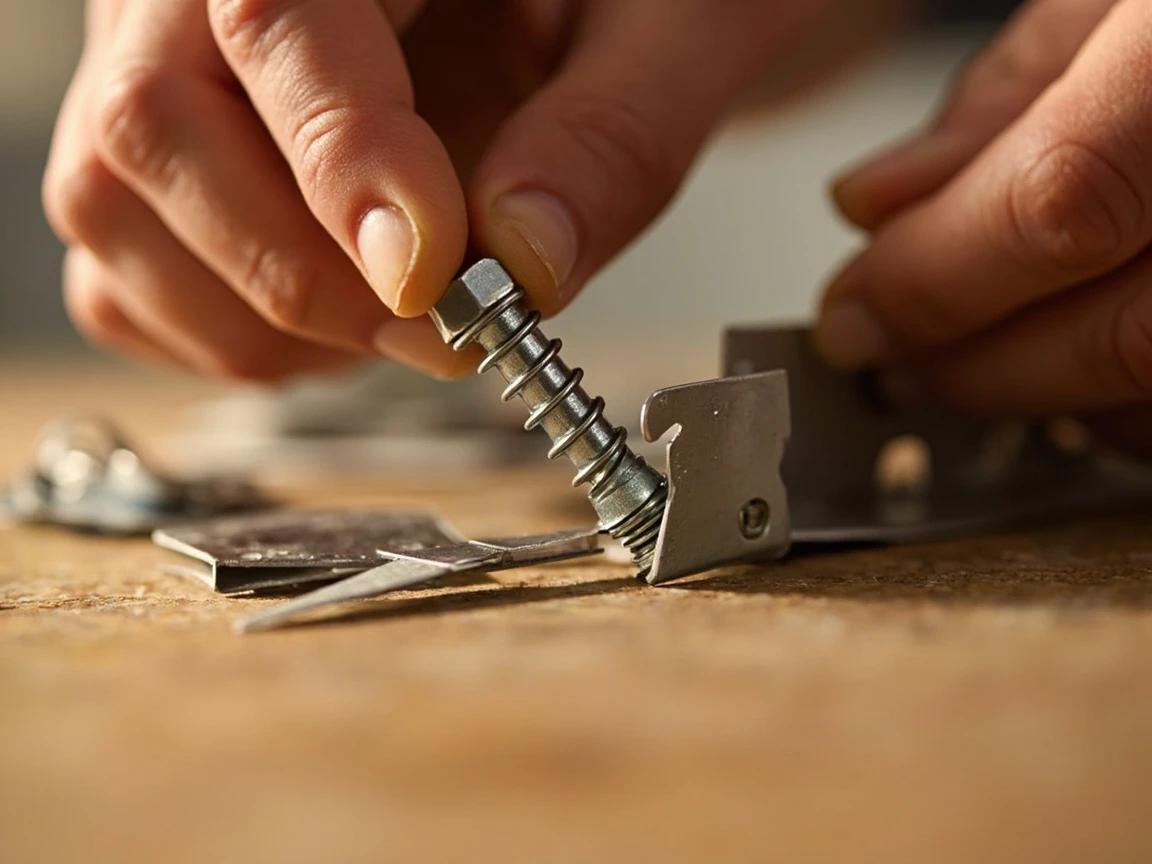
Dry-fit the length: drywall thickness + fixture thickness + 1/2 inch minimum. A too-short bolt lets the wings open but never engage the wall.
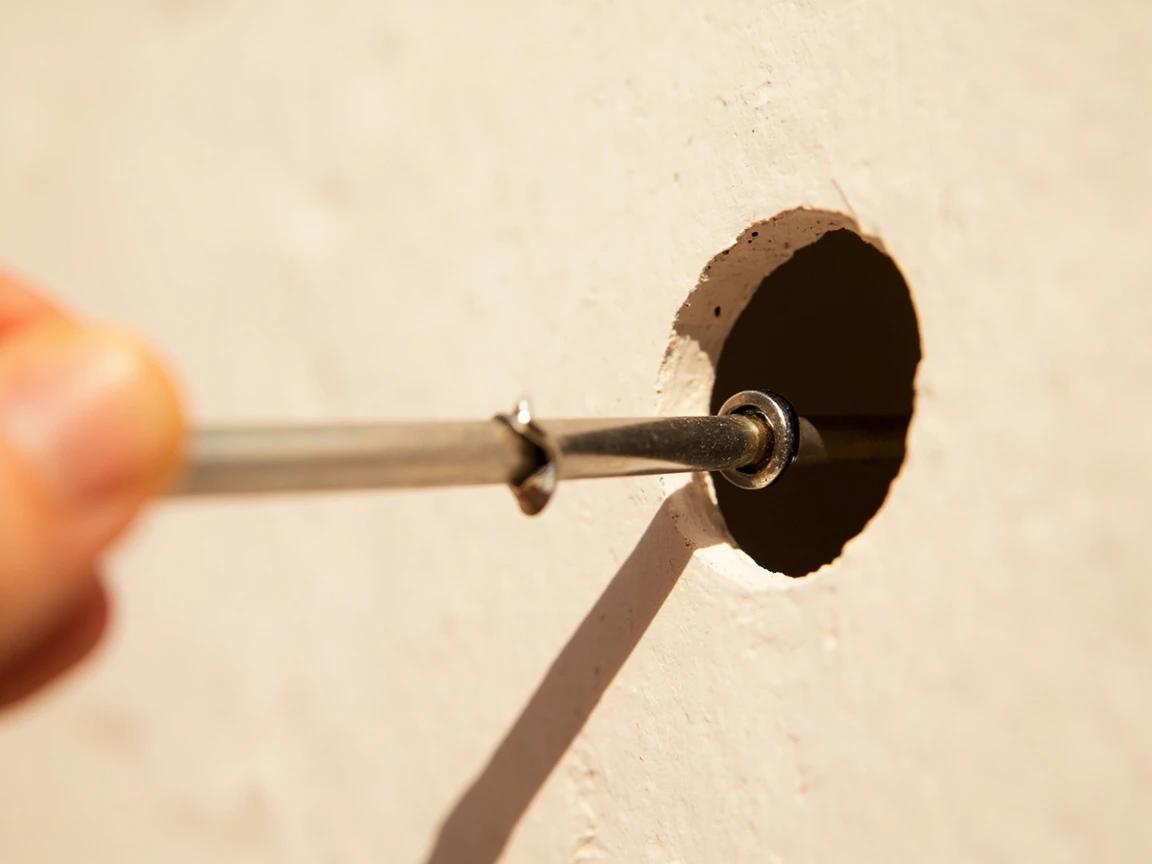
Pinch, push, and pop the wings open
Pinch the wings flat against the bolt and push the assembly through the hole until you feel the wings snap open in the cavity — you'll hear a faint click. Now pull the fixture straight back toward you so the open wings seat flat against the back of the drywall, and keep that outward tension the whole time you tighten. Without the pull-back, the wings just spin in the cavity and the bolt never bites.
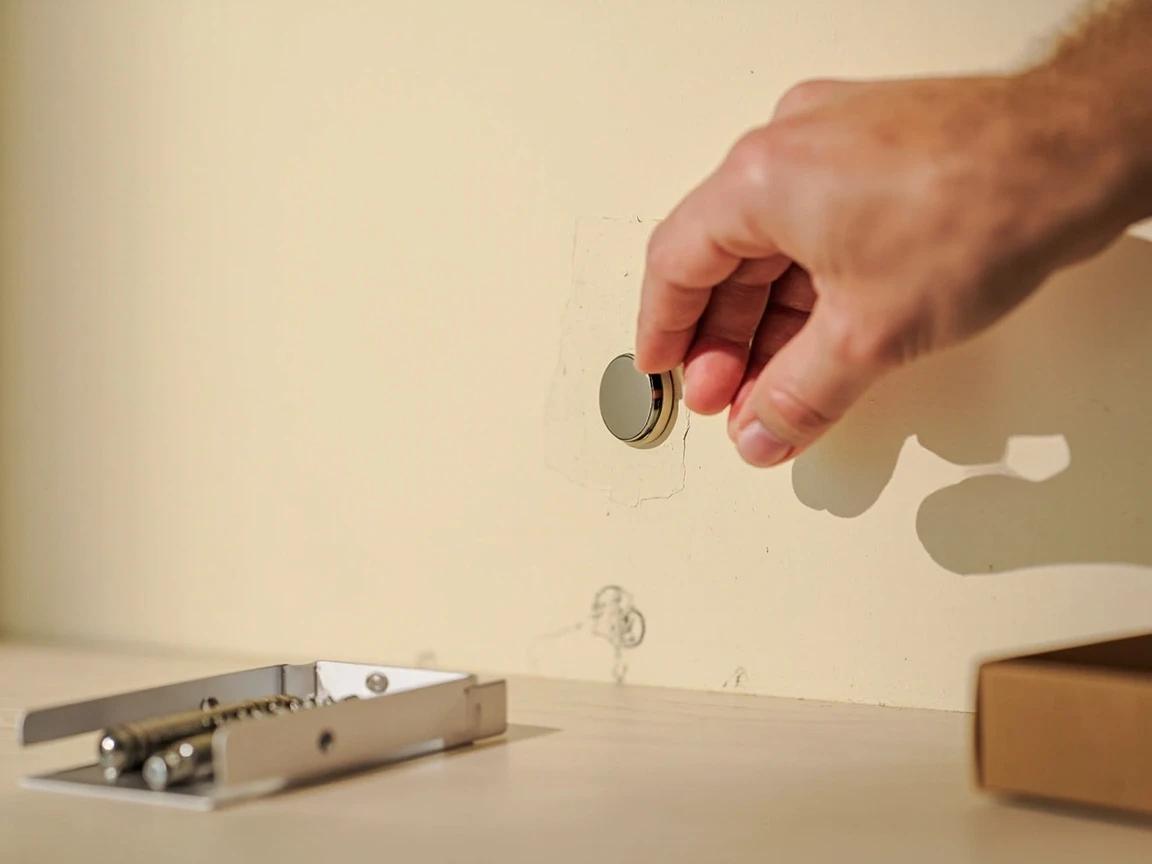
Install strap-style toggles their own way
Strap-style toggles reverse the order: slide the metal channel through the 1/2-inch hole, pull the straps back so the channel lies flat against the inside of the wall, then slide the plastic cap down the straps until it's snug in the hole and snap the straps off flush. The channel is now permanently parked, leaving a clean threaded anchor point — hold the fixture up and drive the machine bolt into the channel whenever you're ready.
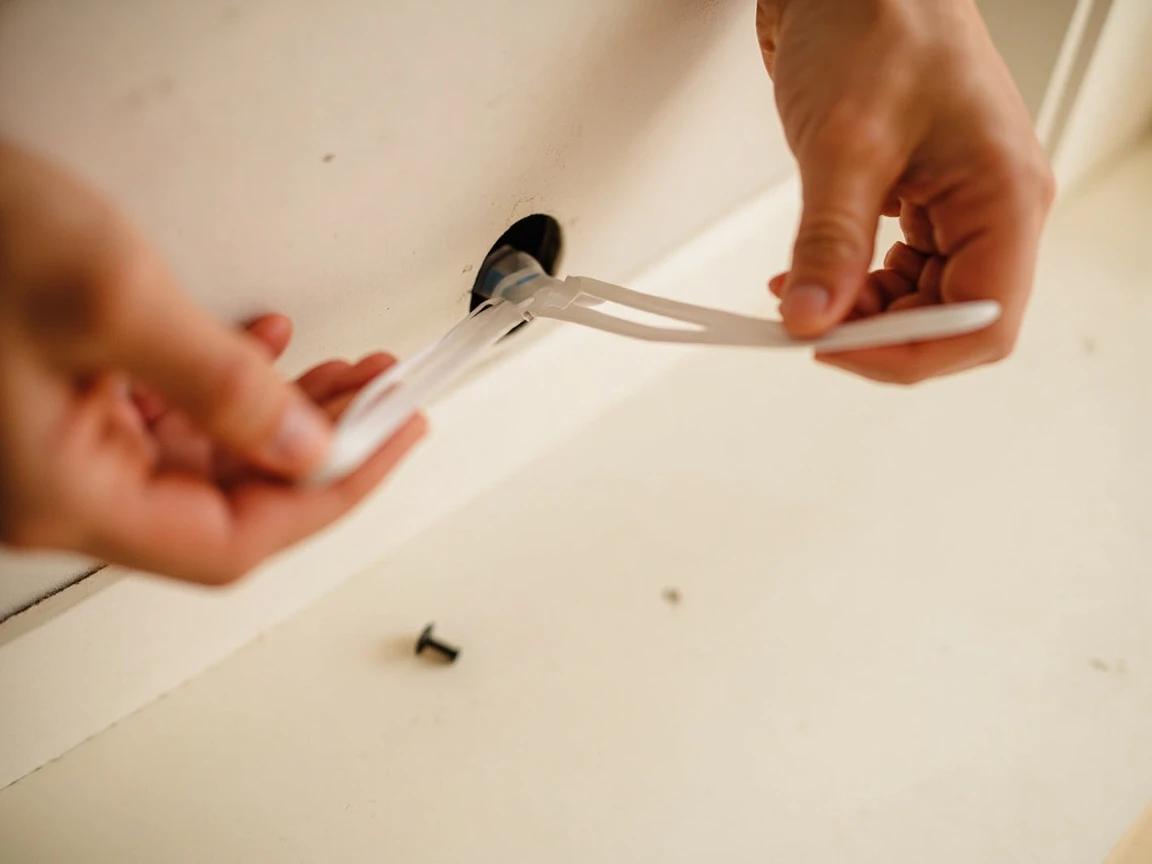
Because the channel stays put, strap toggles are the right call for anything you'll take down seasonally — screens, holiday hardware, adjustable shelving.
Tighten to snug — then stop
Drive the bolt with a hand screwdriver until the fixture pulls firm against the wall, then give it a final quarter turn and stop. Overtightening is the classic toggle killer: the wings or channel crush the gypsum core behind the wall, the anchor loosens, and the rating you paid for evaporates. If a bolt suddenly spins without tightening, the toggle has stripped the core — back out, move over a few inches, and patch the first hole with our mesh-patch method if it tore wide.
Respect the ceiling exception
Everything above assumes a wall, where the load pulls across the drywall. On a ceiling the same toggle holds roughly a third as much — the weight pulls straight down on the panel's weakest axis and gypsum creeps under sustained load — so treat 15 pounds as the practical limit for anything hung from ceiling drywall alone, and use a joist for anything more. Ceiling fans and heavy light fixtures are never a toggle job: code requires a fan-rated box fastened to framing, covered in our ceiling fan guide.

Frequently Asked Questions
How much weight can a toggle bolt hold in half-inch drywall?
+
Ultimate (failure) ratings run roughly 50 pounds for a 1/8-inch wing toggle, 70-80 pounds for 3/16-inch, and 90-100 pounds for 1/4-inch in half-inch drywall; strap-style snap toggles test around 230-265 pounds. Those are laboratory pull-out numbers — divide by 4 for a real working load. Two 1/4-inch toggles safely carrying 20-25 pounds each will hold a 40-50 pound mirror for decades.
Why do you put the bolt through the bracket before the toggle wings?
+
Because the wings only pass through the wall once. After they spring open behind the drywall, unscrewing the bolt just drops the wings into the wall cavity — there is no way to get them back out through the hole. Thread the bolt through your bracket or fixture first, then spin the wings on, then push the whole assembly through the wall.
Can toggle bolts be reused?
+
Wing toggles, no — remove the bolt and the wings fall into the wall, so a rehang needs a fresh toggle (and often a fresh hole). Strap-style snap toggles, yes: the metal channel stays parked against the back of the drywall when you remove the bolt, so you can take a fixture down and rehang it as often as you like.
How much weight can a toggle bolt hold in a ceiling?
+
Far less than in a wall — figure roughly a third of the wall rating, and treat about 15 pounds as the practical ceiling for anything hung from drywall alone. On a ceiling the load pulls straight down on the drywall's weakest axis, and the gypsum core can creep and crumble over time. Anything heavier, anything that moves, and every ceiling fan belongs in a joist or fan-rated box.
What size hole do I drill for a toggle bolt?
+
The hole must clear the folded wings, not just the bolt: 1/2 inch for a 3/16-inch wing toggle and 5/8 inch for a 1/4-inch toggle are the common sizes — the package lists the exact bit. Strap-style snap toggles need only a 1/2-inch hole even at their highest ratings, which is one reason they leave less to patch later.
Community Tips
💬 Sign in to share tips with the community
Sources & further reading
- SNAPTOGGLE Heavy-Duty Toggle Bolt — Specifications — TOGGLER
- Toggle Bolts — Technical & Mechanical Information — AFT Fasteners
- Toggle Bolt Technical Data — DeWalt Anchors & Fasteners
More Carpentry Guides
View all → Easy30 min
How to Install Drywall Anchors for Heavy Items
A failed wall anchor doesn't just dent your drywall — it can drop a 60-pound TV onto a coffee table. This guide explains the five anchor types, when to use each, the stud-first rule that pros follow, and the pull-test that catches a bad install before your TV does. For the holes left behind by failed anchors, a $5 tub of spackle and ten minutes covers the cleanup.
 Easy15 min
How to Find a Stud Without a Stud Finder
No stud finder? No problem. You can locate the wooden studs behind your drywall with things you already own — an outlet, a tape measure, and a strong magnet — in about ten minutes. This guide walks through every reliable method, from the quickest starting point to a foolproof way to confirm a stud before you drill a single hole.
 Medium2 hrs
How to Patch a Large Hole in Drywall
A doorknob blowout, a wall-anchor failure, a fist through the drywall during the move-out — these holes are too big for spackle but too small to justify cutting in a full drywall section. The mesh patch (for 1/2-inch to 4-inch holes) and the California patch (for 4 to 8-inch holes) both finish flush, paint over invisibly, and cost under $25 in materials. The job takes about two hours of hands-on work spread over two or three days of compound cure time.
You Might Also Like
 Easy1h 30m
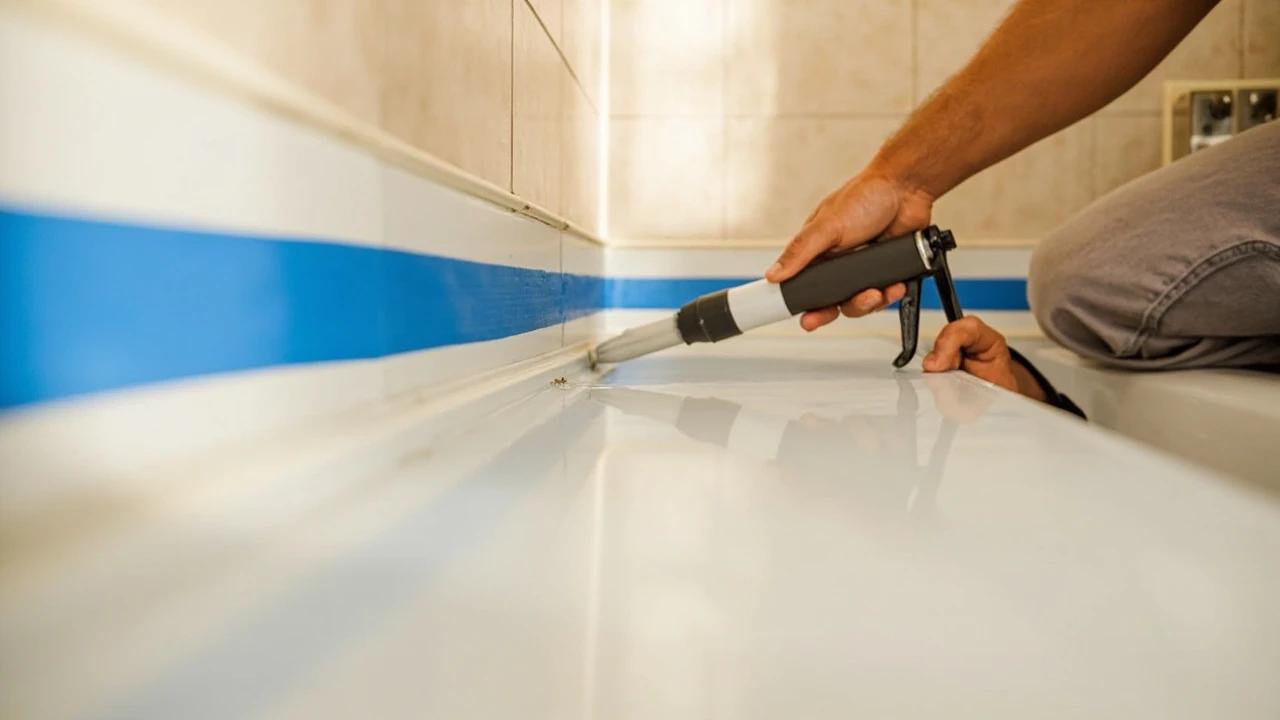
How to Re-Caulk a Bathtub or Shower Surround
Mildewed, cracked, or peeling caulk around a bathtub isn't just ugly — it's letting water reach the drywall and studs behind the wall, which turns a $10 caulk job into a thousand-dollar tile-and-framing repair. This guide walks through removing the old caulk completely, treating mold, masking and tooling a clean single bead of 100% silicone, and the curing schedule that keeps the new joint waterproof for years.
 Medium45 min
How to Install a Ceiling Fan
Replacing a light fixture with a ceiling fan improves air circulation in summer and can reduce heating costs in winter by circulating warm ceiling air downward. Most installs take 45-60 minutes.
 Easy3 hrs
Spring Lawn Care Checklist
What you do to your lawn in the first six weeks of spring determines its health for the entire growing season. Follow this sequence to fix winter damage, encourage deep roots, and crowd out weeds before they establish.