How to Install Drywall Anchors for Heavy Items

A failed wall anchor doesn't just dent your drywall — it can drop a 60-pound TV onto a coffee table. This guide explains the five anchor types, when to use each, the stud-first rule that pros follow, and the pull-test that catches a bad install before your TV does. For the holes left behind by failed anchors, a $5 tub of spackle and ten minutes covers the cleanup.
What You'll Need
🛠 Tools
📦 Materials
Safety First
- •Never trust a manufacturer's weight rating as a hard limit — drywall thickness, install quality, and dynamic loads (bumps, tugs) easily double the effective load. Always apply a 4× safety multiplier.
Step-by-Step Instructions
Find a stud first — anchors are plan B
Run a stud finder horizontally across the wall at the height you plan to mount — or, if you don't own one, an outlet and a magnet will find the stud just as reliably. Studs are usually 16 inches on center (24 inches in some homes) and 1.5 inches wide. When you locate one, drive a 3-inch wood screw directly into the stud — it holds 80-100 pounds per screw, more than any drywall anchor, and costs nothing. Only fall back to anchors when your mount geometry doesn't land on a stud or when a multi-point bracket has hole spacing that misses framing.

No stud finder? Look for outlet boxes — they're nailed to a stud on one side, so the stud is within 3/4 inch of the box. From there, studs march 16 inches on center in both directions.
Weigh the item and apply a 4× safety multiplier
Find the actual weight from the manufacturer's spec or a bathroom scale. Multiply by 4 to get your required anchor rating — drywall anchor numbers are static load only, and dynamic forces from bumping, kids tugging, or articulating arms easily double or triple the effective weight. A 25-pound mirror needs an anchor (or combination of anchors) rated for at least 100 pounds total. If using N anchors, the per-anchor requirement is (weight × 4) ÷ N, but only if every anchor is seated in good drywall away from torn paper or old holes.

Pick the anchor by load — five common types
Match anchor type to the rated-load number from step 2. Under 10 lbs: plastic expansion anchor (cheap, fast, fine for pictures). 10-25 lbs: ribbed plastic or threaded anchor. 25-50 lbs: self-drilling threaded anchor or small molly bolt. 50-100 lbs: large molly bolt or 3/16-inch toggle bolt. Over 100 lbs: 1/4-inch toggle bolt or strap-style SnapToggle (rated up to 238 lbs). For anything over 50 lbs, prefer toggle-style anchors — they spread the load across a much larger area of drywall and fail more gracefully than expansion-style anchors.

Drill the pilot hole — match bit size to anchor exactly
Every anchor's packaging specifies the pilot-bit size — use that exact bit. Too small and the anchor splits or crushes the drywall paper as you drive it. Too large and the anchor spins in the hole with no grip. For threaded self-drilling anchors, skip the bit and drive directly with a Phillips driver (a 1/8-inch pilot helps in dense walls). For toggle bolts, the pilot hole needs to be wide enough for the folded toggle wings to pass through — typically 1/2 inch for 3/16-inch toggles and 5/8 inch for 1/4-inch toggles.

Avoid drilling blind into a wall with plumbing or electrical inside. Behind a kitchen backsplash, bathroom wall, or near outlets, scan with a stud finder that detects live wiring (most modern ones do) before drilling.
Install the anchor flush — method depends on type
Three install methods cover all five anchor types. Plastic expansion or ribbed: tap into the pilot with a rubber mallet until the head is flush with the wall. Threaded self-drilling: drive in with a Phillips bit until the shoulder seats flush — don't over-spin once it's flush or you'll strip the threads. Molly bolt: insert into the pilot, then tighten the bolt with a screwdriver until you feel the wings collapse behind the wall and grip firmly. Toggle bolt: thread the screw through your bracket FIRST, then through the toggle, fold the wings flat, push through the hole, and pull back firmly on the screw while you tighten — the wings spring open inside the wall.

Toggle bolts can be tricky on a first install. Tip: pre-thread the screw through your bracket BEFORE you collapse the toggle wings and push them into the wall. If you push the toggle in first, you can't put the screw through the bracket without losing the toggle inside the wall.
Drive the screw — stop when snug, never crank
Drive the screw with steady pressure until the bracket pulls flush against the wall — then stop. Cranking past snug crushes the gypsum core behind the anchor and dramatically reduces holding strength. If the screw suddenly turns easy (no more resistance) before the bracket is tight, you've either stripped the anchor or crushed the drywall — back out the screw, remove the anchor, patch the hole, and start over two inches away.

Pull-test before you mount your item
With the anchor and screw installed but before mounting the item, hook a finger through the bracket and pull straight out with steady, firm force — not a jerk. For higher-weight installs, hang a bag of books or a hand weight equal to about half the item's expected weight from the bracket and let it sit for 15 minutes. The bracket should not move at all. Any movement, sagging drywall, or crumbling around the anchor means the anchor needs to come out, the hole gets patched, and you start over with a larger anchor an inch or two over.

Mount the item — tighten the multi-anchor pattern evenly
With all anchors tested, lift your item onto the bracket. For multi-anchor mounts like TV brackets and floating shelves, drive each screw partway in first to align everything, then tighten in a star or cross pattern (not corner-to-corner) just like lug nuts on a car wheel. Uneven tightening loads one anchor harder than the others and can pop the weakest one. Once snug, give the item a final firm tug at top, bottom, and each side before you trust it with anything valuable hanging from it.

For TVs and large mirrors, do the test-tug while standing to the side, not directly underneath. If the anchor is going to fail, it fails on the first hard pull — not while you're staring up at it from below.
Frequently Asked Questions
What's the strongest drywall anchor?
+
The strap-style SnapToggle (TOGGLER brand) and 1/4-inch metal toggle bolts are the strongest, rated 150 to 240 pounds in 1/2-inch drywall. They work by passing a metal bar through the wall that pivots flat against the back of the drywall, spreading the load across a much larger area than expansion-style anchors. Nothing else in the residential-anchor category comes close.
Can I mount a TV on drywall without hitting a stud?
+
Yes, but only for smaller TVs and only with toggle bolts or SnapToggles — never plastic anchors. For a TV under 50 pounds with a fixed (non-articulating) mount, four 1/4-inch toggle bolts will hold it safely. Anything heavier, anything with an articulating arm (which multiplies pull-out forces), or anything in a high-traffic area should go into at least one stud — find a stud finder or use the magnet trick to locate screws in the wall.
How much weight can a plastic drywall anchor really hold?
+
The numbers on the package are optimistic. In real-world 1/2-inch drywall, plain ribbed plastic expansion anchors hold 10-25 pounds before pulling out, and even that assumes a perfect install. The expansion force can crack the gypsum around the hole, so the failure mode is often a slow loosening rather than a clean pull-out. Use plastic anchors only for pictures, light mirrors, and small decor — anything heavier deserves a threaded anchor, molly, or toggle.
Why is my drywall anchor spinning in the hole?
+
Three causes, in rough order of likelihood: the pilot hole is too big (drop the bit one size and try a fresh anchor an inch over), the drywall paper tore when the anchor was set (use a larger-diameter anchor or upgrade to a toggle bolt), or you over-tightened the screw and crushed the gypsum core (any further turning just chews the hole bigger — back out and patch). Patch the failed hole per the drywall hole patching guide — or, if the anchor tore out a chunk bigger than a quarter, use the mesh-patch method — and move 1-2 inches over for the next attempt.
Do I need to pre-drill for self-drilling threaded anchors?
+
By design, no — the threaded tip cuts its own hole when you drive the anchor with a Phillips bit. But on harder or older drywall, a tiny 1/8-inch pilot hole helps the tip start without tearing the paper face, which is what gives the anchor its grip. If the threaded anchor wobbles or tilts as you drive it, stop, back it out, and start a fresh hole with a 1/8-inch pilot.
Community Tips
💬 Sign in to share tips with the community
Sources & further reading
- How To Use Drywall Anchors (DIY) — Family Handyman
- Advanced Framing: Minimum Wall Studs — Building America Solution Center (DOE/PNNL)
More Carpentry Guides
View all → Easy15 min
How to Find a Stud Without a Stud Finder
No stud finder? No problem. You can locate the wooden studs behind your drywall with things you already own — an outlet, a tape measure, and a strong magnet — in about ten minutes. This guide walks through every reliable method, from the quickest starting point to a foolproof way to confirm a stud before you drill a single hole.
 Medium2 hrs
How to Patch a Large Hole in Drywall
A doorknob blowout, a wall-anchor failure, a fist through the drywall during the move-out — these holes are too big for spackle but too small to justify cutting in a full drywall section. The mesh patch (for 1/2-inch to 4-inch holes) and the California patch (for 4 to 8-inch holes) both finish flush, paint over invisibly, and cost under $25 in materials. The job takes about two hours of hands-on work spread over two or three days of compound cure time.
 Easy1 hr
How to Patch a Small Hole in Drywall (Spackle Method)
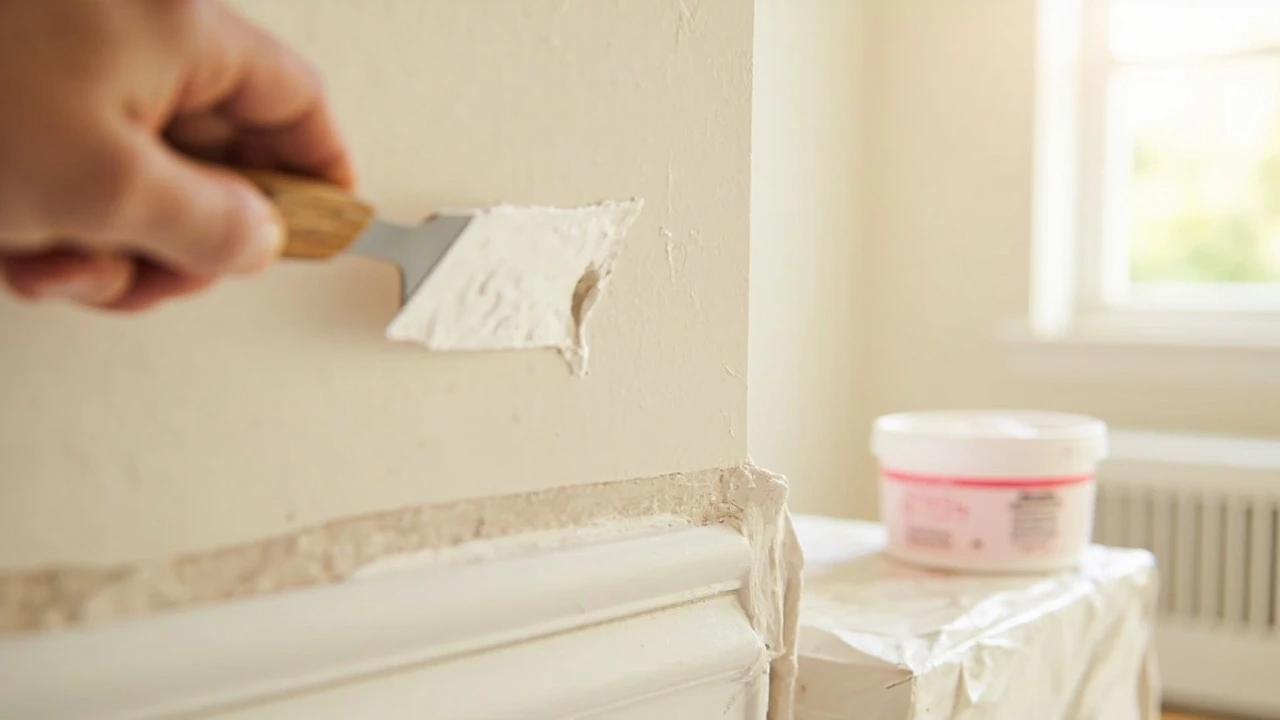
A nail hole, picture-hanger ding, or doorknob dent doesn't need a contractor — it needs a $5 tub of spackle and twenty minutes of hands-on time. This guide covers the two-coat method, drying-time tradeoffs, and the touch-up paint trick that makes the patch invisible. For holes bigger than 1/2 inch, step up to the mesh-patch and drywall-cutout methods instead.
You Might Also Like
 Medium45 min
How to Install a Ceiling Fan
Replacing a light fixture with a ceiling fan improves air circulation in summer and can reduce heating costs in winter by circulating warm ceiling air downward. Most installs take 45-60 minutes.
 Easy3 hrs
Spring Lawn Care Checklist
What you do to your lawn in the first six weeks of spring determines its health for the entire growing season. Follow this sequence to fix winter damage, encourage deep roots, and crowd out weeds before they establish.
 Easy1 hr
How to Start a Compost Bin
Composting converts kitchen scraps and yard waste into rich, free fertilizer that dramatically improves garden soil. Setup takes under an hour and once running, the bin requires minimal effort for big rewards.