How to Skim Coat a Textured Wall Smooth
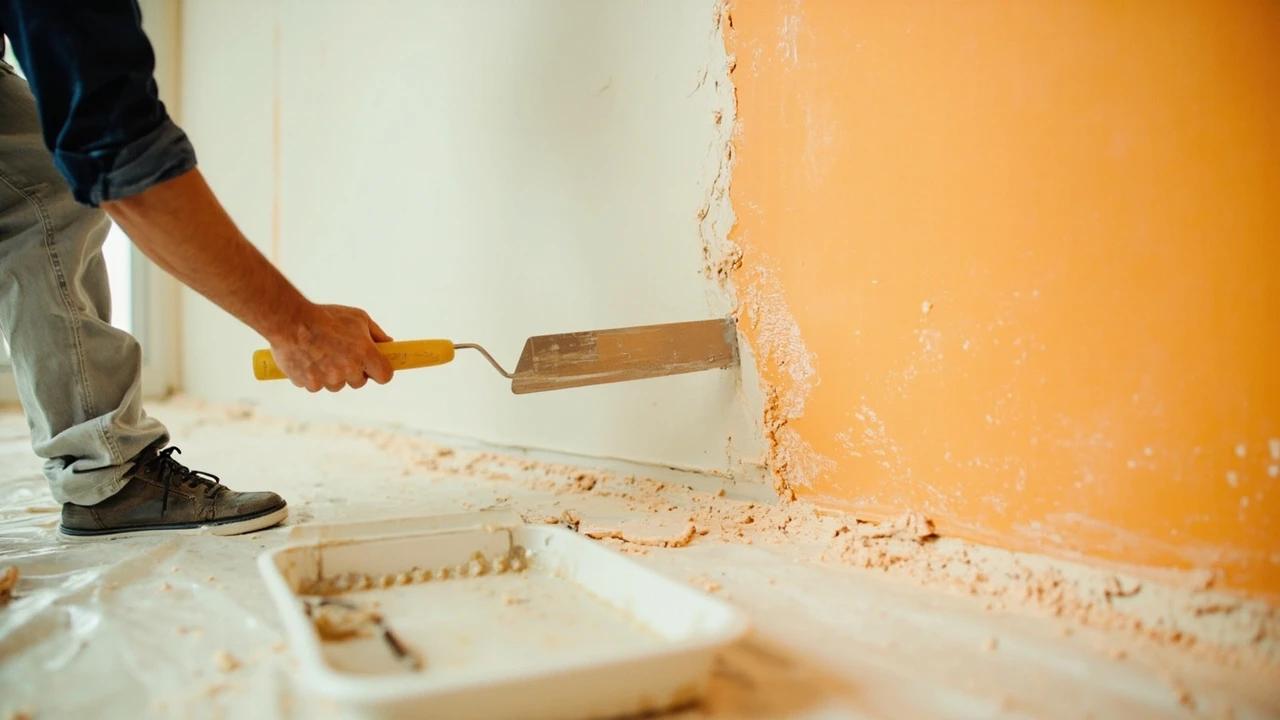

Flat, smooth walls are the look everyone wants now — but you don't have to tear out dated orange-peel or knockdown texture to get there. Skim coating buries the texture under a couple of thin layers of joint compound for a fraction of the $1.50-3.50 per square foot a pro charges, using a paint roller and a wide knife instead of a spray rig. This guide covers the roller-and-blade method that makes it DIY-friendly, how many coats your texture actually needs, and the raking-light trick pros use to catch every ridge before paint.
What You'll Need
🛠 Tools
📦 Materials
Safety First
- •Homes built before 1980 can have asbestos in sprayed or textured wall and ceiling coatings, and lead in the paint beneath — disturbing, scraping, or sanding either releases hazardous dust. Have a sample lab-tested before you touch suspect old texture.
- •Sanding dried joint compound throws fine gypsum and silica dust that irritates lungs and eyes. Wear an N95 and safety glasses, seal the room off with plastic, and use a HEPA vacuum or a wet-sanding sponge to keep dust down.
Step-by-Step Instructions
Test old texture, then mask off the room
If your home was built before 1980, stop and get the texture (and the paint under it) lab-tested before you disturb anything — old wall and ceiling textures can hide asbestos and lead. Once you're clear to work, empty the room or push furniture to the center and cover it, then tape plastic sheeting over the floor and baseboard and drop cloths across the room. Remove outlet and switch cover plates, pull nails and wall anchors, and wipe the walls down so the compound bonds to a clean, dust-free surface.
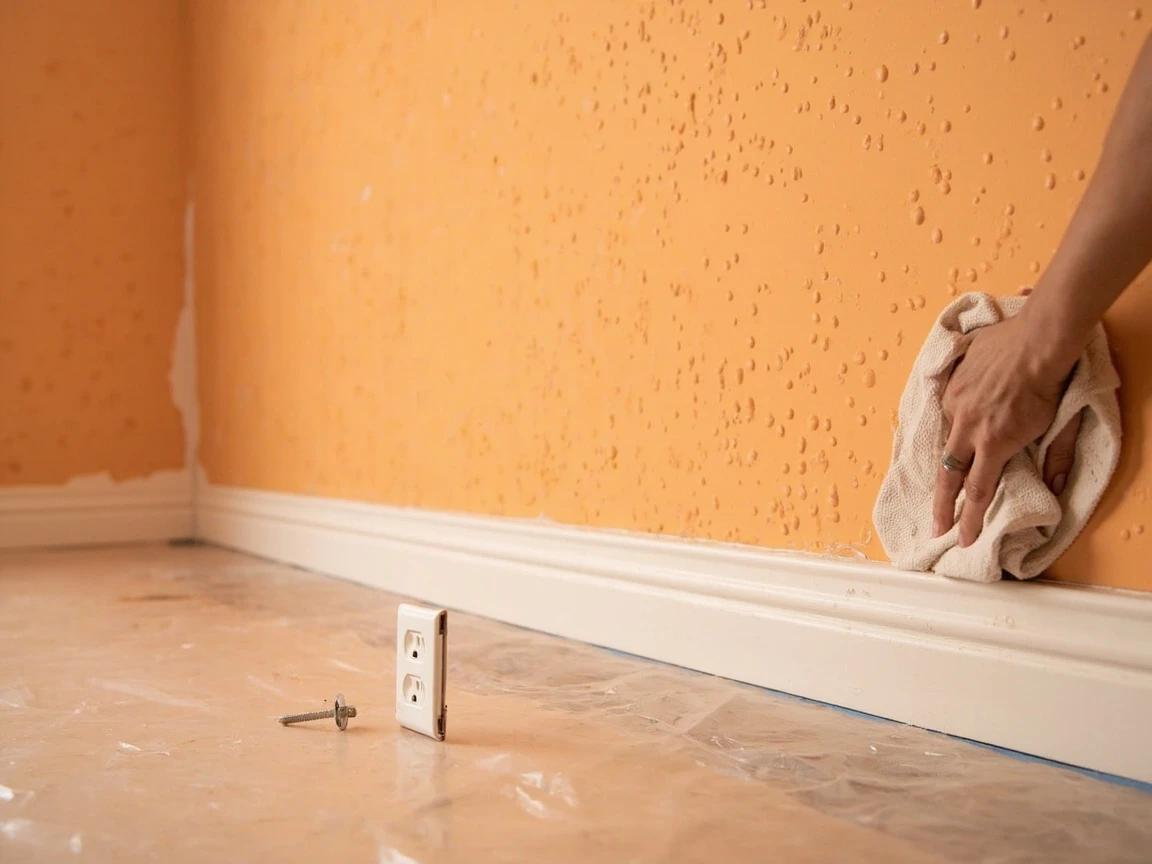
Pre-1980 texture is the one real hazard in this job. Asbestos and lead don't smell or look dangerous — the only way to know is a lab test. Never dry-scrape or sand suspect old texture until it's cleared.
Knock down high spots and seal problem surfaces
You're burying the texture, not sanding it away — so just scrape off the loose, flaking, or sharply raised bumps with a 6-inch knife so they don't poke through the skim coat. Fill any real holes or gouges first; our drywall hole patching guide covers that. If the wall is glossy or was oil-painted, scuff it and roll on a bonding primer so the mud will stick; if it's bare, chalky, or previously unpainted, prime it so it doesn't suck the water out of your compound.
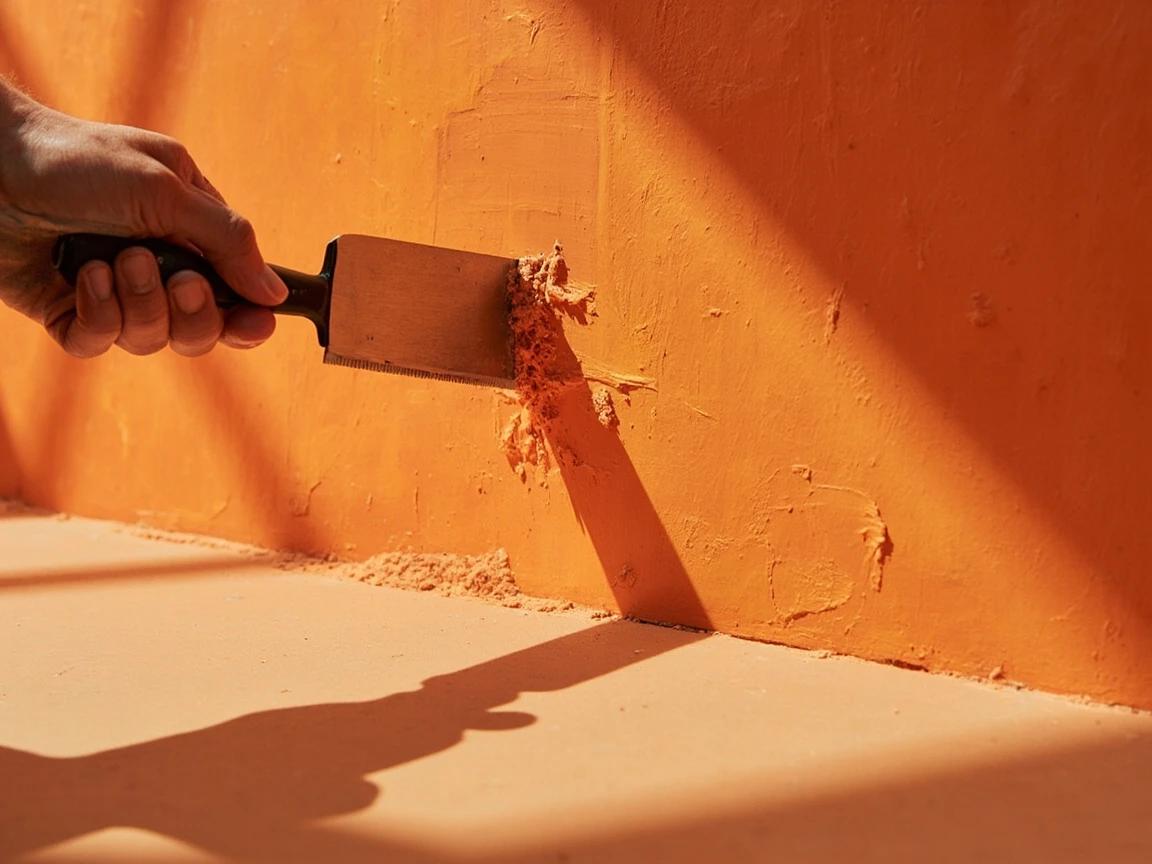
Set a work light on the floor aimed up the wall at a low angle before you start. The raking light throws shadows off every ridge, showing you exactly which high spots to knock down.
Mix the compound to a thick-paint consistency
Scoop premixed all-purpose compound into a clean 5-gallon bucket and add water a little at a time, blending with a drill and paddle until it's smooth, lump-free, and about the consistency of thick paint or cake batter — loose enough to roll on, thick enough not to run down the wall. Mix only as much as you'll use in 20-30 minutes so it doesn't skin over in the bucket. Thinner mud spreads and self-levels more easily but needs more coats to build up.
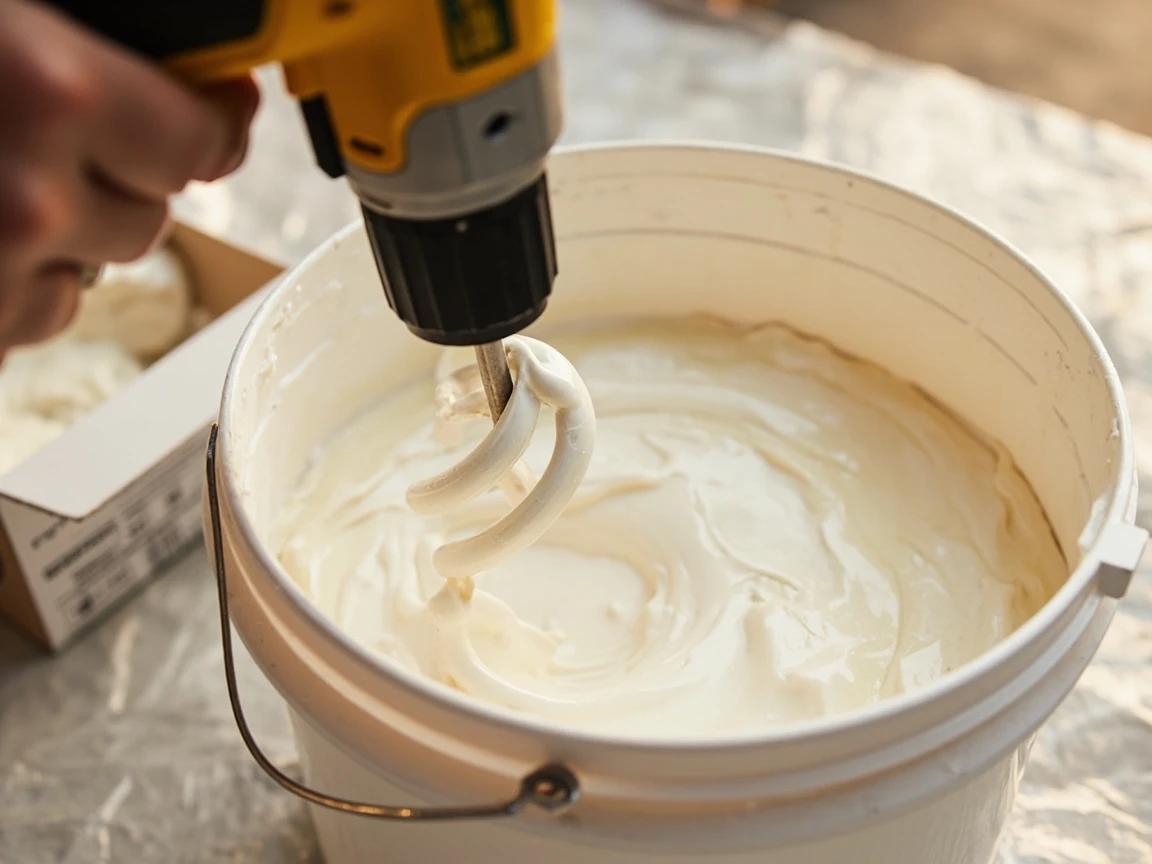
Let freshly mixed compound sit (slake) for five minutes, then give it one more quick mix. It knocks out air bubbles that otherwise leave pinholes in your smooth finish.
Roll a thin, even first coat onto a 4-foot section
Load a 3/4-inch nap roller and roll the thinned compound onto the wall in a section about 4 feet square, working top to bottom — the roller drives mud down into the texture's low spots far faster than spreading it by knife. Don't try to coat the whole wall at once; joint compound starts setting quickly, and you need to flatten each section (next step) while it's still wet. Keep the coat generous but even, with no heavy runs.
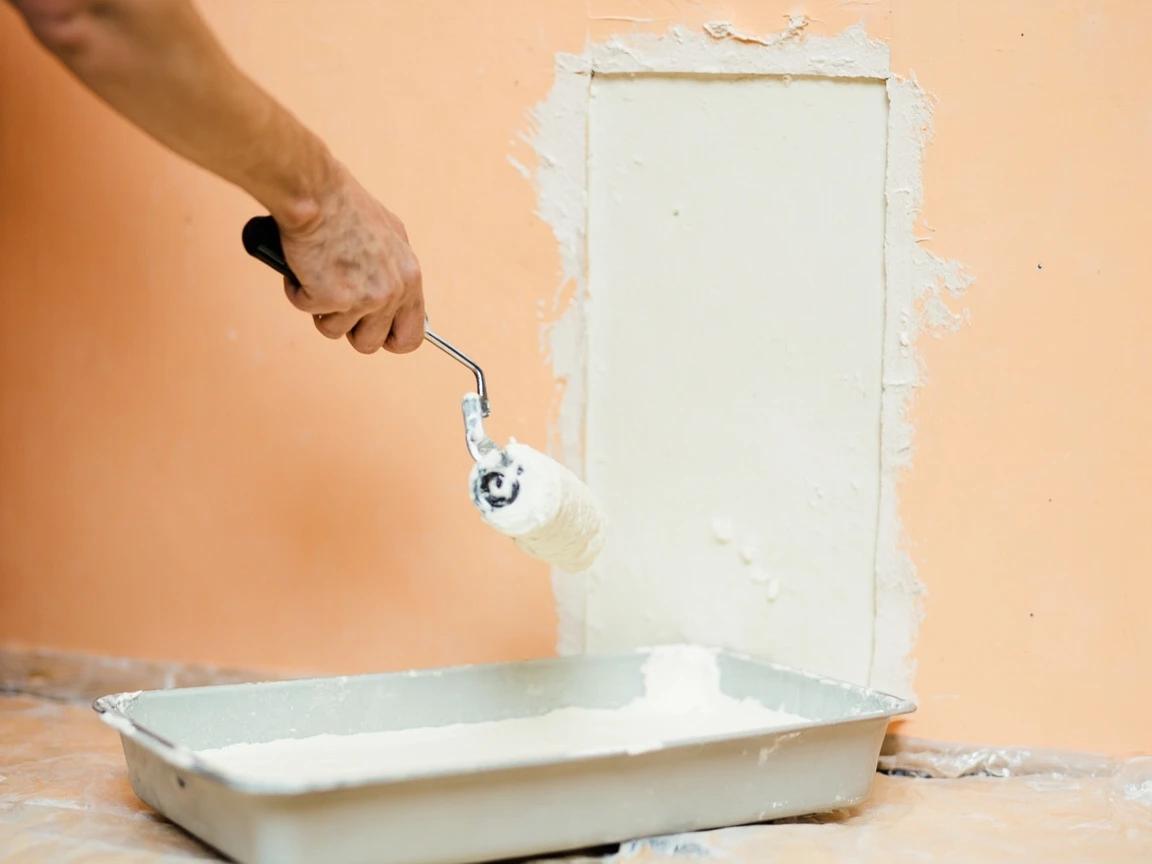
Work one small section at a time. If the rolled-on mud starts to skin before you flatten it, the knife will drag and tear it into ridges instead of smoothing it.
Flatten it with a wide knife at a low angle
Right after rolling, drag a 12-inch taping knife across the wet compound held at a shallow 10-to-15-degree angle with light, even pressure, making overlapping passes and scraping the excess mud off the blade back into your pan. You're pressing compound into the valleys and shaving the high spots flush — thin, not built up, 'not icing a cake.' Feather the edges of each section so it blends into the next with no hard line. It's the same knife-and-mud technique used to tape and mud a drywall seam, just spread across the whole wall.
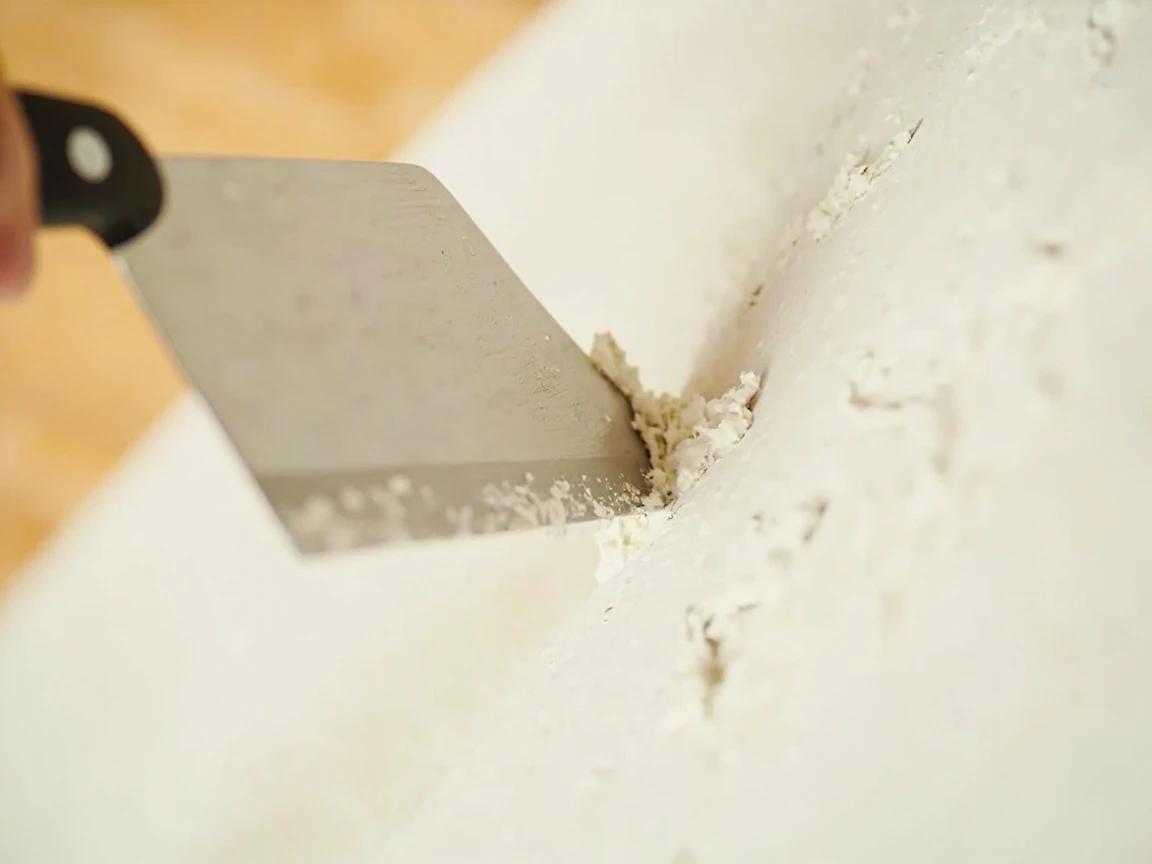
The wider the blade, the flatter the wall — a wide knife bridges low spots a narrow one dips into. If your walls are badly uneven, start with a 24-inch blade for the first coat, then finish with a 12-inch.
Let it dry, knock down ridges, and recoat
Let the coat dry completely — usually overnight — until it turns a uniform bright white with no gray damp patches. Lightly scrape or sand off any hard ridges the knife edge left behind, then roll and flatten a second coat exactly like the first, but run your knife passes in the opposite direction (horizontal if the first coat was vertical) to cross-level the surface. Most textured walls disappear under two coats; deep knockdown or splatter texture takes a third.
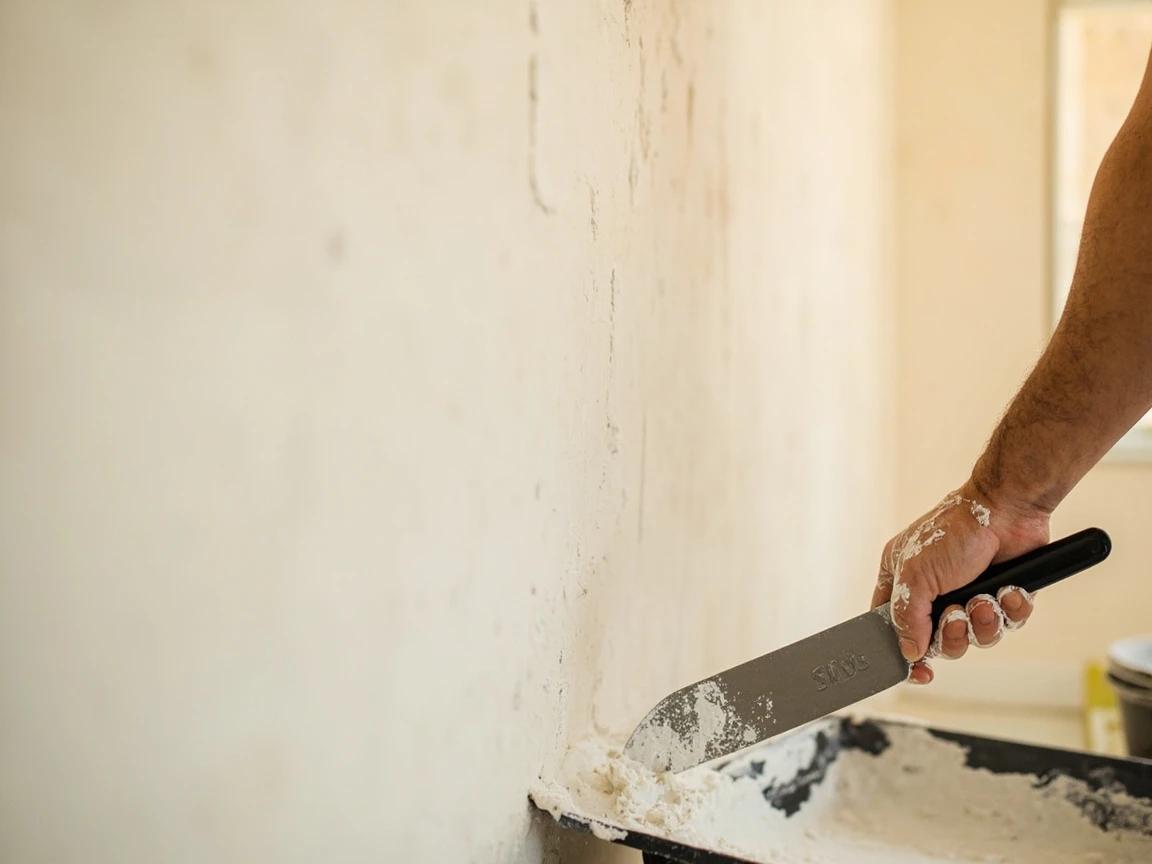
Never coat over compound that's still damp or gray. Sealing wet mud under a new layer traps moisture and leads to cracking, bubbling, and peeling weeks later.
Sand smooth under a raking light
Once the final coat is bone-dry, sand the wall with 120-to-150-grit screens on a pole sander (or a sanding sponge), using light, overlapping passes — you're smoothing, not grinding. Set a work light low and angled across the wall so raking light makes every remaining ridge and hollow cast a shadow, and keep sanding until the wall reads flat to both your eye and your palm. Vacuum the wall and wipe it with a damp sponge to pull off the fine dust before priming.
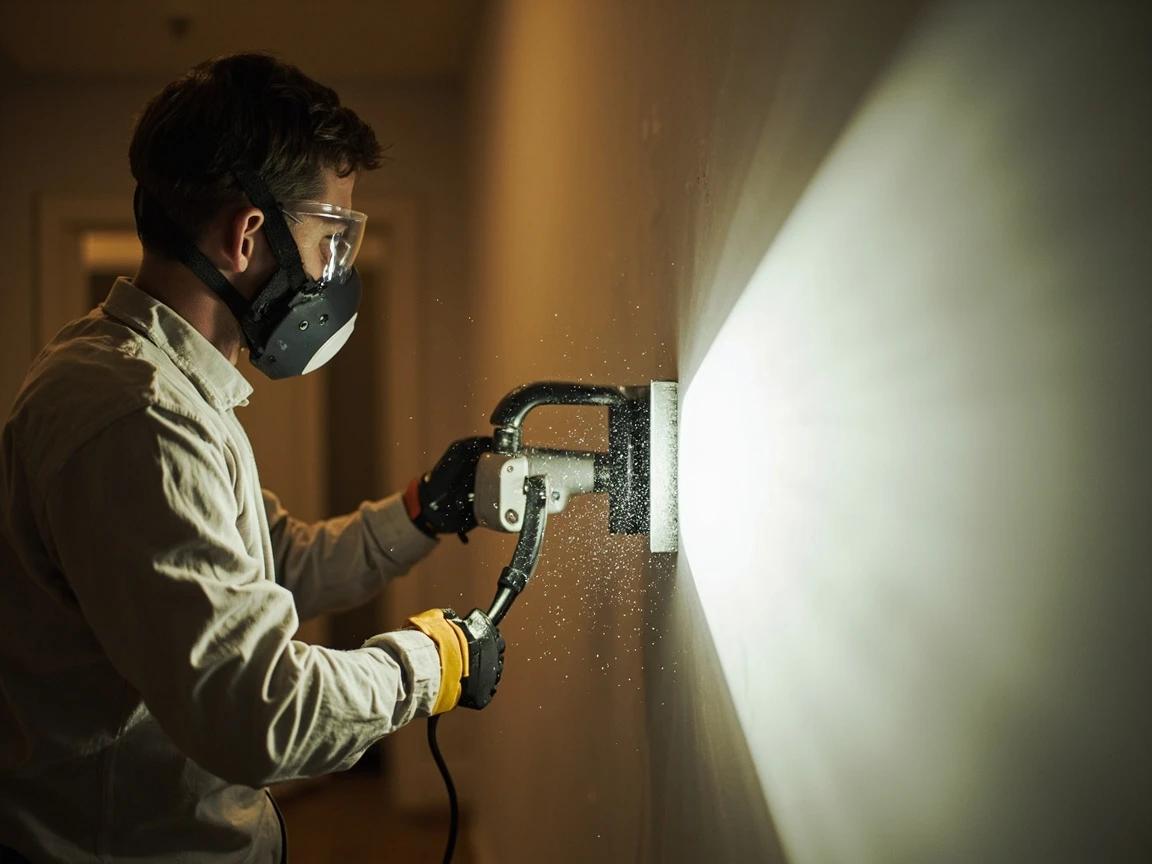
Trust your hand over your eyes — glide a bare palm across the wall and you'll feel ridges and edges that look invisible head-on. Circle any you find with a pencil, then sand them flush.
Joint-compound sanding dust is a fine respiratory irritant. Keep the N95 and eye protection on, seal the doorway with plastic, and run a HEPA vacuum or wet-sand to control it.
Prime, inspect, and paint
Roll a full coat of drywall or PVA primer over the whole wall to seal the porous compound — this prevents flashing, where bare mud absorbs paint unevenly and shows as dull patches. Once the primer dries, check the wall one more time under raking light; primer reveals leftover imperfections that raw compound hides, so touch up and re-prime any you spot. Then paint your finish color — from here it's a standard paint-the-room job.
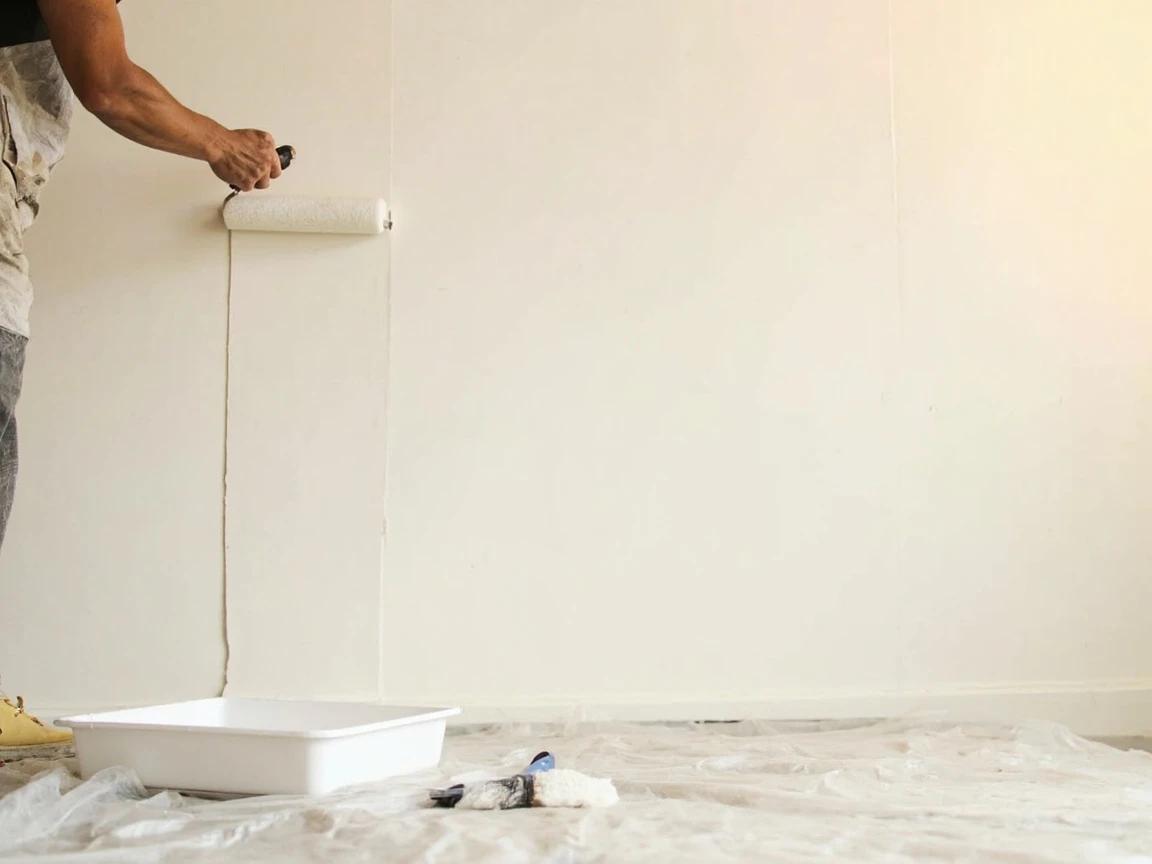
A flat or matte topcoat hides minor surface imperfections far better than satin or semi-gloss, which throw raking light of their own and highlight every wave. Save the sheen for trim.
Frequently Asked Questions
Can you skim coat over a textured wall without sanding it off first?
+
Yes — that's the whole point. You don't sand the texture off; you bury it under joint compound. Just knock off any loose, flaking, or sharply protruding bumps with a scraper first so they don't telegraph through, and prime any glossy or chalky spots so the mud bonds. Sanding an entire textured wall down to flat drywall would be far more work (and dust) than skimming over it.
How many coats of joint compound does it take to smooth a textured wall?
+
Most light-to-medium textures (orange peel, light knockdown) need two thin coats; deep knockdown, heavy splatter, or old hand-troweled texture often needs three. The first coat fills the low valleys, and each later coat levels and smooths what's left. Every coat should be thinner than the last — thin layers are what create a flat finish, not one thick pass.
What kind of joint compound is best for skim coating?
+
All-purpose premixed compound, thinned to a thick-paint consistency, is the DIY standard — it spreads easily and sands smooth. Lightweight 'plus 3' compound sands even easier. Setting-type 'hot mud' (mixed from a bag) is stronger and dries in under an hour but is much harder to sand, so many people use hot mud only for a first fill coat over deep texture and switch to premixed for the finish coats.
Should I skim coat or just prime and paint over the texture?
+
Priming and painting keeps the texture — it only changes the color, not the surface. If you want the flat, modern smooth-wall look (or the texture is damaged and patchy), you have to skim coat or re-texture; there's no paint that fills texture. If you actually like the existing texture and it's sound, skip the skim coat and just prime and paint.
Do I have to prime a skim-coated wall before painting?
+
Yes. Dried joint compound is porous and drinks in paint unevenly, so skimmed areas end up duller and blotchier than the surrounding wall — a defect called flashing. A coat of drywall or PVA primer seals the compound so your topcoat lays down uniform in color and sheen. Priming also gives you a raking-light look at the wall to catch spots that need one more sanding pass.
Sources & further reading
- How to Skim Coat Walls — Family Handyman
- Drywall Finishing How-To Videos & Resources — USG
- How to Skim Coat a Wall: 6 Steps to Skim Coating a Wall — MasterClass
More Carpentry Guides
View all →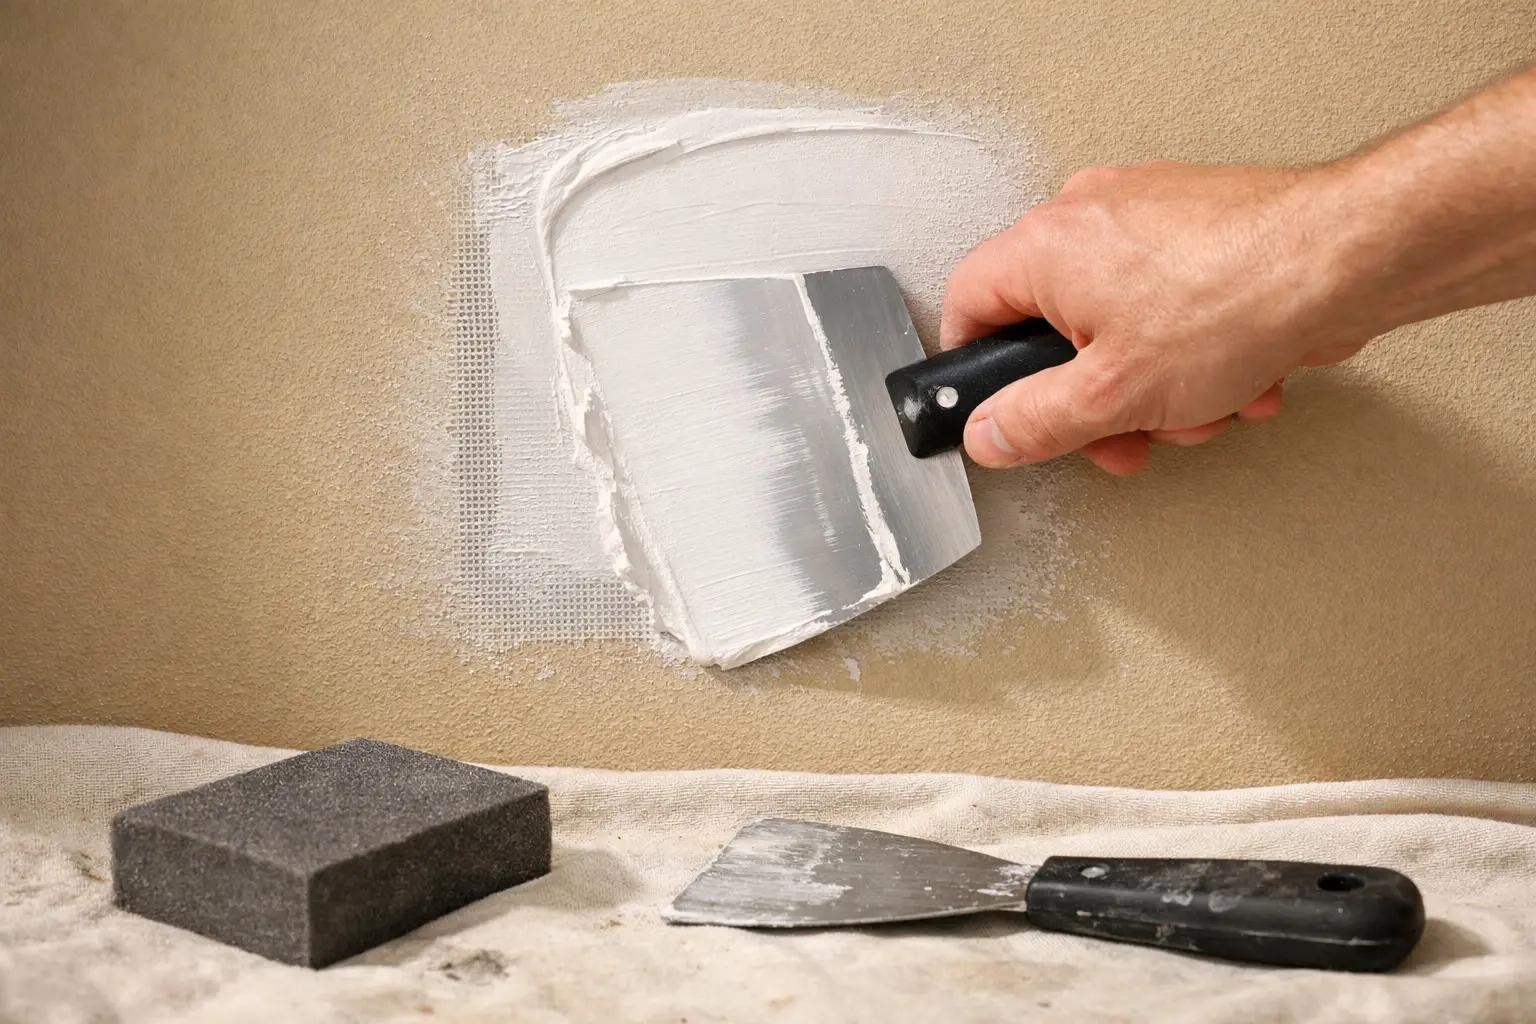 Medium2 hrs
How to Patch a Hole in Drywall (Any Size)
A nail hole, a doorknob punch-through, and a fist-sized hole from moving furniture each need a different repair. Match the hole to the method: spackle under 1/2 inch, a self-adhesive mesh patch up to 4 inches, a California patch from 4 to 8 inches, and a backer strip with a new drywall piece beyond that. Every method finishes with the same thin coats, sanding, and primer, and the materials cost under $40.
 Medium8 hrs
How to Remove a Popcorn Ceiling
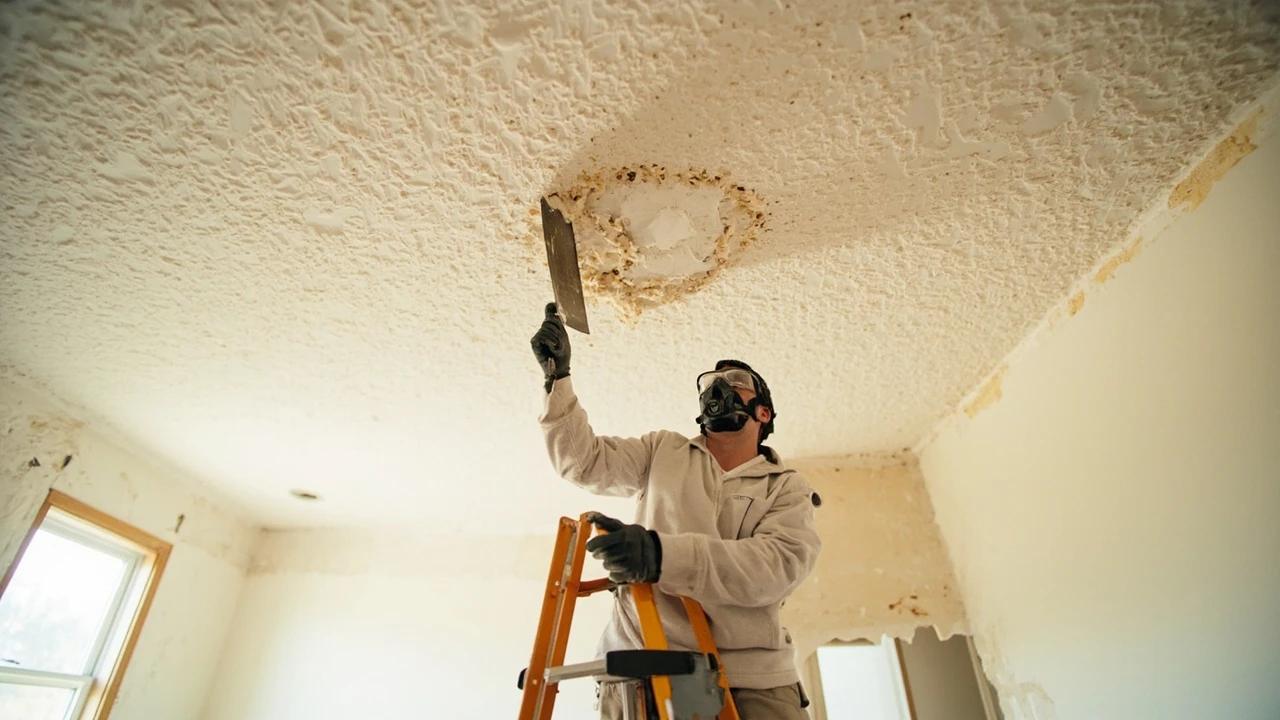
Scraping off a dated popcorn ceiling instantly modernizes a room and can lift resale value — and it's a genuine DIY for $50 to $150 in materials per room, versus the $1 to $2 per square foot a pro charges. But there's one non-negotiable first step: popcorn texture sprayed on before the mid-1980s can contain asbestos, so it has to be tested before you disturb a single flake. This guide covers that test, the wet-scrape technique that keeps the dust down, and the patch-sand-prime work that leaves a smooth, paint-ready ceiling.
 Medium1h 30m
How to Tape and Mud a Drywall Seam
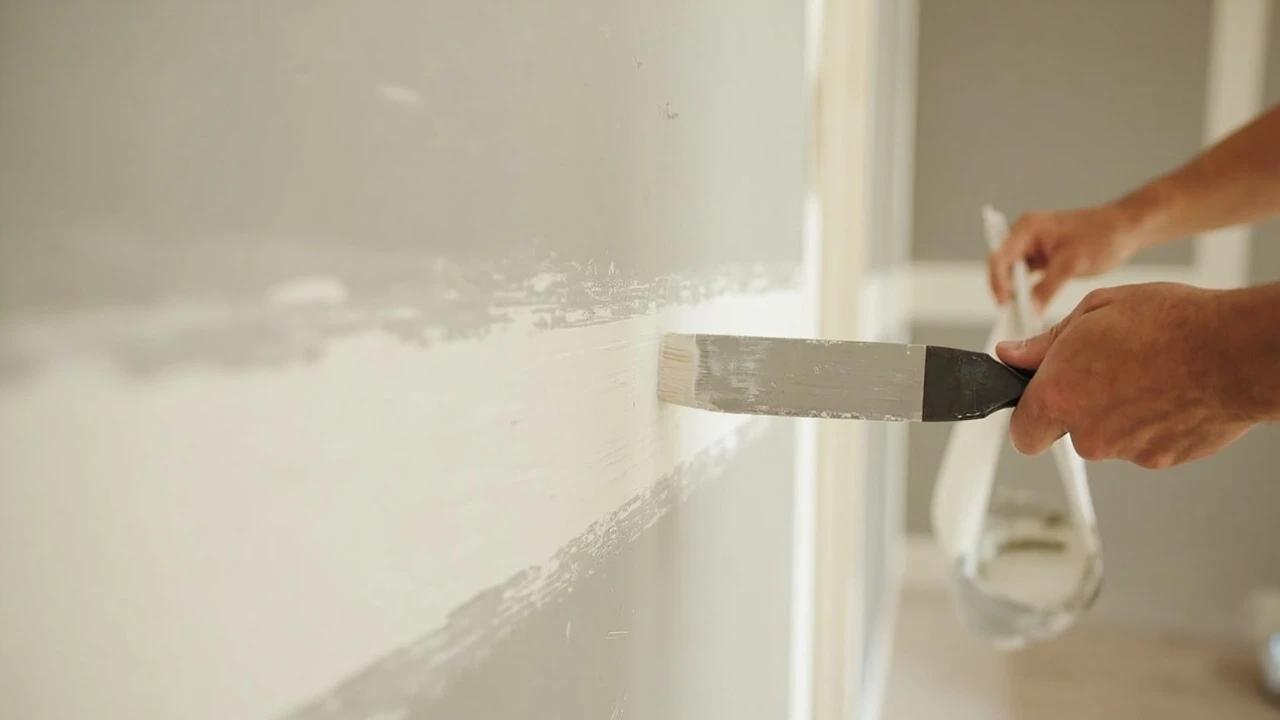
Taping and mudding is the skill that separates walls that look professional from walls that show every sheet of drywall behind the paint. The system is simpler than it looks: bed the tape, then two progressively wider coats with progressively wider knives, feathered to nothing. About $30 in materials finishes a room's worth of seams — the trade you're really making is three short sessions across three days.
You Might Also Like
 Medium30 min
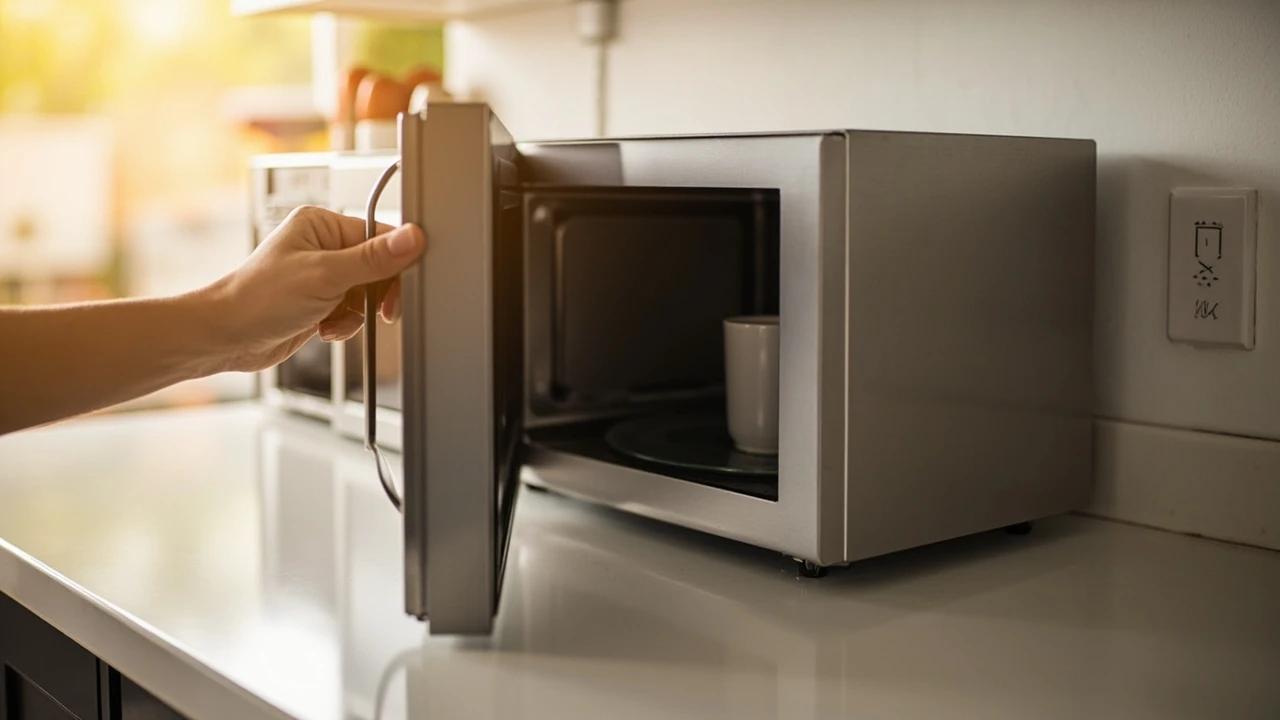
How to Troubleshoot a Microwave That Won't Heat
A microwave that runs — light on, turntable spinning, timer counting down — but leaves food stone cold is one of the most common appliance failures, and about half the time the cause is something you can fix in five minutes for free. This guide walks the diagnosis from the easy stuff (demo mode, power level, a tripped GFCI, a dirty door latch) to reading the failure signature that tells you the high-voltage circuit is gone, then helps you make the repair-or-replace call with real numbers.
 Medium45 min
How to Install a Ceiling Fan
Replacing a light fixture with a ceiling fan improves air circulation in summer and can reduce heating costs in winter by circulating warm ceiling air downward. Most installs take 45-60 minutes.
 Easy15 min
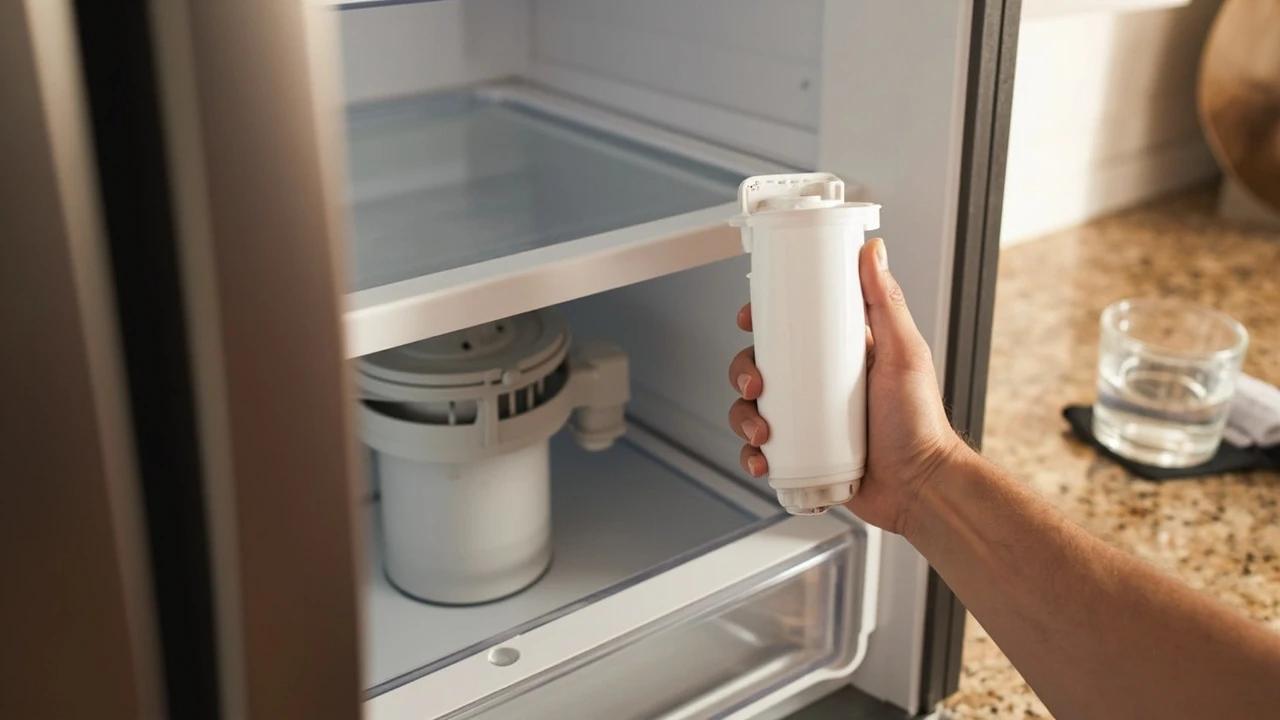
How to Replace a Refrigerator Water Filter
A clogged refrigerator water filter is the most common cause of slow dispensing, off-tasting water, and undersized ice cubes — and it is the easiest fix in your kitchen. Most filters are designed to be swapped in under five minutes with no tools, no shut-off valve, and no spilled water. This guide covers locating your filter, the two common removal styles (twist-in and push-in), inspecting the O-rings, flushing the new filter, and resetting the indicator light so you do not see the red "Replace" warning the next morning.