How to Replace a Dryer Belt
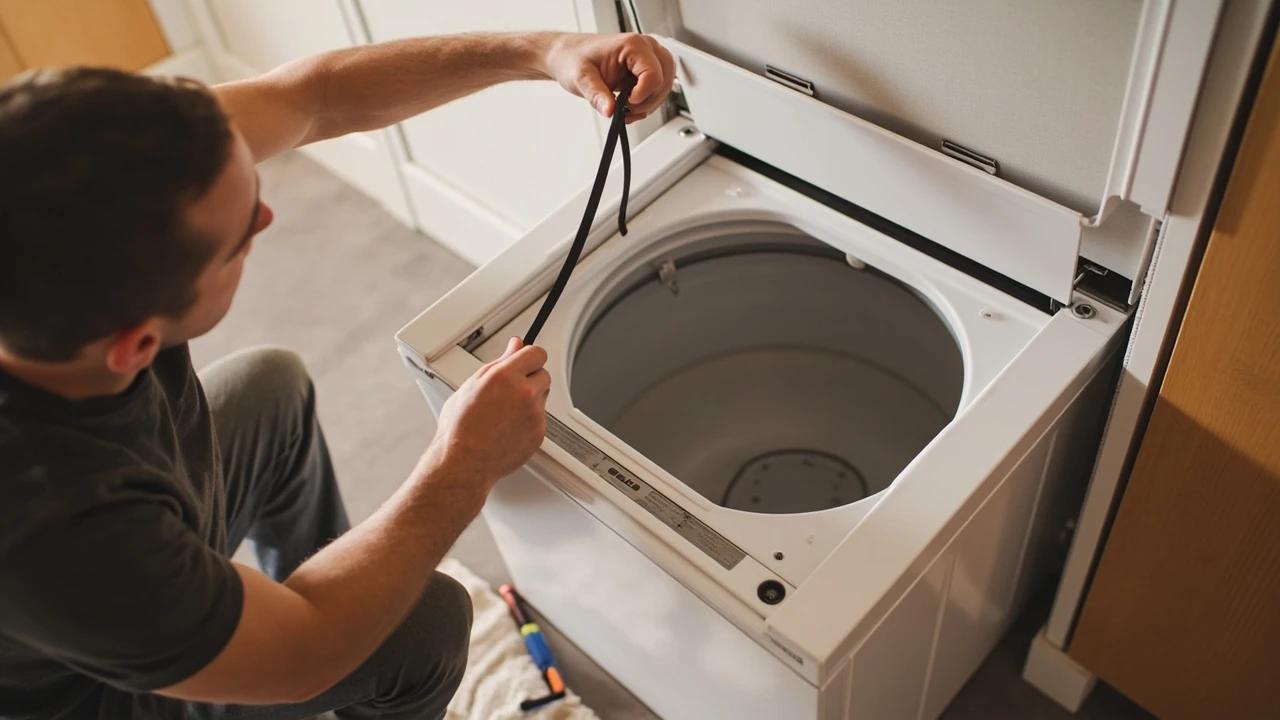

A dryer that hums but won't tumble almost always has a snapped drive belt — a $10 to $40 part that a technician will charge $100 to $250 to swap. The job is an hour of careful panel work: pop the top, pull the front, loop the new belt around the drum and idler, and check the pulley that probably killed the old belt in the first place.
What You'll Need
🛠 Tools
📦 Materials
Safety First
- •Unplug the dryer before removing any panel — electric dryers run on a 240-volt circuit, double the bite of a normal outlet.
- •On a gas dryer, pull the machine out only far enough to work and never strain or kink the flexible gas connector behind it. If the connector is too short to give you room, shut the gas valve and call a pro rather than stretching it.
- •Wear gloves inside the cabinet — stamped sheet-metal edges cut like box cutters.
Step-by-Step Instructions
Confirm the Belt Is Actually the Problem
Start the dryer and listen: a motor that hums or runs while the drum stays still is the classic snapped-belt signature. Then unplug the machine, open the door, and spin the drum by hand — with a healthy belt the drum resists and drags the motor; with a broken belt it spins freely like a barrel on rollers. If the drum resists normally but the dryer is silent or clicks, the problem is upstream (door switch, thermal fuse, or motor), and a belt won't fix it.
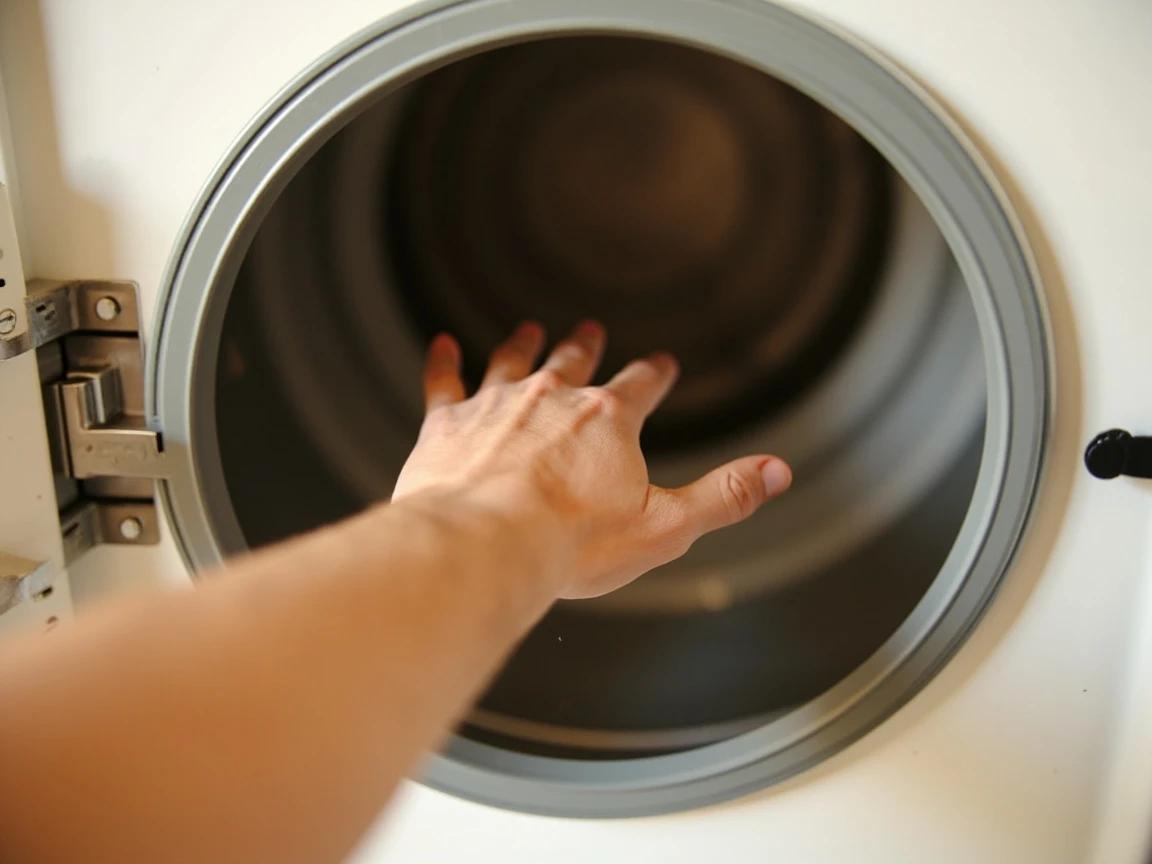
Some dryers have a belt-break switch that kills the motor when the belt snaps — so a completely dead dryer can still be a belt job. The free-spinning drum is the tell that settles it.
Order the Exact Belt for Your Model Number
Find the model number sticker — it's usually just inside the door opening on the frame, sometimes on the back panel — and photograph it. Enter the model number at an appliance parts retailer and order the belt listed for your machine. Most modern belts are about 92-1/4 inches long, 1/4 inch wide, with 4 or 5 ribs, but length and rib count vary enough between brands that eyeballing a "universal" belt is how this repair gets done twice.
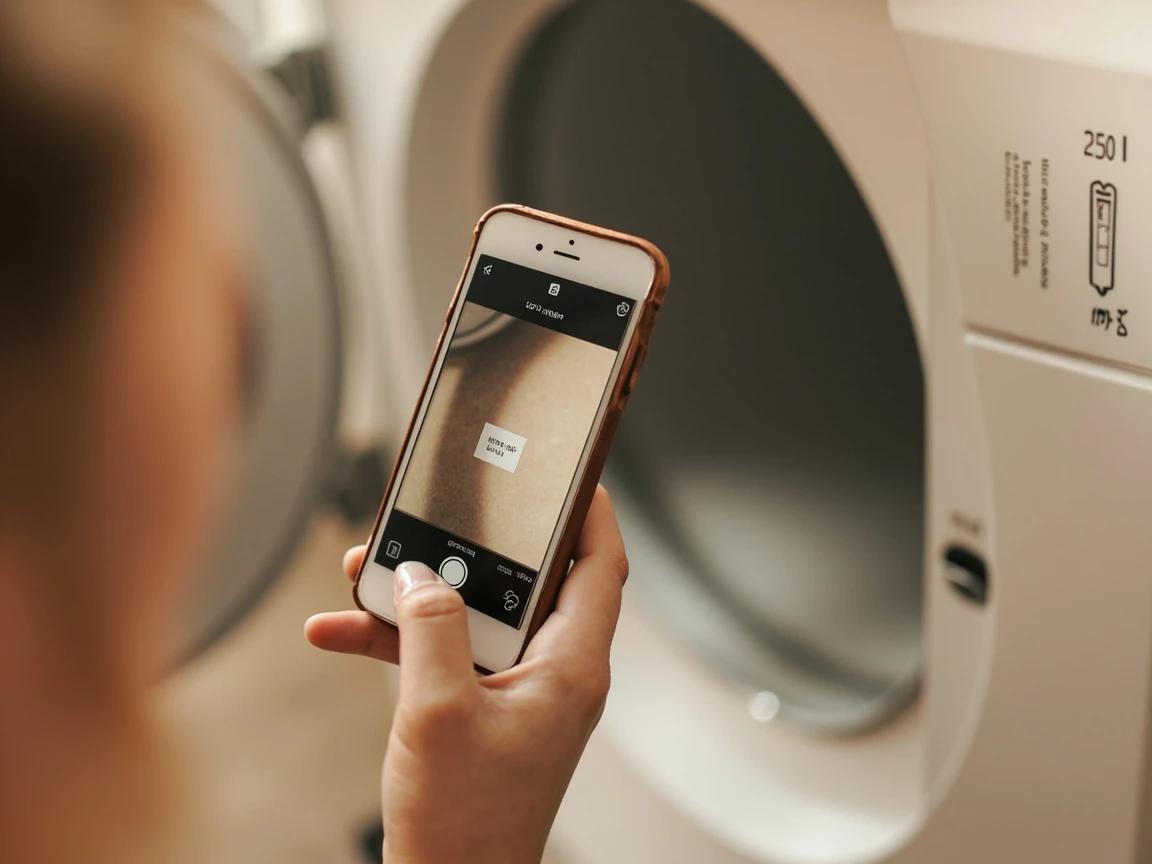
While you're ordering, add the matching idler pulley to the cart if your dryer is over eight years old — it's $10-20, and step 8 will probably tell you it was time anyway.
Unplug the Dryer and Make Working Room
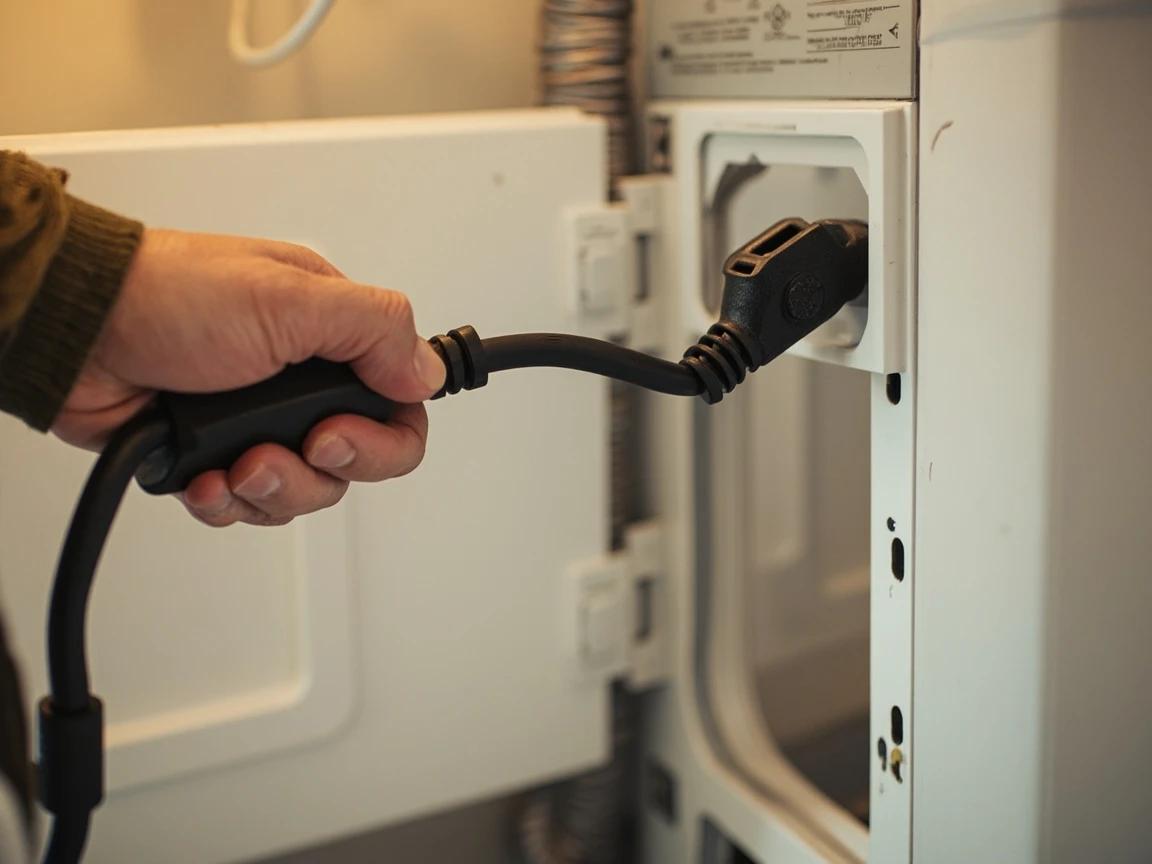
Unplug the power cord before anything else — electric dryers run on 240 volts. Walk the machine out from the wall until you have about 3 feet of workspace in front and enough room to stand beside it, and spread a towel to corral screws. On a gas dryer, move it gently and only as far as the flexible gas connector allows without pulling taut; the belt job never requires disconnecting gas.
Open the Top: Lint Screen Screws, Then the Hidden Clips
Pull the lint screen out and remove the two screws hiding in its slot. Then slide a wide putty knife under the top panel's front edge about 2 inches in from each corner and press in to pop the hidden spring clips — the top hinges back like a car hood. Designs vary: some models instead need the whole front shell or a rear access panel removed, so if there are no clips to pop, search your model number plus "disassembly" before forcing anything.
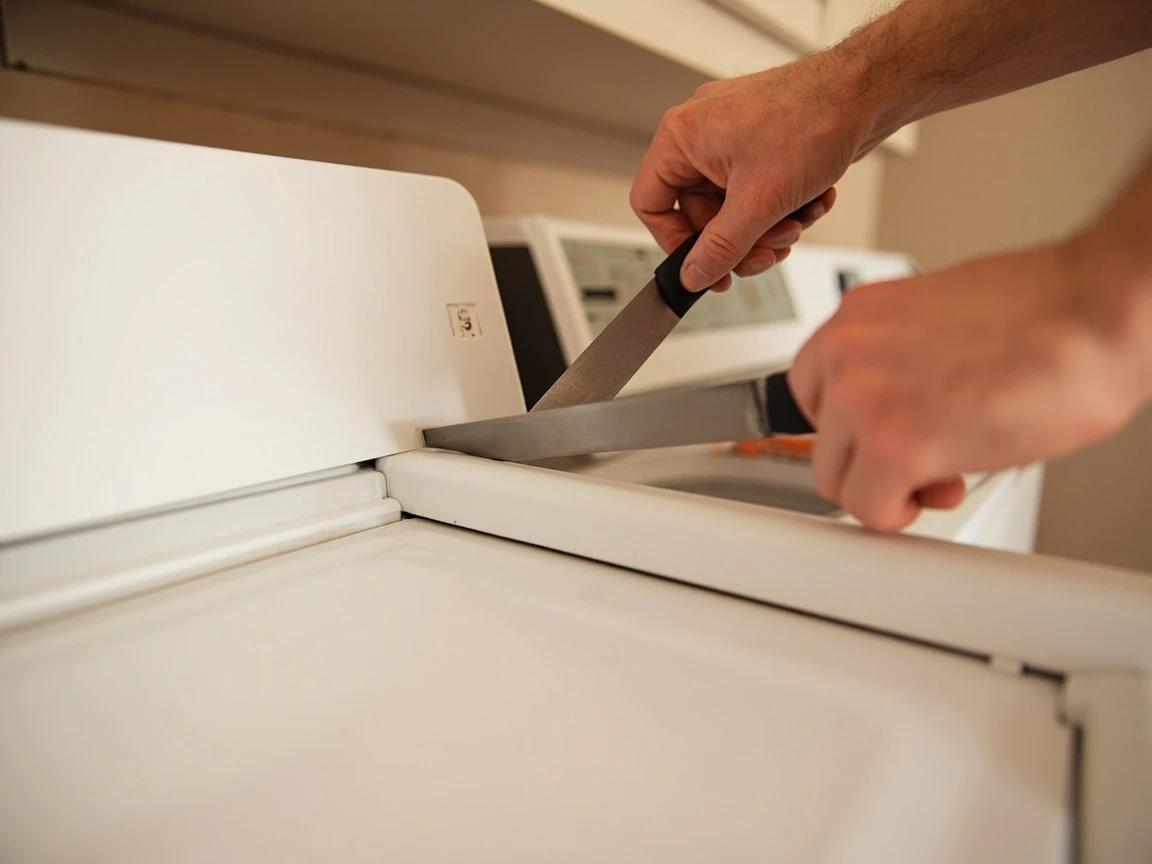
Drop every screw into a labeled spot on the towel in the order removed — lint-screen screws, top clips, front-panel screws. Reassembly is the reverse, and the sorting takes ten seconds now versus ten minutes later.
Remove the Front Panel and Support the Drum
With the top propped, photograph the door-switch wire connector, then unplug it. Remove the two screws at the top inside corners holding the front panel, tilt the panel forward, and lift it off its bottom hooks. On most dryers the front edge of the drum rests on glides attached to that panel, so the drum will want to drop — slide a scrap 2x4 underneath or have a helper hold it level while you work.
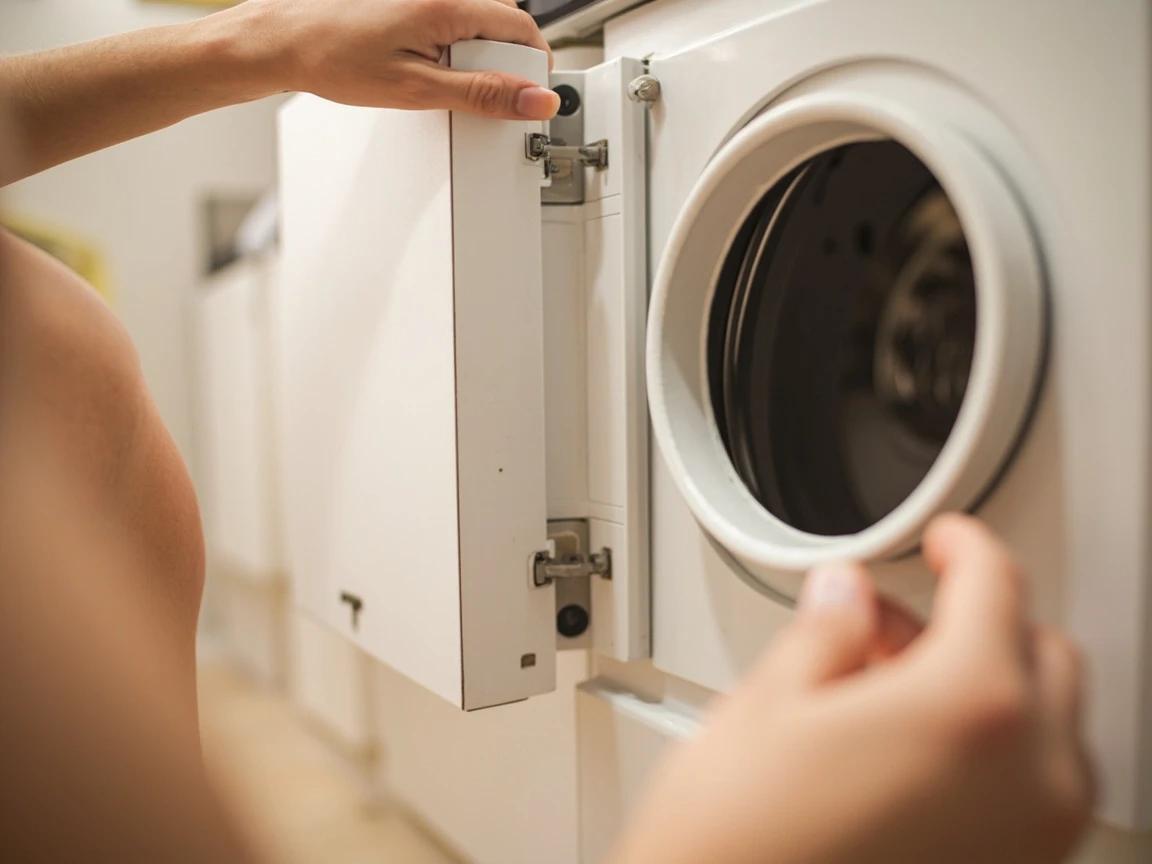
Don't let the drum crash down when the panel comes free — it can bend the rear roller shafts, turning a $15 belt repair into a roller-and-rumble repair.
Release the Old Belt at the Idler Pulley
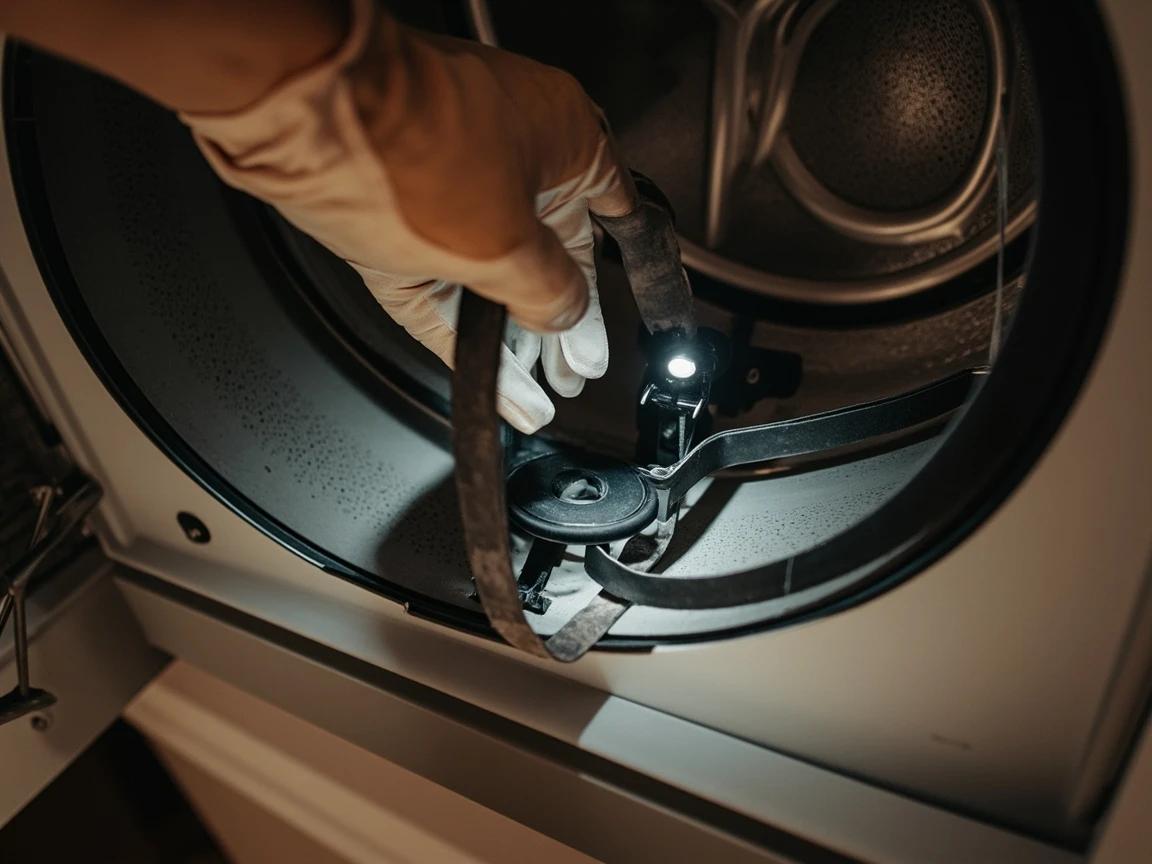
Look under the drum near the motor at the bottom of the cabinet: the belt loops from the drum down around a small spring-loaded idler pulley and the motor pulley in a zigzag. Photograph that routing before you disturb it. Push the idler pulley sideways against its spring to slack the belt, slip the belt off the motor pulley, then pull it out from around the drum — or fish out the pieces if it snapped outright.
Loop the New Belt — Grooved Side Against the Drum
Wipe the drum's belt track clean, then loop the new belt around the drum where the old wear line shows, with the ribbed side against the drum and the flat side facing out. Reach underneath and thread the belt into the same zigzag you photographed: ribbed side wrapping the motor pulley, flat side riding the idler wheel, with the idler spring giving it tension. Rotate the drum two full turns by hand and watch the belt — it should track in place with no twist and no walk toward either edge.
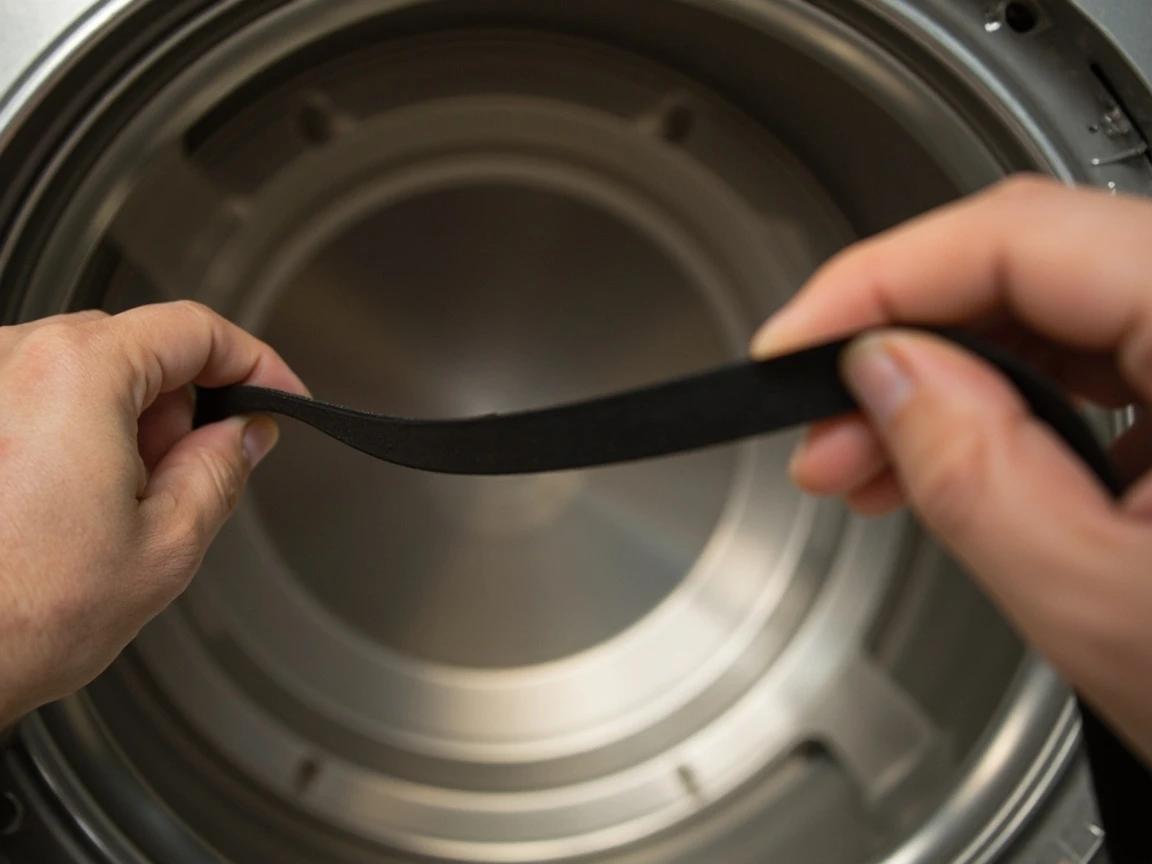
A belt installed ribs-out will run for a few weeks, squeal, and fail — the ribs must grip the drum and the motor pulley, with only the smooth back touching the idler.
Spin-Check the Idler and Rollers, Then Vacuum
Before closing up, spin the idler wheel with a finger: it should whirl freely and silently. Grinding, wobble, or a flat scrubbed spot is what killed your old belt, and it will kill the new one in months — swap the pulley now while everything is open. Give the drum support rollers at the rear (or the front glides) the same spin test, then vacuum the lint blanket out of the cabinet floor and motor area; while the vacuum's out, it's the perfect day to clear the vent duct too.
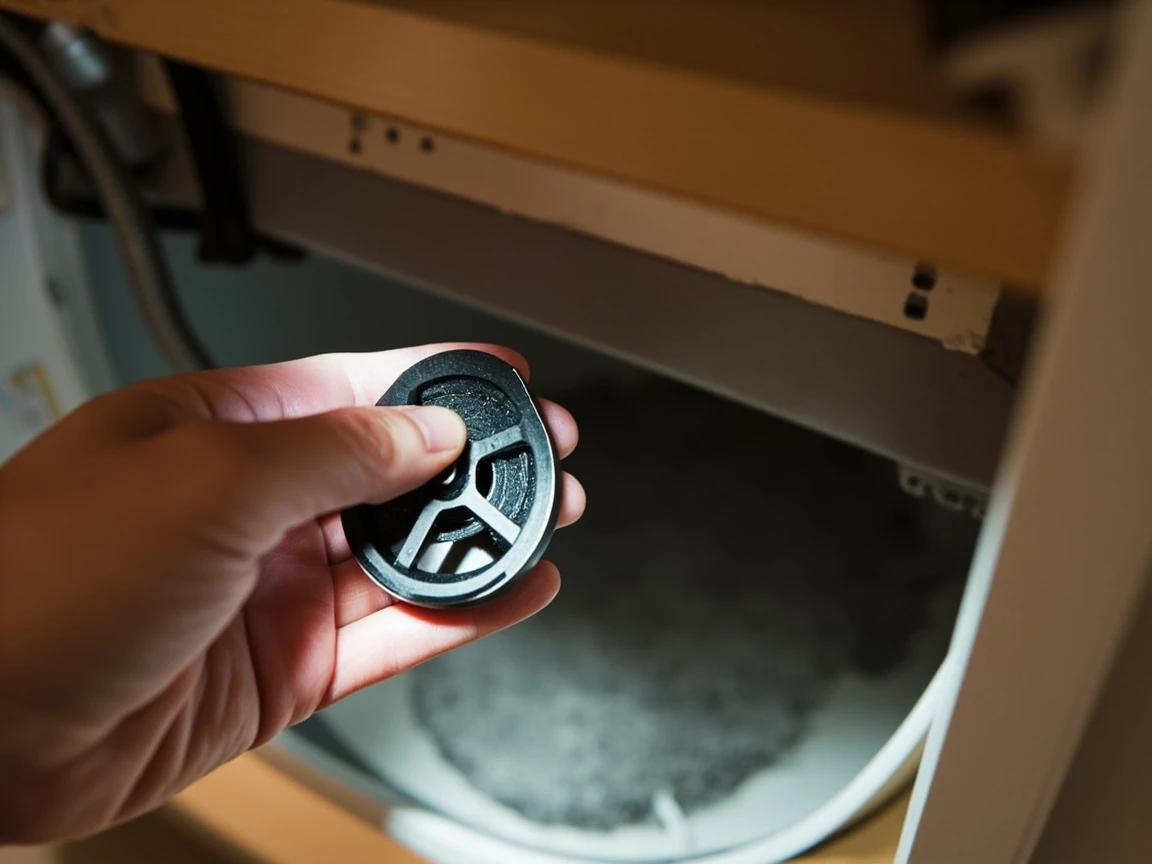
The lint packed around the motor isn't just dirty — it insulates the motor and feeds on any spark. Vacuuming it out adds years to the machine and is half the reason pros charge what they do for this job.
Reassemble and Run a Listening Test
Rehang the front panel on its bottom hooks, seat the drum's front lip on the panel glides, and drive the two panel screws home. Reconnect the door-switch wires, click the top down onto its spring clips, and reinstall the lint-screen screws and screen. Plug in, push the dryer back (watching the gas connector and vent hose), and run a 5-minute air-fluff cycle empty: a steady, even tumble means you're done, while a rhythmic thump means the belt seated off its wear track — open the top and nudge it over.

If the drum still won't turn after reassembly, the belt almost certainly slipped off the idler while you were re-hanging the front panel — annoying, common, and five minutes to re-seat now that you know the way in.
Frequently Asked Questions
How do I know if my dryer belt is broken?
+
Two checks settle it. First, start the dryer: a broken belt usually means the motor hums or runs normally while the drum sits still. Second, unplug the machine and spin the drum by hand — an intact belt gives steady resistance, while a snapped belt lets the drum spin freely like a barrel. Note that some models have a belt-break switch that cuts the motor entirely when the belt snaps, so a dryer that's completely dead can also be a belt problem, not a motor one.
Are dryer belts universal?
+
No — and guessing is how you end up doing this job twice. Belts vary in length, width, and rib count; the most common size is about 92-1/4 inches long and 1/4 inch wide with 4 ribs, but plenty of models use something different. Find the model number sticker inside the door opening or on the back panel, and order the belt listed for that exact model from an appliance parts retailer.
How much does it cost to replace a dryer belt?
+
The belt itself runs $10 to $40. An appliance technician charges $100 to $250 for the same swap, most of which is the service call and labor. Doing it yourself takes 30 to 60 minutes with a putty knife and a screwdriver, which makes this one of the highest-payback appliance repairs a homeowner can do.
Why did my new dryer belt break after a few months?
+
A new belt that fails within weeks or months almost never failed on its own — something it rides on is dragging. The usual culprit is a seized or gritty idler pulley that scrubs the belt at one spot until it overheats and snaps; worn drum rollers do the same thing more slowly. Whenever you replace a belt, spin the idler wheel and the drum rollers by hand — anything that doesn't spin freely and quietly should be replaced with the belt.
Can I still run my dryer with a broken belt?
+
Don't. On most models the heater and motor keep working, so clothes just sit in a hot box without tumbling — they won't dry, and the motor runs loaded with no airflow pattern it was designed for. On models with a belt-break switch the dryer simply won't start at all. Either way, the fix is cheap and the machine should stay off until it's done.
Sources & further reading
- How to Replace the Drive Belt in Your Dryer — iFixit
- How to Fix a Belt for a Dryer With a Drum That Won't Spin — Fix.com
- Dryer Drum Not Turning: Common Causes & Solutions — AppliancePartsPros
More Appliance Repair Guides
View all →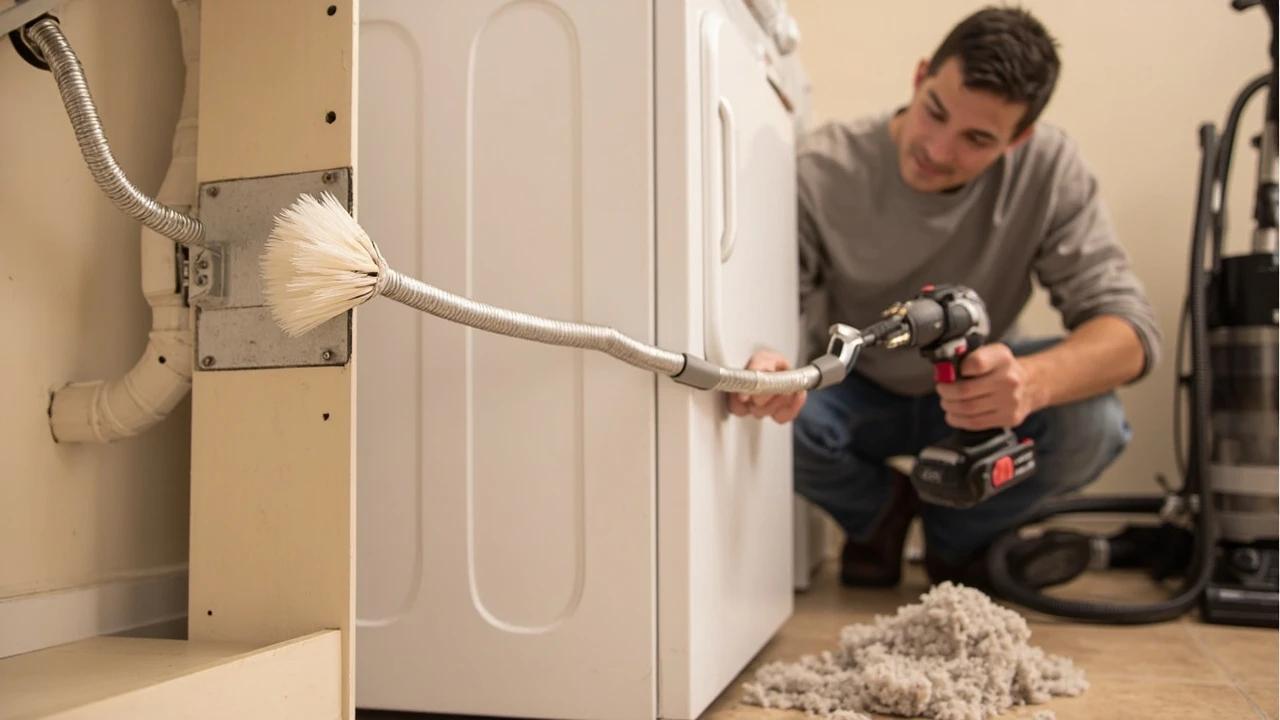 Easy1h 15m
How to Clean a Dryer Vent Duct
Clogged dryer vents are the leading cause of home dryer fires and the reason your clothes need two cycles to dry. Cleaning the duct yourself takes about an hour with a $25 rotary brush kit and a shop vacuum, removes years of compacted lint, restores drying efficiency, and lowers your energy bill. This guide walks you through unplugging the dryer, disconnecting the duct, brushing the entire run from end to end, and verifying airflow at the exterior hood.
 Easy25 min
How to Level a Washing Machine to Stop Shaking
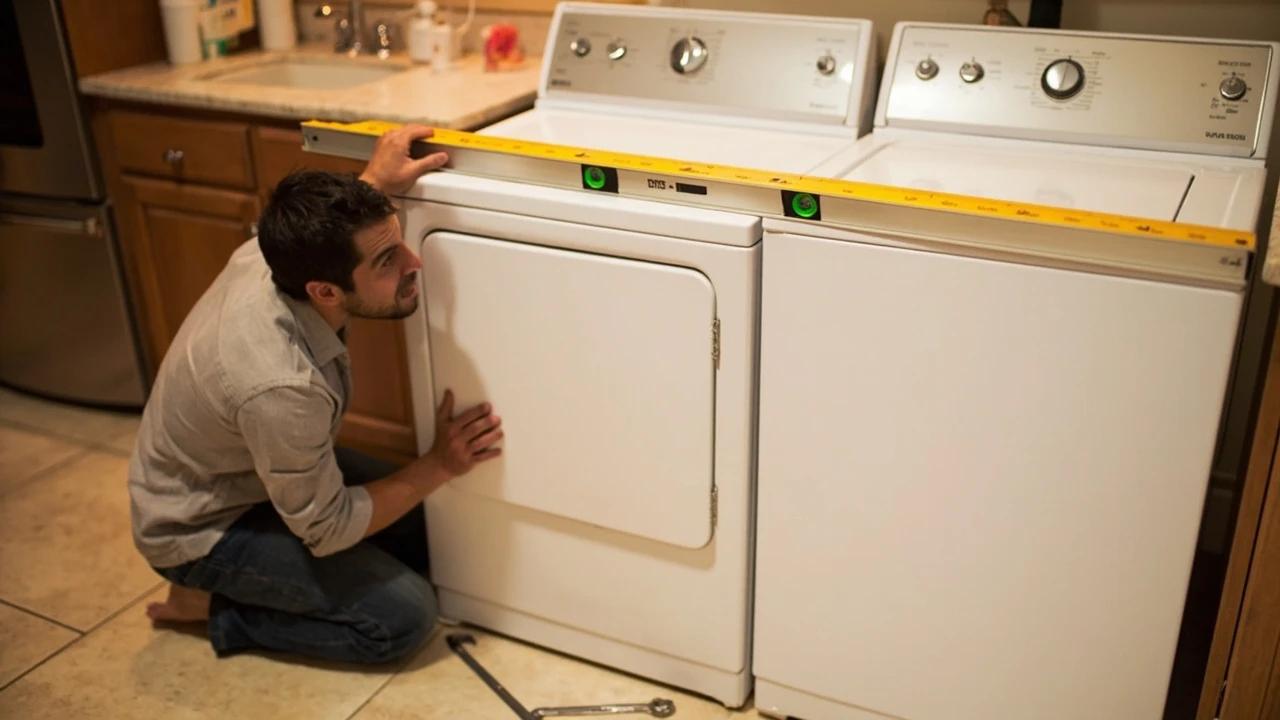
A washer that walks across the laundry room on the spin cycle, hammers the wall behind it, or sounds like a jet engine taking off is almost never broken — it is unlevel, and the drum is throwing the wet load off-axis because the cabinet is rocking on its feet. The fix is a 20-minute job with a $5 bubble level and a pair of pliers (no parts, no service call). Skipping it is genuinely expensive: the constant out-of-balance shaking shortens the life of the bearings, the suspension rods, and the shock absorbers, and a $300 bearing replacement is a real possibility on a washer that runs unlevel for a year. This guide covers both front-loaders and top-loaders, plus the stacked combo unit that vibrates loose every six months.
 Easy30 min
How to Replace an Oven Heating Element
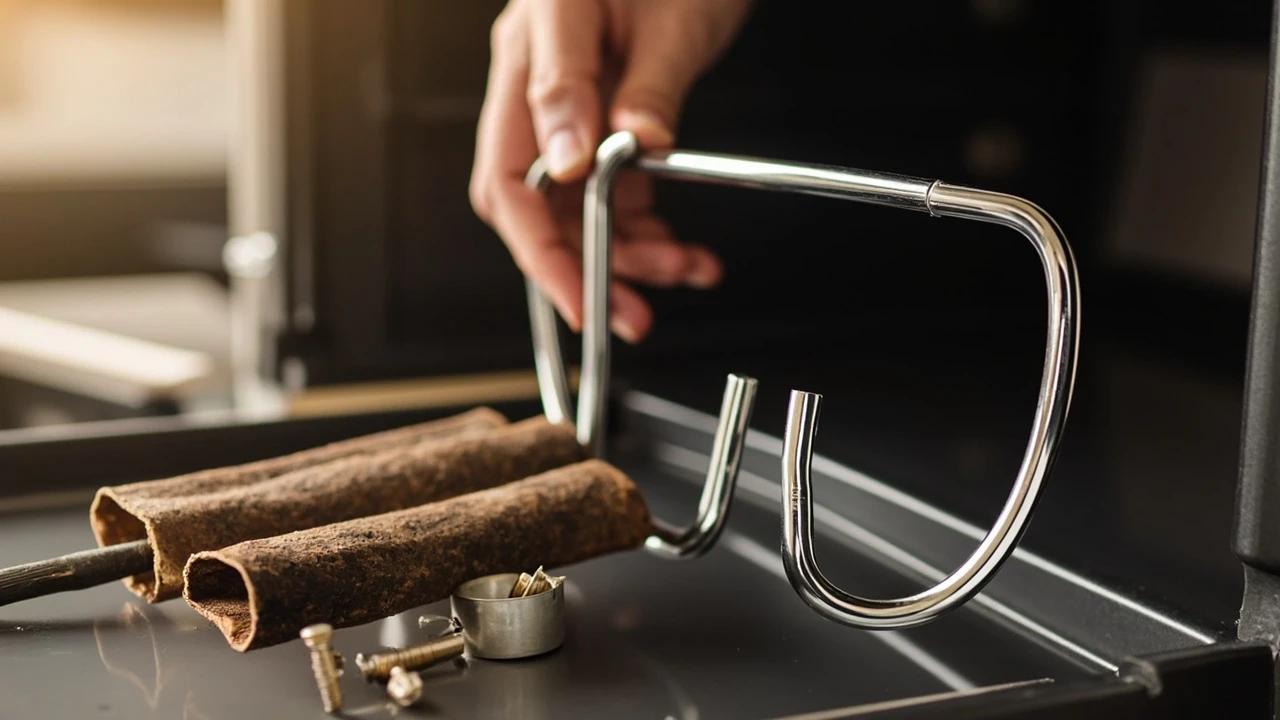
An electric oven that will not heat, is dim on one side, or trips its breaker mid-bake is almost always a failed heating element — the U-shaped coil at the bottom (bake) or top (broil) of the cavity. The part costs $30-60 OEM and the entire job is two screws and two spade connectors, versus a $200-300 service call. This guide covers Whirlpool, KitchenAid, Maytag, GE, Frigidaire, Kenmore, and Samsung electric ranges, plus notes for swapping a bad broil element using the same procedure.
You Might Also Like
 Medium1 hr
How to Repair Scratches in a Hardwood Floor
Scratched hardwood almost never means refinishing the whole floor. This guide shows you how to match the fix to the damage — a touch-up marker for finish-level scratches, a wax fill stick for shallow ones, and stainable wood filler with stain and polyurethane for deep gouges — all for under $40 in supplies and about an hour of work.
 Easy20 min
Best Paint for Kitchen Cabinets, Compared
The four paints that actually hold up to daily kitchen use are Benjamin Moore Advance, Sherwin-Williams Emerald Urethane Trim Enamel, INSL-X Cabinet Coat, and Behr Urethane Alkyd. They all work; they each fail in different ways. This guide compares cure time, leveling, scratch resistance, and price so you pick the one that matches your skill level and timeline — not the one a paint-store clerk has the most stock of.
 Easy25 min
Best Deck Stain: Transparent vs Semi vs Solid
There is no "best" deck stain — there is the right stain for your sun exposure, wood condition, and how often you want to redo the job. Transparent stains last 1-2 years but let the natural grain show. Solid stains last 4-7 years but look like paint. This guide walks the four opacity levels and the oil-vs-water choice so you pick the one that matches your deck and your tolerance for re-staining.