How to Replace a Damaged Laminate Plank
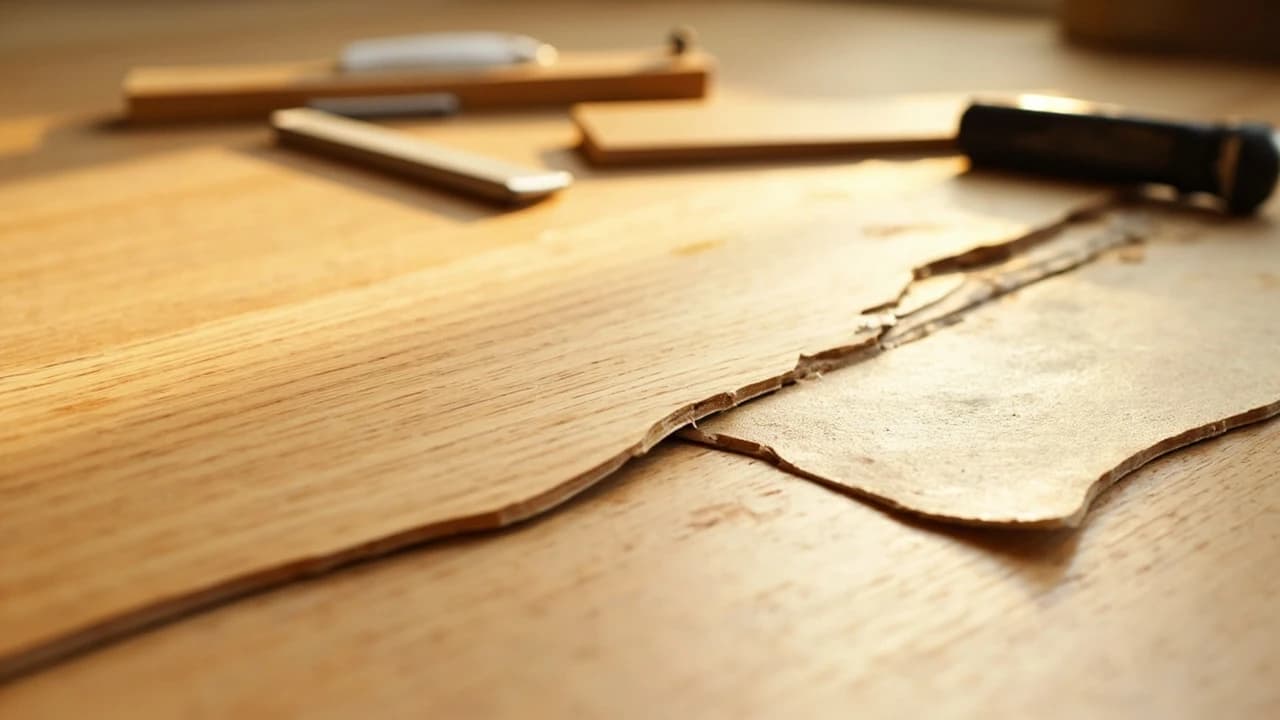

One chipped, swollen, or gouged plank does not mean relaying the floor. There are two ways to swap a single plank, and which one you use comes down to a number you can count in ten seconds: how many rows sit between the damage and the nearest wall. This guide covers that decision, both methods, and the checks that tell you whether the plank is even the real problem.
What do you need to replace a laminate plank?
🛠 Tools
📦 Materials
Safety First
- •Set the circular saw to cut only the thickness of the laminate. Cutting deeper reaches the subfloor, and in older homes the subfloor may sit directly over joists, plumbing runs, or electrical cable.
- •Plunge-cutting into a floor with a circular saw is an intermediate skill. The blade can kick back when it enters the material. Wear safety glasses, keep both hands on the saw, and let the blade reach full speed before it touches the floor.
- •Laminate dust contains fine resin particles. Wear a dust mask and vacuum as you go rather than sweeping.
How do you replace a damaged laminate plank?
Confirm the plank is the problem, not the floor
Before cutting anything, work out what you are actually looking at. Damage confined to one plank — a gouge, a chip, a burn, a swollen edge — is a plank problem. A ridge or peak that runs along a line, usually parallel to a wall and crossing several planks, is an expansion-gap problem, and replacing a board will not touch it. Press the raised area with your foot: if it springs back down and pops up again, the floor is under compression and needs its perimeter gap opened up instead.
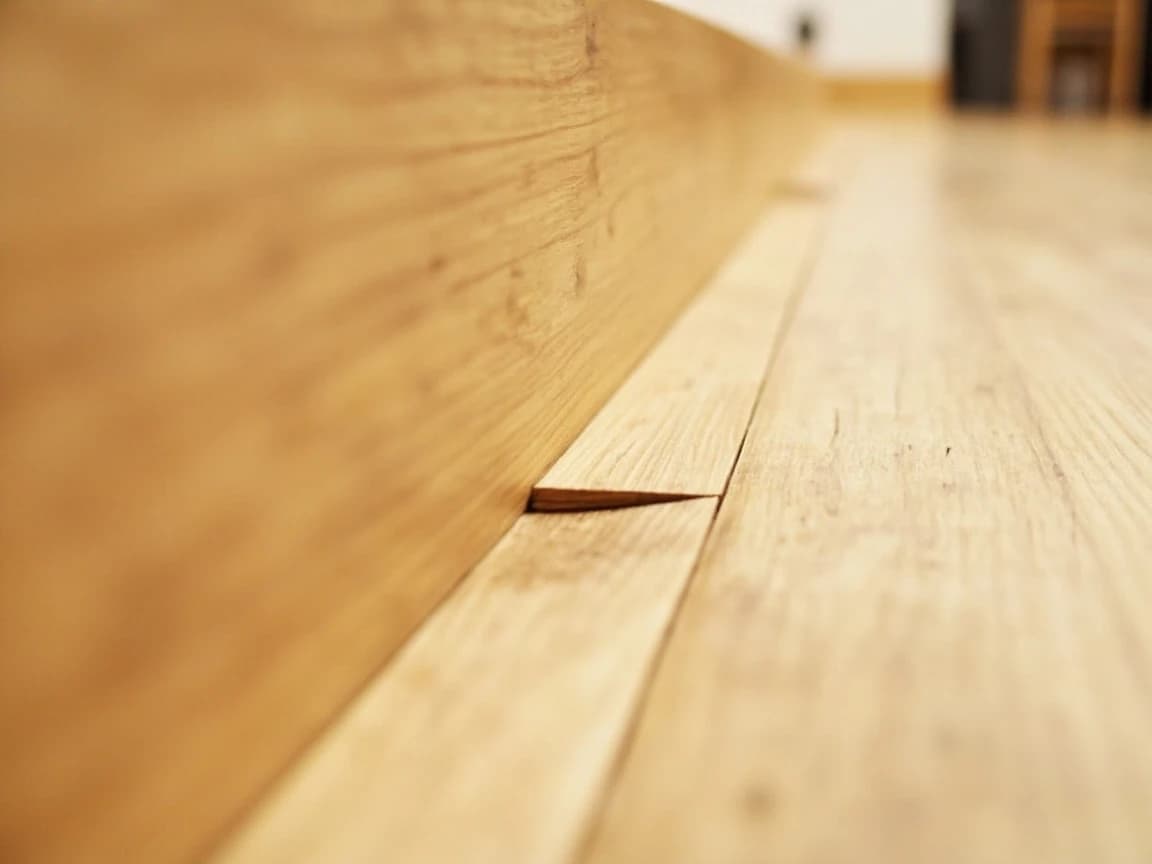
If the plank is swollen rather than scratched, find the water before you replace anything. A swollen plank beside a dishwasher, fridge line, or exterior door usually means an intermittent leak, and a new plank will swell the same way within a season.
Count the rows to the nearest wall
This single number decides your method. Count the rows of planks between the damaged one and the closest wall. If it is roughly three rows or fewer and you can clear the furniture off that stretch of floor, unclicking back to it is faster, completely reversible, and leaves every locking edge intact. If the plank sits further out, or the room is full of furniture that cannot move, cut it out in place instead. Neither method is better in the abstract — the distance and the furniture decide.
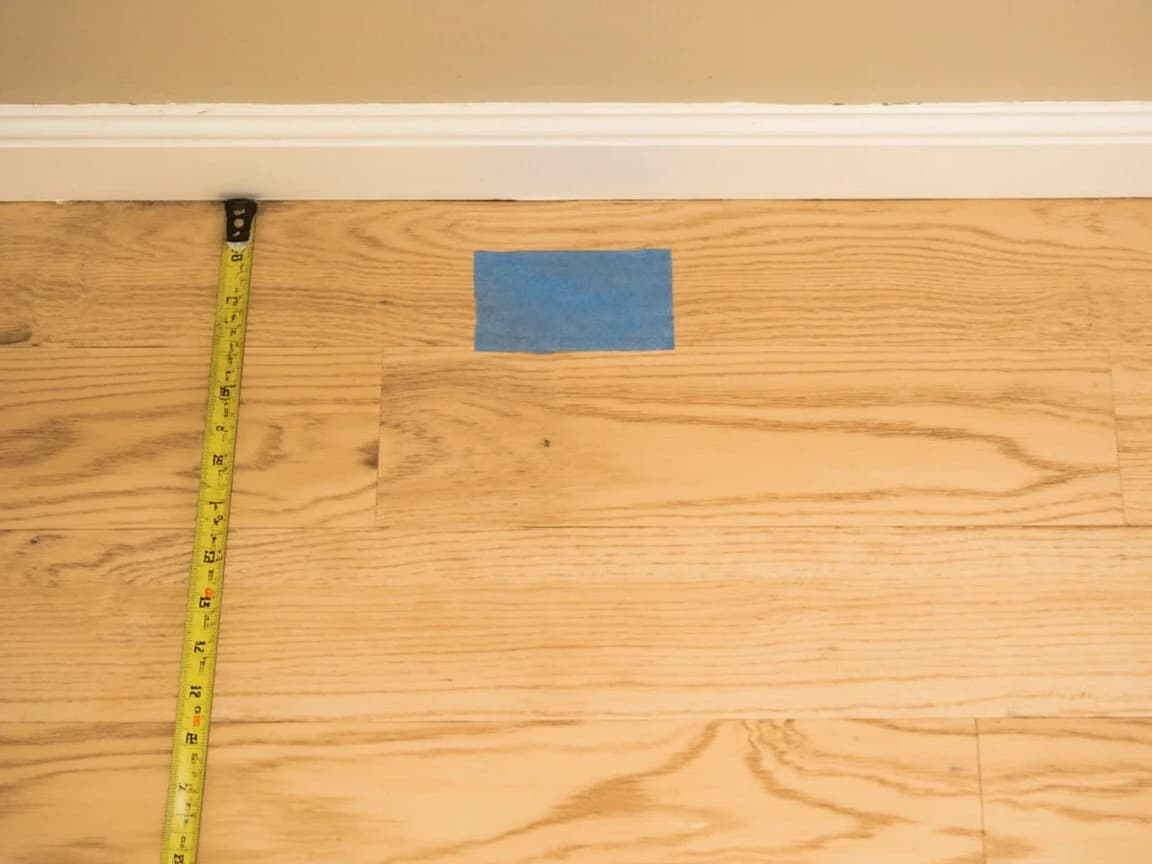
Check which direction the planks lock before counting. Laminate unclicks along its long edge far more easily than its short one, so the relevant wall is usually the one the long edges run toward, not simply the nearest wall in the room.
Source a matching plank before you start
Do not open the floor until the replacement is in hand. If you kept offcuts from the original installation, use those — they came from the same production batch and will match exactly. If not, buy from the same product line and accept that color and texture drift between manufacturing batches, so a plank bought years later may read slightly different. If the line is discontinued, take the plank from a closet, from under a permanently placed appliance, or from behind a door, and put the imperfect one in that hidden spot instead.
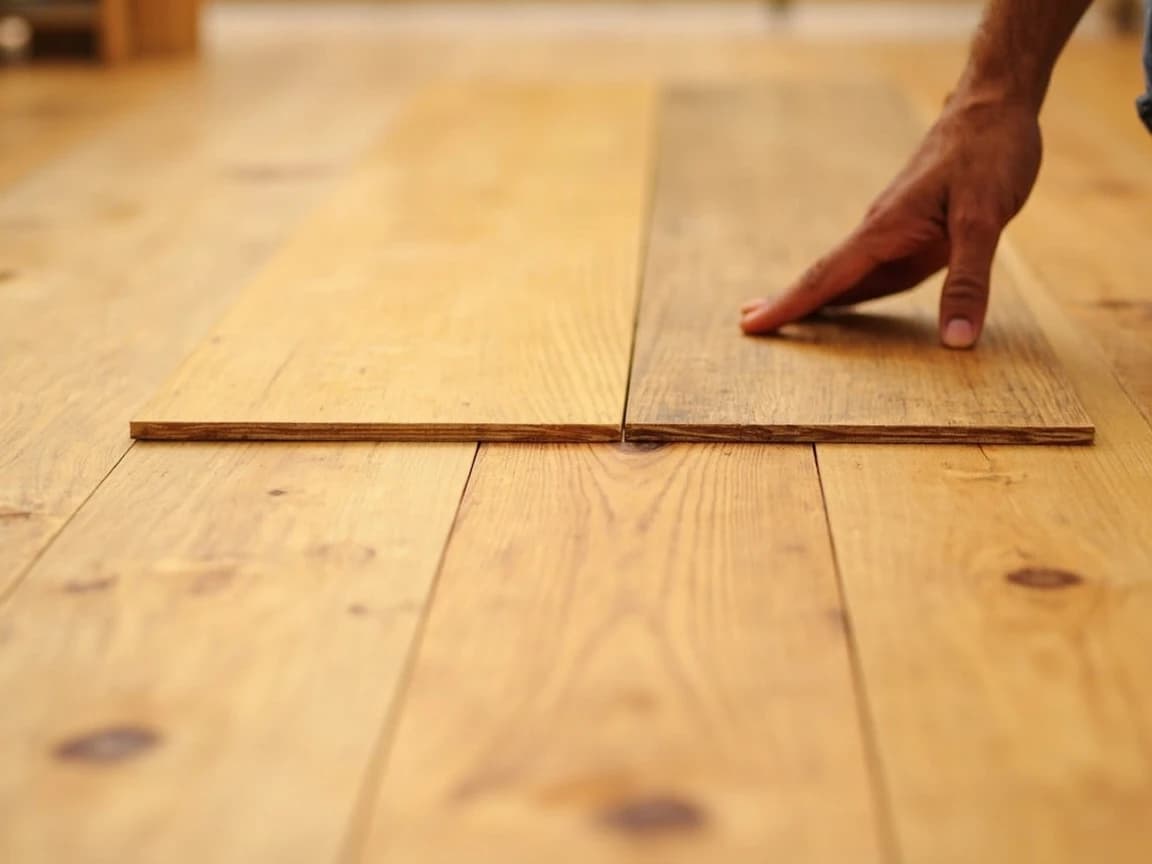
Take a photo of the plank's back face before you go shopping. The manufacturer, product name, and batch or lot number are usually printed there, and they identify the floor far more reliably than trying to match a color from memory. See installing laminate flooring for how the same numbers get used on a full install.
Method A — unclick the rows back to the damage
If the plank is within a few rows of a wall, start here. Pry off the quarter-round or baseboard along that wall, working a thin pry bar behind it against a scrap of wood so you do not dent the wall. Lift the first row at a low angle, around thirty degrees, and it will unclick along its long edge. Stack the planks in order as you go so they return the same way. Work across until the damaged plank is free, swap it, and click everything back down.
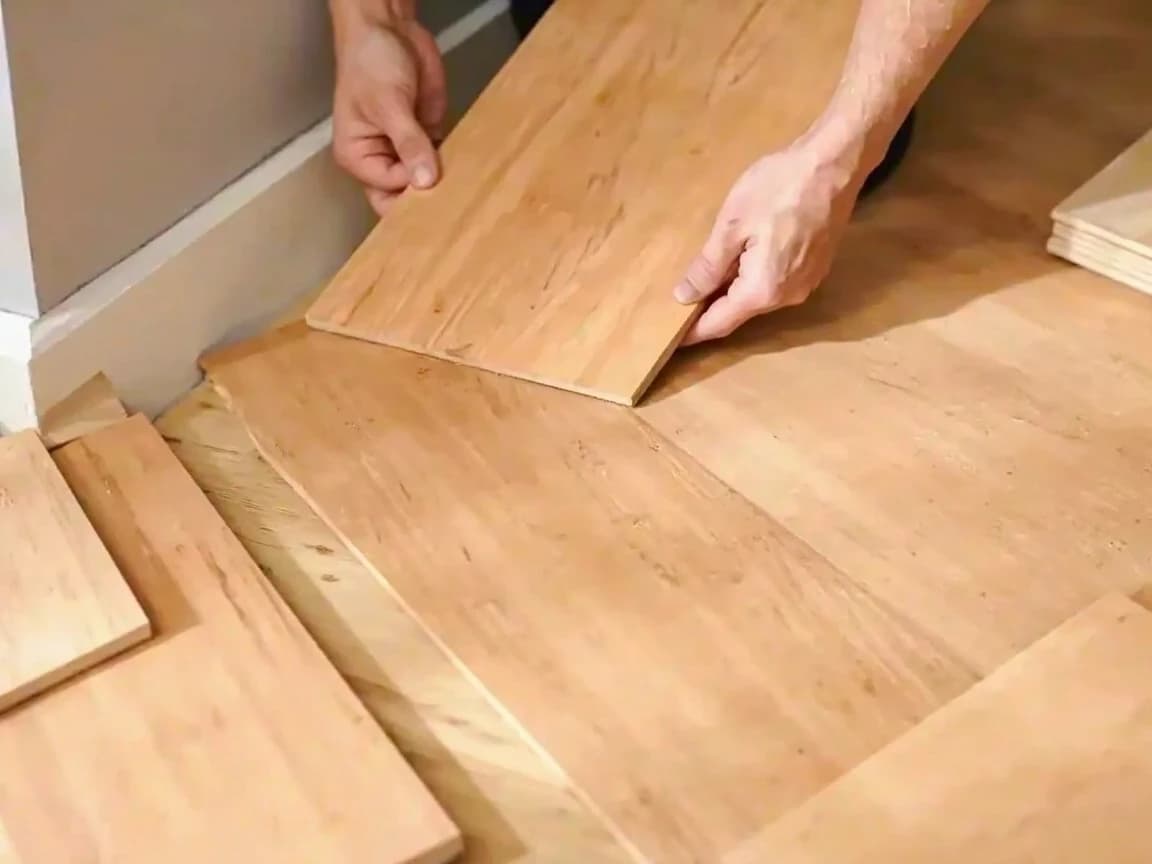
Number the backs of the planks with a pencil as you lift them. Laminate patterns repeat on a cycle, and putting boards back in a different order can leave two identical grain patterns sitting side by side, which is oddly noticeable once you spot it.
Method B — mark and drill the cut-out
For a plank out in the field, draw a rectangle on its face about one inch inside each edge — that margin is what protects the locking edges of the neighbouring planks. Drill a hole at each corner of that rectangle with a 3/8-inch bit, then drill more holes along both long sides roughly every ten inches. Those holes give the saw blade somewhere to enter and exit cleanly and stop the cut from wandering into the plank next door.
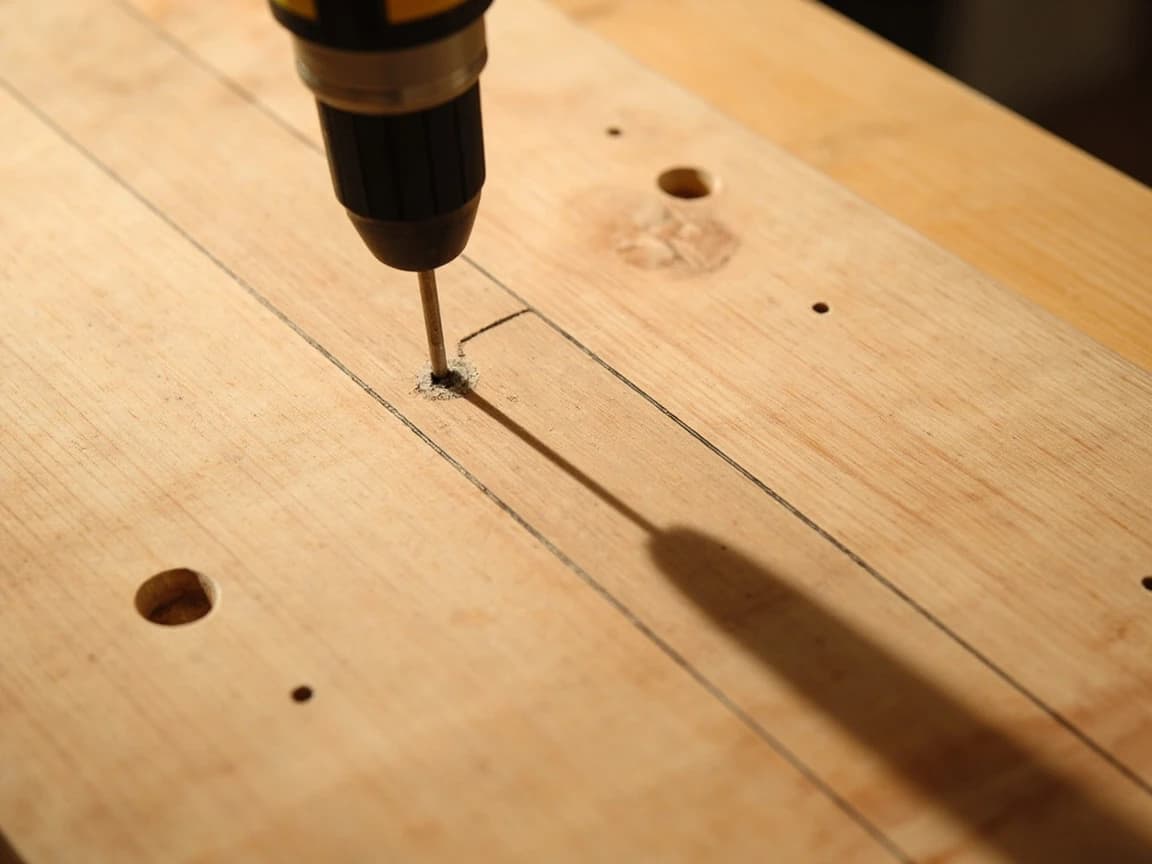
Set the saw depth to the laminate only
Stand the circular saw on an offcut of the same flooring and lower the blade until it just clears the underside, then lock the depth there. Most laminate is between eight and twelve millimeters thick, so this is a shallow cut with very little margin. Getting it wrong is the one mistake on this job that turns a plank repair into a subfloor repair, and in older homes there can be plumbing or cable running immediately below the deck.
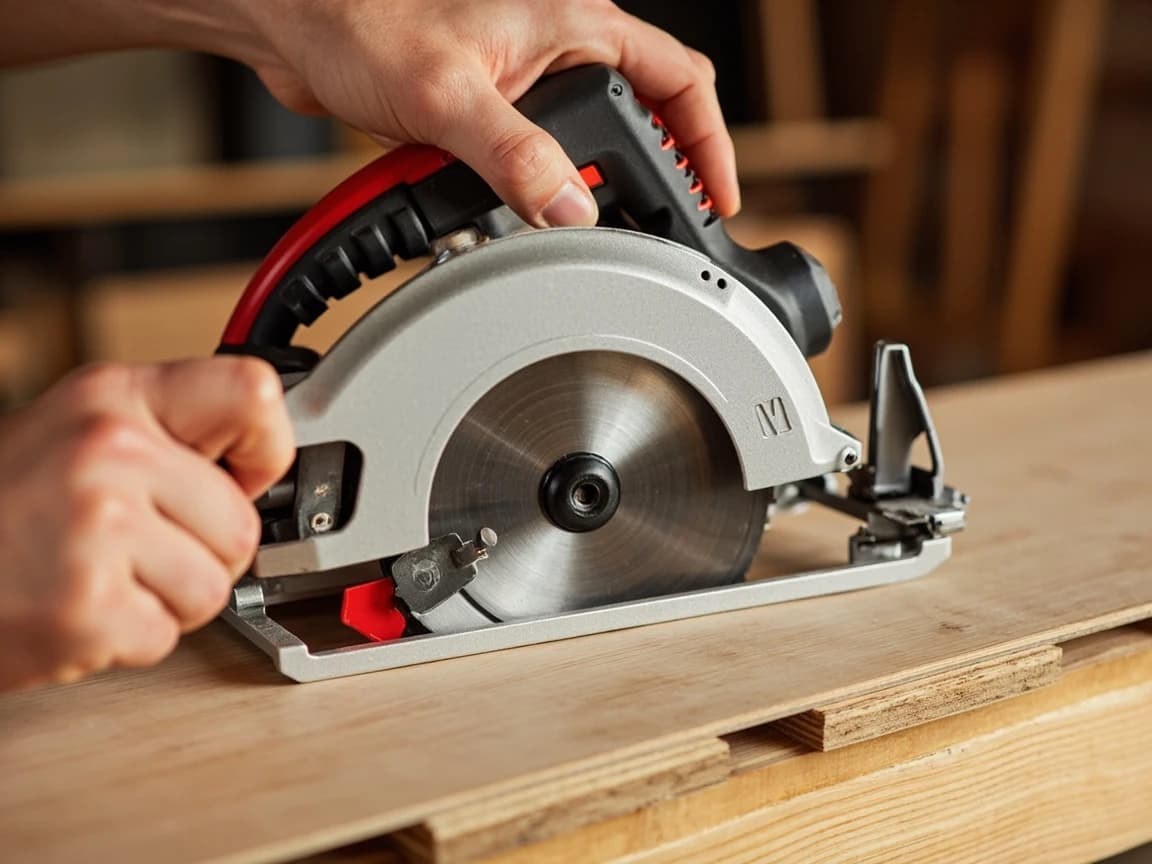
Let the blade reach full speed before it touches the floor, and keep both hands on the saw. Plunge cuts are where circular saws kick back.
Cut the center line and fold the plank out
Make a cut straight down the middle of the plank lengthwise, connecting the drilled holes, then cut in from that center line toward each corner so the plank is divided into wedges. Work a pry bar or stiff putty knife into the center cut and lift. The middle section comes up first, which releases the tension, and the outer pieces then fold inward and pull free of the tongue-and-groove. Use a utility knife to score any corner that will not release rather than forcing it.
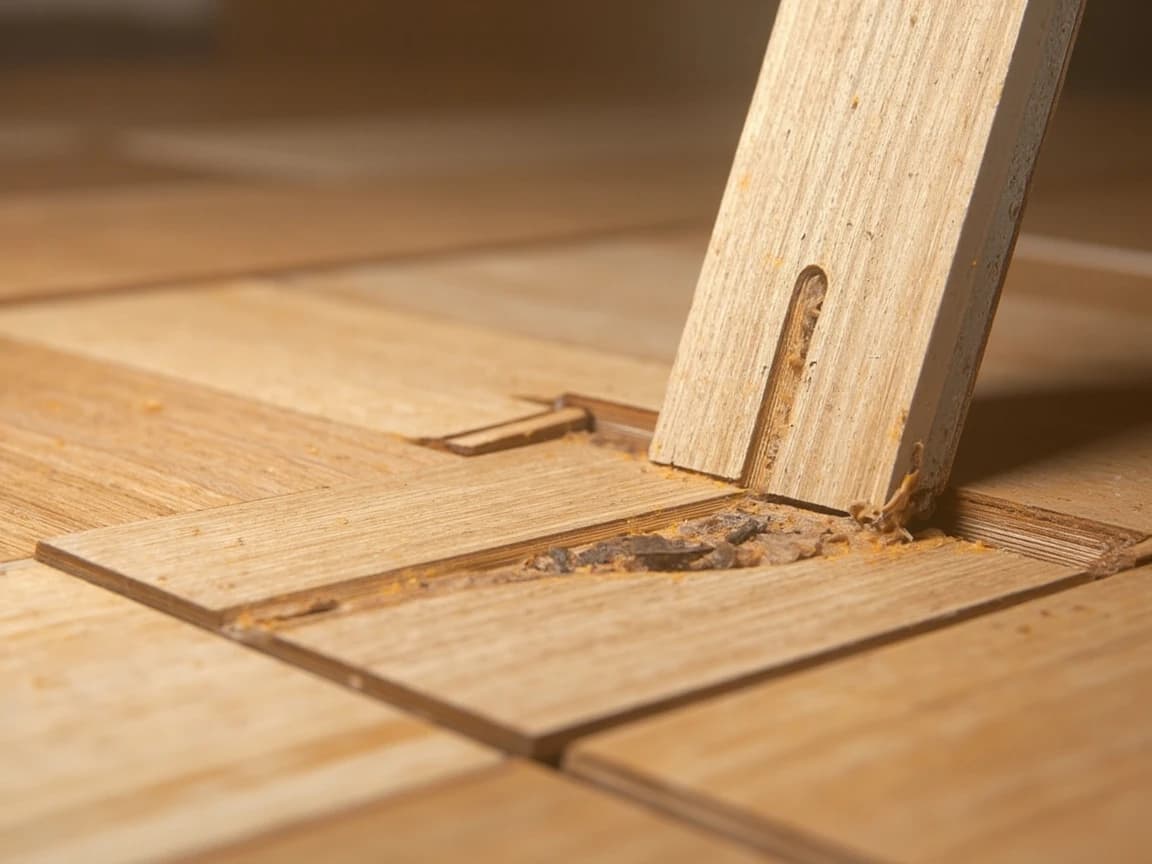
Vacuum the opening thoroughly before the replacement goes anywhere near it. A single chip of laminate left in the groove holds the new plank a millimeter proud, and that edge will catch every time someone walks over it.
Trim the tongue off the replacement and dry-fit
The replacement cannot click in from above, so the locking tongue has to come off. Run a sharp utility knife along the bottom lip of the groove on both the long and the short side, removing the lower edge so the plank can drop straight down instead of angling in. Take a little at a time and dry-fit repeatedly. The plank should sit flush with its neighbours with no rocking and no lip you can feel with a fingertip.
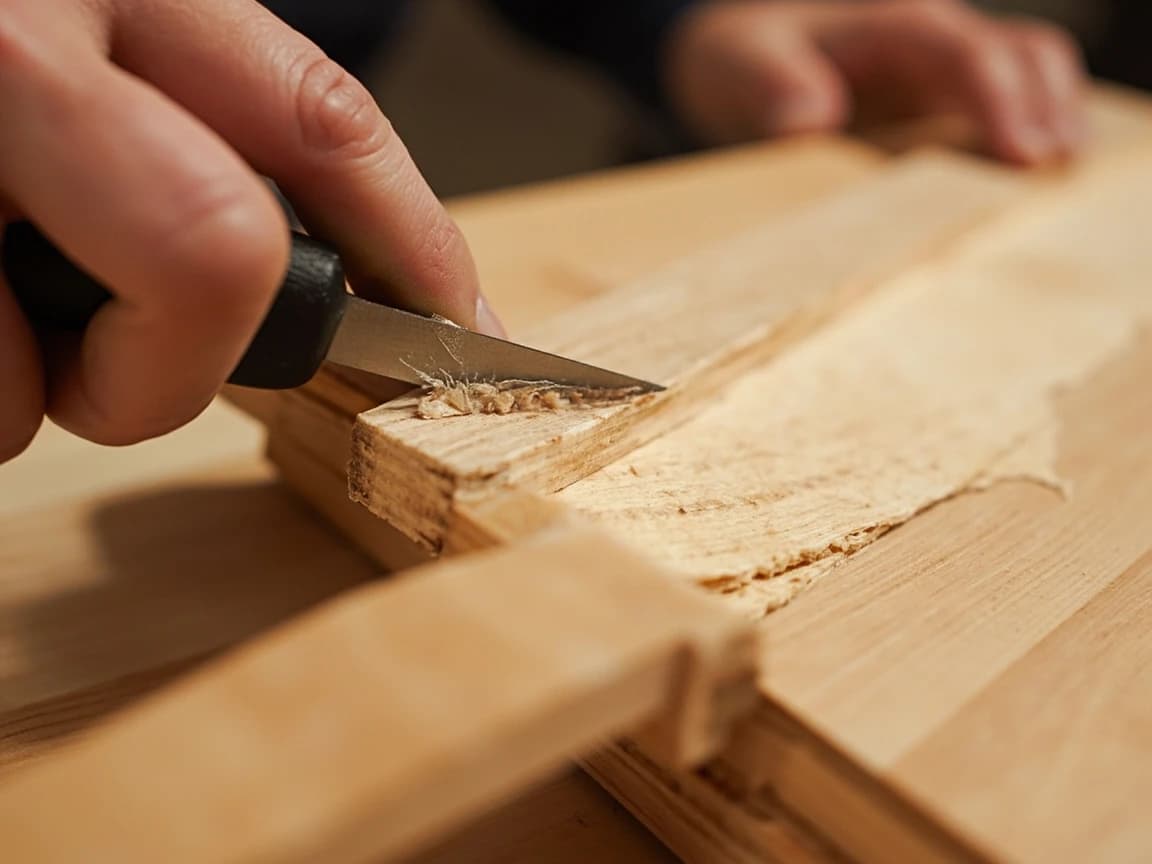
Test the fit before any glue goes down. Once glue is in the opening you have about five minutes, and a plank that needs another shaving off is far easier to fix dry than wet.
Glue the edges, seat it, and weight it overnight
Run a thin bead of PVA wood glue or laminate seam glue along the cut edges of the opening — the edges only, never the subfloor underneath. Laminate floats, and a plank bonded to the subfloor becomes the fixed point the rest of the floor buckles against. Lower the replacement in, press it level with its neighbours, and wipe the squeeze-out immediately with a damp cloth before it skins. Weight it overnight with something flat and heavy so the seams cure dead level.
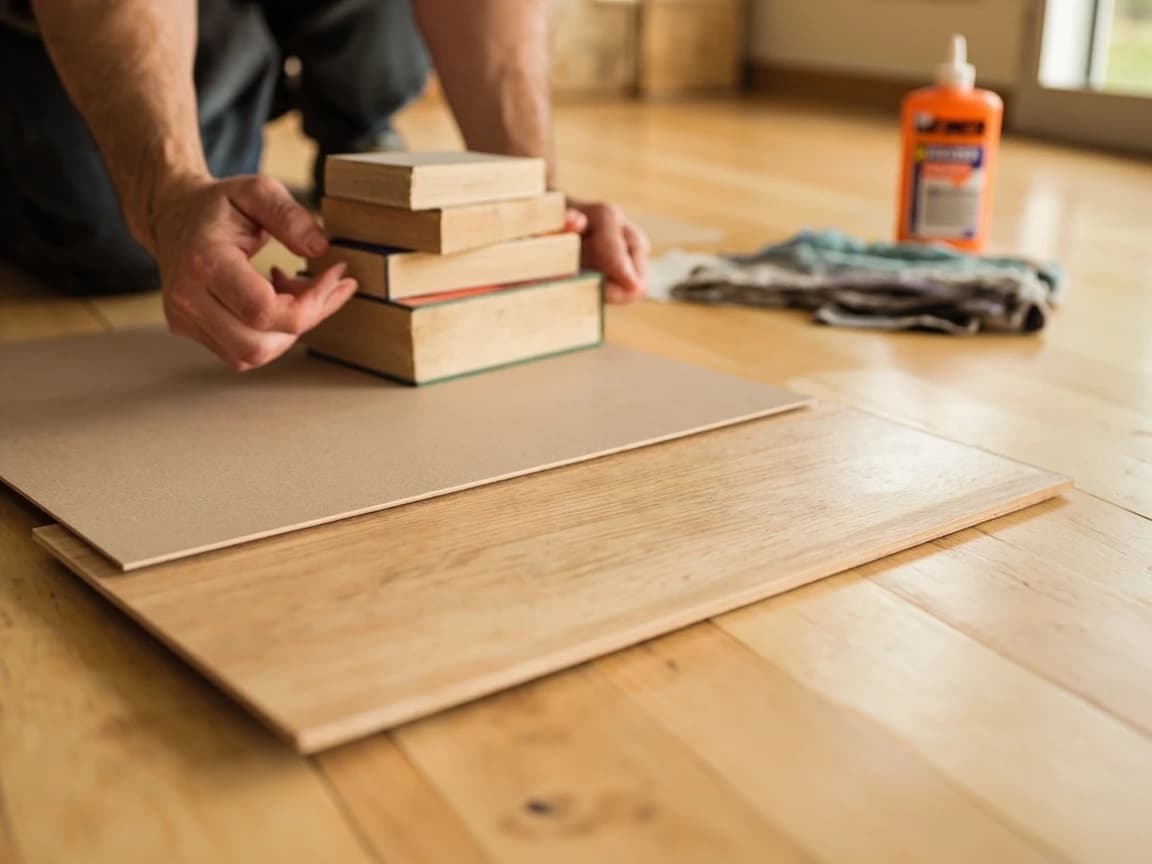
Once cured, a color-matched laminate repair putty hides the two cut seams almost completely. If the repair still catches the light, the technique for hiding scratches in a wood floor works the same way on laminate seams.
Frequently Asked Questions
Can you replace one laminate plank without pulling up the whole floor?
+
Yes, and there are two ways to do it. If the damaged plank sits within about three rows of a wall in a room you can clear, pull the baseboard or quarter-round off that wall and unclick the rows back to it. That is the non-destructive route: nothing gets cut, and every plank you lift goes back down reusing its own locking edge. If the plank is further out, or the room is full of furniture you cannot move, cutting it out in place is the practical option. You drill the corners, plunge-cut the middle with a circular saw set to the laminate thickness, fold the plank up to release the tongue-and-groove, then trim the locking tongue off a replacement so it drops flat into the hole. The floor around it is never disturbed.
Can swollen laminate be dried out instead of replaced?
+
No. Laminate has a fiberboard core, and once water gets past the wear layer and into that core the fibres absorb it and swell permanently. Drying the floor removes the moisture but the fibres do not compress back down, so the plank stays raised, soft at the edges, and usually shows a whitened or lifted seam. Replacement is the only real fix for a swollen plank. More importantly, find the water first. A single swollen plank near a dishwasher, a fridge line, a radiator, or an exterior door usually means an intermittent leak rather than a one-off spill, and a new plank in the same spot will swell exactly the same way within a season. Fix the source, let the subfloor dry fully, then replace. A moisture meter on the exposed subfloor is the reliable check; if you do not have one, leave the opening uncovered for a few days and see whether the deck darkens again overnight.
Why is my laminate floor lifting or buckling?
+
Almost always because the expansion gap is too small or has been blocked, not because a plank is faulty. Laminate expands and contracts with humidity, so it needs at least a quarter-inch clear gap at every wall and every fixed object. When that gap closes, the floor has nowhere to go and lifts into a ridge, usually running parallel to a wall rather than centred on one plank. Replacing a plank will not fix this and the new one will lift too. Check the perimeter first: pull off a section of quarter-round and look for flooring jammed tight against the wall, against a door casing, or under a heavy cabinet installed on top of it. Trimming the gap back is the actual repair, and it is a very different job. It also tends to be seasonal: floors that peak in humid summer months and settle again in winter are telling you the gap is marginal rather than absent, and the fix is the same either way.
What if my laminate is discontinued and I cannot find a match?
+
Take the replacement from somewhere that does not show. Inside a closet, under a permanently placed appliance, or behind a door are the usual donors: lift a plank from there using the same method, put it in the visible spot, and drop the imperfect new plank into the hidden one. This works even when the line is long gone, and it is the reason flooring installers tell you to keep a box of offcuts. If you have no donor area, note that color and texture drift between manufacturing batches even within the same product name, so a plank bought years later can be visibly off. Flooring liquidators and online forums are worth searching for discontinued lines before you settle for an approximate match. Whatever you end up using, keep the leftovers this time — a single spare box in a closet is what turns the next repair into a twenty-minute job.
What glue should I use on a cut-in replacement plank?
+
Standard PVA wood glue or a purpose-made laminate seam glue, applied to the cut edges of the opening rather than to the subfloor. The point is to hold the replacement's edges to its neighbours, because you will have trimmed off the locking tongue that would normally do that job. Do not glue the plank down to the subfloor. Laminate is a floating floor and has to slide as it expands, and a plank fixed to the subfloor becomes the anchor point the rest of the floor buckles against. Run a thin bead, seat the plank, wipe the squeeze-out immediately with a damp cloth before it skins over, then weight it overnight with something flat and heavy so the seams cure level. Most PVA glues reach handling strength in an hour but full cure takes about twenty-four, so keep traffic off the repair for a day rather than trusting how solid it feels by the evening.
Sources & further reading
- How to Replace Laminate Floor Planks — Hunker
- How to Replace Laminate Flooring — HowToSpecialist
- How to Replace Damaged Laminate Flooring Planks — BestLaminate
More Carpentry Guides
View all → Medium8 hrs
How to Install Laminate Flooring
Click-lock laminate is the most beginner-friendly floor you can lay — it floats over an underlayment with no nails, no glue, and no wet saw. This guide walks the full job: acclimating the planks, flattening the subfloor, getting a dead-straight first row, staggering the joints, and finishing the edges. Expect about a day of work for a typical room and roughly $2 to $5 per square foot in materials, a fraction of a pro install.
 Medium8 hrs
How to Install Vinyl Plank (LVP) Flooring
A floating click-lock luxury vinyl plank floor is the most beginner-friendly way to replace a tired floor — no glue, no nails, just angle-click-and-tap planks that cut with a utility knife. The catch is everything that happens before the first plank: acclimation, a dead-flat subfloor, a balanced layout, and a perimeter expansion gap. Get those right and a room takes a day and $2-7 a square foot; skip them and the floor buckles. This guide walks the whole job in order.
 Medium1 hr
How to Repair Scratches in a Hardwood Floor
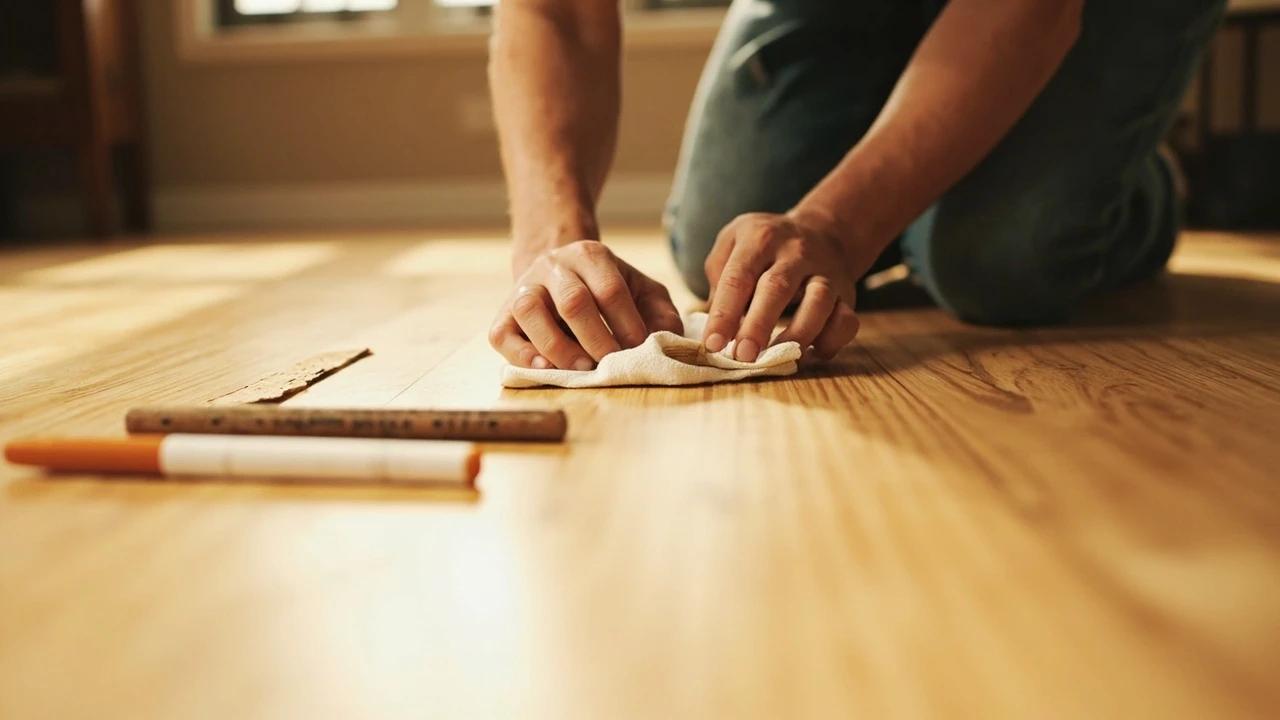
Scratched hardwood almost never means refinishing the whole floor. This guide shows you how to match the fix to the damage — a touch-up marker for finish-level scratches, a wax fill stick for shallow ones, and stainable wood filler with stain and polyurethane for deep gouges — all for under $40 in supplies and about an hour of work.
You Might Also Like
 Hard8 hrs
How to Paint Kitchen Cabinets
A professional cabinet refinish costs $3,000-8,000, but painting them yourself with the right prep and materials delivers the same transformation for under $200 in a long weekend. The secret is thorough degreasing, a bonding primer, and thin coats with proper dry time between each — skip any of those and the paint will chip within months. This guide walks through the full process from door removal and labeling to final reassembly, covering both brush and roller techniques for a smooth, factory-like finish.
 Medium6 hrs
How to Paint a Room
A fresh coat of paint is the fastest, cheapest way to transform any room — and doing it yourself saves $400-800 in labor for an average 12x12-foot bedroom. The job takes a weekend from prep to final coat, and the difference between an amateur-looking result and a professional finish comes down to technique, not talent. This guide covers prep, cutting in, rolling, and cleanup so you get clean lines and even coverage the first time.
 Medium30 min
How to Troubleshoot a Microwave That Won't Heat
A microwave that runs — light on, turntable spinning, timer counting down — but leaves food stone cold is one of the most common appliance failures, and about half the time the cause is something you can fix in five minutes for free. This guide walks the diagnosis from the easy stuff (demo mode, power level, a tripped GFCI, a dirty door latch) to reading the failure signature that tells you the high-voltage circuit is gone, then helps you make the repair-or-replace call with real numbers.