How to Repair Damaged Baseboard Trim

Dented, chipped, and gouged baseboards are one of the most visible signs of a neglected home — but they are also one of the easiest things to fix. With $10-20 in filler and a few hours of work (mostly drying time), you can make battered trim look factory-fresh without pulling a single board off the wall.
What You'll Need
🛠 Tools
📦 Materials
Safety First
- •If your home was built before 1978, test for lead paint before sanding. Use an EPA-approved lead test kit ($10-15 at any hardware store). If lead is present, follow EPA RRP guidelines — wet-sand only, use plastic sheeting, and wear a P100 respirator.
- •Two-part epoxy fillers produce fumes during mixing and curing. Work with a window open or a fan running, and wear nitrile gloves to avoid skin contact.
Step-by-Step Instructions
Assess the Damage and Choose Your Repair Method
Walk the room and examine every section of baseboard at floor level. Group the damage into three categories: shallow (surface scratches, small dents, nail holes under 1/4 inch), medium (chips, gouges, and cracks up to 1/2 inch deep), and severe (missing chunks, split ends, water rot, or warped sections longer than 6 inches). Shallow and medium damage can be filled in place — that is what this guide covers. Severely rotted or warped boards should be replaced entirely rather than patched, as filler won't hold in soft, punky wood.

Press a fingernail into any suspected water damage. If the wood feels soft or crumbles, it's rot — filler won't bond to it reliably. That section needs to be cut out and replaced with a matching profile piece from the lumber yard.
Protect the Wall and Floor
Apply 1-inch painter's tape along the wall directly above the top edge of the baseboard, pressing the edge firmly so filler and paint can't bleed underneath. If your floor is hardwood, tile, or vinyl, run a strip of tape along the floor where it meets the baseboard as well. Lay a drop cloth along the base of the wall to catch sanding dust and drips. This five minutes of prep saves thirty minutes of cleanup and prevents accidental damage to surfaces you aren't repairing.

Scrape Loose Material and Sand the Damaged Areas
Use a 5-in-1 tool or stiff putty knife to scrape away any loose paint, splinters, or flaking material from each damaged spot. Don't dig into solid wood — just remove anything that moves freely. Then sand each damaged area with 120-grit sandpaper wrapped around a sanding block, feathering 2 inches beyond the damage into the surrounding paint. This creates a slightly rough surface that filler and primer grip onto. Wipe the sanded areas with a damp cloth and let dry completely before filling.

Fill Shallow Dents and Nail Holes with Spackling
Scoop a small amount of lightweight spackling compound onto your putty knife and press it firmly into each shallow dent, scratch, or nail hole. Draw the knife blade across the surface at a slight angle to smooth the filler flush with the surrounding trim — slightly overfill rather than underfill, since spackle shrinks as it dries. For nail holes, push the compound in with your fingertip, then wipe the excess with the knife. DAP DryDex goes on pink and turns white when it's fully dry, usually in 30-45 minutes for thin applications.

For nail holes, skip the putty knife entirely — press a dab of spackle in with your finger, wipe the surface clean with a damp cloth, and move on. No sanding needed for holes this small.
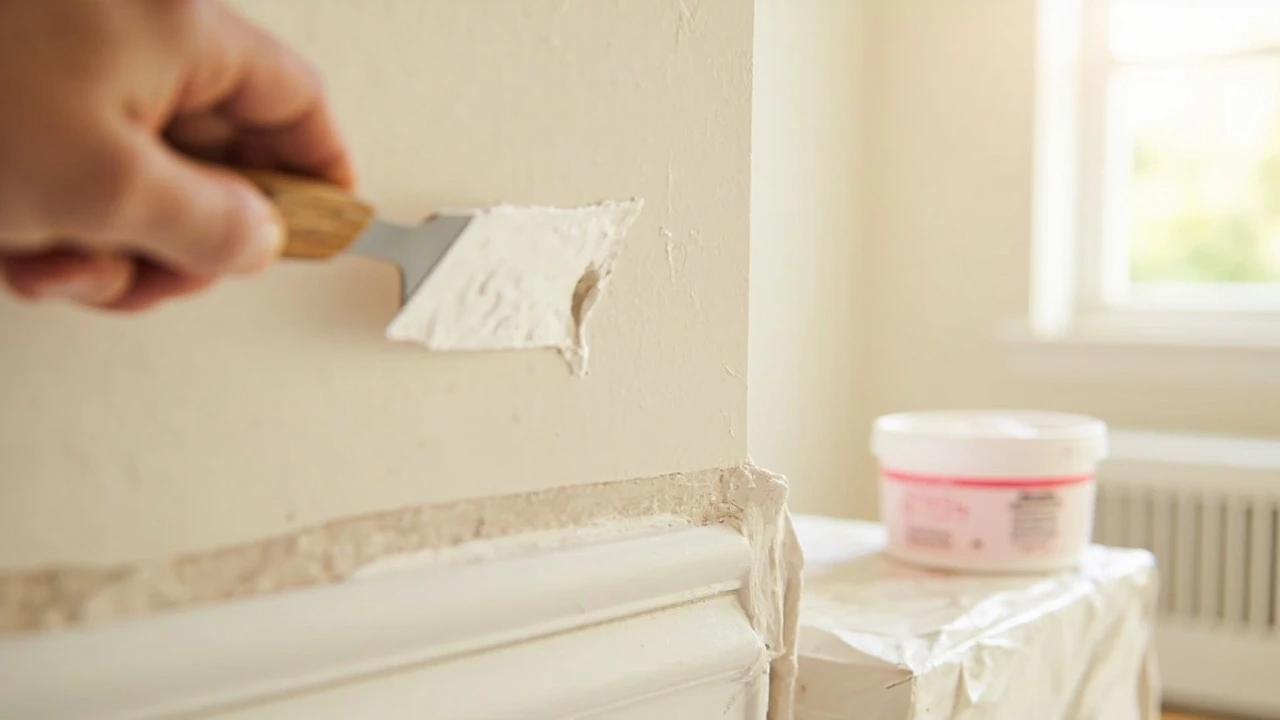
Rebuild Deep Gouges with Epoxy Wood Filler
For damage deeper than 1/4 inch or where chunks of wood are missing, use a two-part epoxy wood filler. Mix equal amounts of the resin and hardener on a disposable surface (a piece of cardboard works well) and stir thoroughly for 60 seconds until the color is uniform. Press the mixed epoxy firmly into the gouge with a putty knife, packing it in layers if the void is deeper than 1/2 inch. Shape the epoxy slightly proud of the surface — you'll sand it flush once it cures. Epoxy sets hard in 15-30 minutes depending on temperature, so work in small batches. Unlike spackling, it will not shrink, crack, or soften over time.

Epoxy cures fast and bonds to everything — wear nitrile gloves and avoid getting it on your skin, the floor, or the wall. Once it hardens, it can only be removed with aggressive sanding or a chisel.
Sand All Repairs Smooth
Once all filler is fully cured (white for spackle, hard to the touch for epoxy), sand each repaired area with 120-grit sandpaper on a sanding block. Use long, even strokes that follow the profile of the baseboard, blending the edges of the repair into the surrounding trim. Switch to 220-grit for a final pass to eliminate any scratches left by the coarser grit. Run your fingertip across the repair — it should feel seamlessly smooth with no ridge where the filler meets the original trim. Wipe the entire baseboard with a tack cloth to remove all sanding dust.

Hold a flashlight at a low angle against the baseboard while sanding — the raking light reveals tiny ridges and low spots that are invisible under normal room lighting. Fix them now rather than discovering them after you paint.
Caulk the Gaps Between Baseboard and Wall
Load a tube of paintable latex caulk into a caulk gun and cut the tip at a 45-degree angle to create a 1/8-inch opening. Run a steady bead along the gap between the top edge of the baseboard and the wall, holding the gun at 45 degrees and pulling (not pushing) along the joint. Immediately smooth the bead by running a damp fingertip along it in one continuous stroke — work in 3-4 foot sections so the caulk doesn't skin over before you smooth it. Wipe excess from your finger onto a damp cloth as you go. Caulk fills the shadow line that makes even a well-painted baseboard look sloppy.

Keep a cup of water nearby and dip your finger frequently while smoothing — wet skin glides over caulk without dragging or pulling it out of the joint.
Prime and Paint the Repaired Sections
Apply one coat of primer to every repaired area and any bare wood or filler using a 2-inch angled trim brush. Shellac-based primer (Zinsser B-I-N) is ideal because it seals filler, blocks stains, and dries in 20 minutes. Once the primer is dry, apply the finish coat of semi-gloss or satin trim paint. Use smooth, even strokes from one end of the board to the other — start at a corner or joint so lap marks don't land in the middle of a board. For long straight runs, a 4-inch foam roller followed by a light brush tip-off gives the smoothest finish. Apply a second coat after the first dries if coverage is uneven or the repair shows through. Finishing the room's whole trim package? Our crown molding guide covers the cuts, coping, and nailing for the top of the wall.

If you don't have the original paint color, carefully pry off a small chip (from behind a door or inside a closet) and bring it to the paint store for a spectrophotometer match. A $5 sample pot is usually enough to touch up an entire room's baseboards.
Frequently Asked Questions
How long does it take to repair damaged baseboard trim?
+
This project typically takes about 2 hrs. The guide includes 8 steps with detailed instructions for each.
What tools do I need?
+
You will need: Putty knife (1-1/2-inch flexible blade), 5-in-1 painter's tool or stiff scraper, Sanding block, 120-grit sandpaper, 220-grit sandpaper, Utility knife, Damp cloth or sponge, Caulk gun, Angled trim brush (2-inch), Small foam roller (4-inch, for long runs), Painter's tape (1-inch), Drop cloth. Materials include: Lightweight spackling compound for shallow dents and nail holes (DAP DryDex or similar — turns pink when wet, white when dry), Two-part epoxy wood filler for deep gouges and missing chunks (Bondo Wood Filler or Minwax High Performance — hardens rock-solid and won't shrink), Paintable latex caulk for gaps between baseboard and wall (DAP Alex Plus or similar), Primer — shellac-based for stain-blocking (Zinsser B-I-N) or latex primer for clean repairs, Semi-gloss or satin trim paint to match existing color (bring a chip to the paint store for a custom match), Tack cloth for dust removal before painting.
Is this a good project for beginners?
+
Yes! This is rated as an easy project that most homeowners can complete with basic tools and no prior experience.
Community Tips
💬 Sign in to share tips with the community
Sources & further reading
- Lead Renovation, Repair and Painting Program — U.S. EPA
- How to Choose the Right Filler, Putty, Epoxy, or Spackle — Fine Homebuilding
More Carpentry Guides
View all → Hard4 hrs
How to Install Crown Molding
Crown molding turns a plain room into a finished one — but it is the trickiest trim to cut, thanks to corners that are never quite square and a profile that has to be cut upside down. This guide walks through the whole job the way a finish carpenter does it: coping inside corners so they stay tight, mitering outside corners, and fastening into framing instead of bare drywall. Expect about half a day for a typical room and roughly one to six dollars per linear foot in materials.
 Easy1 hr
How to Patch a Small Hole in Drywall (Spackle Method)
A nail hole, picture-hanger ding, or doorknob dent doesn't need a contractor — it needs a $5 tub of spackle and twenty minutes of hands-on time. This guide covers the two-coat method, drying-time tradeoffs, and the touch-up paint trick that makes the patch invisible. For holes bigger than 1/2 inch, step up to the mesh-patch and drywall-cutout methods instead.
 Easy15 min
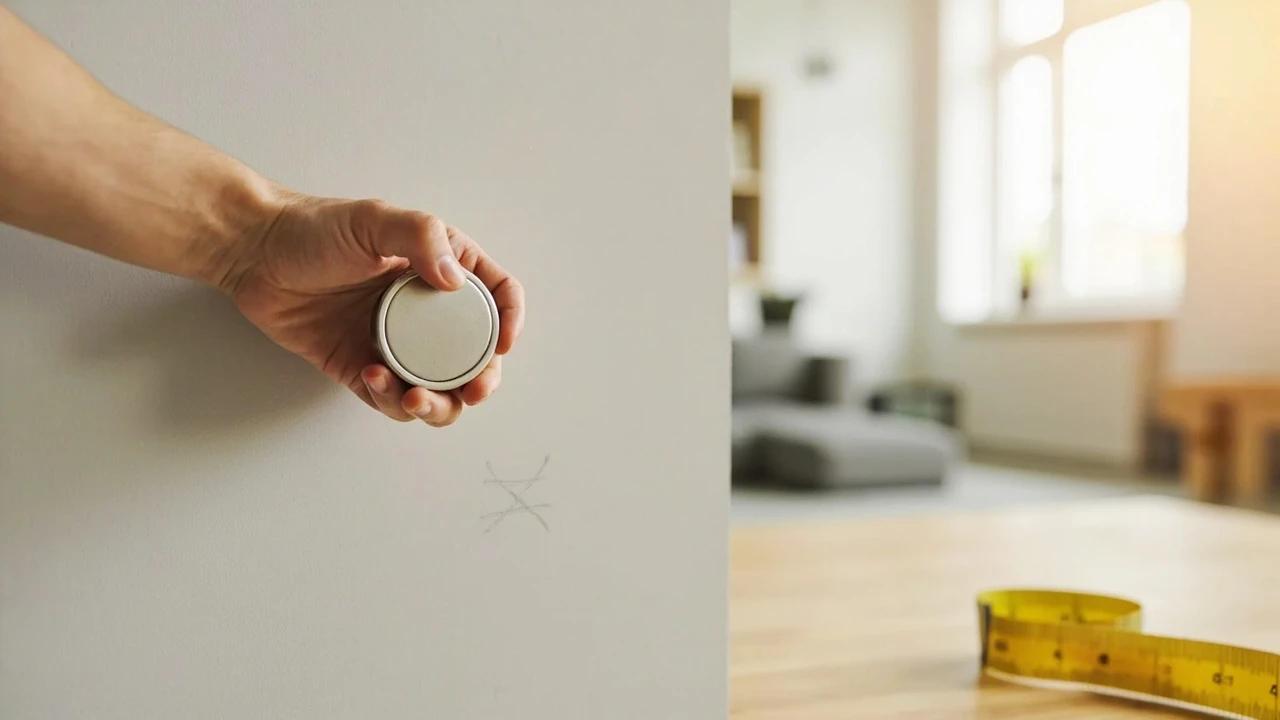
How to Find a Stud Without a Stud Finder
No stud finder? No problem. You can locate the wooden studs behind your drywall with things you already own — an outlet, a tape measure, and a strong magnet — in about ten minutes. This guide walks through every reliable method, from the quickest starting point to a foolproof way to confirm a stud before you drill a single hole.
You Might Also Like
 Easy30 min
How to Replace an Electrical Outlet
A worn-out or discolored electrical outlet is one of the simplest electrical repairs you can tackle yourself — swapping one takes about 15-30 minutes and costs under $5 in parts versus $75-150 for an electrician visit. This guide walks you through safely replacing a standard duplex receptacle, including how to handle the wiring correctly and avoid the most common DIY mistakes.
 Easy25 min
Best Deck Stain: Transparent vs Semi vs Solid
There is no "best" deck stain — there is the right stain for your sun exposure, wood condition, and how often you want to redo the job. Transparent stains last 1-2 years but let the natural grain show. Solid stains last 4-7 years but look like paint. This guide walks the four opacity levels and the oil-vs-water choice so you pick the one that matches your deck and your tolerance for re-staining.
 Medium1 hr
How to Fix Low Water Pressure
Weak, trickling water usually has a cheap, findable cause — a clogged aerator, a half-closed valve, or a tired pressure-reducing valve — long before it means re-piping the house. This guide walks the diagnosis in order: first pin down whether it's one fixture or the whole house (and hot-only or both), then work each cause with a $12 pressure gauge as your guide. Most fixes are free or under $30; you'll also learn the few signs that mean it's time to call a plumber.