How to Install Floating Shelves

Floating shelves add storage and style to any room without bulky brackets — and installing a pair takes about 45 minutes with basic tools. A quality floating shelf kit costs $20-60, versus $100-200 for a handyman visit. This guide covers finding studs, leveling the bracket, and mounting the shelf so it holds up to 50 pounds per stud without sagging.
What You'll Need
🛠 Tools
📦 Materials
Safety First
- •Before drilling into any wall, check for electrical wires and plumbing by using a stud finder with a wire-detection mode. Drilling into a live wire can cause shock or fire.
Step-by-Step Instructions
Locate the Wall Studs
Run an electronic stud finder slowly across the wall in the area where you want the shelves. When the stud finder signals a stud, mark the edge with a pencil, then continue across to find the other edge — the center of the stud is halfway between the two marks. Repeat to find at least two studs (studs are typically 16 inches apart on center). Place a strip of painter's tape vertically over each stud center so your marks are easy to see and won't leave pencil smudges on the wall.

To verify a stud location, drive a thin finish nail at an angle through the drywall at your pencil mark. If it hits solid wood after 1/2 inch, you found the stud. If it punches through into open space, adjust your mark. The nail hole is tiny and easily patched.
Determine Shelf Height and Mark the Level Line
Decide where you want the shelf — common heights are 48 inches above the floor for a single display shelf, or 12-16 inches apart for stacked shelves. Measure up from the floor at one stud location and make a pencil mark at your desired height. Hold a 4-foot level against the wall with one end on your pencil mark and draw a faint, level line across to the next stud. This line represents the top edge of your mounting bracket.

If you're installing multiple shelves at the same height (like flanking a TV), measure from the ceiling down rather than from the floor up — ceilings are more likely to be level than floors, so the shelves will look even to the eye.
Position the Mounting Bracket and Mark Screw Holes
Hold the shelf's mounting bracket (or backplate) against the wall, aligning its top edge with your level line. Make sure at least two of the bracket's screw holes line up with your stud marks — this is critical for weight capacity. Place a level on top of the bracket to confirm it's perfectly horizontal, then use a pencil or a self-centering punch to mark each screw hole location through the bracket onto the wall.

Drill Pilot Holes into the Studs
Set the bracket aside and drill a pilot hole at each marked screw location using a 3/32-inch drill bit. For holes going into studs, drill about 2 inches deep — you'll feel steady resistance as the bit bites into the solid wood behind the drywall. If a screw hole doesn't land on a stud, drill a larger hole (sized for your wall anchor) and install a heavy-duty toggle bolt or snap toggle rated for at least 50 pounds. Blow or vacuum the dust from each hole.

If you hit unexpected resistance (metal) or the drill suddenly breaks through into open space behind the stud, stop immediately — you may be near a pipe, duct, or electrical box. Investigate before continuing.
Fasten the Mounting Bracket to the Wall
Hold the bracket back up to the wall, align the screw holes with the pilot holes, and drive the provided #12 x 2-1/2-inch screws into each stud using a drill/driver. Tighten until the bracket is firmly clamped against the drywall with no play — but don't overtighten, as this can strip the wood or crack the drywall. For any anchor points, follow the anchor manufacturer's instructions to set the toggle before tightening the screw. Place a level on the bracket one final time and confirm it's perfectly horizontal before proceeding.

If you stripped a screw hole in the stud, remove the screw, push a couple of wooden toothpicks dipped in wood glue into the hole, snap them flush, and re-drive the screw. The toothpicks give the threads fresh wood to grip.
Slide the Shelf onto the Bracket
Most floating shelves slide over the bracket from the front — align the hollow interior of the shelf with the bracket's mounting rods or backplate and push it straight back until the shelf sits flush against the wall. Some designs require you to slide the shelf down from above onto hook-style brackets. Check the underside of the shelf for set screws (small Allen-head or Phillips screws) and tighten each one to lock the shelf to the bracket — this prevents the shelf from being accidentally lifted off.

Test the Shelf for Stability and Weight Capacity
Firmly press down on the front edge of the shelf with both hands — there should be zero wobble or tilt. If the shelf dips when you push, a screw may have missed the stud or an anchor isn't holding. Place a stack of books or a gallon jug of water (about 8 pounds) on the shelf and leave it for 30 minutes, then check for any sagging with your level. A properly mounted shelf on two studs can hold 45-50 pounds per stud. Only load the shelf to its rated capacity once you've confirmed it's solid.

If the shelf has a very slight downward tilt at the front edge (common with heavy loads), shim the bottom of the bracket at the wall with a thin piece of cardboard before tightening the screws — this pre-tilts the bracket up by a degree or two to compensate.
Fill Gaps and Style the Shelf
If there's a hairline gap between the shelf and the wall (common on slightly uneven walls), run a bead of paintable caulk along the back edge and smooth it with a wet finger for a seamless look. Touch up any stray pencil marks with a Magic Eraser or damp cloth. Now style the shelf — group items in odd numbers (threes and fives look best), vary heights with a mix of books, plants, and decorative objects, and keep the heaviest items closest to the bracket points over the studs.

Frequently Asked Questions
How long does it take to install floating shelves?
+
This project typically takes about 45 min. The guide includes 8 steps with detailed instructions for each.
What tools do I need?
+
You will need: Electronic stud finder, Drill/driver with Phillips bit, Drill bit set (3/32-inch for pilot holes, 1/4-inch for wall anchors), 4-foot level (or laser level), Tape measure, Pencil, Painter's tape. Materials include: Floating shelf kit with hidden bracket or backplate (sized to your space — 24-inch and 36-inch are most common), #12 x 2-1/2-inch wood screws (for stud mounting — usually included with the shelf), Wall anchors rated for 50+ lbs each (toggle bolts or snap toggles — only if you cannot hit two studs), Small torpedo level (if shelf has no built-in level vial).
Is this a good project for beginners?
+
Yes! This is rated as an easy project that most homeowners can complete with basic tools and no prior experience.
Community Tips
💬 Sign in to share tips with the community
Sources & further reading
- How to Build and Install DIY Floating Shelves — Family Handyman
- Advanced Framing: Minimum Wall Studs — Building America Solution Center (DOE/PNNL)
More Carpentry Guides
View all →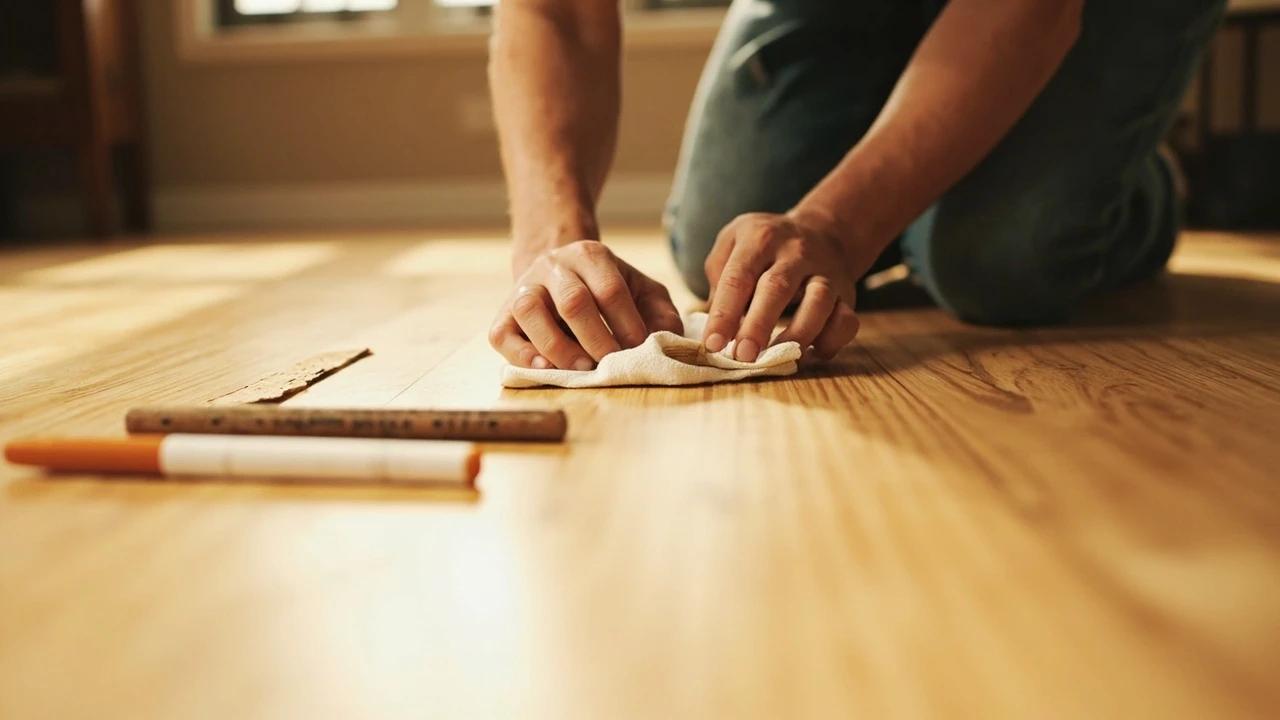 Medium1 hr
How to Repair Scratches in a Hardwood Floor
Scratched hardwood almost never means refinishing the whole floor. This guide shows you how to match the fix to the damage — a touch-up marker for finish-level scratches, a wax fill stick for shallow ones, and stainable wood filler with stain and polyurethane for deep gouges — all for under $40 in supplies and about an hour of work.
 Hard4 hrs
How to Install Crown Molding
Crown molding turns a plain room into a finished one — but it is the trickiest trim to cut, thanks to corners that are never quite square and a profile that has to be cut upside down. This guide walks through the whole job the way a finish carpenter does it: coping inside corners so they stay tight, mitering outside corners, and fastening into framing instead of bare drywall. Expect about half a day for a typical room and roughly one to six dollars per linear foot in materials.
 Medium2 hrs
How to Patch a Large Hole in Drywall
A doorknob blowout, a wall-anchor failure, a fist through the drywall during the move-out — these holes are too big for spackle but too small to justify cutting in a full drywall section. The mesh patch (for 1/2-inch to 4-inch holes) and the California patch (for 4 to 8-inch holes) both finish flush, paint over invisibly, and cost under $25 in materials. The job takes about two hours of hands-on work spread over two or three days of compound cure time.
You Might Also Like
 Medium45 min
How to Install a Ceiling Fan
Replacing a light fixture with a ceiling fan improves air circulation in summer and can reduce heating costs in winter by circulating warm ceiling air downward. Most installs take 45-60 minutes.
 Easy3 hrs
Spring Lawn Care Checklist
What you do to your lawn in the first six weeks of spring determines its health for the entire growing season. Follow this sequence to fix winter damage, encourage deep roots, and crowd out weeds before they establish.
 Easy1 hr
How to Start a Compost Bin
Composting converts kitchen scraps and yard waste into rich, free fertilizer that dramatically improves garden soil. Setup takes under an hour and once running, the bin requires minimal effort for big rewards.